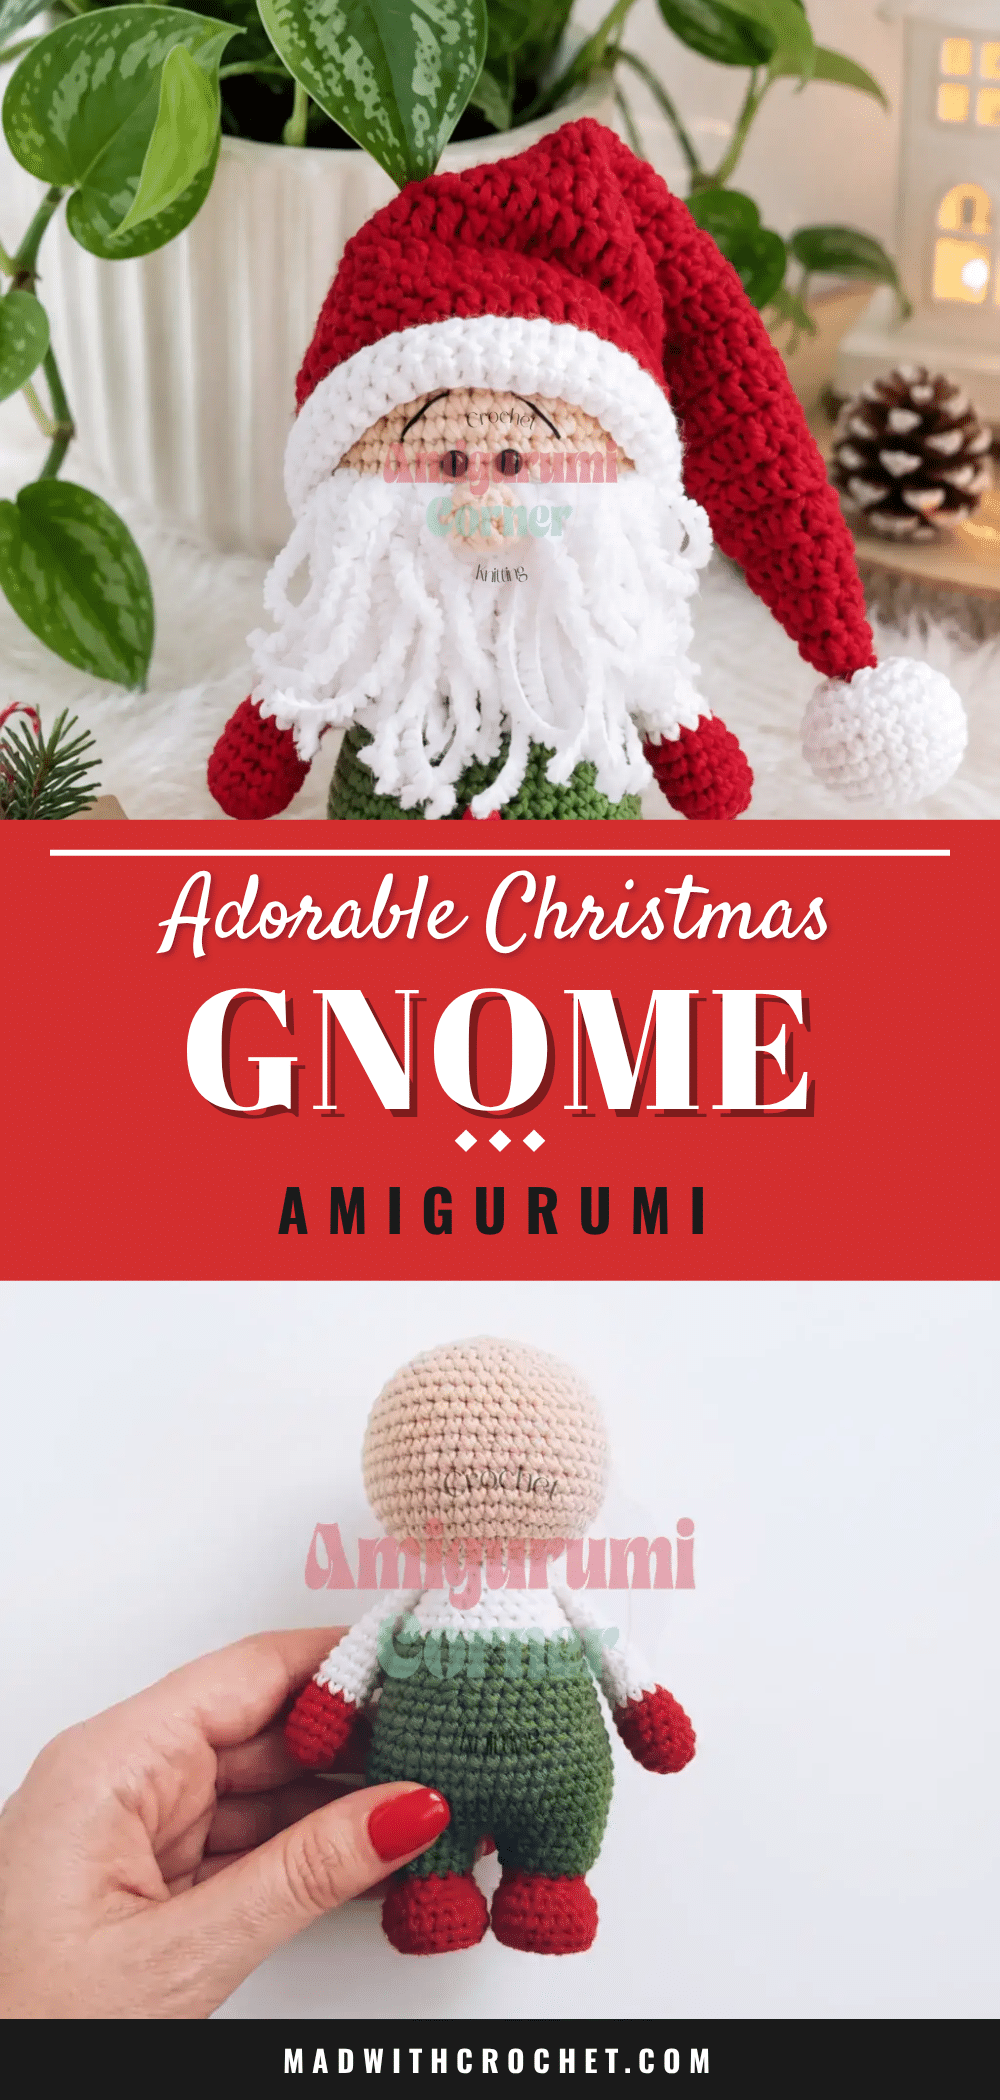
It’s a familiar moment for any crocheter: you finish a round, count your stitches, and realize you have one too many. Panic sets in. Did you miss a decrease? Did you accidentally make an increase? For many, this small hiccup is enough to stop a project in its tracks. But with this Christmas Gnome Amigurumi, the answer is usually simple—just work an extra decrease in the next round, and the shape will naturally correct itself. This project is designed to be forgiving. While it features a charmingly long, slanted hat and a full beard that gives it that classic Nordic look, the construction is straightforward. It rewards patience with a delightful result that looks like it wandered straight out of a holiday card.
Maker Notes
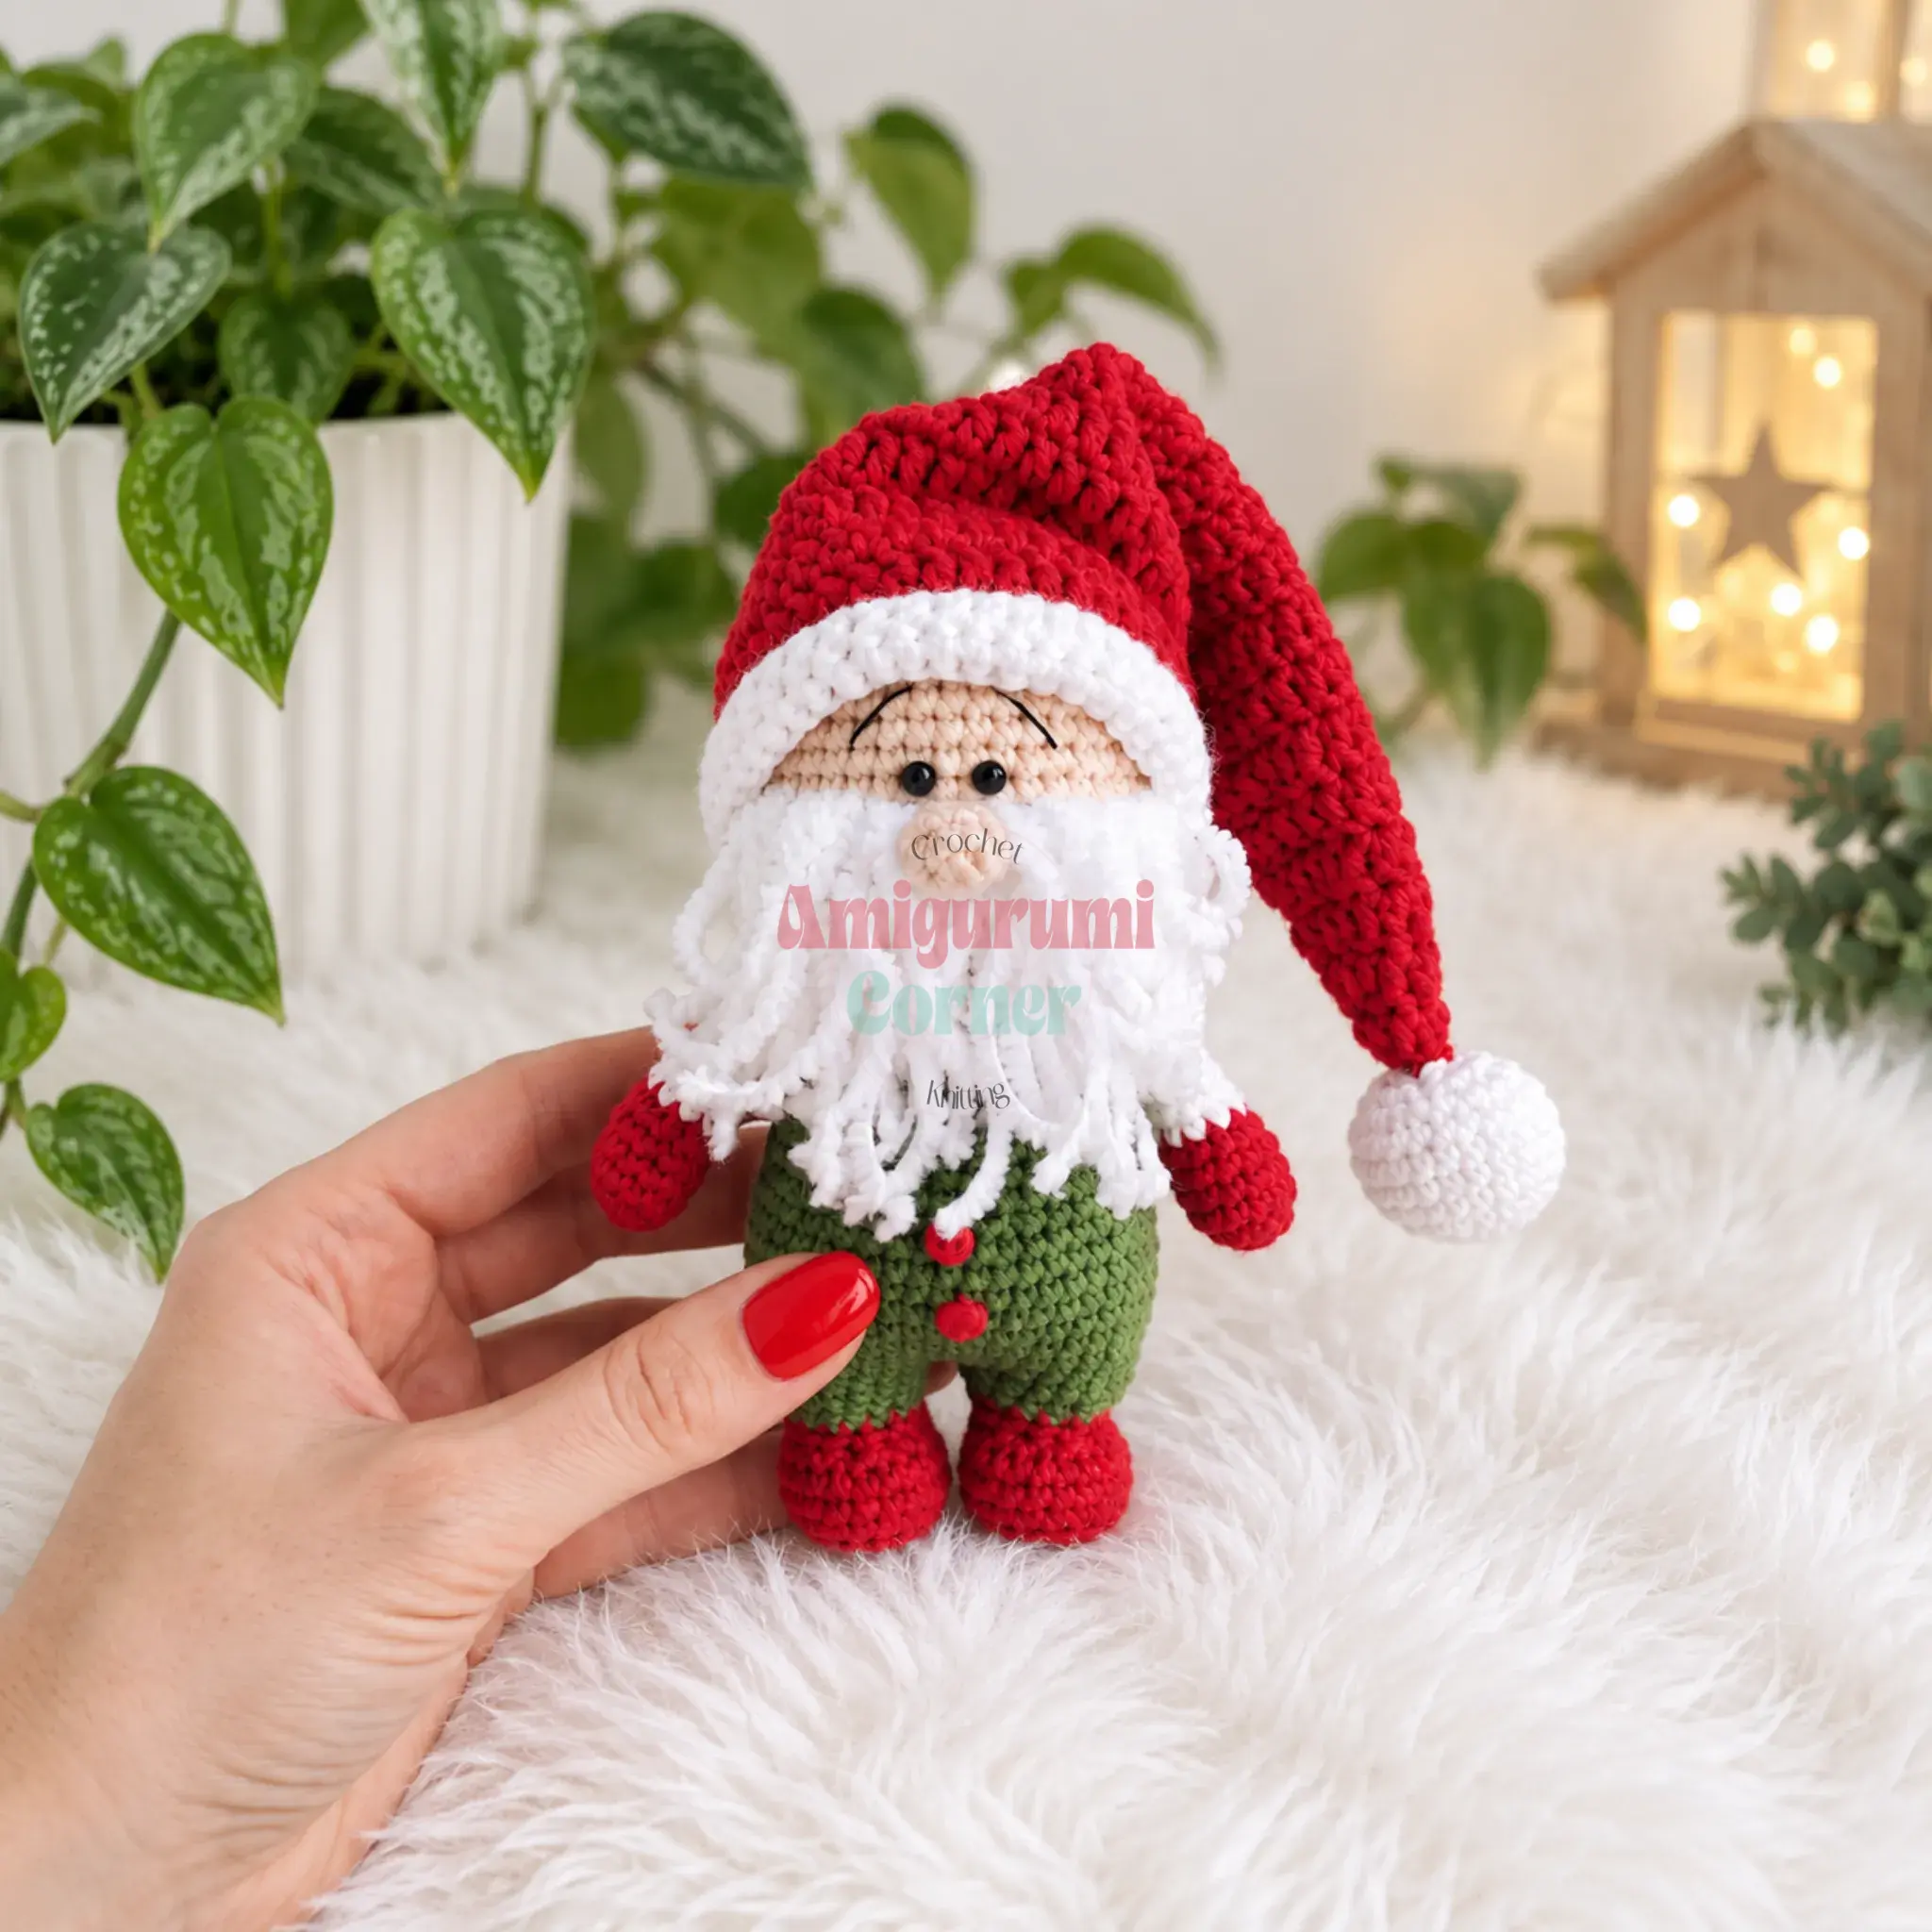
There is something undeniably cozy about bringing a little gnome to life. The choice of cotton yarn, like Gazzal Baby Cotton, is intentional; it provides that crisp, structured look that holds the shape of the pointed hat and the round belly without looking fuzzy or undefined. I love the contrast of the dark red hat against the white beard, and the way the green boots ground the figure. When you are working the hat, don’t be afraid to adjust the tilt. One of the best parts of amigurumi is that you can settle the hat onto the head at whatever angle feels most mischievous. This little guy is perfect for a mantel display, a tree skirt accent, or a handmade gift that says, “I made this just for you.”
Project Overview
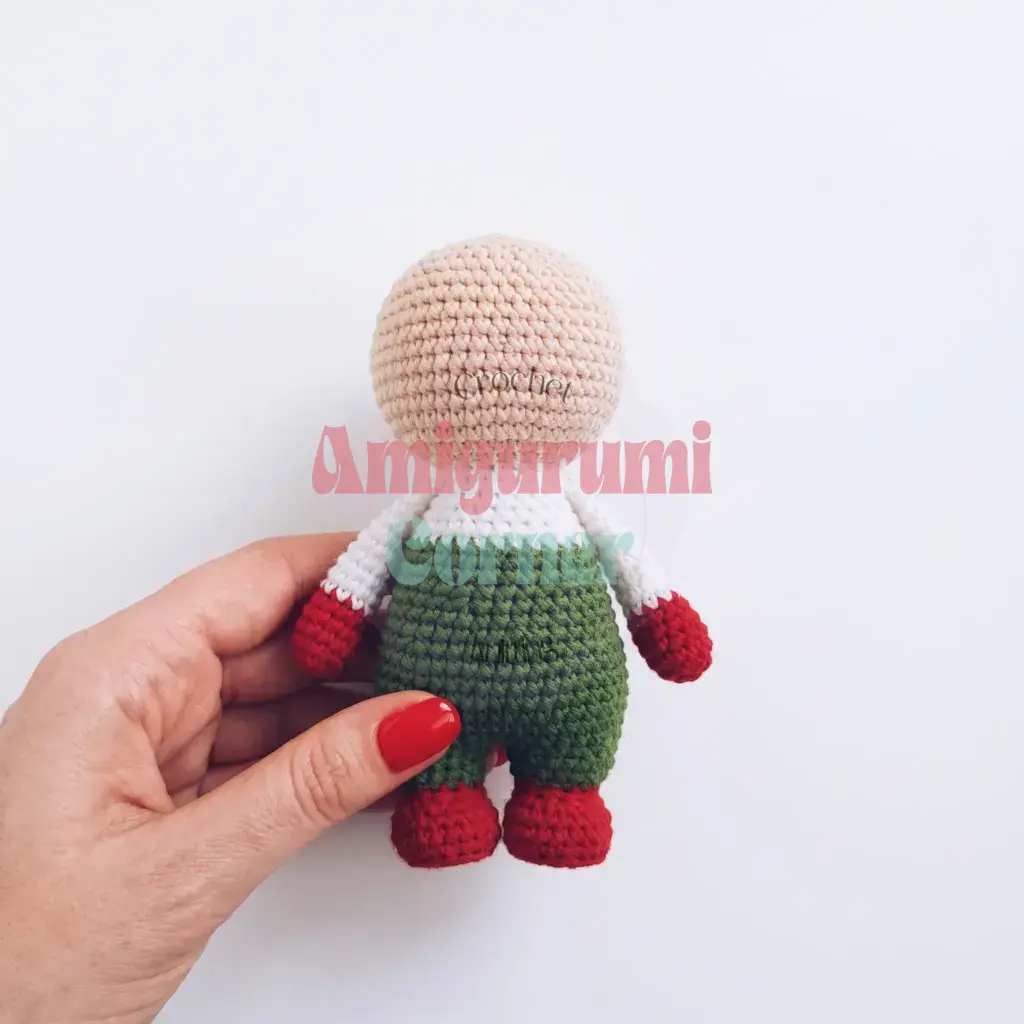
This amigurumi pattern creates a festive Christmas gnome standing approximately 5 inches (13 cm) tall, not including the hat. The pattern is written in US crochet terminology and features a continuous construction for the legs, body, and head, with separate pieces for the hat, nose, arms, and pom-pom. The skill level is intermediate, primarily due to the numerous color changes and the specific shaping required for the hat, but the techniques are standard for amigurumi.
Materials
- Worsted weight cotton yarn (such as Gazzal Baby Cotton or similar) in:
- Dark Red
- Green
- Light Beige
- White
- A small amount of fuzzy White yarn (such as Alize Softy) for the beard
- Hook size B-1/C-2 (2 mm)
- Polyester fiberfill stuffing
- Two 4mm safety eyes or black beads
- Two 6mm decorative buttons
- Tapestry/yarn needle
- Stitch marker
- Scissors and straight pins
- Optional: Two small plastic circles, cut to fit the foot soles, for extra stability
Gauge and Finished Size
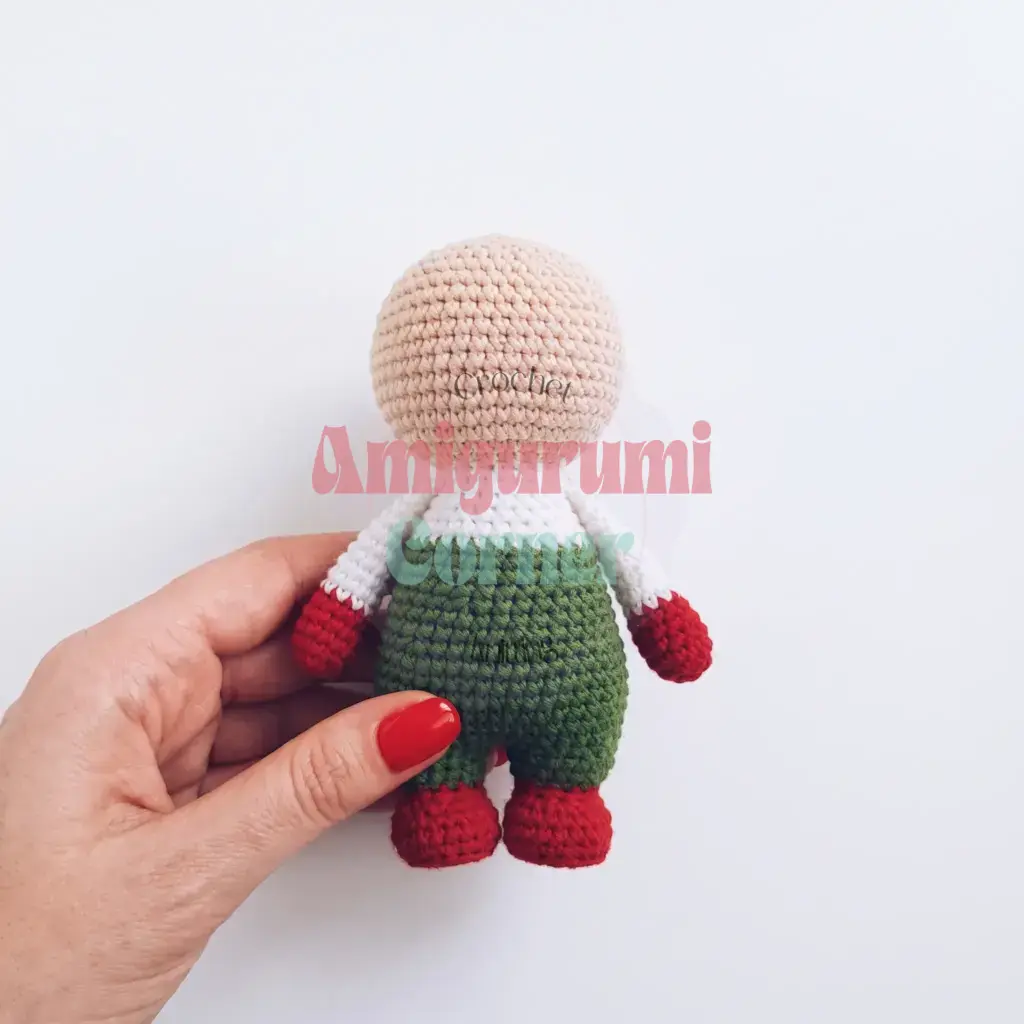
Gauge isn’t critical here — just aim for a tight, dense fabric so stuffing doesn’t peek through. The finished size is approximately 5 inches / 13 cm tall, not including the hat.
Abbreviations
- BLO — Back Loop Only
- ch — Chain
- dc — Double Crochet
- dec — Decrease (invisible decrease)
- FLO — Front Loop Only
- inc — Increase (2 sc in same stitch)
- mr — Magic Ring
- sc — Single Crochet
- sl st — Slip Stitch
- st(s) — Stitch(es)
Pattern Notes
The legs, body, and head are worked as one continuous piece in joined spiral rounds. Use a stitch marker to track the start of each round, and move it as instructed to keep shaping lined up. The hat is worked in joined rounds: each round begins with a chain-2 (counts as the first dc) and ends with a slip stitch join, rather than working in a true unbroken spiral. Stitch counts appear at the end of every round or row in parentheses. Stuff the legs and body firmly as you go; stuff the lower half of each arm firmly, the middle moderately, and leave the top of the arm unstuffed for easy attachment.
Pattern Instructions
Legs, Body and Head
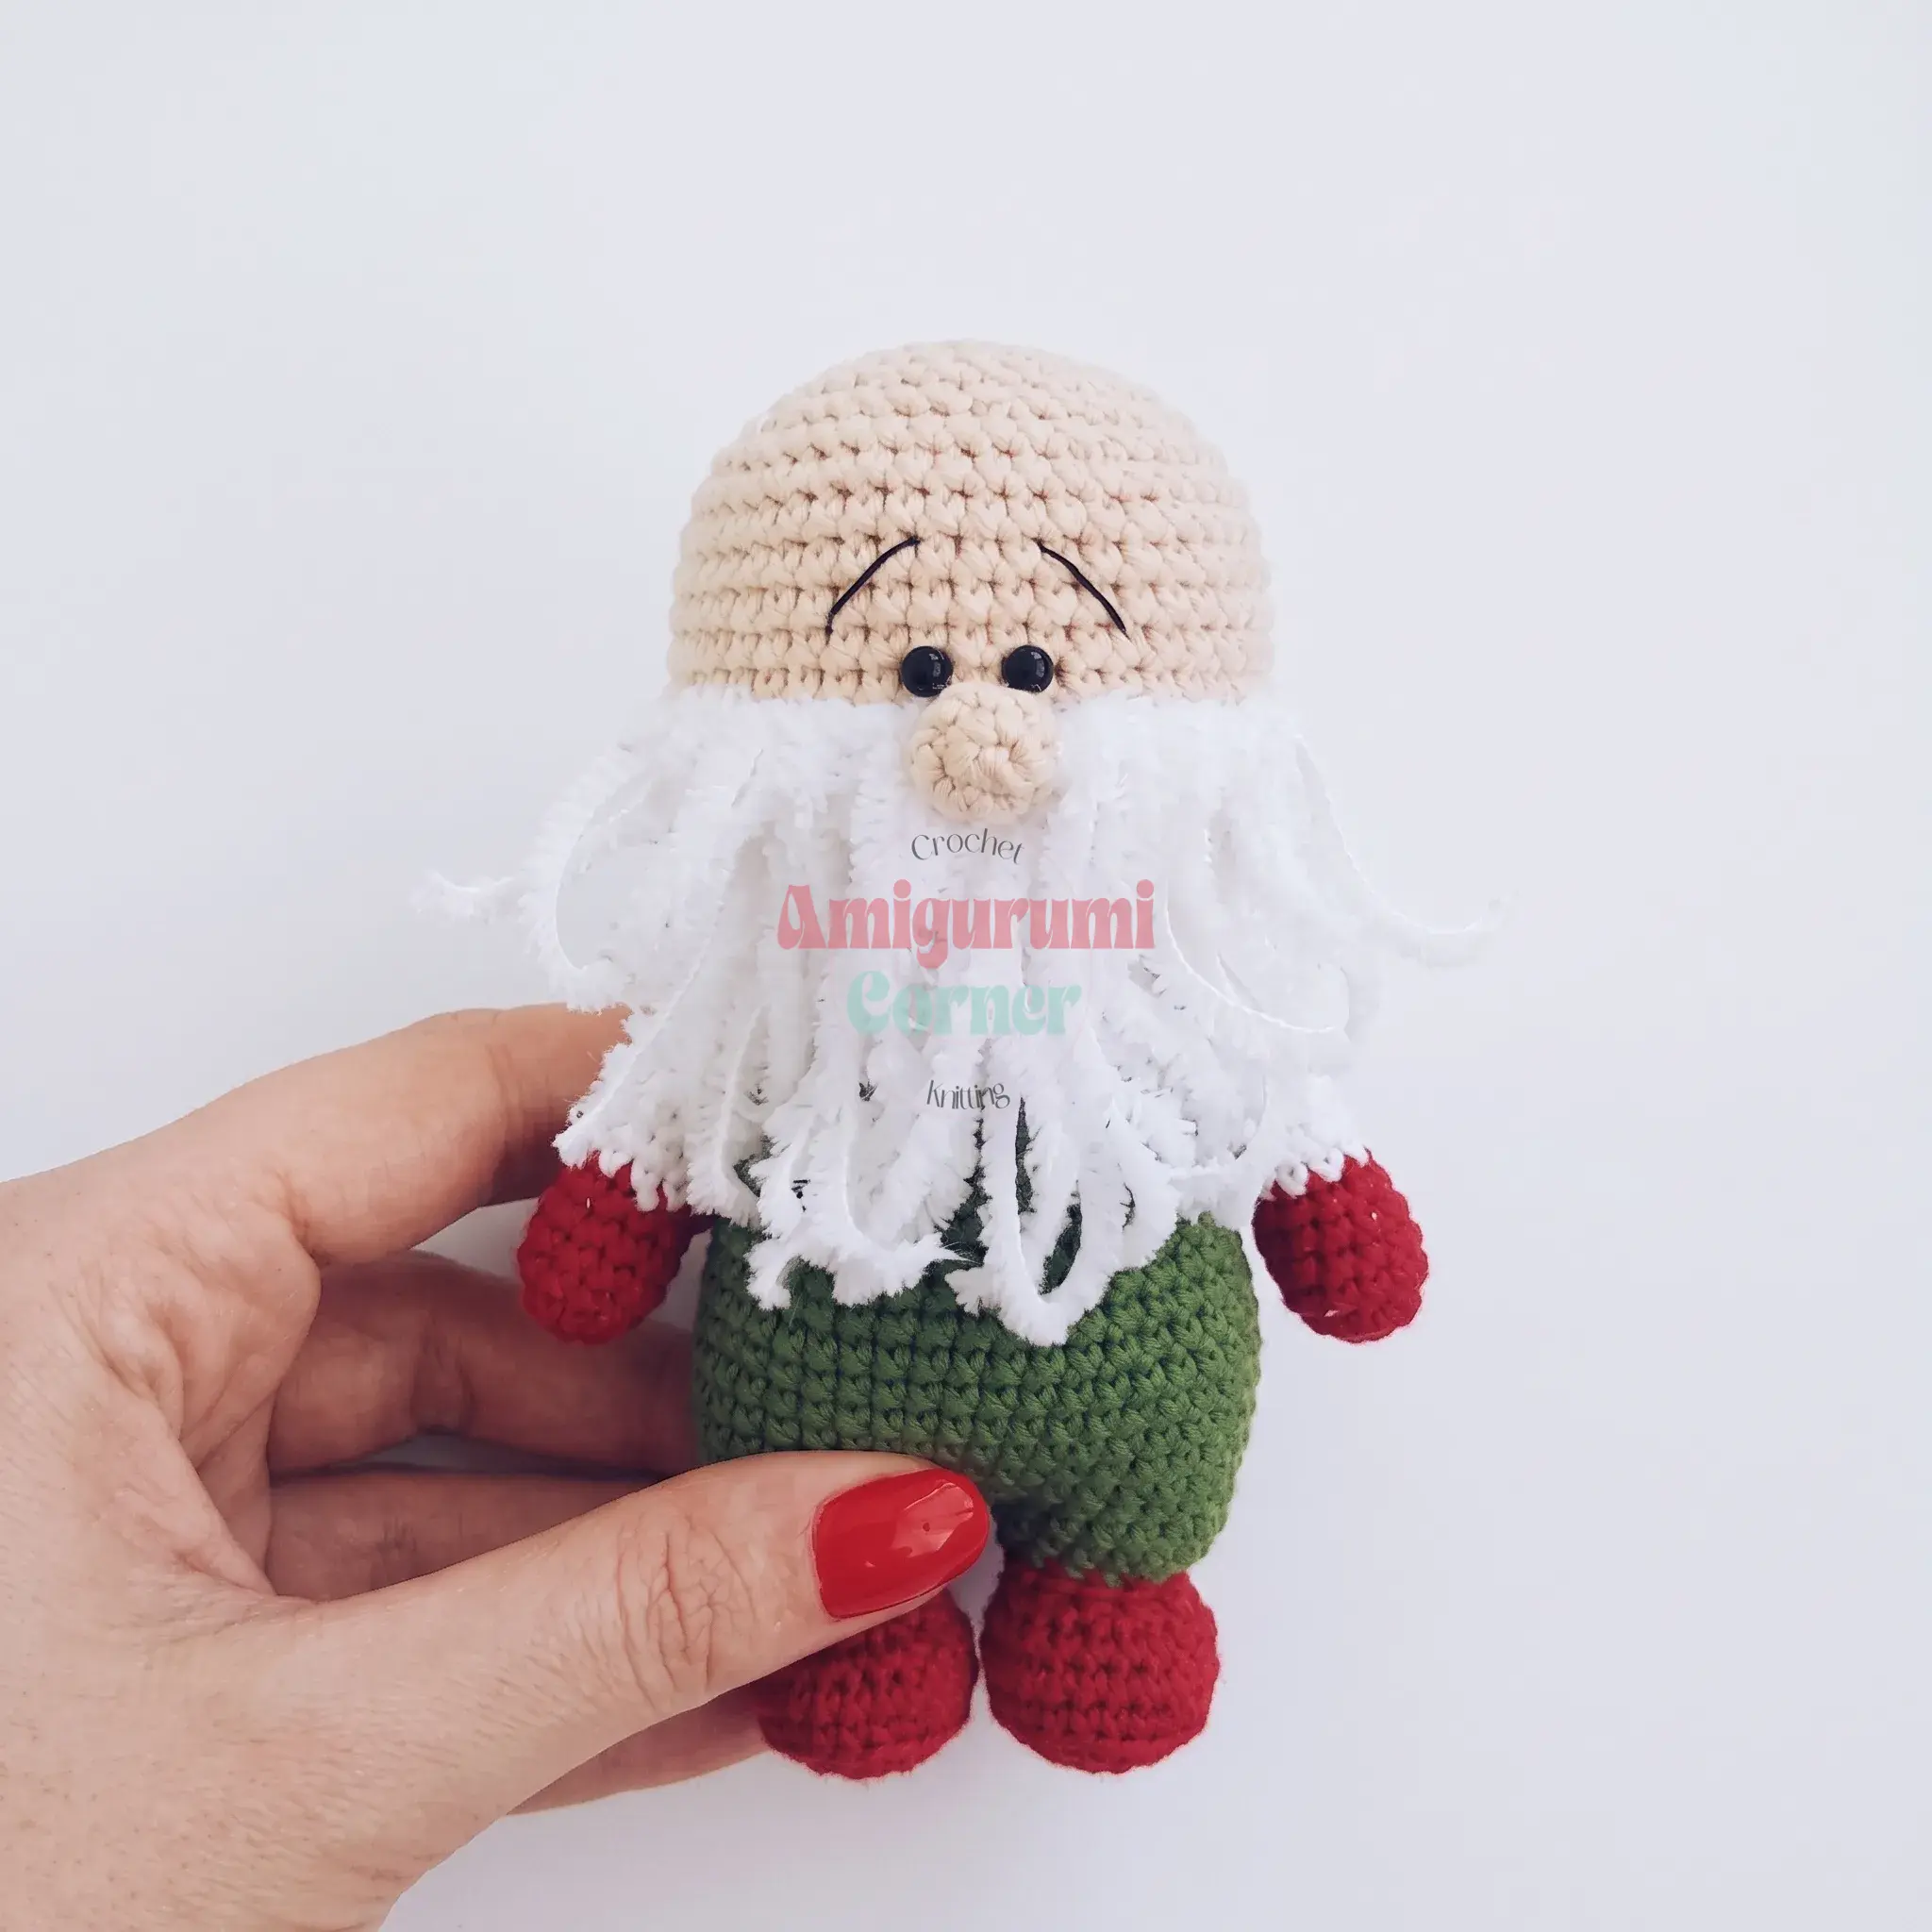
Leg 1
Starting with Dark Red:
Rnd 1: 6 sc in mr. (6)
Rnd 2: inc in each st around. (12)
Rnd 3: 1 sc, inc repeat 6 times around. (18)
If using plastic soles, trace and cut them now before continuing.
Rnd 4: sc BLO around. (18)
Rnds 5–6: sc in each st around. (18) — work 2 rounds
Insert the plastic sole now, if using.
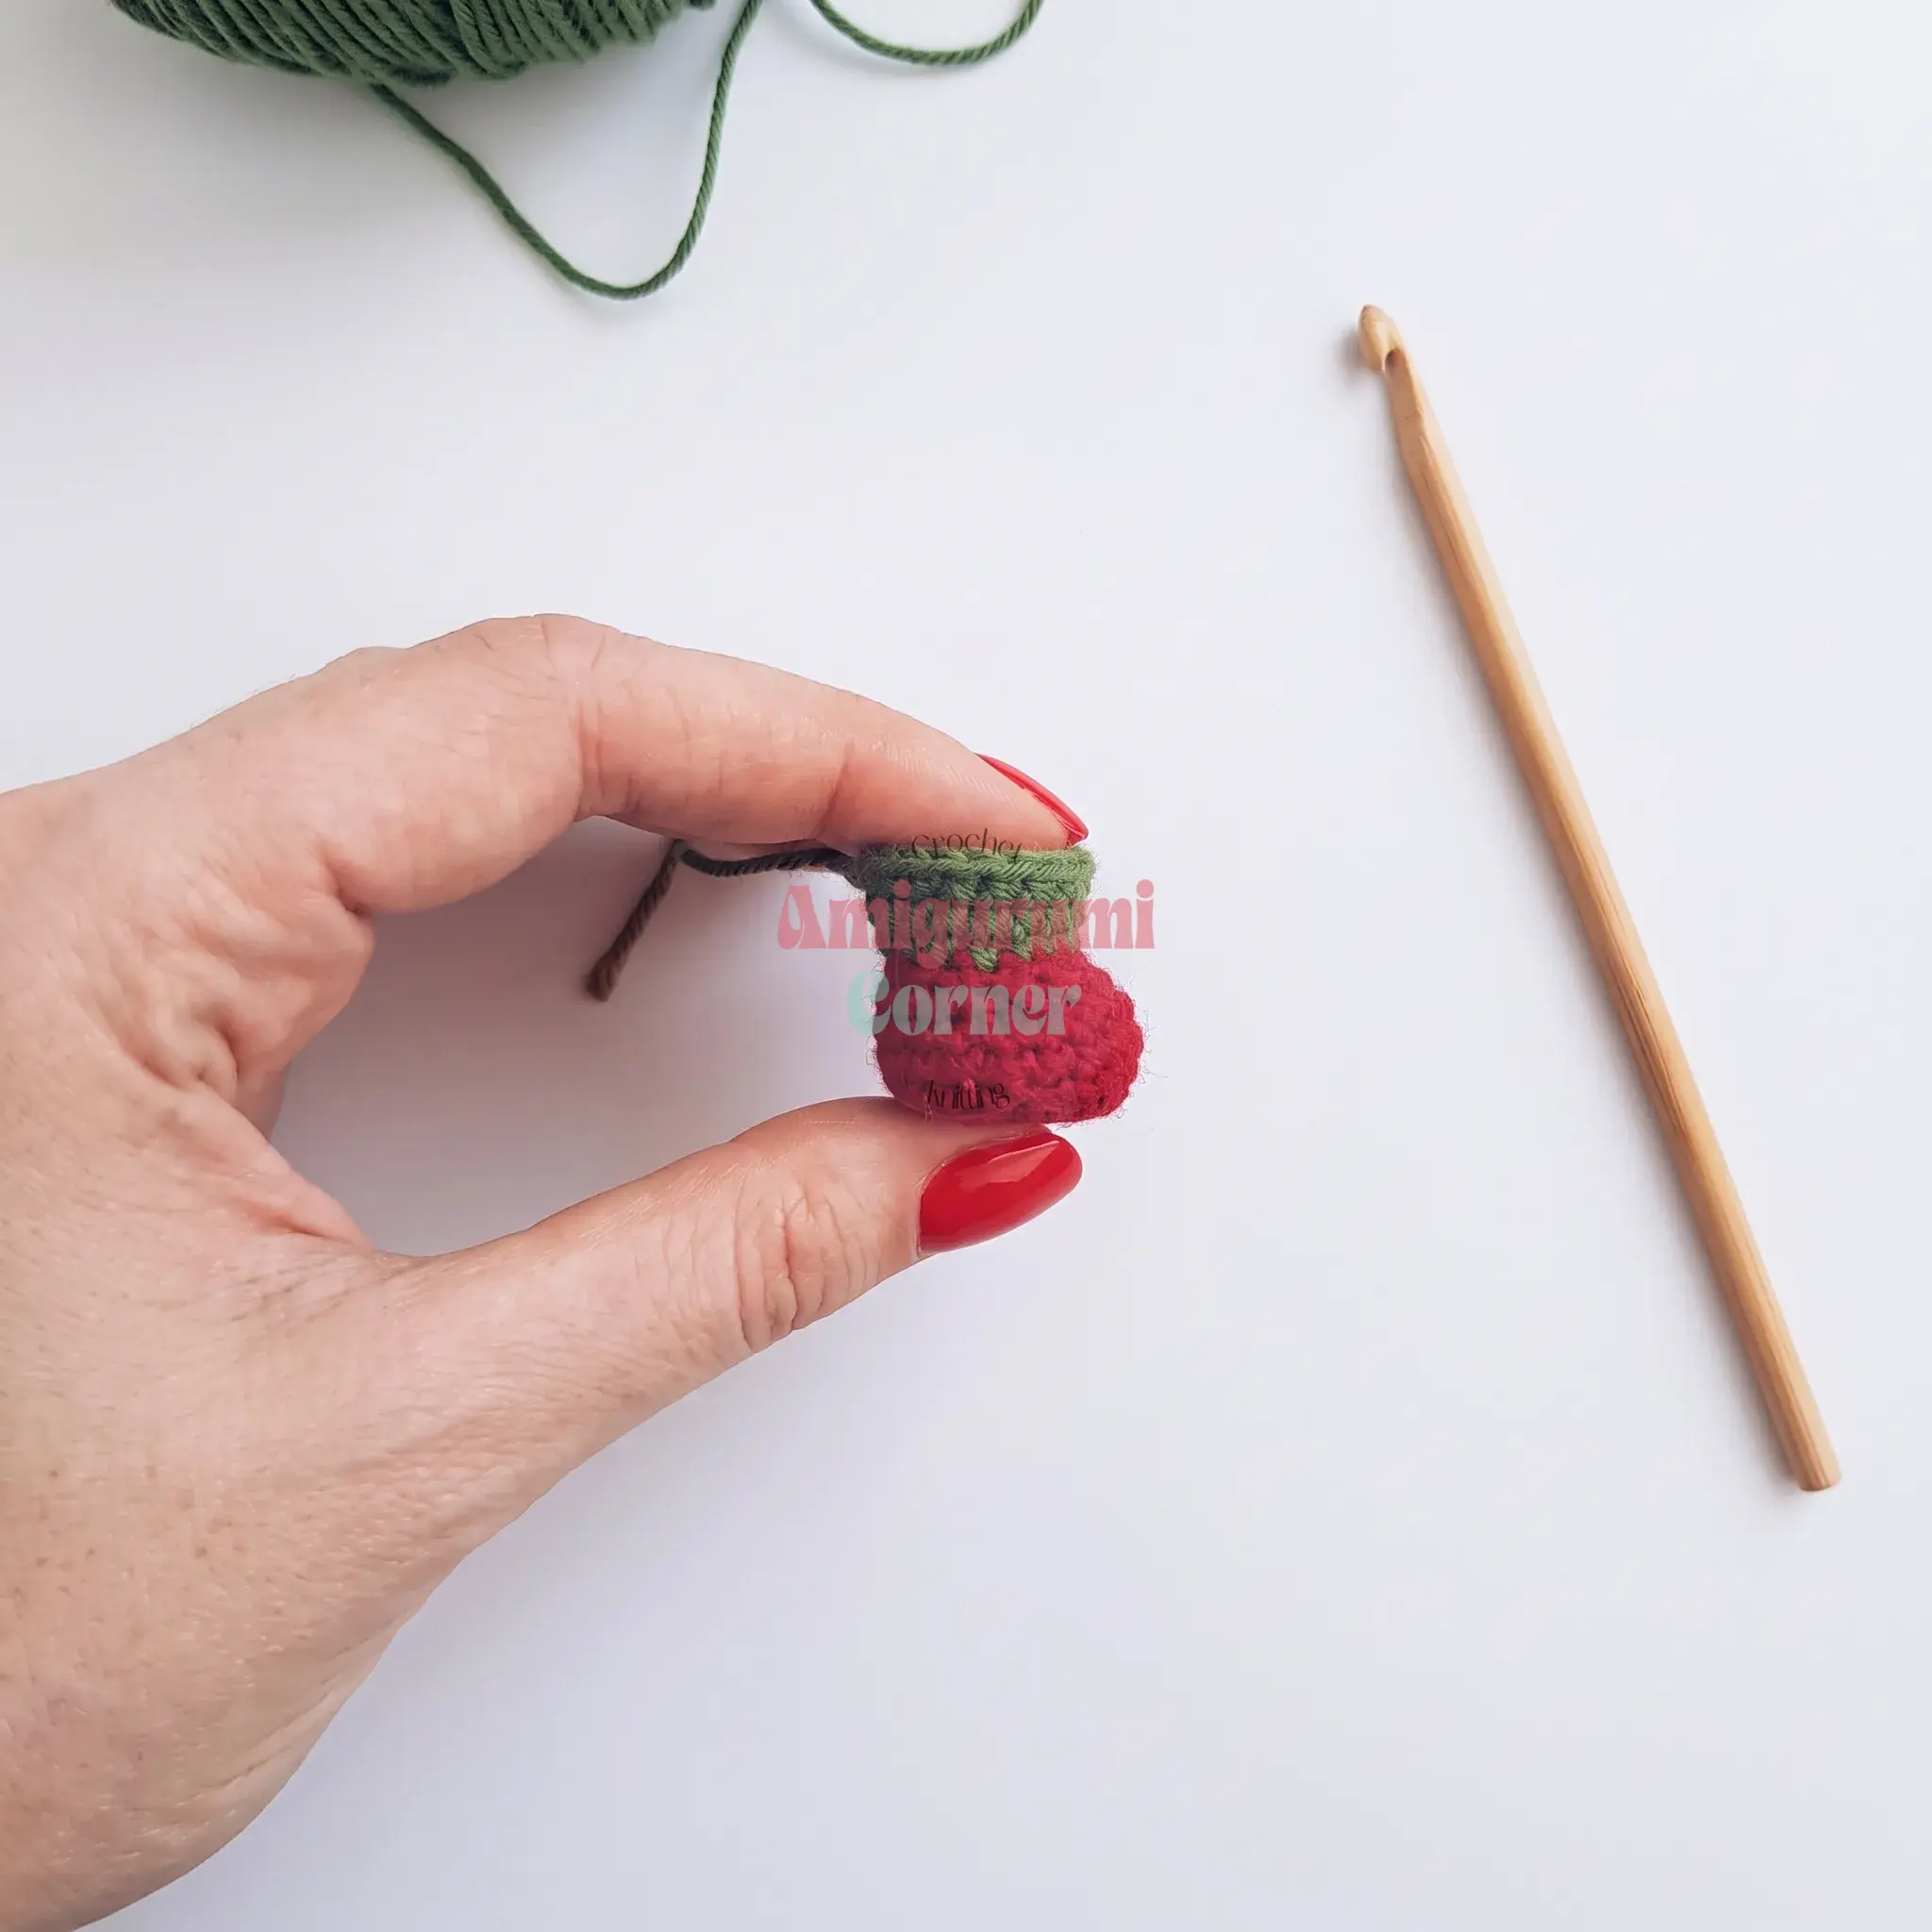
Rnd 7: dec 6 times, then sc 6 times around. (12)
Rnd 8: sc in each st around. (12)
Change to Green:
Rnd 9: 1 sc, inc repeat 6 times around. (18)
Rnds 10–11: sc in each st around. (18) — work 2 rounds
Sl st to join. Fasten off and weave in the end.
Leg 2
Starting with Dark Red:
Rnd 1: 6 sc in mr. (6)
Rnd 2: inc in each st around. (12)
Rnd 3: 1 sc, inc repeat 6 times around. (18)
Rnd 4: sc BLO around. (18)
Rnds 5–6: sc in each st around. (18) — work 2 rounds
Insert the plastic sole now, if using.
Rnd 7: sc 6 times, then dec 6 times around. (12)
Rnd 8: sc in each st around. (12)
Change to Green:
Rnd 9: 1 sc, inc repeat 6 times around. (18)
Rnds 10–11: sc in each st around. (18) — work 2 rounds
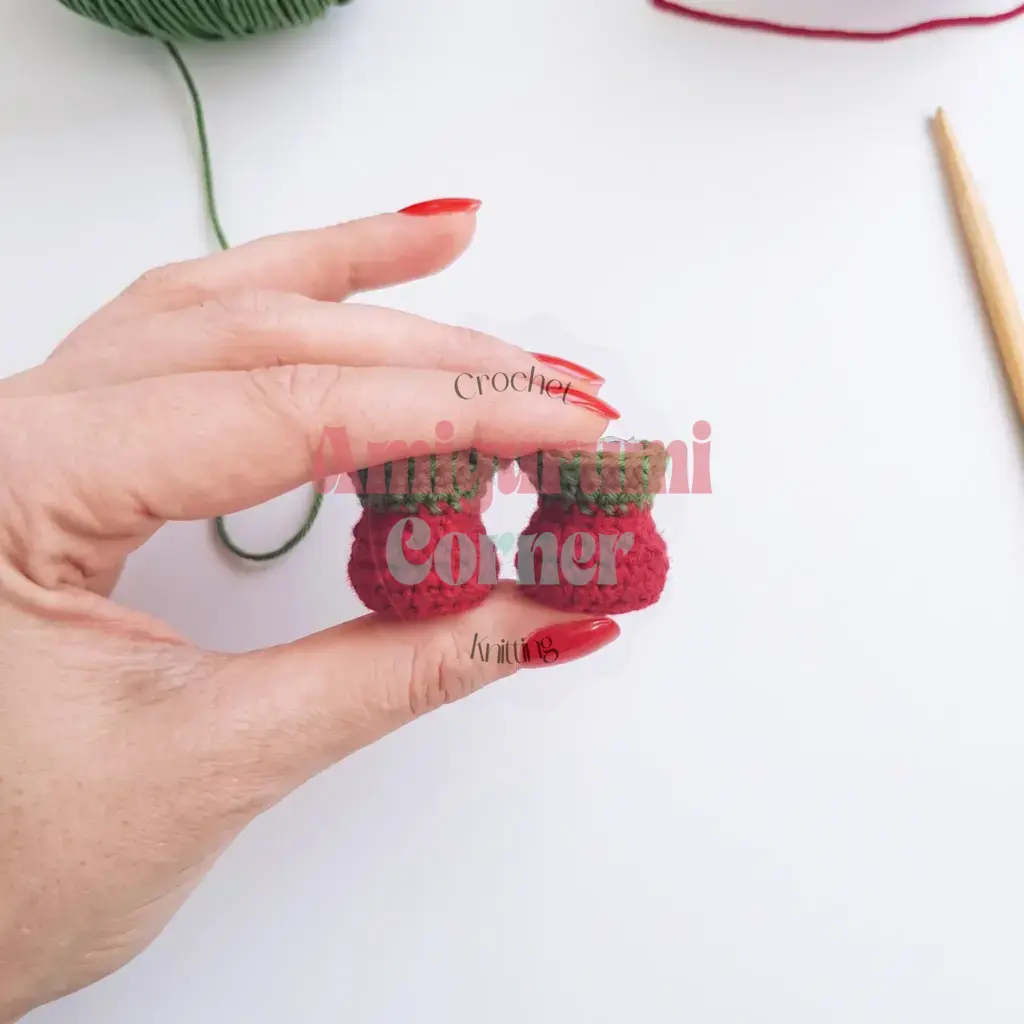
Do not fasten off. Work 20 more sc across Leg 2, then set the legs side by side, making sure the decreases from Round 7 sit at the front of both.
Rnd 12 (joining round): Join to Leg 1 at the point where you left off (the stitch after the slip stitch). Work 18 sc across Leg 1, then 18 sc across Leg 2. (36)
Place a stitch marker at the front of the work here to mark the round.
Rnd 13: 5 sc, inc repeat 6 times around. (42)
Rnds 14–19: sc in each st around. (42) — work 6 rounds
Rnd 20: 5 sc, dec repeat 6 times around. (36)
Rnds 21–22: sc in each st around. (36) — work 2 rounds
Rnd 23: 2 sc, dec, then 4 sc, dec repeat 5 times, 2 sc. (30)
Rnds 24–25: sc in each st around. (30) — work 2 rounds
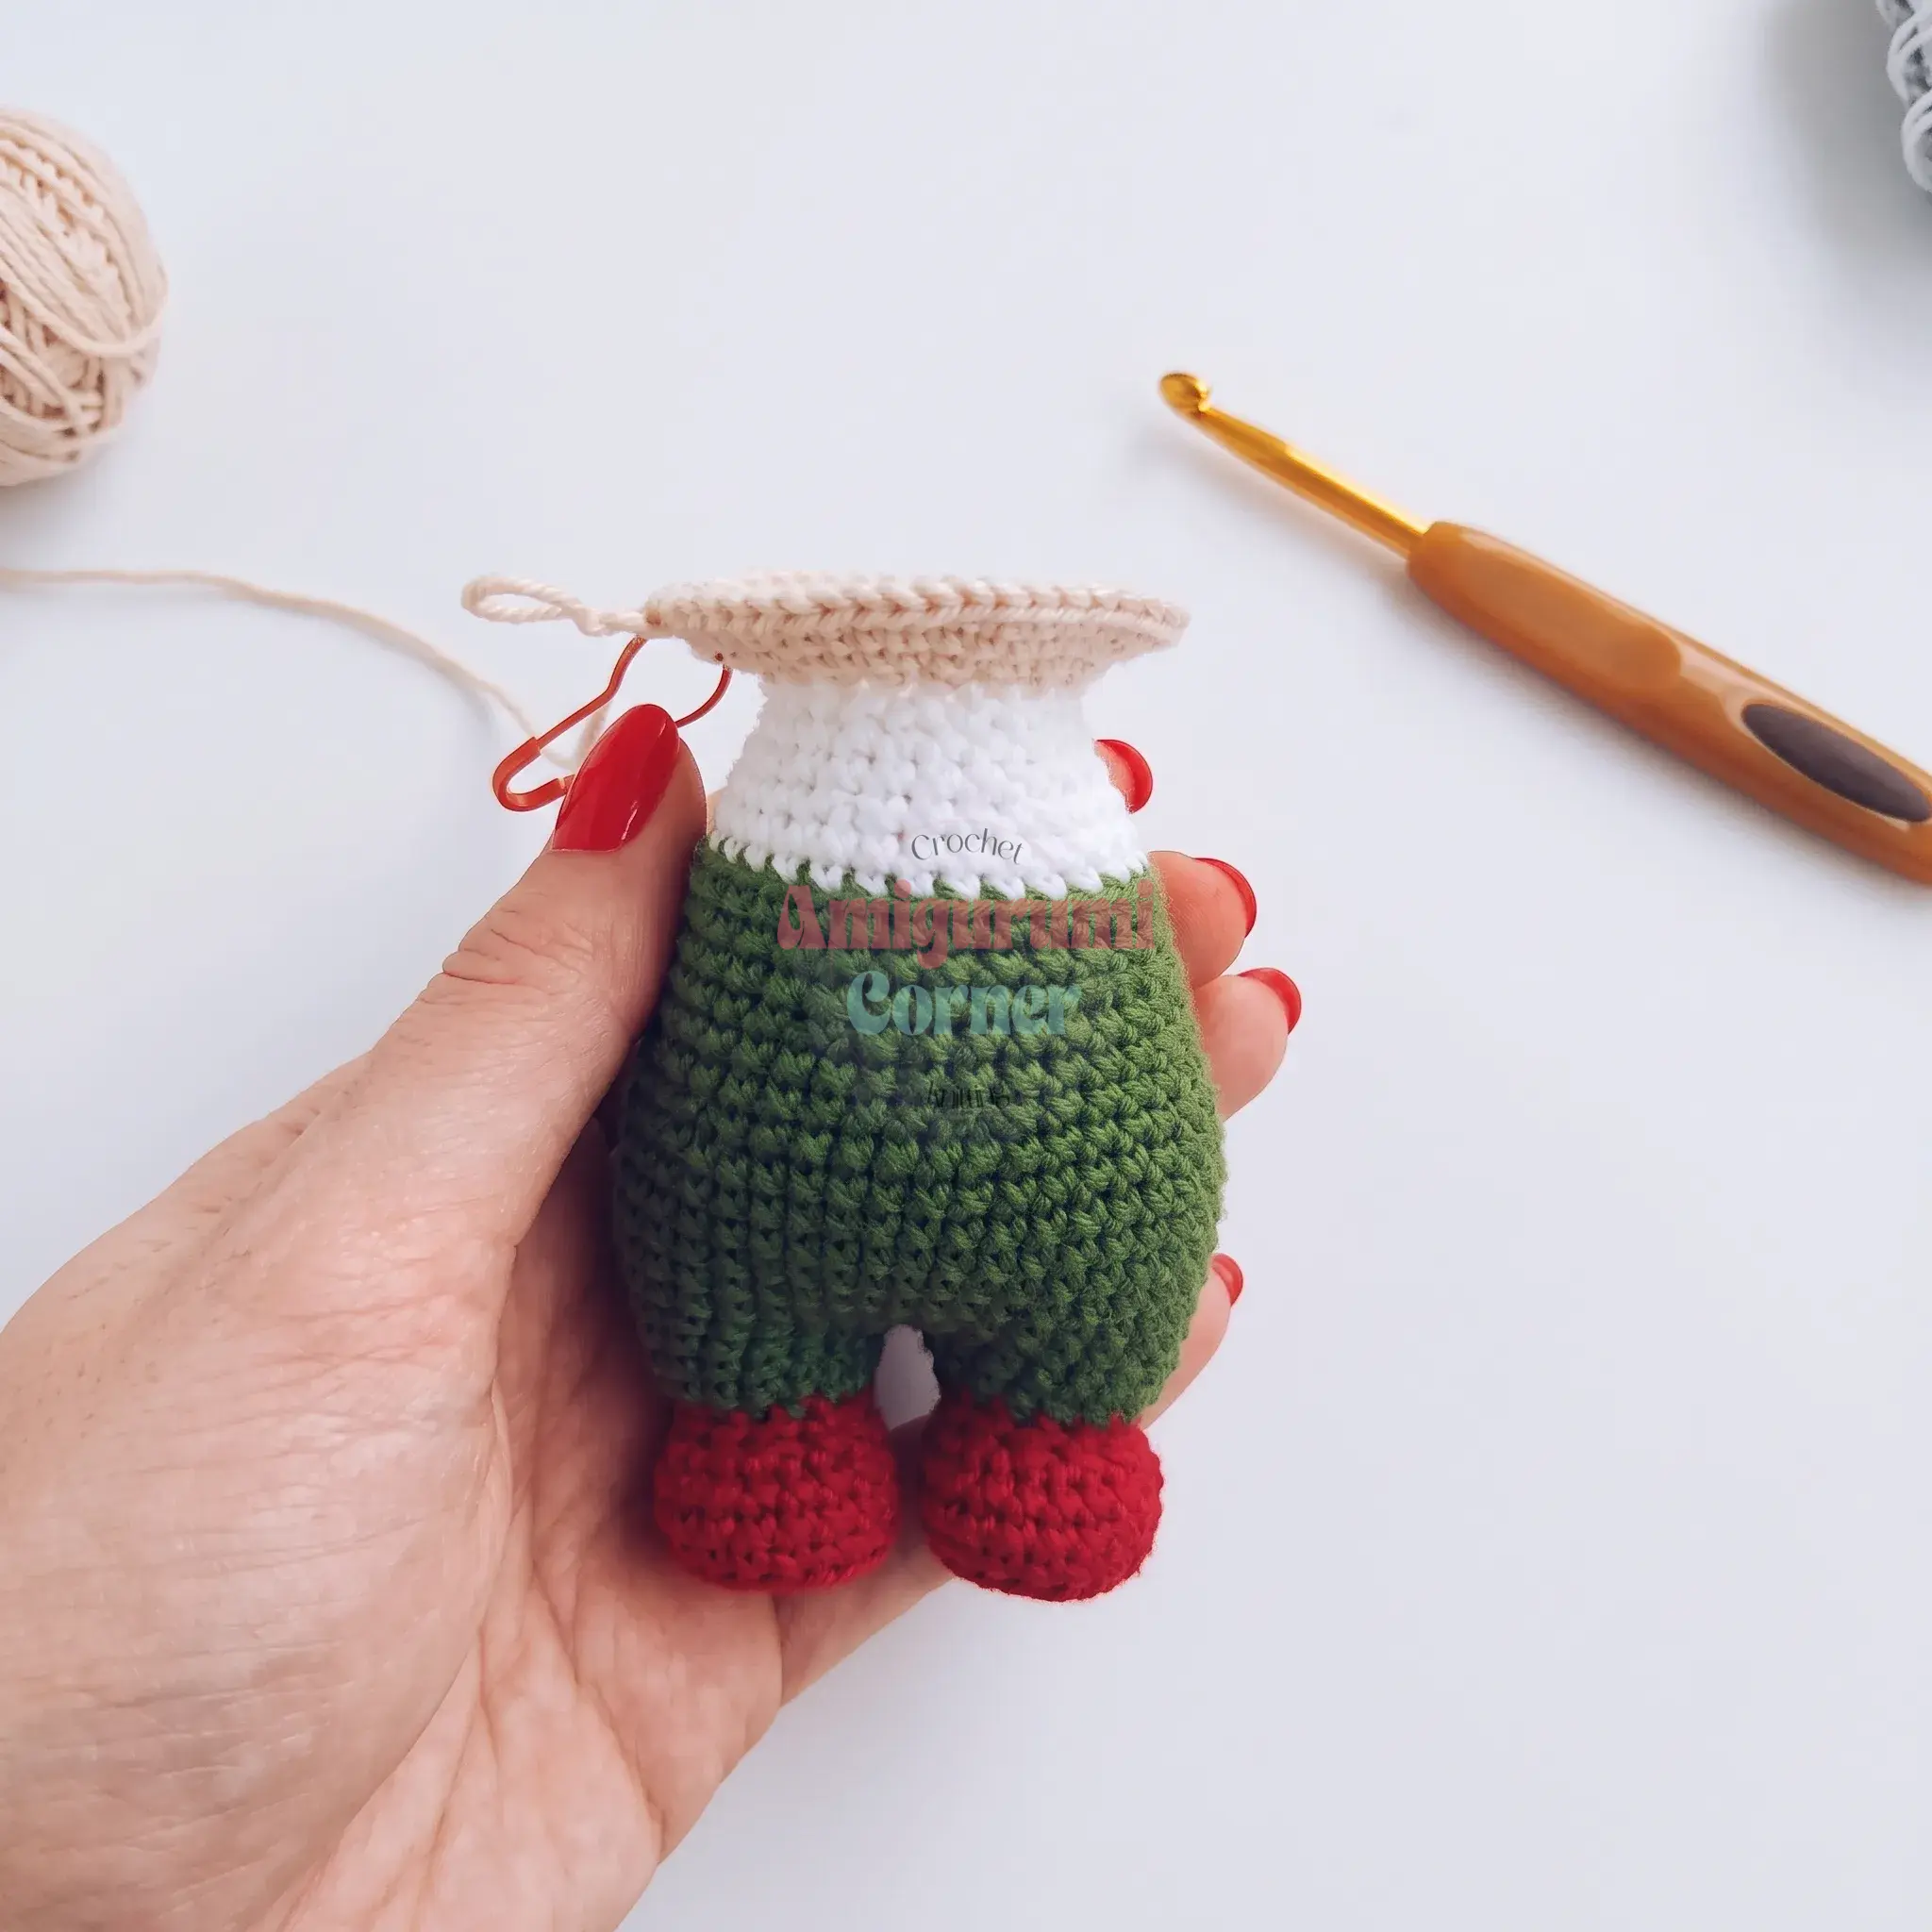
Shift the stitch marker now: work 8 sc (or however many are needed) so it sits at the side of the body rather than the front. Change to White here — this becomes the new start of the round.
Rnd 26: sc BLO around. (30)
Rnd 27: sc in each st around. (30)
Rnd 28: 3 sc, dec repeat 6 times around. (24)
Rnds 29–30: sc in each st around. (24) — work 2 rounds
Rnd 31: 1 sc, dec, then 2 sc, dec repeat 5 times, 1 sc. (18)
Change to Beige — the head begins here:
Rnd 32: sc in each st around. (18)
Rnd 33: inc in each st around. (36)
Rnd 34: 5 sc, inc repeat 6 times around. (42)
Rnd 35: 3 sc, inc, then 6 sc, inc repeat 5 times, 3 sc. (48)
Rnds 36–44: sc in each st around. (48) — work 9 rounds
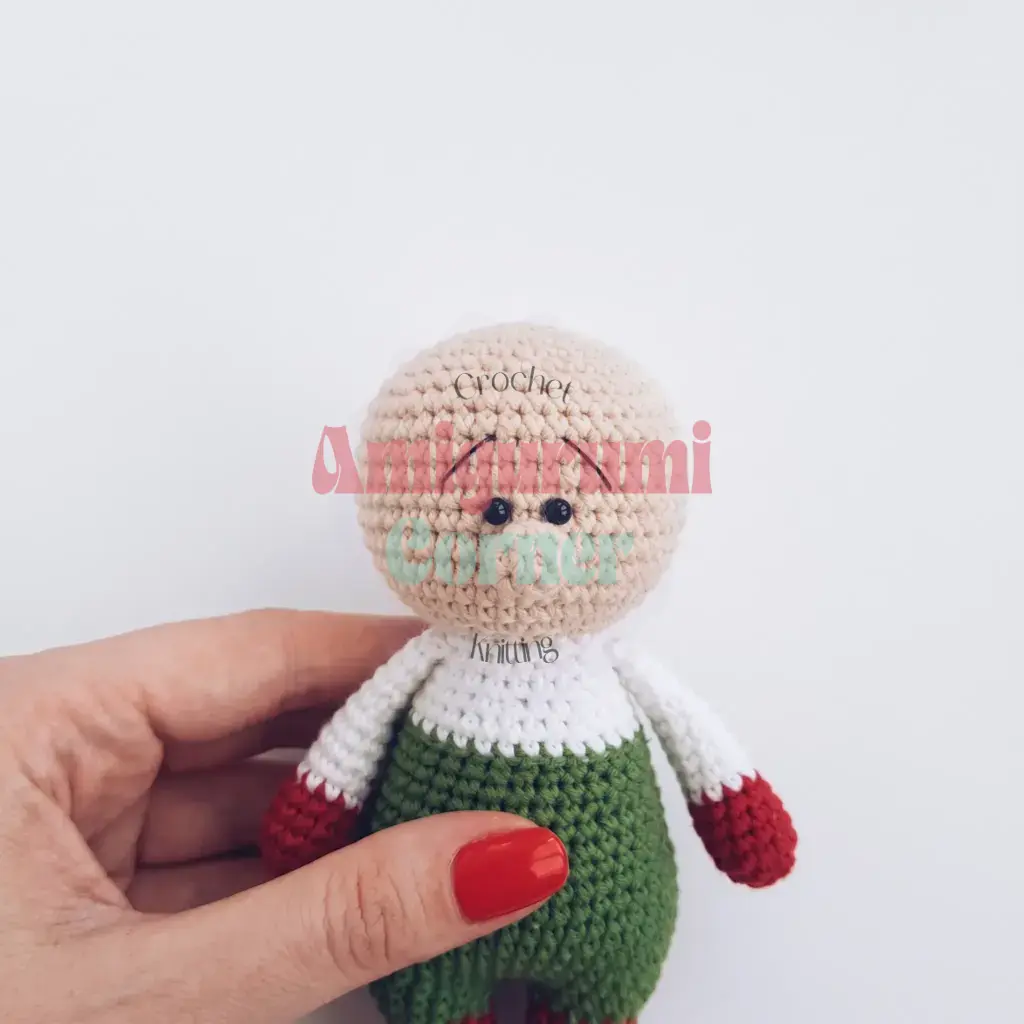
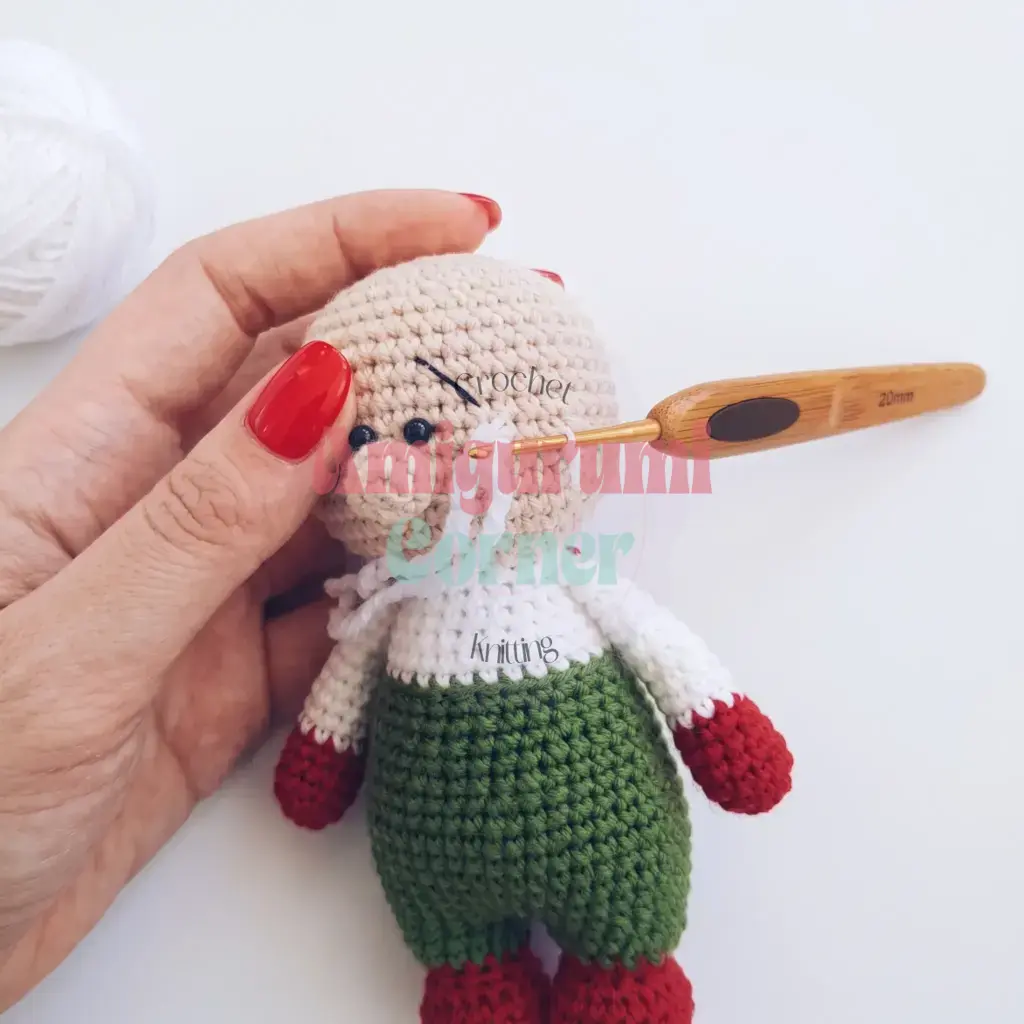
Sew the safety eyes in place between Rounds 39 and 40, spaced 2 sc apart, before continuing to close the head.
Rnd 45: 3 sc, dec, then 6 sc, dec repeat 5 times, 3 sc. (42)
Rnd 46: 5 sc, dec repeat 6 times around. (36)
Rnd 47: 2 sc, dec, then 4 sc, dec repeat 5 times, 2 sc. (30)
Rnd 48: 3 sc, dec repeat 6 times around. (24)
Rnd 49: 1 sc, dec, then 2 sc, dec repeat 5 times, 1 sc. (18)
Rnd 50: 1 sc, dec repeat 6 times around. (12)
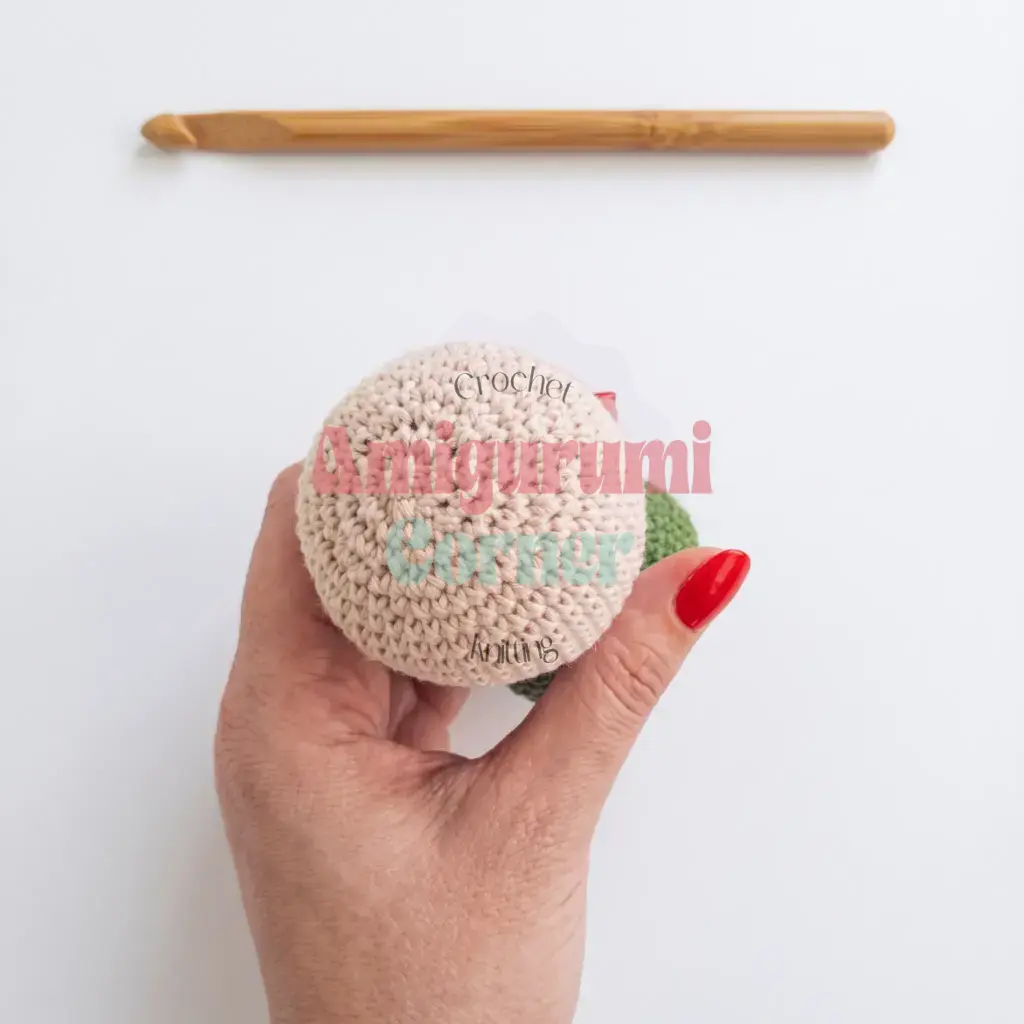
Fasten off, leaving a long tail. Close the remaining opening with the tail and weave the end in inside the head.
Nose
Work in Beige. Stuff lightly.
Rnd 1: 6 sc in mr. (6)
Rnd 2: inc in each st around. (12)
Rnd 3: dec 6 times around. (6)
Fasten off, leaving a long tail for sewing.
Arms (Make 2)
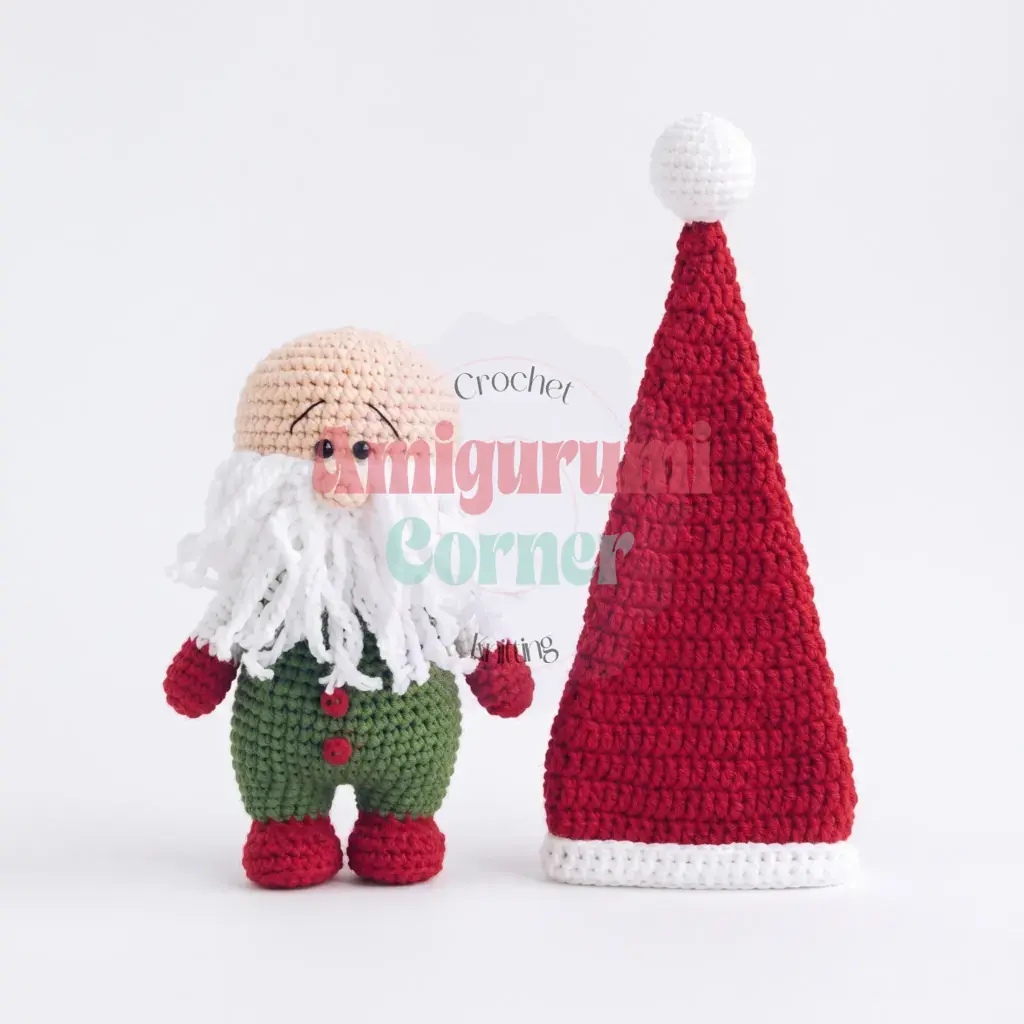
Stuff firmly at the bottom, moderately through the middle, and leave the top unstuffed.
Starting with Dark Red:
Rnd 1: 6 sc in mr. (6)
Rnd 2: inc in each st around. (12)
Rnds 3–5: sc in each st around. (12) — work 3 rounds
Rnd 6: 4 sc, dec repeat 2 times around. (10)
Change to White:
Rnds 7–11: sc in each st around. (10) — work 5 rounds
Rnd 12: 3 sc, dec repeat 2 times around. (8)
Rnds 13–15: sc in each st around. (8) — work 3 rounds
Fold the top opening flat and work 4 sc through both layers to close it. Fasten off, leaving a long tail for sewing.
Hat
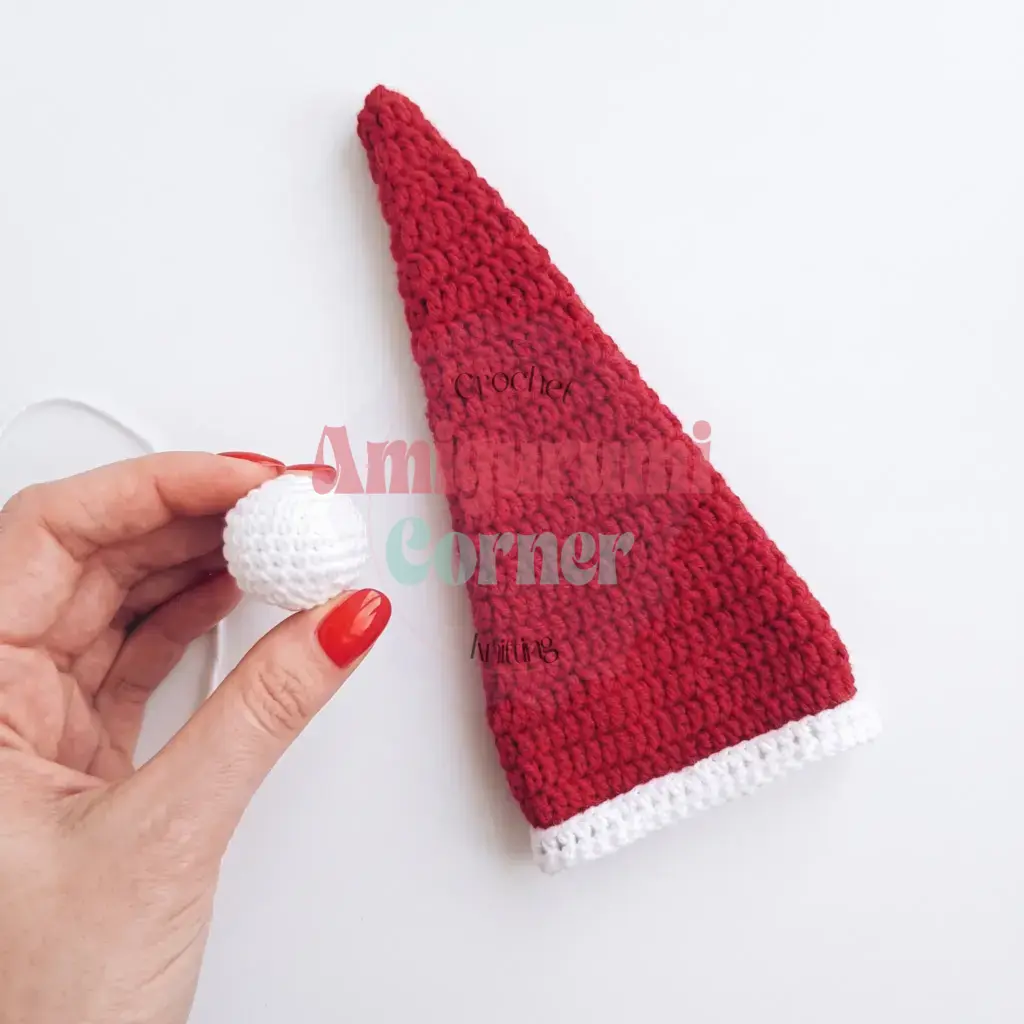
With White, ch 44 and join with a sl st to form a ring.
Rnd 1: ch 2 (counts as first dc), dc in each ch around, sl st to join. (44)
Rnd 2: ch 1 (counts as first sc), sc in each st around, sl st to join. (44)
Change to Dark Red. From here, every round begins with a ch 2 and ends with a sl st join.
Rnd 3: dc FLO around, sl st to join. (44)
Rnds 4–5: dc in each st around, sl st to join. (44) — work 2 rounds
Rnd 6: 20 dc, dec repeat 2 times around, sl st to join. (42)
Rnd 7: 10 dc, dec, 19 dc, dec, 9 dc, sl st to join. (40)
Rnd 8: 18 dc, dec repeat 2 times around, sl st to join. (38)
Rnd 9: 9 dc, dec, 17 dc, dec, 8 dc, sl st to join. (36)
Rnd 10: 16 dc, dec repeat 2 times around, sl st to join. (34)
Rnd 11: 8 dc, dec, 15 dc, dec, 7 dc, sl st to join. (32)
Rnd 12: 14 dc, dec repeat 2 times around, sl st to join. (30)
Rnd 13: 7 dc, dec, 13 dc, dec, 6 dc, sl st to join. (28)
Rnd 14: 12 dc, dec repeat 2 times around, sl st to join. (26)
Rnd 15: 6 dc, dec, 11 dc, dec, 5 dc, sl st to join. (24)
Rnd 16: 10 dc, dec repeat 2 times around, sl st to join. (22)
Rnd 17: 5 dc, dec, 9 dc, dec, 4 dc, sl st to join. (20)
Rnd 18: 8 dc, dec repeat 2 times around, sl st to join. (18)
Rnd 19: 4 dc, dec, 7 dc, dec, 3 dc, sl st to join. (16)
Rnd 20: 6 dc, dec repeat 2 times around, sl st to join. (14)
Rnd 21: 3 dc, dec, 5 dc, dec, 2 dc, sl st to join. (12)
Rnd 22: 4 dc, dec repeat 2 times around, sl st to join. (10)
Rnd 23: 2 dc, dec, 3 dc, dec, 1 dc, sl st to join. (8)
Rnd 24: 2 dc, dec repeat 2 times around, sl st to join. (6)
Fasten off, leaving a long tail. Close the remaining opening with the tail and weave the end in inside the hat.
Pom-Pom
Work in White. Stuff as you go.
Rnd 1: 6 sc in mr. (6)
Rnd 2: inc in each st around. (12)
Rnd 3: 1 sc, inc repeat 6 times around. (18)
Rnd 4: 2 sc, inc repeat 6 times around. (24)
Rnds 5–8: sc in each st around. (24) — work 4 rounds
Rnd 9: 2 sc, dec repeat 6 times around. (18)
Rnd 10: 1 sc, dec repeat 6 times around. (12)
Fasten off, leaving a long tail for sewing.
Assembly
- Pin the arms symmetrically to either side of the body, then whipstitch them in place using the yarn tails left on each arm.
- Position the nose just below the eyes and sew it on with the beige tail.
- Cut 19 lengths of the fuzzy white yarn, each about 12 cm (4.75 in) long.
- Using your hook, attach them along Round 38 of the head to form the beard — about 7 strands on each side of the nose and 5 strands directly beneath it.
- Add another row below for extra fullness if you’d like a fuller beard, then trim the ends even.
- Sew the pom-pom to the very tip of the hat using its yarn tail.
- Fold up the white brim of the hat and settle it onto the gnome’s head, adjusting the tilt until you like the look.
- Sew the two decorative buttons onto the belly.
- Weave in every remaining yarn end.
Tips
- Keep your tension snug throughout — amigurumi worked too loosely will let stuffing show through the stitches, especially on the head and body where fiberfill needs to stay hidden.
- When you hit an invisible decrease, insert your hook under the front loops of the next two stitches only, pull the yarn through both, then complete it as a normal single crochet; this keeps the decreases smooth instead of leaving a visible ridge.
- Stop stuffing the head and body just before the opening starts to feel firm and resistant under light pressure — overstuffing distorts the round shape, while understuffing leaves the piece floppy.
- If you want to substitute yarn, stick with a smooth worsted weight cotton or cotton-blend; a fuzzy or heavily textured yarn will muddy the small color-change details on the boots and belt.
- The trickiest stretch of this pattern is the joining round between the two legs (Round 12) — take your time lining up both decrease sections at the front before you join, since any twist here will throw off where the belly button and belt line up later.
- Finally, when sewing the arms on, tuck the needle in and out along the same row of stitches on the body so your seam disappears into the fabric rather than sitting on top of it.
FAQs
Can I use acrylic yarn instead of cotton?
While you can use acrylic, the pattern recommends worsted weight cotton (like Gazzal Baby Cotton) for the best structure. Cotton holds the shape of the hat and body better and prevents the “fuzzy” look that can obscure the details of the beard and buttons.
How do I fix a twisted hat?
The hat is worked in joined rounds, not a spiral. Ensure you are slip stitching to join each round rather than just pulling the yarn through. If the hat twists, check that your chain-2 at the start of each round is counting as the first double crochet and that you aren’t accidentally twisting the foundation chain.
What if I don’t have safety eyes?
You can substitute safety eyes with black beads. Sew the beads on securely using a tapestry needle and strong thread or yarn. Make sure to leave enough space between the stitches for the bead to sit flush against the fabric.
How do I make the beard look fuller?
The pattern suggests attaching 19 strands of fuzzy white yarn. For a bushier look, you can add an extra row of strands below the initial attachment line, or use slightly longer strands (up to 15 cm) and trim them to your desired length after attaching.
Why are my legs uneven?
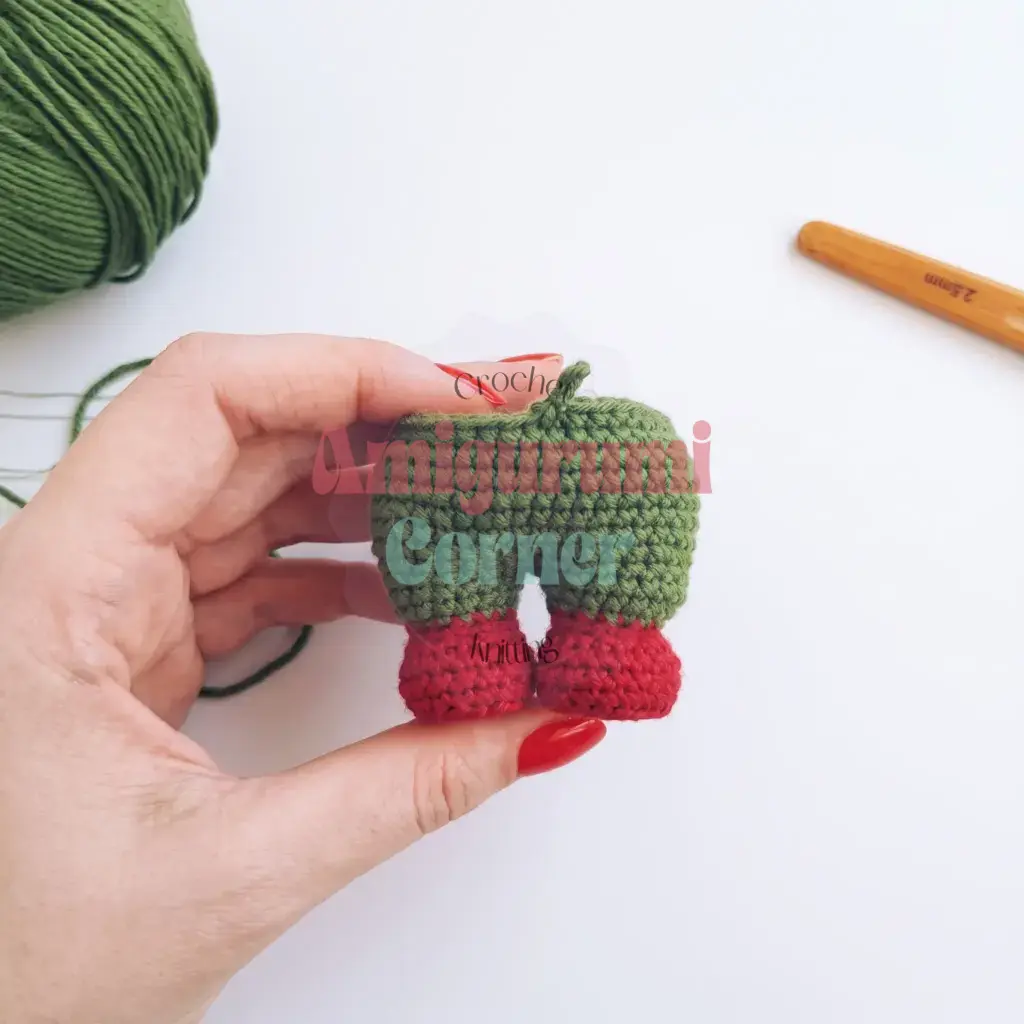
This usually happens during the joining round (Round 12). Ensure that the decreases from Round 7 on both legs are positioned exactly at the front before you join them. If one leg is twisted, the body will sit crookedly. Use straight pins to hold the legs in place before crocheting the joining round.
Pin This Crochet Pattern!