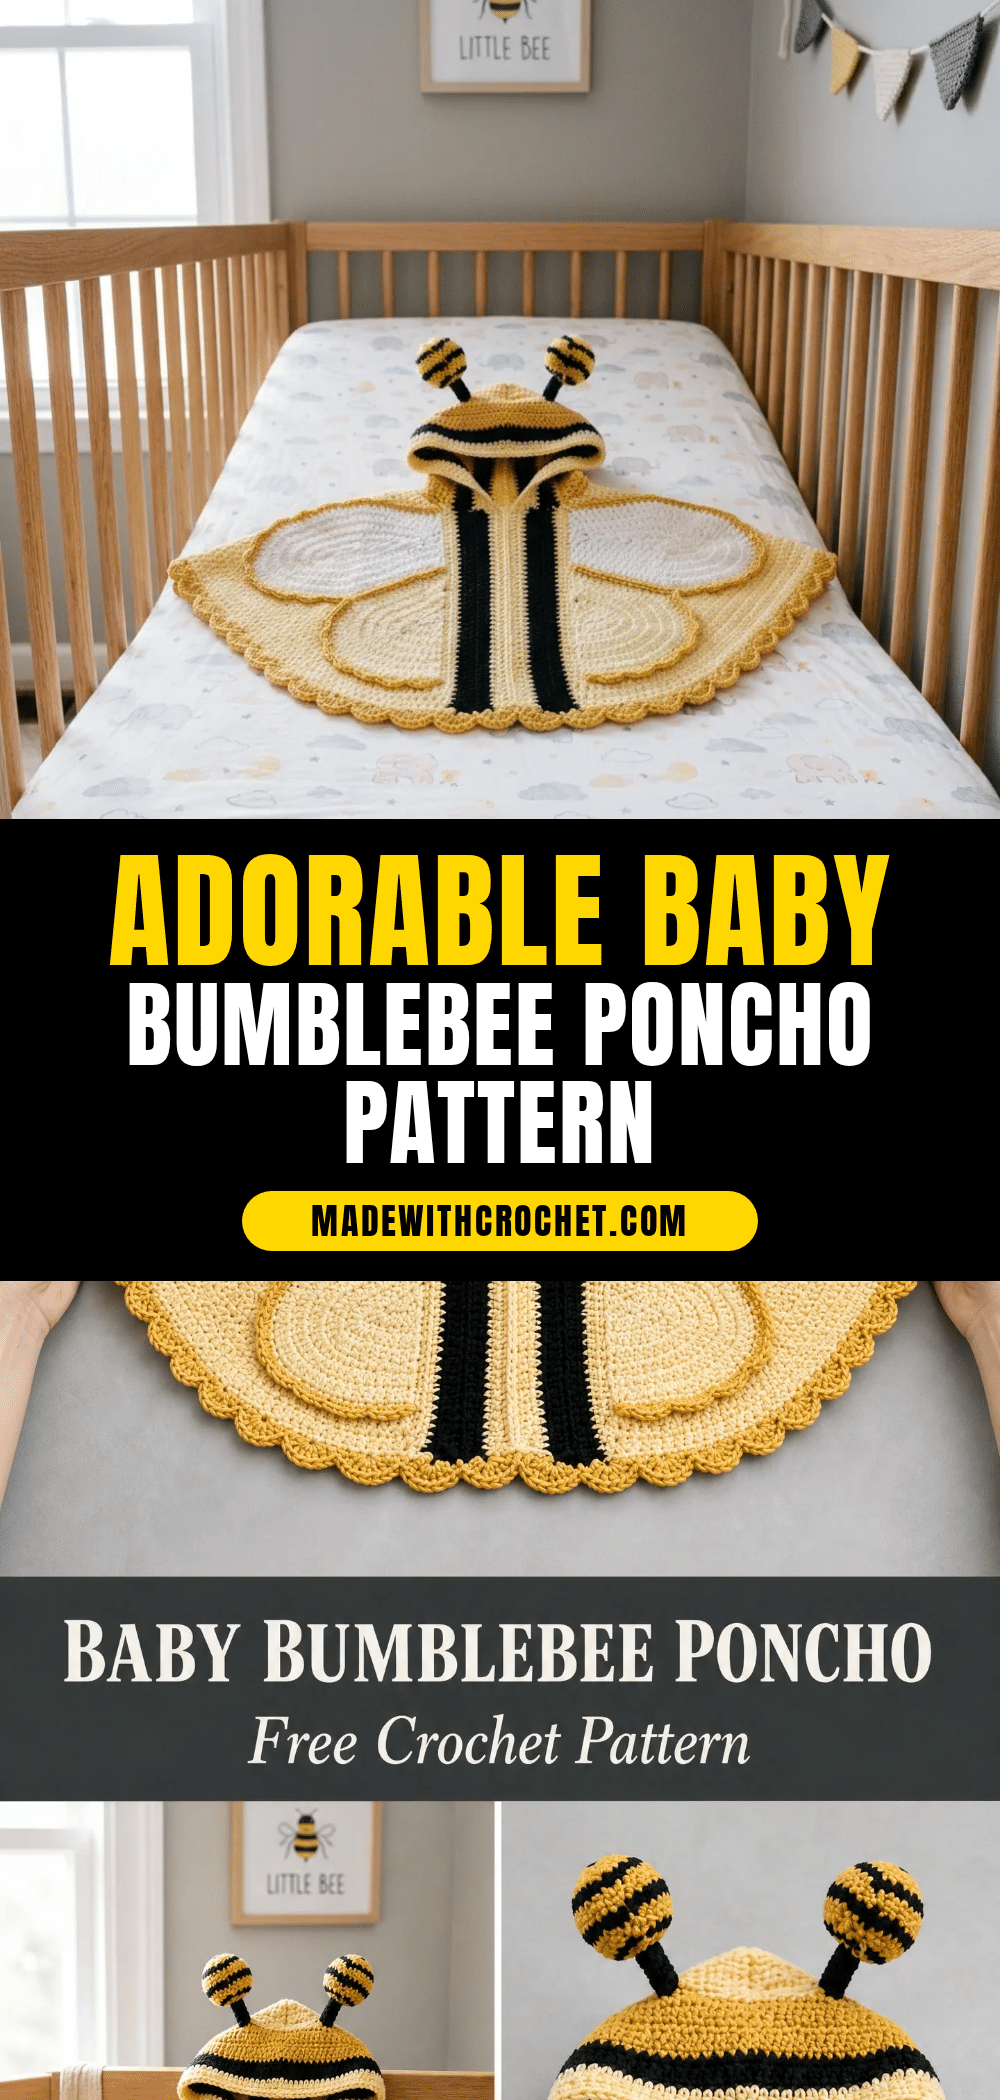
If you love projects where stitch texture and shaping create something truly special, this baby bumblebee poncho is a delight to work through. Every row and round builds a garment that’s as clever in construction as it is adorable in the finished form. From the carefully placed increases that flare the poncho body to the delicate wings with their crisp borders, each little detail makes this a project you’ll want to keep crocheting.
Texture and Stitch Notes
What makes this pattern stand out is how the stitches work together to create both structure and charm. The poncho body uses clean single crochet with strategic increases on alternate rows, giving it a gentle A-line shape that drapes beautifully over little shoulders. The black centre stripe is worked with tidy colour changes, adding a graphic element that defines the bumblebee look. The wings are worked in the round with even increases, then finished with a contrasting border that makes them pop. The scalloped hem adds a sweet, finished touch, while the bobble antennae tips bring a playful texture. This pattern rewards careful stitch work, and the result is a piece that looks polished and professional.
Project Overview
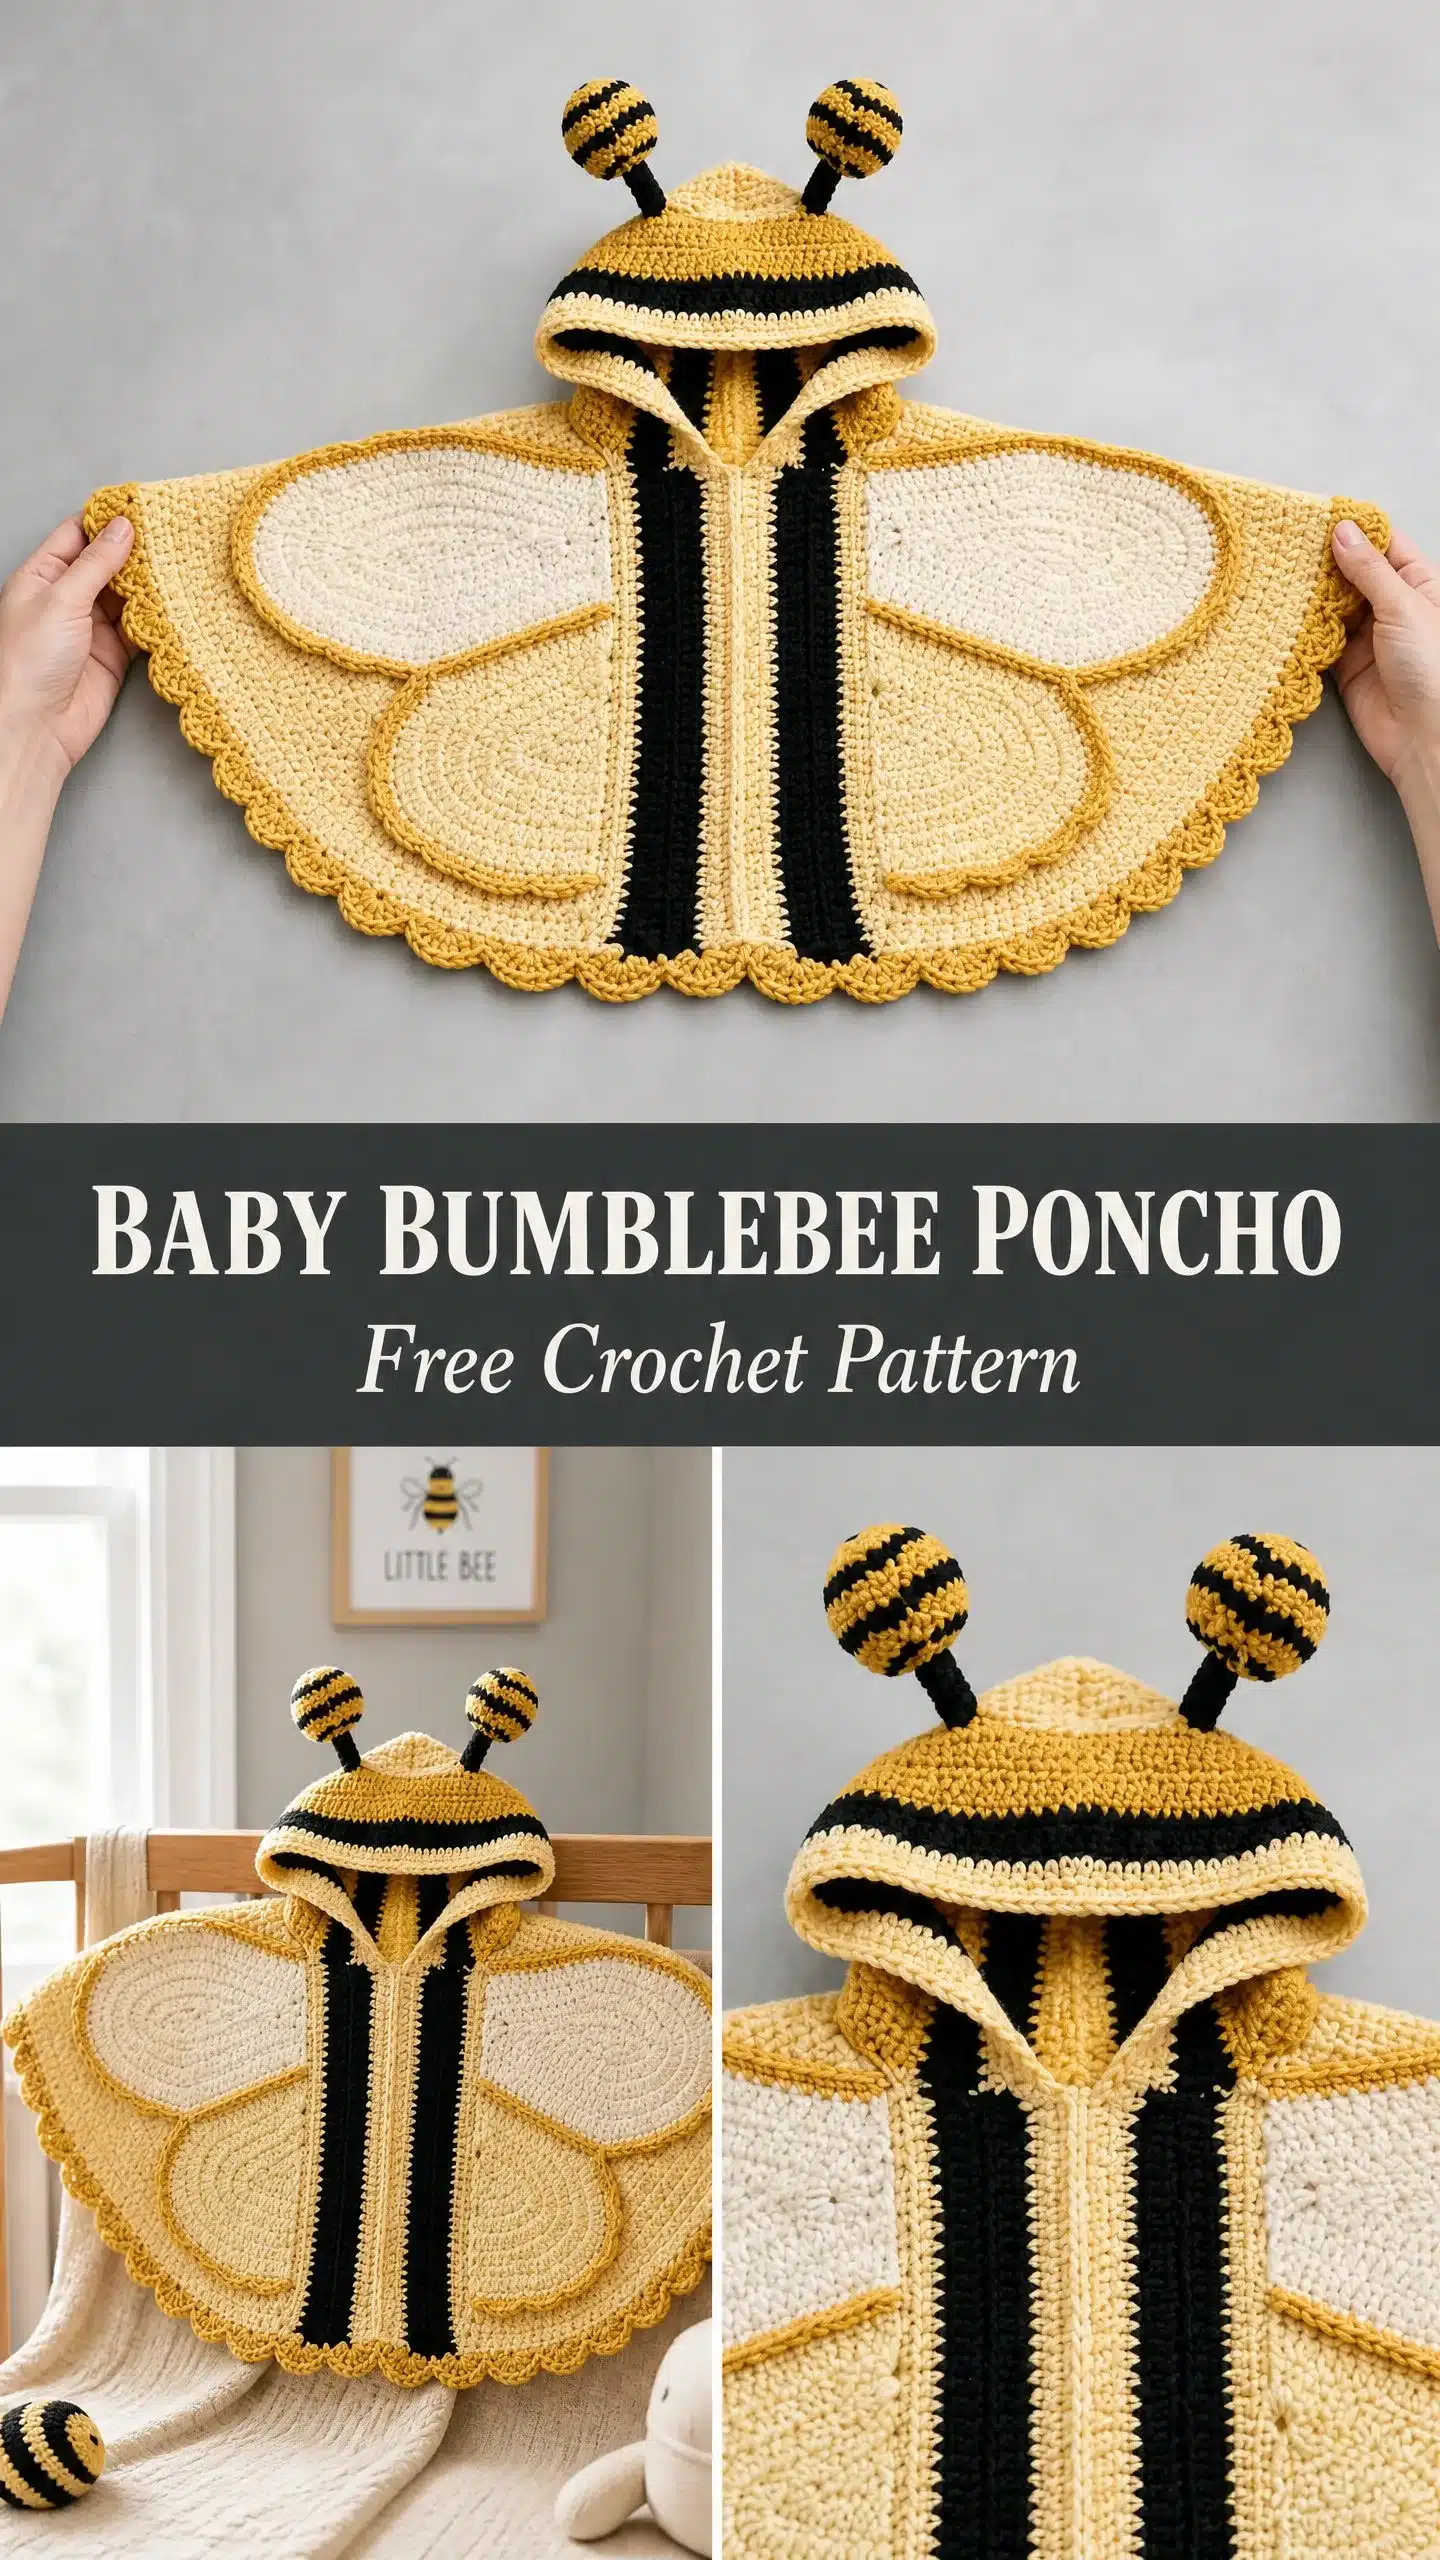
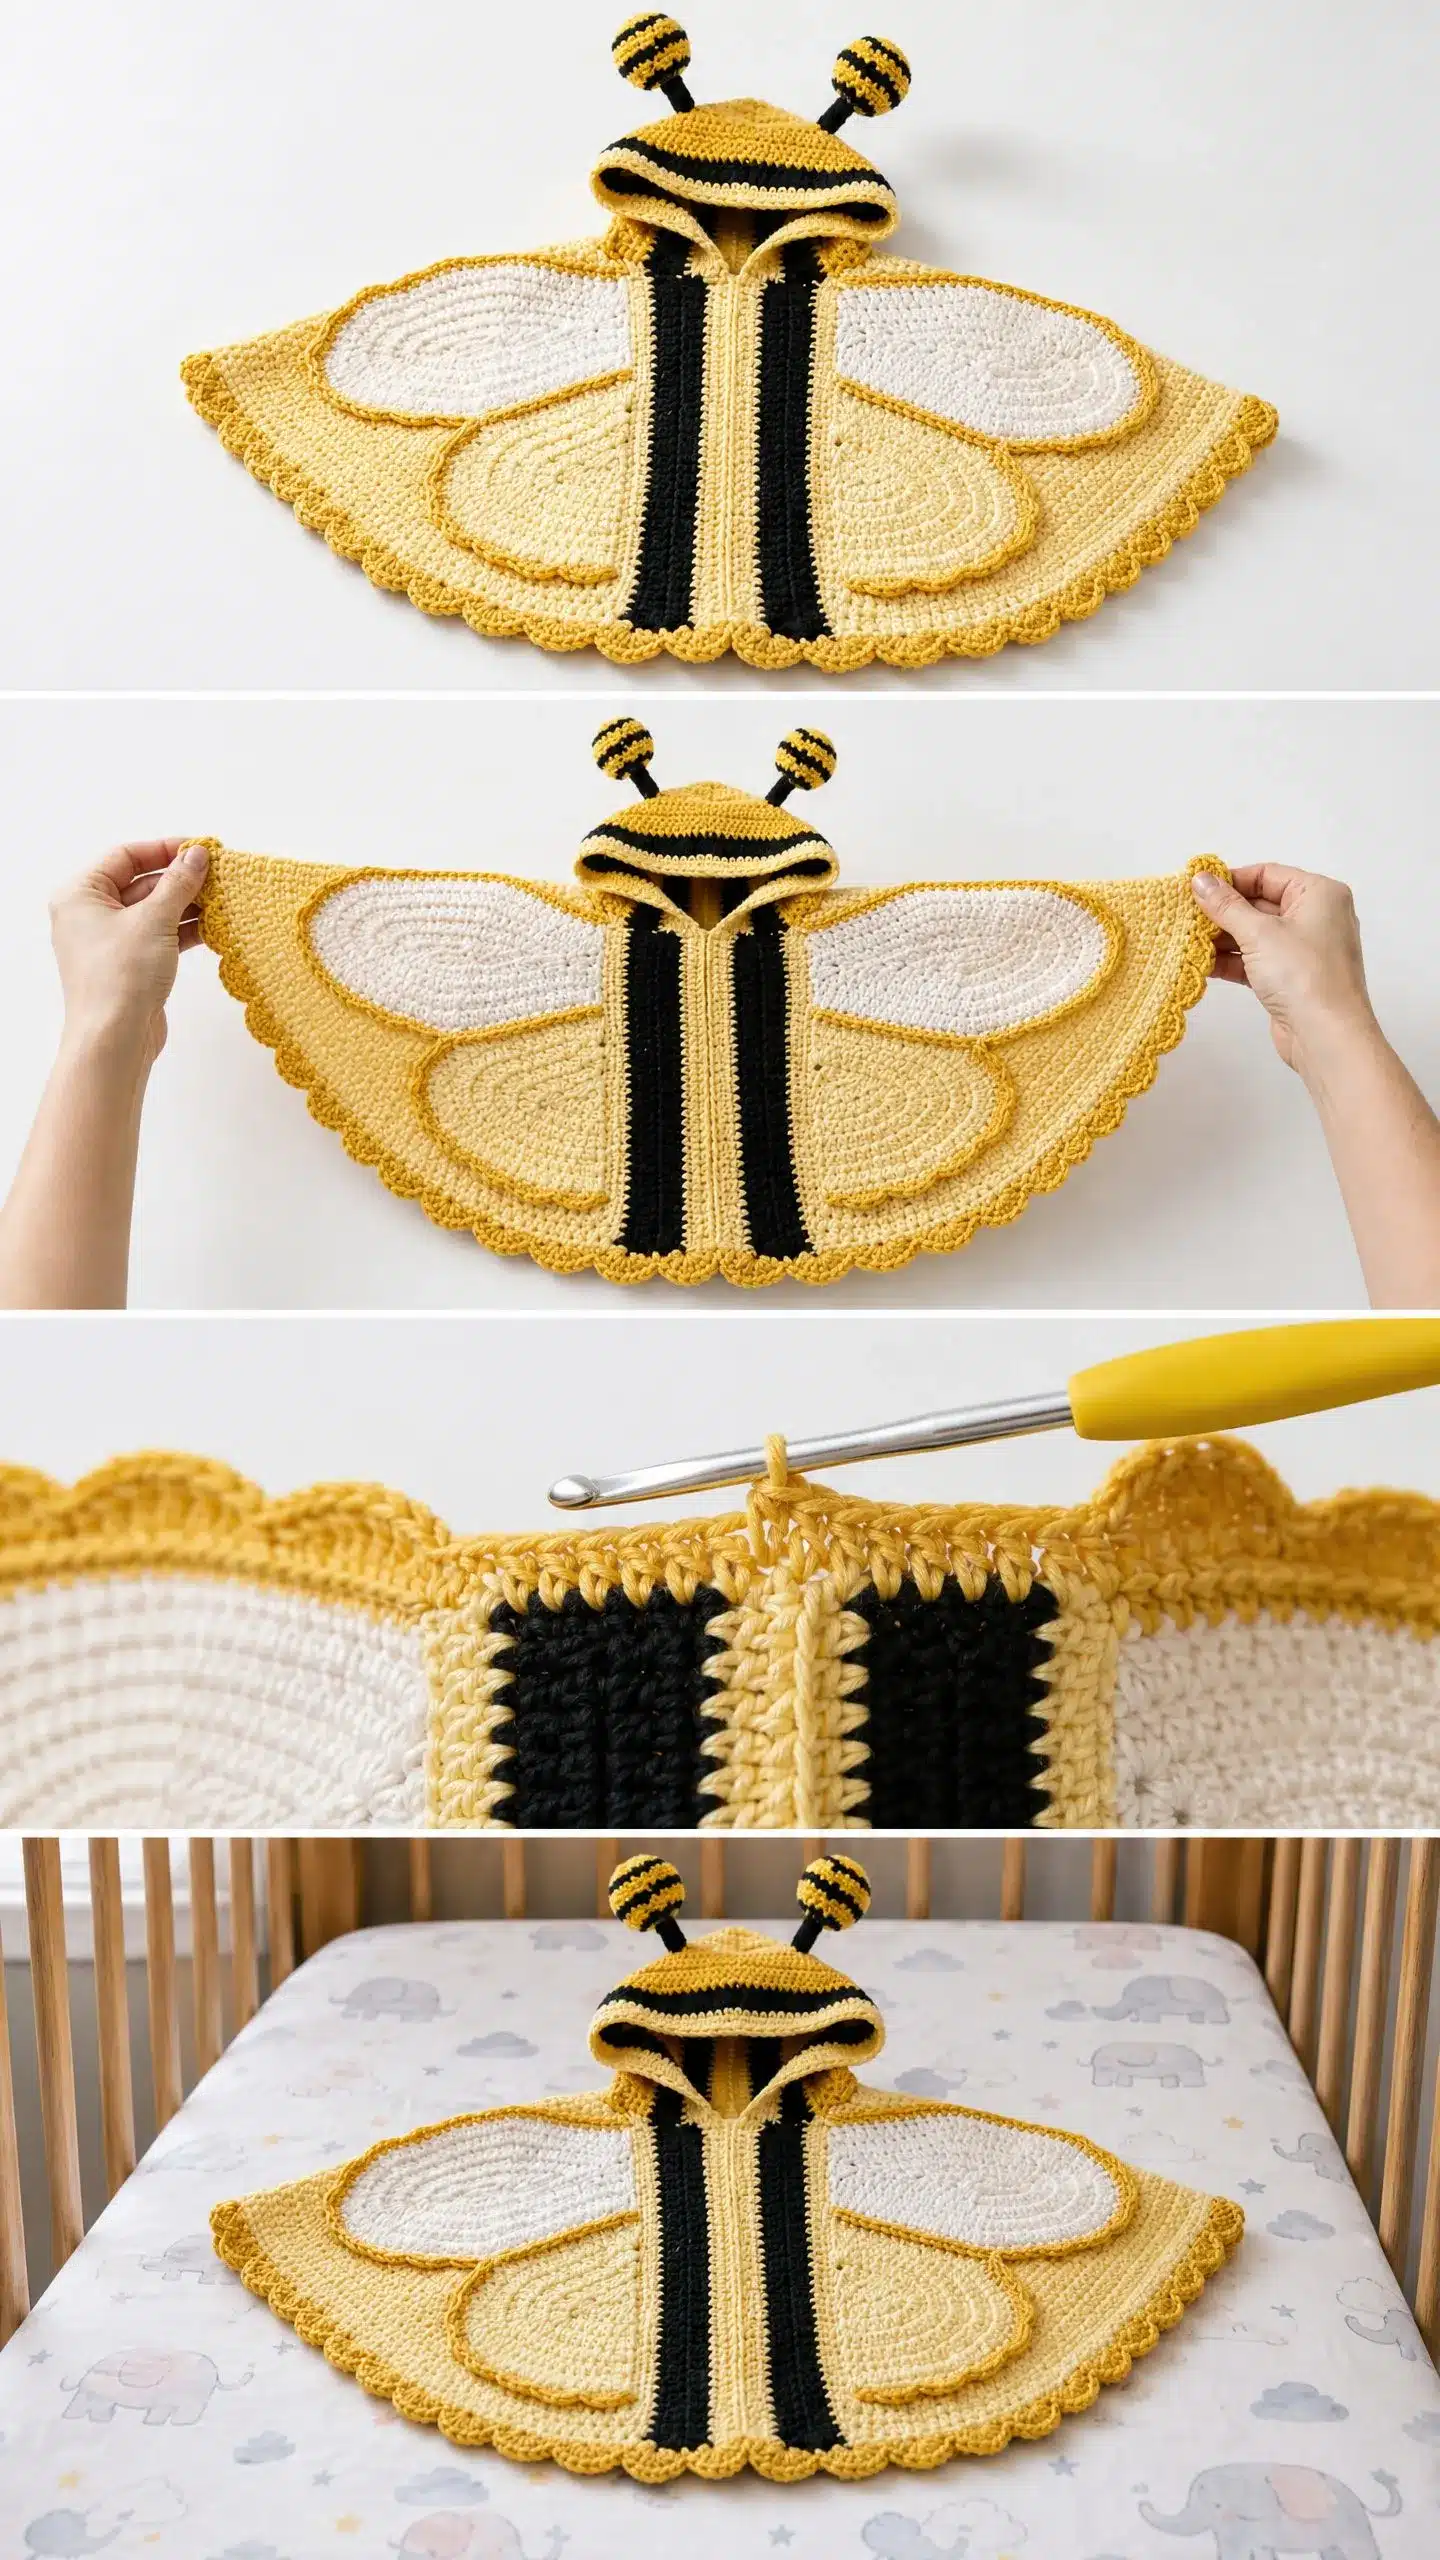
This isn’t your typical baby costume. The poncho style means it slips easily over baby’s head and drapes comfortably over their shoulders. No complicated armholes or tight sleeves to wrestle with during diaper changes. The front opening with a button or snap closure makes dressing simple, and the hood keeps little heads warm while looking absolutely precious with those bobble antennae. The four separate wings attach to the back and have real dimension. They’re not just flat appliqués sewn on. The outer edges stay free so they lift slightly off the body, creating that realistic wing look you see in the photo. Skill level sits at intermediate. You’ll need comfort with working in the round, working flat pieces and seaming them, making clean colour changes, and sewing crocheted pieces together. If you’ve completed two or three smaller projects and handled colour changes before, you can absolutely tackle this pattern with patience.
Materials
Yarn
You’ll need worsted weight yarn (CYCA 4) in three colours:
- Colour A (Golden Yellow): approximately 350 yards / 320 meters
- Colour B (Black): approximately 150 yards / 137 meters
- Colour C (Cream / Off-White): approximately 120 yards / 110 meters
Yarn suggestions that work beautifully: Lion Brand Pound of Love in Goldfish or Lemon Drop for the yellow, Black for the stripes, and Vanilla for the cream. This 100 percent acrylic yarn is machine washable and budget friendly, which makes it perfect for baby items. Cascade 220 Superwash gives a softer, more heirloom quality if you want something special. The superwash wool blend drapes beautifully and feels wonderful against baby skin. Any smooth worsted weight yarn that achieves gauge will work. Avoid fuzzy or textured yarns because they’ll obscure your colour work and make the wings look muddy instead of crisp.
Hook
US Size J / 6.0 mm crochet hook or whatever size you need to achieve gauge.
Notions
- Yarn needle for seaming and weaving in ends
- Stitch markers (at least 6)
- Scissors
- Two 12 inch / 30 cm lengths of black craft wire or pipe cleaners (optional but recommended for posable antennae)
- Small amount of polyester fiberfill stuffing for antenna bobbles
- 0.75 inch / 2 cm button or snap closure, or ribbon ties
- Sewing needle and thread if using button or snap
Gauge and Finished Size
Gauge: 16 single crochet (sc) x 18 rows = 4 inches / 10 cm in single crochet, worked in the round, blocked. Gauge matters here because the poncho needs to fit an infant correctly. If your stitches are too loose, the poncho will be floppy and oversized. Too tight, and it won’t fit over baby’s head comfortably. Make a quick gauge swatch before starting. If you’re getting fewer stitches per inch, go down a hook size. More stitches per inch means you should go up a hook size.
Finished Size: This pattern fits infants approximately 6 to 18 months. Poncho body width (shoulder to shoulder, laid flat): approximately 14 inches / 35.5 cm. Poncho body length (neck to hem, back): approximately 10 inches / 25.5 cm. Hood height: approximately 6 inches / 15 cm. Hood width at opening: approximately 8 inches / 20 cm.
Abbreviations
- ch: chain
- sl st: slip stitch
- sc: single crochet
- hdc: half double crochet
- dc: double crochet
- inc: single crochet increase (work 2 sc in the same stitch)
- sc2tog: single crochet decrease (insert hook in front loop only of next stitch, then front loop only of following stitch, yarn over, pull through both loops, yarn over, pull through remaining 2 loops)
- st(s): stitch(es)
- sk: skip
- pm: place marker
- RS: right side
- WS: wrong side
- MR: magic ring (adjustable ring)
- rnd: round
Special Stitches
Scallop Stitch (for hem border)
Skip 2 stitches, work 5 dc in the next stitch, skip 2 stitches, slip stitch in the next stitch. This creates one scallop shell over 6 stitches total. That’s why the stitch count before the border needs to be divisible by 6.
Bobble Stitch (for antenna tips)
Yarn over, insert hook into indicated stitch, yarn over, pull up a loop, yarn over, pull through 2 loops (2 loops remain on hook). Repeat this process 4 more times in the same stitch so that you have 6 loops on the hook. Yarn over and pull through all 6 loops. Chain 1 to close.
Pattern Notes
- This pattern is written for one size fitting 6 to 18 months. The poncho style is naturally forgiving because it drapes rather than fitting closely.
- Always test your hook size with a gauge swatch. The right gauge ensures the poncho fits properly and the fabric has the right drape.
- The turn chain (ch 1) at the end of each row does not count as a stitch unless otherwise noted. This is important for keeping your stitch counts accurate.
- On colour changes: When switching colours, drop the old colour and pick up the new colour to complete the last yarn over of the stitch. This creates clean colour transitions.
- On the antennae: If you skip the wire, the antennae will flop over. That’s totally fine and actually quite cute! But if you want them perky and upright, the pipe cleaner makes all the difference.
- On blocking: Blocking really transforms the wings from rumpled circles into smooth, professional looking bee wings. Don’t skip this step.
- On time: Plan for 12 to 18 hours total. The wings and antennae add significant time because you’re making six separate pieces plus the main body and hood.
Pattern Instructions
Section 1: Hood
The hood is worked flat as a rectangle, then folded and seamed. With Colour A and hook size J, ch 33.
- Row 1 (RS): Sc in 2nd ch from hook and in each ch across. Turn. (32 sc)
- Rows 2-3: Ch 1, sc in each st across. Turn. (32 sc)
- Row 4: Ch 1, sc in each st across. Change to Colour B in last st. Turn. (32 sc)
- Rows 5-6: Ch 1 with Colour B, sc in each st across. Change to Colour A in last st of Row 6. Turn. (32 sc)
- Rows 7-9: Ch 1 with Colour A, sc in each st across. Turn. (32 sc)
- Row 10: Ch 1, sc in each st across. Change to Colour B in last st. Turn. (32 sc)
- Rows 11-12: Ch 1 with Colour B, sc in each st across. Change to Colour A in last st of Row 12. Turn. (32 sc)
- Rows 13-16: Ch 1 with Colour A, sc in each st across. Turn. (32 sc)
- Row 17: Ch 1, sc in each st across. Change to Colour B in last st. Turn. (32 sc)
- Rows 18-19: Ch 1 with Colour B, sc in each st across. Change to Colour A in last st of Row 19. Turn. (32 sc)
- Rows 20-22: Ch 1 with Colour A, sc in each st across. Do not turn after Row 22. Fasten off, leaving a long tail for seaming. (32 sc)
To assemble the hood: Fold the rectangle in half so Rows 1 and 22 align. This fold becomes the top of the hood. Whipstitch the top edge together for approximately 3 inches / 7.5 cm from the centre fold toward the back, leaving the front portion open for the face opening. Seam the back of the hood by stitching the two back side edges together for approximately 2 inches / 5 cm from the bottom edge upward.
Hood face border: Rejoin Colour A at one corner of the face opening. Work 1 round of sc evenly around the face opening edge, working approximately 1 sc per row end. Join with sl st. Fasten off. (Approximately 44 sc around face opening) Set the hood aside.
Section 2: Antenna Bobbles (make 2)
These striped bobbles give the bee its personality. The optional wire or pipe cleaner inside lets them stand upright. With Colour B and hook size J, make a MR.
- Rnd 1: Work 6 sc into MR. Pull ring tight. Do not join; work in a continuous spiral. Pm in first st. (6 sc)
- Rnd 2: Inc in each st around. (12 sc)
- Rnd 3: (Sc in next st, inc) around. (18 sc)
- Rnd 4: (Sc in next 2 sts, inc) around. (24 sc)
- Rnd 5: (Sc in next 3 sts, inc) around. (30 sc)
- Rnd 6: Sc in each st around. (30 sc)
- Rnd 7: (Sc in next 3 sts, sc2tog) around. (24 sc)
- Rnd 8: (Sc in next 2 sts, sc2tog) around. (18 sc)
- Rnd 9: (Sc in next st, sc2tog) around. (12 sc)
- Rnd 10: Sc2tog around. (6 sc)
Insert a small amount of polyester fiberfill before closing. If using wire or pipe cleaner, fold a 12 inch / 30 cm piece in half and insert the folded end into the bobble, leaving the tails extending out. Fasten off, leaving a long tail. Weave the tail through the remaining stitches and pull tight to close. Set aside.
Section 3: Poncho Body
The body is worked flat with a 4 stitch wide black centre stripe. Increases on alternate rows create the flared poncho shape. With Colour A, ch 49.
- Row 1 (RS): Sc in 2nd ch from hook and in each ch across. Turn. (48 sc)
- Row 2: Ch 1, sc in first 22 sts with Colour A, change to Colour B for next 4 sts, change to Colour A for last 22 sts. Turn. (48 sts: 22 A, 4 B, 22 A)
The centre 4 stitches will always be worked in Colour B from this point forward.
- Row 3 (Increase Row): Ch 1, inc in first st, sc in next 20 sts (Colour A), inc in next st (Colour A), sc in 4 sts (Colour B), inc in first Colour A st after stripe, sc in next 20 sts, inc in last st. Turn. (52 sts: 24 A, 4 B, 24 A)
- Row 4: Ch 1, sc across maintaining colour pattern. Turn. (52 sts)
Continue this pattern of increase rows on odd numbered rows and plain rows on even numbered rows, adding 4 stitches per increase row (2 at each outer edge, 2 flanking the black stripe). Continue through Row 32, ending with 108 stitches (52 A, 4 B, 52 A).
Section 4: Poncho Hem Border
With RS facing, rejoin Colour B at the bottom edge of the poncho body. Work 1 round of sc evenly across the bottom edge, ensuring the stitch count is divisible by 6. Join with sl st. Work scallop stitch border around: (skip 2 sts, work 5 dc in next st, skip 2 sts, sl st in next st) repeat around. Fasten off.
Section 5: Assembly and Neck Shaping
Fold the poncho body in half. Whipstitch the top 2 to 3 inches / 5 to 7.5 cm of each side edge together to form shoulder seams, leaving approximately 3.5 inches / 9 cm open for armholes. Work 1 round of sc around the neck opening, approximately 56 sc. Join with sl st. Attach the hood to the neckline, aligning the centre back seam of the hood with the centre back of the neck opening. Whipstitch all around. Weave in all ends securely.
Section 6: Wings (make 4)
Upper Wings (make 2): With Colour C, make a MR.
- Rnd 1: Work 6 sc into MR. Pm. (6 sc)
- Rnds 2-10: Continue increasing pattern (inc evenly spaced each round) through 60 sc.
- Rnds 11-12: With Colour A, sc in each st around. Join with sl st. Fasten off. (60 sc)
Lower Wings (make 2): Work the same as upper wings through Rnd 8 (48 sc), then work 2 rounds with Colour A border. (48 sc)
Attach wings: Position the wings on the back of the poncho, approximately 3 to 4 inches / 7.5 to 10 cm down from the neck edge. Whipstitch each wing along the inner edge only, leaving outer edges free for dimension.
Section 7: Front Edge Border
With RS facing, rejoin Colour A at the bottom front edge of the poncho. Work 1 round of sc evenly up the front opening edge, around the neck, and down the other front opening edge. Join with sl st. Fasten off. Attach a button, snap, or ribbon ties at the top of the front opening for closure.
Finishing
Weave in all ends securely. Block the wings by dampening lightly and pinning flat. Steam block the poncho body and hood gently if using acrylic (never apply iron directly to acrylic yarn). Check all wing attachment points by tugging gently to test security. Attach the antennae to the top of the hood, positioning them approximately 1 inch / 2.5 cm apart at the centre top. Sew securely in place.
Tips for Success
- On colour changes: When switching colours, drop the old colour and pick up the new colour to complete the last yarn over of the stitch. This creates clean colour transitions.
- On the antennae: If you skip the wire, the antennae will flop over. That’s totally fine and actually quite cute! But if you want them perky and upright, the pipe cleaner makes all the difference.
- On blocking: Blocking really transforms the wings from rumpled circles into smooth, professional looking bee wings. Don’t skip this step.
- On time: Plan for 12 to 18 hours total. The wings and antennae add significant time because you’re making six separate pieces plus the main body and hood.
Frequently Asked Questions
Can I make this poncho larger for a toddler?
This pattern is written for infants 6 to 18 months. To size up, you can add more increase rows to the poncho body and adjust the hood length. Test gauge and measurements as you go.
What if I can’t find the exact yarn suggested?
Any smooth worsted weight yarn that achieves gauge will work. Avoid fuzzy or textured yarns as they obscure colour work and make the wings look less defined.
How do I clean the finished poncho?
If using acrylic yarn like Lion Brand Pound of Love, machine wash on a gentle cycle and lay flat to dry. For superwash wool, follow the yarn label instructions. Always block the wings after washing to maintain their shape.
Can I skip the wire in the antennae?
Yes! Without wire, the antennae will flop over, which is still cute. If you want them upright, use pipe cleaners or craft wire as recommended.
How do I attach the wings securely?
Whipstitch each wing along the inner edge only, leaving the outer edges free. Tug gently after sewing to test security. Blocking the wings before attachment helps them lie flat and look professional.
What if my stitch count isn’t divisible by 6 for the scallop border?
Adjust the number of single crochet stitches worked evenly around the hem so the total is divisible by 6. You can add or skip a few stitches as needed without affecting the overall look.
Pin This Crochet Pattern!