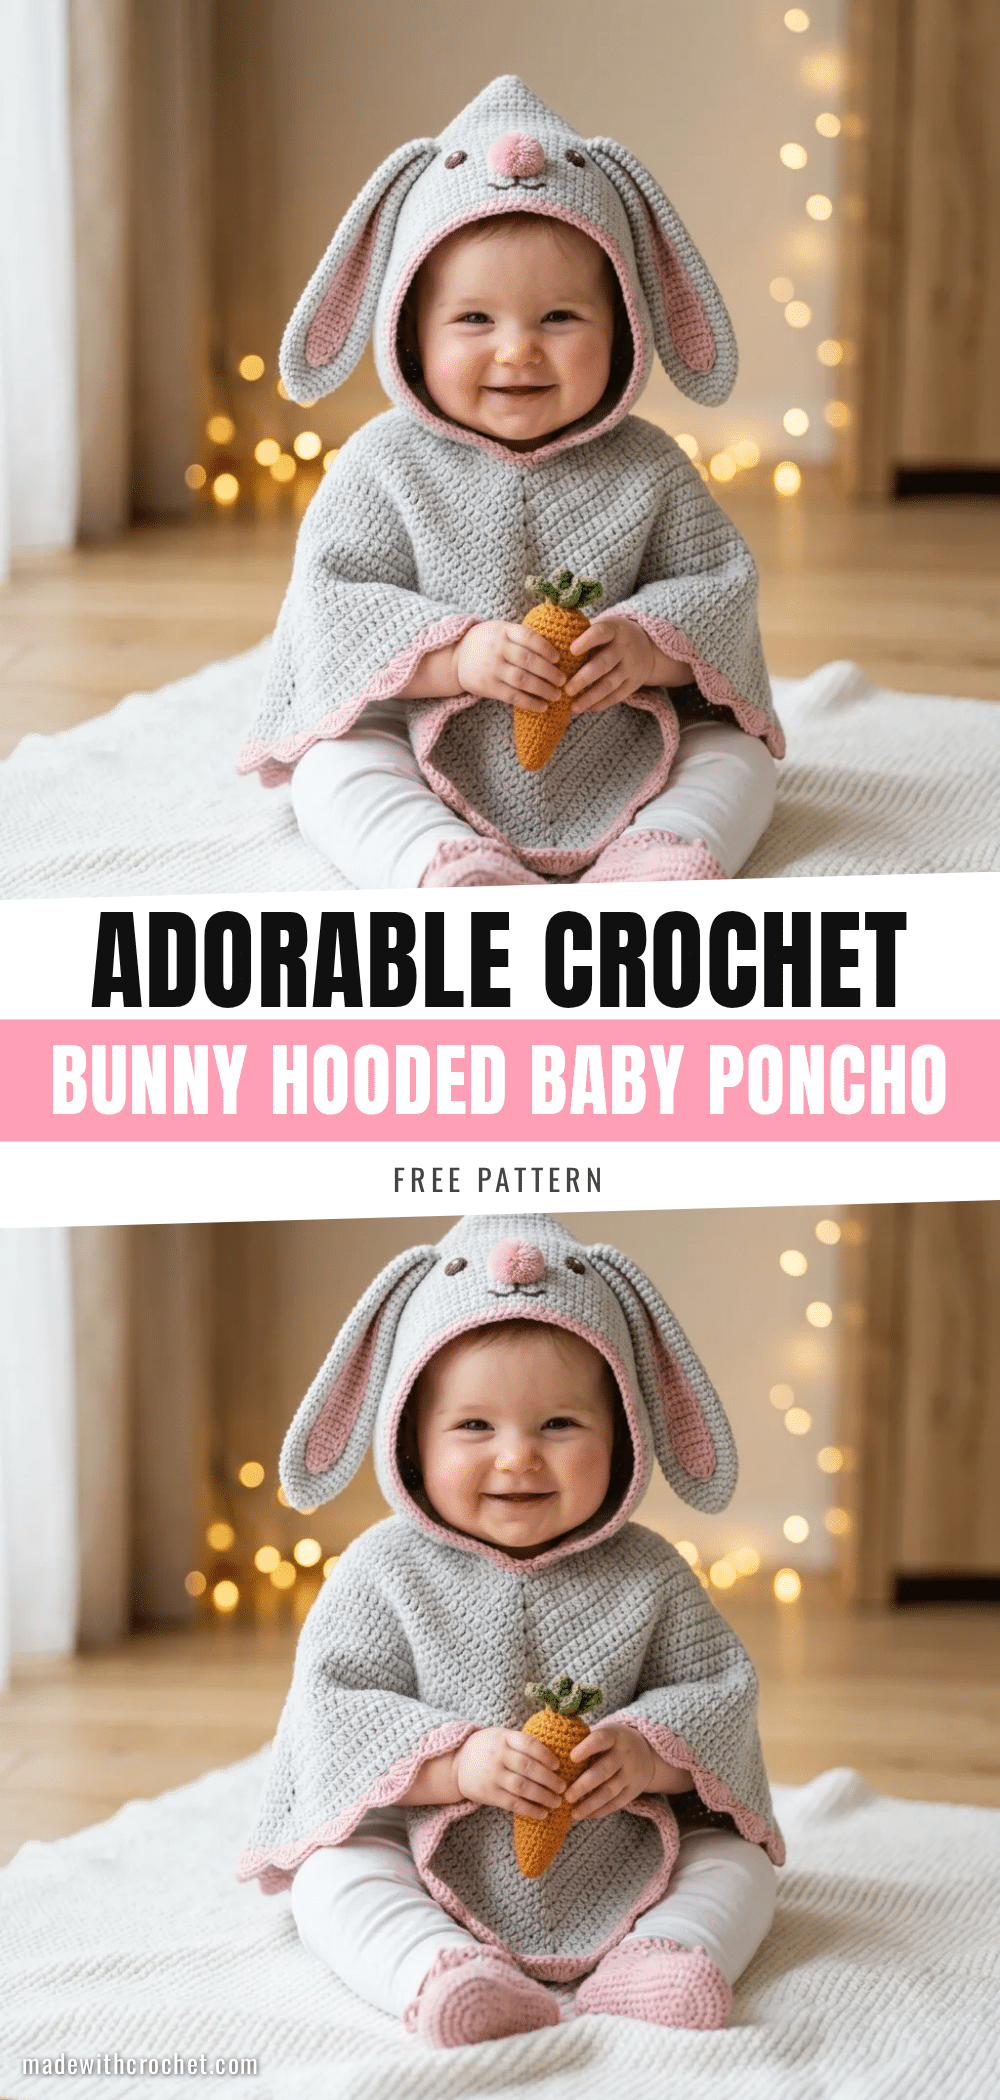
There is a particular kind of magic in the quiet hours of the evening, when the house settles and the only sound is the rhythmic click of the hook and the soft pull of yarn. This is the time for a small batch of soft gray and pink, for counting stitches with a steady hand, and for the relaxing repetition of single crochet that clears the mind. Creating a handmade gift is more than just a craft; it is a ritual of love, a slow process that transforms simple materials into something that will wrap a little one in warmth and whimsy. This bunny rabbit hooded baby poncho is the perfect project for those cozy nights, offering a satisfying build with a sweet, finished result.
Small Details That Make It Better
What truly elevates this poncho from a simple garment to a cherished keepsake is the thoughtful construction of its details. The double ridge running down the front and back panels isn’t just a structural necessity; it creates a beautiful V-shape that mimics the natural lines of a bunny’s chest, adding visual texture without requiring complex stitches. The hood is designed to sit perfectly on a baby’s head, with the ears angled slightly outward to catch the light, and the pink shell edging frames the entire piece with a soft, scalloped finish. When you choose a smooth worsted weight yarn, you ensure that every single crochet stitch pops, giving the poncho a polished, professional look that feels as good as it looks.
Project Overview
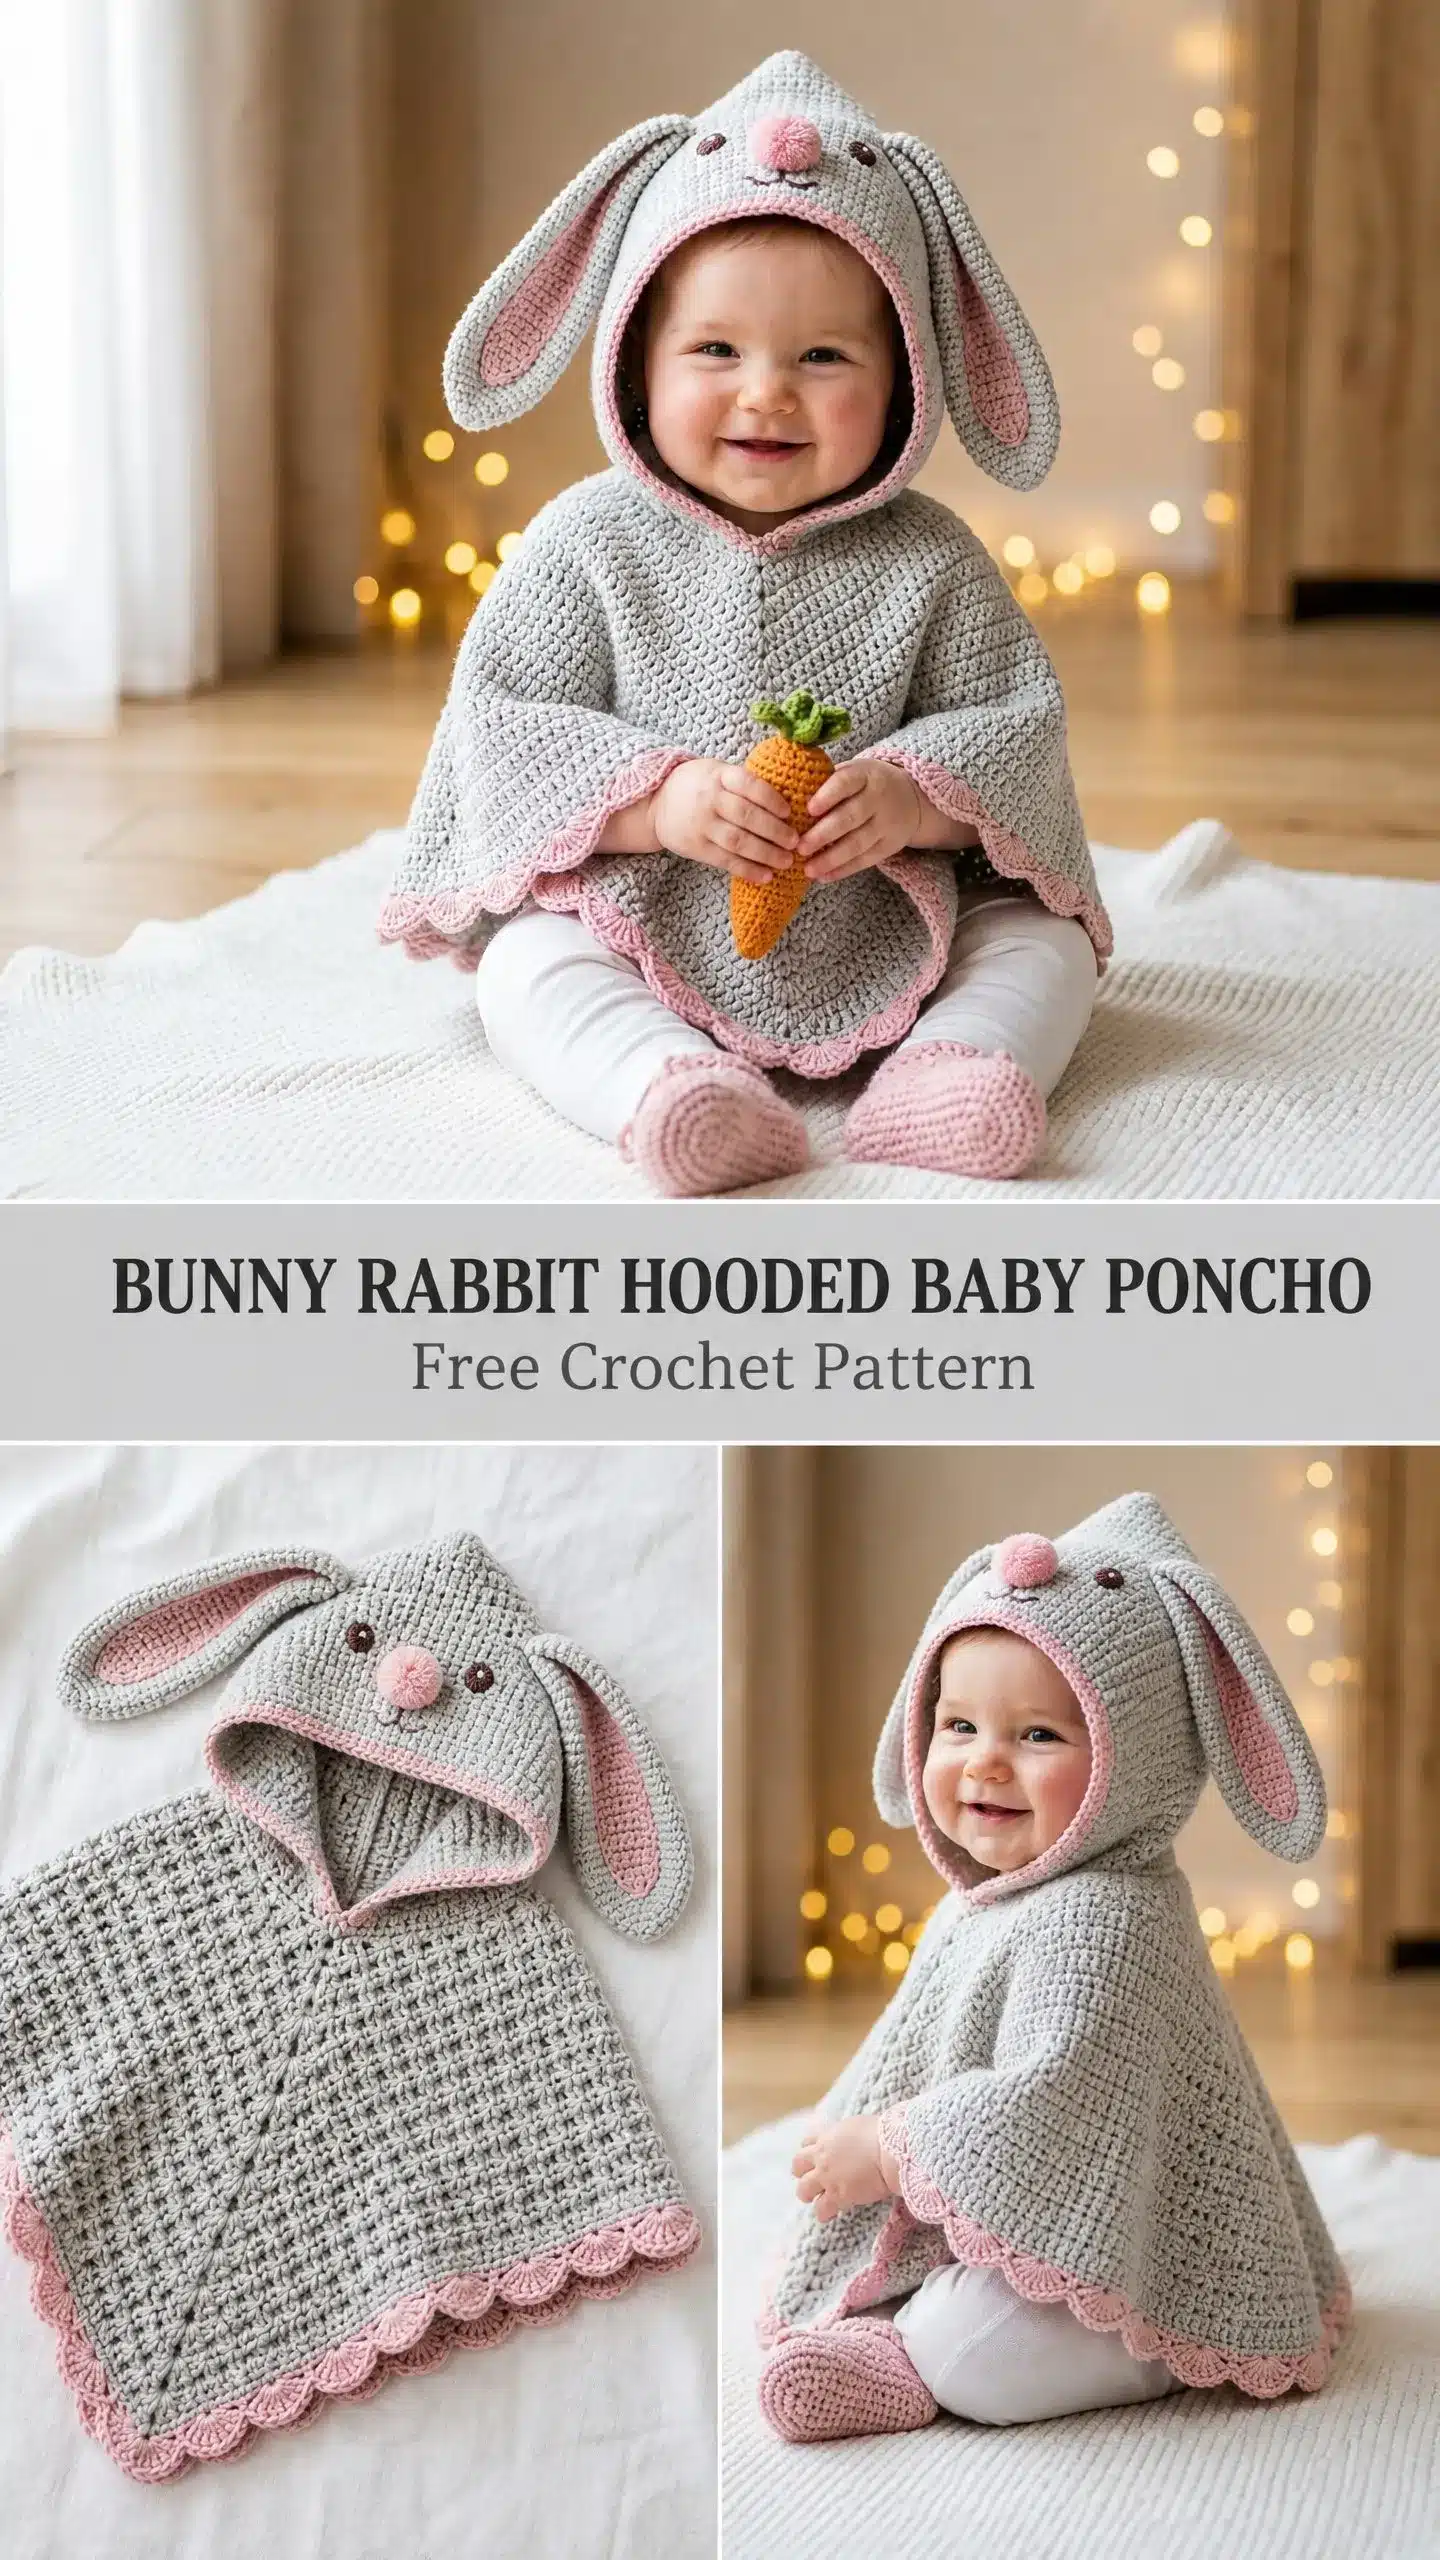
This adorable bunny rabbit hooded baby poncho is designed for infants aged 6 to 12 months. It features a simple triangular construction for the body, a rectangular hood, and charming floppy bunny ears. The design balances practicality with cuteness, offering an easy on-and-off silhouette with no complicated buttons or zippers. The poncho is worked flat in single crochet, with increases creating the triangular flare, and finished with a sweet shell stitch border. It is an intermediate-level project that requires patience and attention to stitch counts but is very achievable for a confident beginner.
Materials
Gather everything before you start. Nothing is worse than running out of yarn at Row 25.
Yarn
- Yarn A (Main Color, Gray): Approximately 300 yards of worsted weight yarn, category 4.
- Yarn B (Contrast Color, Light Pink): Approximately 80 yards of worsted weight yarn, category 4.
- Embroidery Yarn: Small amount of brown or dark gray yarn for embroidered face details.
Tools
- Crochet hook: US size J-10 / 6.0 mm
- 4 stitch markers
- Yarn needle for seaming and weaving ends
- Scissors
- One pink pom-pom, approximately 1 inch diameter (or yarn to make one)
- Optional: Tiny amount of polyester fiberfill for ears
Yarn Suggestions
Lion Brand Vanna’s Choice in Silver Gray and Pink gives excellent stitch definition and washes well. Paintbox Yarns Simply DK held double achieves the right gauge and comes in gorgeous muted tones. Cascade 220 Superwash offers beautiful drape. Stick with smooth yarns; fuzzy or heavily textured options will hide the clean stitch lines that make this poncho look polished.
Gauge and Finished Size
Gauge
16 single crochet by 18 rows equals 4 inches / 10 cm, worked flat, after light blocking. Please make a gauge swatch. I know, I know. But the neck opening fit and overall drape depend on matching this gauge. Work at least 20 stitches by 20 rows and measure the center section. Go up a hook size if your stitches are too tight, down if they are too loose.
Finished Measurements
- Poncho width (shoulder to hem): approximately 13 inches / 33 cm
- Poncho circumference at hem: approximately 40 inches / 102 cm
- Hood height (top to neck opening): approximately 7 inches / 18 cm
- Neck opening circumference: approximately 13 inches / 33 cm
Abbreviations
Let me walk you through every abbreviation you will encounter. If you are newer to crochet, bookmark this section.
- ch: chain
- sl st: slip stitch
- sc: single crochet (insert hook, yarn over, pull up loop, yarn over, pull through both loops)
- hdc: half double crochet
- dc: double crochet (yarn over, insert hook, pull up loop, yarn over, pull through 2 loops, yarn over, pull through remaining 2 loops)
- inc: single crochet increase (work 2 sc into the same stitch)
- dec: single crochet decrease, also called sc2tog (insert hook into next stitch, pull up loop, insert hook into following stitch, pull up loop, yarn over, draw through all 3 loops)
- st(s): stitch(es)
- sp: space
- RS: right side
- WS: wrong side
- pm: place marker
- sk: skip
- rep: repeat
- BLO: back loop only
- FLO: front loop only
- rnd: round
Pattern Notes
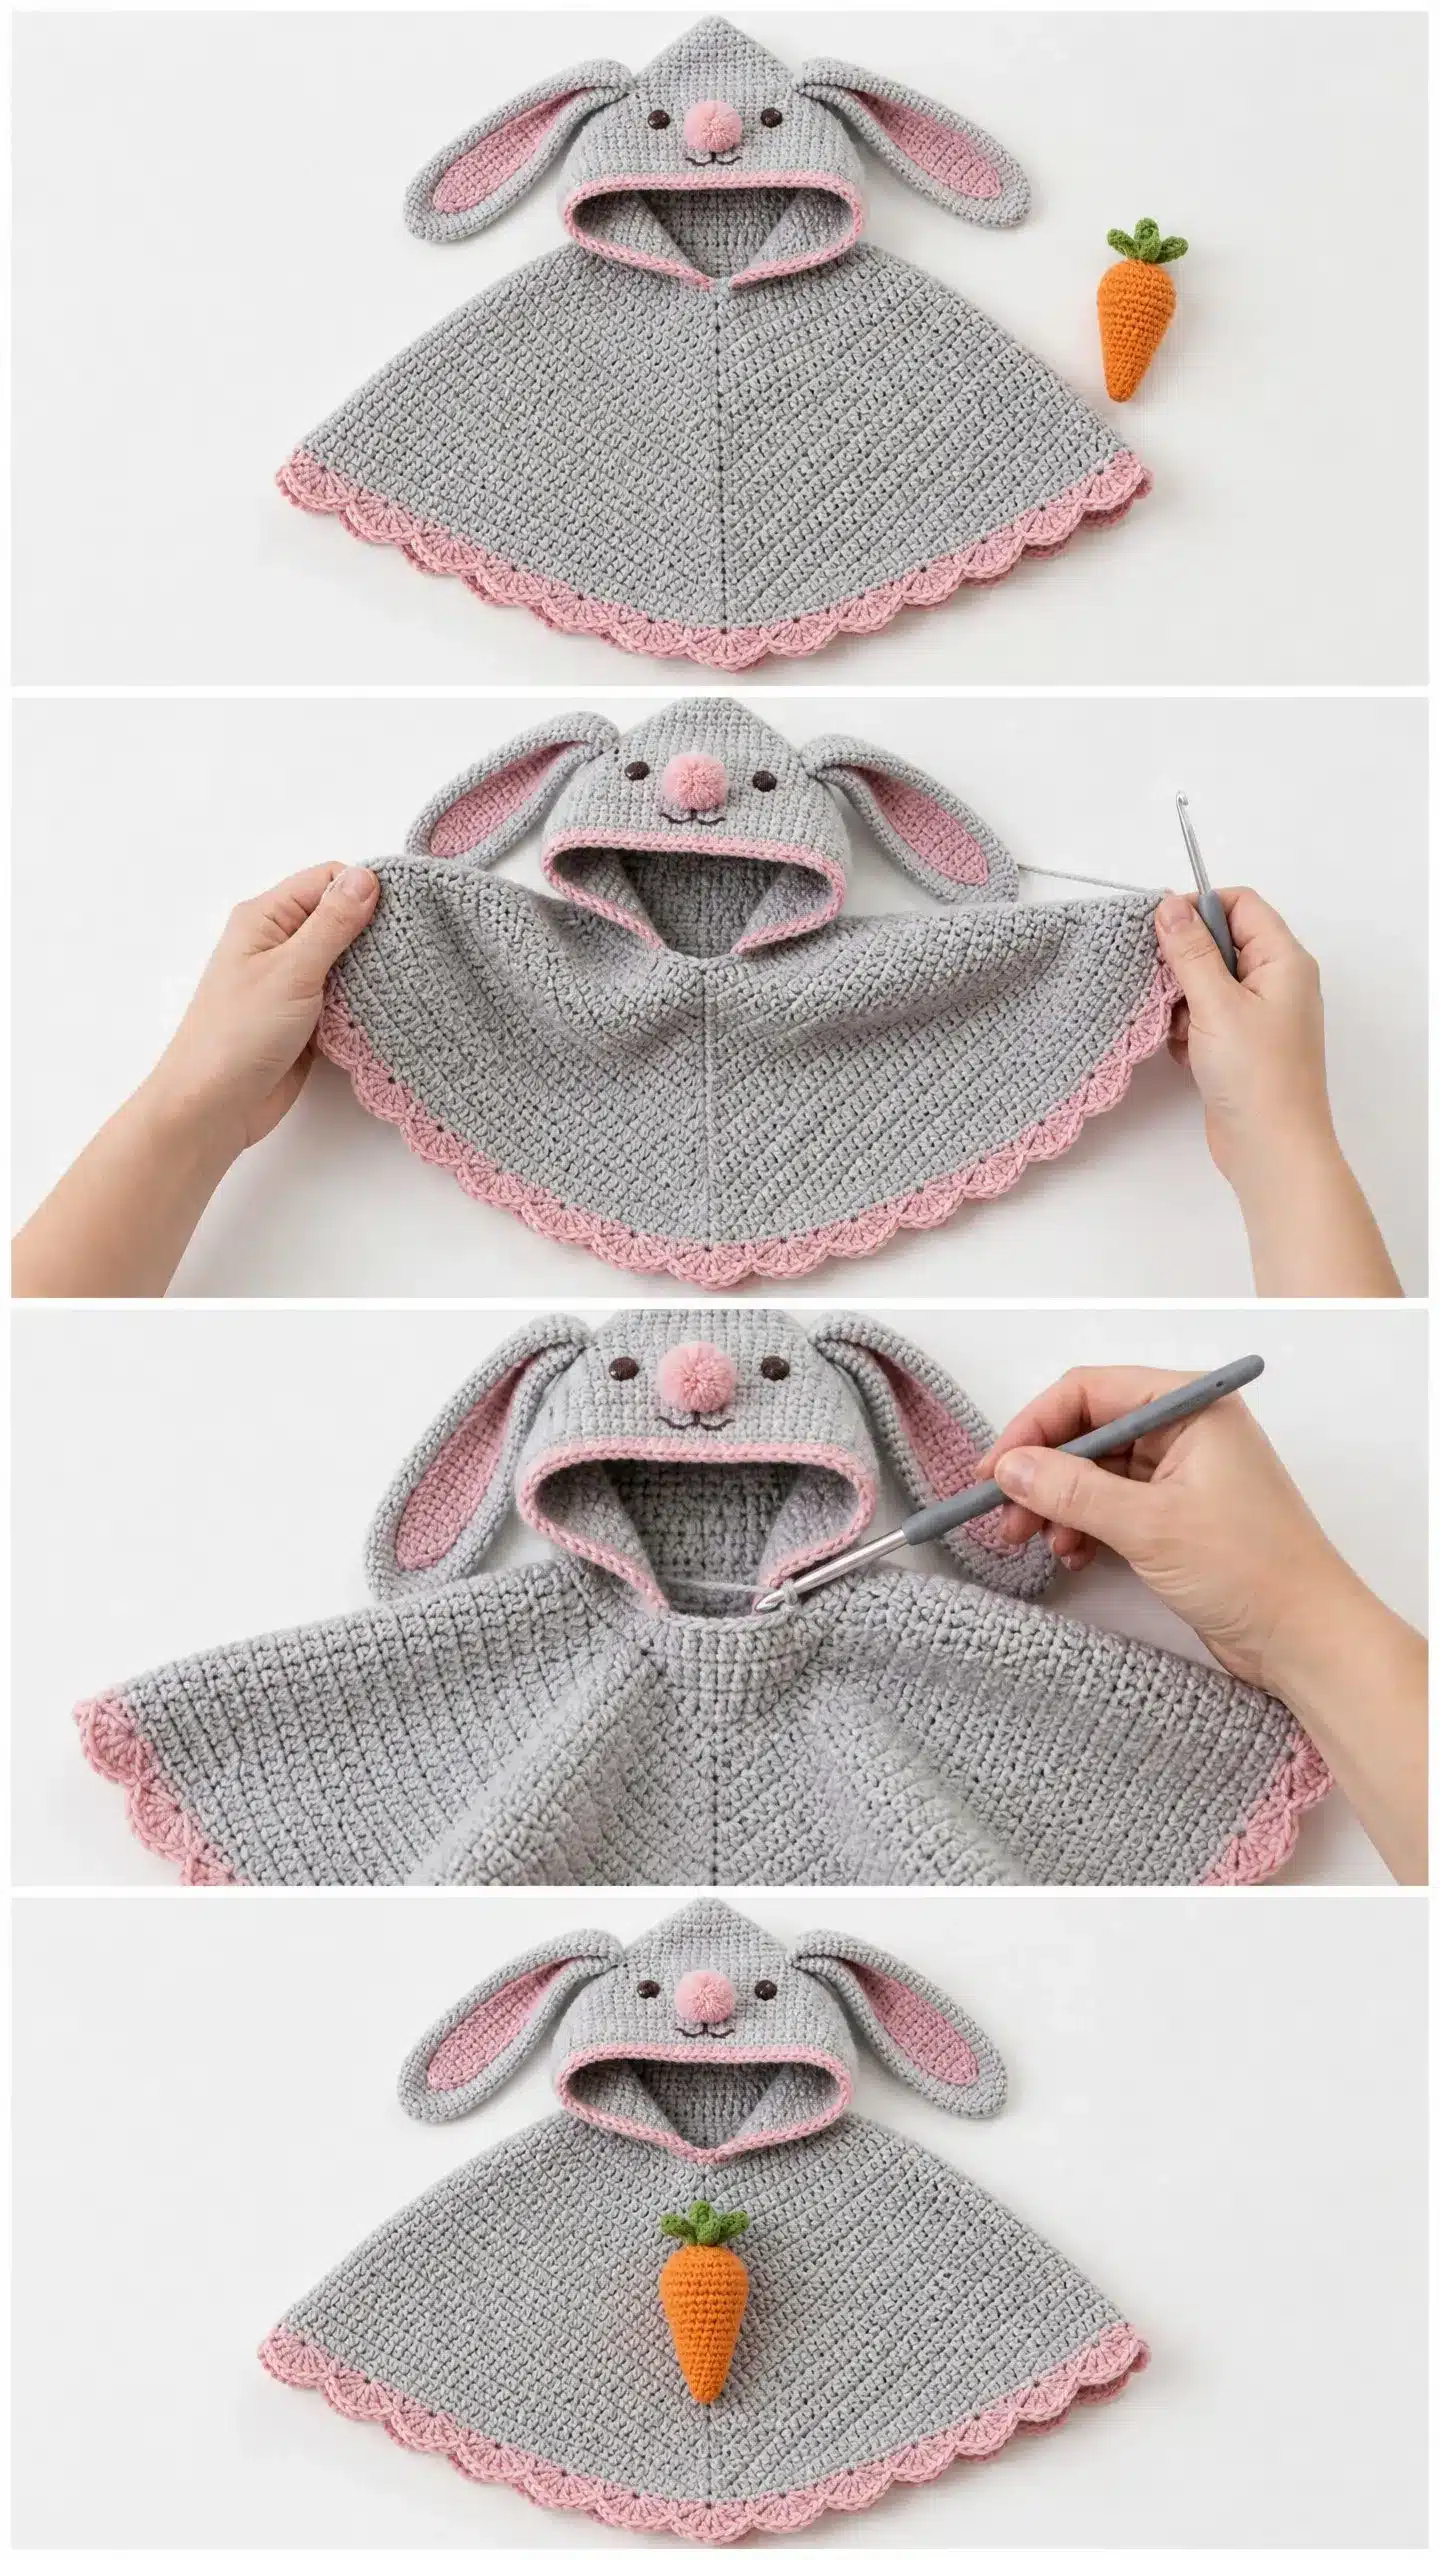
- The poncho body consists of two flat triangular panels (front and back) that get seamed at the shoulders. This leaves a center neck opening. Each panel is worked from the neck edge downward, increasing every row to create that triangular flare.
- The hood is worked separately as a rectangle, folded and seamed along the top to form the crown, then attached around the neck opening.
- The ears are worked in the round as flat ovals, layered together (gray outer, pink inner), and sewn to the hood top.
- Important: Chain 1 at the beginning of each row is a turning chain only and does NOT count as a stitch. All stitch counts reflect only actual sc stitches worked.
- Always turn your work at the end of every row unless told to join in the round.
Pattern Instructions
Poncho Front Panel
The front panel begins at the shoulder edge and works downward. It is a triangle that widens every row through increases at the edges and center.
Foundation chain: Using Yarn A and hook J-10, ch 35.
Row 1 (RS): Starting in 2nd ch from hook, sc across. Turn. (34 sc)
Row 2: Ch 1, inc in first st, sc to last st, inc in last st. Turn. (36 sc)
Row 3: Ch 1, inc in first st, sc 15, inc in next st, inc in next st, sc 15, inc in last st. Turn. (40 sc)
Here is what is happening in Row 3: The two center stitches each receive an increase. This creates the characteristic double ridge running down the front. From now on, every row increases by 4 stitches total. One at each outer edge, two in the center.
Row 4: Ch 1, inc in first st, sc 17, inc, inc, sc 17, inc in last st. Turn. (44 sc)
Row 5: Ch 1, inc in first st, sc 19, inc, inc, sc 19, inc in last st. Turn. (48 sc)
Row 6: Ch 1, inc in first st, sc 21, inc, inc, sc 21, inc in last st. Turn. (52 sc)
Row 7: Ch 1, inc in first st, sc 23, inc, inc, sc 23, inc in last st. Turn. (56 sc)
Row 8: Ch 1, inc in first st, sc 25, inc, inc, sc 25, inc in last st. Turn. (60 sc)
Row 9: Ch 1, inc in first st, sc 27, inc, inc, sc 27, inc in last st. Turn. (64 sc)
Row 10: Ch 1, inc in first st, sc 29, inc, inc, sc 29, inc in last st. Turn. (68 sc)
Row 11: Ch 1, inc in first st, sc 31, inc, inc, sc 31, inc in last st. Turn. (72 sc)
Row 12: Ch 1, inc in first st, sc 33, inc, inc, sc 33, inc in last st. Turn. (76 sc)
Row 13: Ch 1, inc in first st, sc 35, inc, inc, sc 35, inc in last st. Turn. (80 sc)
Row 14: Ch 1, inc in first st, sc 37, inc, inc, sc 37, inc in last st. Turn. (84 sc)
Row 15: Ch 1, inc in first st, sc 39, inc, inc, sc 39, inc in last st. Turn. (88 sc)
Row 16: Ch 1, inc in first st, sc 41, inc, inc, sc 41, inc in last st. Turn. (92 sc)
Row 17: Ch 1, inc in first st, sc 43, inc, inc, sc 43, inc in last st. Turn. (96 sc)
Row 18: Ch 1, inc in first st, sc 45, inc, inc, sc 45, inc in last st. Turn. (100 sc)
Checkpoint: After Row 18, your front panel should measure approximately 4 inches from the foundation chain to the working edge, and approximately 25 inches across the bottom edge. The triangular shape should be obvious now.
Row 19: Ch 1, inc in first st, sc 47, inc, inc, sc 47, inc in last st. Turn. (104 sc)
Row 20: Ch 1, inc in first st, sc 49, inc, inc, sc 49, inc in last st. Turn. (108 sc)
Row 21: Ch 1, inc in first st, sc 51, inc, inc, sc 51, inc in last st. Turn. (112 sc)
Row 22: Ch 1, inc in first st, sc 53, inc, inc, sc 53, inc in last st. Turn. (116 sc)
Row 23: Ch 1, inc in first st, sc 55, inc, inc, sc 55, inc in last st. Turn. (120 sc)
Row 24: Ch 1, inc in first st, sc 57, inc, inc, sc 57, inc in last st. Turn. (124 sc)
Row 25: Ch 1, inc in first st, sc 59, inc, inc, sc 59, inc in last st. Turn. (128 sc)
Row 26: Ch 1, inc in first st, sc 61, inc, inc, sc 61, inc in last st. Turn. (132 sc)
Row 27: Ch 1, inc in first st, sc 63, inc, inc, sc 63, inc in last st. Turn. (136 sc)
Row 28: Ch 1, inc in first st, sc 65, inc, inc, sc 65, inc in last st. Turn. (140 sc)
Row 29: Ch 1, inc in first st, sc 67, inc, inc, sc 67, inc in last st. Turn. (144 sc)
Row 30: Ch 1, inc in first st, sc 69, inc, inc, sc 69, inc in last st. Turn. (148 sc)
Final Checkpoint: Work exactly as the Front Panel. Foundation chain of 35, Rows 1 through 30, all stitch counts identical. The poncho is symmetrical front to back. Fasten off with a long tail for seaming.
Joining Front and Back Panels
Place the front and back panels together with right sides facing each other. The foundation chain edges (the short straight edges at the top, 34 stitches each) become the shoulder seams.
Using Yarn A and a yarn needle, seam the right shoulder: mattress stitch or whipstitch the first 8 stitches of each foundation chain edge together. Fasten off.
Seam the left shoulder: join the last 8 stitches of each foundation chain edge together. Fasten off.
The center 18 stitches on each side remain open and form the neck opening. Total neck opening is approximately 13 inches in circumference.
Hold the poncho up by the neck opening. The front and back triangles should drape symmetrically. If the neck feels too tight, remove 1 to 2 shoulder stitches from each seam to widen it before proceeding.
Hood Instructions
The hood is worked as a flat rectangle, then seamed along the top edge.
Foundation chain: Using Yarn A, ch 55.
Row 1 (RS): Starting in 2nd ch from hook, sc across. Turn. (54 sc)
Rows 2 through 28: Ch 1, sc across each row without shaping. Turn. (54 sc per row)
After Row 28, the hood rectangle measures approximately 6 inches wide and approximately 6.2 inches tall. Fasten off, leaving a long tail for seaming.
Fold the rectangle in half so the two short ends meet. Seam along the top folded edge using whipstitch, joining both layers for the full 54-stitch width. This creates the rounded top of the hood.
Turn the hood right side out. The seamed edge is the crown.
Attaching the Hood to the Poncho
Hold the hood right side out and align the center of the hood’s bottom edge with the center of the poncho’s neck opening. Pin or stitch the hood to the poncho, distributing the stitches evenly around the neck opening.
Bunny Ears Instructions
Make 2 outer ear pieces in Yarn A and 2 inner ear pieces in Yarn B.
Outer Ear (Yarn A, make 2)
Foundation: Ch 4. Work in a continuous oval.
Rnd 1: Starting in 2nd ch from hook, sc 2, 3 sc in last ch (working around the tip), then working back along the other side of the foundation chain: sc 1, 3 sc in first ch (the base end). Join with sl st to first sc. (9 sc)
Rnd 2: Ch 1, sc 1, inc, sc 1, inc, inc, inc, sc 1, inc, inc. Join. (15 sc)
Rnd 3: Ch 1, sc 2, inc, sc 2, inc, sc 1, inc, sc 2, inc, sc 1, inc. Join. (20 sc)
Rnds 4 through 10: Ch 1, sc across without increasing. Join. (20 sc per rnd)
Fasten off. Set aside.
Inner Ear (Yarn B, make 2)
Foundation: Ch 4. Work in a continuous oval.
Rnd 1: Starting in 2nd ch from hook, sc 2, 3 sc in last ch, sc 1, 3 sc in first ch. Join. (9 sc)
Rnd 2: Ch 1, sc 1, inc, sc 1, inc, inc, inc, sc 1, inc, inc. Join. (15 sc)
Rnd 3: Ch 1, sc 2, inc, sc 2, inc, sc 1, inc, sc 2, inc, sc 1, inc. Join. (20 sc)
Rnds 4 through 7: Ch 1, sc around without increasing. Join. (20 sc per rnd)
Fasten off. The inner ears are slightly shorter than the outer ears. This is correct.
Ear Assembly
Hold one outer ear and one inner ear together with the pink side facing up. Using Yarn B and a yarn needle, whipstitch around the perimeter of both pieces, leaving the flat base open.
Lightly stuff with a tiny pinch of fiberfill if desired, then close the base seam. Repeat for second ear.
Attaching Ears to Hood
Position the ears at the top of the hood, one on each side, centered over the crown seam, approximately 1.5 inches apart at their bases. The ears should angle very slightly outward.
Using Yarn A and a yarn needle, sew each ear securely through the hood fabric using several passes to prevent flopping.
Face Embellishments
Using the brown or dark gray embroidery yarn, embroider a small nose and eyes on the hood, just below the base of the ears. Add a tiny pink pom-pom to the tip of the hood if desired.
Hem Edging (Shell Edging in Yarn B)
Join Yarn B at the bottom corner of the poncho. Work a shell stitch border around the entire bottom edge and up the sides to the neck opening.
Special Stitch: Shell Stitch: Work 5 double crochet into one stitch. This creates a pretty fan shape. When working the shell edging, you will skip 2 stitches before each shell and skip 2 stitches after, then single crochet into the next stitch before repeating.
Hood Opening Edging
Join Yarn B at the bottom of the neck opening. Work a round of single crochet evenly around the neck opening. You may add a few shell stitches for decoration if desired.
Assembly
Weave in all yarn ends securely, working tails through at least 5 to 6 stitches in multiple directions before trimming.
Tips
- 12 to 18 months: Add 8 to 10 more rows to each panel (Rows 31 through 38 or 40), maintaining the 4-stitch increase per row pattern.
- 18 to 24 months: Add 16 to 18 more rows to each panel.
- Wider neck opening: Add 2 to 4 stitches to the center of the foundation chain (change ch 35 to ch 37 or ch 39) and adjust shoulder seam stitch counts proportionally.
- Longer or shorter ears: Add or subtract even-numbered plain rounds to the outer ear pattern.
FAQs
What type of yarn is best for this poncho?
A smooth worsted weight (Category 4) yarn is recommended. Lion Brand Vanna’s Choice or Paintbox Yarns Simply DK work beautifully. Avoid fuzzy or heavily textured yarns as they will hide the stitch definition.
How do I adjust the size for an older baby?
To size up for 12-18 months, add 8-10 rows to the front and back panels. For 18-24 months, add 16-18 rows. Keep the increase pattern consistent.
Do I need to block the poncho?
Blocking helps the poncho lay flat and even out the stitches. For acrylic yarns, mist lightly and pat into shape. For wool, wet block by soaking and pinning flat to dry.
Can I make the ears stiffer?
If you want the ears to stand up more, you can add a tiny pinch of fiberfill when sewing the inner and outer ear pieces together, or use a slightly firmer yarn.
How do I wash the finished poncho?
Machine wash cold on a gentle cycle if using superwash wool or acrylic. Do not tumble dry at high heat. Lay flat to dry or use an air-only setting. Do not iron.
Finishing and Blocking
Pin the ears open flat during blocking so they retain their shape. For acrylic yarns: Pin the poncho flat to a blocking mat, mist lightly with water, and pat into shape. Allow to air dry completely. Do not steam block acrylic. For wool yarns: Wet block by soaking in cool water for 10 minutes, pressing out excess water gently in a towel, then pinning flat to dry.
You Did It!
You have created a cozy, whimsical poncho that makes an unforgettable baby gift or photo prop. The combination of the triangular flare, the floppy ears, and the soft shell edging makes this a standout piece. Enjoy the process and the beautiful result.
Pin This Crochet Pattern!