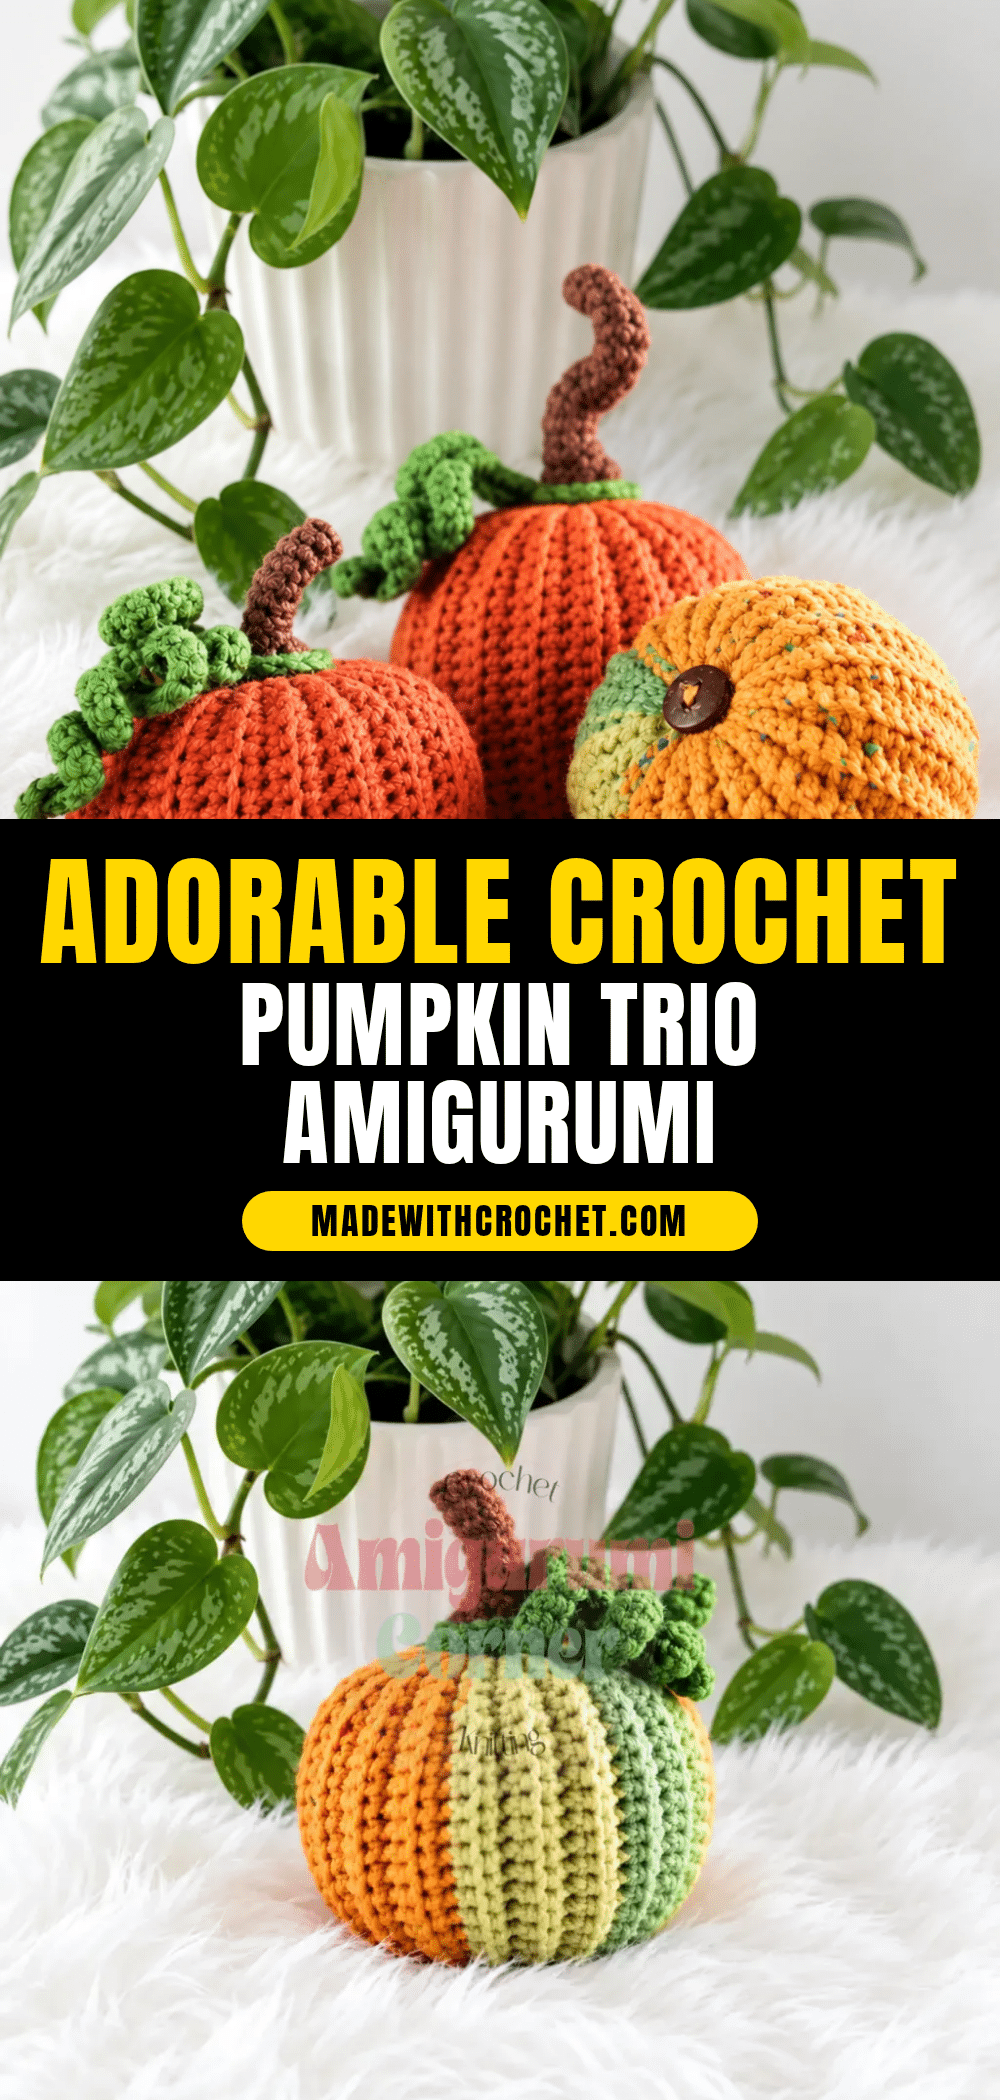
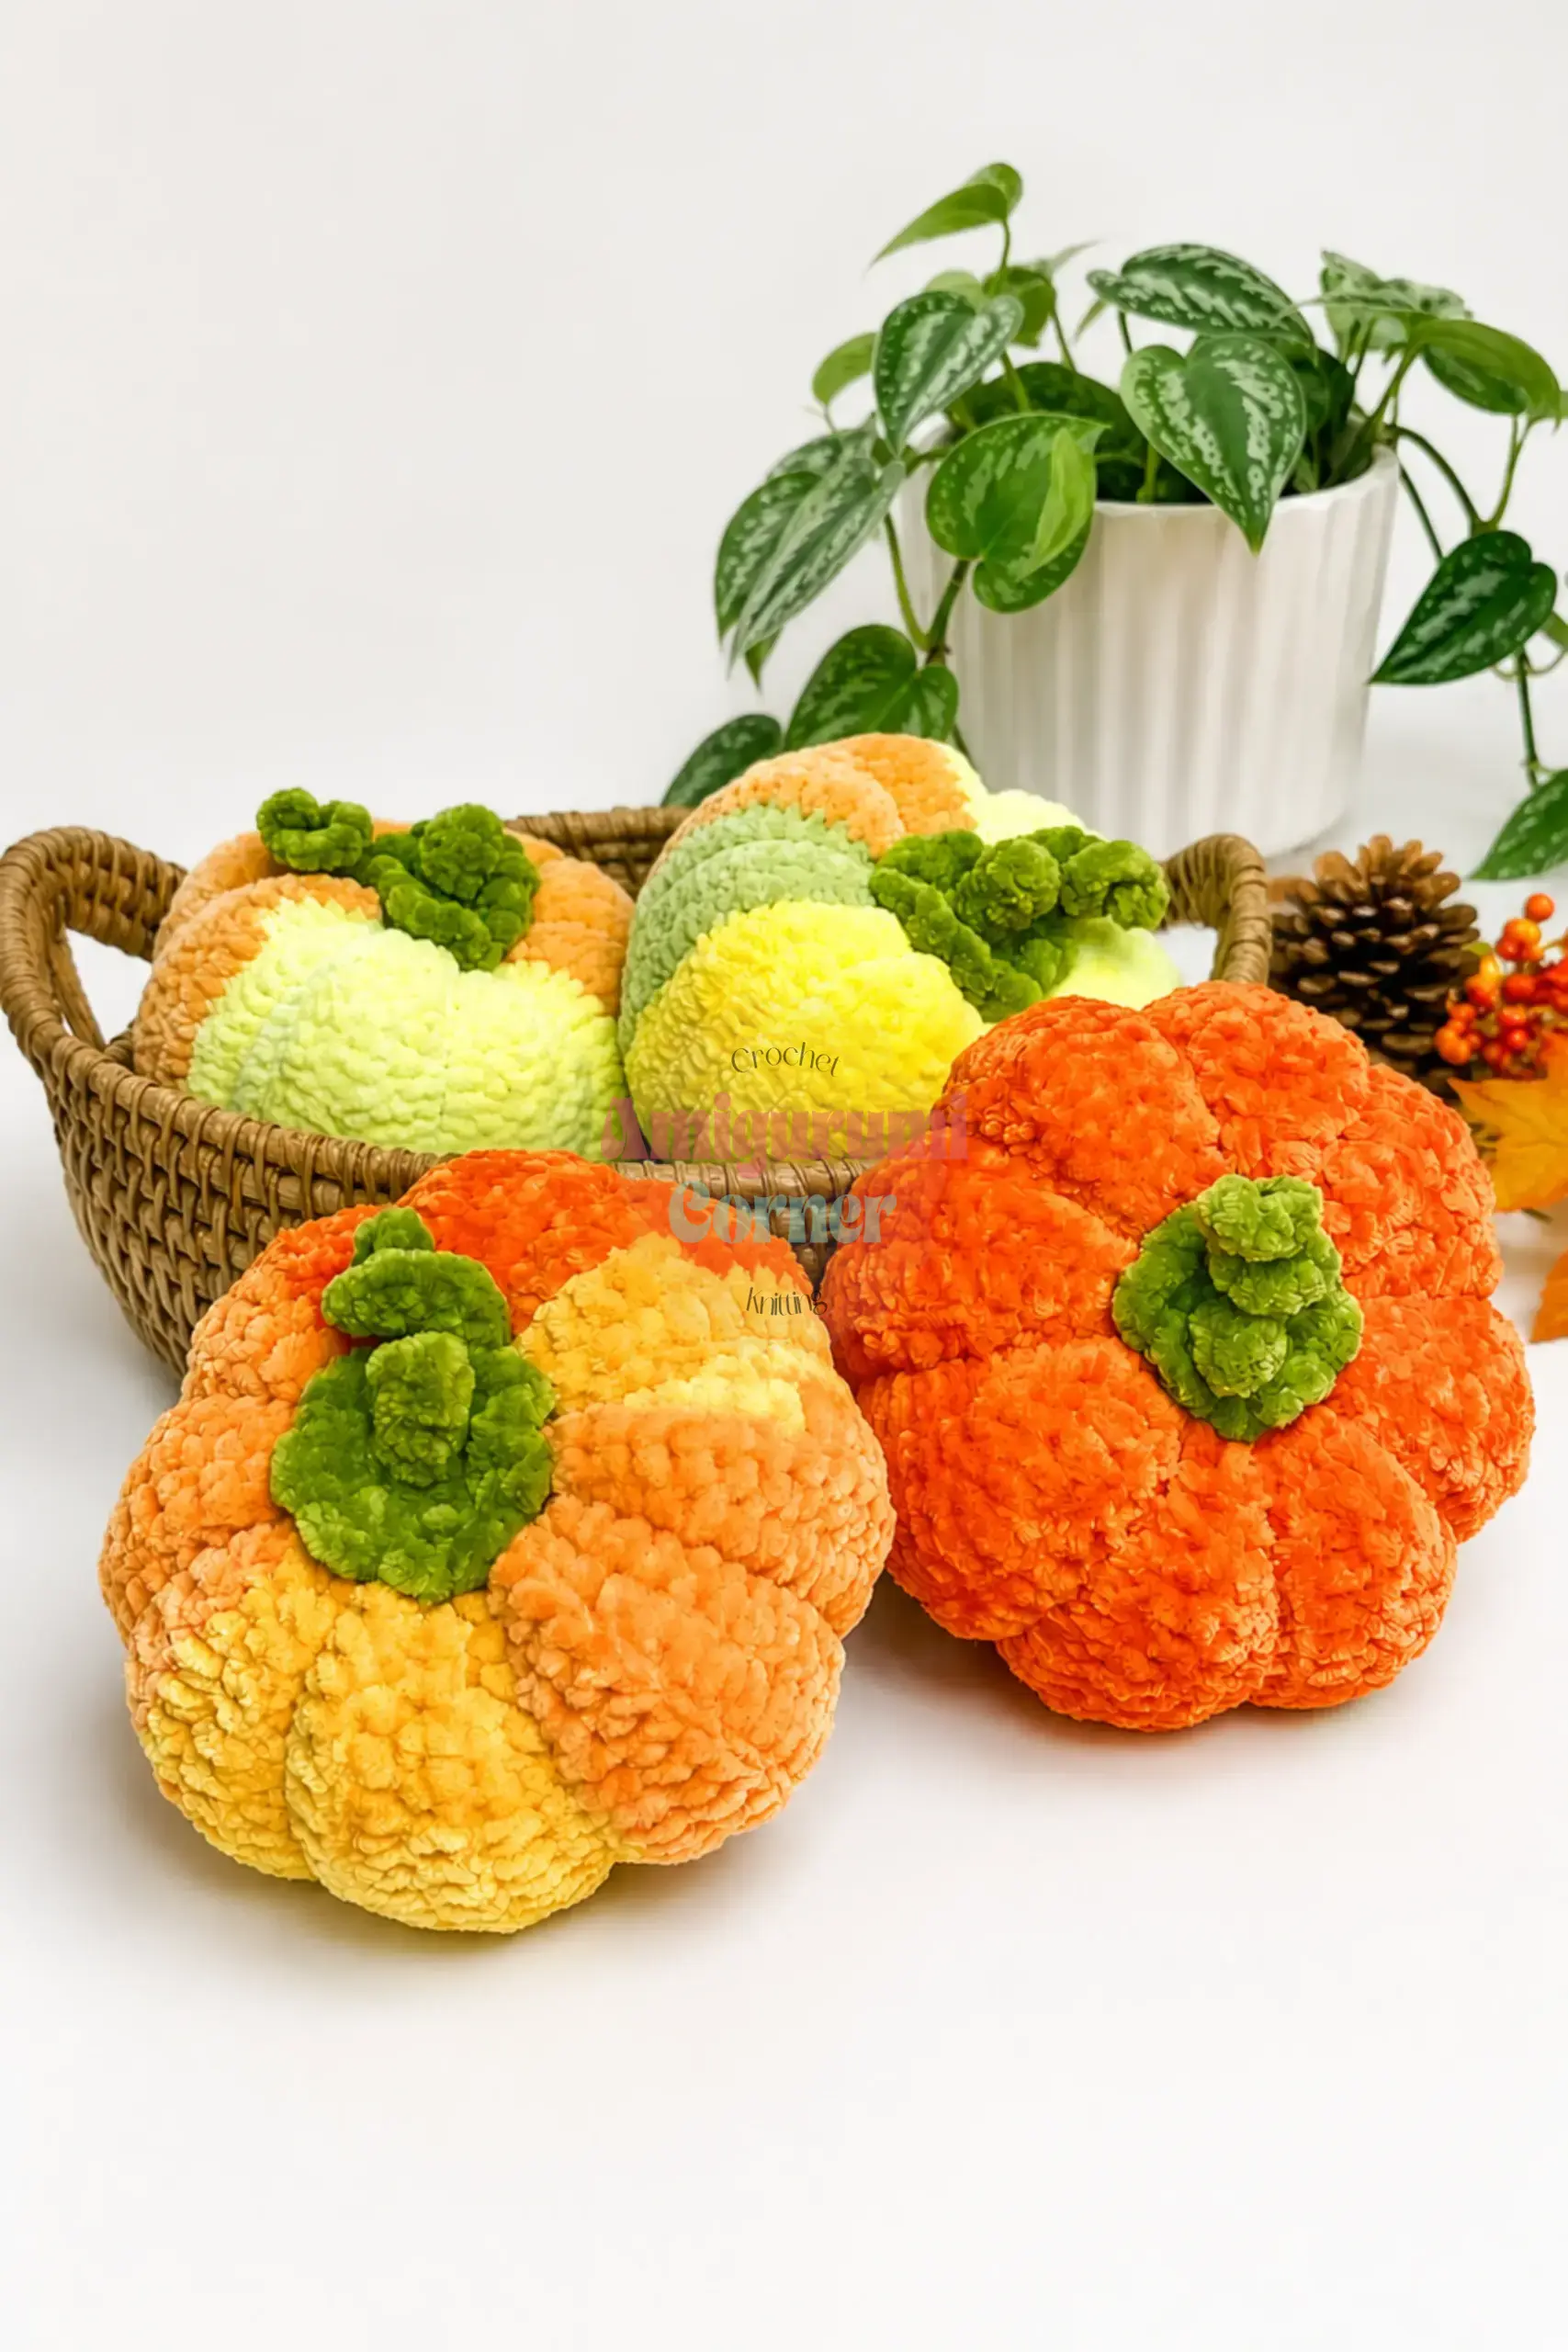
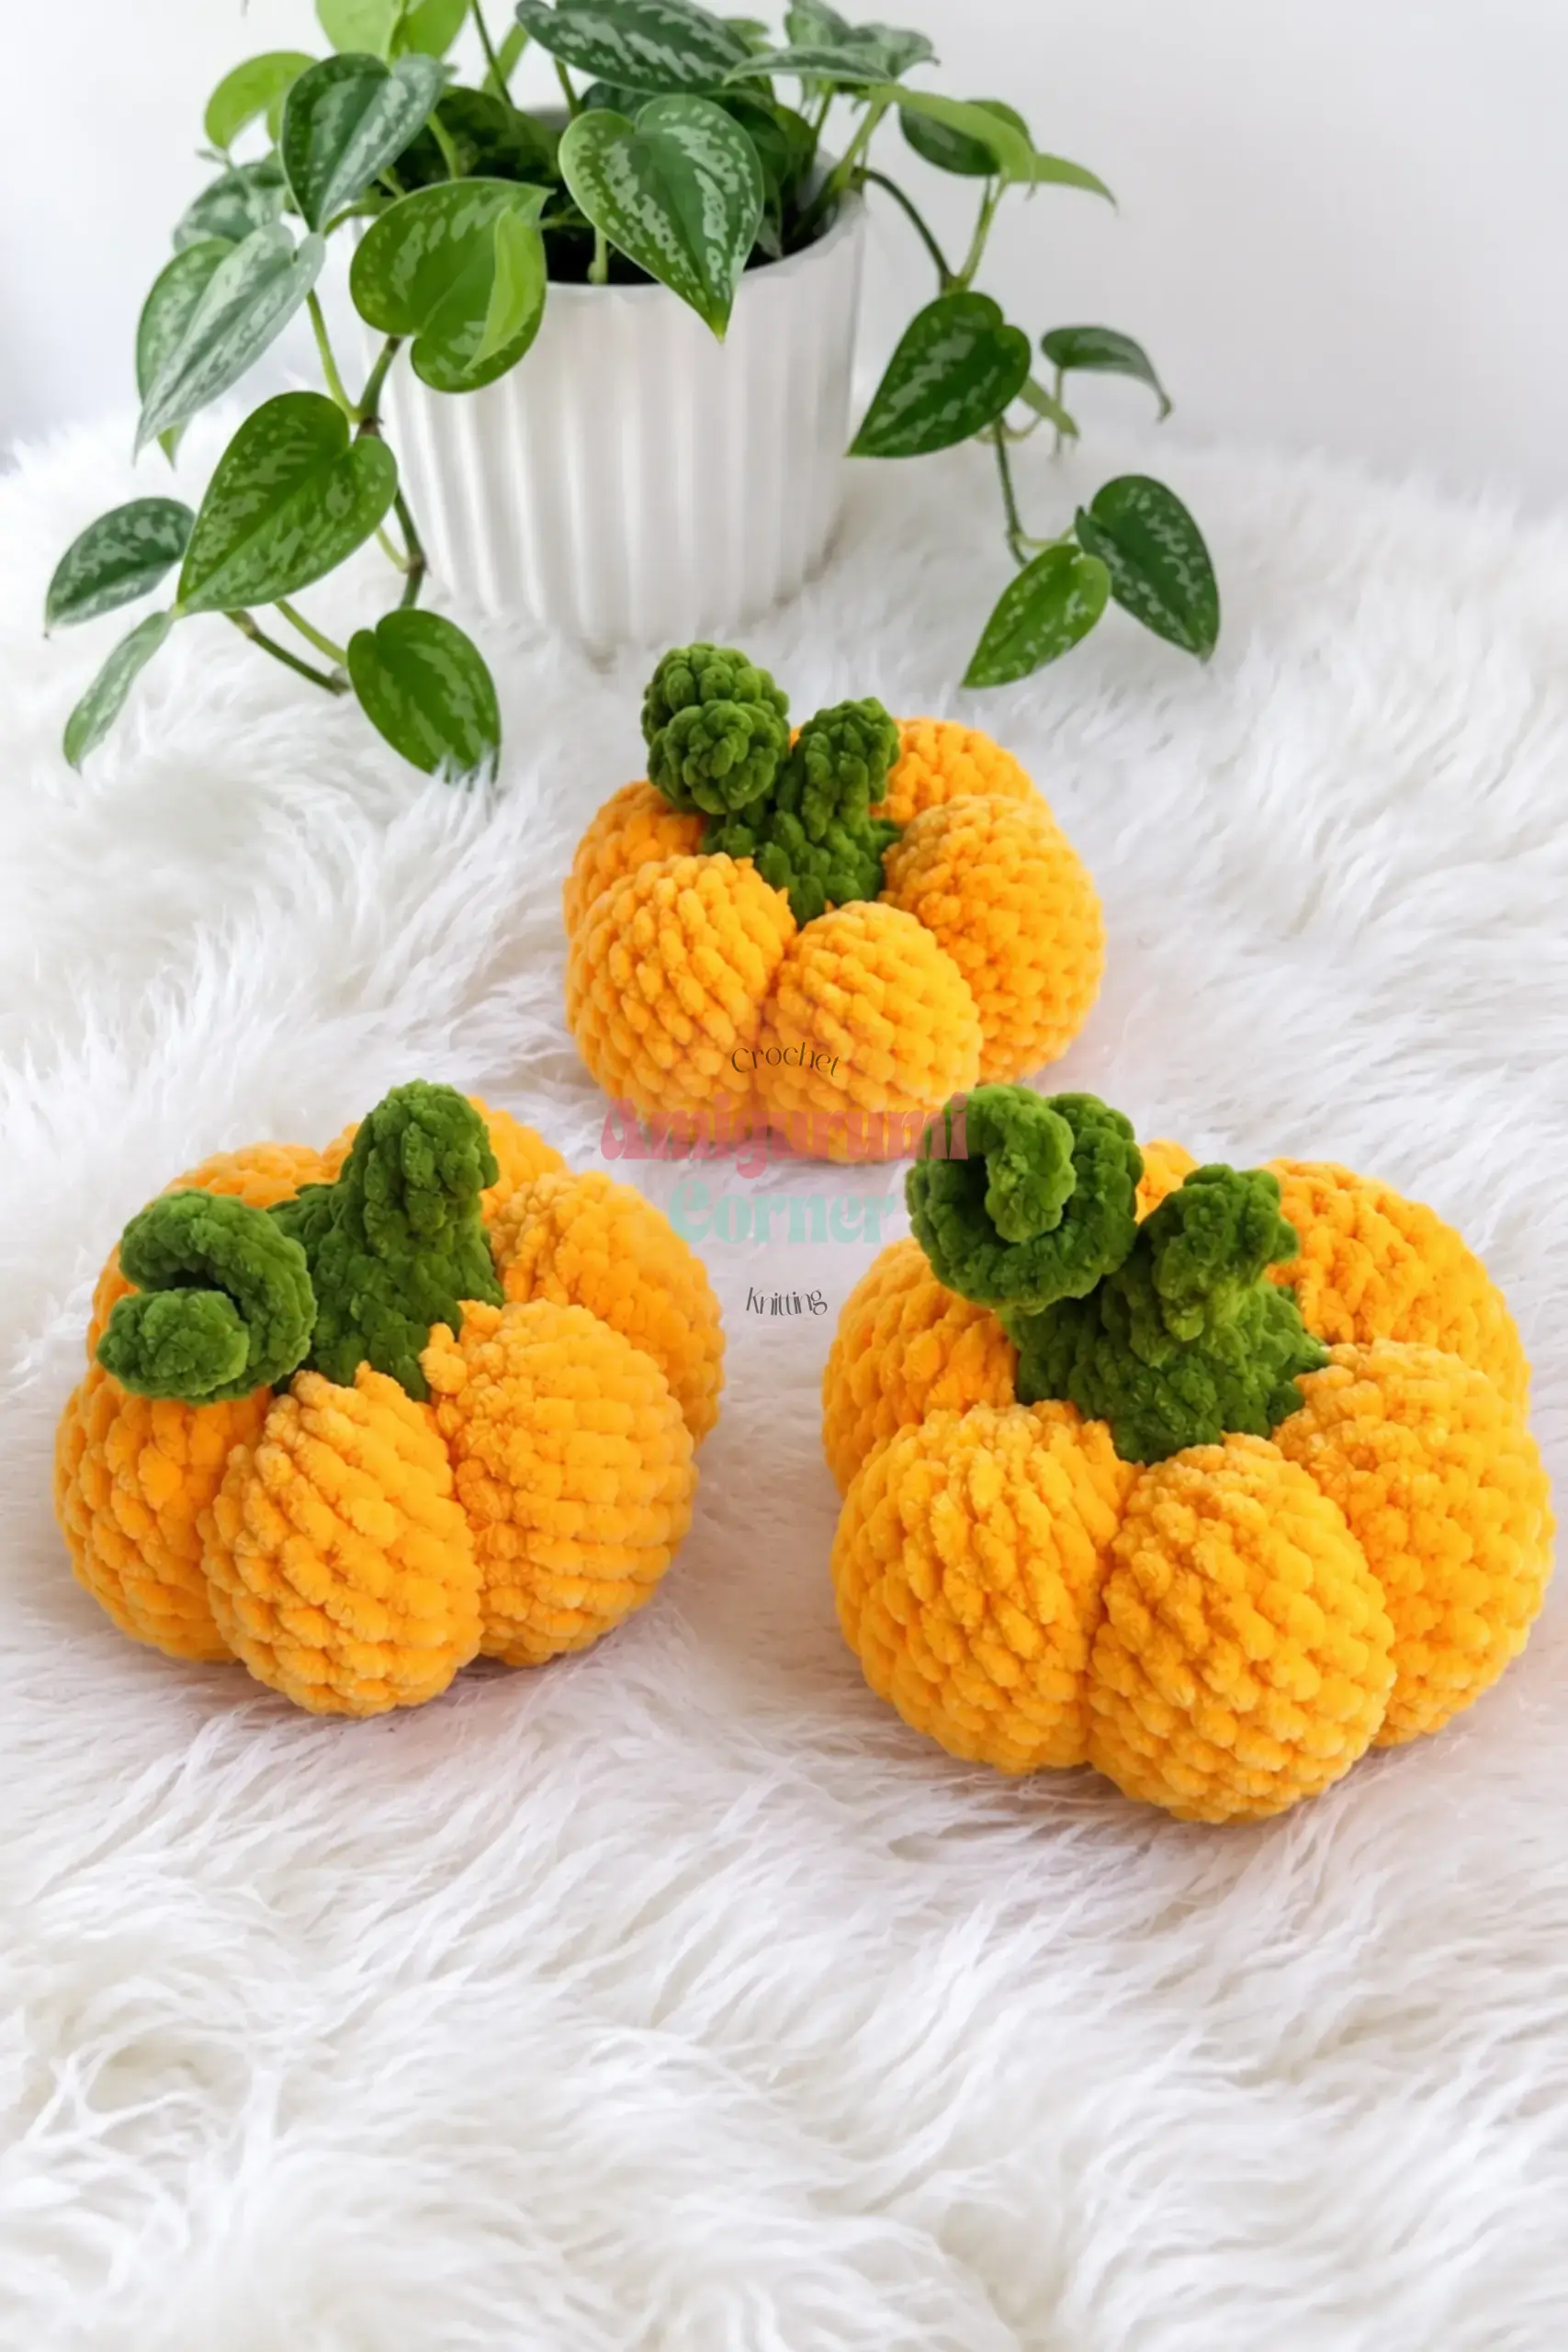
There is something deeply satisfying about pulling a specific skein from the stash bin that just screams “autumn.” For this project, I found myself drawn to a mix of smooth cottons and a tweed-effect yarn, deciding that the contrast between a solid mustard and a speckled terracotta would create a harvest display that feels both rustic and intentional. The tactile difference between the smooth ribbing and the fuzzy tweed adds a layer of visual interest that elevates these pumpkins from simple crafts to curated decor. These little gourds are perfect for mantels, wreaths, or as a no-carve pumpkin alternative that lasts all season.
Yarn and Color Notes
The beauty of this trio lies in the flexibility of your color choices. While the source pattern suggests a palette of mustard, pistachio, and green for the standard versions, you are encouraged to arrange your color blocks however you like. The tweed version specifically benefits from a two-tone cotton blend that mimics the organic texture of a real gourd. Using a smooth, plied cotton or cotton-blend in a similar DK weight is recommended to ensure the ribbing remains crisp; fuzzy or splitty yarns may blur the definition of the back-loop rows.
Project Overview
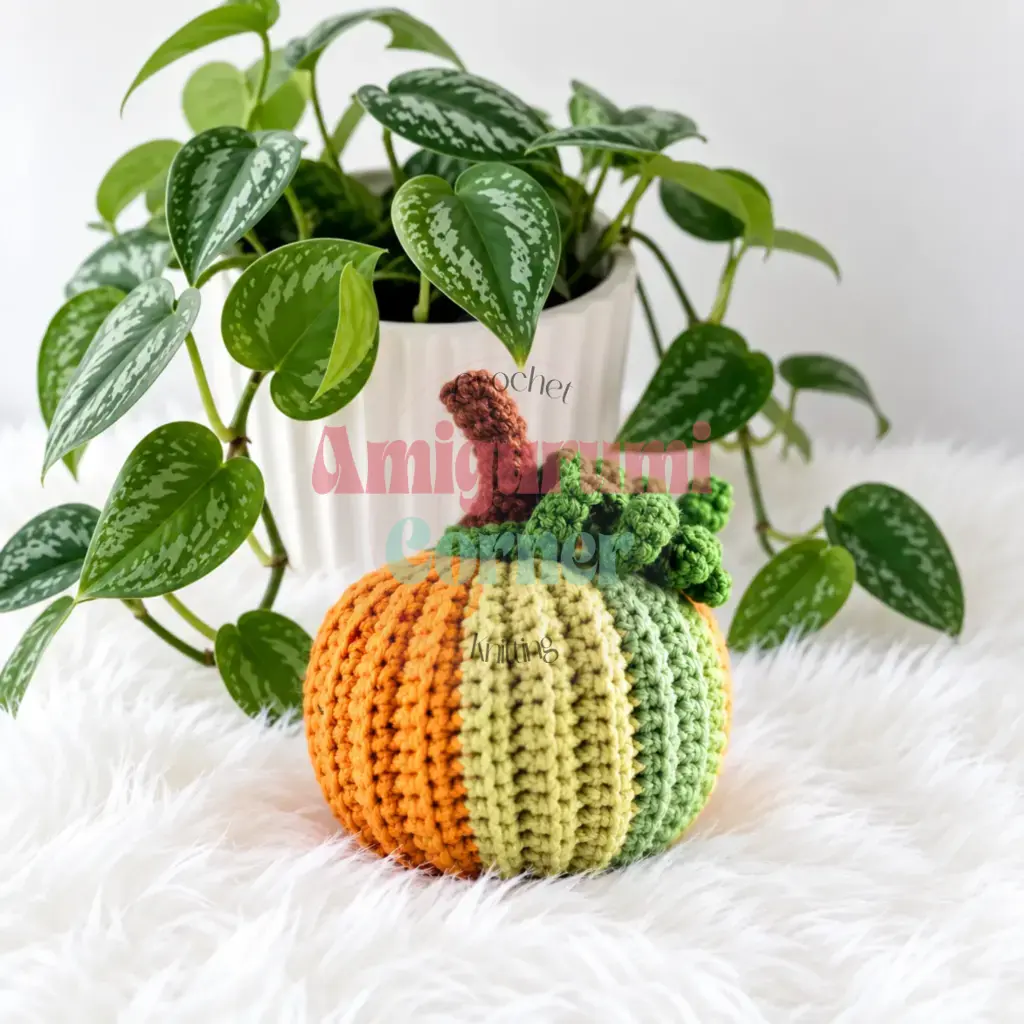
This beginner-friendly amigurumi project creates three variations of ribbed pumpkins using a clever flat-construction technique. Instead of traditional spiral rounds for the body, the pumpkins are worked in turned rows, then folded and cinched to create deep vertical grooves. The stems are worked in continuous spiral rounds, and the entire project relies on single crochet and slip stitch, making it accessible for new crocheters.
Materials
- Light worsted/DK weight cotton yarn in pumpkin shades (mustard, pistachio, and green work beautifully together)
- Light worsted/DK weight tweed-effect cotton yarn in two coordinating pumpkin tones
- A small amount of green DK weight cotton yarn for the tendrils
- A small amount of brown DK weight yarn for the stems
- Crochet hook, size B-1 (2 mm)
- Fiberfill stuffing
- Stitch markers
- Tapestry/yarn needle
- Straight pins
- Scissors
- Two buttons, 10 mm diameter (one per finished pumpkin)
- A short length of craft wire (for the curved stem on the tweed version)
Gauge and Finished Size
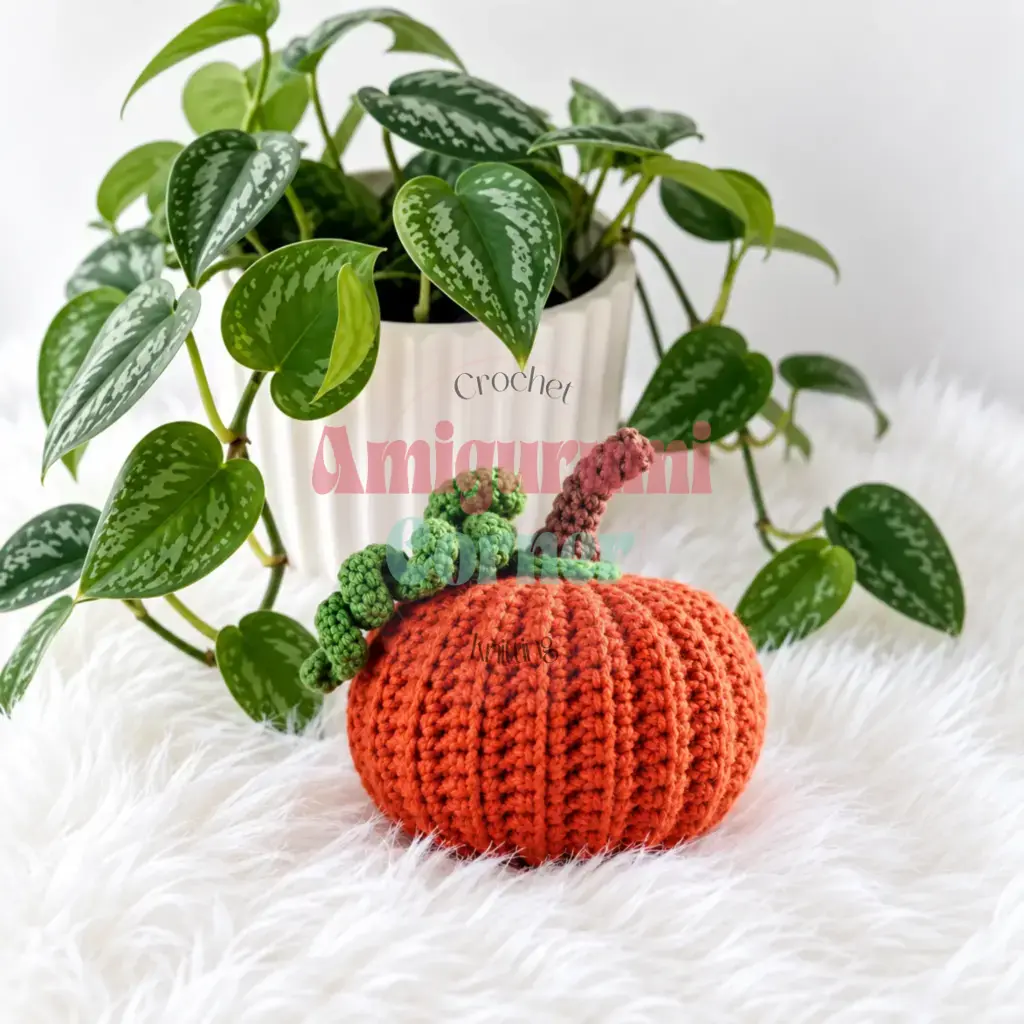
Gauge isn’t critical for this project; just make sure your stitches are worked snugly so the stuffing doesn’t peek through. Finished pumpkins measure roughly 2.2–2.4 in (5.5–6 cm) in diameter and 1.5–2.5 in (4–6 cm) tall, not including the stem.
Abbreviations
- BLO — Back Loop Only
- ch — Chain
- dec — Decrease
- inc — Increase
- MR — Magic Ring
- sc — Single Crochet
- sl st — Slip Stitch
- st(s) — Stitch(es)
Pattern Notes
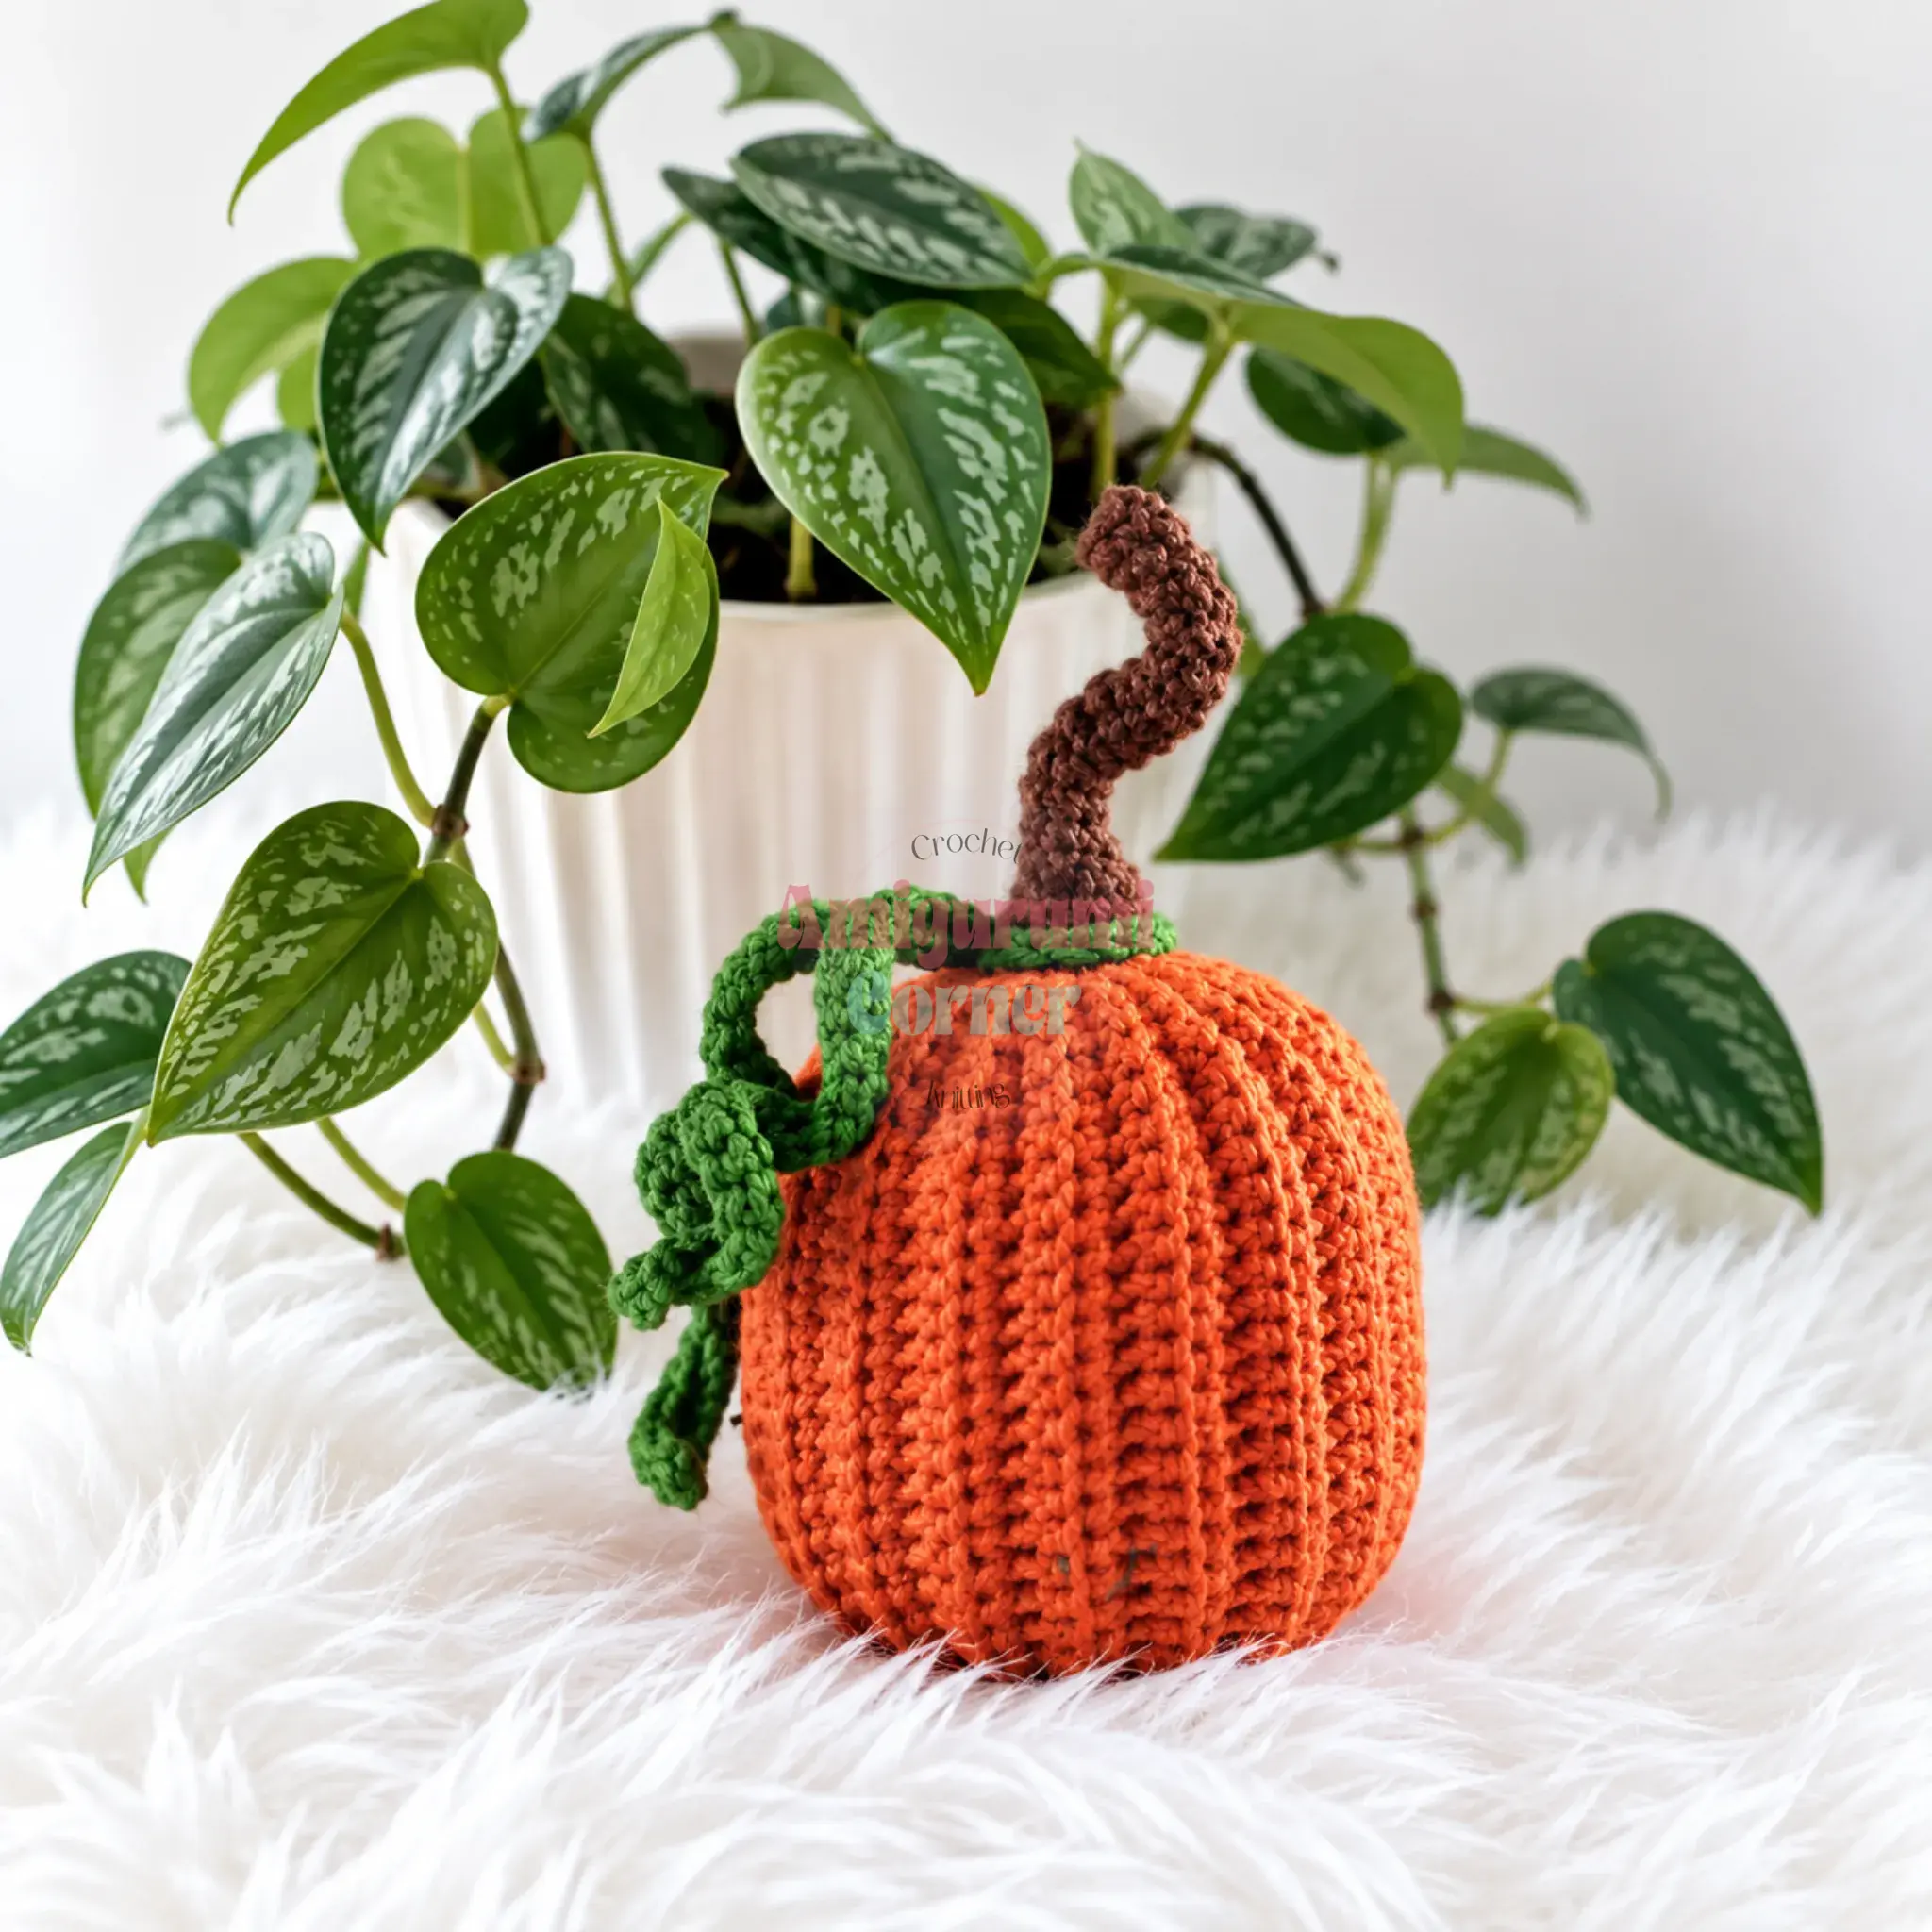
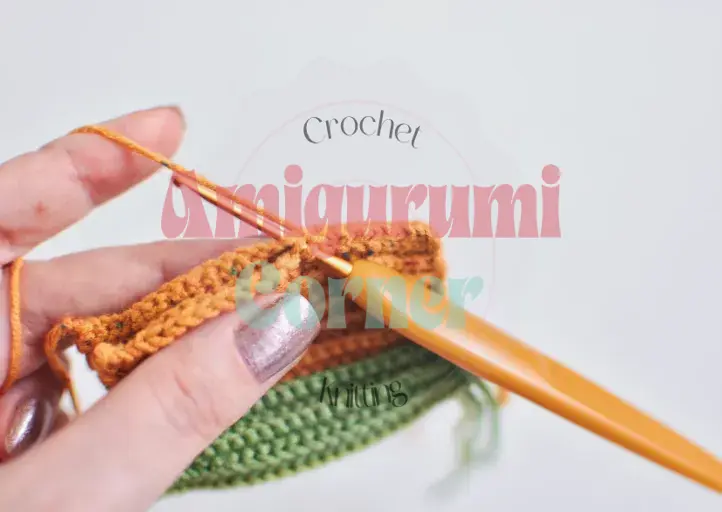
This pattern is written in US crochet terminology. The pumpkin bodies and tendrils are worked in turned rows (flat, back-and-forth), not in continuous spiral rounds — remember to turn at the end of every row. The stems are worked in continuous spiral rounds; do not join or turn unless noted. Starting with Row 2 of each pumpkin body, work in BLO only — this is what creates the deep ribbed texture. Stitch counts appear at the end of every round or row in parentheses, like this: (25).
Pattern Instructions
Pumpkin Body (Multicolor and Terracotta Version)
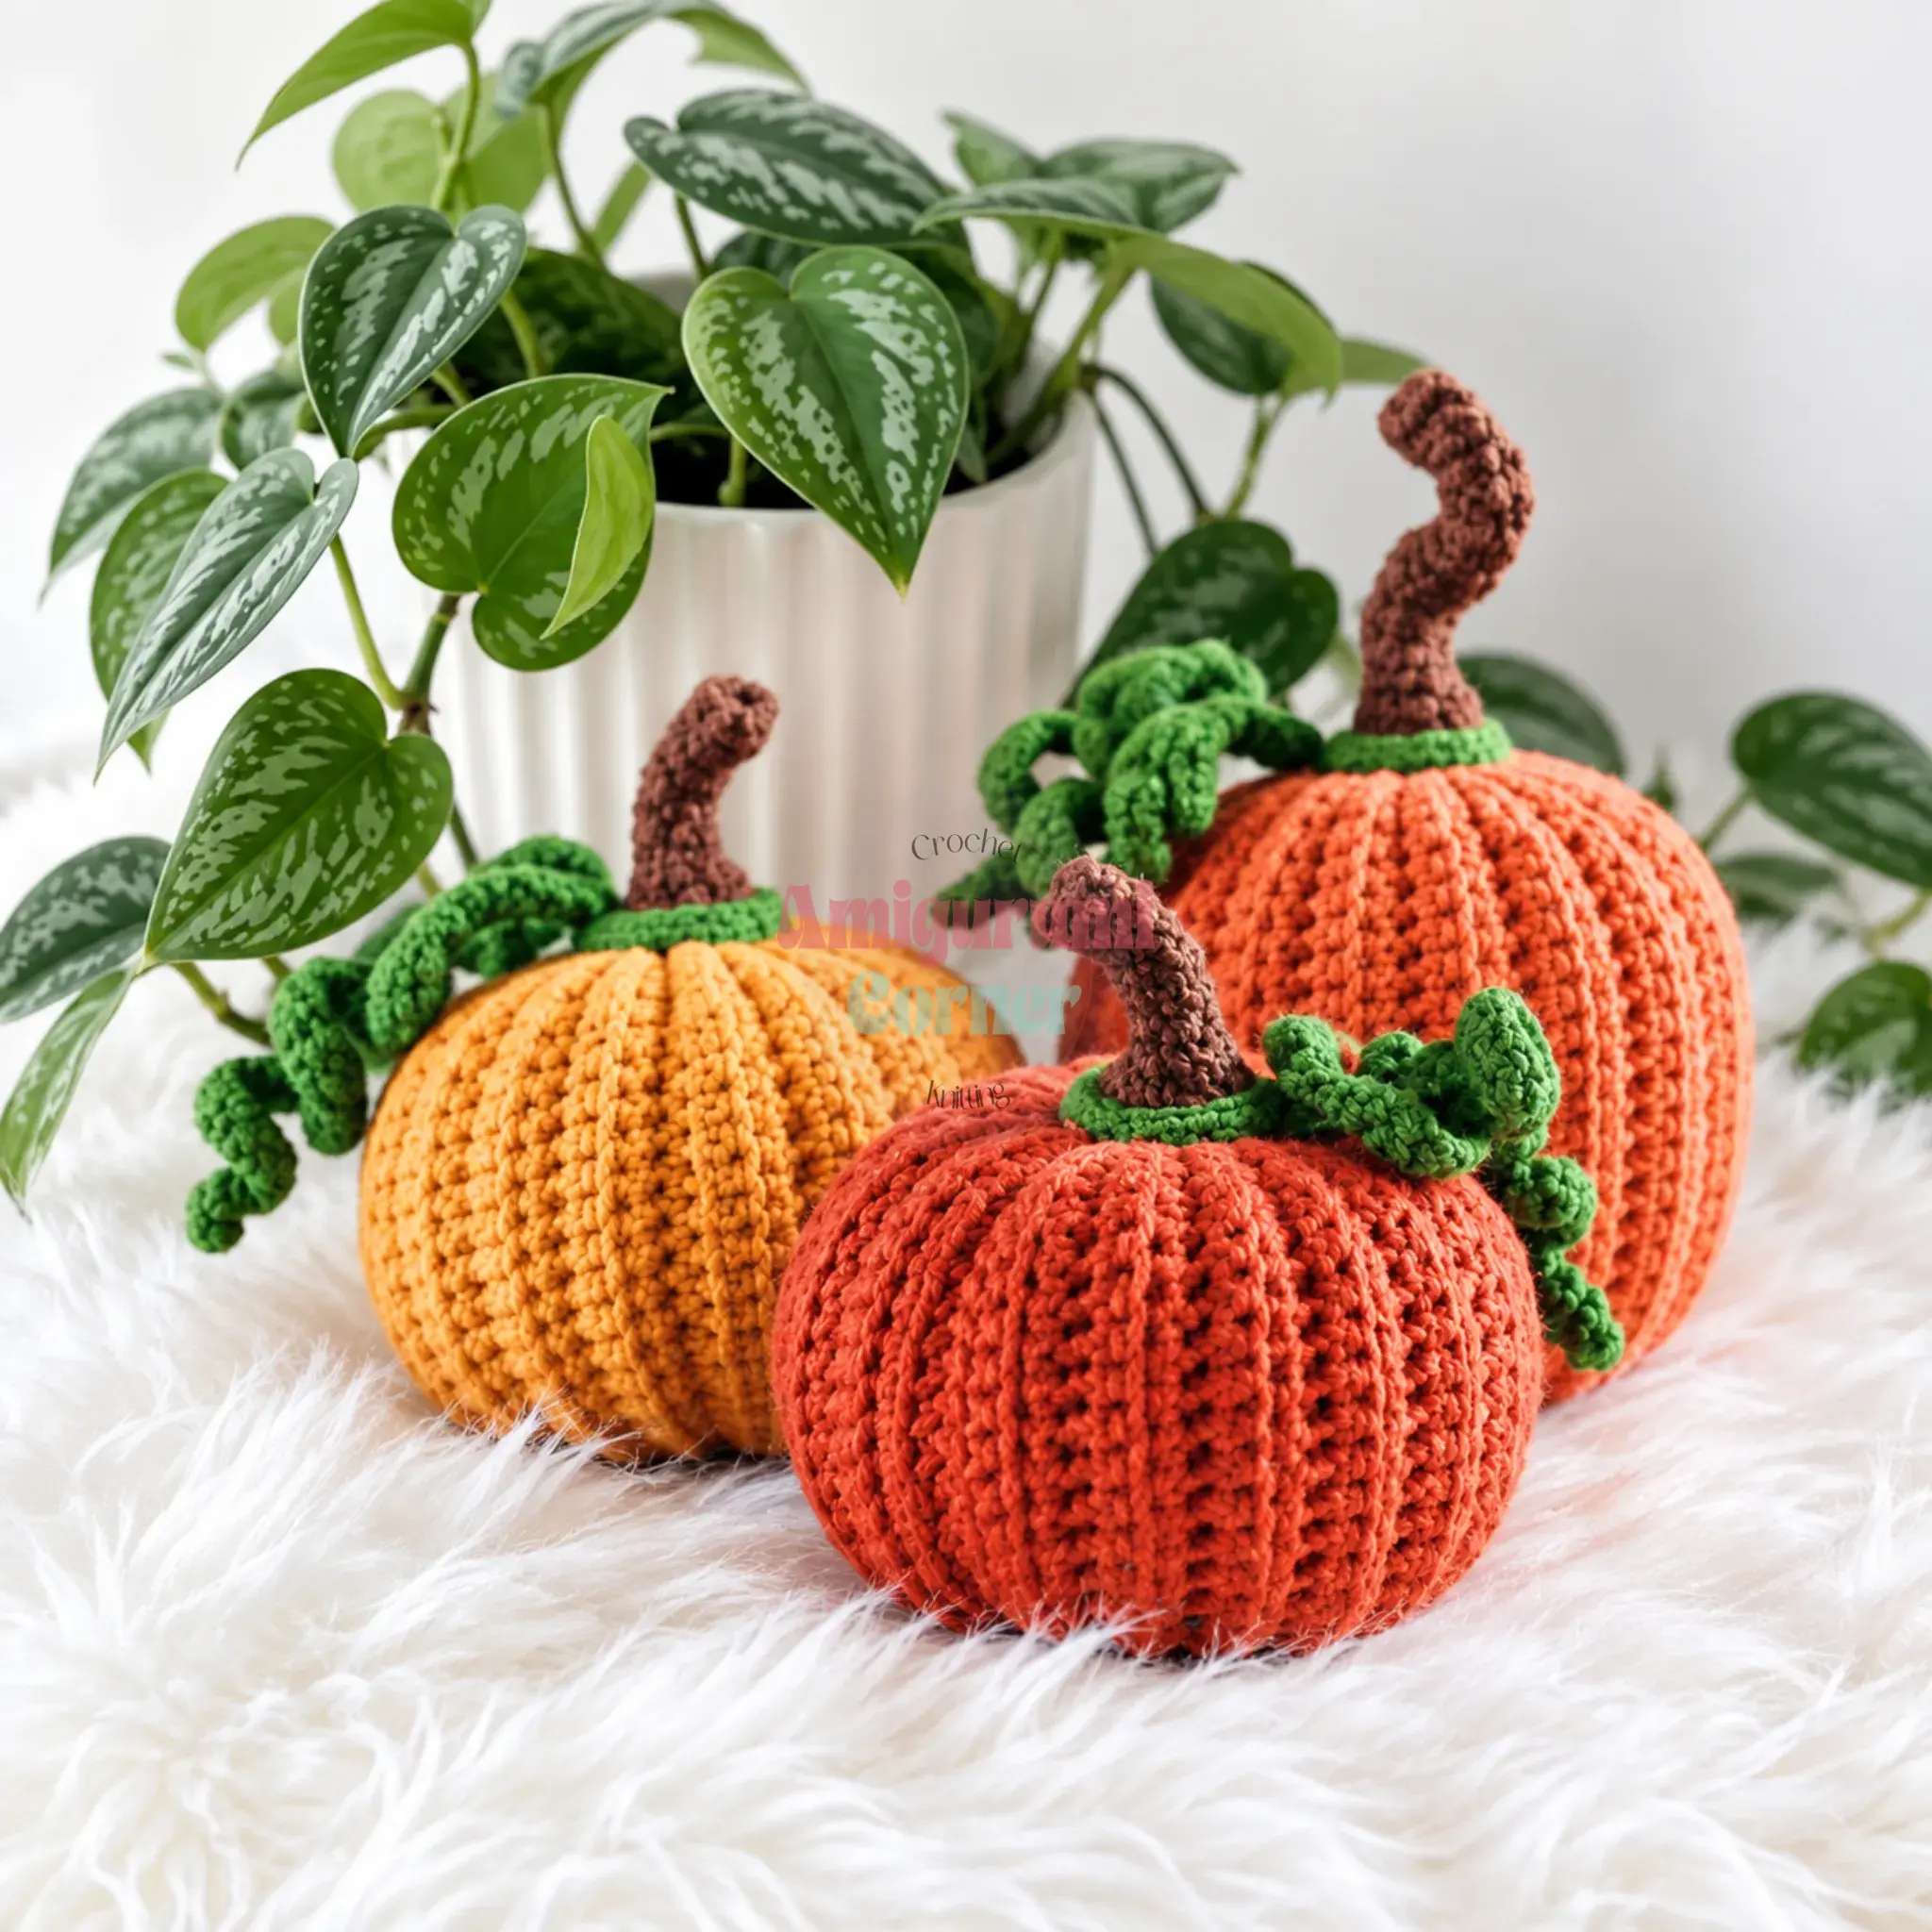
Chain 26. Work into the 2nd chain from the hook.
Row 1: sl st 5, sc 15, sl st 5. (25) Turn. Beginning with Row 2, work in BLO only for the remainder of the piece.
Row 2: sl st 5, sc 15, sl st 5, turn. (25)
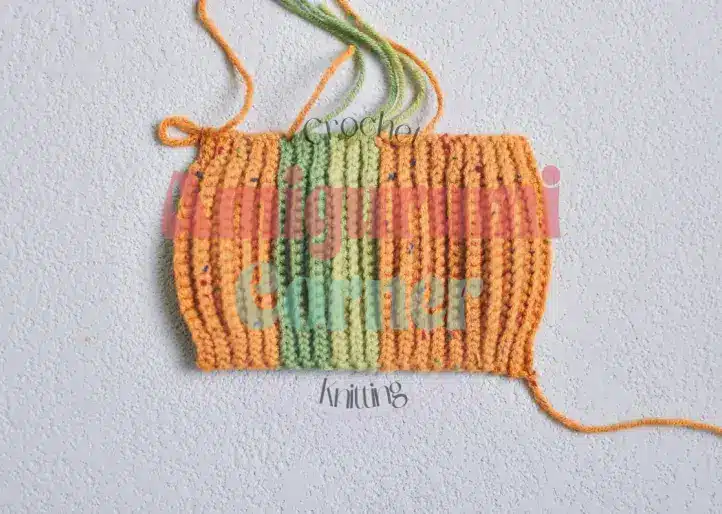
Rows 3–40: Repeat Row 2. (25)
This piece is worked for 40 rows total. For the terracotta version, use the same 40 rows — the flatter, more pumpkin-like shape comes entirely from how firmly you cinch the ends during assembly, not from any change in the stitch pattern.
Pumpkin Body (Terracotta Tweed Version)
Chain 31. Work into the 2nd chain from the hook.
Row 1: sl st 5, sc 20, sl st 5. (30) Turn. Beginning with Row 2, work in BLO only for the remainder of the piece.
Row 2: sl st 5, sc 20, sl st 5, turn. (30)
Rows 3–36: Repeat Row 2. (30)
This piece is worked for 36 rows total.
Stem (Multicolor and Terracotta Version)
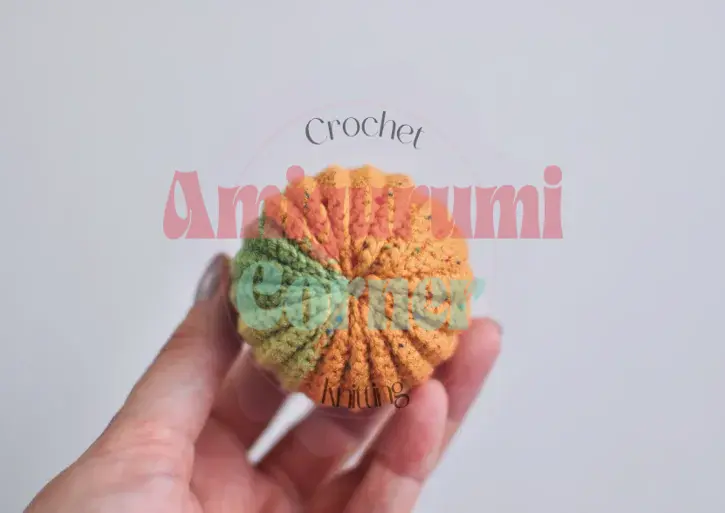
Rnd 1: 6 sc in MR. (6)
Rnd 2: inc in each st around. (12)
Rnd 3: BLO, sc in each st around. (12)
Rnd 4: dec repeat 6 times around. (6)
Rnds 5–10: sc in each st around. (6)
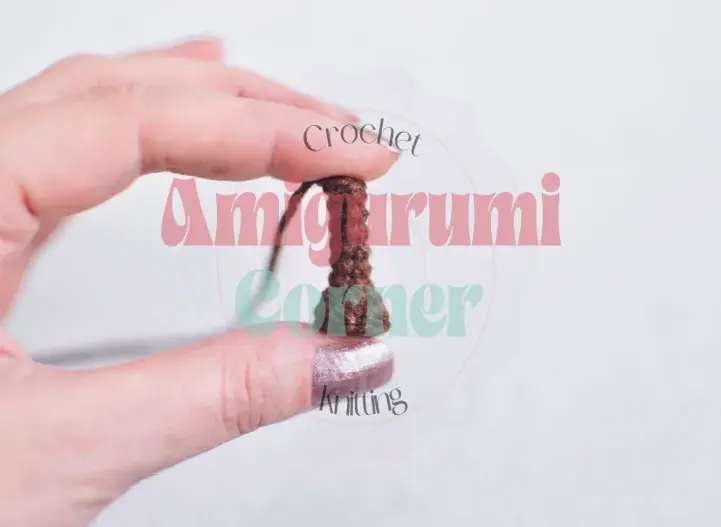
Do not stuff this piece. Fasten off with a slip stitch, leaving a tail for sewing, and weave in the starting tail.
Stem (Terracotta Tweed Version)
Rnd 1: 6 sc in MR. (6)
Rnd 2: inc in each st around. (12)
Rnd 3: BLO, sc in each st around. (12)
Rnd 4: dec repeat 6 times around. (6)
Rnds 5–17: sc in each st around. (6)
Do not stuff this piece. This stem is worked for 13 rounds of plain single crochet (Rounds 5–17) instead of 6, giving it extra length for the wire insert. Fasten off with a slip stitch, leaving a tail for sewing, and weave in the starting tail.
Tendrils
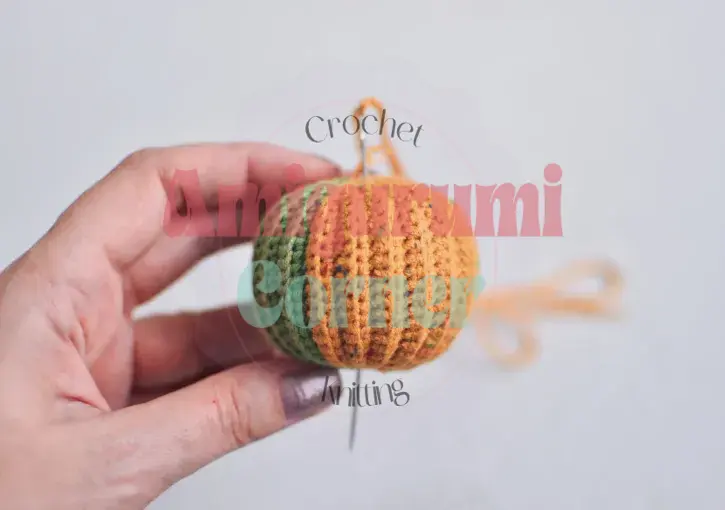
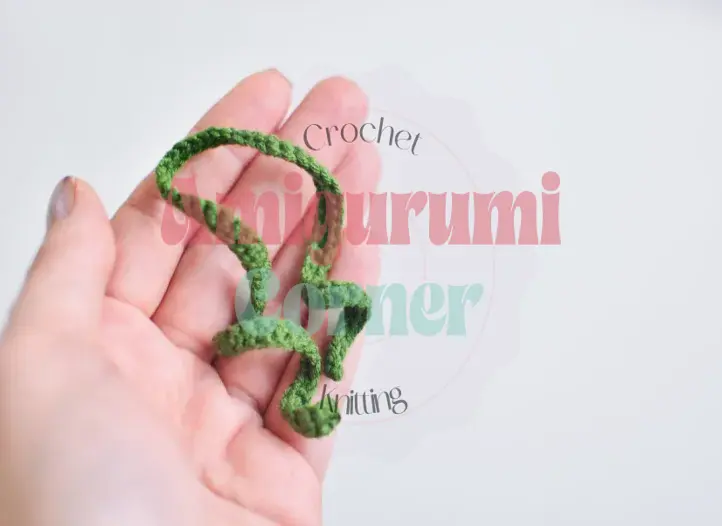
Chain 81. Work into the 2nd chain from the hook.
sc in next 28 ch. sl st in next 14 ch. sc in next 38 ch.
Fasten off, leaving a short tail, and weave in both ends.
Assembly
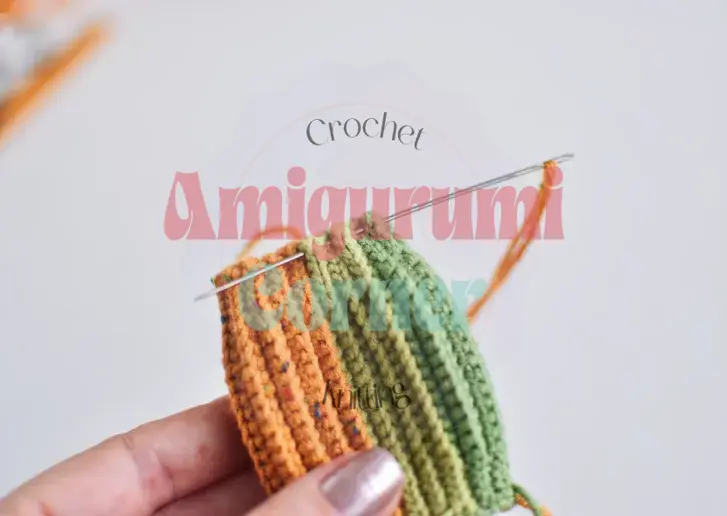
- Fold your finished Pumpkin Body panel in half widthwise, matching the short edges, and join them with slip stitch, leaving a long working tail.
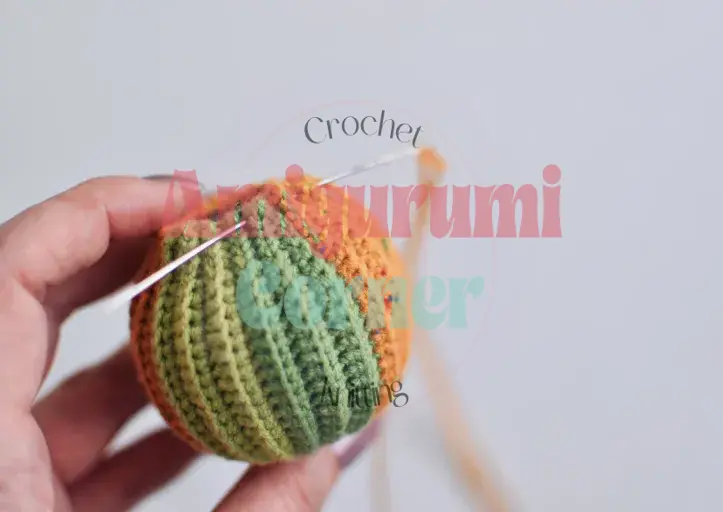
- Use that long tail to cinch one open end closed. If it won’t gather all the way shut, whipstitch the opening closed neatly instead. Fasten off and trim the tail.
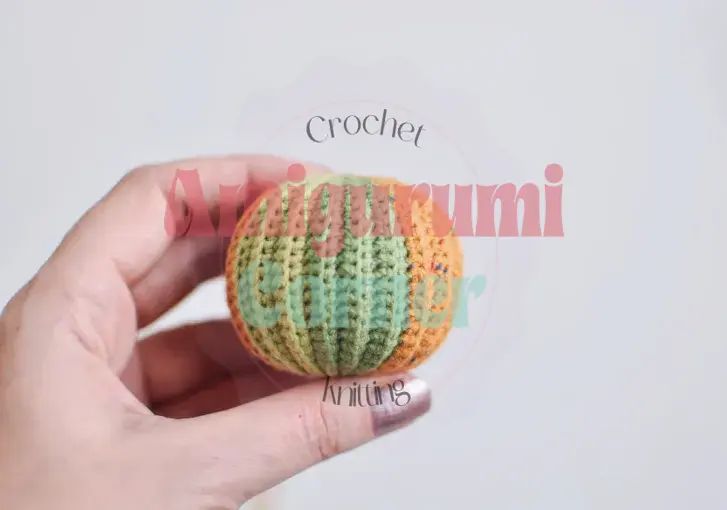
- Turn the piece right side out and stuff firmly with fiberfill.
- Thread your needle with a fresh length of yarn and cinch the second open end closed the same way — but this time, don’t cut the yarn.
- Pass the needle straight through the center of the pumpkin to the opposite side and sew a 10 mm button in place.
- Take 2–3 stitches back and forth through the center as you sew, pulling gently each time to flatten the pumpkin slightly and define its rounded shape.
- Fasten off, trim, and tuck the tail inside.
- Sew the matching Stem to the center top of the pumpkin, working your stitches through the front loops of the top two rounds only.
- For the Terracotta Tweed version, slide the short length of craft wire into the stem before closing it up, then bend the stem into a gentle curl.
- Sew the base opening closed if needed.
- Position the Tendrils against the pumpkin as desired and sew them in place — the slip-stitch section of the tendril should wrap snugly around the base of the stem to anchor it.
- Weave in any remaining ends.
Tips
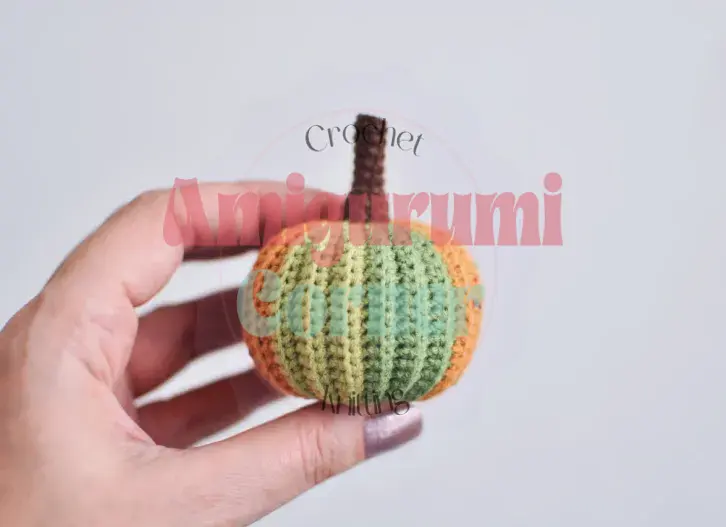
- Working consistently in the back loop only is what gives these pumpkins their signature vertical ribbing, so double-check you’re catching only the back loop on every row after Row 1 — it’s an easy stitch to lose track of, especially in a busy color like tweed.
- Keep your single crochets snug throughout; amigurumi worked at a slightly tighter gauge than usual holds stuffing better and keeps those grooves crisp once the piece is stuffed and cinched.
- When you cinch the open ends closed, pull slowly and check your work as you go — a slightly looser cinch gives a rounder pumpkin, while a firmer pull (as used for the terracotta version) creates that classic squashed, ribbed silhouette.
- If you’re substituting yarn, stick with a smooth, plied cotton or cotton-blend in a similar DK weight; a fuzzy or splitty yarn will blur the ribbing and make the back-loop rows harder to see.
- Finally, when sewing on the button and stem, use the pull-through-center technique described in the assembly steps rather than surface-stitching only — pulling the thread through the whole pumpkin is what gives the finished piece its slightly flattened, realistic pumpkin shape.
FAQs
Why are my pumpkins not ribbed enough?
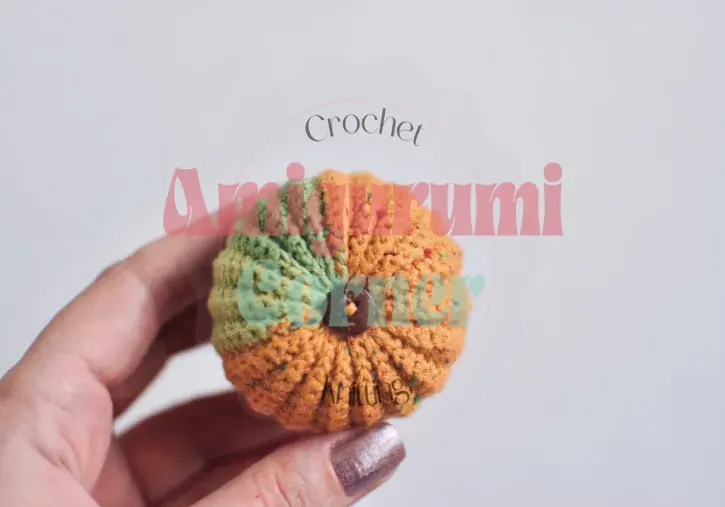
Ensure you are working strictly in the Back Loop Only (BLO) for every row after Row 1. Missing a loop or accidentally catching both loops will flatten the texture. Additionally, keeping your stitches snug helps define the ridges.
Can I use acrylic yarn for this pattern?
While you can use acrylic, the pattern recommends smooth, plied cotton or cotton-blend in DK weight. Cotton holds the ribbed shape better and makes the back-loop rows easier to see. Fuzzy or splitty yarns may blur the ribbing.
How do I make the stem curl?
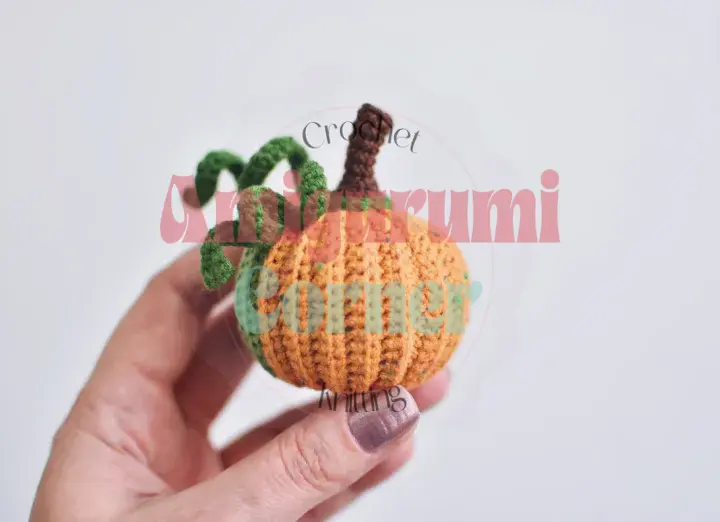
For the tweed version, insert a short length of craft wire into the stem before closing it up. Once the stem is attached to the pumpkin, you can bend the wire to create a gentle curl.
Do I need to stuff the stems?
No, the pattern explicitly states not to stuff the stem pieces. They are worked flat and attached to the top of the pumpkin.
What size buttons should I use?
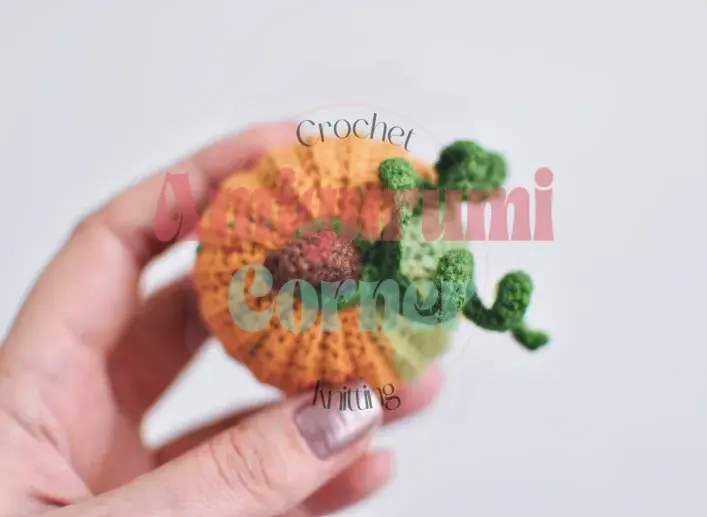
The pattern calls for 10 mm diameter buttons, one for each finished pumpkin.
Pin This Crochet Pattern!