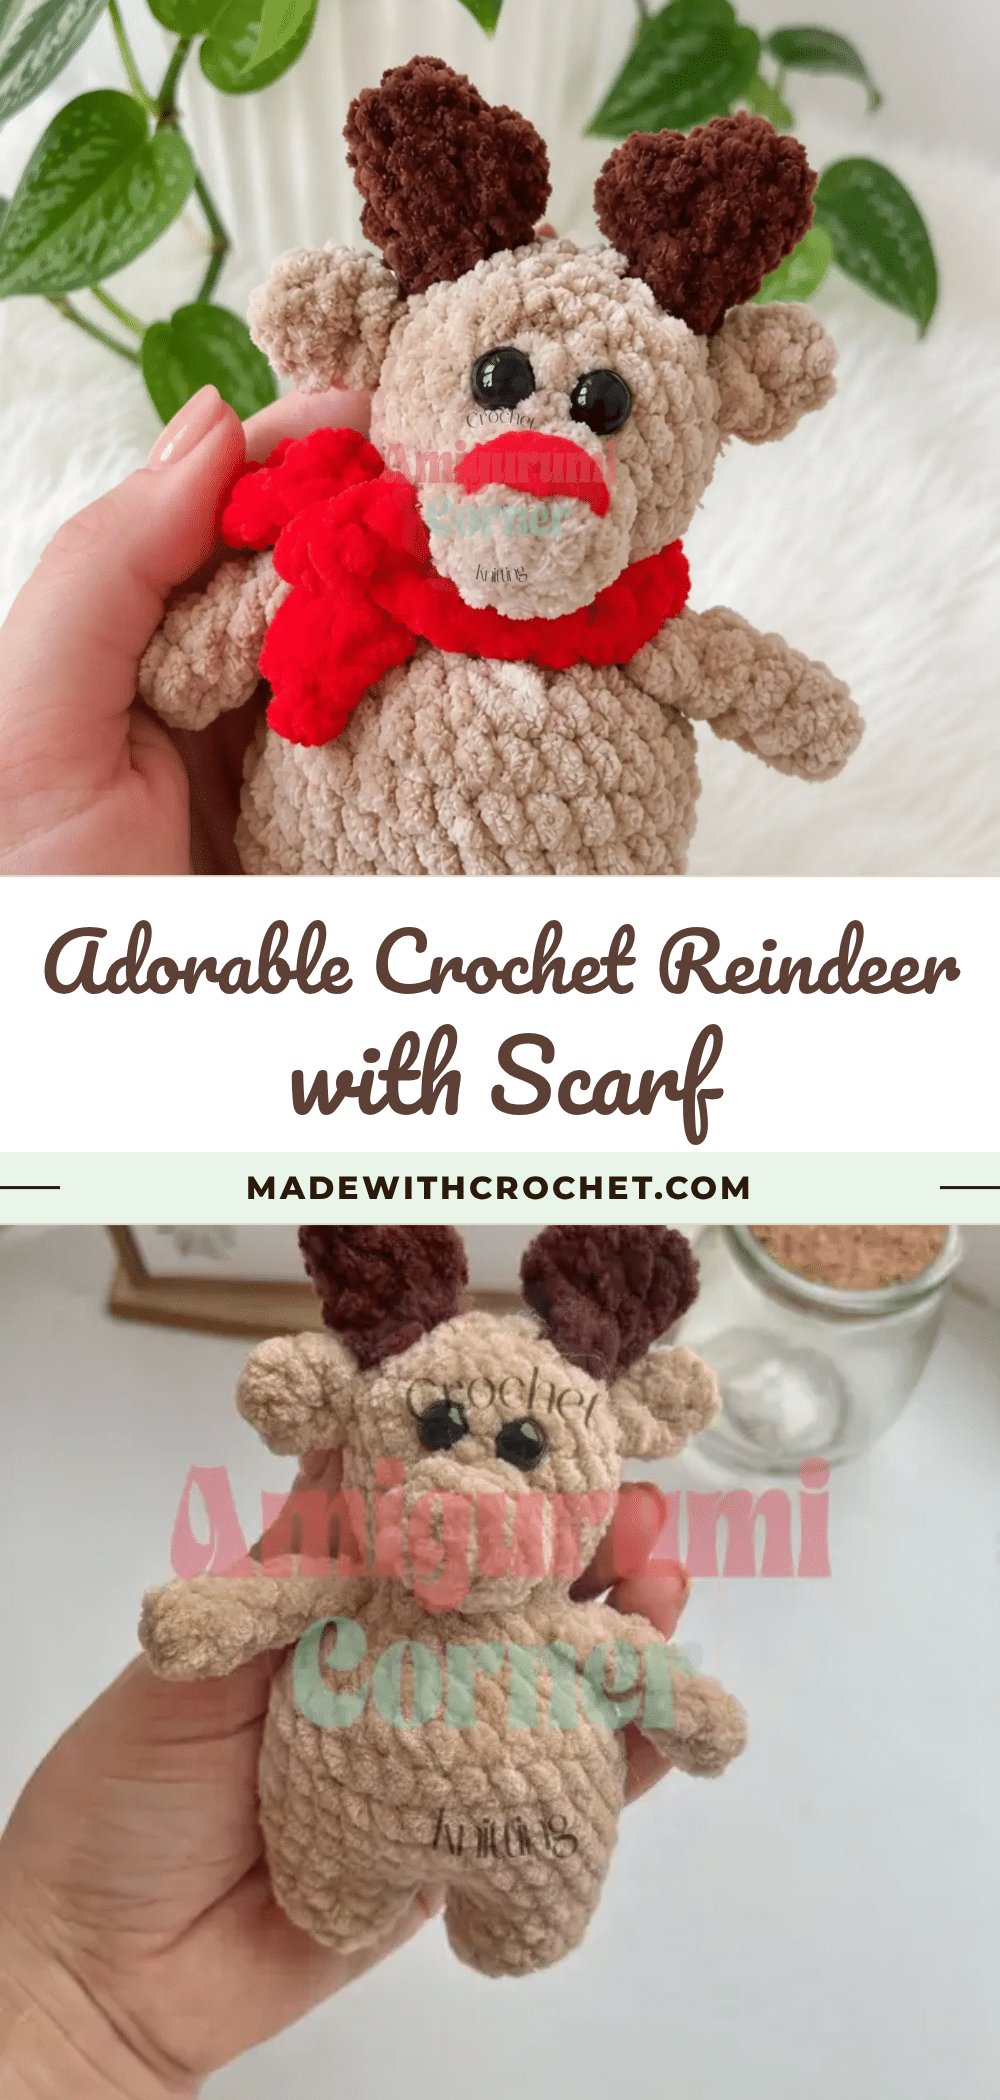
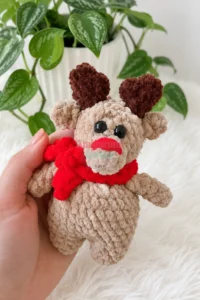
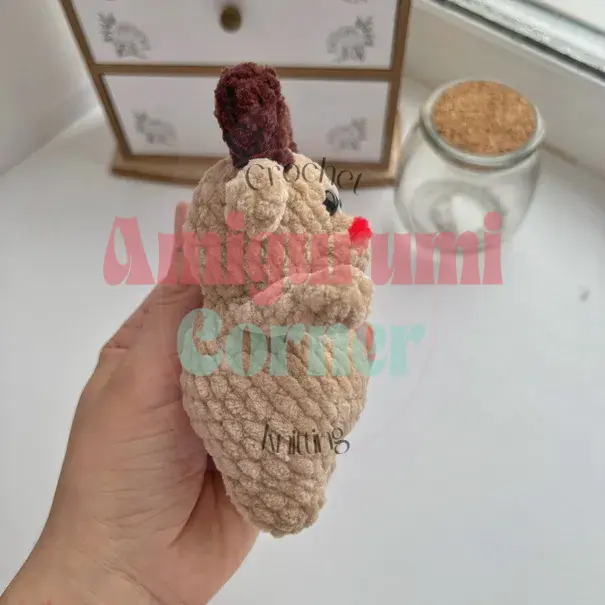
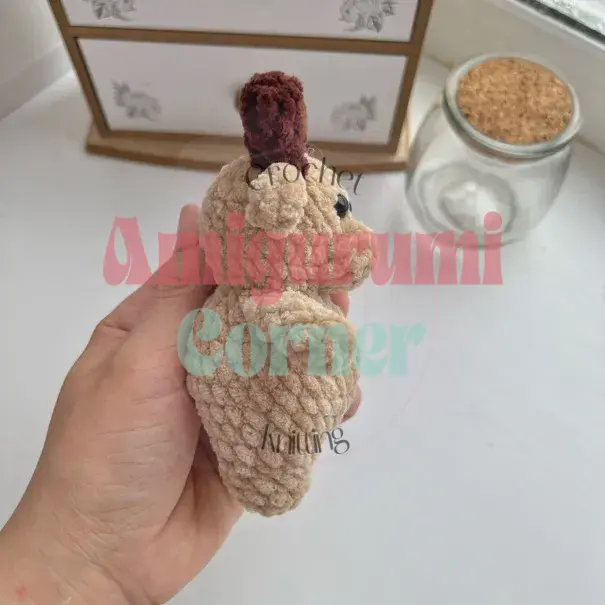
Picture a small tan reindeer with velvety brown antlers and a bright red scarf wrapped snug around his neck, the kind of ornament-sized companion that ends up perched on a mantel or tucked into a stocking every single year. This amigurumi reindeer pattern is worked in a continuous spiral, making it a friendly project for confident beginners who’ve made a round or two of amigurumi before. The whole figure comes together from just a handful of pieces: a joined leg-and-body base, a head worked right on top, floppy ears, bobble-tipped antlers, and a little knit-look scarf that ties the whole look together. Every stitch count is written out in full US crochet terms below, so grab your hook and let’s get started.
For this project, I reached for a stash-bin decision that felt instantly festive: a soft, creamy beige for the body and a deep, rich brown for the antlers. The texture of the worsted weight yarn creates a plush, inviting surface that begs to be touched, while the red scarf adds a pop of color that feels intentionally cozy. Choosing a yarn with a slight halo helps blend the stitches together, giving the reindeer a smooth, rounded silhouette that looks professional yet approachable.
Yarn and Color Notes
The color palette for this reindeer is designed to evoke a classic holiday feel while remaining neutral enough to match any decor. The tan or beige yarn used for the body, head, arms, ears, and muzzle provides a warm, natural base. Dark brown yarn is reserved for the antlers, adding a touch of woodland realism. The bright red scarf serves as the focal point, drawing the eye and completing the character. For the nose, a small amount of red embroidery floss or yarn adds a delicate, precise detail that contrasts nicely against the muzzle. When selecting your yarn, consider the fiber content; a wool blend or acrylic with some softness will enhance the cuddly appeal of the finished amigurumi.
Project Overview
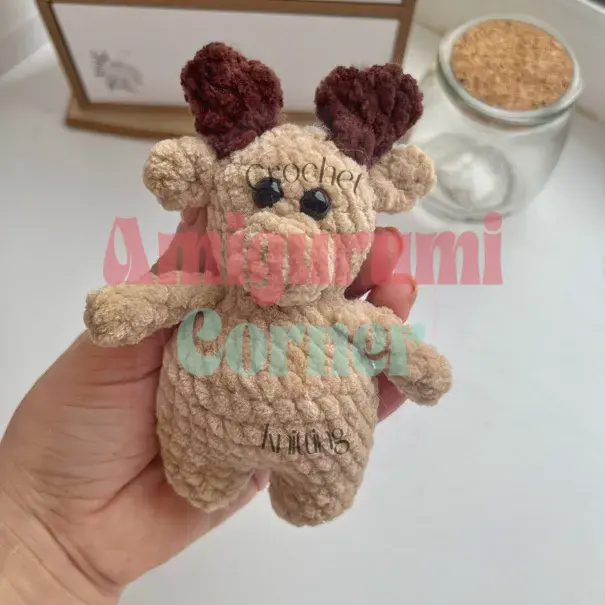
This adorable reindeer amigurumi is a charming holiday project suitable for confident beginners. It is worked in a continuous spiral, which simplifies the process by eliminating the need to join or turn at the end of most rounds. The pattern includes instructions for the main body and head (worked as one piece), separate arms, ears, muzzle, horns, and a flat scarf. The assembly involves sewing these components together and adding a few embroidered details for the nose.
Materials
- Worsted weight (Category 4) yarn in tan/beige (body, head, arms, ears, muzzle)
- Worsted weight (Category 4) yarn in dark brown (antlers)
- Worsted weight (Category 4) yarn in red (scarf)
- Small amount of red embroidery floss or yarn (nose)
- US G-6 (4.0 mm) crochet hook, or size needed to achieve a tight amigurumi gauge
- 8mm safety eyes (1 pair)
- Polyester fiberfill stuffing
- Stitch marker
- Yarn needle
- Scissors
Gauge and Finished Size
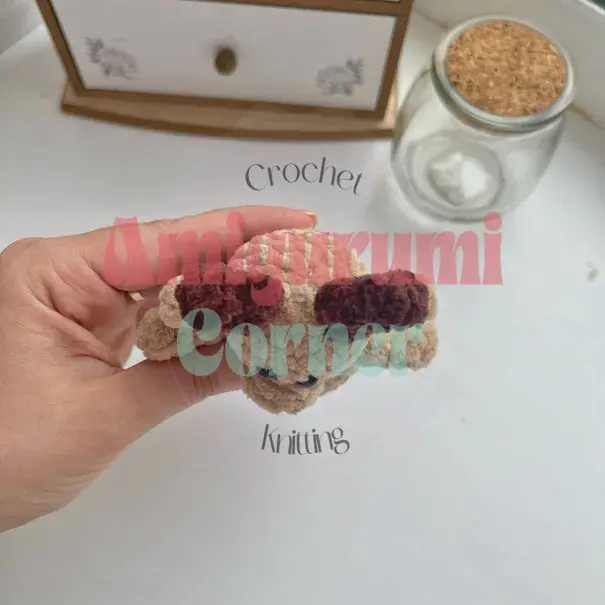
Gauge isn’t critical for this project — just work tightly enough that stuffing doesn’t peek through the stitches. The finished size is not specified, but the pattern is designed to create an ornament-sized companion.
Abbreviations
- BLO — Back Loop Only
- ch — Chain
- dc — Double Crochet
- dec — Decrease (invisible decrease)
- hdc — Half Double Crochet
- inc — Increase (2 sc in same stitch)
- MR — Magic Ring
- sc — Single Crochet
- sl st — Slip Stitch
- st(s) — Stitch(es)
Pattern Notes
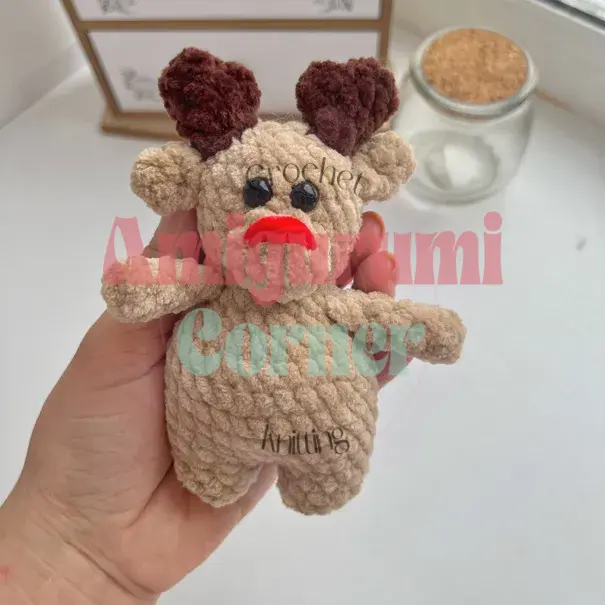
This pattern is written in US crochet terminology. All amigurumi pieces are worked in a continuous spiral (do not join or turn) unless otherwise noted. The scarf is worked in a flat row along a foundation chain. Gauge isn’t critical for this project — just work tightly enough that stuffing doesn’t peek through the stitches. Stitch counts are given at the end of each round/row in parentheses, e.g. (24). The body and head are worked as one continuous piece — don’t fasten off between them. Stuff firmly but don’t overstuff, especially around the neck join, so the head sits naturally on the body.
Pattern Instructions
Arms (Make 2)
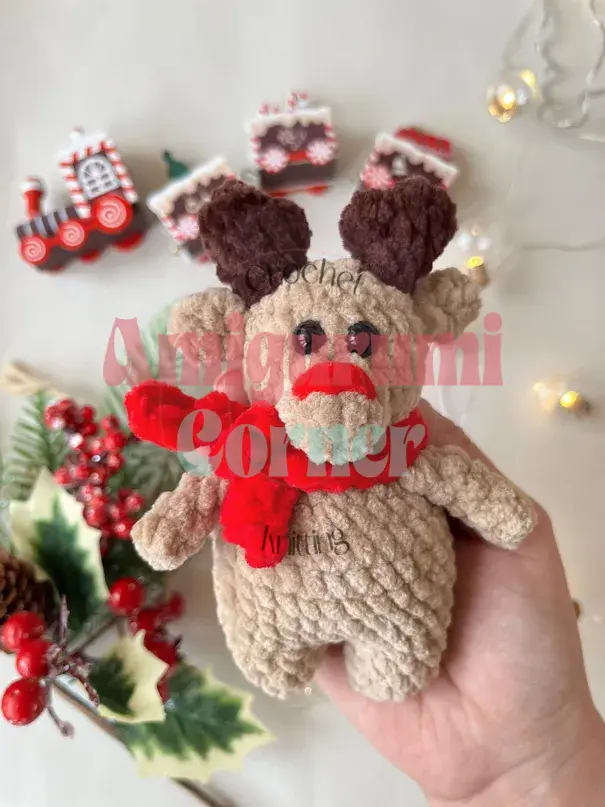
Rnd 1: 6 sc in MR. (5)
Rnds 2–5: sc in each st around. (5)
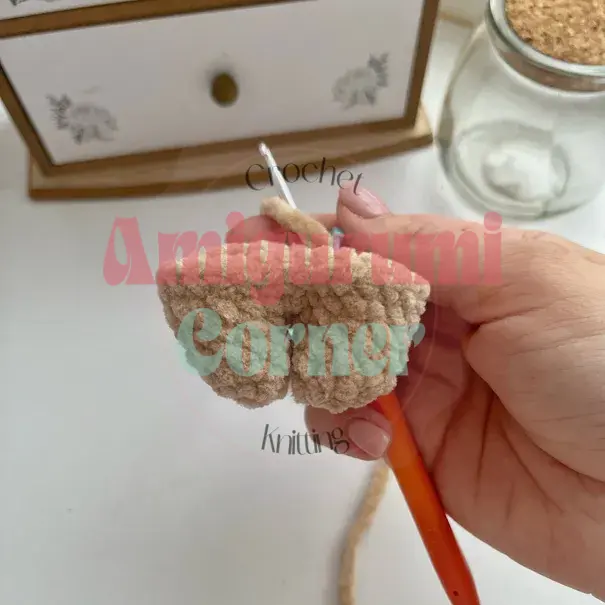
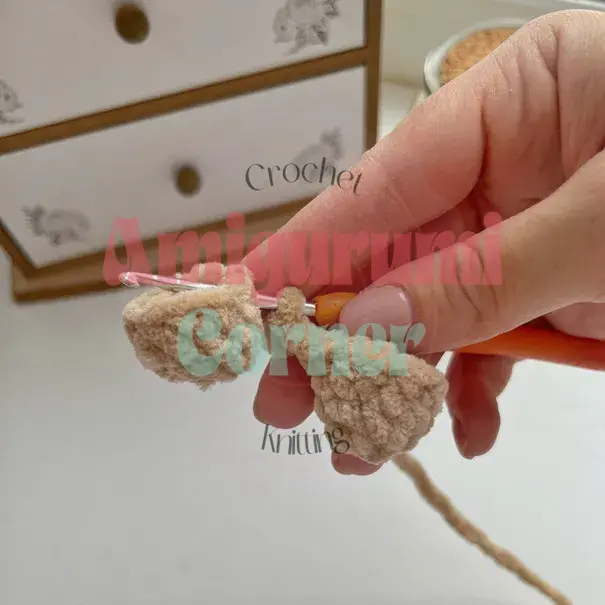
Flatten the piece and work 2 sc through both loops together across the opening to close it flat. Fasten off, leaving a yarn tail for sewing.
Ears (Make 2)
Rnd 1: 6 sc in MR. (6)
Rnd 2: sc in each st around. (6)
Flatten the piece and work 3 sc through both loops together across the opening. Fold the resulting shape in half again and join the corners with a sl st. Fasten off, leaving a yarn tail for sewing.
Muzzle
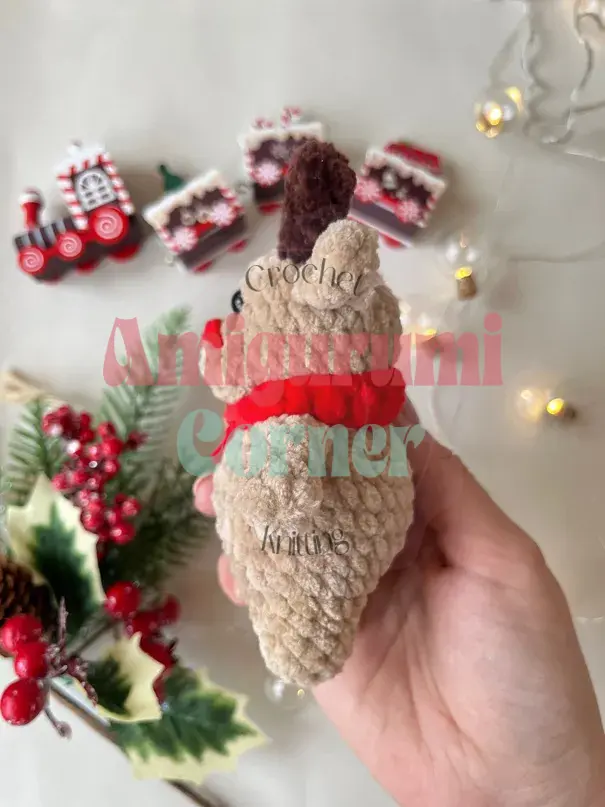
Rnd 1: 8 sc in MR. (8)
Rnds 2–3: sc in each st around. (8)
Fasten off, leaving a yarn tail for sewing.
Horns (Make 2)
Rnd 1: 6 sc in MR. (6)
Rnd 2: sc in each st around. (6)
Rnd 3: 1 sc, Bobble Stitch (3 dc) in next st, sc in remaining 4 sts around. (6)
Rnd 4: sc in each st around. (6)
Fasten off, leaving a yarn tail for sewing.
Legs and Body
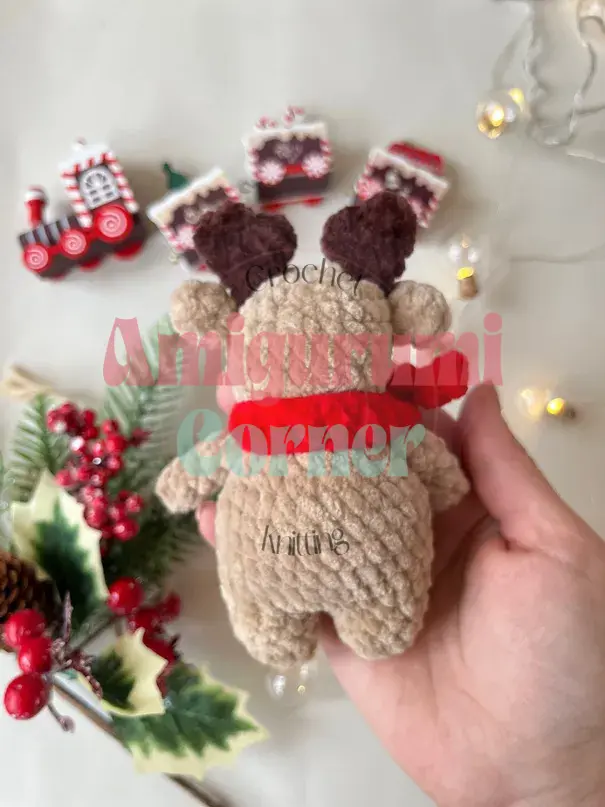
Make two legs using the same instructions:
Rnd 1: 5 sc in MR. (5)
Rnd 2: inc in each st around. (10)
Rnds 3–4: sc in each st around. (10)
Fasten off the first leg. On the second leg, do not fasten off — instead, ch 2 and join with a sl st to the first leg to connect both legs before continuing.
Rnd 5: 10 sc around the first leg, 2 sc in the ch-2 space, 10 sc around the second leg, 2 sc in the ch-2 space. (24)
Rnd 6: 2 sc, inc repeat 6 times around. (30)
Rnds 7–11: sc in each st around. (30)
Rnd 12: 3 sc, dec repeat 6 times around. (24)
Rnd 13: 2 sc, dec repeat 6 times around. (18)
Attach the arms in the following round.
Rnd 14: 4 sc, 2 sc worked through one arm to attach it, 6 sc, 2 sc worked through the second arm to attach it, 4 sc. (18)
Rnd 15: 1 sc, dec repeat 6 times around. (12)
Head
Without fastening off, continue directly into the head.
Rnd 16: inc in each st around. (24)
Rnds 17–21: sc in each st around. (24)
Insert the 8mm safety eyes between Rnds 20 and 21, spacing them 1 stitch apart.
Rnd 22: 2 sc, dec repeat 6 times around. (18)
Rnd 23: 1 sc, dec repeat 6 times around. (12)
Rnd 24: dec in each st around. (6)
Stuff the head and body firmly before closing. Fasten off, weave the yarn needle through the remaining stitches, pull closed, and hide the tail inside the stuffing.
Scarf
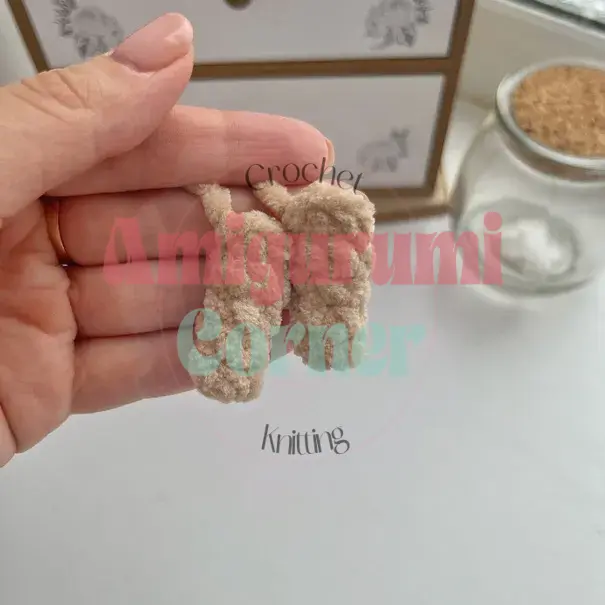
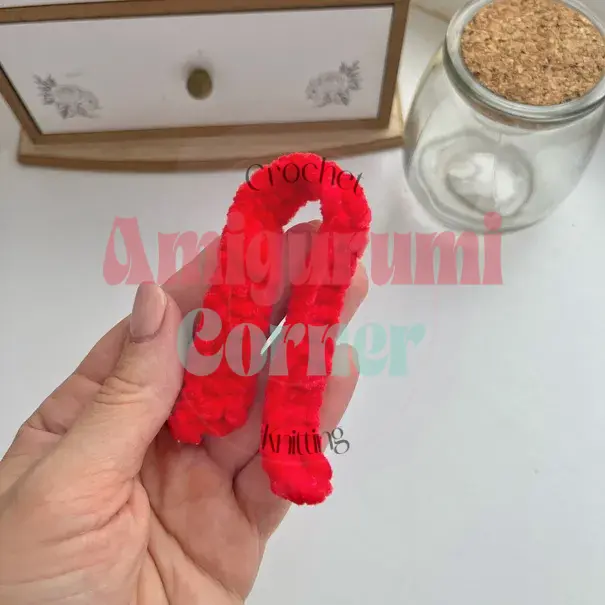
Foundation: Ch 32.
Row 1: Starting in the 3rd ch from hook, hdc in each ch across. (30)
At the end of the row, ch 2 and finish with a sl st. Weave in both yarn tails.
Assembly
- Sew the muzzle onto the front of the head, adding a small amount of stuffing before closing the seam so it sits slightly rounded.
- Sew the ears in place on either side of the head, just above and behind the muzzle.
- Sew the antlers to the top of the head, angled slightly outward.
- Using red embroidery floss, embroider a small nose onto the muzzle.
- Wrap the finished scarf around the neck and tack it in place with a few discreet stitches so it doesn’t slip.
- Weave in all remaining ends.
Tips
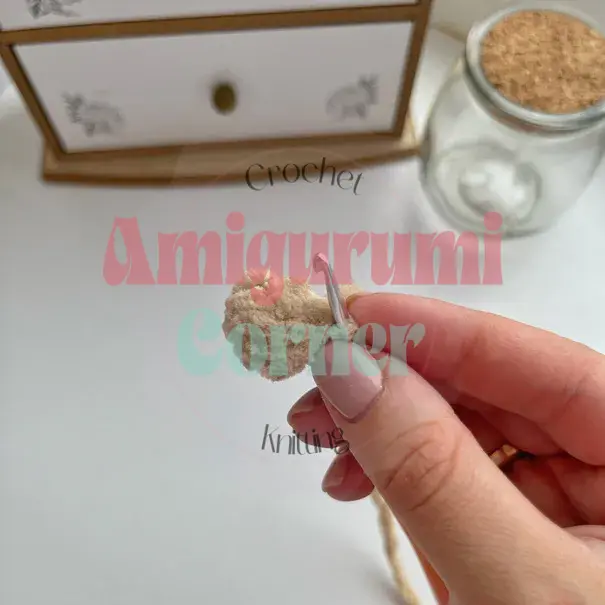
- Keep your tension snug throughout the amigurumi pieces — a looser gauge lets stuffing show through the stitches and softens the reindeer’s shape. If your invisible decreases look bumpy, try inserting your hook under just the front loops of the next two stitches rather than working into both full stitches; this keeps the decrease flatter and less visible.
- When stuffing the head and body, add small pinches at a time and check the shape often. Overstuffing the neck area especially can make it hard for the head to sit naturally, so stop once the piece feels firm but not rock-hard.
- If you want to substitute yarn, stick with another worsted weight (Category 4) option — a plush or chenille-style yarn will give you the same soft, rounded look as the original, while a smoother cotton yarn will show stitch definition more and produce a slightly crisper finish.
- For seams that disappear, sew the muzzle, ears, and antlers on using the working yarn tail left from each piece rather than a new strand, and match your thread color to the piece you’re attaching rather than the body. The join between the two legs and the base of the body is the trickiest section in this pattern — work slowly through Rnd 5 and count your stitches before moving on, since a miscount here will throw off the rest of the body shaping.
FAQs
What hook size should I use?
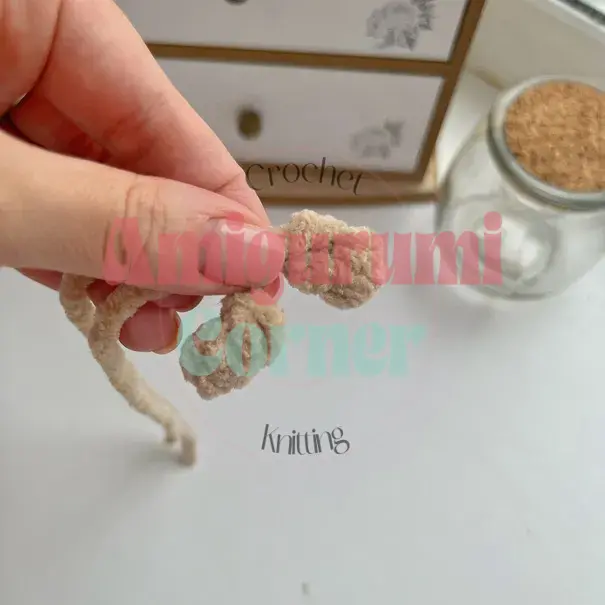
Use a US G-6 (4.0 mm) crochet hook, or adjust the size to achieve a tight gauge that prevents stuffing from showing through.
How do I attach the arms?
The arms are attached during Round 14 of the body/head piece. Work 4 sc, then work 2 sc through one arm to attach it, continue with 6 sc, work 2 sc through the second arm, and finish with 4 sc.
Can I use a different yarn weight?
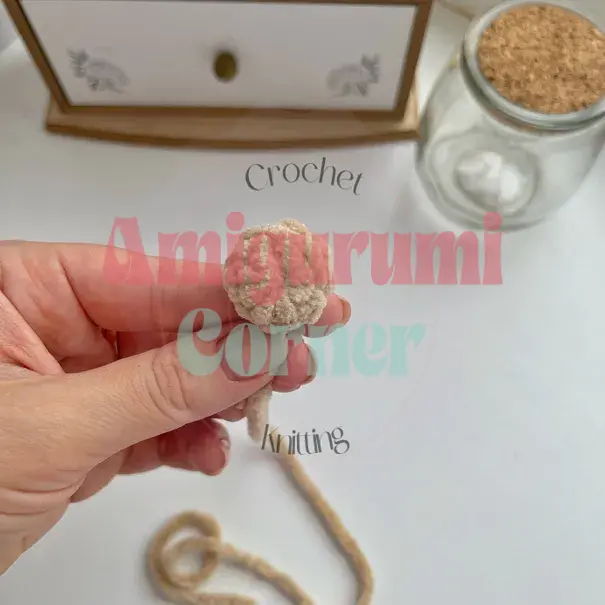
It is recommended to stick with worsted weight (Category 4) yarn to maintain the intended size and texture. You can substitute with a plush, chenille-style, or smoother cotton yarn, but be aware this may alter the final look.
How do I close the legs?
Fasten off the first leg. On the second leg, do not fasten off; instead, chain 2 and join with a slip stitch to the first leg to connect them before continuing with the body rounds.
How do I make the antlers stand up?
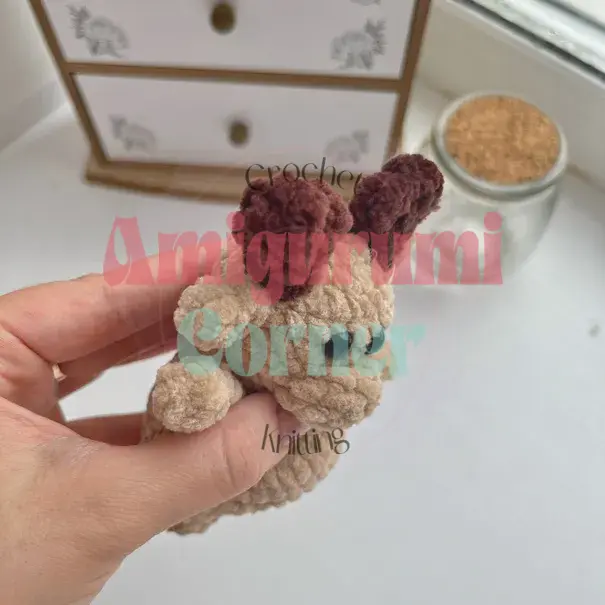
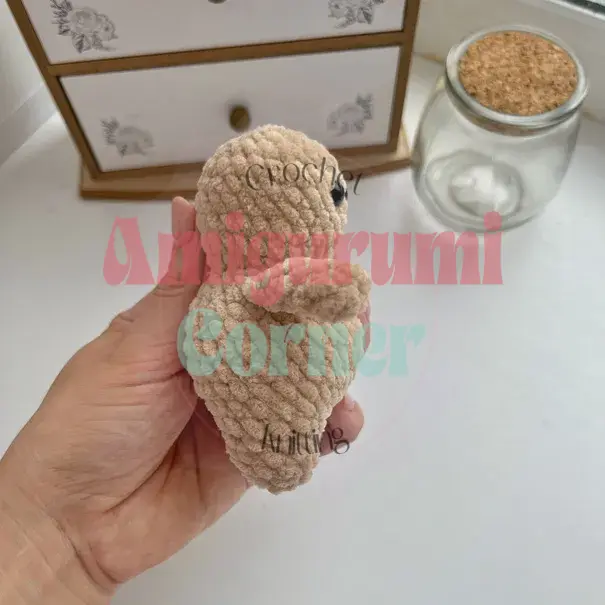
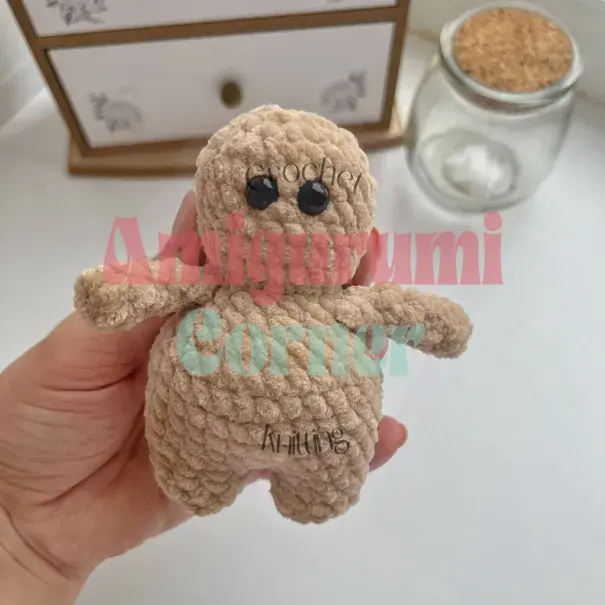
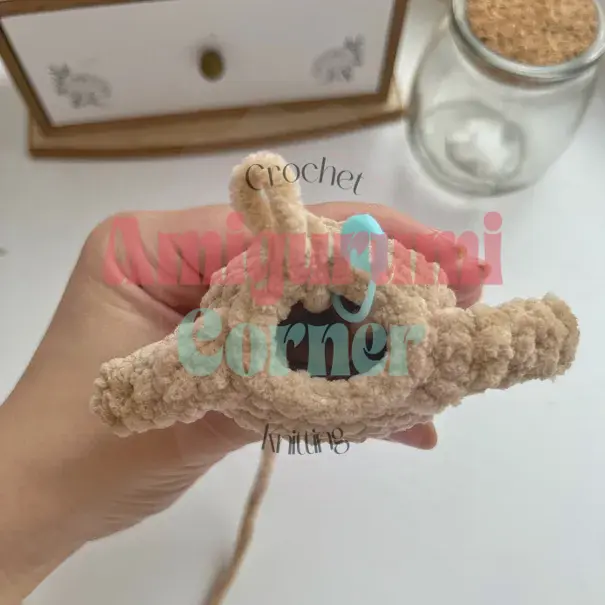
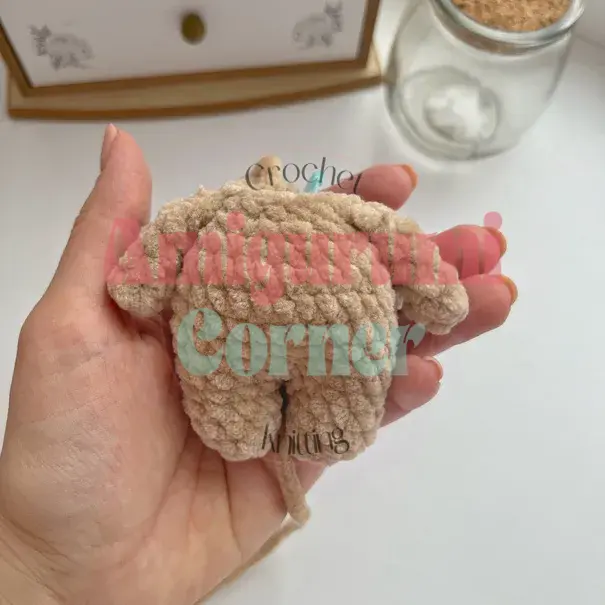
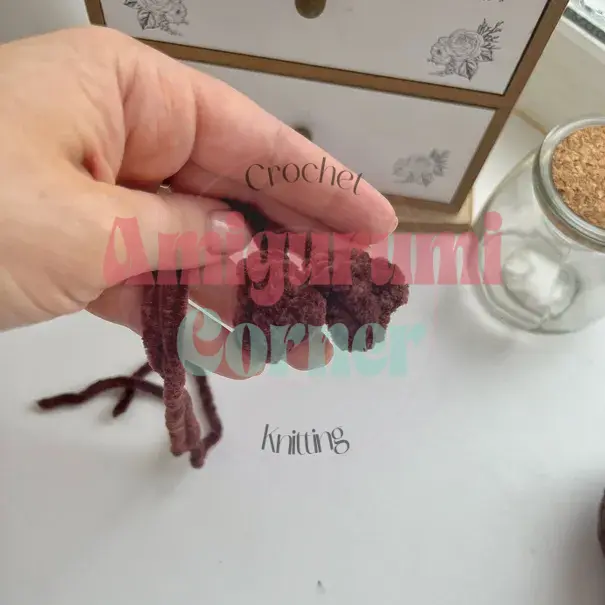
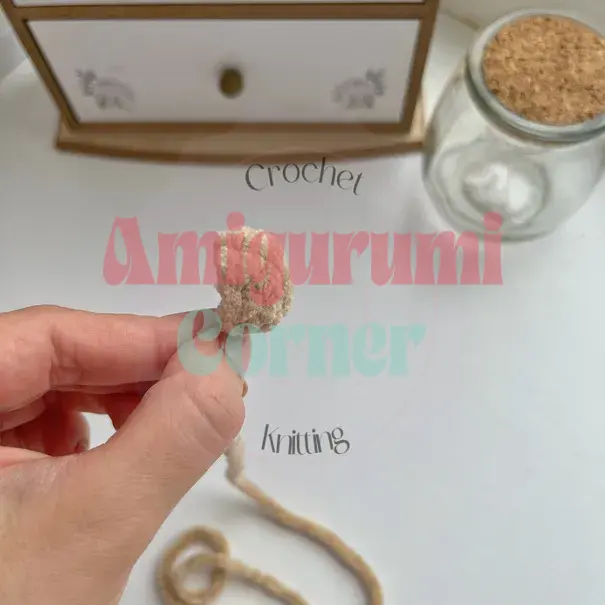
Stuff the antlers firmly during assembly and sew them to the top of the head angled slightly outward. The bobble stitch in Round 3 adds a bit of texture and structure to the tips.
Pin This Crochet Pattern!