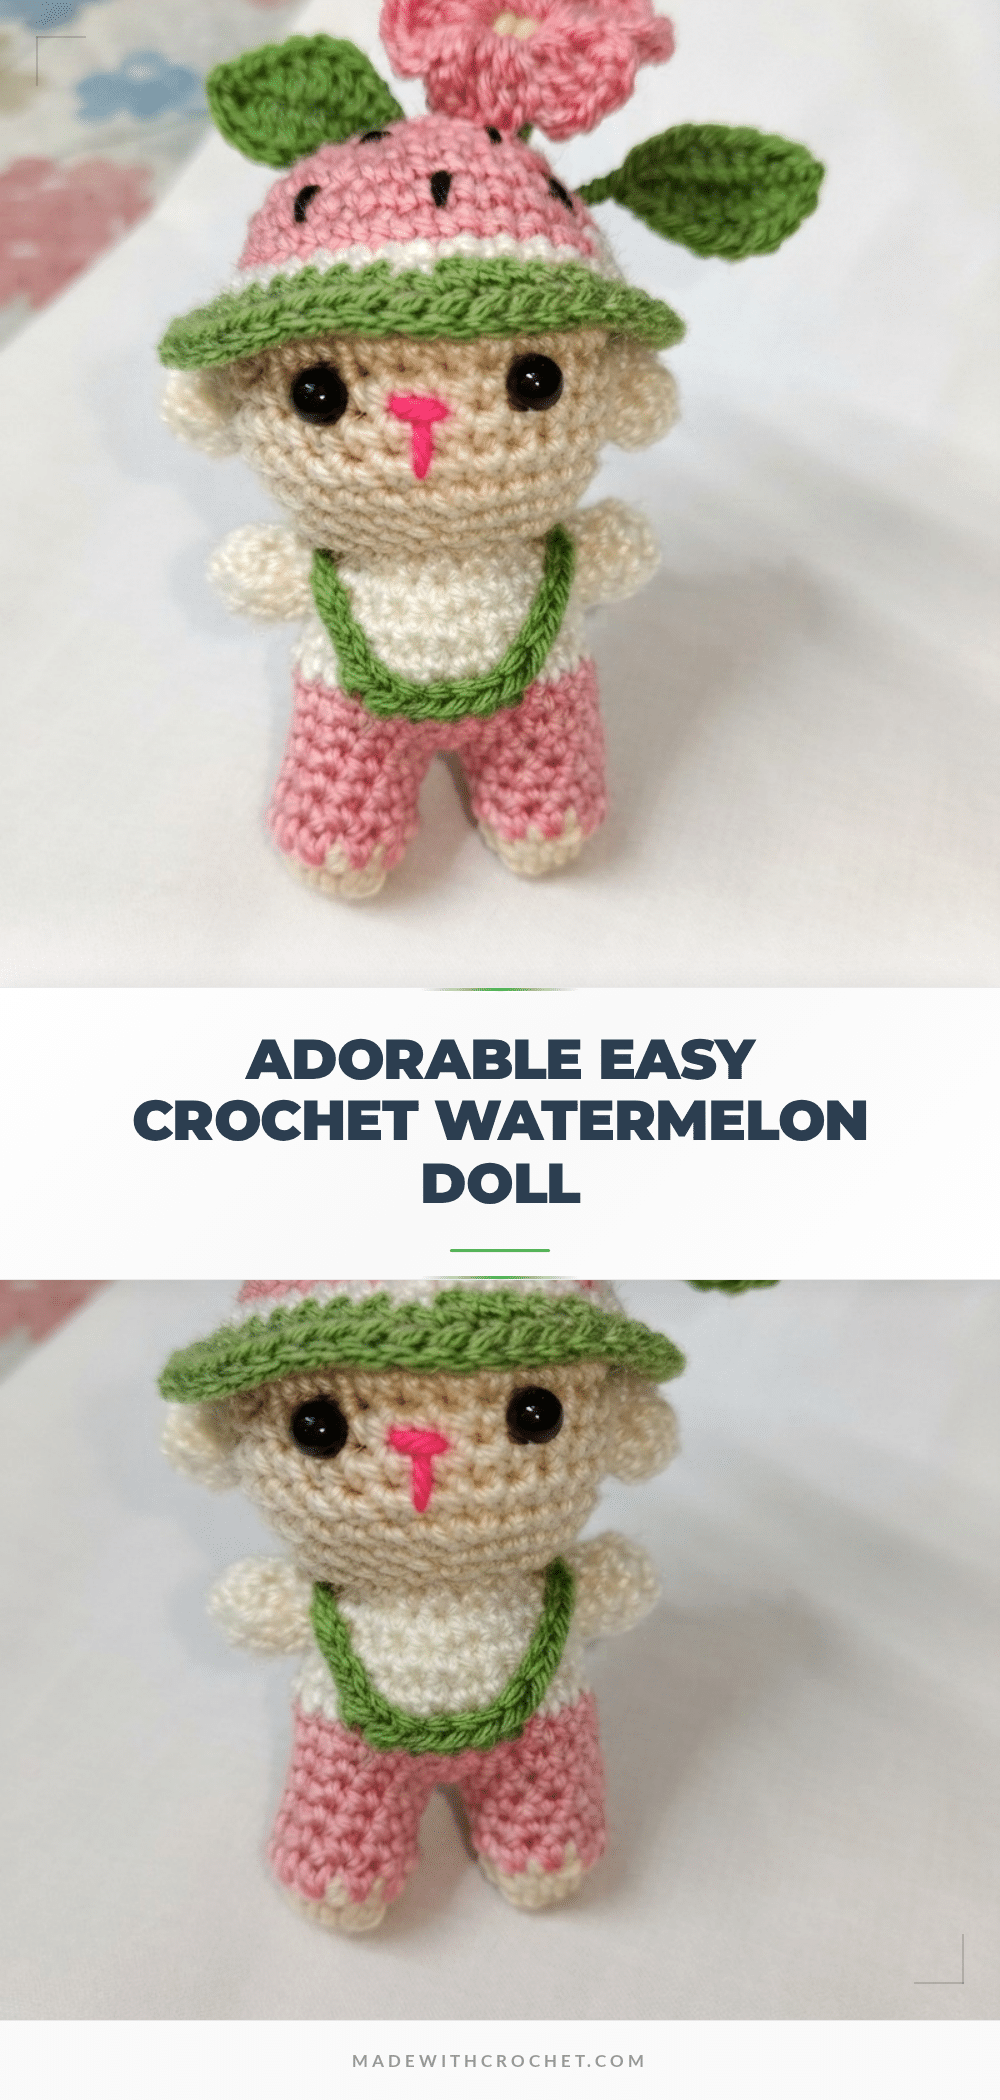
There is something deeply satisfying about the rhythm of amigurumi. A quiet evening, a small batch of yarn, and the steady click of the hook as you count stitches. It is a relaxing repeat that turns simple loops into character. This Watermelon Doll pattern captures that cozy ritual perfectly, transforming basic single crochet rounds into a cheerful, summery companion. Whether you are looking for a quick gift or a mindful project to unwind with, this design offers a gentle pace and a rewarding finish.
Small Details That Make It Better
What truly elevates this Watermelon Doll is the playful interpretation of the fruit motif. By incorporating a “strawberry hat” with a faux whipped cream rim and leafy green accents, the doll gains a unique personality that goes beyond a standard fruit shape. The texture of the green leaves adds a lovely contrast to the smooth pink body, while the black “seeds” provide just enough visual interest to keep the eye moving. For the maker, this project is a wonderful exercise in color blocking and assembly precision. The removable hat feature adds a layer of interactivity, making it perfect for styling or swapping out for different seasonal looks. It is a small, tactile joy that brings a bit of summer brightness to any shelf or bag.
Project Overview
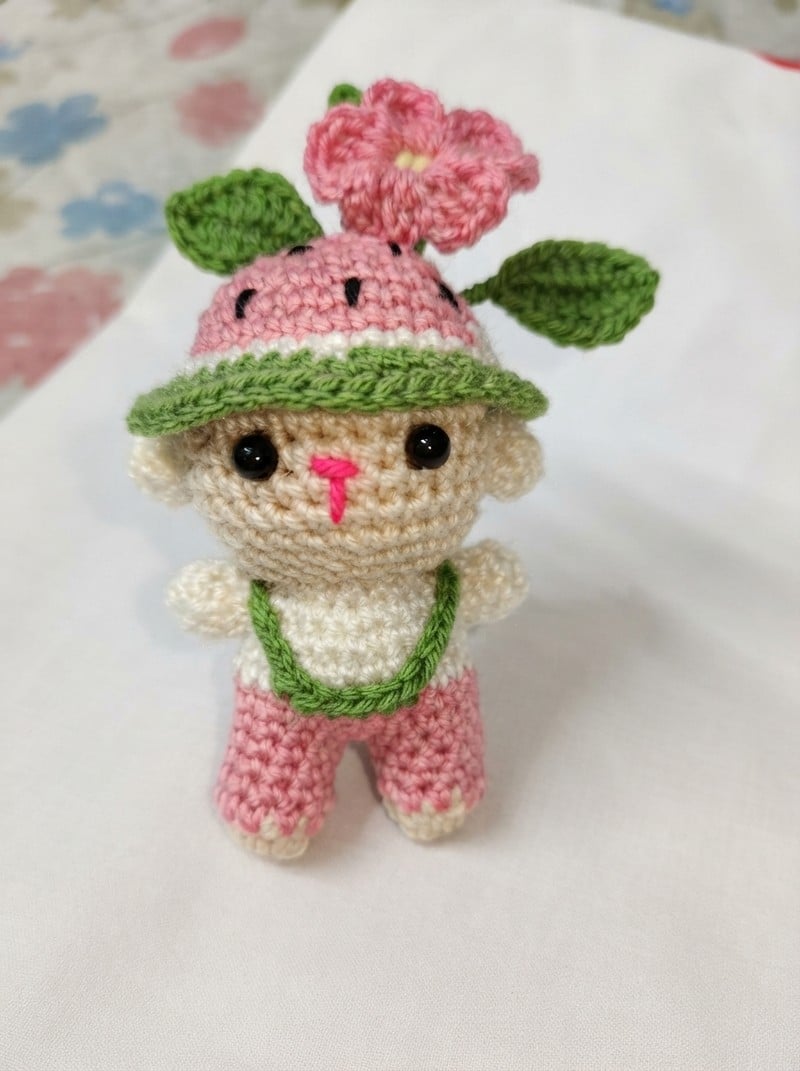
This adorable amigurumi pattern creates a cute watermelon-themed doll, complete with a strawberry-inspired hat. It is designed for beginners to confident beginners, offering a straightforward construction process that results in a durable and huggable toy. The doll features a round head, a tapered body with legs, small arms, and ears, all topped with a whimsical hat. It is suitable for use as a keychain, a car mirror charm, or a soft toy for children.
Materials
- Yarn: 4-ply wool or acrylic in strawberry red/pink, white, cream, green, and a little black.
- Crochet Hook: 3.5 mm
- Stuffing: Cotton or polyester fiberfill
- Needle: Yarn (tapestry) needle for assembly and embroidery
- Eyes: Black beads or embroidery thread for eyes; optional safety eyes
- Scissors
Gauge and Finished Size
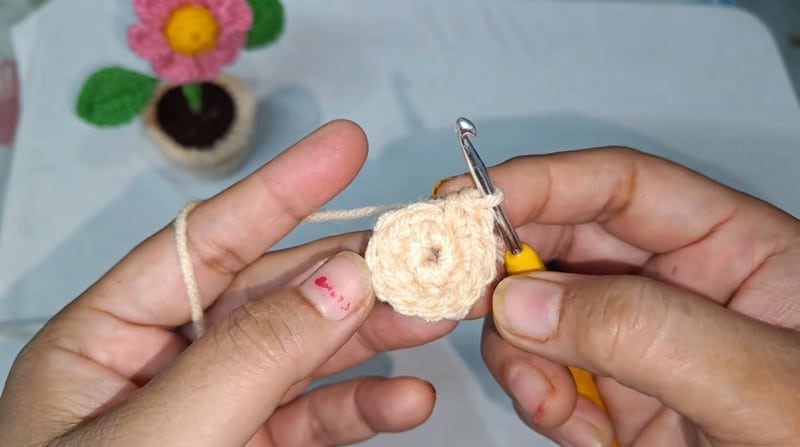
Gauge: Gauge is not critical but should be tight enough to avoid stuffing showing between stitches. For reference: 5 rounds of sc = 2 cm diameter.
Finished Size:
- Height (with hat): 10–12 cm (approx. 4–5 inches)
- Width: 6–7 cm (approx. 2.5 inches)
Abbreviations
- ch: Chain
- sc: Single crochet
- inc: Increase (2 sc in st)
- dec: Decrease (sc2tog)
- sl st: Slip stitch
- st(s): Stitch(es)
- BLO: Back loop only
- FLO: Front loop only
Pattern Notes
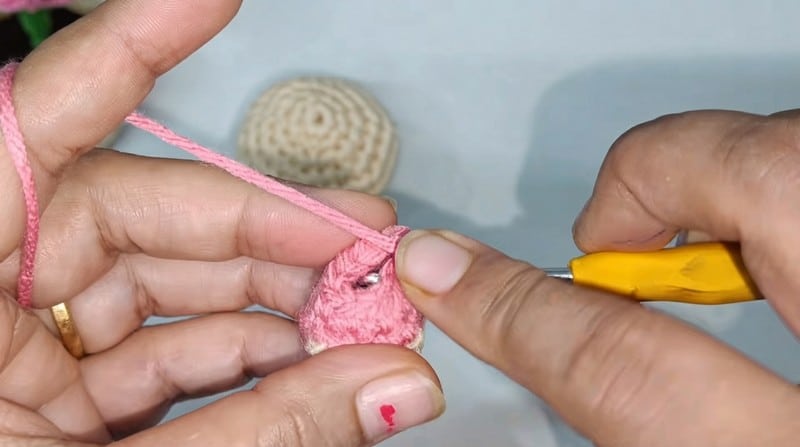
- Use a stitch marker to mark the start of each round; this keeps your increases and decreases perfectly aligned.
- The doll and hat are made separately, then assembled.
- For the ‘seeds’ (beads or embroidery) and facial expression, follow your own taste for positioning.
- Stuff firmly but not overly tight, as too much stuffing can distort the roundness.
- All rounds are worked in a spiral (do not join at the end of a round unless otherwise indicated).
- The arms, legs, and ears are all simple tubes or circles, ideal for beginners.
Special Stitches
Invisible Decrease (dec): Insert hook into front loops of next two stitches, yarn over, pull through both loops, yarn over again and pull through last two loops.
Back Loop Only (BLO): When indicated, work only into the back loop of the stitch instead of both loops for defined ridges.
Pattern Instructions
1. Head
Round 1: With main color (strawberry red or pink), make a magic ring, work 6 sc into the ring. [6]
Round 2: Inc around (2 sc in each st). [12]
Round 3: (sc in next st, inc) repeat around. [18]
Round 4: (sc in next 2 sts, inc) repeat around. [24]
Round 5: (sc in next 3 sts, inc) repeat around. [30]
Rounds 6–10: sc in each st. [30] (Work 5 rounds of 30 sc for a nice orb.)
Round 11: (sc in next 3 sts, dec) repeat around. [24]
Round 12: (sc in next 2 sts, dec) repeat around. [18]
Round 13: (sc in next st, dec) repeat around. [12]
Stuff firmly.
Round 14: sc in every st. [12] Sl st to close, fasten off, and weave in end.
2. Body & Legs (Make 2 Legs First, then Join)
Leg (make 2):
Magic ring, 5 sc . [5]
(sc, inc) around. [8]
2 rounds, sc in each st. [8 per round]
Fasten off 1st leg, but do not fasten off 2nd leg.
Join Legs and Form Lower Body:
Ch 2, join first leg with a sc, sc around first leg (8 sts), sc in back of the 2 foundation chains (2 sts), sc around second leg (8 sts), sc in front of foundation chains (2 sts). [20]
Next round: sc around (20 sts). Continue with 3–4 rounds of 20 sc to desired body height. Stuff both legs and lower body.
Body Taper:
(sc 3, dec) around. [16]
(sc 2, dec) around. [12]
Stuff again .
(sc 1, dec) around. [8]
Sl st, fasten off with long tail for sewing.
3. Arms (Make 2)
Magic ring, 6 sc . [6]
3 rounds of sc in each st. [6 per round]
Stuff lightly, sl st to close, fasten off with tail for sewing.
4. Ears (Make 2)
Magic ring, 8 sc . [8]
Sl st to join, fasten off with tail for sewing.
5. Strawberry Hat
Hat Base:
Magic ring, 6 sc . [6]
Inc around. [12]
(sc, inc) around. [18]
(sc 2, inc) around. [24]
(sc 3, inc) around. [30]
2 rounds of 30 sc. [30]
White stripe (Faux Whipped Cream Rim):
Attach white yarn, sc around. [30]
(sc 4, inc) around. [36]
Green Leaves:
Attach green yarn, (sc 5, inc in next) around. [42]
(sc 6, inc in next) around. [48]
Fasten off.
Seeds:
Embroider or sew small black beads/short lines randomly on hat for strawberry seeds.
Assembly
- Join Head and Body: Sew the open end of the head to the top of the stuffed body, stitch securely all around.
- Attach Arms and Ears: Sew arms to upper sides of the body, ears to the top of the head.
- Embroider Face: Use black beads/yarn for eyes (4–5 sc apart). Embroider nose and mouth with pink or black (as in video, T-shape for mouth and oval or line for nose).
- Belt: Into the back loops of body (at waist or lower chest), sc 6, ch 10, sc 6 across back, ch 10, sl st to starting sc. Fasten off, sew edges for smooth “sling” effect.
- Hat with Ears: Try hat on doll and mark positions above arms for ears. Attach ears just above where hat meets the sides. Place hat and sew or tack lightly so it is removable if desired.
Final Assembly Note: Stuff all parts well. Sew securely for child safety. Attach details as described above. Final doll stands about 10–12 cm tall, 6–7 cm wide.
Tips
- Stitch Marker: Always use a stitch marker to keep track of the beginning of the round, especially when increasing or decreasing.
- Stuffing: Ensure your stuffing is firm enough to maintain the shape but not so tight that it distorts the rounds.
- Assembly: When sewing parts together, use the long tails left during fastening off to hide your seams neatly.
FAQs
Can I use safety eyes instead of embroidery?
Yes, the pattern mentions that optional safety eyes can be used. However, ensure they are securely fastened for child safety.
How do I make the hat removable?
During assembly, tack the hat lightly with a few stitches so it can be taken off and put back on easily.
What yarn weight is best for this pattern?
The pattern recommends 4-ply wool or acrylic yarn for the best texture and size balance.
Is this pattern suitable for absolute beginners?
It is designed for Beginner to Confident Beginner. You should know how to work in spirals, increase, decrease, and do basic assembly.
Can I scale this down for a keychain?
Yes, the pattern notes that the size is perfect for hangings and charms, and you can adjust the body height rounds to make it smaller.
Pin This Crochet Pattern!