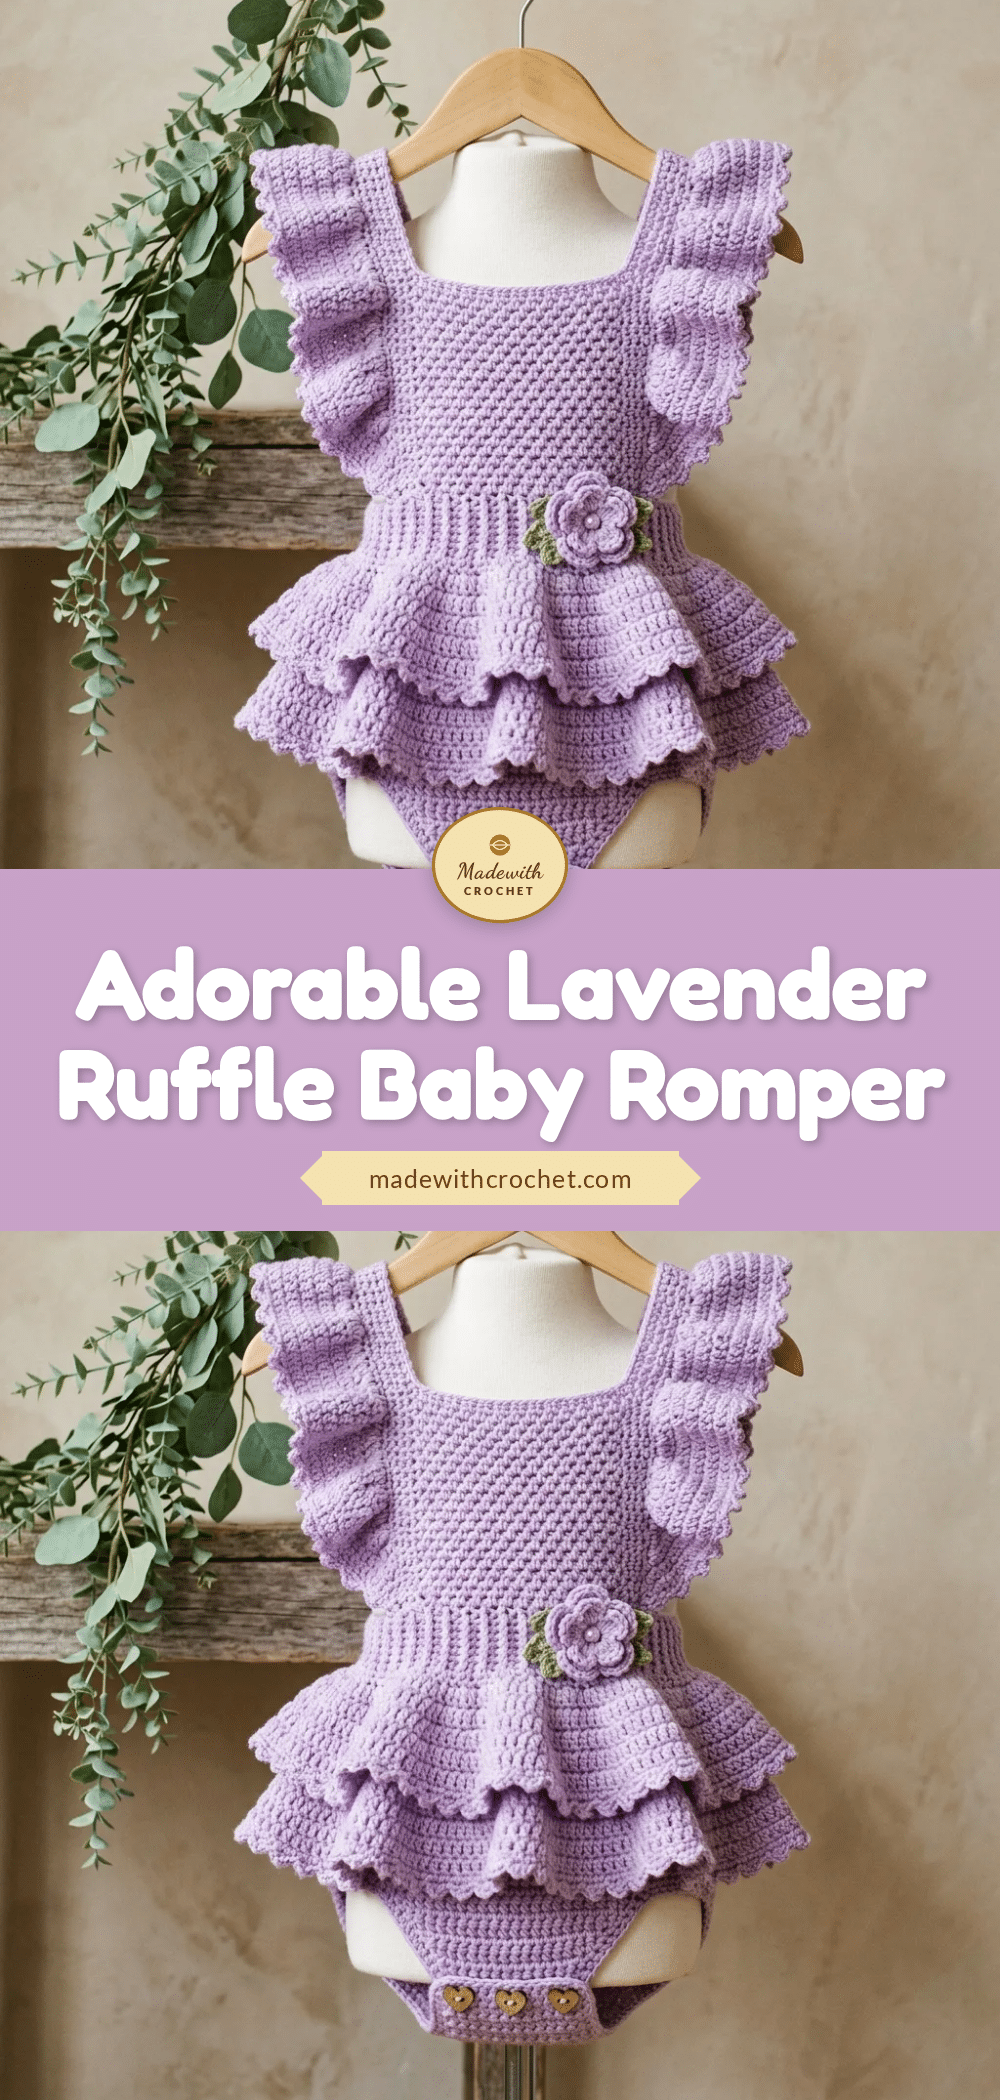
The hook is in your hand, the lavender yarn is ready, and the project is just beginning to take shape. There is a specific kind of magic that happens when you start a baby garment—something about the small scale and the soft materials makes the work feel incredibly intentional. This romper is designed to be worked from the top down, which means you can hold it up as you go, checking the fit and seeing those beautiful ruffles start to cascade. It’s a project that rewards patience with a vintage-inspired look that photographs beautifully and feels wonderful against little skin.
Why This Project Works
What makes this romper stand out is the clever construction method. By building the piece from the top down, you gain the flexibility to adjust the length as you crochet, ensuring a perfect fit for your little one. The bodice uses a dense, textured moss stitch that holds its shape beautifully, providing structure to the garment. In contrast, the ruffles offer a dreamy, flowing drape that adds whimsy without overwhelming the design. The square neckline gives it a classic pinafore feel, while the flutter sleeve caps add just the right amount of charm. It is the kind of handmade outfit that feels special enough to be passed down through families.
Project Overview
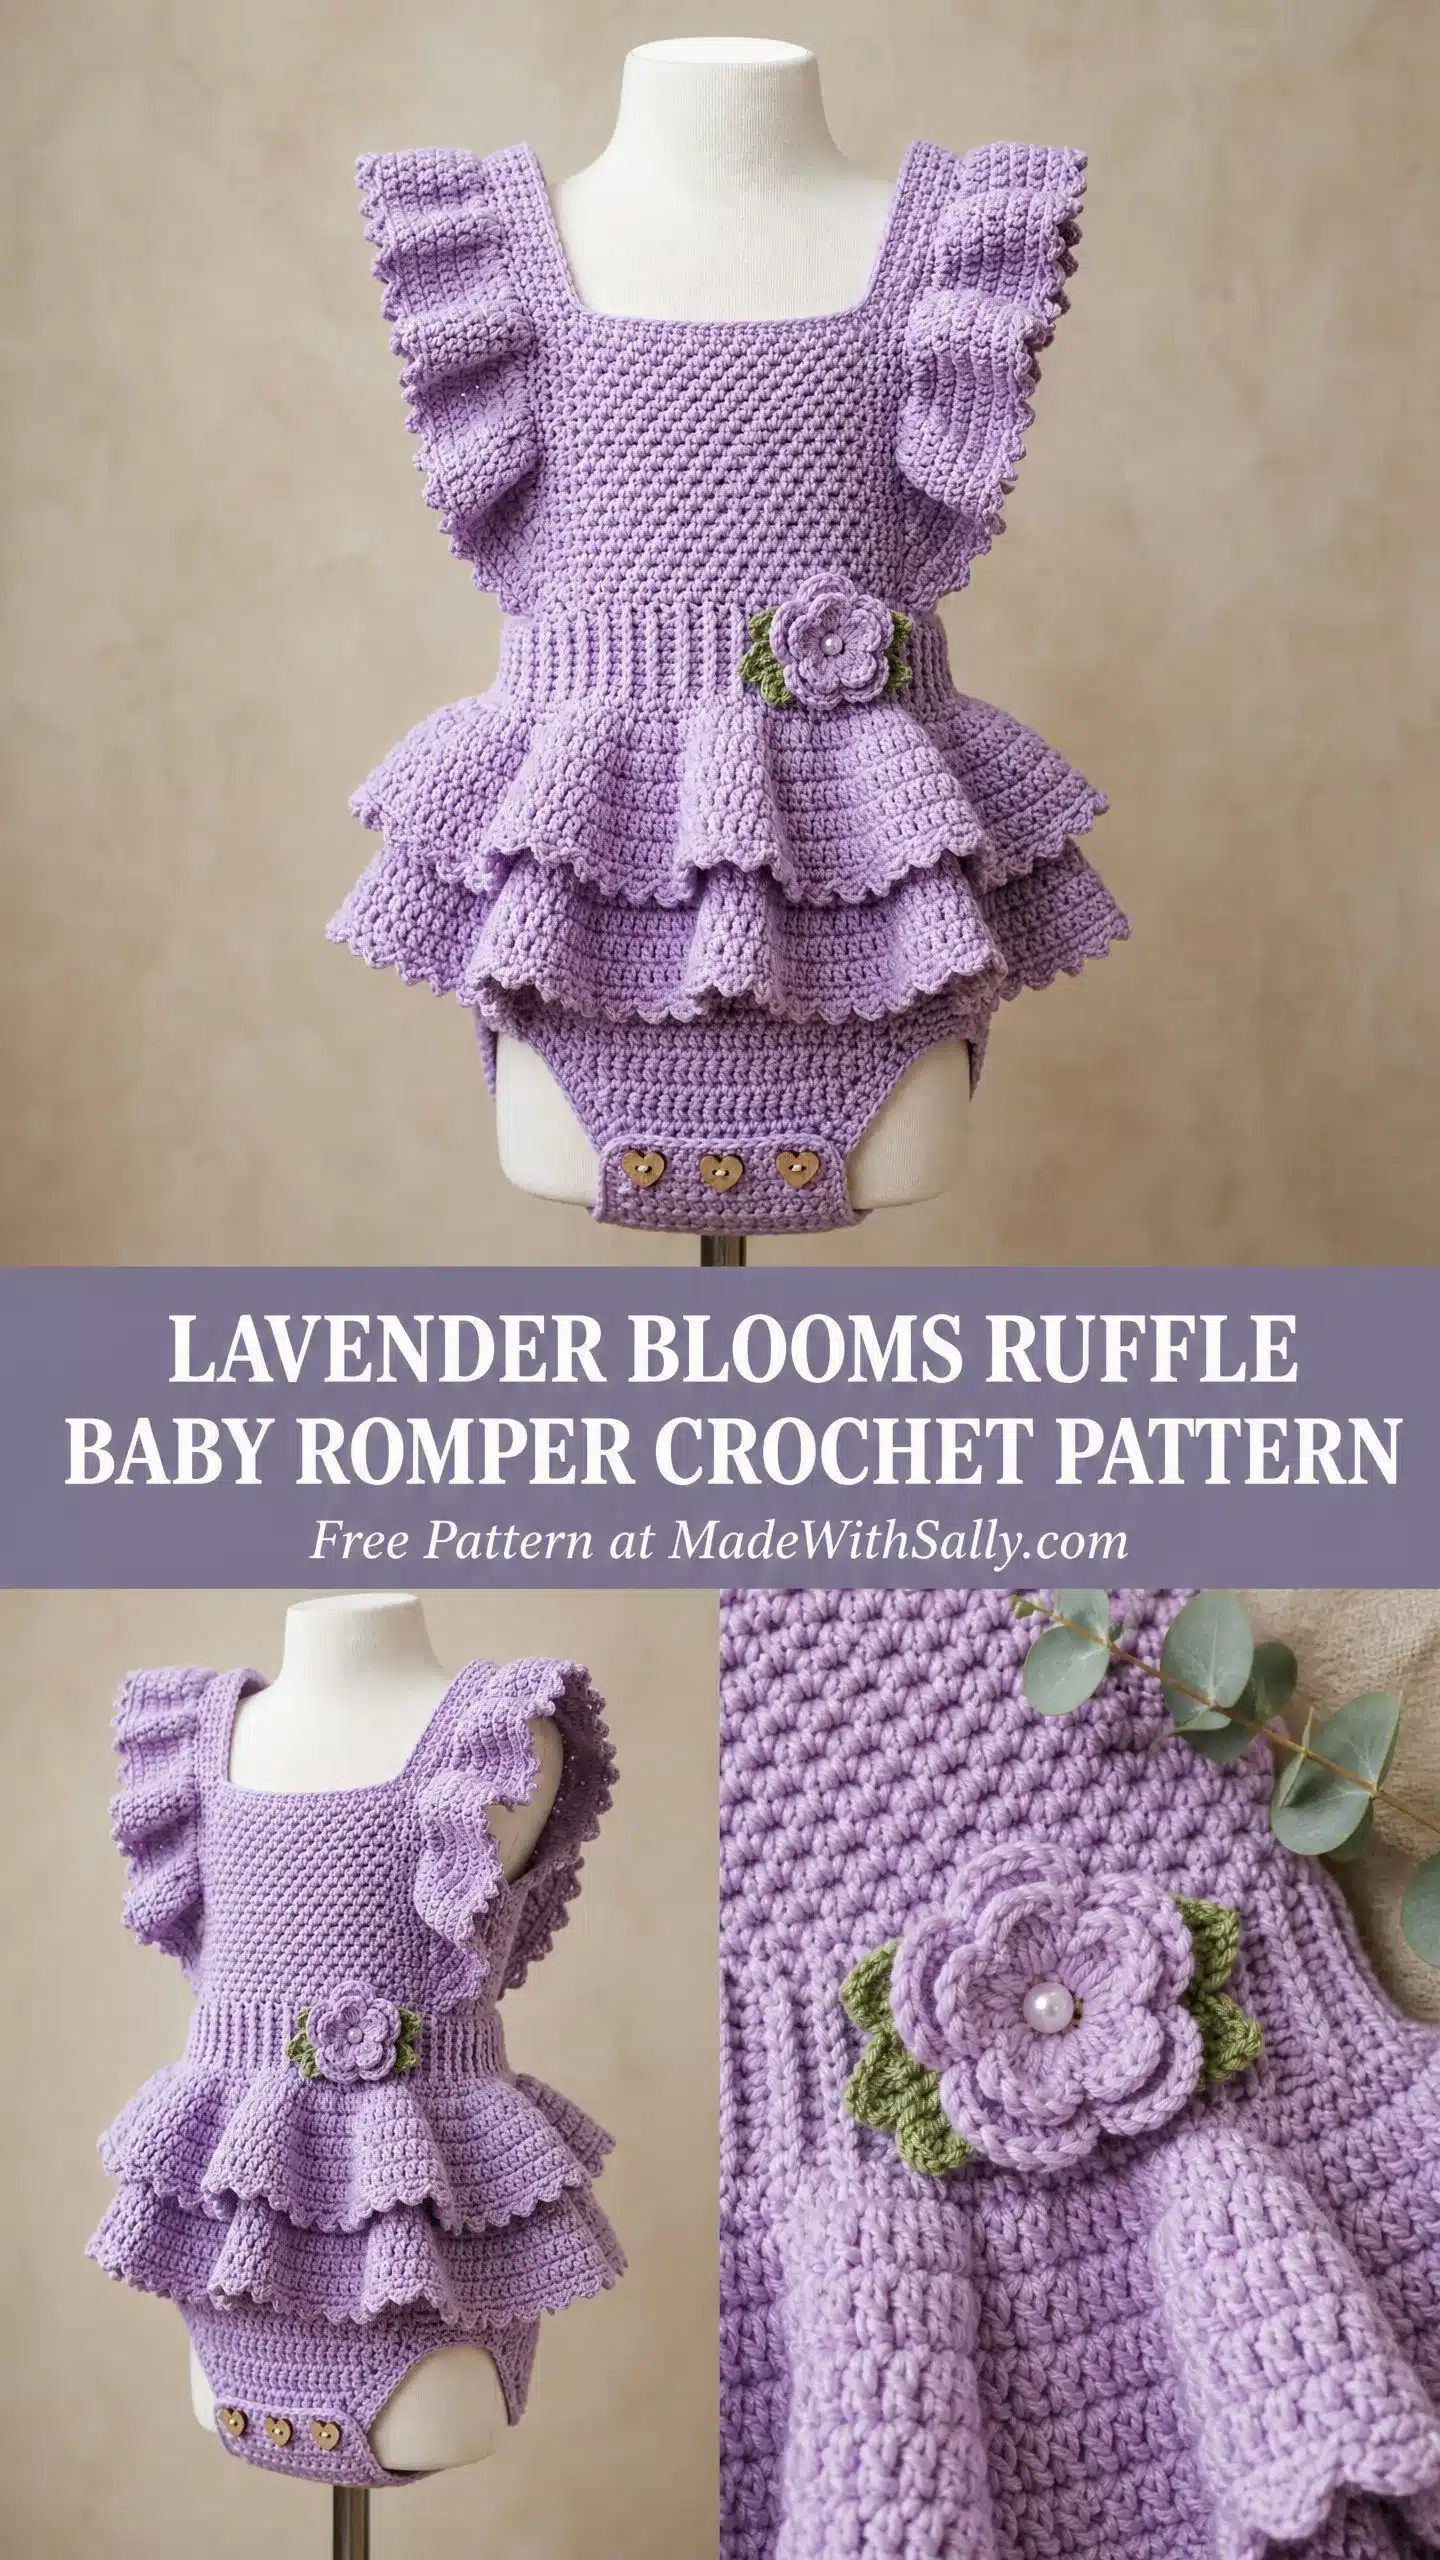
This pattern creates a wearable baby romper featuring a fitted moss stitch bodice, flutter ruffle sleeves, two layers of shell stitch ruffles, and a decorative flower applique. The pattern includes instructions for two sizes and utilizes a combination of structured and flowing elements to create a show-stopping baby gift.
Materials
Before you start, gather everything so you’re not hunting for supplies mid-project.
- Yarn: 250 yards (300 yards for larger size) of DK weight yarn in lavender. Look for 100% cotton or a cotton-acrylic blend. You’ll also need about 5 yards of sage green for the flower leaves.
- Recommended Yarns: Lion Brand 24/7 Cotton in Lavender works beautifully with excellent stitch definition. Paintbox Yarns Simply DK in Misty Lavender is another great choice that holds its shape through washing. WeCrochet Dishie in Lavender gives you a soft matte finish that’s gentle against baby skin.
- Hooks: US size E-4 / 3.5 mm for the bodice and diaper cover. US size F-5 / 3.75 mm for the ruffle tiers.
- Notions: Yarn needle for seaming, at least 6 stitch markers, 4 decorative wooden heart buttons (approximately 5/8 inch), 4 sew-on snaps (size 1), 1 small seed bead for flower center (optional), sewing needle and matching thread.
Gauge and Finished Size
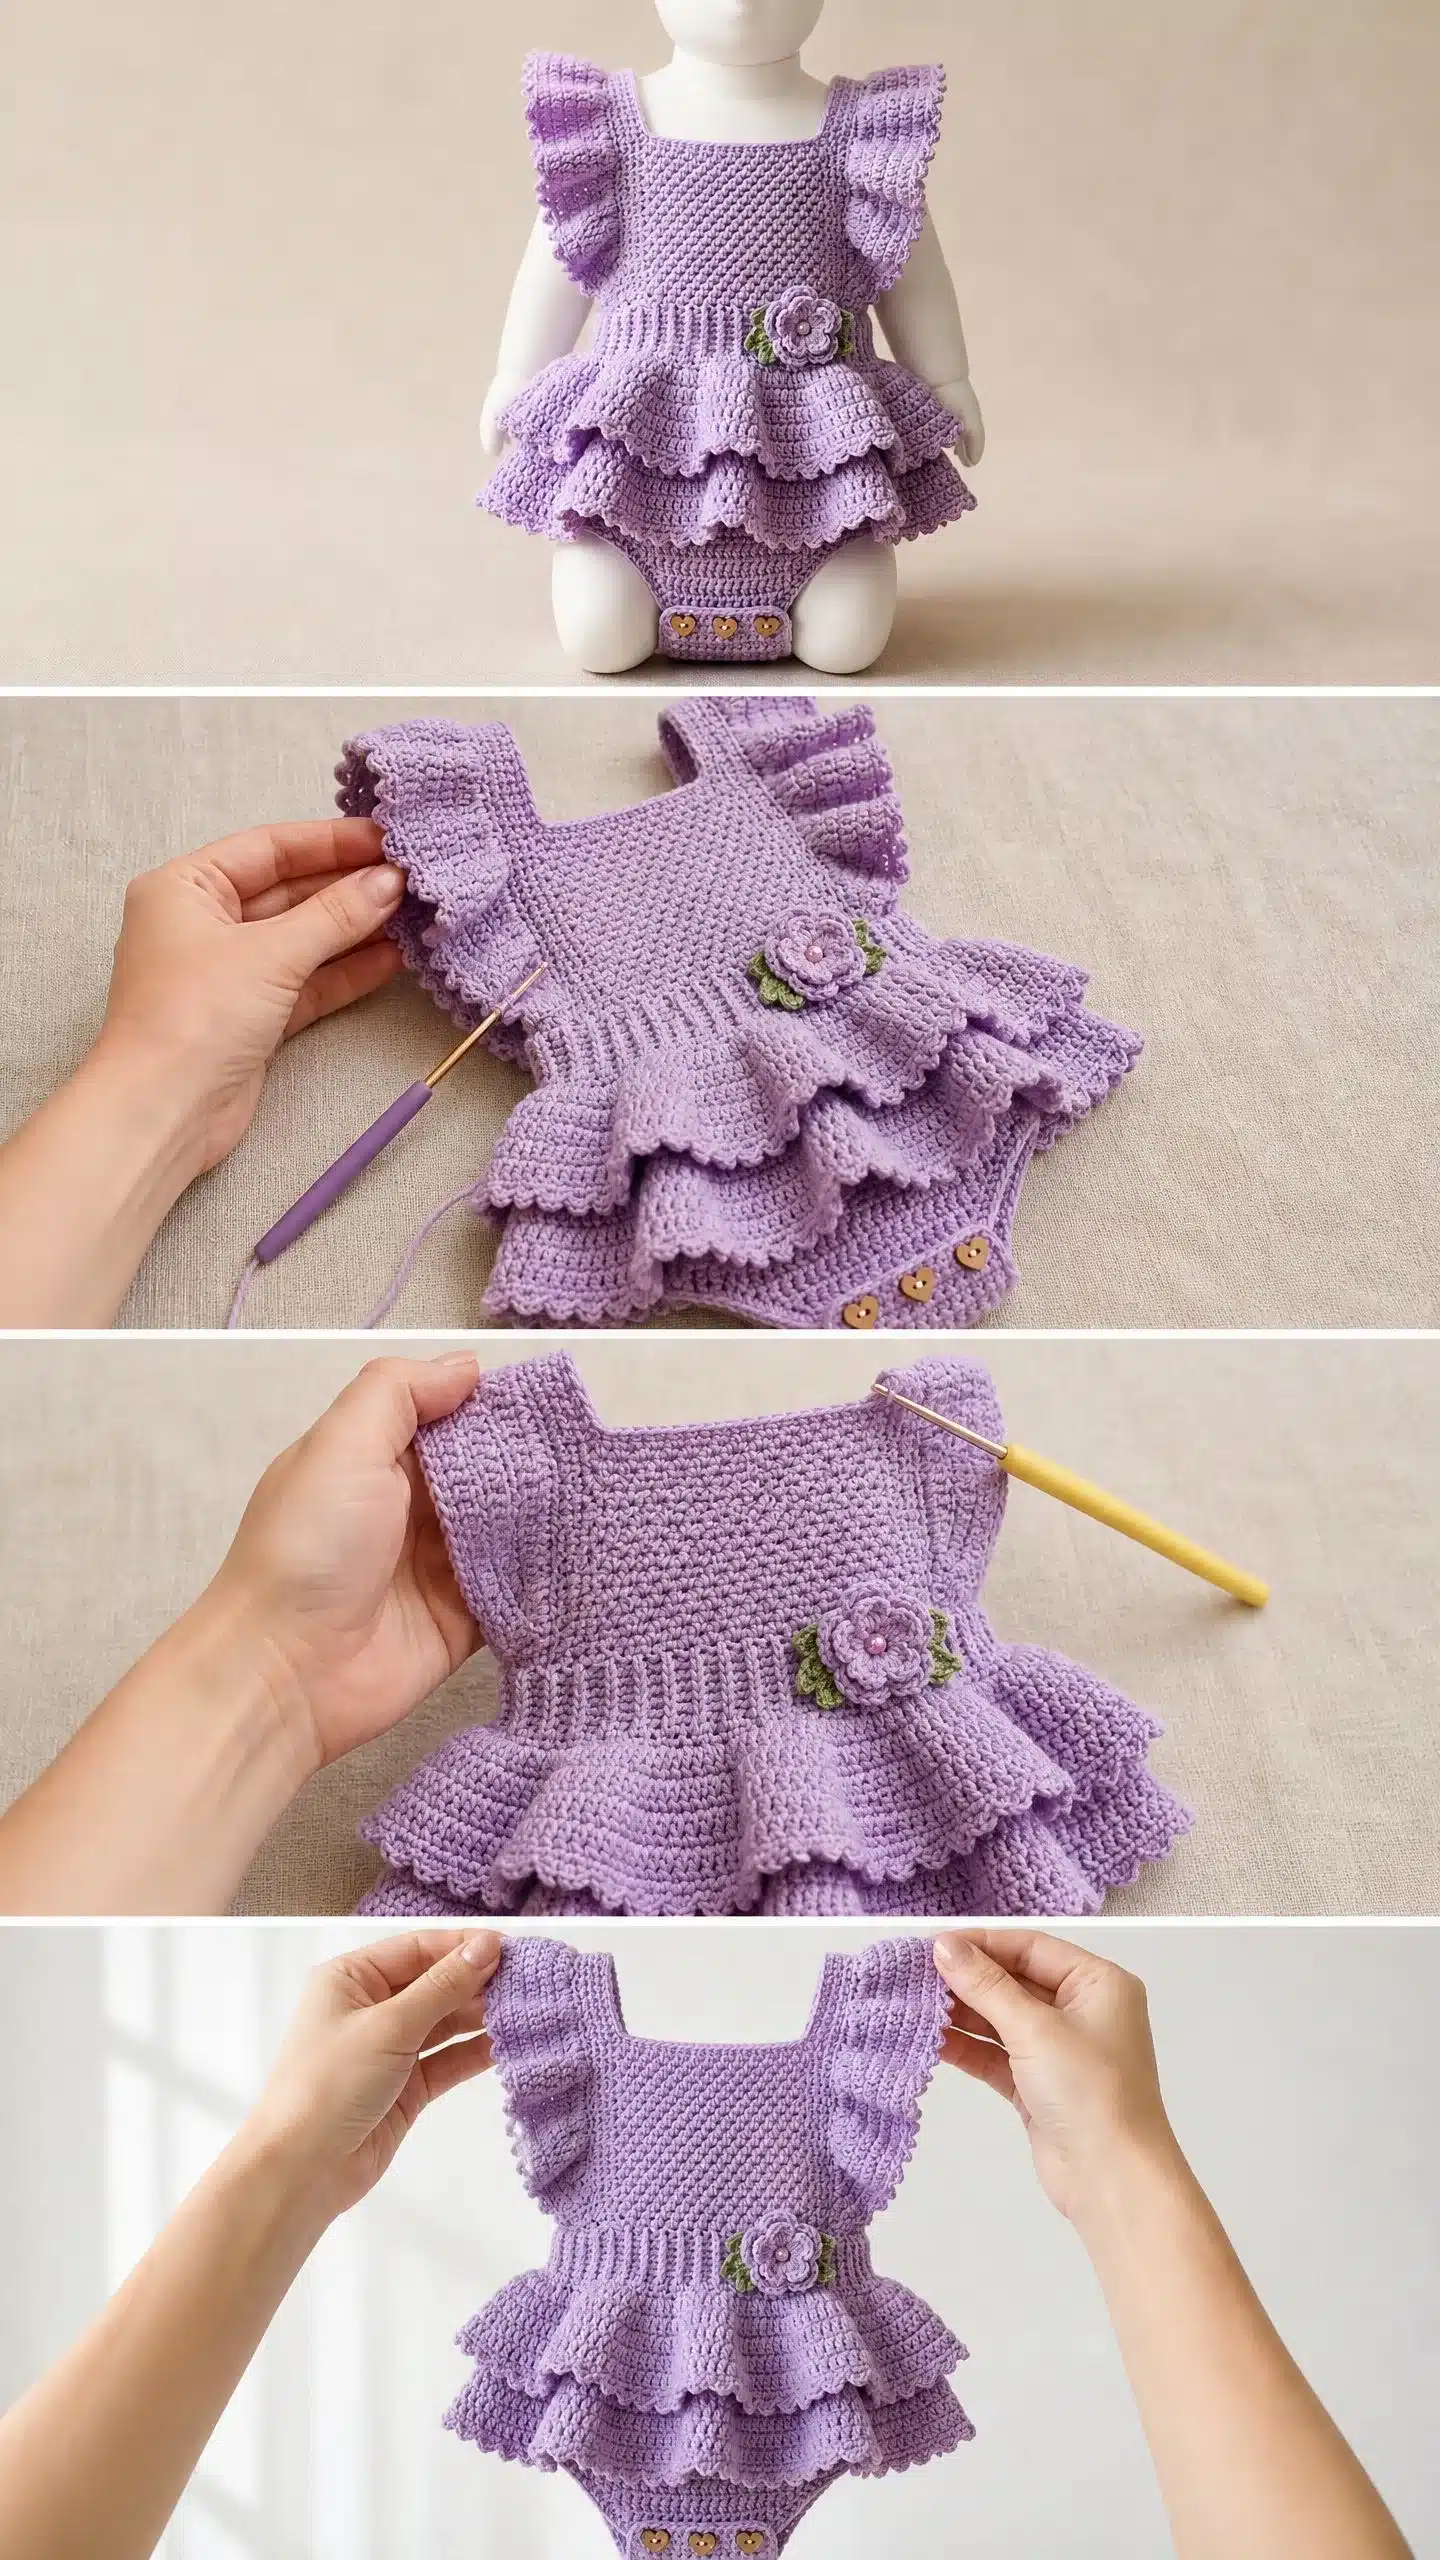
Gauge
Getting gauge right is crucial for fit, especially with baby garments. Block your swatch before measuring.
- With E-4 / 3.5 mm hook: 18 half double crochet (hdc) stitches and 12 rows equals 4 inches by 4 inches in moss stitch.
- With F-5 / 3.75 mm hook: One shell cluster of 5 double crochet (dc) stitches measures approximately 1 inch wide.
Finished Size
The instructions below are written for size 3 to 6 months, with the larger size in parentheses throughout.
- Size 3 to 6 months: Chest circumference 16 inches, total length from shoulder to crotch 11 inches, bodice length 6 inches, waist circumference 15 inches.
- Size 6 to 12 months: Chest circumference 18 inches, total length from shoulder to crotch 12.5 inches, bodice length 6.5 inches, waist circumference 17 inches.
Abbreviations
Let me walk you through every stitch you’ll use.
- ch = chain. This is your foundation stitch, created by yarn over and pulling through the loop on your hook.
- sl st = slip stitch. Insert hook, yarn over, pull through both the stitch and the loop on your hook in one motion.
- sc = single crochet. Insert hook, yarn over and pull up a loop (2 loops on hook), yarn over and pull through both loops.
- hdc = half double crochet. Yarn over, insert hook, yarn over and pull up a loop (3 loops on hook), yarn over and pull through all 3 loops.
- dc = double crochet. Yarn over, insert hook, yarn over and pull up a loop (3 loops on hook), yarn over and pull through 2 loops (2 loops remain), yarn over and pull through remaining 2 loops.
- BLO = back loop only. Instead of inserting your hook under both loops at the top of a stitch, you only go through the back loop. This creates a ribbed texture.
- sk = skip. Pass over the indicated stitch without working into it.
- RS = right side. The side that faces outward on the finished piece.
- WS = wrong side. The inside of your work.
Pattern Notes
Moss Stitch
This creates the dense, textured fabric on the bodice panels. It’s sometimes called linen stitch or granite stitch.
- Foundation row: Chain an even number. Hdc in 3rd chain from hook, then work (ch 1, skip 1 chain, hdc in next chain) across the row. Turn.
- All following rows: Ch 2 (this does NOT count as a stitch), hdc in first hdc, then work (ch 1, skip the ch-1 space, hdc in next hdc) across. Turn.
- Note: When counting stitches in moss stitch, only count the hdc stitches, not the chain spaces.
Shell Stitch
Work 5 dc into the same stitch or space. This cluster of 5 dc counts as one shell. You’ll use this for the gorgeous ruffle tiers.
Picot Edging
This gives those ruffles their delicate scalloped edge.
- Work 1 sc into the edge stitch.
- Ch 3.
- Sl st into the first chain made (closest to your work).
- Work 1 sc into the next edge stitch.
- Repeat steps 2 through 4 across the entire edge.
Flutter Ruffle
- Round 1: Work 1 sc in each stitch around armhole edge.
- Round 2: Work (1 sc, ch 2, 1 sc) in each sc around.
- Round 3: Work 3 dc in each ch-2 space around.
- Round 4: Work picot edging around the entire outer edge. Join with sl st.
Pattern Instructions
The following steps are written for size 3 to 6 months, with the larger size in parentheses throughout.
Section 1: Front Bodice Panel
The front bodice is worked flat from the top shoulder edge downward.
- With lavender yarn and E-4 hook, ch 38 (44).
- Row 1 (RS): Hdc in 3rd ch from hook, (ch 1, sk 1, hdc in next ch) across. Turn. 18 hdc (21 hdc).
- Rows 2 through 18 (2 through 20 for larger size): Ch 2, hdc in first hdc, (ch 1, sk ch-1 space, hdc in next hdc) across. Turn. 18 hdc (21 hdc).
Your bodice panel should measure approximately 6 inches (6.5 inches) tall from the top edge. Leave a long tail for seaming. Set aside. Checkpoint: The piece should measure approximately 4 inches wide and 6 inches tall (4.5 inches wide and 6.5 inches tall for larger size).
Section 2: Back Bodice Panel
Work exactly as the front bodice panel.
- With lavender yarn and E-4 hook, ch 38 (44).
- Rows 1 through 18 (1 through 20): Work as front bodice panel. 18 hdc (21 hdc) per row.
Fasten off, leaving a long tail for seaming.
Section 3: Side Seaming
- Lay both bodice panels with wrong sides together so right sides face outward. The top edges are your shoulder and neckline edges.
- Using a yarn needle and the long tail from one panel, whipstitch the left side seam from top to bottom. Leave approximately 1.5 inches (1.75 inches) open at the top of each side for the armhole opening.
- Repeat for the right side seam. Weave in all seaming tails.
Checkpoint: The joined bodice tube should measure approximately 8 inches (9 inches) in circumference.
Section 4: Flutter Ruffle Sleeve Caps
Work one sleeve cap in each armhole opening.
- Join lavender yarn at the underarm seam with a sl st using E-4 hook.
- Rnd 1: Ch 1, work 1 sc evenly around entire armhole opening. Join with sl st to first sc. 12 sc (14 sc).
- Rnd 2: Ch 1, (1 sc, ch 2, 1 sc) in each sc around. Join with sl st to first sc. 12 ch-2 spaces (14 ch-2 spaces).
- Rnd 3: Sl st into first ch-2 space, ch 3 (counts as first dc), work 2 dc in same ch-2 space, work 3 dc in each ch-2 space around. Join with sl st to top of beginning ch-3. 36 dc (42 dc).
- Rnd 4 (picot finish): Work picot edging evenly around outer edge of Rnd 3. Fasten off.
Repeat for second armhole.
Section 5: Waistband
The waistband is worked in BLO ribbing, picked up along the lower edge of the joined bodice tube.
- With lavender yarn and E-4 hook, join at the side seam with a sl st.
- Pick-up round: Ch 1, work 1 sc in each stitch and seam point evenly around the lower edge. Join with sl st to first sc. 36 sc (42 sc).
- If your count is slightly off, adjust with small increases or decrease.
Section 6: First Ruffle Tier
Switch to F-5 / 3.75 mm hook for the ruffle tiers.
- Round 1: Join yarn with sl st to waistband. Ch 2 (counts as first dc). Work 4 dc in same stitch, (sk 1 st, 5 dc in next st) around. Join with sl st to top of beginning ch-2.
- Round 2: Ch 2 (counts as first dc). Work 4 dc in same stitch, (sk 1 st, 5 dc in next st) around. Join with sl st to top of beginning ch-2.
- Round 3 (Picot): Work picot edging evenly around outer edge. Fasten off.
Section 7: Second Ruffle Tier
- Round 1: Join yarn with sl st to first ruffle tier. Ch 2 (counts as first dc). Work 4 dc in same stitch, (sk 1 st, 5 dc in next st) around. Join with sl st to top of beginning ch-2.
- Round 2 (Picot): Work picot edging evenly around outer edge. Fasten off.
Section 8: Diaper Cover Base
- With lavender yarn and E-4 hook, join at the side seam with a sl st.
- Round 1: Ch 1, work 1 sc in each stitch and seam point evenly around the lower edge. Join with sl st to first sc. 36 sc (42 sc).
- Round 2: Ch 1, work 1 sc in each sc around. Join with sl st to first sc. Fasten off.
Section 9: Crotch Button Band
- With lavender yarn and E-4 hook, join at the center back of the diaper cover base with a sl st.
- Round 1: Ch 1, work 1 sc in each sc around. Join with sl st to first sc. Fasten off.
- Sew on snaps or buttons as desired for closure.
Section 10: Flower Applique
- With sage green yarn, create leaves using standard crochet leaf instructions (chain foundation, hdc increases, hdc decreases, sl st to join).
- With lavender yarn, create flower petals by working clusters of dc into a central ring.
- Assemble flower and leaves, adding a seed bead center if desired.
- Sew applique to the waistband area.
Assembly
Weave in all remaining ends securely. Check all seams and reinforce any weak spots.
Wet block the finished romper by hand washing in cool water with gentle soap. Press out excess water in a clean towel without wringing. Lay flat and gently shape the bodice flat and the ruffle tiers open and fanned. Pin the ruffles to their full width. Allow to dry completely, about 24 hours. Once dry, check that all picot edges are crisp and open.
Tips
- To size up (12 to 18 months): Add 6 stitches to each bodice foundation chain (ch 50), add 2 more rows to the bodice, use 48 sc for the waistband, and work 16 shells in the first ruffle tier and 6 in the second.
- To size down (0 to 3 months): Subtract 6 stitches from each bodice (ch 32), reduce to 16 rows in the bodice, use 30 sc for the waistband, and work 10 shell repeats in the first ruffle tier.
- This baby romper crochet pattern makes the most gorgeous gift for baby showers, first birthdays, or photo sessions. The combination of structured bodice and flowing ruffles photographs beautifully, and parents will treasure it for years.
Care Instructions
Machine wash on gentle cycle in cool water, or hand wash. Lay flat to dry. Avoid tumble drying, ironing directly on the fabric, or dry cleaning. Store flat or lightly folded to preserve ruffle shaping.
FAQs
What is the best yarn for this romper?
DK weight cotton or cotton-acrylic blends work best. Recommended options include Lion Brand 24/7 Cotton, Paintbox Yarns Simply DK, or WeCrochet Dishie for a soft matte finish.
How do I adjust the size for a newborn?
To size down to 0-3 months, subtract 6 stitches from each bodice foundation chain (ch 32), reduce the bodice to 16 rows, use 30 sc for the waistband, and work 10 shell repeats in the first ruffle tier.
Why is my gauge off?
Ensure you are using the correct hook sizes (E-4 for bodice, F-5 for ruffles) and that you are blocking your swatch before measuring. The moss stitch gauge is 18 hdc stitches and 12 rows equals 4 inches by 4 inches.
Can I use a different color for the ruffles?
Yes, you can use a contrasting color for the ruffle tiers or the flower applique to create a unique look, though the pattern is designed for lavender and sage green.
How do I finish the picot edges?
Work 1 sc into the edge stitch, ch 3, sl st into the first chain made, and work 1 sc into the next edge stitch. Repeat across the entire edge.
Pin This Crochet Pattern!