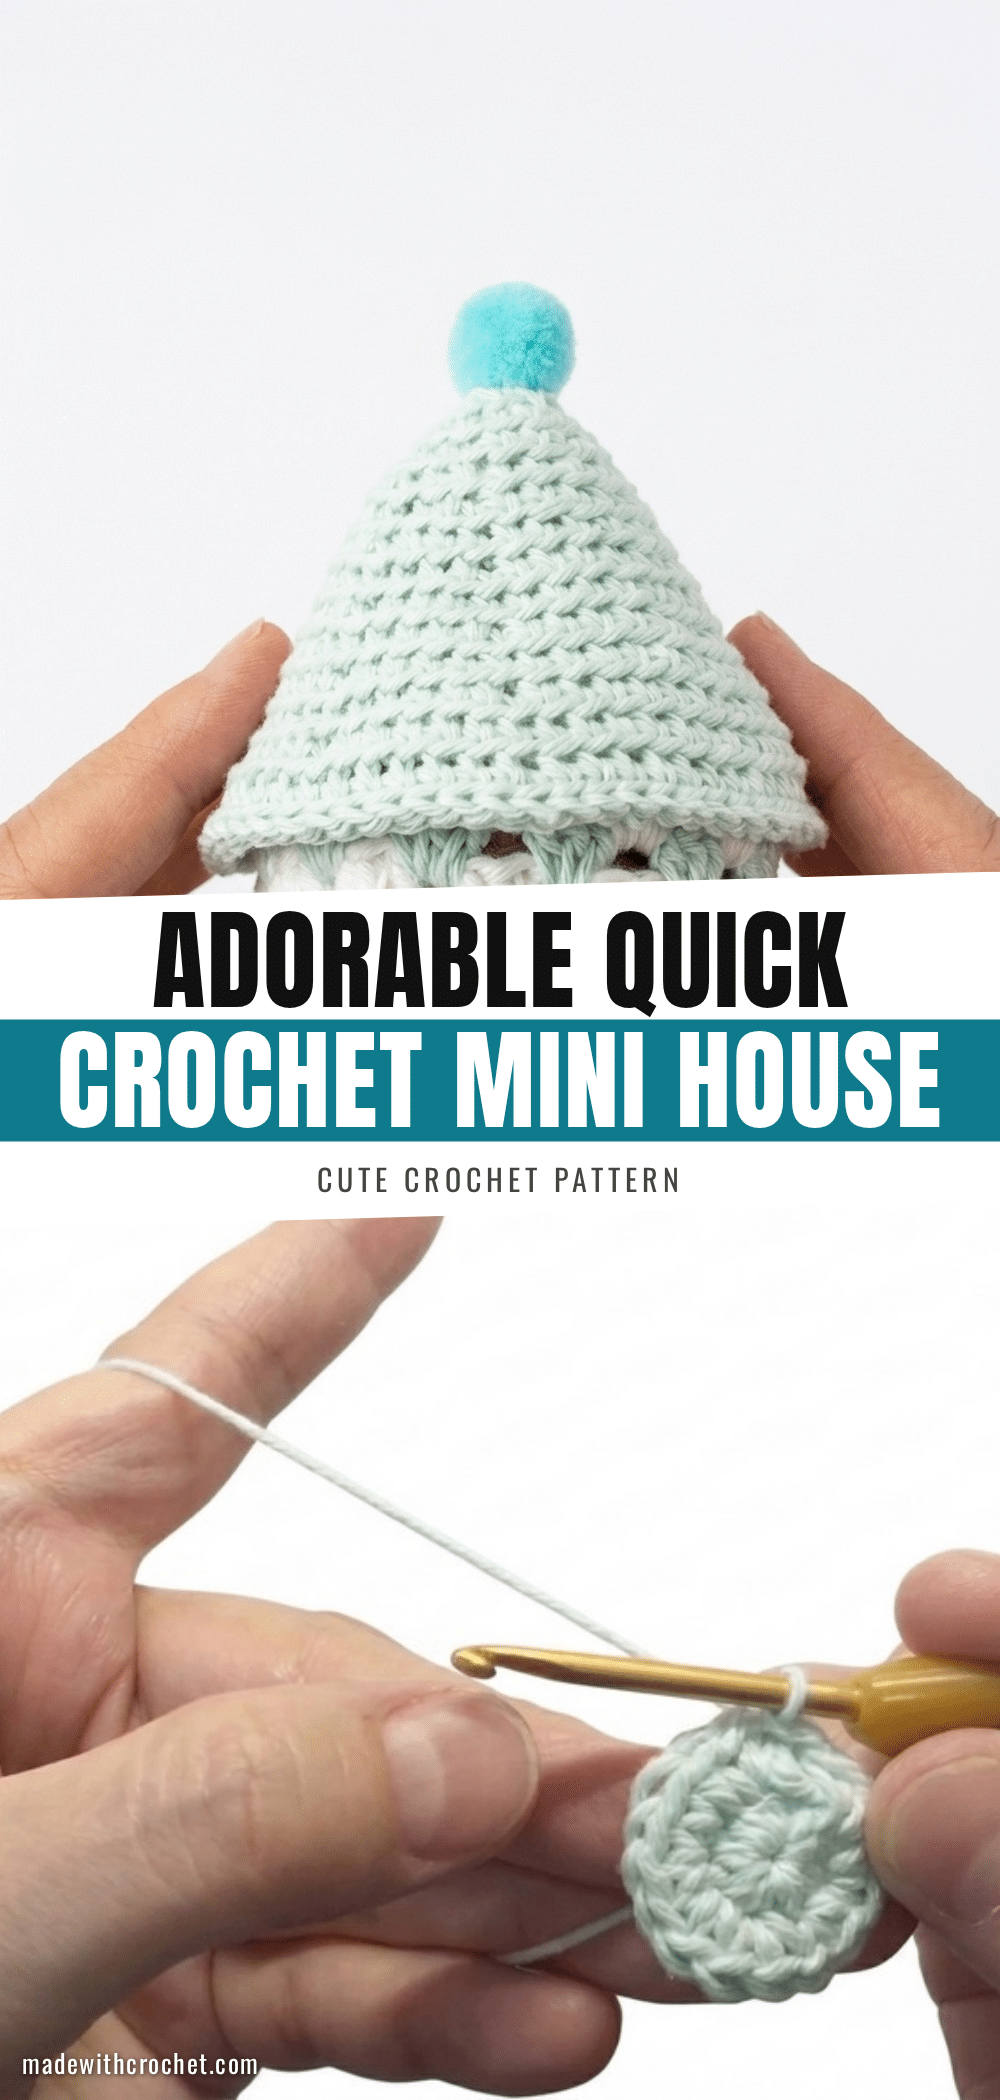
Looking for a quick and adorable crochet project that makes a perfect gift or charming home decor? This mini house pattern is just the thing. It’s a delightful, small-scale project that’s ideal for using up yarn scraps, creating a unique handmade present, or adding a whimsical touch to your own space. Whether you place it on a desk, a shelf, or use it as a tiny treasure box, this little house is sure to bring a smile.
Gift and Use Ideas
This crochet mini house is wonderfully versatile. It makes a fantastic, heartfelt gift for housewarmings, birthdays, or just because. Use it as a cute storage container for jewelry, trinkets, or desk supplies. It’s also a perfect addition to a handmade yarn village or as a playful toy for children. The detachable roof means you can hide a small surprise inside, making it an extra-special present. You can easily customize the colors to match any decor or the recipient’s favorite palette.
Project Overview
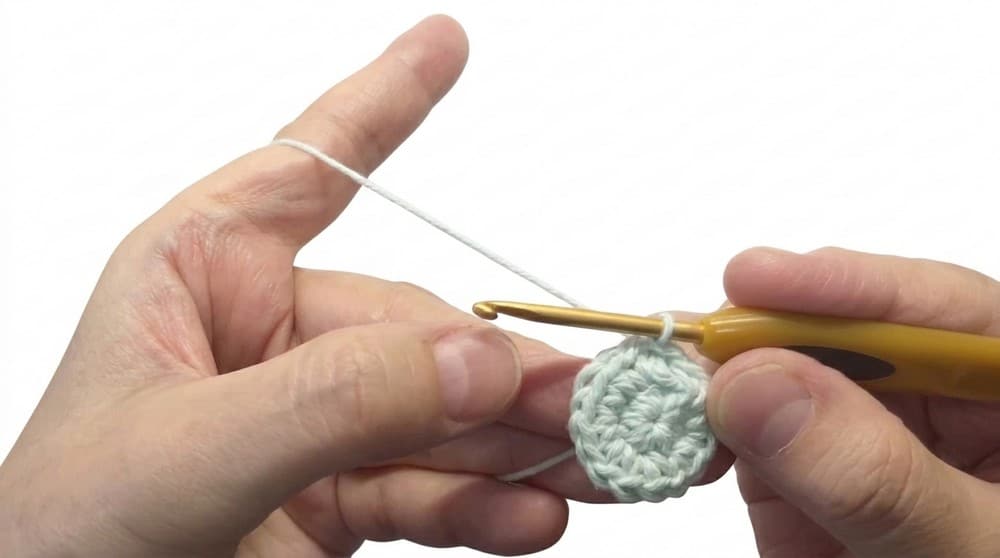
This charming pattern creates a sturdy, house-shaped container with a circular base, textured “brickwork” sides, and a conical roof topped with a decorative ball. It’s a fun and rewarding project for adventurous beginners and intermediate crocheters alike.
Materials
- Yarn: Main Structure: Recycle Cotton (by Daiso); Accents: Lineco (by Daiso, held double for colorwork and additional strength)
- Hooks: 5.0mm crochet hook (for base), 4.0mm crochet hook (for sides and roof), 6.0mm crochet hook (for final slip stitch round on the roof)
- Notions: Small decoration ball, approx. 1.5 cm (by Daiso) for roof top, craft glue for attaching decoration, scissors, yarn needle for weaving in ends
- Optional: Cardboard core (such as from a lace yarn roll) for supporting base and sides
Gauge and Finished Size
- Base Gauge: After Round 5 of the base, your circle should measure approximately 7.5–8 cm in diameter. Adjust hook size if needed to match the pattern’s finished size or to ensure a snug fit with your intended support core.
- Finished Size:
- Base diameter: Approx. 8 cm (3.15 inches)
- Container height (without roof): Approx. 7 cm (2.75 inches)
- Roof height: Approx. 5 cm (2 inches)
- Total height with roof: Approx. 12 cm (4.75 inches)
- Roof topper decoration: 1.5 cm diameter
Abbreviations
- ch – Chain
- sl st – Slip Stitch
- sc – Single Crochet
- dc – Double Crochet
- st(s) – Stitch(es)
- rep – Repeat
- inc – Increase (2 sc in one st)
- BLO – Back Loop Only
- MR – Magic Ring
Pattern Notes
- This pattern uses US crochet terms.
- Skill Level: Adventurous Beginner to Intermediate.
- The pattern is worked in the round for the base and roof, and in joined rounds for the sides.
- Carry or weave in your ends neatly for a tidy finish, especially when changing colors for the sides.
Pattern Instructions
The Circular Base
With 5.0mm hook and main yarn:
- Foundation: Create a Magic Ring.
- Round 1: Work 8 sc into MR. Pull tight. Join with a sl st to first sc. (8 sc)
- Round 2: 2 sc in each st around. (16 sc)
- Round 3: (1 sc, inc) repeat around. (1 sc in first st, 2 sc in next st) Repeat 8 times total. (24 sc)
- Round 4: (1 sc, 1 sc, inc) repeat around. (2 sc, then 2 sc in next st) Repeat 8 times total. (32 sc)
- Round 5: (1 sc, 1 sc, 1 sc, inc) repeat around. Repeat 8 times total. (40 sc)
- Optional: For symmetry, reduce by one stitch, ending with 39 sc. (1 st skipped)
- Check gauge and size here. If supporting with a cardboard core, ensure a snug fit.
The Sides (Body of the House)
Switch to 4.0mm hook:
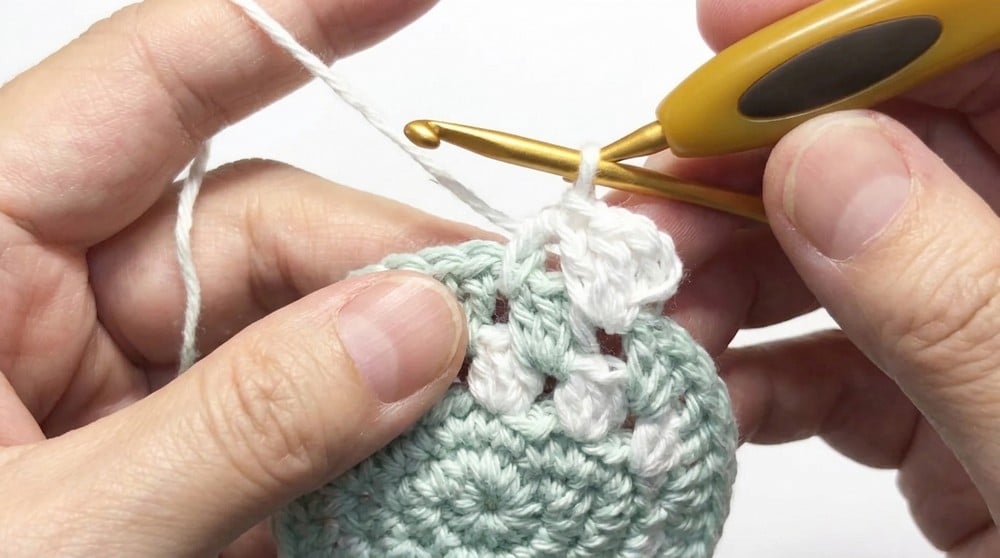
- Foundation Row: Attach yarn at any stitch of the base. Ch 2 (does not count as a stitch).
- Sides Pattern (worked in clusters): (Skip 1 st, work 3 dc in the next st) repeat around. For the first cluster, work 3 dc into the same stitch. Continue the pattern all the way—this produces a wall of open double crochet clusters, giving “brickwork” texture to the house.
- Colorwork: Switch accent color(s) as desired (see creator’s color-change timing at Rows 7–12). Carry or weave in your ends neatly for a tidy finish.
- Height: Work to desired height by repeating the cluster round pattern. Typically, 12 rows for a height of about 7 cm.
- Finishing the Sides:
- 1 round of SC: After your last dc cluster round, work 1 sc in each stitch around the top for stability and clean edge.
- 1 round of Slip Stitches: With the same (or contrasting) color, sl st in each st around to give a crisp, neat finish to the rim.
The Roof
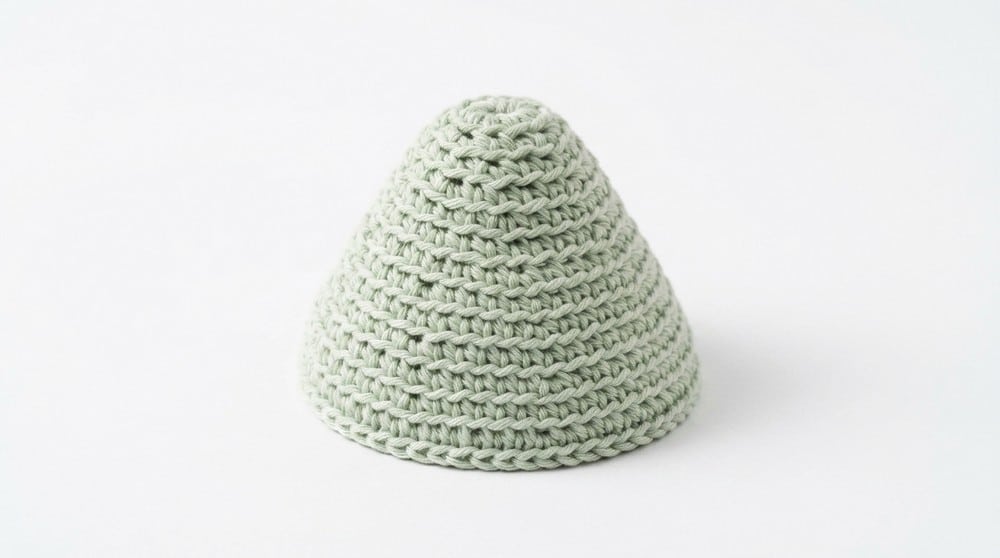
With 4.0mm hook (unless noted), using accent (double-held) yarn:
- Foundation: Ch 6, join with sl st to form a ring.
- Round 1: Work 12 sc into ring. (12 sc)
- Rounds 2–13: Work in continuous rounds (place marker if needed). Back Loop Only: For each round, sc BLO in every st. Increase at regular intervals: For each round, evenly space increases so your circle grows into a gentle cone. (E.g., Round 2: 2 sc in each st; Round 3: (1 sc, inc); Round 4: (2 sc, inc), etc.) Continue increasing until the cone shape is tall enough (about 13 rounds or to fit your house sides).
- Finishing: Switch to 6.0mm hook for last round. Work 1 round of slip stitches loosely into each stitch around for a finished brim.
Assembly
- Structure Support (Optional): For a stiffer container, insert a cardboard core cut to fit the base before attaching the roof. The sides will fit snugly around this inner shell, supporting the shape.
- Roof Topper: Attach the 1.5 cm decoration ball to the center of the roof’s top, using strong craft glue. Allow to dry.
- Final Construction: Ensure sides and roof fit neatly together (roof should sit on top of the container). The roof is detachable for access—no sewing required unless you wish the roof to be permanently attached. Weave in all yarn tails with a yarn needle for a clean finish.
- Optional Embellishments: Decorate with small windows, doors, or additional surface embroidery as desired.
Tips
- To ensure a sturdy base, check your gauge after Round 5. The base should be flat and firm.
- When working the sides, keep your tension consistent to create an even “brickwork” texture.
- For a neat color change, finish the last stitch of the old color before pulling through the new color to complete the stitch.
- If you want a stiffer container, the optional cardboard core is highly recommended.
FAQs
Can I use different yarn for this pattern?
Yes, you can substitute yarns, but be sure to check your gauge to achieve the correct finished size. The pattern uses a specific weight of cotton yarn for structure.
How do I make the roof detachable?
The roof is designed to sit on top of the container without sewing. Simply place it on the finished sides for a removable lid.
What can I use for the roof topper if I don’t have a decoration ball?
You can use a large wooden bead, a pom-pom, or even a crocheted circle stuffed with a bit of fiberfill. Just make sure it’s about 1.5 cm in diameter.
Is this pattern suitable for a beginner?
This pattern is rated for adventurous beginners to intermediate crocheters. You should be comfortable with basic stitches like single crochet, double crochet, and working in the round.
How can I customize the house?
You can easily change the colors of the sides and roof. You can also add surface embroidery for windows, doors, or other details after the house is assembled.
Pin This Crochet Pattern!