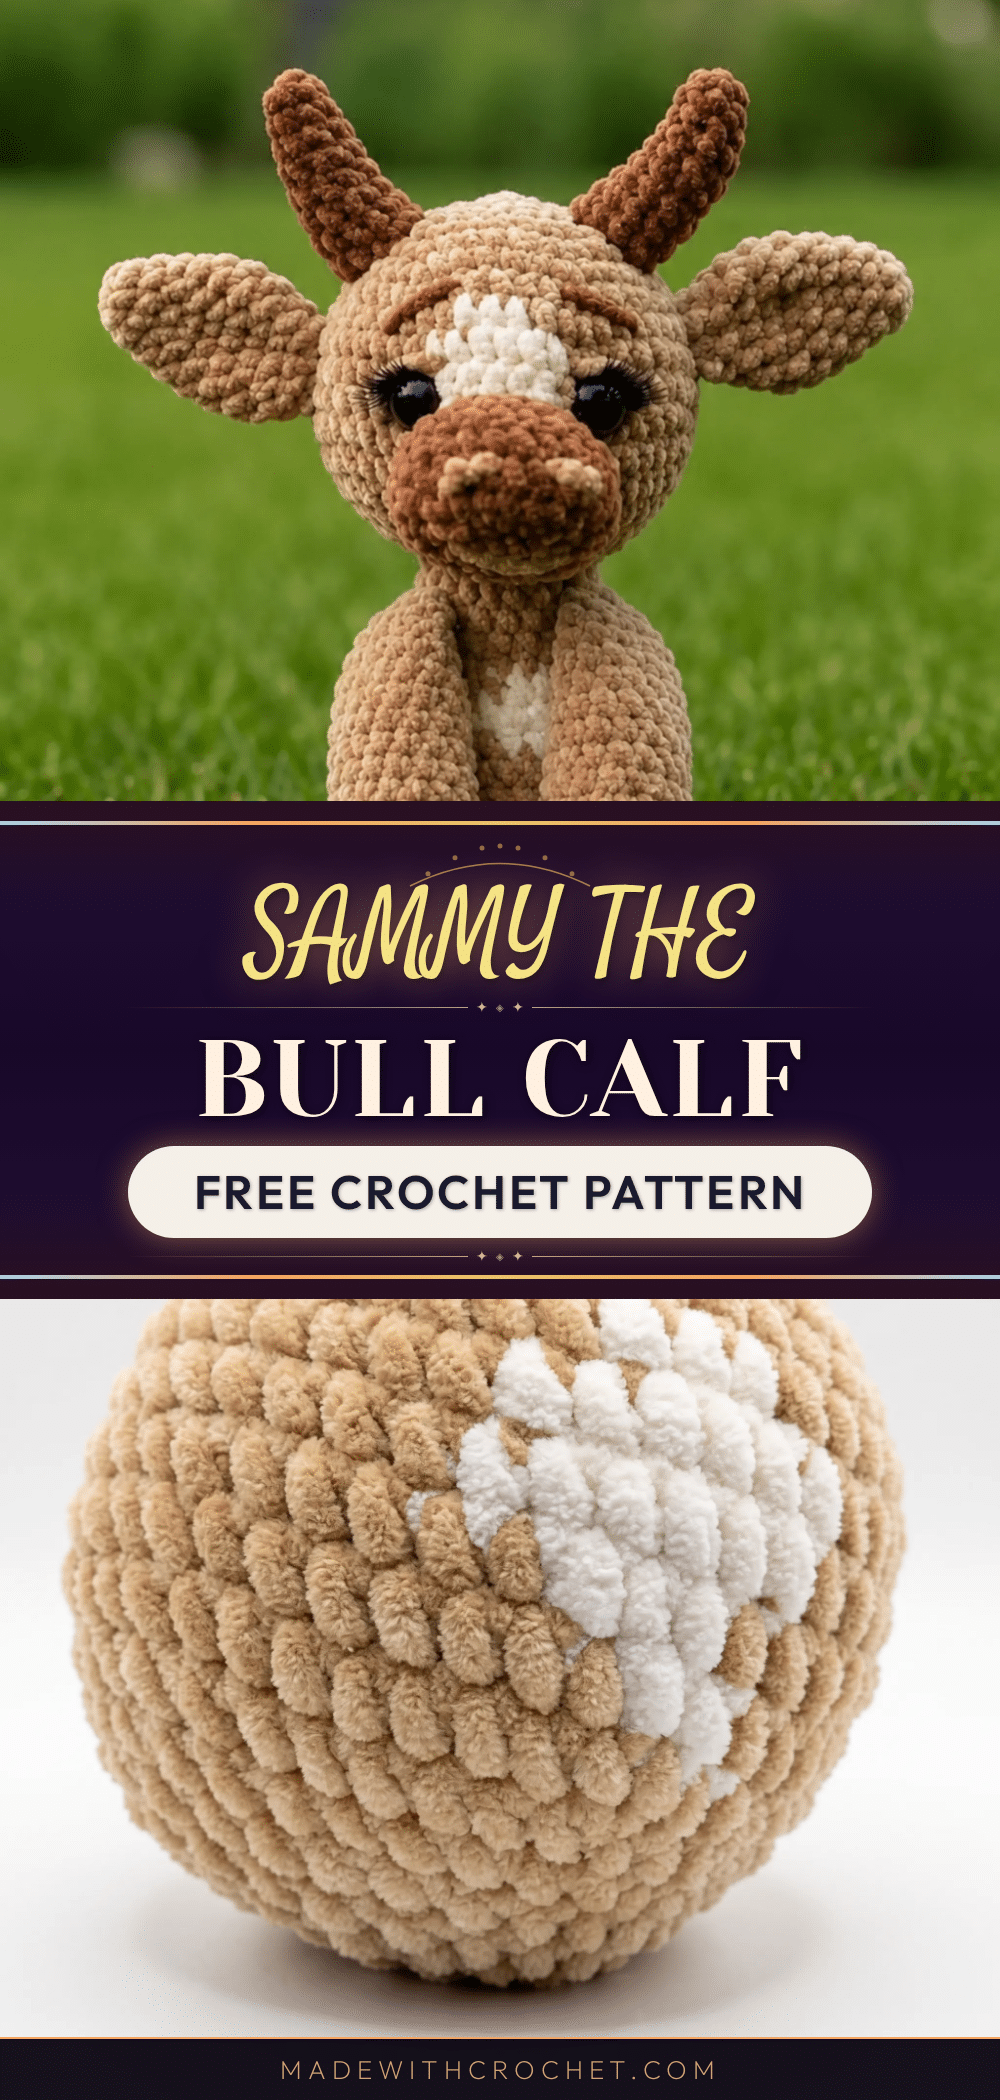
Have you ever started an amigurumi project only to worry that the legs will turn out floppy or the head won’t sit straight? It’s a common concern, especially when working with plush, forgiving yarns. But here’s the good news: Sammy the Bull Calf is designed to be your new best friend. This pattern uses simple, stacked rounds and a clever construction method that makes assembly a breeze, even for confident beginners. You’ll be amazed at how quickly this adorable calf comes together.
Maker Notes
What makes Sammy so special is the combination of a plush, chenille-style yarn and thoughtful details like the two-tone hooves and tiny horns. The velvet texture gives him a soft, huggable finish that’s perfect for a shelf companion or a handmade gift. The pattern is written for worsted weight yarn, so you can easily swap colors to create a whole herd of calves. Whether you choose a classic tan and brown or a more whimsical color palette, Sammy’s charming expression and sturdy construction will make him a project you’ll be proud to finish.
Project Overview
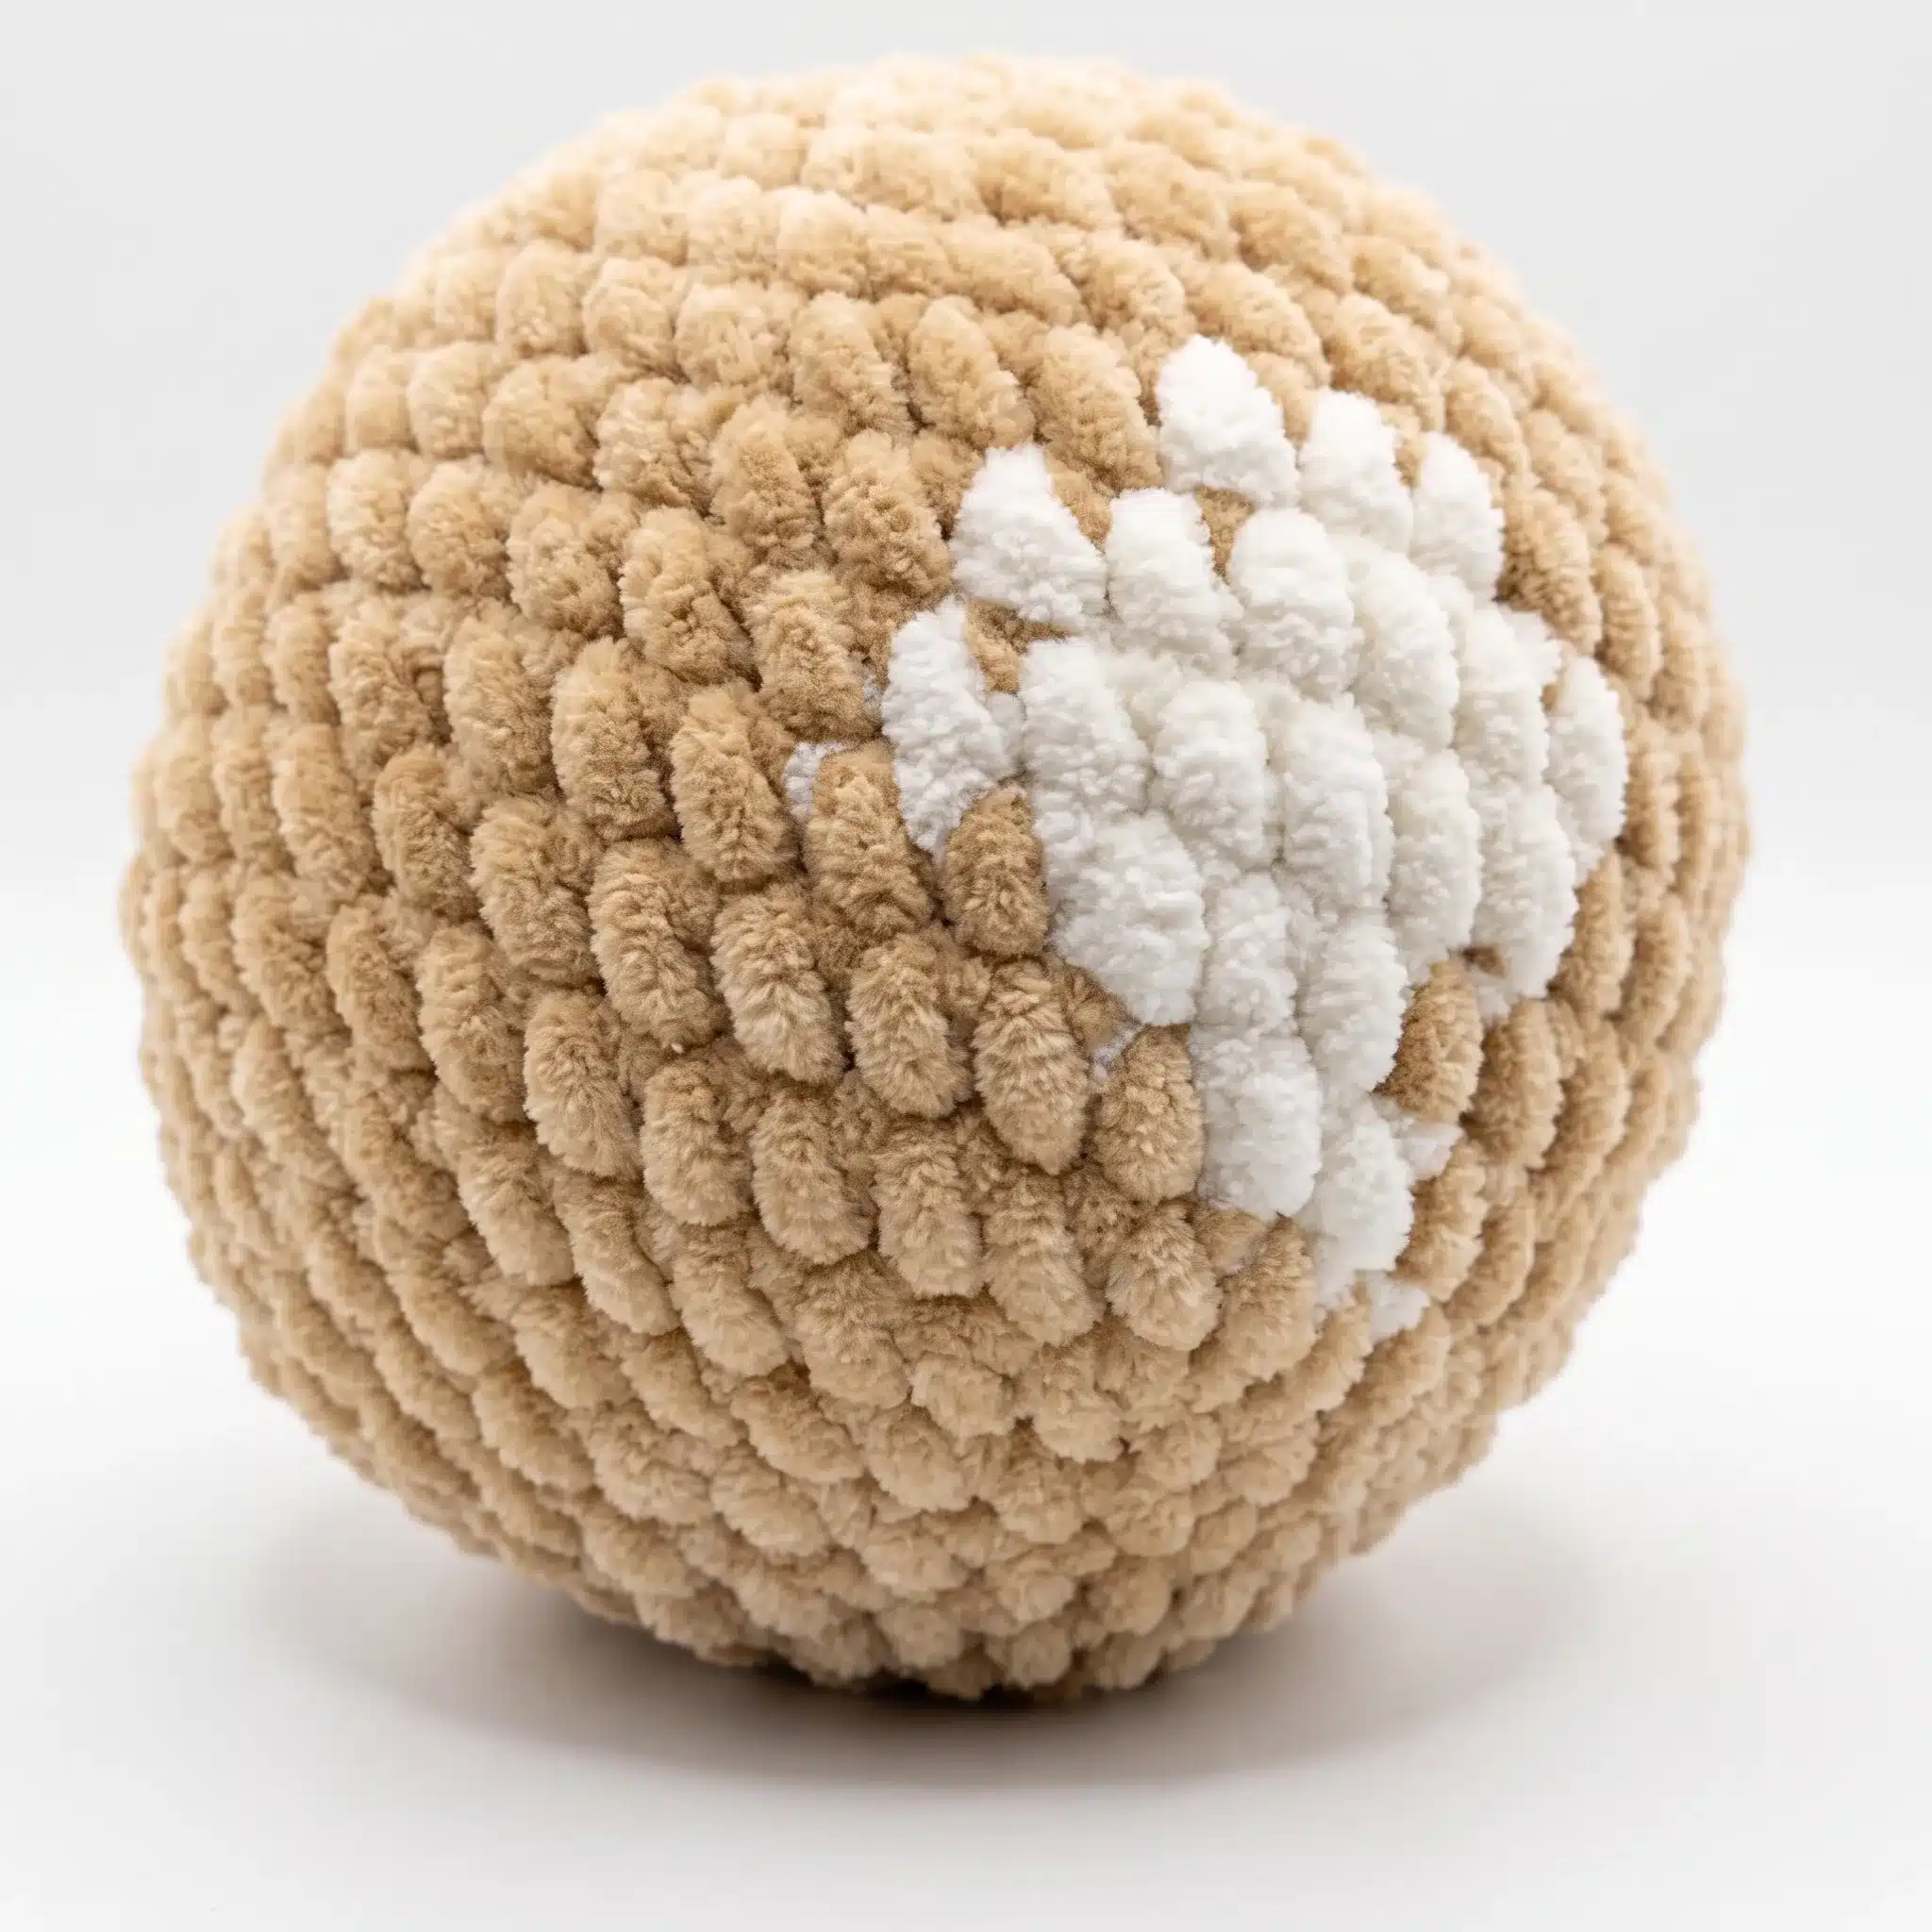
This pattern guides you through creating a complete bull calf amigurumi, from the head and body to the legs, arms, ears, muzzle, and horns. The pieces are worked in continuous spiral rounds, and the body cleverly incorporates the legs and arms as you crochet, eliminating the need for tricky sewing later. The finished calf is a lovely, medium-sized plushie, perfect for cuddling or display.
Materials Needed
- Worsted weight (CYCA #4) plush/chenille-style yarn (such as a velvet or “dolce” style yarn), approximately 1.5 skeins (100g/120m each) in a main tan/beige color
- Same yarn, approximately 0.5 skein in a contrast brown color for the muzzle, hooves, and horns
- Small scrap of white or cream yarn for the forehead blaze
- Hook size G-6 (4.0 mm)
- Safety eyes, 20mm, 1 pair
- Eyelash appliqués (optional, for eye detailing)
- Polyester fiberfill stuffing
- Yarn/tapestry needle with a large eye
- Sewing needle and matching thread
- Stitch marker
- Scissors
Abbreviations Used
- BLO — Back Loop Only
- ch — Chain
- dec — Decrease (invisible decrease)
- inc — Increase (2 sc in same stitch)
- MR — Magic Ring
- rnd(s) — Round(s)
- sc — Single Crochet
- st(s) — Stitch(es)
- tog — Together
Pattern Notes
- This pattern is written in US crochet terminology.
- All pieces are worked in continuous spiral rounds unless otherwise noted — do not join or chain up between rounds.
- Gauge is not critical for this project; instead, work at a tension tight enough that stuffing doesn’t peek through your stitches.
- The stitch count is given at the end of every round in parentheses, like this: (18).
- Stuff each piece moderately firmly as you go, rather than waiting until the piece is complete.
- Legs and arms share the same base pattern through Round 19, then diverge at the final closing round — read carefully to see which count applies to which piece.
- The muzzle begins with a flat oval base worked into a foundation chain before turning into rounds.
Pattern Instructions
Head
Rnd 1: 6 sc in MR. (6)
Rnd 2: inc around. (12)
Rnd 3: 1 sc, inc repeat around. (18)
Rnd 4: 2 sc, inc repeat around. (24)
Rnd 5: 3 sc, inc repeat around. (30)
Rnd 6: 4 sc, inc repeat around. (36)
Rnd 7: 5 sc, inc repeat around. (42)
Rnd 8: 6 sc, inc repeat around. (48)
Rnds 9–16: sc in each st around. (48)
Rnd 17: 6 sc, dec repeat around. (42)
Rnd 18: 5 sc, dec repeat around. (36)
Rnd 19: 4 sc, dec repeat around. (30)
Rnd 20: 3 sc, dec repeat around. (24)
Rnd 21: 2 sc, dec repeat around. (18)
Fasten off, leaving a long tail for sewing. Weave in any loose ends. Set the head aside — you’ll attach the safety eyes after sewing on the muzzle.
Leg (make 2)
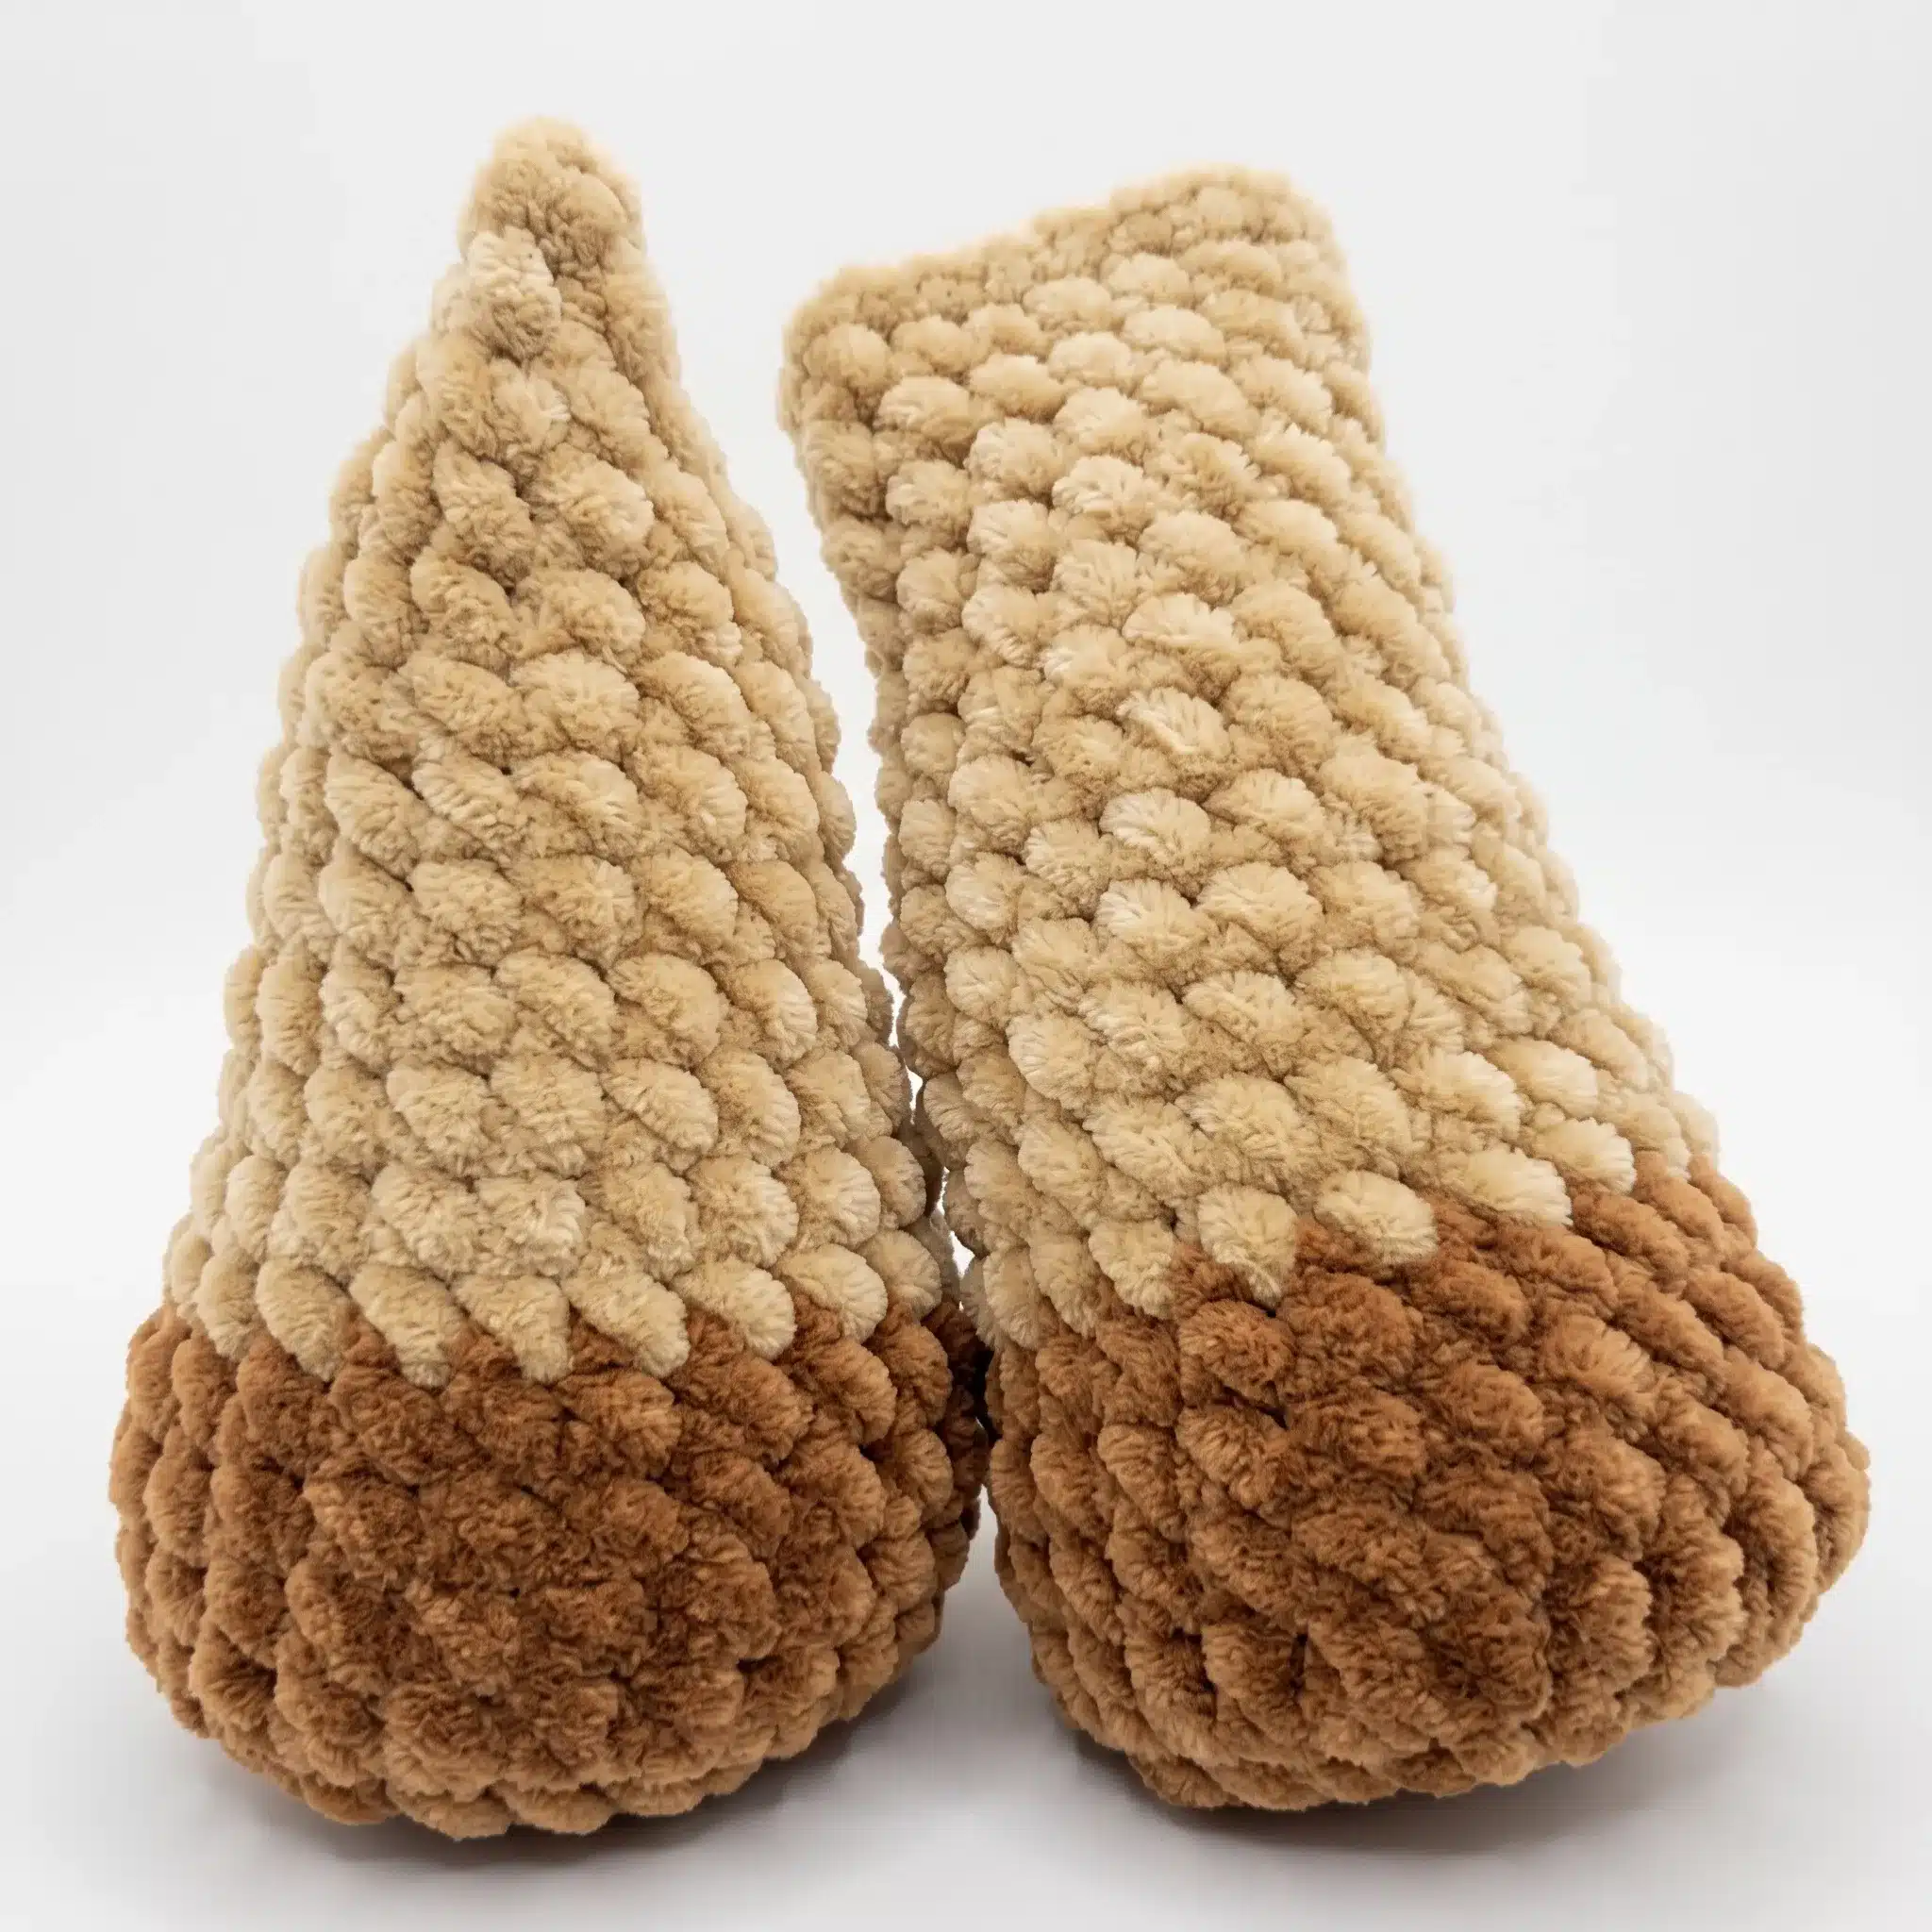
Rnd 1: 6 sc in MR, using contrast color. (6)
Rnd 2: inc around. (12)
Rnd 3: 1 sc, inc repeat around. (18)
Rnd 4: 2 sc, inc repeat around. (24)
Rnd 5: sc around, working in BLO — alternatively, insert your hook into each stitch from the back side for the same effect. This keeps the legs sturdy and gives them a flat sole to stand on. (24)
Rnds 6–8: sc in each st around. (24)
Change to main color here.
Rnd 9: 10 sc, dec, 10 sc, dec. (22)
Rnd 10: sc in each st around. (22)
Rnd 11: 9 sc, dec, 9 sc, dec. (20)
Rnd 12: sc in each st around. (20)
Rnd 13: 8 sc, dec, 8 sc, dec. (18)
Rnd 14: sc in each st around. (18)
Rnd 15: 7 sc, dec, 7 sc, dec. (16)
Rnd 16: sc in each st around. (16)
Rnd 17: 6 sc, dec, 6 sc, dec. (14)
Rnds 18–19: sc in each st around. (14)
Rnd 20: Fold the opening flat and sc through both layers to close: 7 sc. Fasten off, leaving a tail for attaching to the body.
Arm (make 2)
Rnd 1: 6 sc in MR, using contrast color. (6)
Rnd 2: inc around. (12)
Rnd 3: 1 sc, inc repeat around. (18)
Rnd 4: 2 sc, inc repeat around. (24)
Rnd 5: sc around, working in BLO — or insert your hook into each stitch from the back side for the same effect. (24)
Rnds 6–8: sc in each st around. (24)
Change to main color here.
Rnd 9: 10 sc, dec, 10 sc, dec. (22)
Rnd 10: sc in each st around. (22)
Rnd 11: 9 sc, dec, 9 sc, dec. (20)
Rnd 12: sc in each st around. (20)
Rnd 13: 8 sc, dec, 8 sc, dec. (18)
Rnd 14: sc in each st around. (18)
Rnd 15: 7 sc, dec, 7 sc, dec. (16)
Rnd 16: sc in each st around. (16)
Rnd 17: 6 sc, dec, 6 sc, dec. (14)
Rnds 18–19: sc in each st around. (14)
Rnd 20: Fold the opening flat and sc through both layers to close: 6 sc. Fasten off, leaving a tail for attaching to the body.
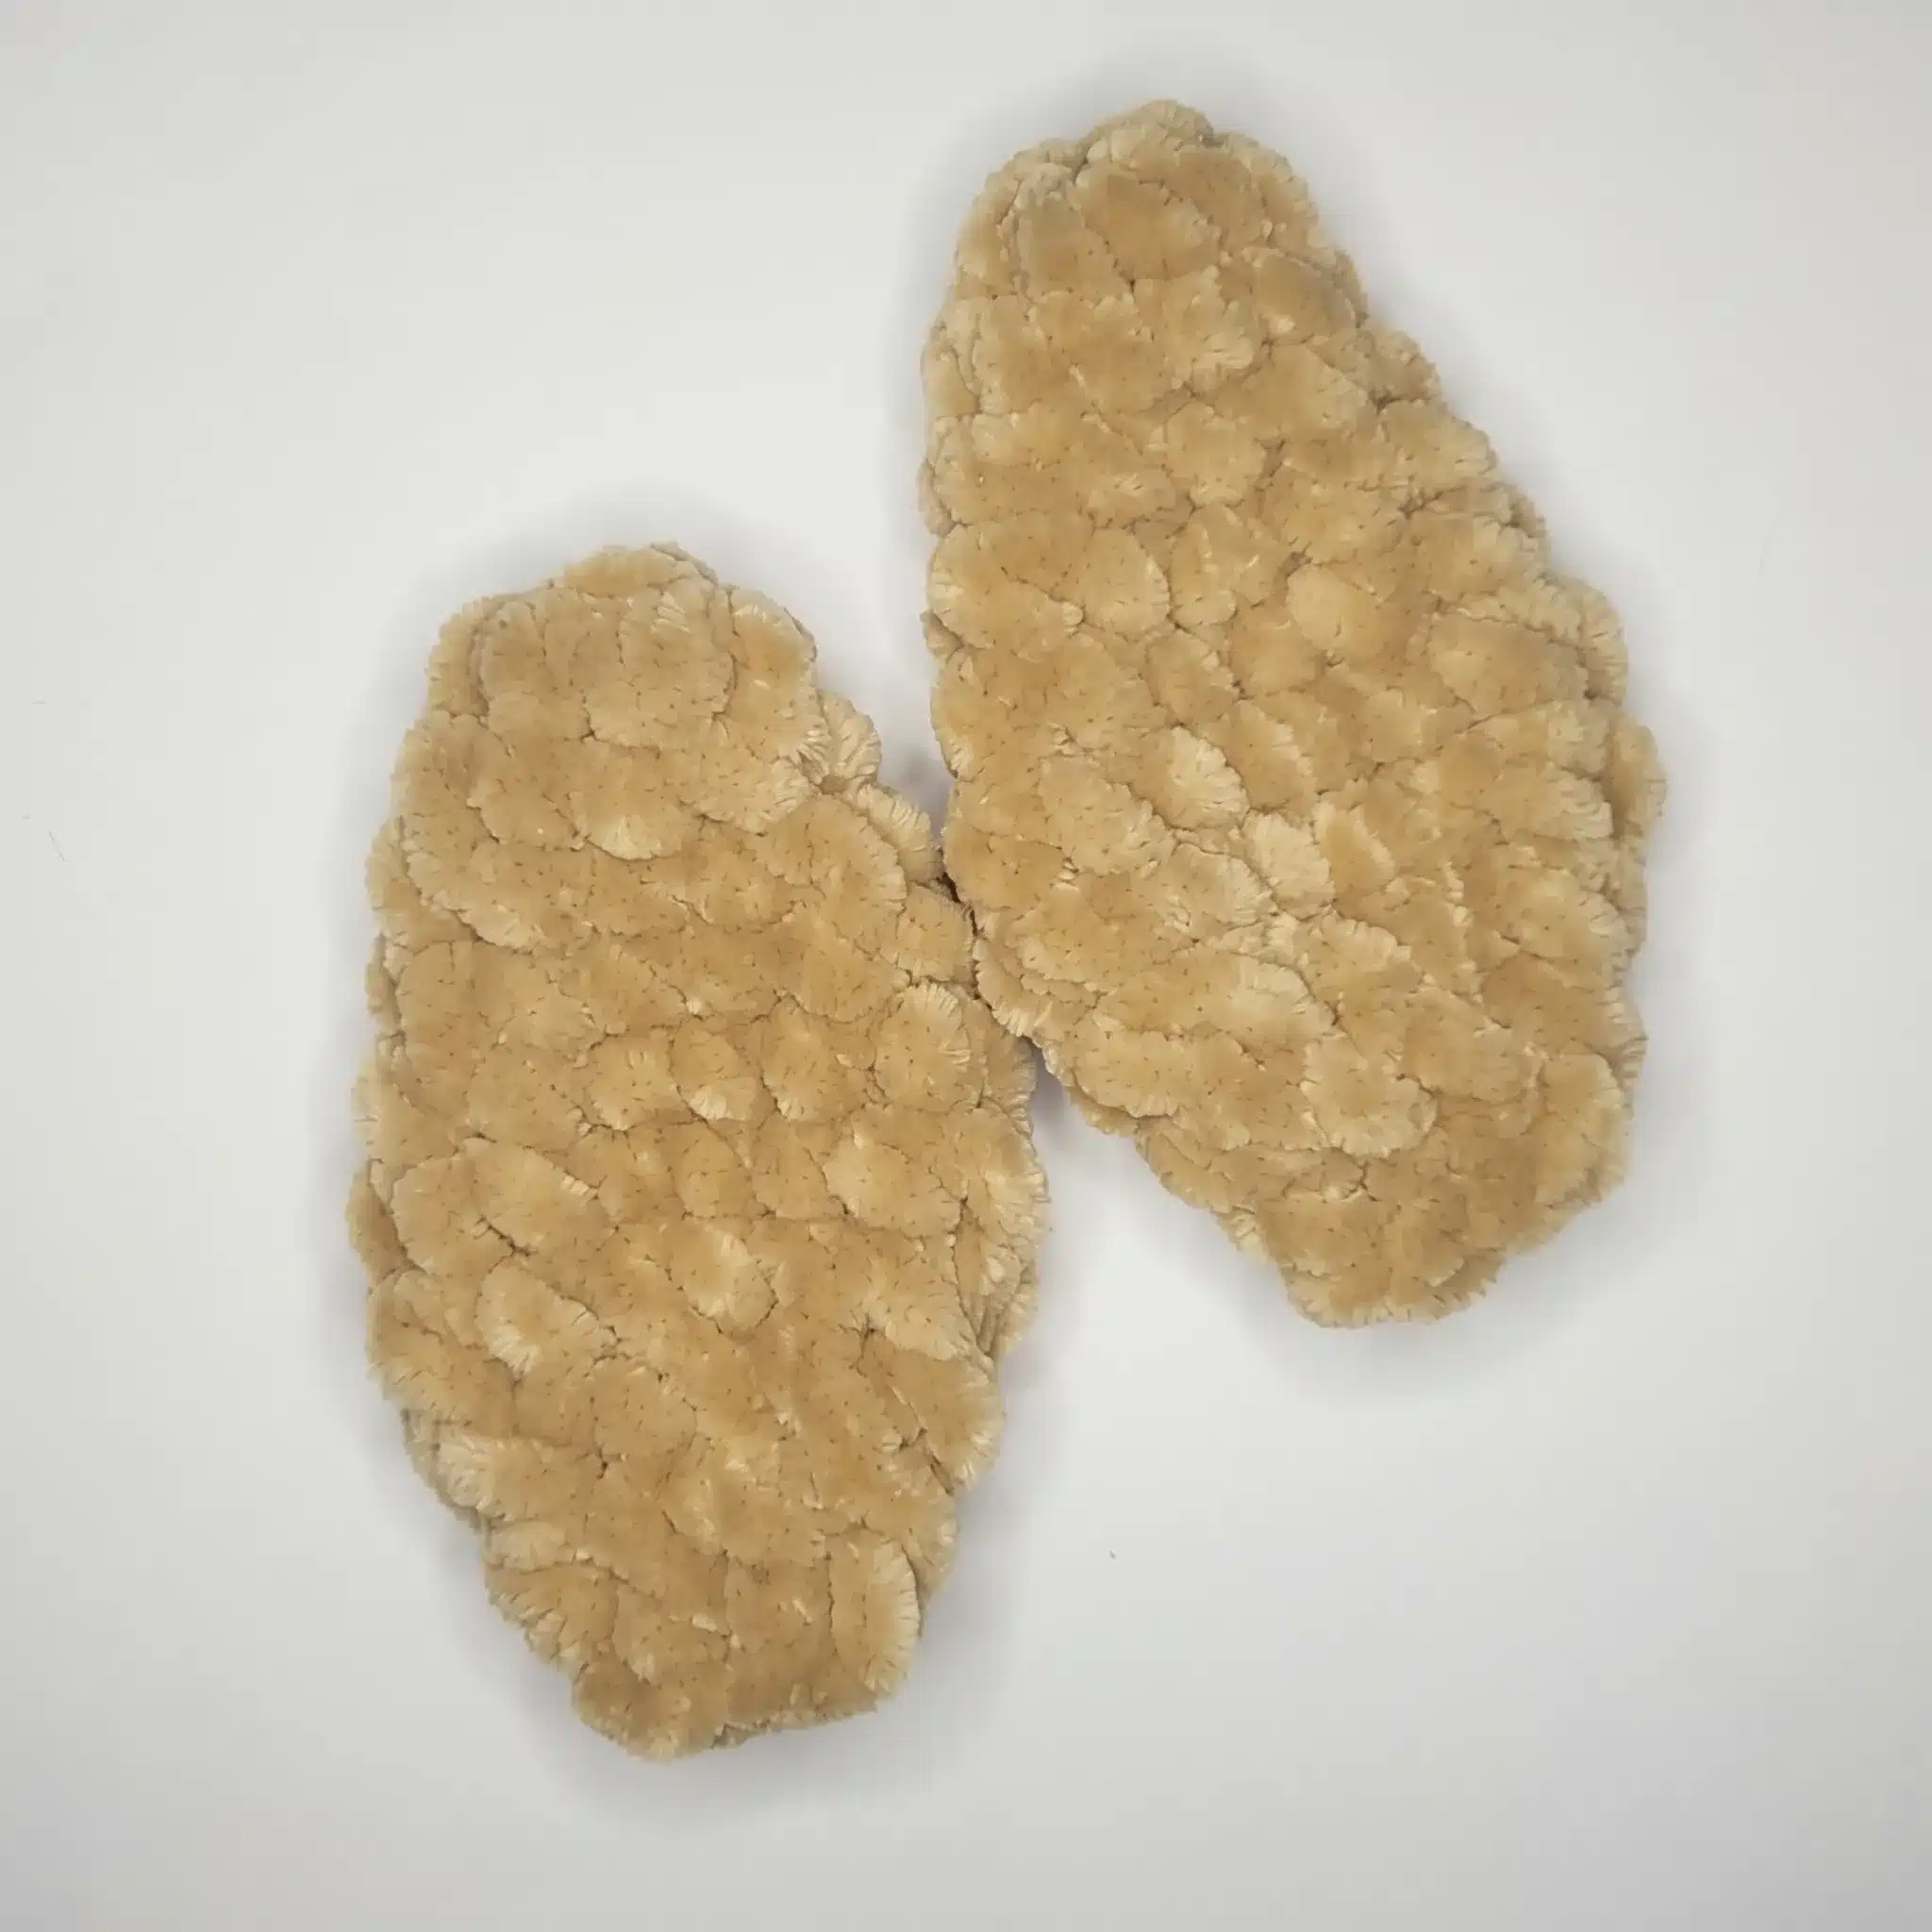
Ear (make 2)
Rnd 1: 6 sc in MR. (6)
Rnd 2: 1 sc, inc repeat around. (9)
Rnd 3: sc in each st around. (9)
Rnd 4: 2 sc, inc repeat around. (12)
Rnd 5: sc in each st around. (12)
Rnd 6: 3 sc, inc repeat around. (15)
Rnd 7: sc in each st around. (15)
Rnd 8: 3 sc, dec repeat around. (12)
Rnd 9: 2 sc, dec repeat around. (9)
Rnd 10: 1 sc, dec repeat around. (6)
Rnd 11: Fold the piece flat and sc through both layers to close. Fasten off, leaving a tail for sewing.
Muzzle
Row 1: Using contrast color, ch 6 plus 1 turning ch. Starting in the 2nd ch from hook, work 5 sc, then 3 sc into the last ch. Turn and work down the opposite side of the foundation chain with 4 sc, then inc. (14)
Rnd 2: 2 inc, 4 sc, 3 inc, 4 sc, 3 inc. (22)
Rnds 3–5: sc in each st around. (22)
Fasten off, leaving a long tail for sewing.
Horn (make 2)
Rnd 1: 6 sc in MR, using contrast color. (6)
Rnd 2: sc in each st around. (6)
Rnd 3: 1 sc, inc repeat around. (9)
Rnd 4: sc in each st around. (9)
Rnd 5: inc, 3 sc, dec, 3 sc. (9)
Rnd 6: 1 sc, inc, 3 sc, dec, 2 sc. (9)
Rnd 7: 2 sc, inc, 6 sc. (10)
Rnd 8: 3 sc, inc, 4 sc, dec. (9)
Rnd 9: 4 sc, inc, 3 sc, dec. (9)
Fasten off, leaving a tail for sewing. Weave in any loose ends.
Body
Rnd 1: 6 sc in MR, using main color. (6)
Rnd 2: inc around. (12)
Rnd 3: 1 sc, inc repeat around. (18)
Rnd 4: 2 sc, inc repeat around. (24)
Rnd 5: 3 sc, inc repeat around. (30)
Rnd 6: 4 sc, inc repeat around. (36)
Rnd 7: 5 sc, inc repeat around. (42)
Rnd 8: 8 sc, then sc the next 7 sts together with the 7 open sts of Leg 1 (working through both layers to join), 12 sc, then sc the next 7 sts together with the 7 open sts of Leg 2, 8 sc. (42)
Rnds 9–11: sc in each st around. (42)
Rnd 12: 5 sc, dec repeat around. (36)
Rnd 13: sc in each st around. (36)
Rnd 14: 4 sc, dec repeat around. (30)
Rnds 15–16: sc in each st around. (30)
Rnd 17: 3 sc, dec repeat around. (24)
Rnd 18: sc in each st around. (24)
Rnd 19: 4 sc, then sc the next 6 sts together with the 6 open sts of Arm 1, 8 sc, then sc the next 6 sts together with the 6 open sts of Arm 2. (24)
Rnd 20: sc in each st around. (24)
Rnd 21: 2 sc, dec repeat around. (18)
Rnd 22: sc in each st around. (18)
Fasten off, leaving a tail for closing. Stuff the body moderately firmly before closing the opening completely.
Assembly
Sew the Muzzle onto the front of the Head, positioning it in the lower-center area. Measure and mark where the safety eyes should sit above the muzzle, then insert and secure the safety eyes at those points. Using the yarn tail, sew the Head onto the top of the Body with a whipstitch, keeping the muzzle facing forward. Sew the two Horns to the Head at the level of Round 4, spacing them evenly on either side of the crown. One round below the base of each horn, sew the Ears in place, angling them slightly outward. Embroider facial details as desired — nostrils on the muzzle, eyelashes above the eyes, and small eyebrows for extra personality. At the back of the body, in your chosen tail position, attach a length of yarn and chain 8 stitches, then finish the end with a small yarn tassel. Weave in all remaining yarn ends and trim neatly.
Tips & Tricks
- Watch the join rounds: Because the body relies on Round 8 and Round 19 to attach the legs and arms, work slowly through those rounds and count your stitches twice — it’s easy to lose track when you’re crocheting two pieces together at once.
- Fix loose decreases: If your invisible decreases look loose or gappy, try inserting your hook under the front loops only of the next two stitches rather than through both loops; this creates a smoother, less visible seam on rounds where shaping happens quickly.
- Stuff as you go: Add fiberfill in small pinches as you close each round instead of stuffing everything at the end — this prevents lumps and keeps Sammy’s limbs firm enough to hold a pose.
- Choose yarn wisely: If you swap in a different yarn, choose something with a similar worsted weight and a bit of texture or plush loft; a smooth, thin yarn will show stitch definition that this design isn’t meant to have, and it may also change your finished size.
- Perfect the head placement: When sewing the head to the body, pin it in place first and turn the calf around to check the horn and ear placement from multiple angles before you commit to stitching — a few extra seconds here makes a noticeably more polished final look.
Frequently Asked Questions
What yarn is best for this pattern?
A worsted weight (CYCA #4) plush or chenille-style yarn is ideal. Look for a “velvet” or “dolce” style yarn for the softest, most huggable finish. The pattern is designed for this type of yarn, so substituting with a smooth, thin yarn will change the look and size.
Can I use different safety eye sizes?
The pattern calls for 20mm safety eyes. Using a different size will change the expression of your calf. If you use smaller eyes, your calf will look more youthful; larger eyes will give a more cartoonish appearance.
How do I make the invisible decrease look neat?
For the neatest invisible decrease, insert your hook into the front loop only of the next two stitches, then yarn over and pull through both loops. This technique creates a nearly invisible stitch that blends beautifully with the plush yarn.
My legs are a bit floppy. What can I do?
Ensure you are stuffing the legs moderately firmly as you go. The BLO round at the base of the legs is designed to create a sturdy, flat sole. If they still seem floppy, you can add a small amount of extra stuffing to the lower part of the leg.
Can I make this pattern smaller or larger?
Yes, you can adjust the size by using a different weight yarn and corresponding hook size. A lighter weight yarn and smaller hook will create a smaller calf, while a bulky yarn and larger hook will make a larger one. Keep in mind that the finished size and yarn amounts will change.
Pin This Crochet Pattern!