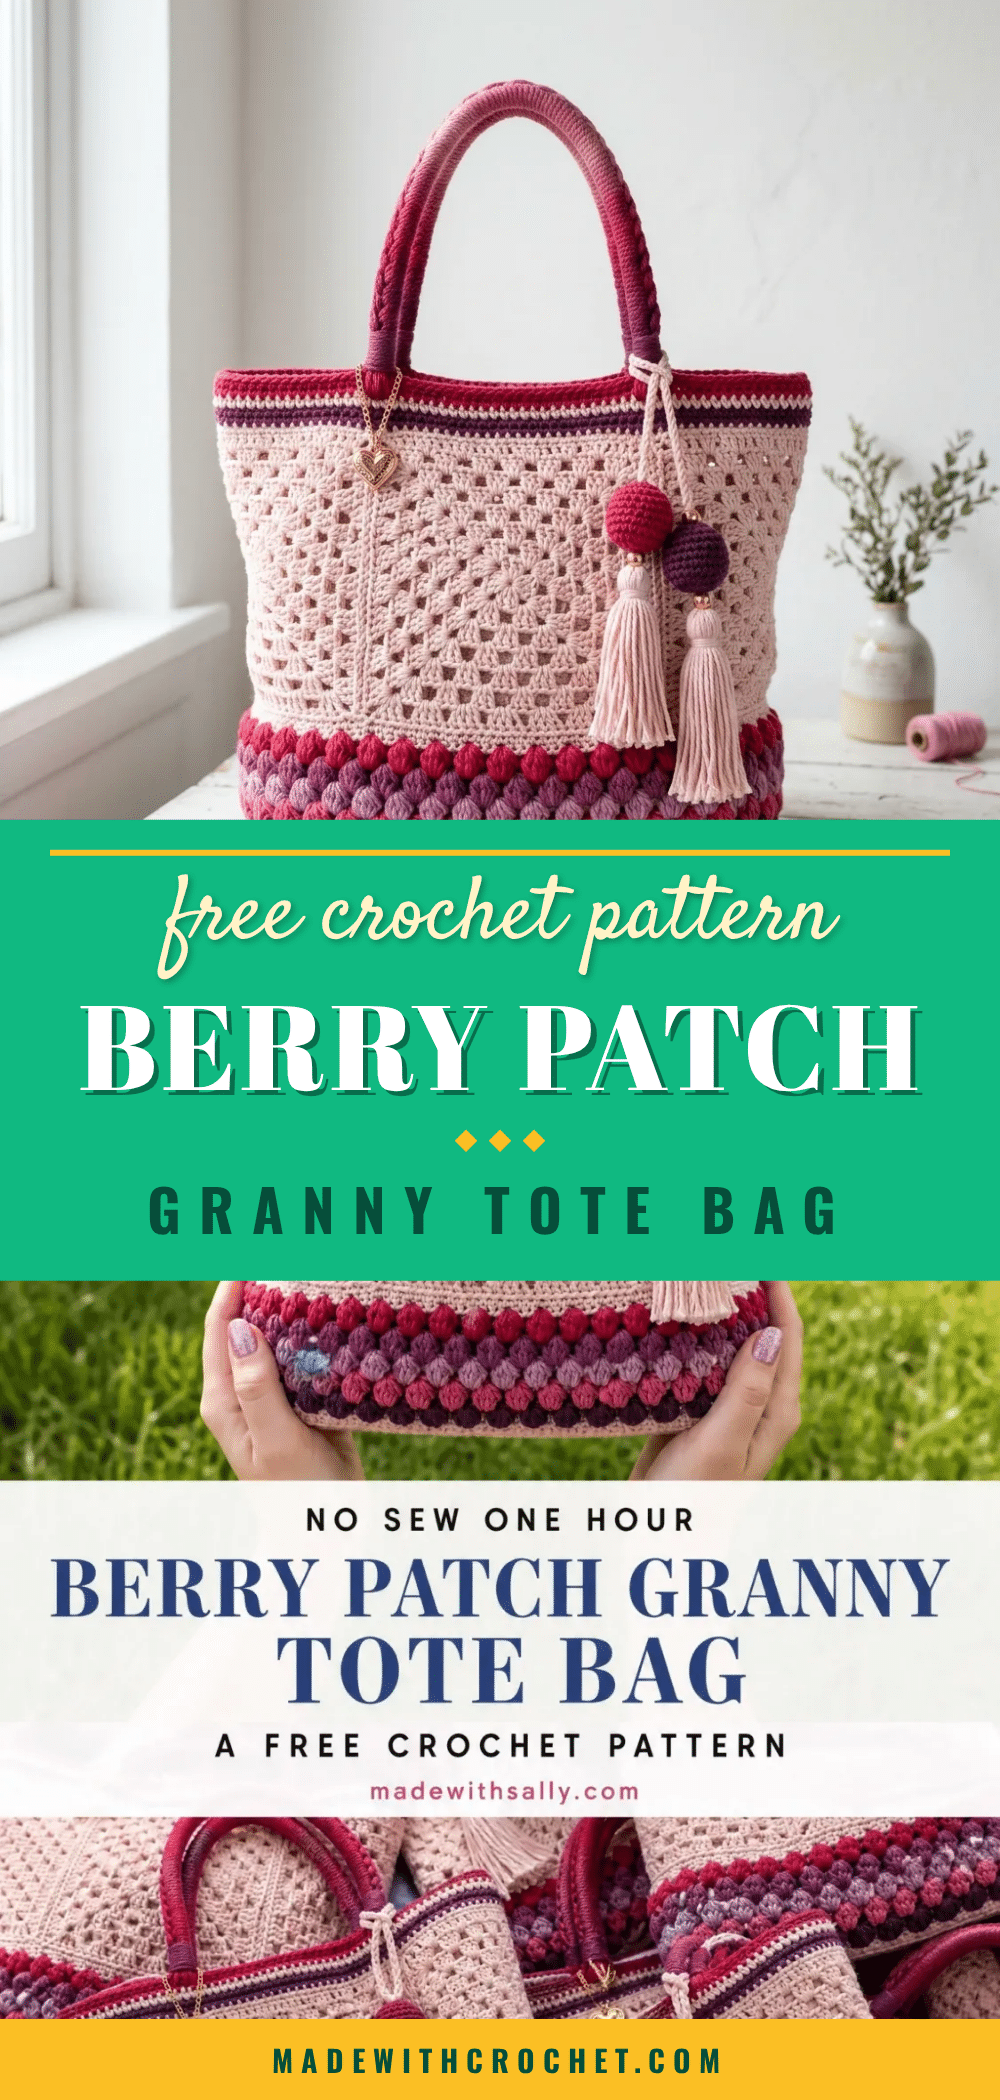
There is something so satisfying about settling in for a quiet evening with a small batch of yarn, counting stitches as a relaxing repeat takes over. This Charming Berry Patch Granny Tote Bag is the perfect project for those cozy moments. It combines the timeless appeal of granny squares with a modern, structured tote shape, all wrapped up in a palette of rich berry hues. Whether you are a seasoned crocheter or looking for a rewarding intermediate challenge, this bag is a joy to make and even more delightful to carry.
Small Details That Make It Better
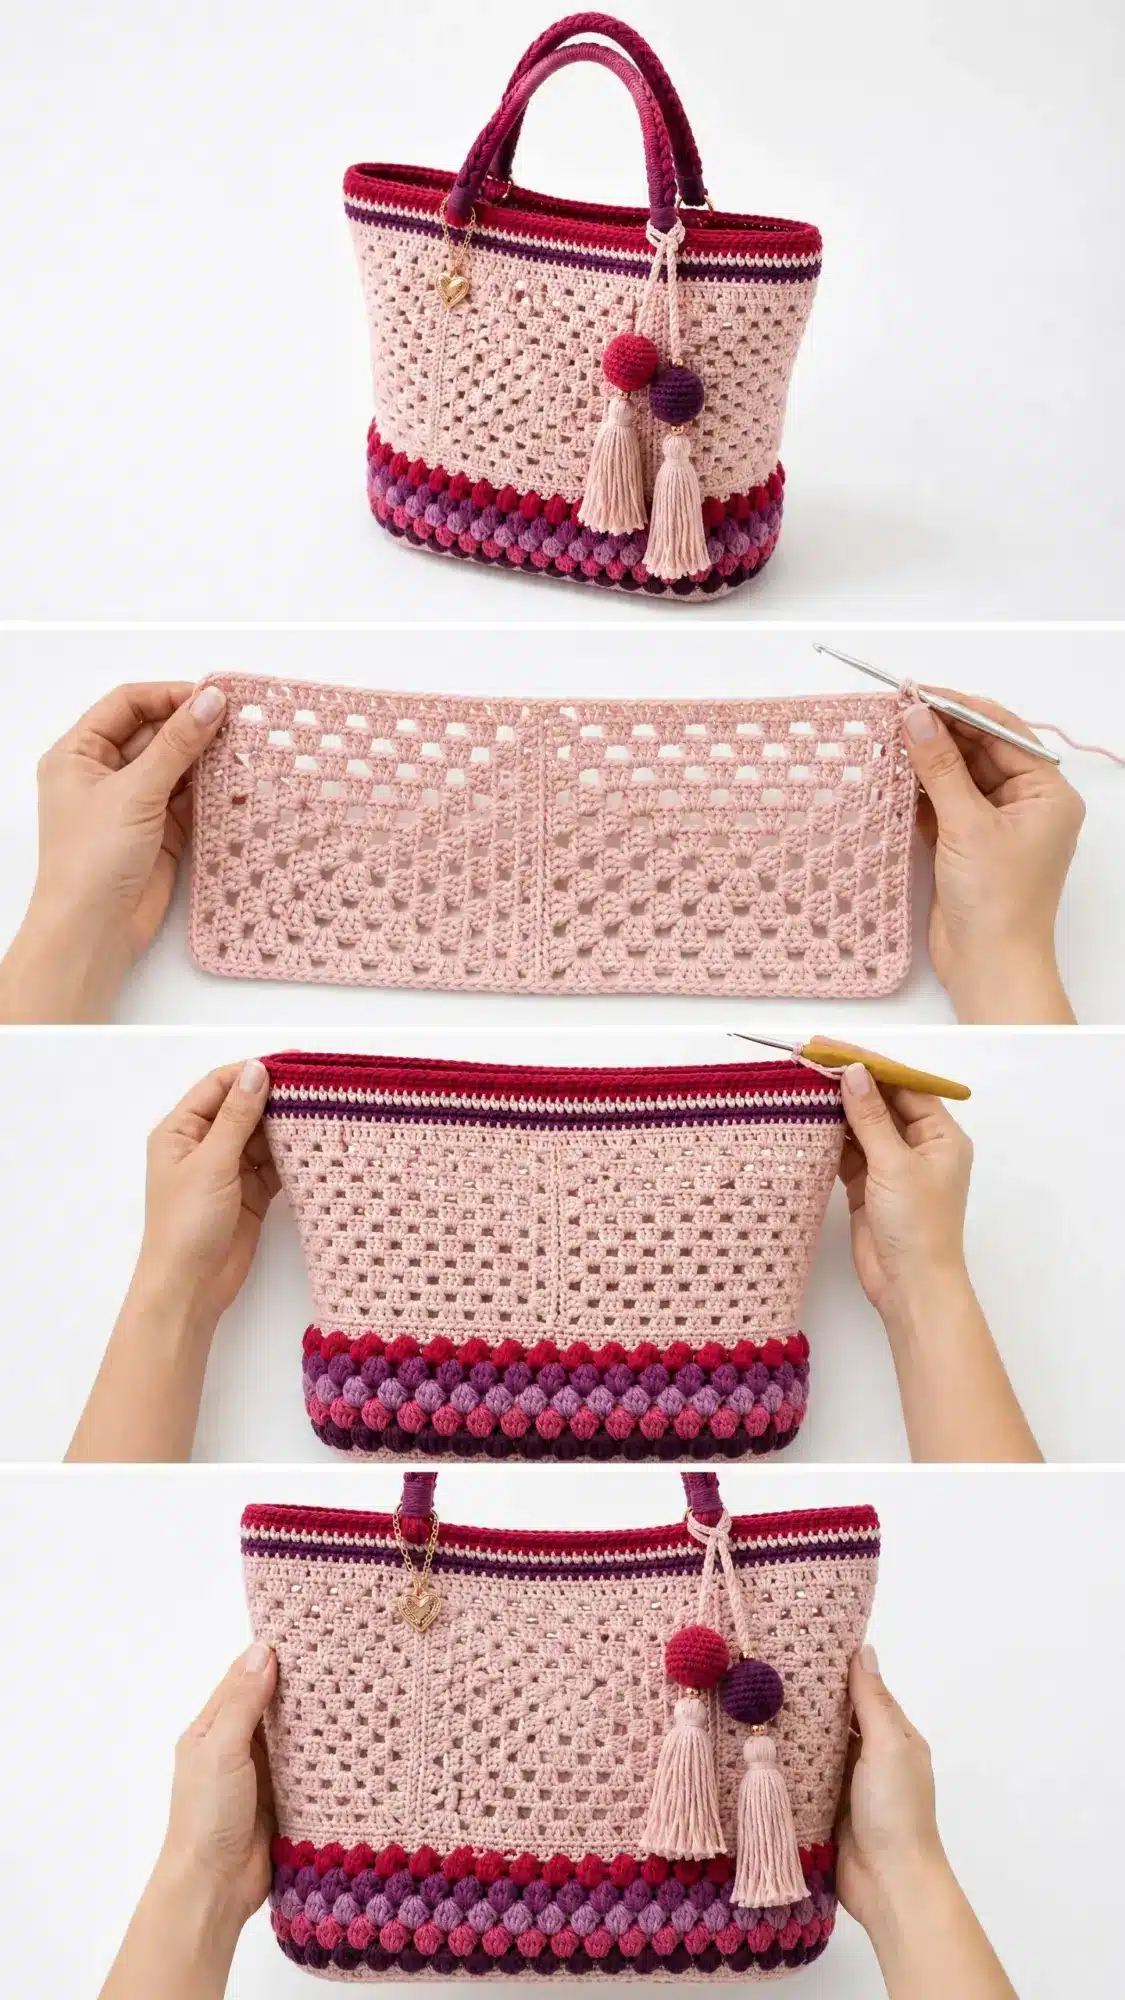
What truly elevates this tote beyond a simple granny square bag is the thoughtful combination of textures and colors. The puff stitch border in graduating berry shades adds a dimensional, almost ruffled base that catches the light beautifully. The crisp striped band at the top provides a clean, modern finish, while the optional gold heart charm and tassel fringe add a personal, whimsical touch. The choice of a mercerized cotton yarn like Lion Brand 24/7 Cotton is key—it gives the bag excellent stitch definition and the firm structure needed to hold its shape, making it a sturdy companion for farmer’s market trips or a day at the beach.
Project Overview
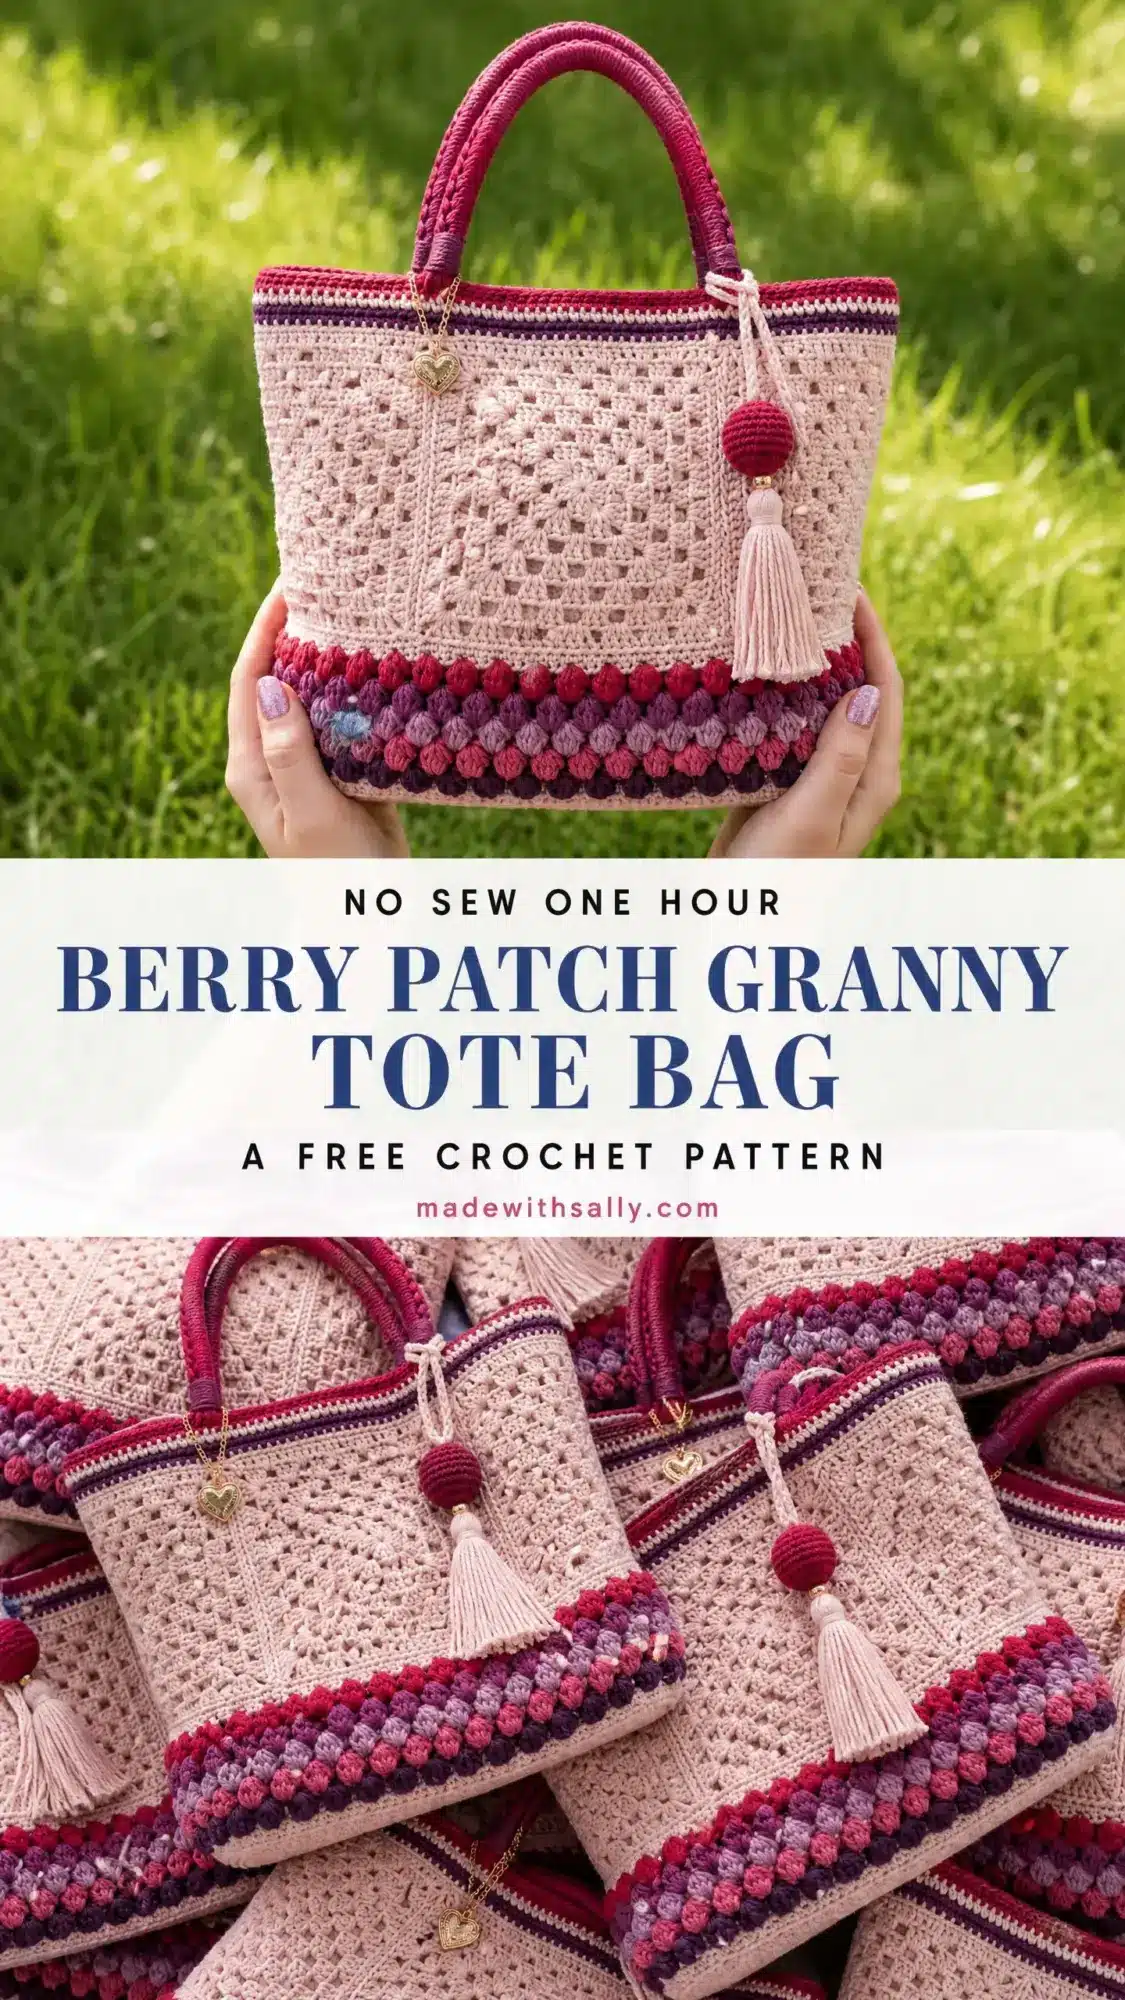
This bag hits that sweet spot between decorative and practical. The granny square construction creates a beautiful lattice texture that looks intricate but works up using basic stitches you already know. The puff stitch border at the bottom adds incredible dimension and showcases four gorgeous berry tones. The finished tote measures approximately 14 inches wide, 12 inches tall (before handles), and 5 inches deep. That is plenty of room for books, craft supplies, groceries, or beach essentials. The flat rectangular base means it sits upright without flopping over. Skill level: Intermediate. You should be comfortable with granny squares, working in the round, color changes, and basic seaming. Time estimate: About 18 to 24 hours for an experienced crocheter, spread across several sessions.
Materials You Will Need
Having everything ready before you start makes this project so much more enjoyable. Here is your complete supply list.
Yarn
All worsted weight cotton or cotton blend.
- Yarn A, Blush Pink: approximately 500 yards / 457 m (main body color)
- Yarn B, Deep Red: approximately 120 yards / 110 m
- Yarn C, Magenta / Hot Pink: approximately 90 yards / 82 m
- Yarn D, Mauve / Dusty Rose: approximately 70 yards / 64 m
- Yarn E, Deep Purple: approximately 90 yards / 82 m
- Yarn F, Cream / Off-White: approximately 30 yards / 27 m
- Yarn G, Blush Pink: approximately 40 yards / 36.5 m for tassel fringe
Recommended yarns: Lion Brand 24/7 Cotton works beautifully for this project. It is 100 percent mercerized cotton with excellent stitch definition and holds its shape well for bags. Try Rose for Yarn A, Cranberry for Yarn B, Magenta for Yarn C, Dusty Pink for Yarn D, Grape for Yarn E, and Ecru for Yarn F.
Hooks
- US size G-6 / 4.0 mm for granny squares and body
- US size H-8 / 5.0 mm for puff stitch border and handles
Notions
- Tapestry needle for seaming and weaving ends
- At least 6 stitch markers
- Scissors
- Gold heart charm or pendant (1)
- Gold jump ring or lobster clasp (1)
- Thin gold chain, approximately 3 inches
- Two 12 mm wooden or acrylic beads for tassel tops
Optional
- 14 x 5 inch piece of stiff interfacing or plastic canvas for base
- 0.5 yard cotton fabric for interior lining
- Magnetic snap closure or zipper
Gauge and Finished Size
Getting gauge right matters for a bag this size. With your G-6 / 4.0 mm hook and worsted weight cotton:
- One granny square (4 rounds) = 4.5 inches x 4.5 inches / 11.5 cm x 11.5 cm blocked
- 16 single crochet (sc) x 18 rows = 4 inches x 4 inches / 10 cm x 10 cm
If your square comes out smaller than 4.5 inches, go up one hook size. If larger, go down one hook size. Always block your gauge square before measuring.
Abbreviations
Let me break down every stitch abbreviation you will encounter. I define each one on first use throughout the pattern, but here is your quick reference.
- ch: chain
- sl st: slip stitch
- sc: single crochet (insert hook, yarn over, pull up loop, yarn over, pull through both loops)
- dc: double crochet (yarn over, insert hook, yarn over, pull up loop, yarn over, pull through 2 loops twice)
- ps: puff stitch (see special stitch instructions below)
- sp: space
- ch-sp: chain space
- rep: repeat
- RS: right side
- WS: wrong side
- st(s): stitch(es)
- yo: yarn over
- pm: place marker
- rnd: round
Pattern Notes
- This pattern is worked in multiple sections: granny squares, seaming, puff stitch border, top band, handles, and embellishments.
- All granny squares are made with Yarn A (blush pink) using the G-6 / 4.0 mm hook.
- The puff stitch border and handles are worked with the H-8 / 5.0 mm hook.
- Block all granny squares before seaming for best results.
Pattern Instructions
Section 1: Granny Squares
You will make 24 granny squares total in Yarn A (blush pink). Each finished square measures 4.5 inches x 4.5 inches after blocking.
Square breakdown:
- Front panel: 9 squares (3 wide x 3 tall)
- Back panel: 9 squares (3 wide x 3 tall)
- Left side panel: 3 squares (1 wide x 3 tall)
- Right side panel: 3 squares (1 wide x 3 tall)
Making One Granny Square:
With Yarn A and G-6 / 4.0 mm hook:
Round 1: Magic ring. Ch 3 (counts as dc), 2 dc in ring, ch 2, [3 dc in ring, ch 2] 3 times, sl st to top of beg ch-3, pull ring closed. (12 dc, 4 ch-2 corner sp)
Round 2: Sl st into nearest ch-2 corner sp. Ch 3 (counts as dc), 2 dc in same sp, ch 1, 3 dc in same sp, ch 1, [(3 dc, ch 1, 3 dc) in next ch-2 corner sp, ch 1] 3 times, sl st to top of beg ch-3. (8 groups of 3 dc, 4 ch-1 corner sp, 4 ch-1 side sp)
Round 3: Sl st into nearest corner ch-1 sp. Ch 3, 2 dc in same sp, ch 1, 3 dc in same sp, [ch 1, 3 dc in next ch-1 sp, ch 1, (3 dc, ch 1, 3 dc) in next corner ch-1 sp] 3 times, ch 1, 3 dc in last ch-1 sp, ch 1, sl st to top of beg ch-3. (12 groups of 3 dc, 4 ch-1 corner sp, 8 ch-1 sp along sides)
Round 4 (seaming border): Sl st into corner ch-1 sp. Ch 1, sc in same sp, 2 more sc in same sp (3 sc total in corner), [sc in each of next 3 dc, sc in ch-1 sp, sc in each of next 3 dc, sc in ch-1 sp, sc in each of next 3 dc, sc in ch-1 sp, 3 sc in corner ch-1 sp] 3 times, sc in each of next 3 dc, sc in ch-1 sp, sc in each of next 3 dc, sc in ch-1 sp, sc in each of next 3 dc, sc in ch-1 sp, sl st to first sc. (72 sc)
Fasten off, leaving a 12-inch tail for seaming. Make 24 squares total.
Section 2: Seaming the Bag Panels
Lay out your squares according to this arrangement:
Front panel layout (3 columns x 3 rows):
- Bottom row: Square 1, Square 2, Square 3
- Middle row: Square 4, Square 5, Square 6
- Top row: Square 7, Square 8, Square 9
Back panel: Same arrangement with Squares 10 through 18.
Left side panel: Squares 19, 20, 21 stacked vertically.
Right side panel: Squares 22, 23, 24 stacked vertically.
Seaming within panels: Using Yarn A and your tapestry needle, hold two squares with wrong sides together. Insert the needle under both back loops of corresponding sc stitches, working along the edge. Pull snugly but not so tight that it puckers. Seam horizontal rows first, then join rows together.
Assembling the bag body:
- Join front panel to left side panel along their shared vertical edge
- Join front panel to right side panel along their shared vertical edge
- Join back panel to right side panel along its left edge
- Join back panel to left side panel along its right edge
- Seam the bottom edges together to close the base
You now have a 3D tote shape, open at the top.
Section 3: Puff Stitch Border
This is where the magic happens. The border is worked in the round along the bottom exterior edge of the bag. Join Yarn B.
Section 4: Top Edge Striped Band
Section 5: Handles
Make 4 identical cords (2 per handle).
With Yarn B (deep red) or Yarn C (magenta) and H-8 / 5.0 mm hook:
Foundation: Ch 5.
Row 1: Sc in 2nd ch from hook, sc in each ch across. Turn. (4 sc)
Row 2: Ch 1. Sc in each sc across. Turn. (4 sc)
Repeat Row 2 until cord measures 26 inches. Fasten off.
Make 2 cords in Yarn B and 2 cords in Yarn C.
Braiding: Take 1 Yarn B cord and 1 Yarn C cord. Align them at one end and secure with a stitch marker. Braid or twist the two cords around each other tightly. Secure the other end.
Attaching handles: Position handles on the bag with each end placed approximately 3.5 inches from the side edges. Fold the last 1.5 inches of each handle end down against the inside of the top band. Use Yarn B and tapestry needle to whipstitch securely through the top band stitches. Stitch back and forth at least 4 times for strength.
Section 6: Embellishments
Tips for Success
- Blocking matters: Lightly steam or wet block your granny squares before seaming. They will be more uniform and the seaming will go much smoother.
- Tension for structure: Keep your tension consistent and on the firmer side. A floppy bag is disappointing. Cotton yarn helps because it does not stretch like acrylic.
- Seaming neatly: Take your time with the seams. Neat, even seaming makes the difference between a homemade-looking bag and a professional one.
- Reinforcing handles: These handles carry weight. Do not skimp on the whipstitching. A few extra minutes here prevents heartbreak later when your bag is full of produce.
Frequently Asked Questions
Can I use a different type of yarn?
Yes, but worsted weight cotton or a cotton blend is highly recommended for its structure and stitch definition. Acrylic yarn may stretch and cause the bag to lose its shape over time.
How do I adjust the size of the bag?
You can make the bag larger or smaller by adding or removing granny squares from the panels. Keep the proportions balanced (e.g., 4×4 for the front and back panels instead of 3×3).
What is the best way to block my granny squares?
Wet blocking or light steam blocking works best. Pin each square to the correct dimensions (4.5 x 4.5 inches) on a blocking mat and allow them to dry completely before seaming.
Can I skip the puff stitch border?
You can, but it is a signature design element that adds dimension and visual interest. If you prefer a simpler finish, you could work a few rounds of single crochet in your chosen colors instead.
How do I care for my finished tote bag?
Hand wash gently in cool water with a mild detergent. Lay flat to dry, reshaping as needed. Do not wring or machine dry.
What can I use for a bag lining?
A cotton fabric lining is a great option. Cut a piece of fabric to match the interior dimensions of the bag, plus seam allowance, and sew it in place by hand or machine. You can also add a magnetic snap or zipper closure at this stage.
Pin This Crochet Pattern!