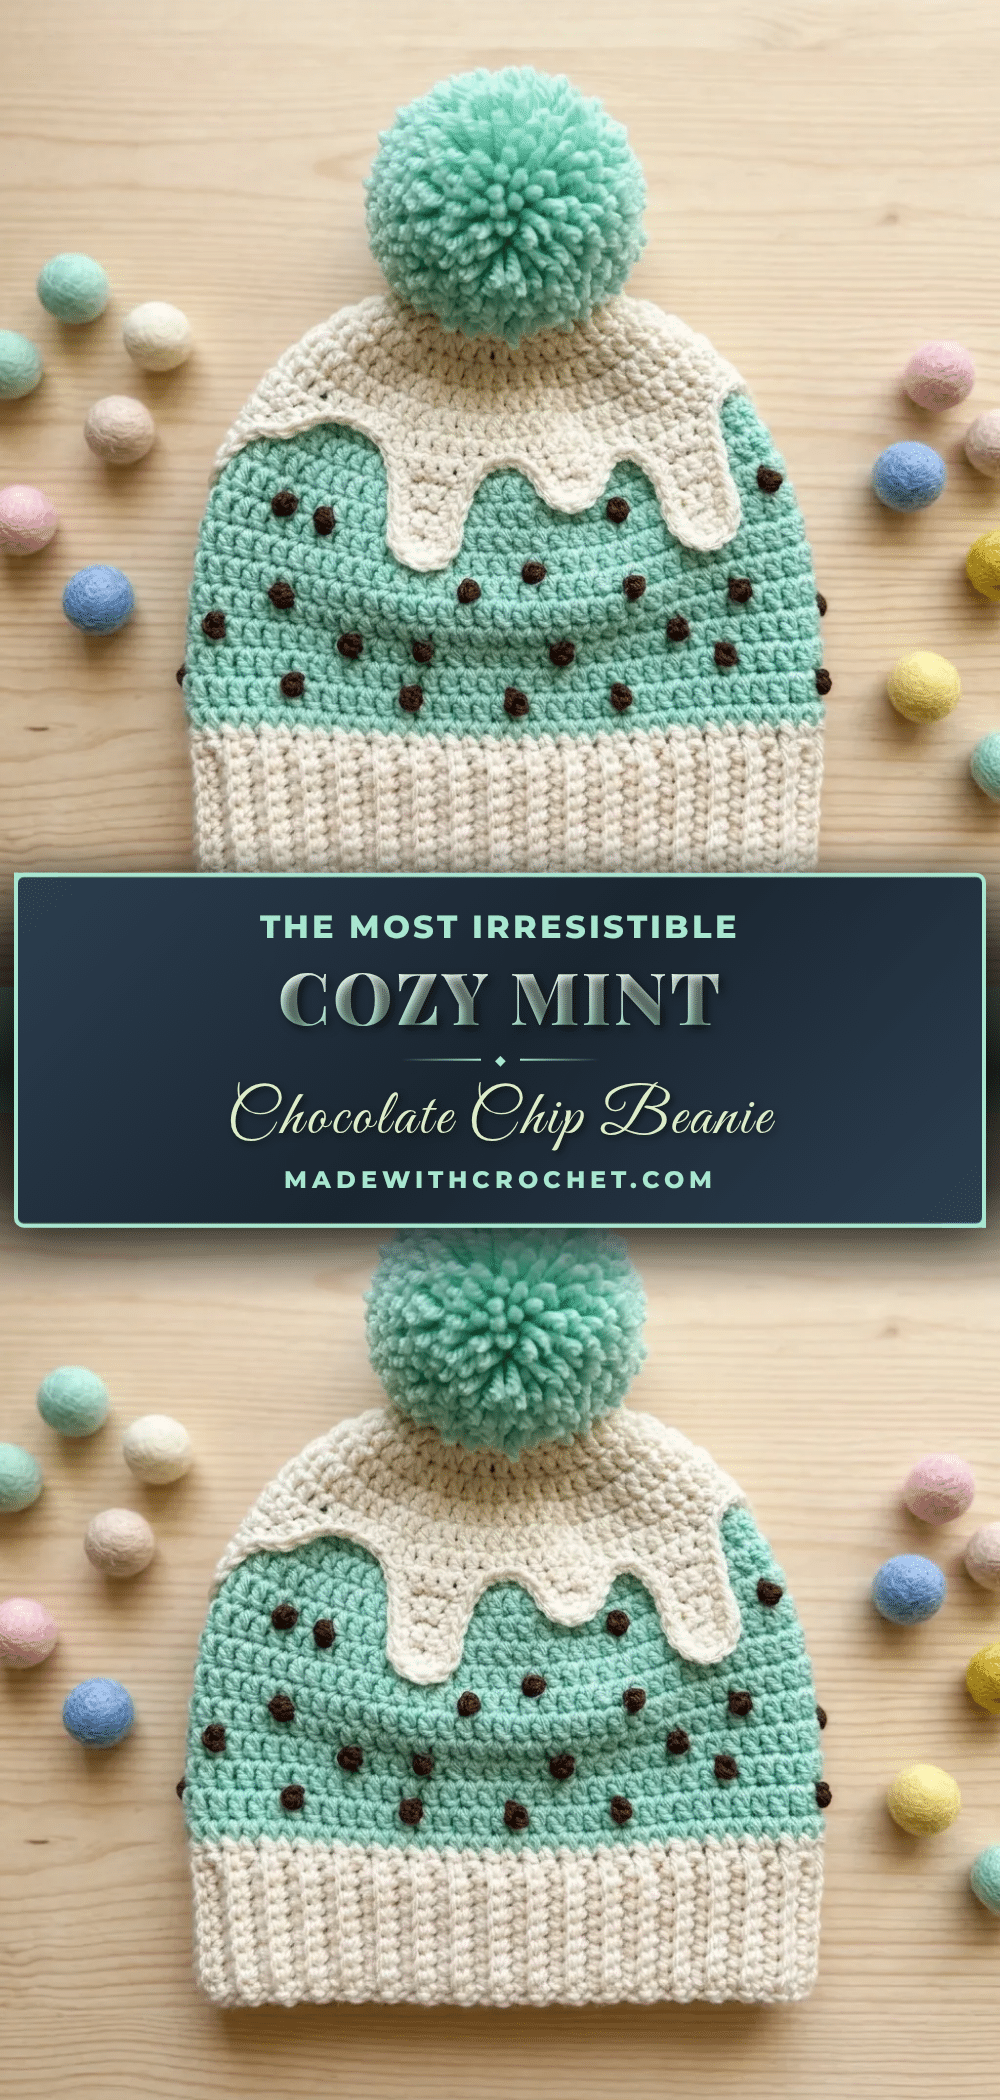
There is something undeniably whimsical about a hat that looks like a scoop of melting ice cream. This mint chocolate chip beanie pattern captures that playful spirit while delivering a warm, cozy accessory perfect for chilly weather. Designed with a ribbed brim and a textured body featuring raised “chocolate chip” bobbles, this project bridges the gap between fun novelty and wearable fashion. Whether you are making it for a young enthusiast or simply want to add a pop of pastel to your winter wardrobe, this pattern offers a delightful crafting experience.
Seasonal Styling Ideas
The mint green and cream color palette makes this beanie a standout piece for transitional weather. It pairs beautifully with denim jackets and light coats in the early spring, or adds a cheerful contrast to heavy wool sweaters in late autumn. The “drip” applique adds a unique focal point that draws the eye, making it an excellent conversation starter at local markets or holiday gatherings. For a complete look, style it with neutral-toned scarves to let the hat’s colors shine, or pair it with chocolate brown accessories to tie in the bobble details.
Project Overview
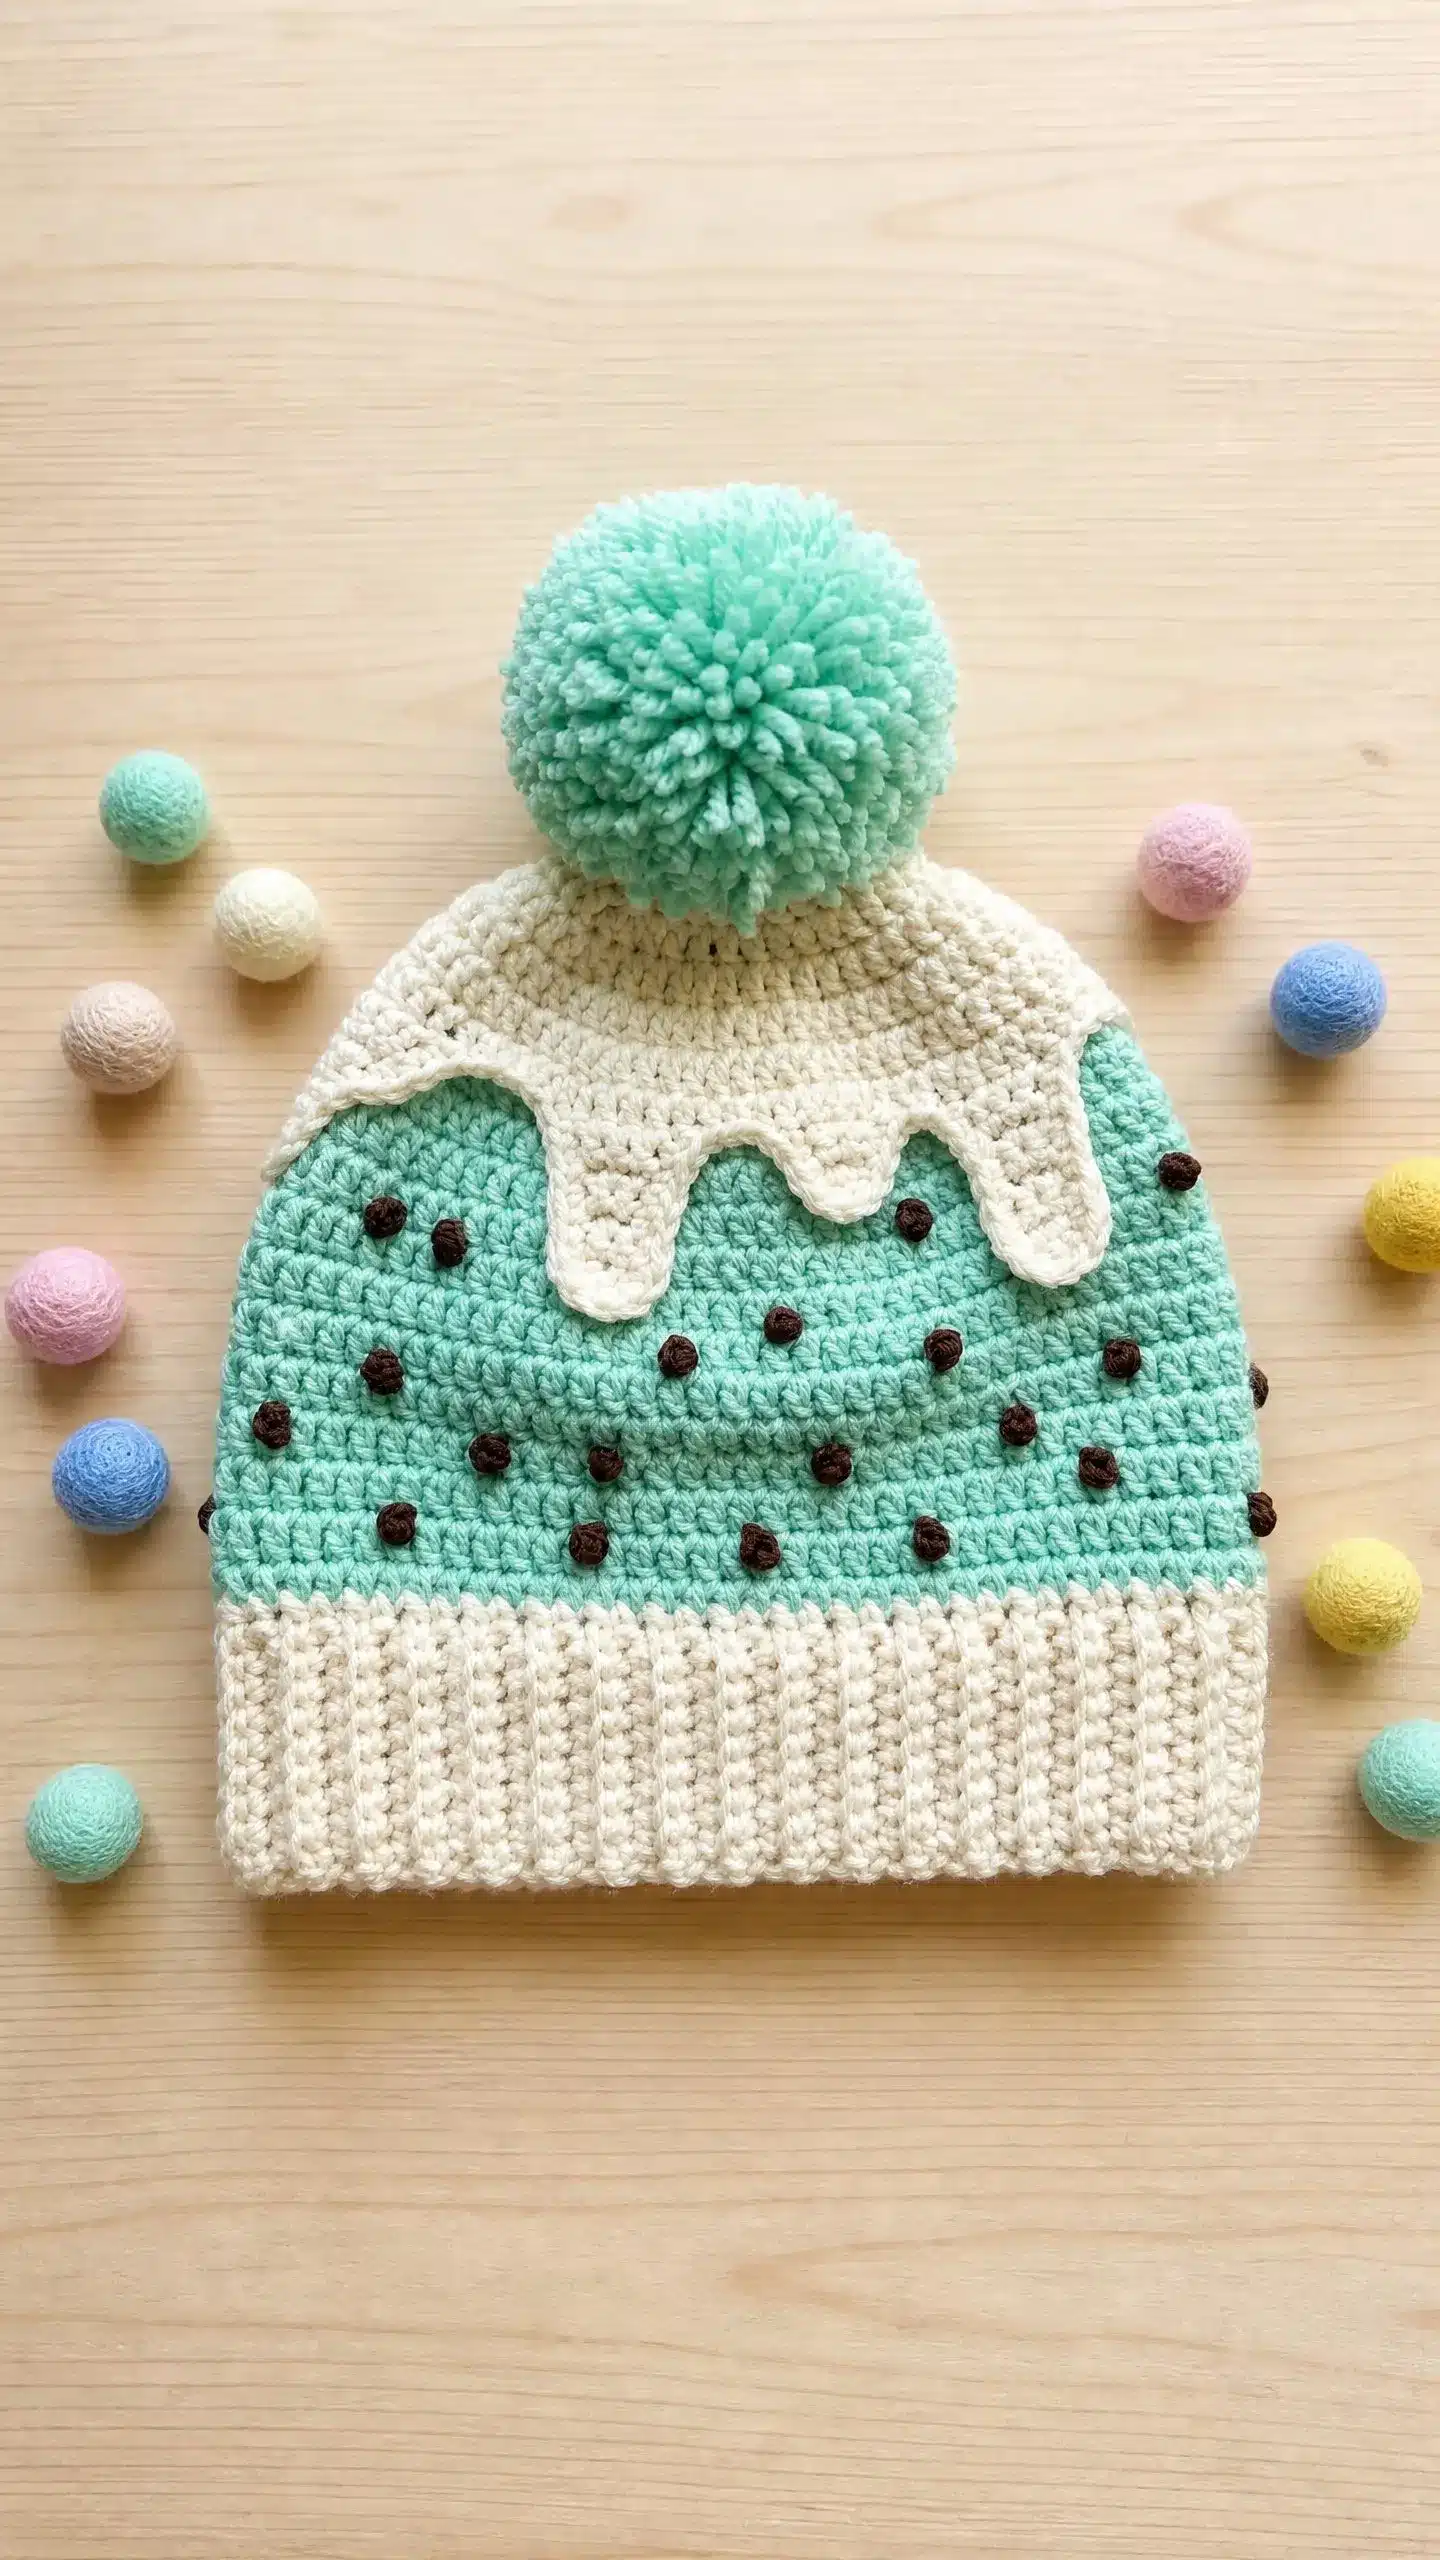
This intermediate-level pattern creates a wearable hat with a clever construction method. The brim is worked flat as a ribbed strip and seamed into a ring, allowing for a snug fit. The body is then worked in joined rounds, featuring a unique bobble stitch technique to create the chocolate chip texture. A separate “drip” applique is sewn onto the hat to mimic melting ice cream, finished with a fluffy pom pom on top.
Materials
- Yarn A (Cream/off-white): Approximately 130 yards (119 meters), worsted weight (category 4)
- Yarn B (Mint green): Approximately 180 yards (165 meters), worsted weight (category 4)
- Yarn C (Dark brown): Approximately 15 yards (14 meters), worsted weight (category 4)
- Extra Yarn B: Approximately 30 yards (27 meters) additional mint green for the pom pom
- Hook: US size J-10 / 6.0 mm
- Notions: Yarn needle for seaming and weaving in ends, stitch markers (at least 4), scissors, pom pom maker (3 inch / 7.5 cm diameter recommended), pins for blocking and applique placement
Gauge and Finished Size
Finished Measurements
- Head Circumference: Adult medium, approximately 21 to 22 inches (53 to 56 cm)
- Hat Height: Approximately 9.5 inches (24 cm) from brim fold to crown (excluding pom pom)
- Brim Folded Height: Approximately 2 inches (5 cm)
The hat is designed with 1 to 2 inches of negative ease. This means the unstretched circumference is slightly smaller than the head measurement, allowing the fabric to grip comfortably.
Gauge
16 single crochet and 18 rows = 4 inches (10 cm), worked in the round in single crochet using US size J-10 / 6.0 mm hook, after blocking.
Gauge matters here. The stitch count is calculated to produce a specific circumference. Work a swatch at least 20 sc wide and 20 rows tall, then measure the center 4 inches. Adjust your hook size up if your stitches are too tight, or down if too loose.
Abbreviations
- BLO – back loop only
- ch – chain
- dc – double crochet (yarn over, insert hook, pull up loop, yarn over, pull through 2 loops, yarn over, pull through remaining 2 loops)
- dec – invisible decrease (insert hook in front loop of next st, then front loop of following st, yarn over, pull through both loops, yarn over, pull through remaining 2 loops)
- pm – place marker
- rep – repeat
- rnd – round
- RS – right side
- sc – single crochet (insert hook, pull up loop, yarn over, pull through both loops)
- sl st – slip stitch
- st(s) – stitch(es)
- WS – wrong side
- yo – yarn over
Special Stitch: Bobble Stitch (Chocolate Chips)
This is a 5-double-crochet bobble worked into a single stitch. It creates a raised bump that looks like a chocolate chip.
- Insert hook into indicated stitch, yo, pull up a loop, yo, pull through 2 loops. You now have 1 incomplete dc.
- Without removing hook, yo, insert hook into the same stitch, yo, pull up a loop, yo, pull through 2 loops. You now have 2 incomplete dc.
- Repeat step 2 three more times until you have 6 loops on hook (5 incomplete dc total).
- Yo, pull through all 6 loops on hook.
- Ch 1 to close and secure the bobble. This ch 1 does not count as a stitch.
The bobble will puff toward the right side of the work. If your bobble puffs inward, push it outward from the wrong side with your finger after completing it.
Pattern Notes
- The brim is worked flat as a ribbed strip, then seamed into a ring. Stitches are picked up along one edge to begin the body.
- The hat body is worked in joined rounds. The ch 1 at the beginning of each round does not count as a stitch. Begin each round in the first stitch, not in the turning chain.
- Use a stitch marker in the first stitch of each round to track the beginning.
- All body rounds are right side rounds. Bobbles will naturally puff outward.
- The drip applique is worked flat and sewn on after the body is complete.
- To change colors, complete the last stitch of the current color until 2 loops remain on hook, then draw the new color through both loops.
- For Yarn C (brown), cut and rejoin as needed rather than carrying long floats.
Pattern Instructions
Section 1: The Brim
The brim is a ribbed rectangle worked flat, then seamed into a ring.
With Yarn A, ch 13.
Row 1 (RS): Sc in 2nd ch from hook and in each ch across. Turn. (12 sc)
Row 2: Ch 1, sc in BLO of each st across. Turn. (12 sc)
Repeat Row 2 until piece measures 20.5 inches (52 cm) from beginning, ending after a WS row. This will be approximately 93 rows.
Checkpoint: Your brim strip should be 12 stitches wide and 20.5 inches long.
Seam: With yarn needle and Yarn A, use whipstitch or mattress stitch to join the first and last rows together, creating a ring. The seam should be neat and stretchy. Weave in ends. You now have a brim ring with two long edges. The bottom edge becomes the folded brim. The top edge is where you pick up stitches.
Section 2: Hat Body Setup Round
Hold the brim ring with the seam at one side. You will work along the top edge.
With Yarn B, join yarn at the seam with a sl st through one of the edge stitches.
Setup Round: Ch 1 (does not count as st), sc evenly around the top edge, working 82 sc evenly spaced. Skip approximately 1 row end every 11 stitches to reduce from 93 row ends to 82 stitches. Sl st to first sc to join. Pm in first st. (82 sc)
Section 3: Hat Body
All body rounds begin with ch 1 (does not count as st) and are joined with sl st to first sc. Move marker up each round.
Rounds 1 to 4: Ch 1, sc in each st around. Sl st to join. (82 sc each round)
Round 5 (Bobble Round 1): Ch 1, sc in next 5 sts, bobble in next st, (sc in next 10 sts, bobble in next st) 6 times, sc in next 5 sts. Sl st to join. (75 sc, 7 bobbles = 82 total)
Rounds 6 and 7: Ch 1, sc in each st around. Sl st to join. (82 sc each round)
Round 8 (Bobble Round 2): Ch 1, sc in next 10 sts, bobble in next st, (sc in next 10 sts, bobble in next st) 6 times, sc in remaining 5 sts. Sl st to join. (75 sc, 7 bobbles = 82 total)
Rounds 9 and 10: Ch 1, sc in each st around. Sl st to join. (82 sc each round)
Round 11 (Bobble Round 3): Ch 1, sc in next 2 sts, bobble in next st, (sc in next 12 sts, bobble in next st) 5 times, sc in next 9 sts. Sl st to join. (76 sc, 6 bobbles = 82 total)
Rounds 12 and 13: Ch 1, sc in each st around. Sl st to join. (82 sc each round)
Round 14 (Bobble Round 4): Ch 1, sc in next 7 sts, bobble in next st, (sc in next 13 sts, bobble in next st) 5 times, sc in next 6 sts. Sl st to join. (76 sc, 6 bobbles = 82 total)
Rounds 15 and 16: Ch 1, sc in each st around. Sl st to join. (82 sc each round)
Round 17 (Bobble Round 5): Ch 1, sc in next 4 sts, bobble in next st, (sc in next 11 sts, bobble in next st) 6 times, sc in next 7 sts. Sl st to join. (75 sc, 7 bobbles = 82 total)
Rounds 18 and 19: Ch 1, sc in each st around. Sl st to join. (82 sc each round)
Checkpoint: After Round 19, the body should measure approximately 4.25 inches (10.8 cm) tall.
Section 4: Upper Body and Transition to Cream Top
Rounds 20 and 21: Ch 1, sc in each st around. Sl st to join. (82 sc each round)
At the end of Round 21, change to Yarn A (cream) by completing the last sl st join with Yarn A. Cut Yarn B, leaving a 6 inch tail.
Rounds 22 and 23 (Yarn A): Ch 1, sc in each st around. Sl st to join. (82 sc each round)
Section 5: Crown Shaping
Note: The source pattern data provided does not include specific instructions for crown shaping decreases. The pattern concludes the body at Round 23 with Yarn A.
Section 6: Ice Cream Drip Applique
Note: Specific instructions for creating the drip applique strip are referenced in the assembly section but not detailed in the provided text excerpt. Ensure the applique is worked flat prior to assembly.
Section 7: Pom Pom
Note: Use the extra Yarn B and a 3 inch / 7.5 cm pom pom maker (or cardboard circles) to create the pom pom. Attach to the crown after assembly.
Assembly
- Weave in any remaining ends on the inside of the hat.
- Pin the drip applique strip around the hat, aligning the top straight edge with the color change line between rounds 21 and 22. Position the longer drips toward the front.
- With Yarn A and yarn needle, sew the top edge of the drip strip to the hat using small whipstitches.
- Attach the pom pom to the crown.
- Fold the brim up approximately 2 inches. Tack the fold in place at the seam if desired.
Care Instructions
- Acrylic yarn: Machine wash cold on gentle cycle. Lay flat to dry or tumble dry on low. Do not iron directly.
- Wool yarn: Hand wash in cool water with wool wash. Do not wring. Press out water gently in a towel and dry flat.
Tips
Size Customization Tips
- For a child size (19 to 20 inches / 48 to 51 cm): Adjust the brim length and pickup stitches accordingly.
- For a large adult size (23 to 24 inches / 58 to 61 cm): Adjust the brim length and pickup stitches accordingly.
- General rule: For every 1 inch of additional circumference, add approximately 4 stitches to the pickup round.
FAQs
What yarn is best for this pattern?
Any smooth worsted weight yarn works well. Recommended options include Lion Brand Pound of Love, Paintbox Yarns Simply DK (held double), or Cascade 220 Superwash. Avoid fuzzy or highly textured yarns for the mint green body, as the bobble chocolate chips will not show clearly.
How do I fix a bobble that puffs inward?
If a bobble puffs inward toward the wrong side, simply push it outward from the wrong side with your finger after completing the stitch. The bobble is designed to puff toward the right side of the work.
Can I make this hat without the drip applique?
Yes, you can skip the drip applique section and the pom pom for a simpler, classic beanie look. However, the applique is a key design element that gives the hat its “ice cream” theme.
How do I change colors without leaving long floats?
For Yarn C (brown), cut and rejoin the yarn as needed rather than carrying long floats across the back of the work. For the main color change from Yarn B to Yarn A, complete the last stitch of the current color until 2 loops remain on hook, then draw the new color through both loops.
How do I adjust the size for a child?
For a child size (19 to 20 inches), you will need to adjust the brim length and the number of stitches picked up in the setup round. A general rule is to add or subtract approximately 4 stitches for every 1 inch of circumference change.
Pin This Crochet Pattern!