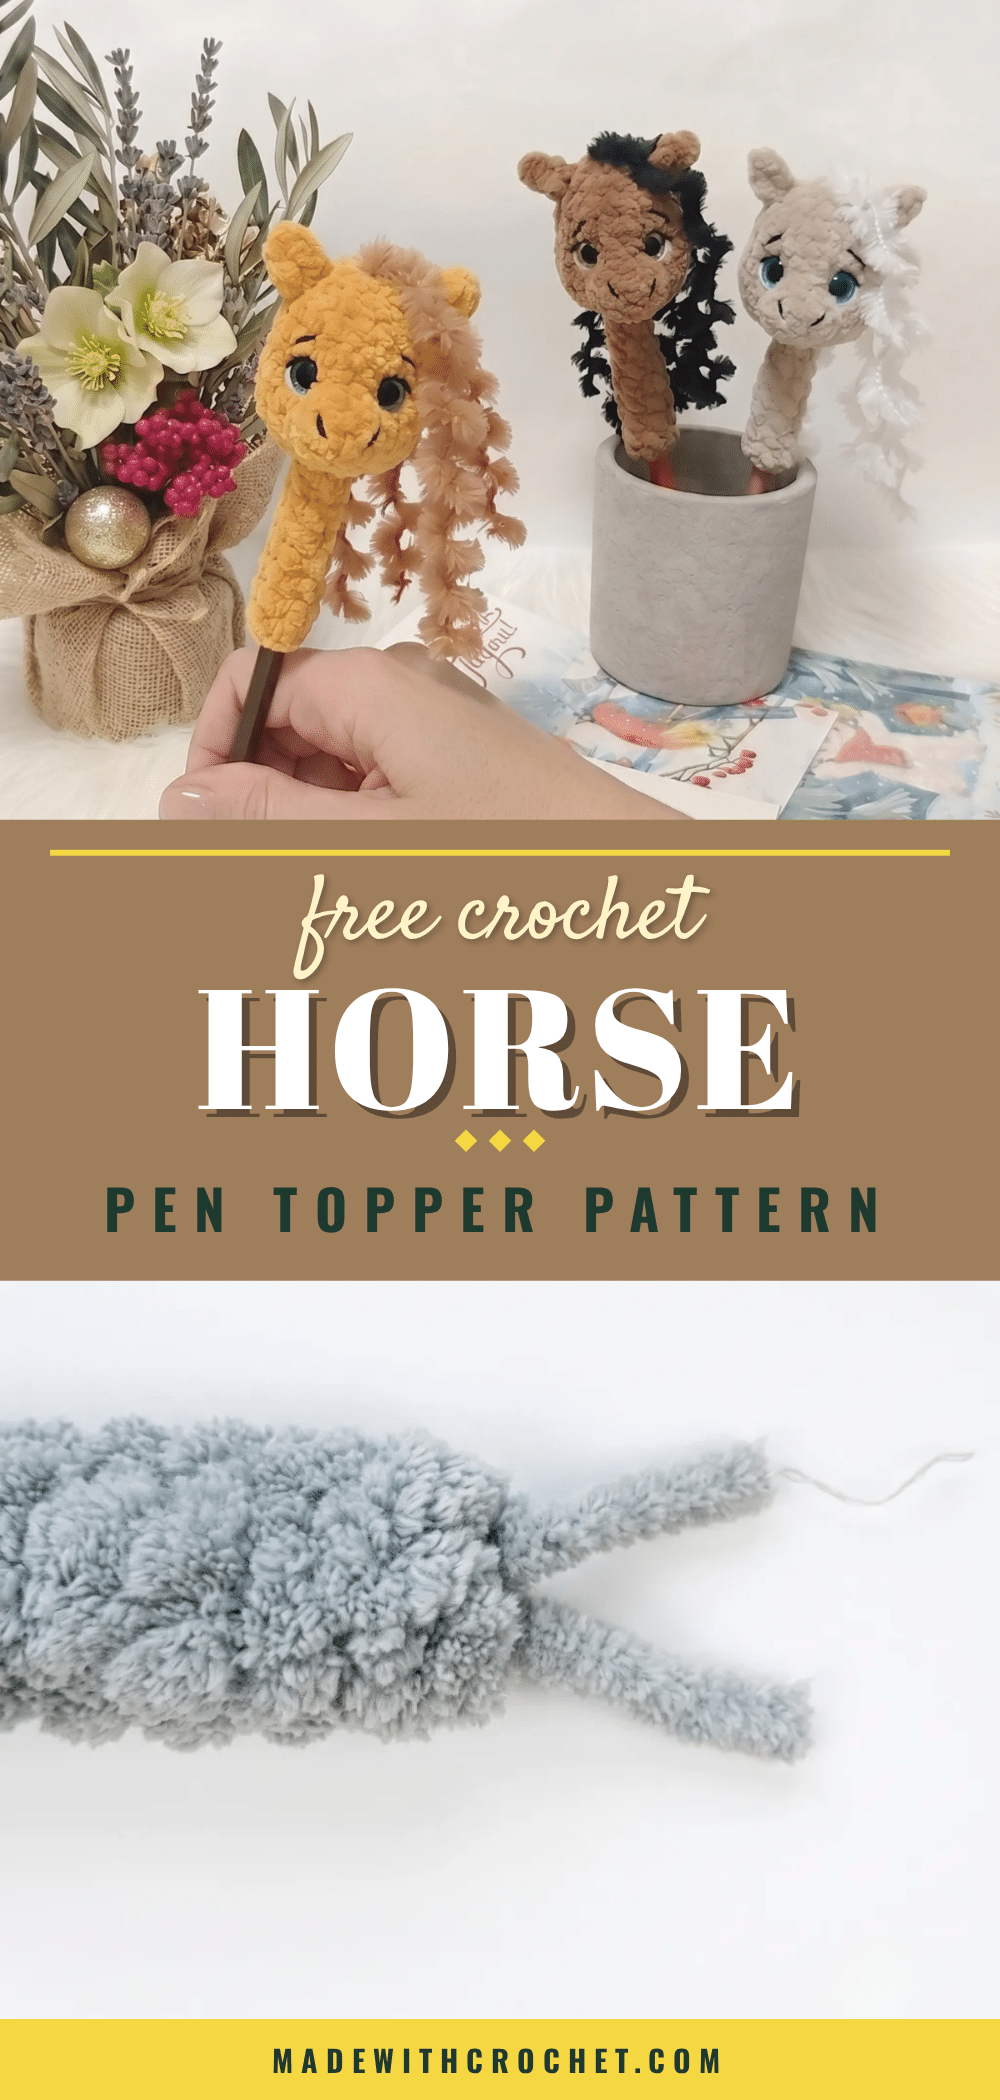
There’s something deeply satisfying about a quiet evening, a small ball of yarn, and the rhythm of counting stitches as a tiny creature takes shape under your hook. This crochet horse pen topper is the perfect project for just such a night—a quick, charming make that transforms an ordinary pen into a desk companion with personality. Whether you’re looking for a last-minute gift for a horse lover, a fun project for a teacher, or simply a delightful way to brighten your own workspace, this little horse is ready to trot off your hook and onto a pen.
Small Details That Make It Better
What makes this pattern truly special is the thoughtful construction that gives the horse its sweet, expressive face. The separate muzzle piece is joined directly into the head as you crochet, creating a seamless, three-dimensional snout that looks polished and professional. The use of a pull-through stitch and an elongated single crochet (sc with extra pick-up) adds subtle shaping to the muzzle bridge, avoiding the flat, boxy look that can happen with simpler amigurumi. The trapezoid-shaped, sparkle safety eyes add a touch of whimsy, and the textured mane made from Wolans FOX yarn gives the topper a soft, playful feel. This is a pattern that rewards a careful hand and a love for the small, satisfying details that elevate a project from cute to truly charming.
Project Overview
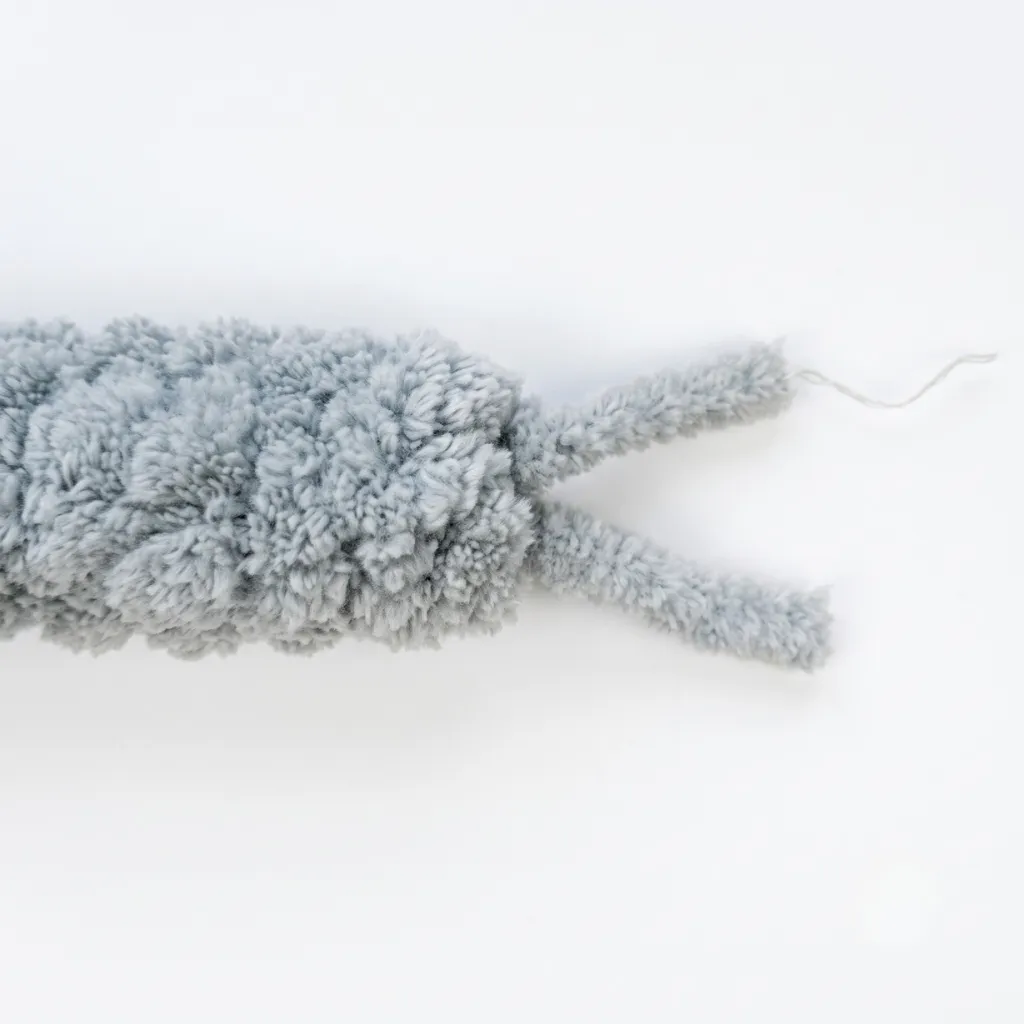
This amigurumi horse pen topper is a quick, single-sitting project perfect for confident beginners and intermediate crocheters. You’ll practice shaping a 3D head with a joined muzzle, working in continuous spiral rounds, and adding simple thread sculpting for facial definition. The finished topper measures approximately 4–5 inches (10–13 cm) tall, depending on your tension, and fits snugly on a standard pen barrel.
Materials
- Himalaya Dolphin Baby yarn (Sport/DK weight) — 10 g in main color
- Small amount of Wolans FOX yarn (for the mane locks)
- Black and white yarn for embroidering details (sample used YarnArt Jeans, DK weight)
- Safety eyes, trapezoid shape with sparkle, 10 mm — 1 pair
- Fiberfill stuffing
- Crochet hook, US size E-4 (3.5 mm)
- Long doll needle for thread sculpting
- Strong thread for thread sculpting
- Stitch marker
- Yarn/tapestry needle
- Scissors
- Instant-drying craft glue
Abbreviations
- BLO — Back Loop Only
- ch — Chain
- dec — Decrease (invisible decrease)
- FLO — Front Loop Only
- inc — Increase (2 sc in same stitch)
- MR — Magic Ring
- Rnd — Round
- sc — Single Crochet
- sl st — Slip Stitch
- st(s) — Stitch(es)
Pattern Notes
- This pattern is written in US crochet terminology.
- All pieces are worked in continuous spiral rounds — do not join or turn unless a step tells you to.
- Gauge is not critical for this project; just make sure your stitches are tight enough that stuffing doesn’t peek through.
- Stitch count is given at the end of each round in parentheses, like this: (6).
- Insert the safety eyes between the rounds noted below, spacing the eye posts 4 stitches apart, then check the placement from the front before you snap them in.
- Two special techniques appear in the head: a pull-through stitch that anchors the muzzle seam without adding to your stitch count, and an sc with extra pick-up, an elongated single crochet worked at the muzzle bridge for smooth shaping.
Pattern Instructions
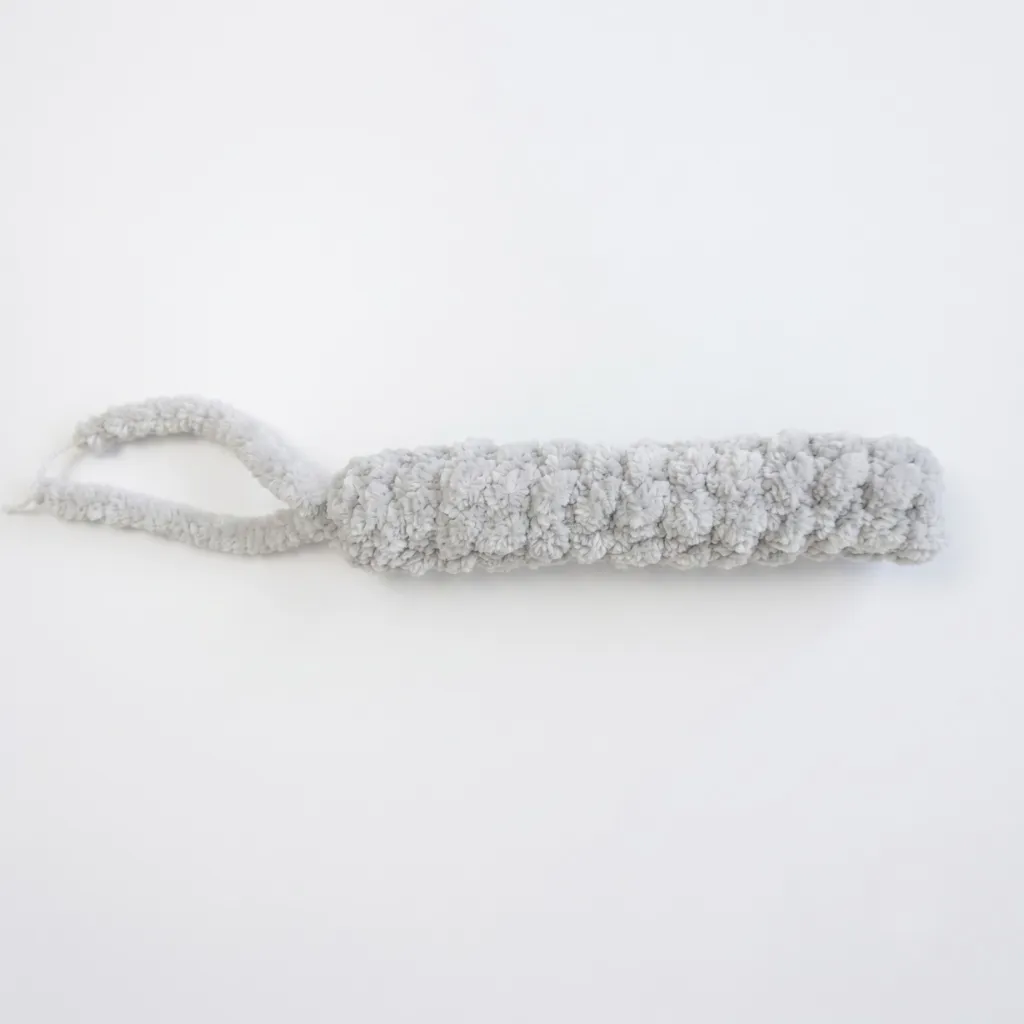
Neck
- Rnd 1: 6 sc in MR. (6)
- Rnd 2: BLO: sc in each st around. (6)
- Rnds 3–12: sc in each st around. (6) — repeat for 10 rounds total
- Rnd 13: 5 sc, sl st. (6)
Leave a long tail after Rnd 13. Weave it back up through the tube to the starting ring, then tie it to the starting tail to close the seam invisibly.
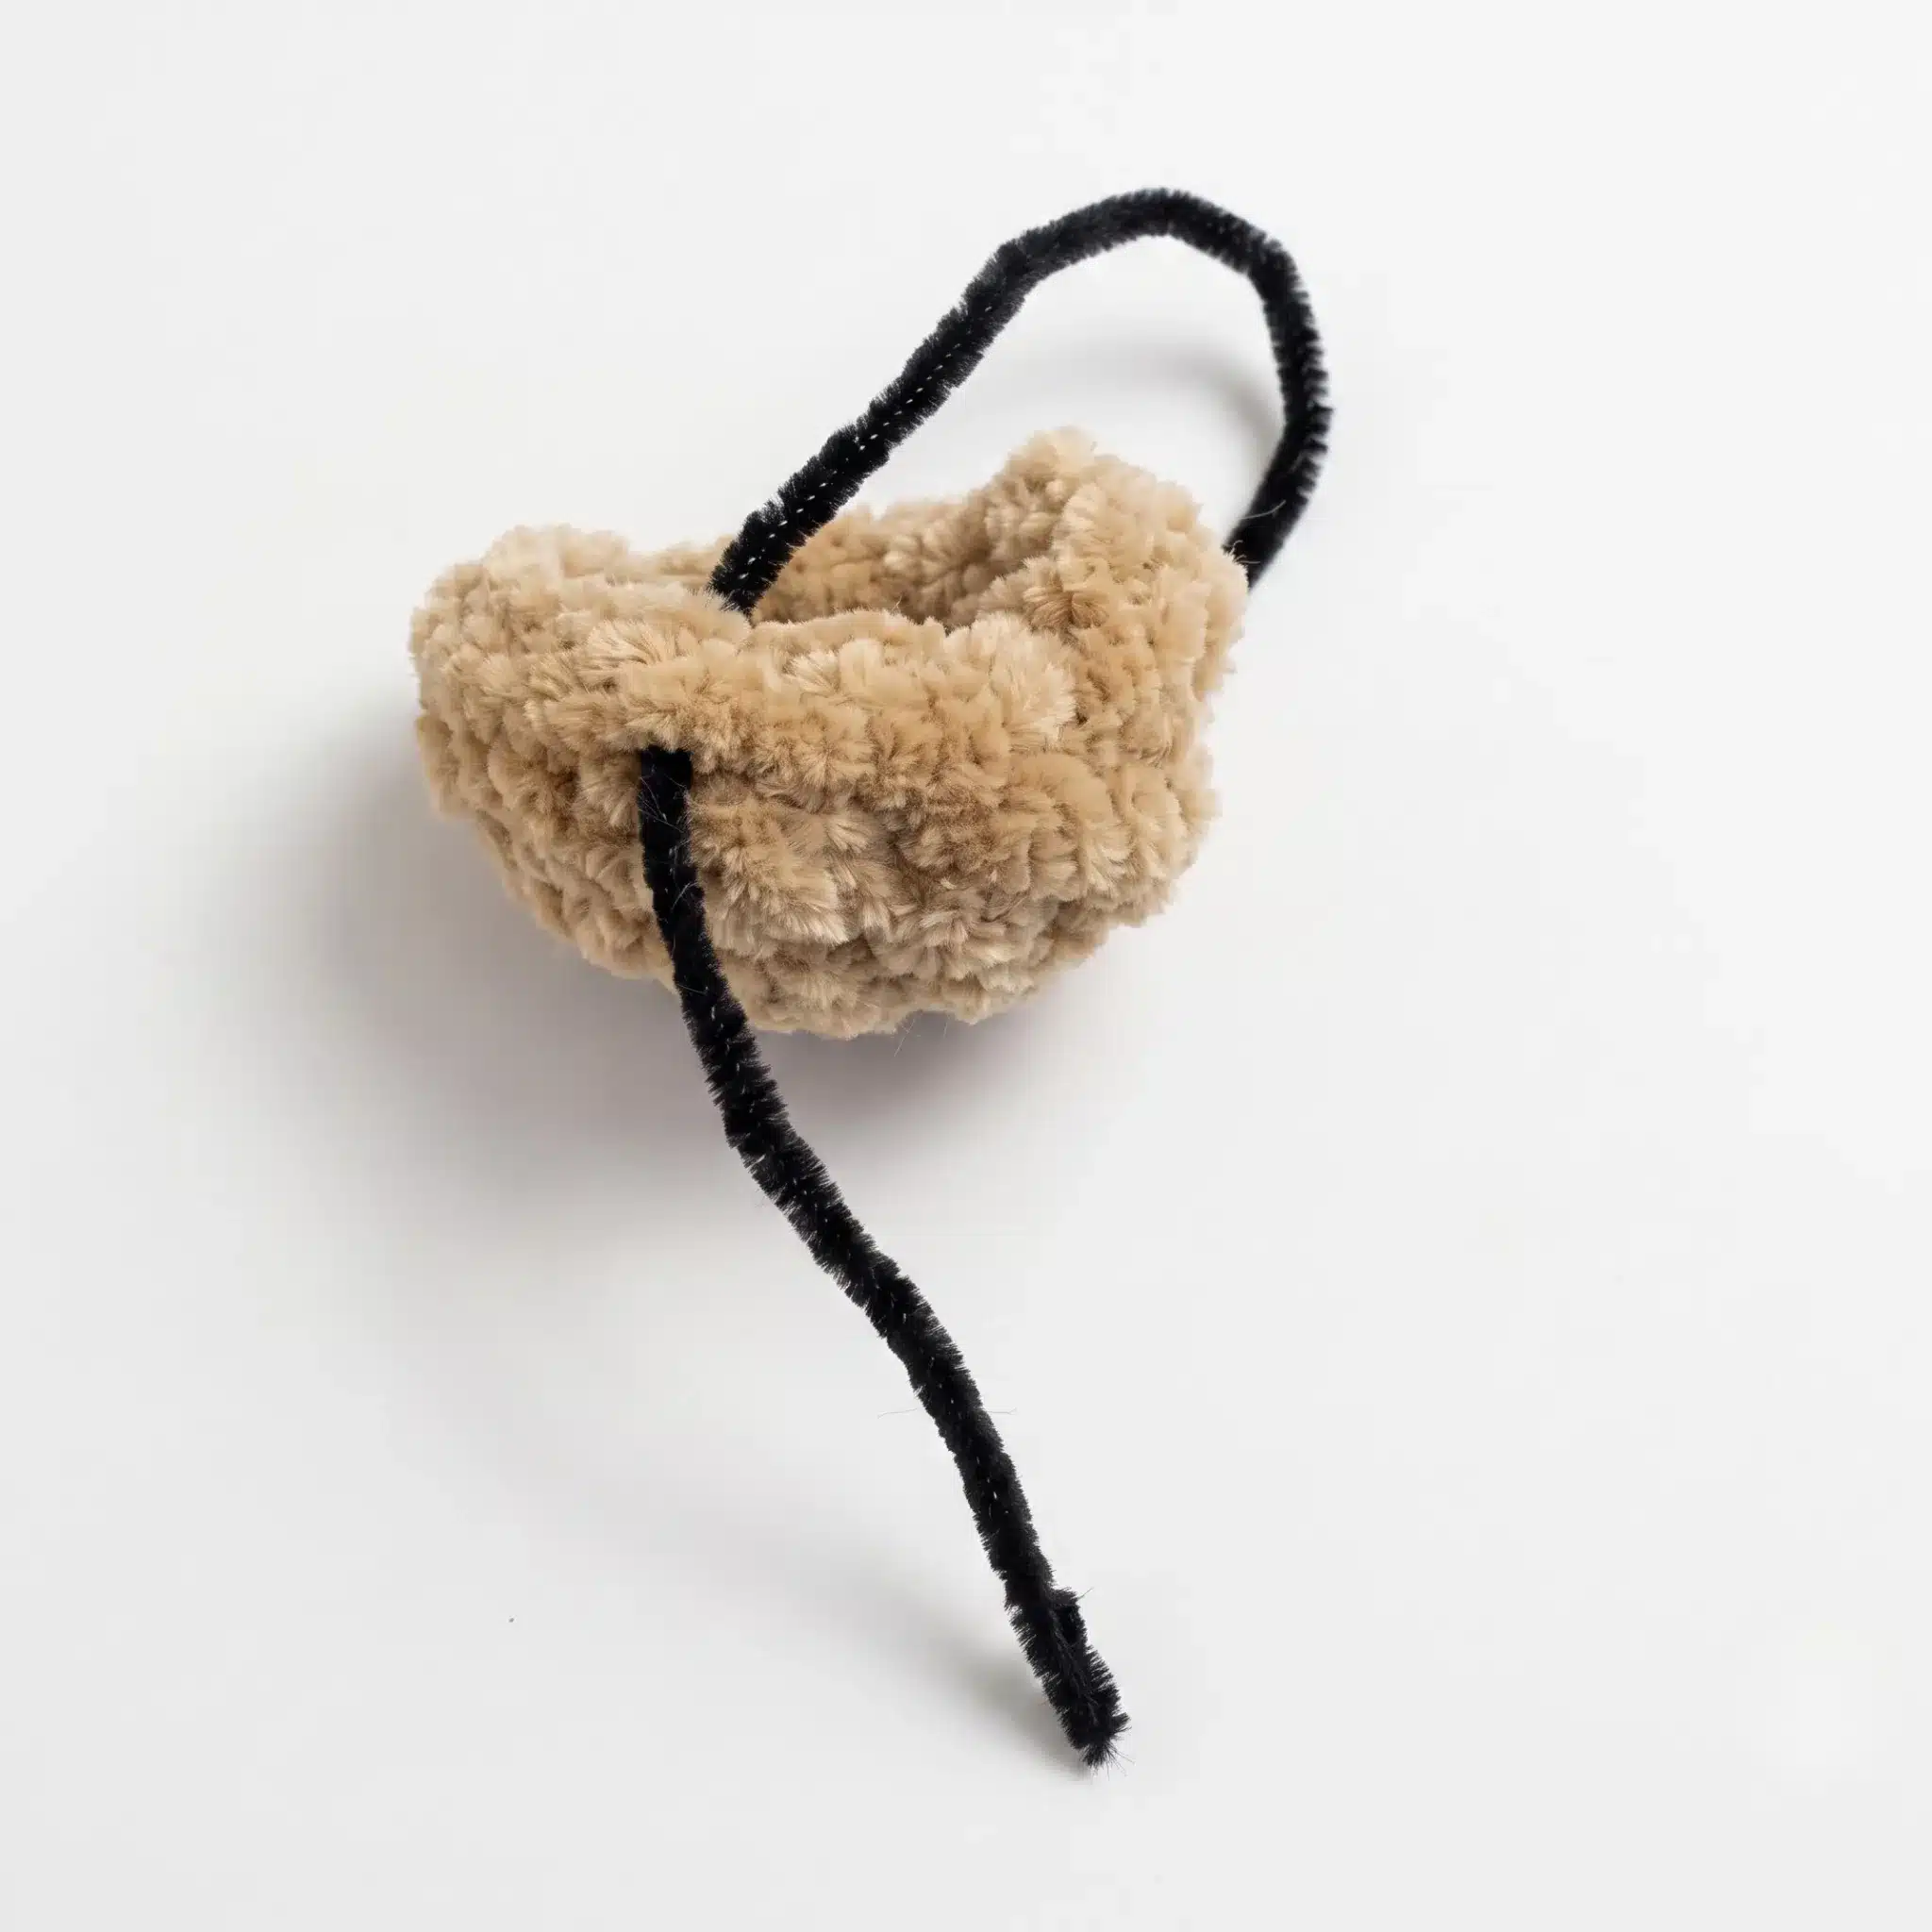
Muzzle
- Ch 4.
- Rnd 1: Beginning in the 2nd ch from hook: 2 sc, 3 sc in next st, then along the opposite side of the foundation chain: 3 sc, working the final sc into the last chain under one loop only. (8)
- Rnd 2: (3 sc, inc) twice around. (10)
Leave a short tail, weave it in, and secure it inside the muzzle. Mark the 3rd stitch of Rnd 2 with your stitch marker — this is where the muzzle will meet the head.
Head
Do not tighten your slip stitches in Rnd 1 below — the neck opening needs to stay wide.
- Rnd 1: With new yarn, insert your hook diagonally under one stitch of Rnd 4 of the neck and pull up a loop. Yarn over and work a slip stitch. Continue left, working between Rnds 4 and 5 of the neck, for 5 more sl st. (6)
- Rnd 2: FLO: sc, (3 sc in one st, inc) twice, 3 sc in one st. (14)
- Rnd 3: (2 sc, inc) twice, join the muzzle here with 3 sc worked through both the head and muzzle stitches together, inc, 2 sc, inc, sc. (18)
- Rnds 4–5: 8 sc, pull-through stitch, 3 sc, pull-through stitch, 7 sc. (18) — 2 rounds
- Rnd 6: dec, 6 sc, sc with extra pick-up, inc, sc with extra pick-up, 7 sc. (18)
- Rnds 7–8: sc in each st around. (18) — 2 rounds
Insert the safety eyes now, between Rnds 6 and 7, spacing the posts 4 stitches apart.
- Rnd 9: 2 sc, (dec, 4 sc) twice, dec, 2 sc. (15)
Slide the piece onto your pen. Stuff the head firmly but not rock-hard, packing extra fiberfill around the top of the neck so the shape holds through thread sculpting.
- Rnd 10: (dec, sc) five times around. (10)
Add a bit more stuffing here.
- Rnd 11: 5 dec. (5)
Leave a tail for closing the opening later — do not close it yet. You’ll need it open for thread sculpting first.
Assembly
With your long doll needle and strong thread, work the thread sculpting through the Head to define the muzzle bridge and set the facial contours before doing anything else.
Crochet a pair of ears separately and set them aside — keep the piece on the pen while you work. Tie off and bury all remaining face-shaping tails inside the Head.
With white yarn, outline the outer edge of each eye. With black yarn, outline the upper edge of each eye, then embroider the brows on Rnd 8 of the Head and the nostrils on Rnd 1 of the Muzzle.
Close the opening at the top of the Head by working through the front loops of the remaining 5 stitches and pulling the tail tight.
For the mane, cut strands of Wolans FOX twice your desired lock length and fold each one in half. Insert your hook into the closed opening at the top of the Head and bring it out one round back, toward the back of the head. Catch the folded center of a lock, pull it through as a loop, then feed both yarn ends through that loop and tighten — this is the same technique used for adding fringe. Repeat one lock per round for the next two rounds.
Weave in every remaining yarn end, and glue the ears in place if you haven’t already attached them with yarn.
Tips
- Keep your tension snug throughout — amigurumi pieces need tight stitches so stuffing doesn’t show through the fabric, especially on a small project like this where every round is visible up close.
- When you work the invisible decreases in Rnds 9–11, insert your hook under only the front loops of the next two stitches before pulling through; this keeps the decrease flat instead of leaving a visible ridge across the top of the head.
- Stuff in small pinches rather than one big handful, checking the shape against a mirror or photo of your work as you go — you want the head firm enough to hold its shape on the pen but soft enough that you can still press a fingertip in slightly.
- If you swap out the yarn brands listed here, stick to a similar Sport or DK weight; anything bulkier will throw off the stitch counts and anything thinner will leave gaps between stitches.
- Finally, take your time on the muzzle join in Rnd 3 of the Head — working that “sc with muzzle” stitch slowly and checking that both layers are caught evenly will save you from an uneven, lopsided face later.
Frequently Asked Questions
What size pen does this topper fit?
The topper is designed to slide onto a standard-diameter pen barrel, similar to a ballpoint or gel pen. Because the neck tube is worked at 6 stitches per round, it will grip most standard pens snugly without glue, though you can add a dab of glue inside the neck for extra security.
Can I make this pattern without safety eyes?
Yes, you can substitute embroidered eyes using black yarn if you prefer, or if the topper is intended for a young child. Simply skip the safety eye insertion step between Rounds 6 and 7 and embroider satin-stitch eyes in the same location once the head is finished and stuffed.
Why does my head look lopsided after joining the muzzle?
This usually happens when the sc worked through both the head and muzzle stitches in Round 3 isn’t caught evenly on both layers. Slow down on that stitch, make sure your hook passes through a stitch from each piece, and check that the muzzle is centered before continuing to the next round.
What yarn works as a substitute for the mane?
Any yarn with texture or a slight halo, such as a fun-fur or eyelash yarn similar to Wolans FOX, will give the mane movement and softness. If you’d rather use a smooth yarn, choose a lightweight DK or sport weight and cut slightly longer strands to compensate for the lack of bulk.
How do I keep the neck from collapsing when I slide it onto the pen?
Make sure you pack extra stuffing around the top of the neck inside the head, as noted in the pattern. This creates a firm base that helps the head stay upright. If the neck still feels loose, you can add a small dot of instant-drying craft glue inside the neck tube before sliding it onto the pen.
Can I wash the finished pen topper?
Spot cleaning is recommended. Because the topper contains safety eyes and glue, hand wash gently with mild soap and cold water if needed, then reshape and air dry. Avoid machine washing or submerging for long periods.
Pin This Crochet Pattern!