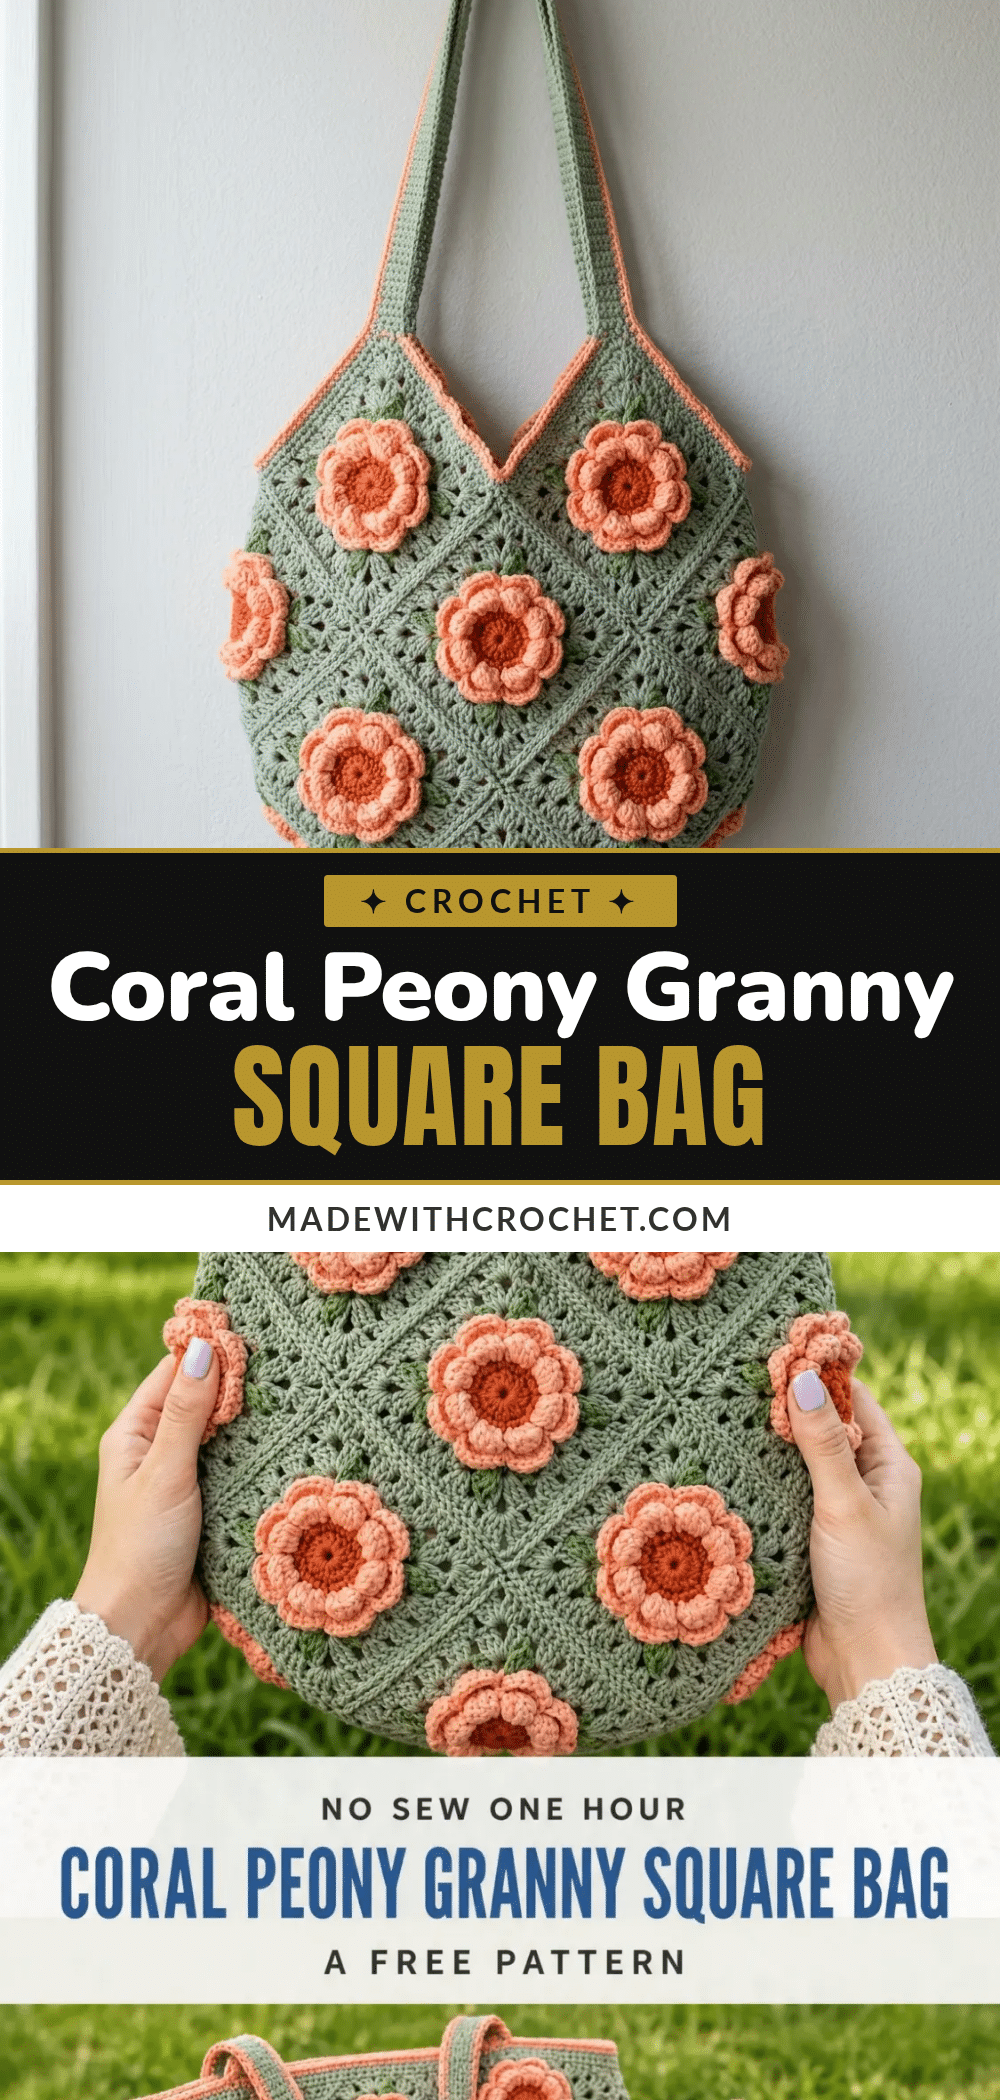
This Coral Peony Granny Square Bag is a study in texture and construction. Each granny square is worked in precise rounds, building a classic cluster pattern that feels satisfying under the hook. The real magic happens when you add the three-dimensional peony flowers, with their layered petals creating a rich, sculptural surface. The rounded teardrop shape of the bag is achieved through clever assembly, not complicated shaping, making every stitch purposeful. This is a project for those who love seeing a piece come together row by row, round by round, with a stunning tactile result.
Texture and Stitch Notes
The appeal of this bag lies in its contrast. The flat, geometric granny squares provide a clean, structured base, while the appliquéd peonies add a burst of organic, ruffled texture. The sage green background lets the coral and burnt orange flowers pop, creating a vintage-modern feel. The join-as-you-go method creates a neat, raised seam on the inside, adding to the bag’s sturdy construction. This is a project that rewards attention to detail, from the even tension of your granny clusters to the careful placement of each flower.
Project Overview
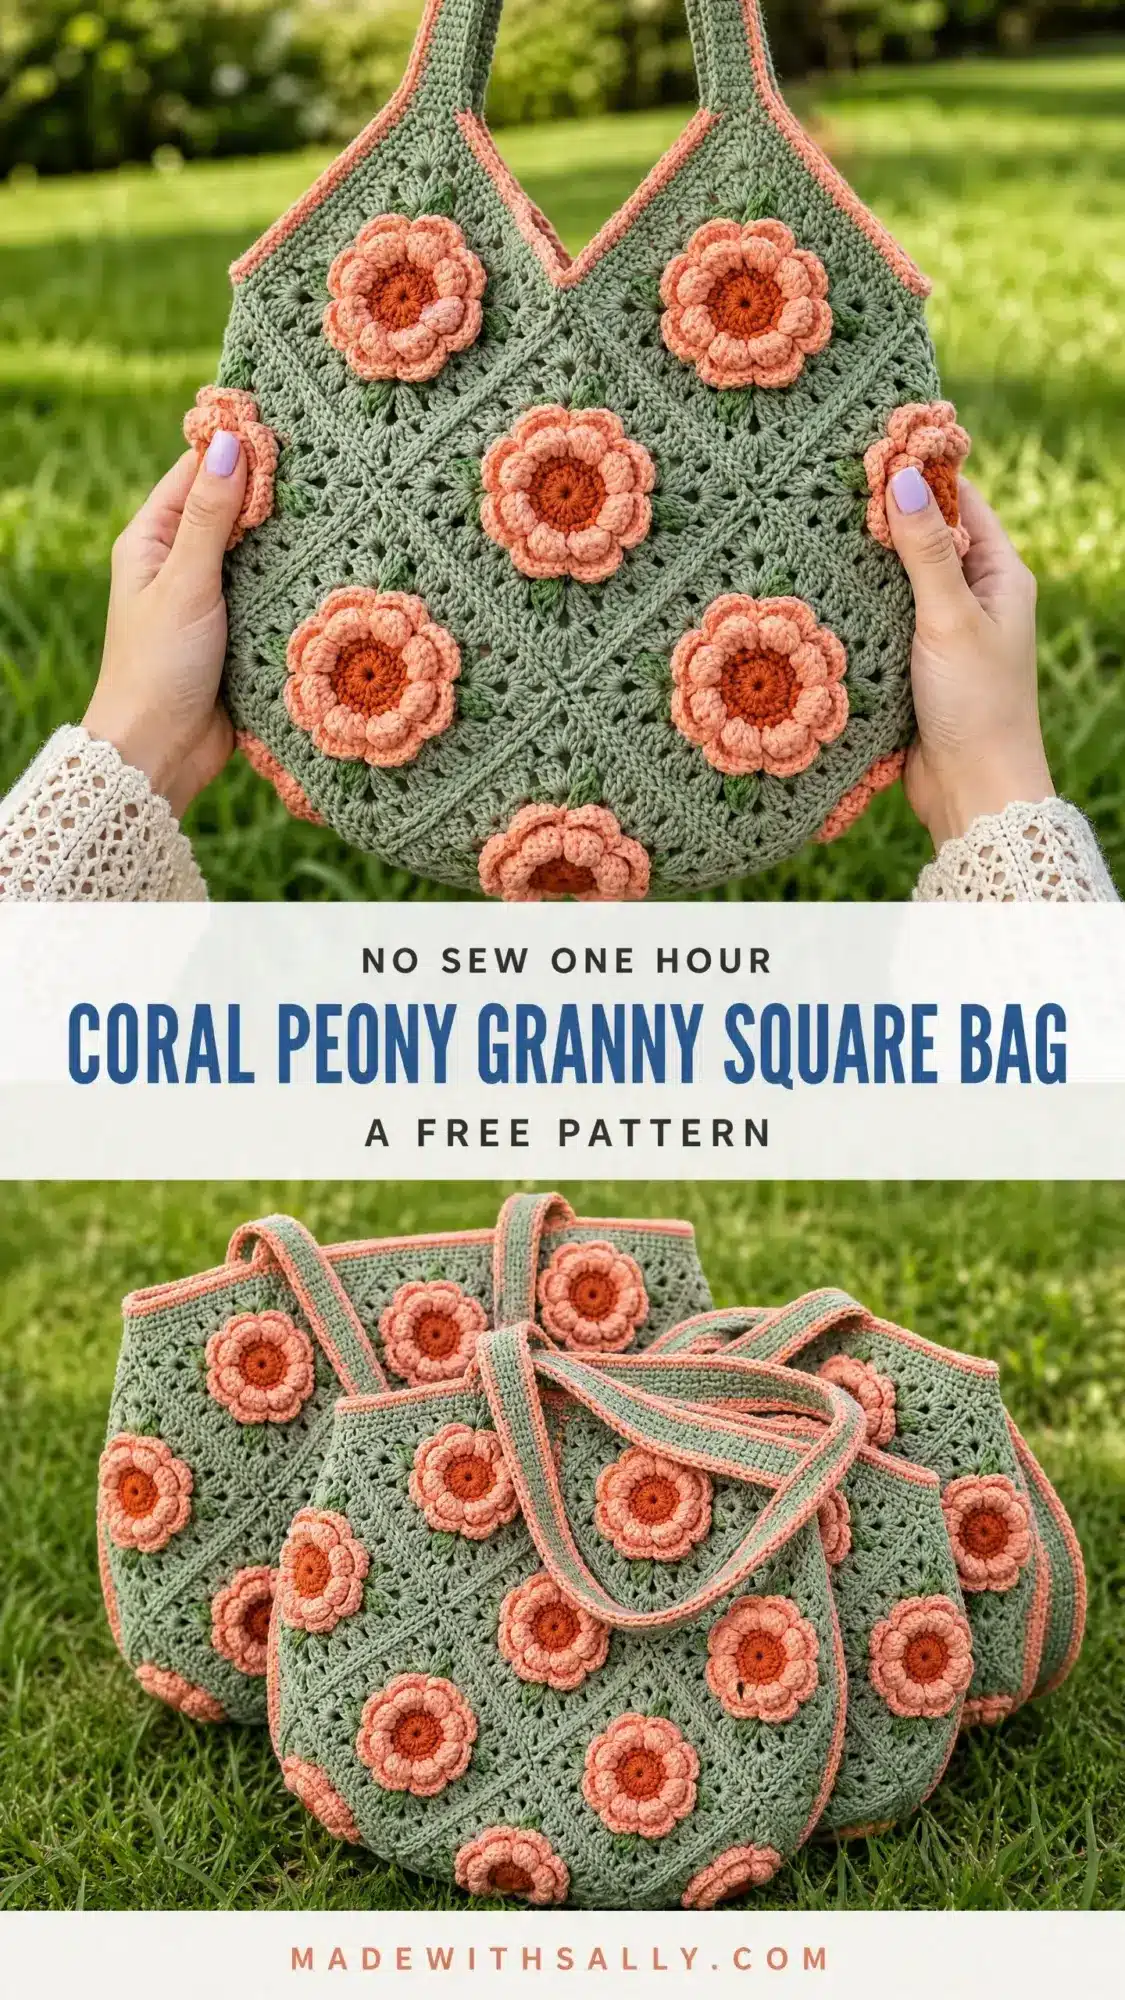
This rounded tote bag is constructed from sixteen classic granny squares arranged in a grid, seamed together, and shaped into a beautiful teardrop silhouette. Each square features an appliquéd three-dimensional peony-style flower that you work separately and sew to the face of the square. The result is a bag with incredible texture and visual interest. The construction is more straightforward than it looks. You will make individual granny squares, join them into two panels, seam the panels together, add a sturdy strap, and finish with those gorgeous layered flowers. The V-shaped opening at the top is created by orienting the corner squares at an angle. No complicated shaping required.
Skill Level
I would call this an intermediate pattern. You need to be comfortable with the standard granny square, joining squares together, working a flat slip stitch border, and constructing three-dimensional applique flowers. If you have never made a granny square before, I would suggest practicing one or two plain squares first before diving into this project. But honestly, if you can chain, double crochet (dc), and single crochet (sc), you have all the skills you need. The rest is just following the steps. The trickiest part for most people is the flower construction. Those layered petals look complex, but I will walk you through every single round. Take it slow, and you will be amazed at what you create.
Finished Size
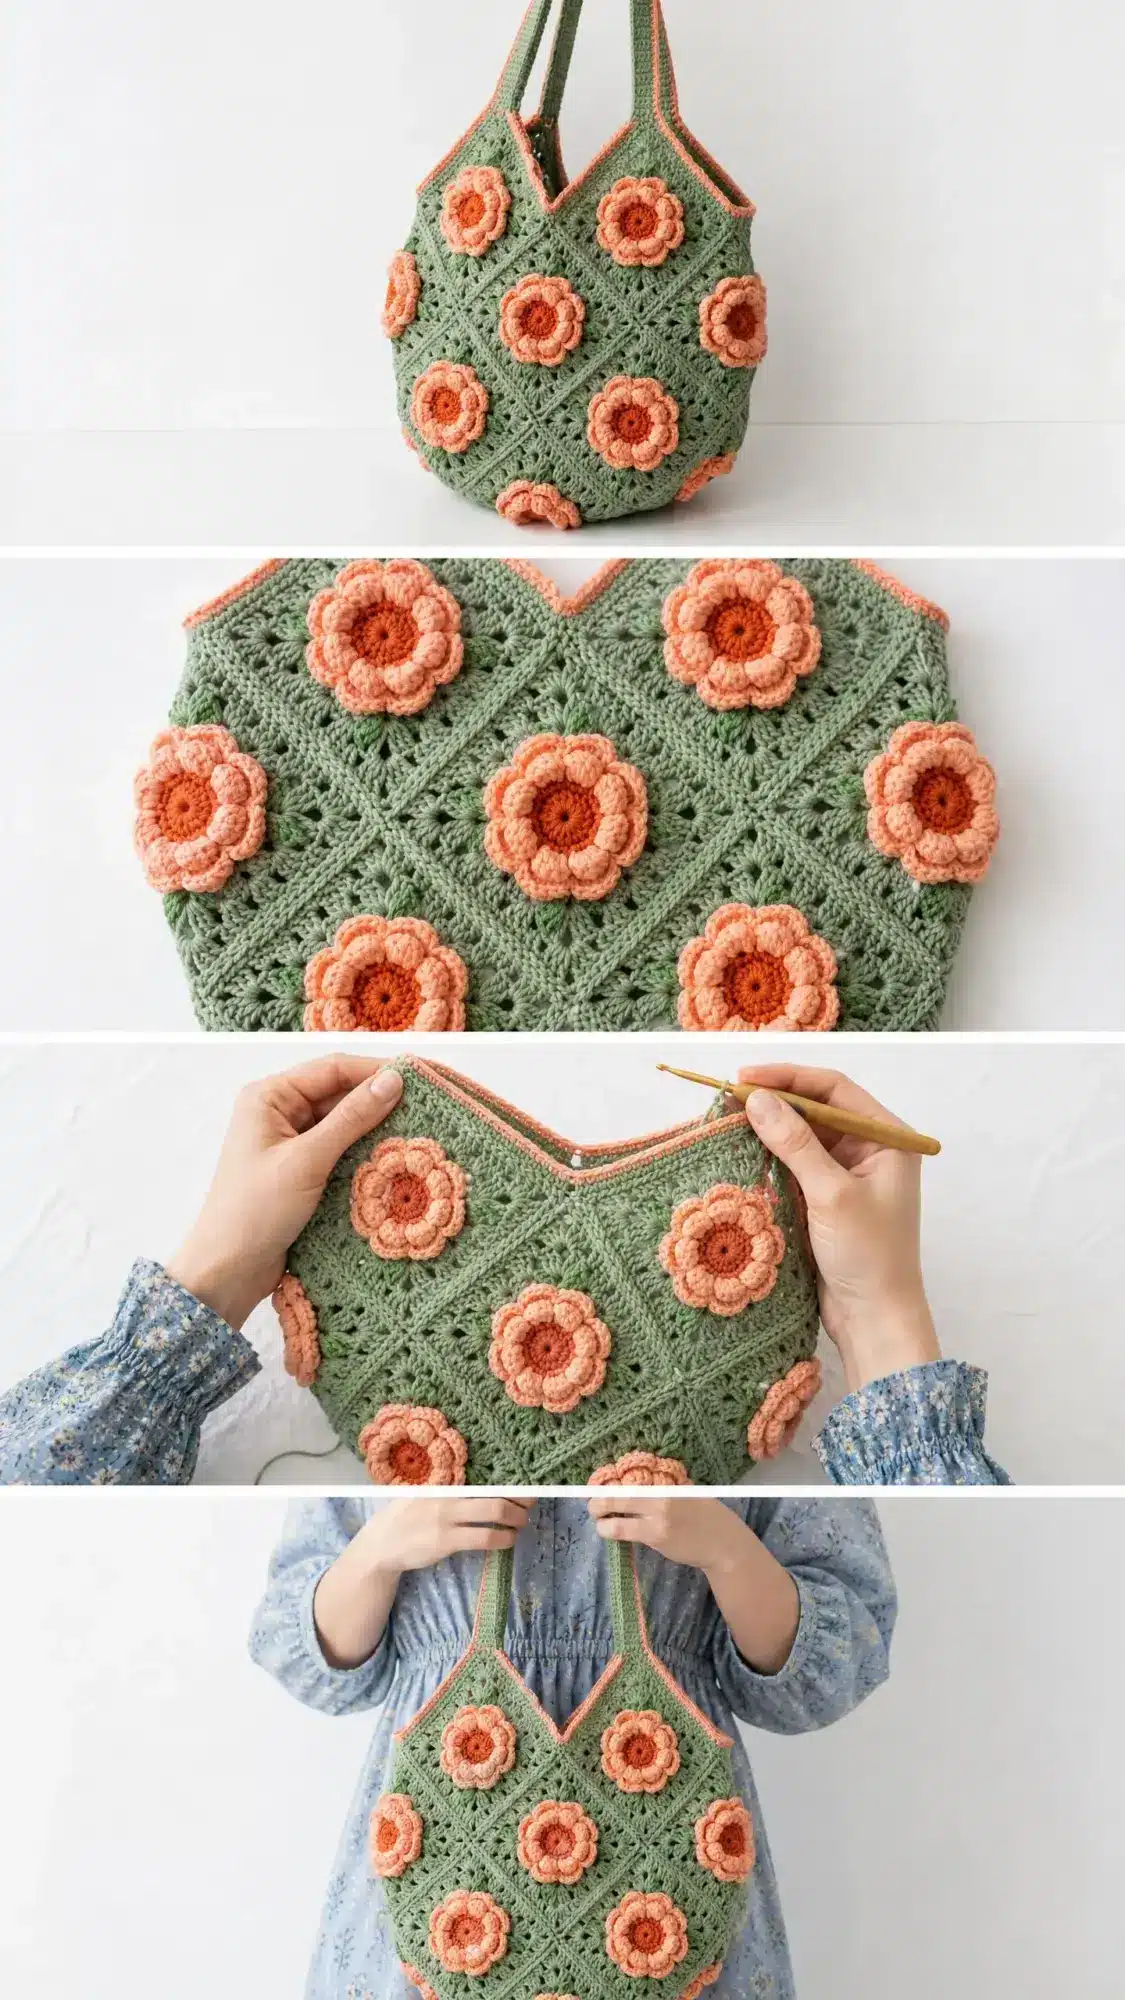
- Bag body: approximately 14 inches wide by 13 inches tall (35.5 cm wide by 33 cm tall), excluding strap
- Strap length: approximately 22 inches (56 cm) from top edge of bag to highest point of strap
- Each granny square (blocked): approximately 3.5 inches by 3.5 inches (9 cm by 9 cm)
Materials
Yarn
- Color A (Sage Green): approximately 350 yards (320 m) of worsted weight yarn
- Color B (Peach): approximately 200 yards (183 m) of worsted weight yarn
- Color C (Burnt Orange): approximately 80 yards (73 m) of worsted weight yarn
Hook
- US size J / 6.0 mm crochet hook
Notions
- Yarn needle for weaving in ends and sewing flowers
- Scissors
- Rust proof pins for blocking
- Blocking mats and spray bottle (optional but recommended)
- Stitch markers
Yarn Suggestions
- Lion Brand Yarn Pound of Love (worsted weight, 100% acrylic, 1020 yards per 16 oz skein): durable, widely available, and holds its shape well after blocking. Color suggestions: Olive for Color A, Peach for Color B, Pumpkin for Color C.
- Paintbox Yarns Simply DK (used at a slightly looser tension with the J hook, or substitute a true worsted): smooth plied construction that shows stitch definition clearly in the granny cluster pattern. Available in Pistachio, Melon Sorbet, and Mandarin Orange as close color matches.
- WeCrochet Swish Worsted (100% superwash merino, 220 yards per 100g skein): produces a polished, slightly drapey fabric that gives the bag a refined look. Suggested shades: Thyme, Peach, and Amber.
Substitution Note: Use any worsted weight yarn (approximately 200 yards per 100g) that achieves the listed gauge. Avoid very fuzzy or brushed yarns, which will obscure the granny stitch clusters and flower detail. Cotton or cotton blend yarns will produce a stiffer, more structured bag but will require a half size larger hook and will measure slightly smaller per square.
Gauge
- One completed granny square (after blocking) = 3.5 inches by 3.5 inches (9 cm by 9 cm)
- In standard granny square pattern with Color A using a J / 6.0 mm hook, 3 rounds produce one square measuring approximately 3.5 inches.
- Gauge is critical for the bag to assemble correctly and reach finished dimensions. Adjust hook size as needed. If your square is too small, go up a hook size. If it is too large, go down a hook size.
Abbreviations
- ch: chain
- sl st: slip stitch (insert hook, yarn over, pull through both the stitch and the loop on your hook in one motion)
- sc: single crochet (insert hook, yarn over, pull up a loop, yarn over, pull through both loops)
- dc: double crochet (yarn over, insert hook, yarn over, pull up a loop, yarn over, pull through 2 loops, yarn over, pull through remaining 2 loops)
- tr: treble crochet
- sp: space
- ch-sp: chain space
- rep: repeat
- sk: skip
- st(s): stitch(es)
- RS: right side
- WS: wrong side
- yo: yarn over
- beg: beginning
- rem: remaining
- PM: place marker
- RM: remove marker
Special Stitches
3-dc Cluster (used in granny squares)
Yarn over, insert hook into indicated space, yarn over and pull up a loop, yarn over and pull through 2 loops (2 loops remain on hook). Yarn over, insert hook into same space, yarn over and pull up a loop, yarn over and pull through 2 loops (3 loops on hook). Yarn over, insert hook into same space, yarn over and pull up a loop, yarn over and pull through 2 loops (4 loops on hook). Yarn over and pull through all 4 loops on hook. One 3-dc cluster complete.
Join-as-you-go (JAYG) Flat Sl St Join
Hold two squares with right sides facing each other. Insert hook through the back loop only of the corresponding stitch on the front square and through the back loop only of the corresponding stitch on the back square simultaneously. Draw up the working yarn and pull through both loops. Continue across the edge, working one sl st through both back loops of each corresponding stitch pair. This creates a flat, raised seam on the wrong side.
Pattern Notes
- Time Estimate: 12 to 18 hours total, including time for blocking squares, assembling, and attaching flowers. This is a lovely weekend project if you spread it across several sitting sessions.
- Blocking is not optional for this project. Unblocked squares will produce an uneven, puckered bag.
Pattern Instructions
Section 1: Granny Squares (Make 16)
Using Color A and a J / 6.0 mm hook.
Foundation Ring: ch 4, sl st to first ch to form a ring. Alternatively, use a magic ring.
Round 1: ch 3 (counts as first dc here and throughout), work 2 dc into ring (first corner cluster), ch 2, (work 3 dc into ring, ch 2) 3 times, sl st to top of beg ch-3 to join. (4 groups of 3 dc, 4 ch-2 corner spaces) [12 dc plus 4 ch-2 spaces]
Round 2: sl st into each of next 2 dc and into ch-2 corner sp, ch 3, work 2 dc into same corner sp, ch 2, work 3 dc into same corner sp (first corner made), ch 1, (work 3 dc into next ch-2 corner sp, ch 2, work 3 dc into same corner sp, ch 1) 3 times, sl st to top of beg ch-3 to join. (8 groups of 3 dc, 4 ch-2 corner spaces, 4 ch-1 side spaces) [24 dc plus 4 ch-2 spaces plus 4 ch-1 spaces]
Round 3: sl st into each of next 2 dc and into ch-2 corner sp, ch 3, work 2 dc into same corner sp, ch 2, work 3 dc into same corner sp, ch 1, work 3 dc into next ch-1 side sp, ch 1, (work 3 dc into next ch-2 corner sp, ch 2, work 3 dc into same corner sp, ch 1, work 3 dc into next ch-1 side sp, ch 1) 3 times, sl st to top of beg ch-3 to join. (12 groups of 3 dc, 4 ch-2 corner spaces, 8 ch-1 side spaces) [36 dc plus 4 ch-2 spaces plus 8 ch-1 spaces]
Fasten off Color A. Join Color B with sl st into any ch-2 corner sp.
Round 4 (Border Round): ch 3, work 2 dc into same corner sp, ch 2, work 3 dc into same corner sp, ch 1, (work 3 dc into next ch-1 side sp, ch 1) across to next corner, (work 3 dc into next ch-2 corner sp, ch 2, work 3 dc into same corner sp, ch 1) rep around, sl st to top of beg ch-3 to join. Fasten off and weave in ends.
Section 2: Panel Assembly
Before assembling, block all 16 squares individually by misting with water and pinning to blocking mats at exact 3.5 inch measurements until dry. This step is not optional. Unblocked squares will produce an uneven, puckered bag.
You will assemble two identical panels: one front panel and one back panel. Each panel is 4 squares wide and 2 squares tall.
Lay out 8 squares for the front panel. Join squares using the JAYG flat sl st join method, working through back loops only of corresponding stitches along shared edges. Join bottom row squares first (3 vertical seams), then join the top center squares to each other and to the bottom row. The two angled corner squares are joined only along the two edges that contact adjacent squares.
Repeat this assembly for the back panel using the remaining 8 squares.
Checkpoint: Each assembled panel should measure approximately 14 inches wide by 7 inches tall after joining.
Section 3: Joining Front and Back Panels
Hold front and back panels with wrong sides together (right sides facing out).
Using Color A, join the front and back panels along the bottom edge and both side edges using the JAYG flat sl st join. Begin at the top right corner of one side, work down the right side edge, across the entire bottom edge, and up the left side edge. Stop at the top left corner. Do not join the top edges.
Fasten off and weave in ends.
Checkpoint: The joined bag body should now be a rounded bottom tote shape measuring approximately 14 inches wide and 13 inches tall.
Section 4: Strap
Using Color A, ch to desired strap length (approximately 22 inches or 56 cm). Work sc in each ch across. Continue working sc in each st for a total of 6 rows. Fasten off, leaving a long tail for sewing. Attach strap ends to the inside of the bag at the top edges, ensuring the strap is not twisted.
Section 5: Top Opening Border
Using Color B, join yarn at the top edge of the bag. Work a round of sc evenly around the entire top opening. Work a second round of sl st for a neat, finished edge. Fasten off and weave in ends.
Section 6: Peony Flowers (Make 16)
Using Color B and Color C, follow the flower pattern as provided in the original source. Each flower is worked in the round, creating layered petals that are then sewn to the center of each granny square.
Section 7: Attaching Flowers
Using a yarn needle and Color B, sew one peony flower to the center of each granny square. Weave in all ends securely on the wrong side, working the tail through at least 2 inches of adjacent stitches in two directions.
Assembly
- Hold two squares with right sides facing each other. Insert hook through the back loop only of the corresponding stitch on the front square and through the back loop only of the corresponding stitch on the back square simultaneously. Draw up the working yarn and pull through both loops. Continue across the edge, working one sl st through both back loops of each corresponding stitch pair. This creates a flat, raised seam on the wrong side.
- You will assemble two identical panels: one front panel and one back panel. Each panel is 4 squares wide and 2 squares tall.
- Lay out 8 squares for the front panel. Join squares using the JAYG flat sl st join method, working through back loops only of corresponding stitches along shared edges. Join bottom row squares first (3 vertical seams), then join the top center squares to each other and to the bottom row. The two angled corner squares are joined only along the two edges that contact adjacent squares.
- Repeat this assembly for the back panel using the remaining 8 squares.
- Checkpoint: Each assembled panel should measure approximately 14 inches wide by 7 inches tall after joining.
- Hold front and back panels with wrong sides together (right sides facing out).
- Using Color A, join the front and back panels along the bottom edge and both side edges using the JAYG flat sl st join. Begin at the top right corner of one side, work down the right side edge, across the entire bottom edge, and up the left side edge. Stop at the top left corner. Do not join the top edges.
- Fasten off and weave in ends.
- Checkpoint: The joined bag body should now be a rounded bottom tote shape measuring approximately 14 inches wide and 13 inches tall.
- Before assembling, block all 16 squares individually by misting with water and pinning to blocking mats at exact 3.5 inch measurements until dry. This step is not optional. Unblocked squares will produce an uneven, puckered bag.
- After full assembly and flower attachment, lightly mist the entire bag with water. Stuff the bag with plastic bags or a rolled towel to hold the rounded shape. Allow to air dry completely before use.
- Weave in all ends securely on the wrong side, working the tail through at least 2 inches of adjacent stitches in two directions.
Tips
- To make a smaller bag: reduce each granny square by working only 2 rounds with Color A before adding the Color B border. Each square will measure approximately 2.25 inches by 2.25 inches. The finished bag will be approximately 9 inches wide by 9 inches tall.
- To make a larger bag: add a 4th pattern round to each granny square in Color A before the Color B border. Each square will grow to approximately 4.75 inches by 4.75 inches.
- To add more squares: maintain the 4-square-wide configuration but increase rows. Each additional row of 4 squares adds approximately 3.5 inches to the bag height.
Care Instructions
Hand wash in cool water with a gentle wool safe soap. Do not wring. Press gently between towels to remove excess water. Reshape and stuff the bag, then allow to air dry flat. Do not machine wash or tumble dry. Store flat or stuffed with tissue paper to maintain the rounded shape.
FAQs
Can I use a different yarn weight for this pattern?
This pattern is designed for worsted weight yarn. Using a different weight will change the gauge and the final size of the bag. If you substitute yarn, you will need to adjust your hook size and work a gauge swatch to ensure your squares measure 3.5 inches.
How do I make the bag opening wider?
The V-shaped opening is created by the angled placement of the corner squares. To make it wider, you could add an extra row of squares to the top of each panel, but this will also increase the bag’s height. Alternatively, you can adjust the strap placement slightly.
Can I skip blocking the squares?
Blocking is not optional for this project. Unblocked squares will be uneven in size, leading to a puckered and misshapen bag. Blocking ensures all squares are exactly 3.5 inches, making assembly much easier and the final result professional.
How do I attach the peony flowers securely?
Use a yarn needle and the same color yarn as the flower petals. Sew through the back of the flower and into the center of the granny square, making several passes to ensure it is firmly attached. Weave the ends in securely on the wrong side of the square.
What if my gauge is off?
Gauge is critical for this pattern. If your square is too small, go up a hook size. If it is too large, go down a hook size. Work a test square and adjust until you achieve the correct 3.5-inch measurement.
Can I make this bag with a different color palette?
Absolutely. The coral, sage, and burnt orange combination is a suggestion. Feel free to swap in your own favorite colors. Just keep in mind that the contrast between the background squares and the flowers is key to the design’s visual impact.
Pin This Crochet Pattern!