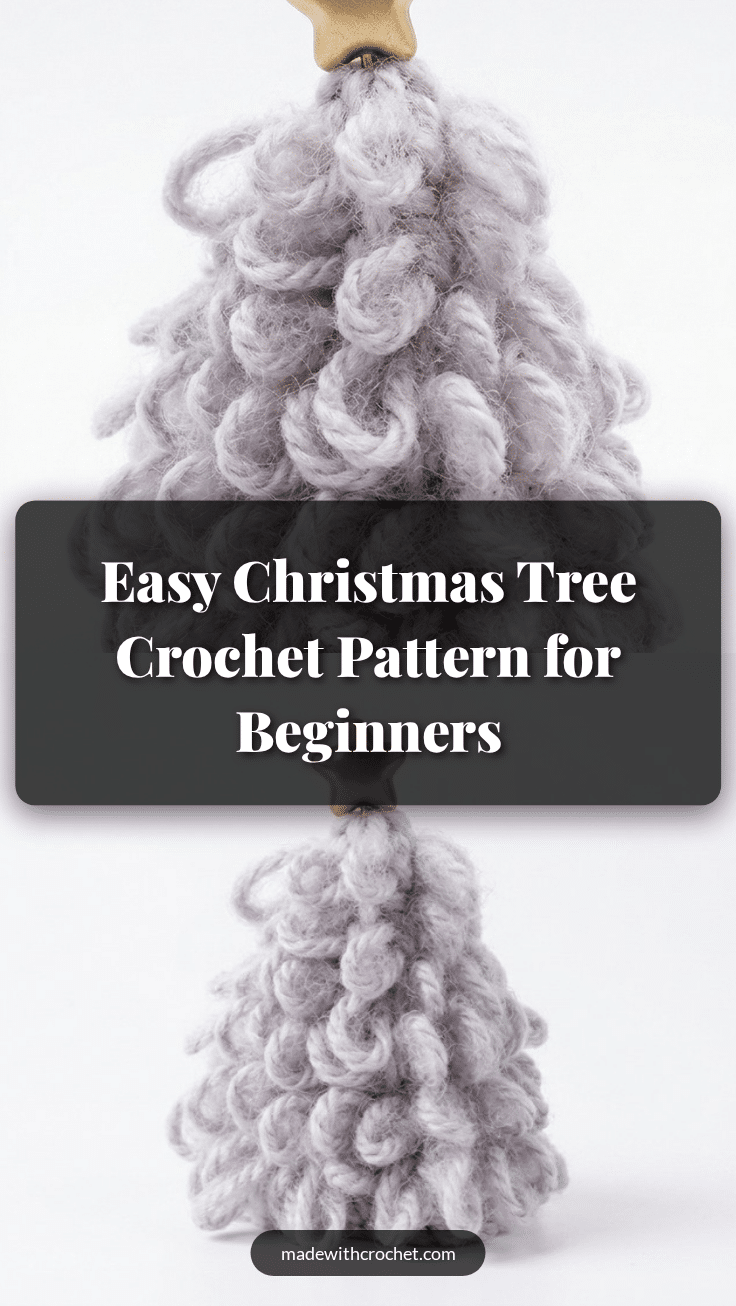
There is something deeply satisfying about a stitch that creates its own texture, and the loop stitch in this Christmas tree pattern delivers exactly that. Each round of loop stitches builds a soft, fluffy surface that mimics pine needles, while the gradual decreases shape the tree into a perfect cone. The alternating rows of single crochet and loop stitches give the project a rhythmic, meditative quality, and the final pull at the top feels like a small victory. It is a pattern that rewards patience with a tactile, charming result.
Texture and Stitch Notes
The loop stitch is the heart of this pattern, and getting it right is all about consistency. When you pull the yarn to form the loop before completing the single crochet, aim for a loop length of about 2-3 cm. This creates a uniform, fluffy surface that looks like soft pine needles. The mohair-blend yarn enhances this effect, giving the tree a halo of fuzziness that makes it feel cozy and festive. The large 10 mm hook is essential here—it keeps the loops loose and airy, preventing the tree from becoming stiff or dense.
Project Overview
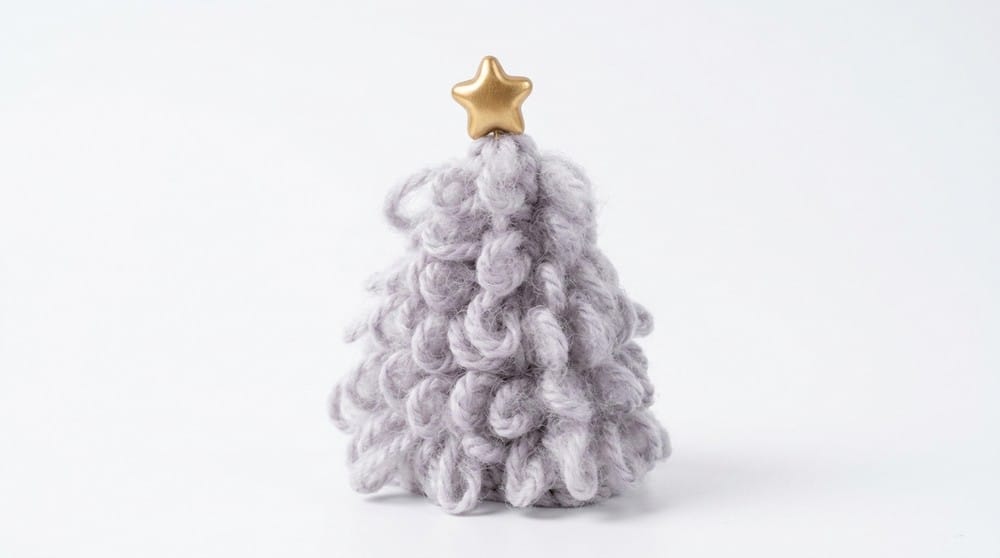
This free crochet Christmas tree pattern is worked seamlessly in continuous rounds, starting with a chain ring base. The design alternates between rounds of single crochet and loop stitches, with evenly spaced decreases to shape the conical form. The finished tree measures approximately 15 cm (6 inches) tall and 10 cm (4 inches) wide at the base, making it a perfect size for a shelf, table, or mantel. It is a wonderful project for adding a handmade touch to holiday décor or for gifting to friends and family.
Materials
- Seria’s Moffle yarn or a similar mohair-blend yarn (~worsted-light weight)
- 10 mm crochet hook (recommended for proper loop stitch formation)
- Tapestry needle for finishing
- Scissors
Gauge and Finished Size
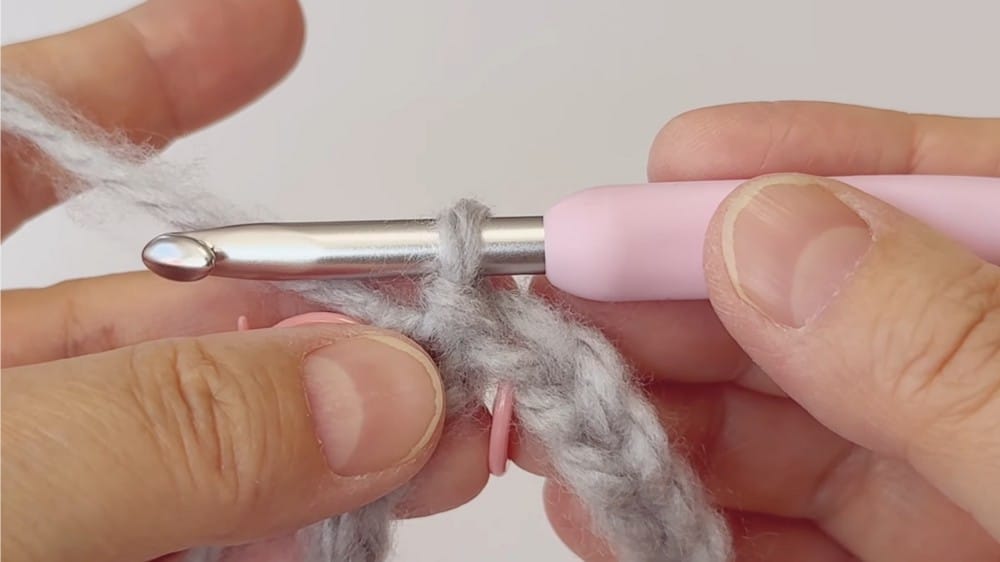
Gauge: Gauge is flexible due to the nature of loop stitches and mohair yarn. Expected gauge is around 9 stitches and 12 rows per 10 cm (4 inches) in single crochet. The main stitch pattern alternates single crochet rows and rows of loop stitches for fluffiness.
Finished Size: The finished Christmas tree measures approximately 15 cm (6 inches) tall and 10 cm (4 inches) wide at the base. Dimensions will vary slightly depending on tension and yarn used.
Abbreviations
- ch – Chain
- sc – Single Crochet
- dec – Decrease (sc2tog)
- sl st – Slip Stitch
Pattern Notes
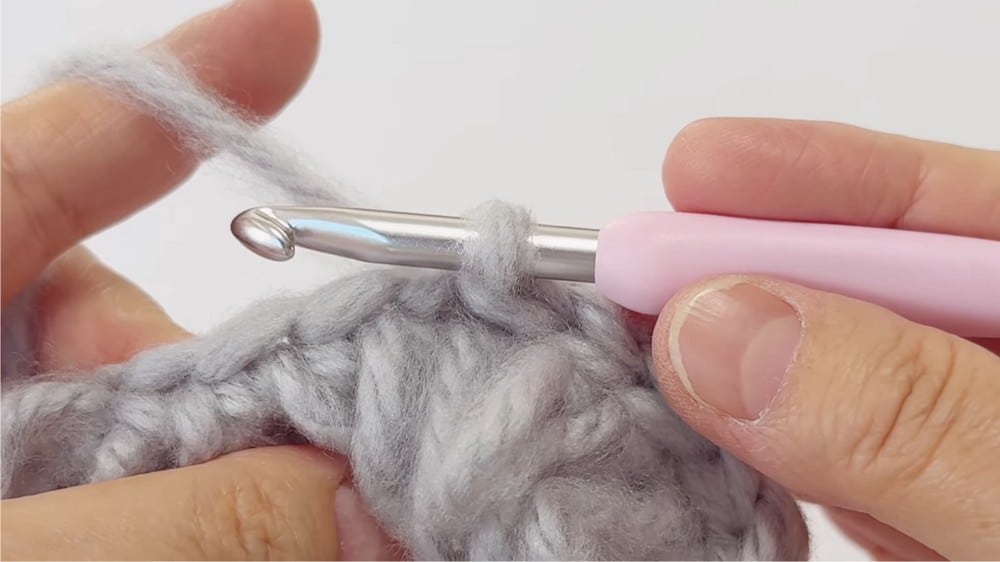
- Use a large 10 mm crochet hook to enhance the fluffy effect of the mohair yarn.
- Make the foundation chain loosely to prevent tightness affecting shape.
- Loop stitches require patience to maintain consistent length and looseness.
- Decreases are worked evenly to maintain symmetry.
- Weave in ends securely inside the tree to hide the yarn tails.
Special Stitches
Loop Stitch: Yarn is pulled to extend a long loop before completing a single crochet, creating a fluffy texture ideal for mimicking pine needles on the tree.
Pattern Instructions
Foundation
Step 1: Create a slip knot on your 10 mm hook.
Step 2: Chain 21 stitches loosely to maintain a flexible base.
Step 3: Join the first and last chain with a slip stitch (sl st) to form a ring, making sure it is not twisted. This creates the circular foundation round.
Round 1
Chain 1 (counts as beginning). Work 1 single crochet (sc) into each of the 21 chain stitches around. Total stitches: 21. Join with a slip stitch to the first sc or continue in continuous round if preferred.
Round 2 (Loop Stitches)
Chain 1 (does not count as stitch). Work loop stitches into every stitch of the previous round: To make a loop stitch, pull the yarn to a several-centimeter loop before finishing the single crochet. Total stitches remain 21 loops.
Round 3 (Decrease Round)
Chain 1. Decrease round with: Work 1 decrease (sc2tog), then 5 single crochets (sc). Repeat this sequence around: (decrease + 5 sc). This reduces your stitch count from 21 to 18 stitches.
Round 4 (Loop Stitches)
Chain 1. Work loop stitches into every stitch from previous round (18 stitches).
Round 5 (Decrease Round)
Chain 1. Work decrease pattern: 1 decrease (sc2tog), then 4 single crochets (sc). Repeat around to reduce stitches from 18 to 15.
Round 6 (Loop Stitches)
Chain 1. Loop stitches into every stitch (15 stitches).
Round 7 (Decrease Round)
Chain 1. Work: 1 decrease (sc2tog), then 3 single crochets (sc). Repeat to reduce stitches to 12.
Round 8 (Loop Stitches)
Chain 1. Work loop stitches in each of the 12 stitches.
Round 9 (Decrease Round)
Chain 1. Work: 1 decrease (sc2tog), then 2 single crochets (sc). Repeat around to reduce to 9 stitches.
Round 10 (Loop Stitches)
Chain 1. Loop stitch into every stitch (9 stitches).
Round 11 (Decrease Round)
Chain 1. Work: 1 decrease (sc2tog), then 1 single crochet (sc). Repeat to reduce the count to 6 stitches.
Round 12 (Final Loop Stitch Round)
Chain 1. Work loop stitch into every stitch, keeping the fluffy texture. Total last round stitches: 6 loops.
Assembly
Cut the yarn, leaving a long tail for closure. Thread the tail onto a tapestry needle. Insert the needle through the front loops of the last 6 stitches and pull tightly to draw the top closed. Secure the yarn inside the tree by weaving the tail through the interior several times. Trim excess yarn.
Tips
- If your loop stitches are uneven, try pulling the yarn to the same length each time before completing the single crochet. Practice on a small swatch first.
- For a sturdier tree, you can lightly stuff the interior with fiberfill before closing the top. This is optional but helps the tree hold its shape.
- To change colors, switch yarn at the beginning of a round. White creates a snowy look, while red or gold adds a festive pop.
- Blocking is not necessary for this project, but gently steaming the tree can help the loops settle evenly.
FAQs
Can I use a different yarn weight for this pattern?
Yes, but the gauge and finished size will change. If you use a heavier yarn, the tree will be larger and denser. A lighter yarn will produce a smaller, more delicate tree. Adjust your hook size accordingly to maintain the loop stitch effect.
How do I keep my loop stitches consistent?
Practice makes perfect. Try pulling the yarn to the same length each time—about 2-3 cm is ideal. You can also use your finger as a guide to measure the loop before completing the single crochet.
Can I make the tree taller or shorter?
Absolutely. To make a taller tree, add more rounds of loop stitches and decreases. For a shorter tree, work fewer decrease rounds. Just keep the alternating pattern of loop stitches and decrease rounds to maintain the shape.
How do I attach decorations to the tree?
You can sew on small buttons, beads, or tiny bows using a tapestry needle and matching thread. For a star on top, crochet a small star shape and sew it to the tip. Avoid using glue, as it can stiffen the soft mohair texture.
Is this pattern suitable for a beginner?
The pattern is labeled intermediate because working loop stitches evenly and managing decreases requires some experience. However, a confident beginner who has mastered single crochet and basic decreases can try it with patience.
How do I care for my finished Christmas tree?
Hand wash gently in cool water with a mild detergent. Lay flat to dry, reshaping as needed. Avoid wringing or twisting, as this can distort the loop stitches. Store flat in a dry place when not in use.
Pin This Crochet Pattern!