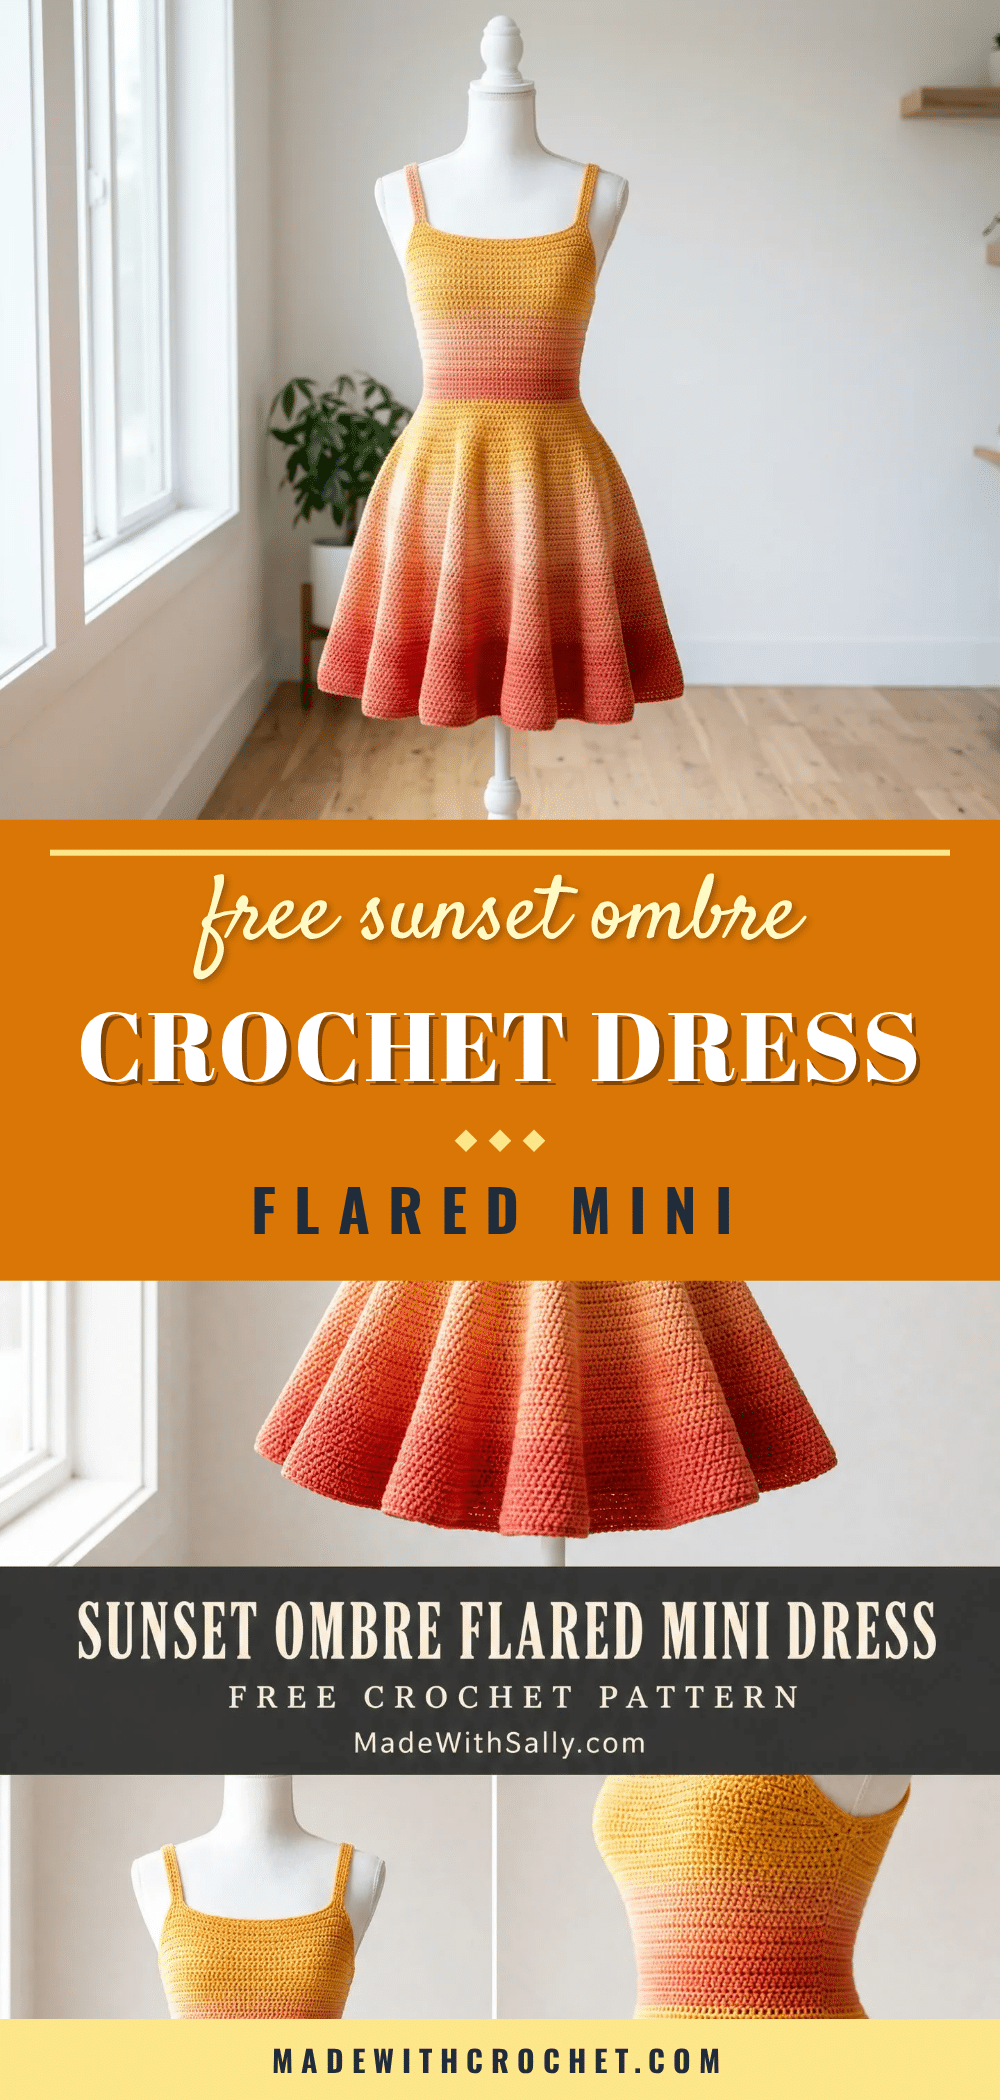
This sunset ombre flared mini dress is the kind of project that makes you stop and admire your own handiwork. It’s cute, flirty, and looks like something you’d find in a high-end boutique. The fitted bodice, gentle waist shaping, and full, swirly skirt create a silhouette that is both flattering and fun to wear. Whether you make it for a summer party, a date night, or just because you deserve something beautiful, this dress is a wearable work of art that you’ll be proud to say you made yourself.
Why the Finished Piece Stands Out
What makes this dress truly special is the combination of its structured fit and the stunning ombre color transition. The back-loop-only stitches on the bodice create a subtle, elegant texture that mimics a ribbed knit, while the skirt’s regular increases produce a dramatic flare that moves beautifully. The ombre effect, whether achieved with a self-striping yarn or by manually blending colors, gives the dress a professional, gradient finish that looks far more complex than it is. This is a piece that feels luxurious to wear and is guaranteed to draw compliments.
Project Overview
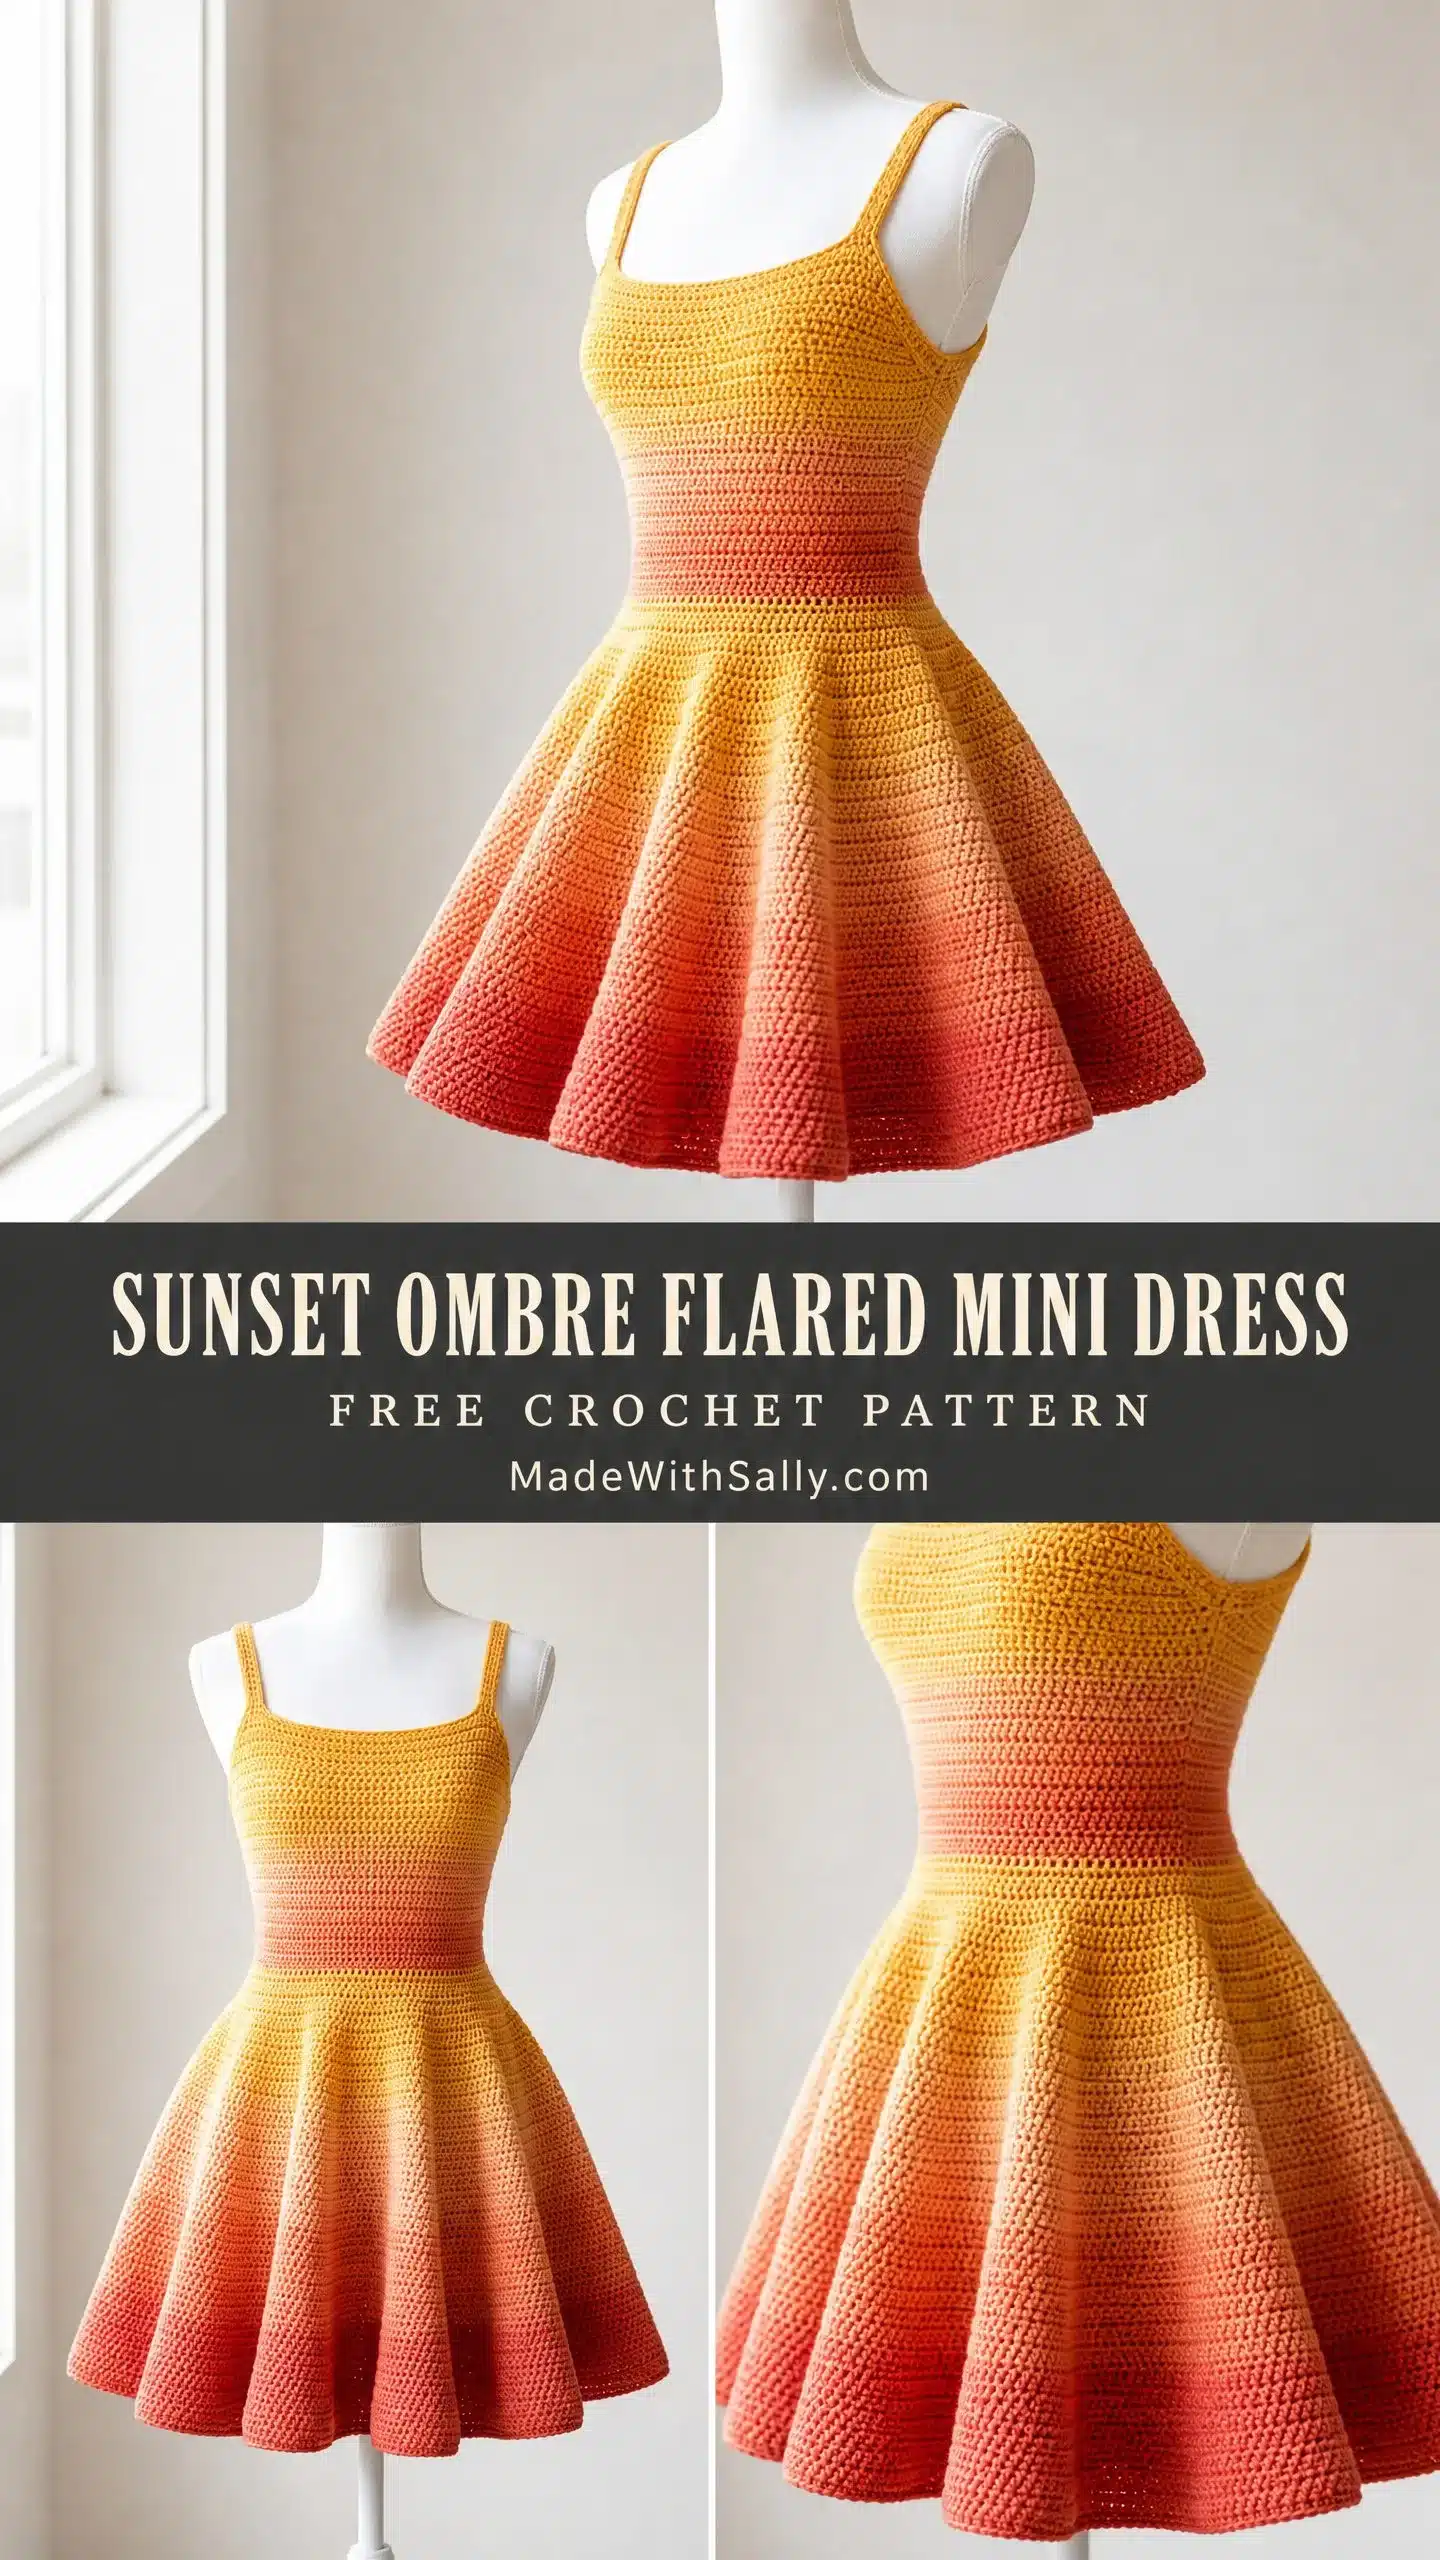
This dress is worked from the top down, starting with two flat bodice panels that are joined at the sides. Stitches are then picked up at the waist to work the flared skirt in continuous rounds. The construction is straightforward, making it an achievable project for an intermediate crocheter who is comfortable with garment shaping and color changes.
Skill Level
Intermediate. You should be comfortable working flat pieces, joining seams, working in continuous rounds, executing consistent color changes for a smooth ombre effect, and reading stitch counts carefully across shaping rows.
Finished Measurements
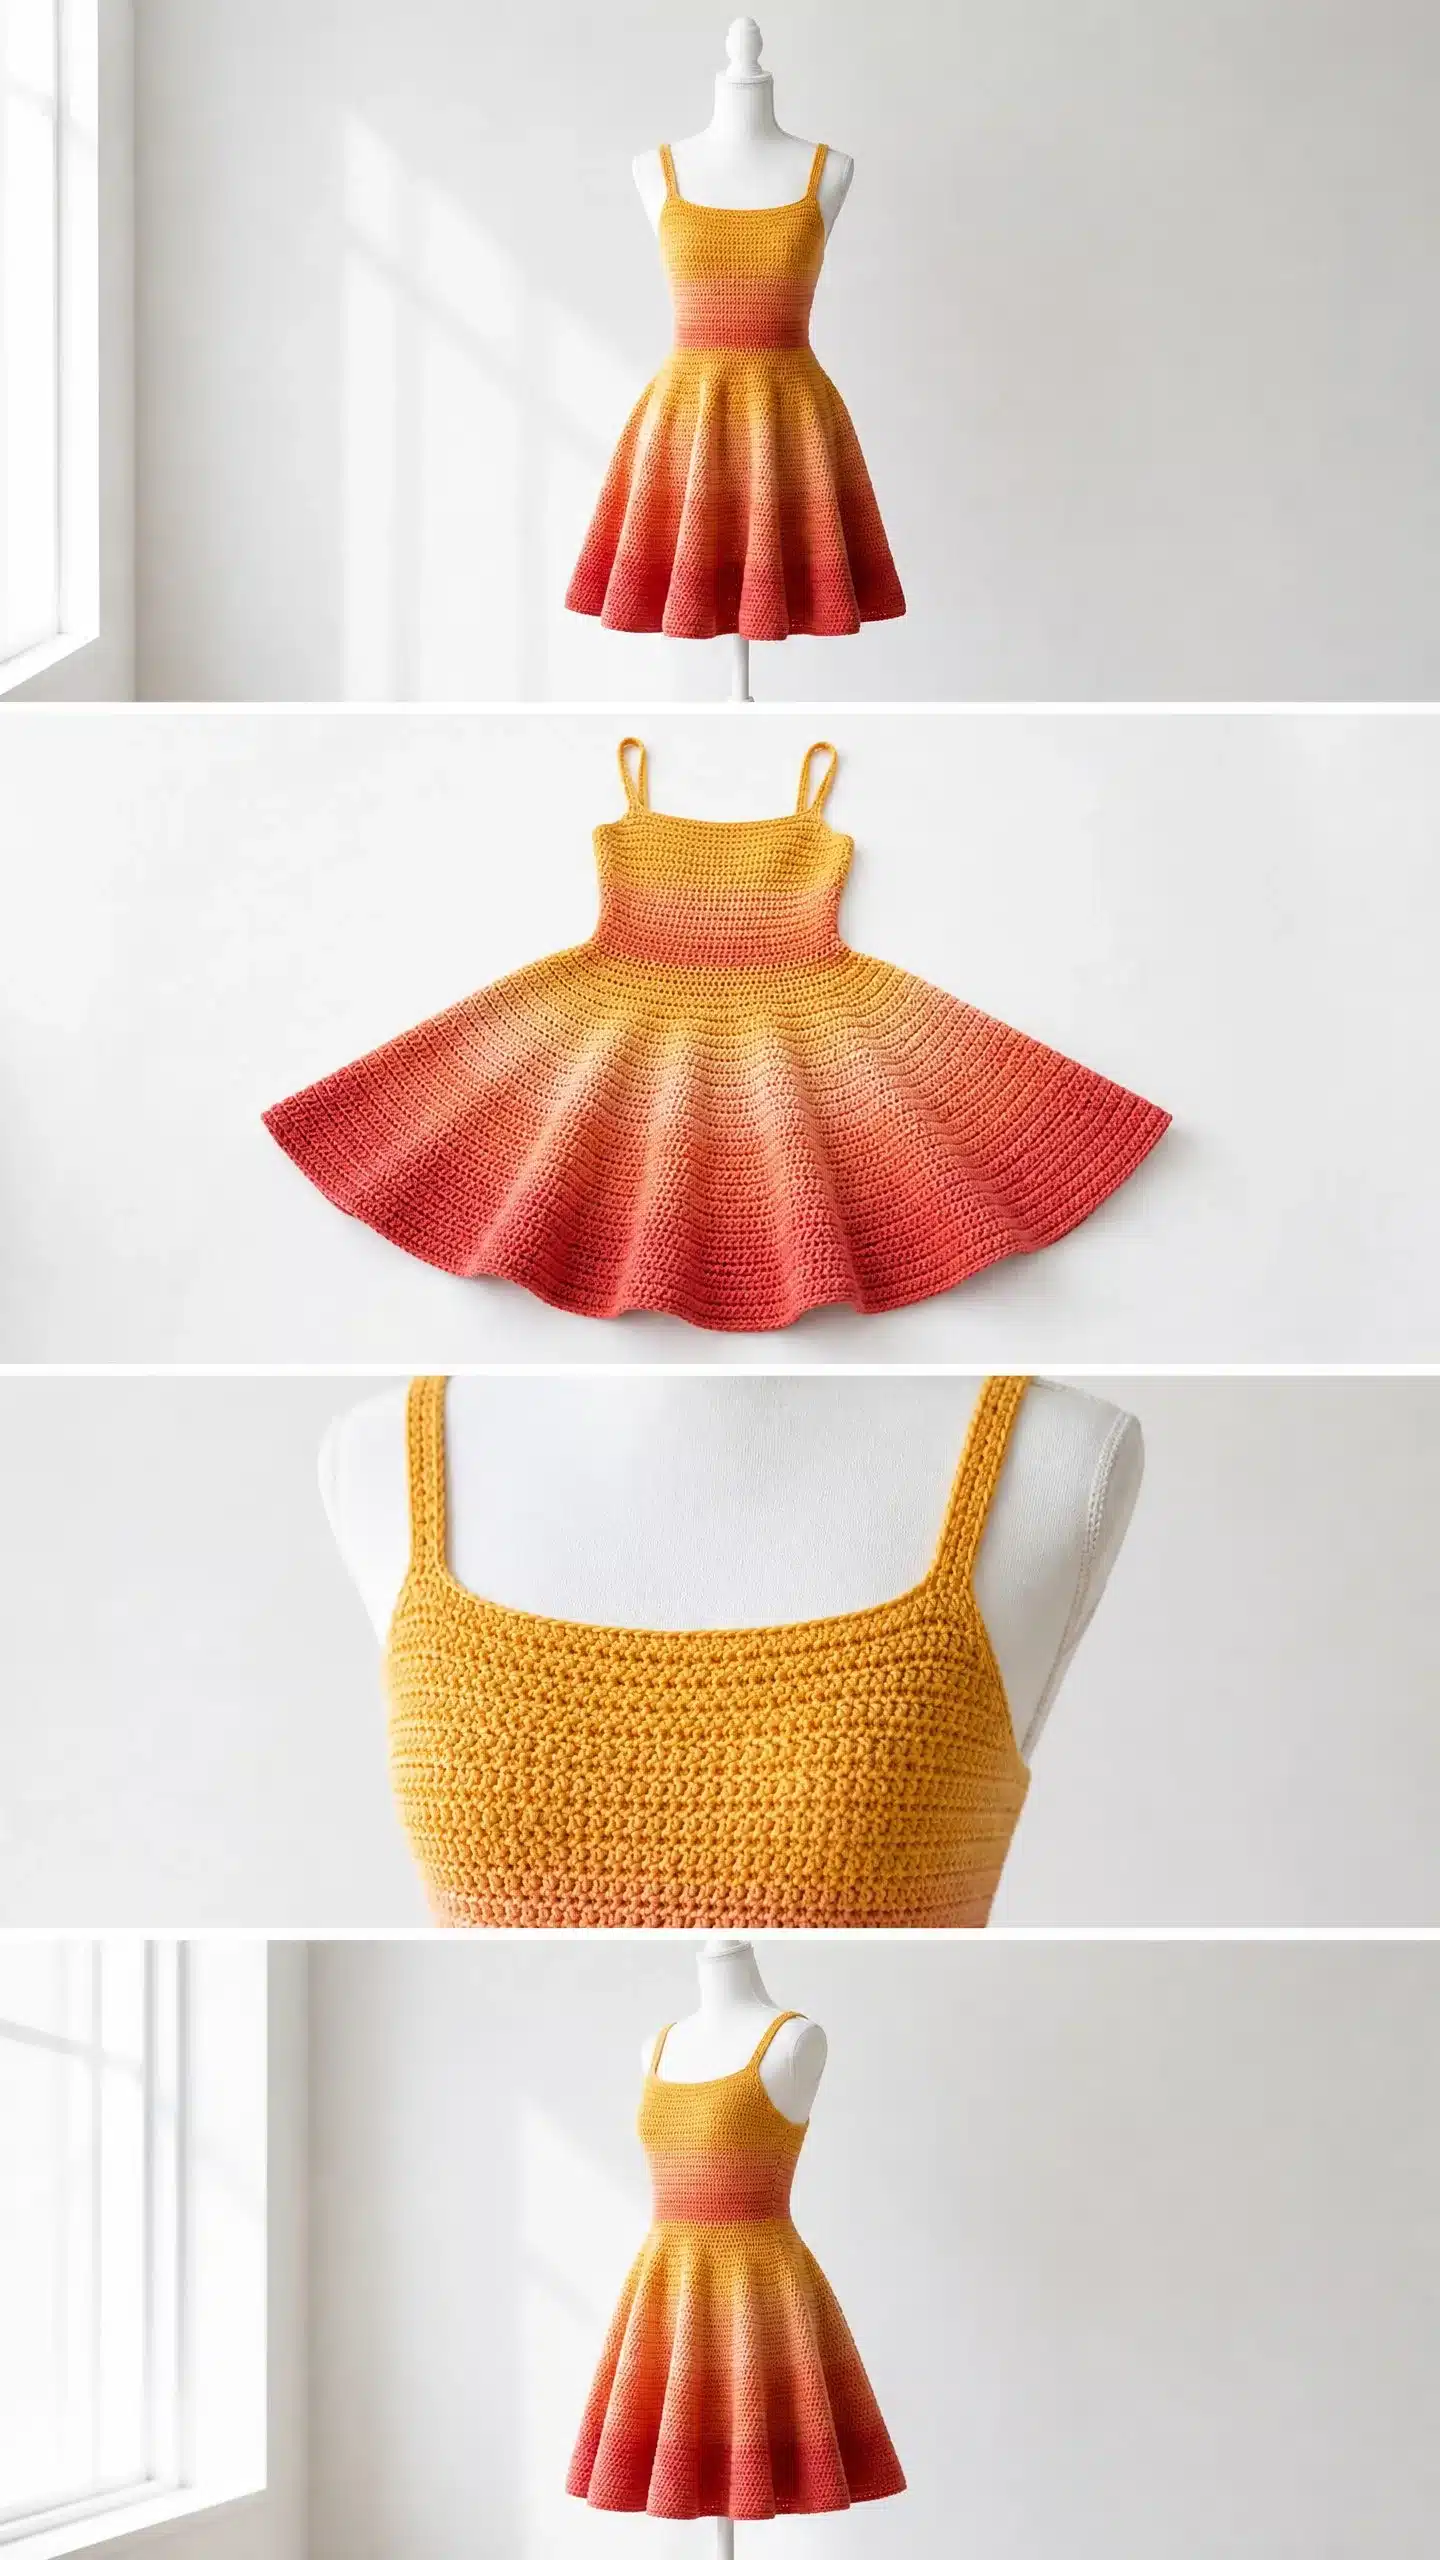
The pattern is written for a size Small (US 4-6) with notes for adjusting to other sizes.
- Bust: 32 to 34 inches (81 to 86 cm)
- Waist: 26 to 28 inches (66 to 71 cm)
- Hip/Skirt Hem Circumference: approximately 60 inches (152 cm)
- Total Length (top of bodice to hem): approximately 22 inches (56 cm)
- Bodice Length: approximately 8 inches (20 cm)
- Skirt Length: approximately 14 inches (36 cm)
This dress is designed with zero to one inch of positive ease at the bust and waist for a close, structured fit. The skirt has significant positive ease due to the flare.
Materials
- Yarn: Approximately 1,200 to 1,400 yards (1,097 to 1,280 meters) of DK weight (light 3) cotton or cotton blend yarn in an ombre colorway, or separate skeins in yellow, peach, coral, and red to blend manually.
- Yarn suggestions: Lion Brand Mandala Baby in a sunset colorway (two skeins provide the full gradient), Paintbox Yarns Simply DK in Daffodil Yellow, Soft Peach, Melon Sorbet, and Pillar Red, Hobbii Rainbow Cotton 8/4 in shades 71 (yellow), 39 (peach), 36 (coral), and 32 (red).
- Hook: US size E-4 (3.5 mm) crochet hook, or size needed to obtain gauge.
- Notions: Tapestry needle for weaving ends, at least 6 stitch markers, measuring tape, scissors, rust-proof straight pins for blocking.
Gauge and Finished Size
Gauge: 22 single crochet stitches by 26 rows = 4 inches (10 cm), worked flat in single crochet, blocked. Gauge in the round for skirt: 22 sc by 26 rounds = 4 inches (10 cm).
Gauge is critical for this garment. Take time to swatch both flat and in the round. Block your swatch before measuring. A difference of even one stitch per 4 inches will significantly alter the bust and waist fit.
Abbreviations
- ch: chain
- sl st: slip stitch
- sc: single crochet
- sc2tog: single crochet two together
- inc: increase (work 2 sc in the same stitch)
- blo: back loop only
- RS: right side
- WS: wrong side
- rep: repeat
- pm: place marker
- st/sts: stitch/stitches
- rnd: round
Pattern Notes
- The bodice is worked flat in rows, using the back loop only to create a textured ridge.
- The skirt is worked in continuous rounds (do not join at the end of each round unless specified).
- Use the invisible color change method for a smooth ombre transition.
- Blocking is essential to achieve the correct fit and drape.
Pattern Instructions
Front Bodice Panel
With yellow yarn, chain 48.
Foundation Row (RS): Sc in second ch from hook and in each ch across. Turn. (47 sc)
Rows 1 through 32 (plain bodice section): Ch 1, sc blo in each st across. Turn at end of each row. (47 sc throughout)
These 32 rows create the upper portion of your bodice. Keep your tension consistent. The back loop only stitches will create those lovely horizontal ridges.
Row 33 (begin waist shaping): Ch 1, sc2tog blo, sc blo to last 2 sts, sc2tog blo. Turn. (45 sc)
Row 34: Ch 1, sc blo across. Turn. (45 sc)
Row 35: Ch 1, sc blo across. Turn. (45 sc)
Row 36: Ch 1, sc2tog blo, sc blo to last 2 sts, sc2tog blo. Turn. (43 sc)
Row 37: Ch 1, sc blo across. Turn. (43 sc)
Begin your ombre transition toward peach from Row 37 forward using the invisible color change method.
Row 38: Ch 1, sc blo across. Turn. (43 sc)
Row 39: Ch 1, sc2tog blo, sc blo to last 2 sts, sc2tog blo. Turn. (41 sc)
Rows 40 through 55: Ch 1, sc blo in each st across. Turn at end of each row. (41 sc)
After Row 55, fasten off, leaving a long tail for seaming.
Your front bodice panel should measure approximately 8.5 inches wide at the bust and 7.5 inches wide at the waist, and approximately 8.5 inches tall.
Back Bodice Panel
Work the back bodice panel identically to the front bodice panel. Chain 48, work Foundation Row plus Rows 1 through 55, all shaping as written. Fasten off, leaving a long tail for seaming. (41 sc at end of Row 55)
Joining the Bodice Panels
Hold front and back bodice panels with right sides together, aligning all side edges. Using the single crochet join method, join both side seams. The seam runs from the bottom waist edge up to the top edge of the bodice on each side. Turn the bodice right side out.
Your joined bodice should measure approximately 17 inches in circumference at the waist and approximately 19 inches in circumference at the bust.
Strap Construction (Make 2)
With yellow yarn, chain 66.
Row 1: Sc in second ch from hook and in each ch across. Turn. (65 sc)
Row 2: Ch 1, sc in each st across. Fasten off, leaving a long tail for sewing. (65 sc)
Assembly
- Weave in all yarn ends securely, running each tail in two different directions to prevent unraveling.
- Sew the straps to the inside of the bodice at the front and back, positioning them to create a square neckline. Try the dress on to determine the best strap placement for your body.
- Wet blocking is strongly recommended. Submerge the dress in cool water and gently press out excess water by rolling in a clean towel. Lay flat on blocking mats. Pin the hem and bodice edges to target measurements. Allow to dry completely, at least 24 hours.
- Blocking will open the fabric, even your stitch tension, smooth the ombre transitions, and give the skirt its full flare and drape.
Tips
- To adjust bust size: Add or remove stitches from the foundation chain in multiples of 2. Each 2-stitch adjustment adds or removes approximately 0.36 inches to the total bust circumference. For Medium (34-36 inch bust), begin with chain 52. For Large (36-38 inch bust), begin with chain 56.
- To adjust length: Add or remove plain rounds between increase rounds in the skirt. Each round adds approximately 0.15 inches to the length.
- To adjust flare: For more dramatic flare, increase every 2 rounds instead of every 4. For a subtler A-line, increase every 5 to 6 rounds.
Care Instructions
Machine wash on gentle cycle in cool water. Lay flat to dry. Do not tumble dry. Iron on low-cotton setting while slightly damp if needed. Store folded flat or on a padded hanger.
Frequently Asked Questions
Can I use a different weight of yarn?
This pattern is written specifically for DK weight yarn. Using a different weight will change the gauge and the final fit of the dress. If you wish to substitute, you will need to work a new gauge swatch and recalculate all stitch counts.
How do I create the ombre effect with separate skeins?
Use the invisible color change method described in the pattern notes. Start by working a few rows in your first color, then gradually blend in the next color over several rows by alternating stitches. This creates a smooth, gradient transition rather than a harsh line.
What if my gauge is off?
Gauge is critical for this garment. If your gauge is off, your dress will not fit correctly. Take the time to swatch and block before you begin. If you cannot match the gauge, try a different hook size.
Can I make the dress longer or shorter?
Yes! The skirt length can be easily adjusted by adding or removing plain rounds between the increase rounds. Each round adds approximately 0.15 inches to the length.
How do I attach the straps?
Sew the straps to the inside of the bodice at the front and back. Try the dress on to find the most comfortable and flattering position for your body. The straps should create a square neckline.
Is this pattern suitable for a beginner?
This pattern is rated as intermediate. You should be comfortable with basic garment construction, shaping, and color changes. If you are new to crochet garments, it is recommended to start with a simpler project first.
Pin This Crochet Pattern!