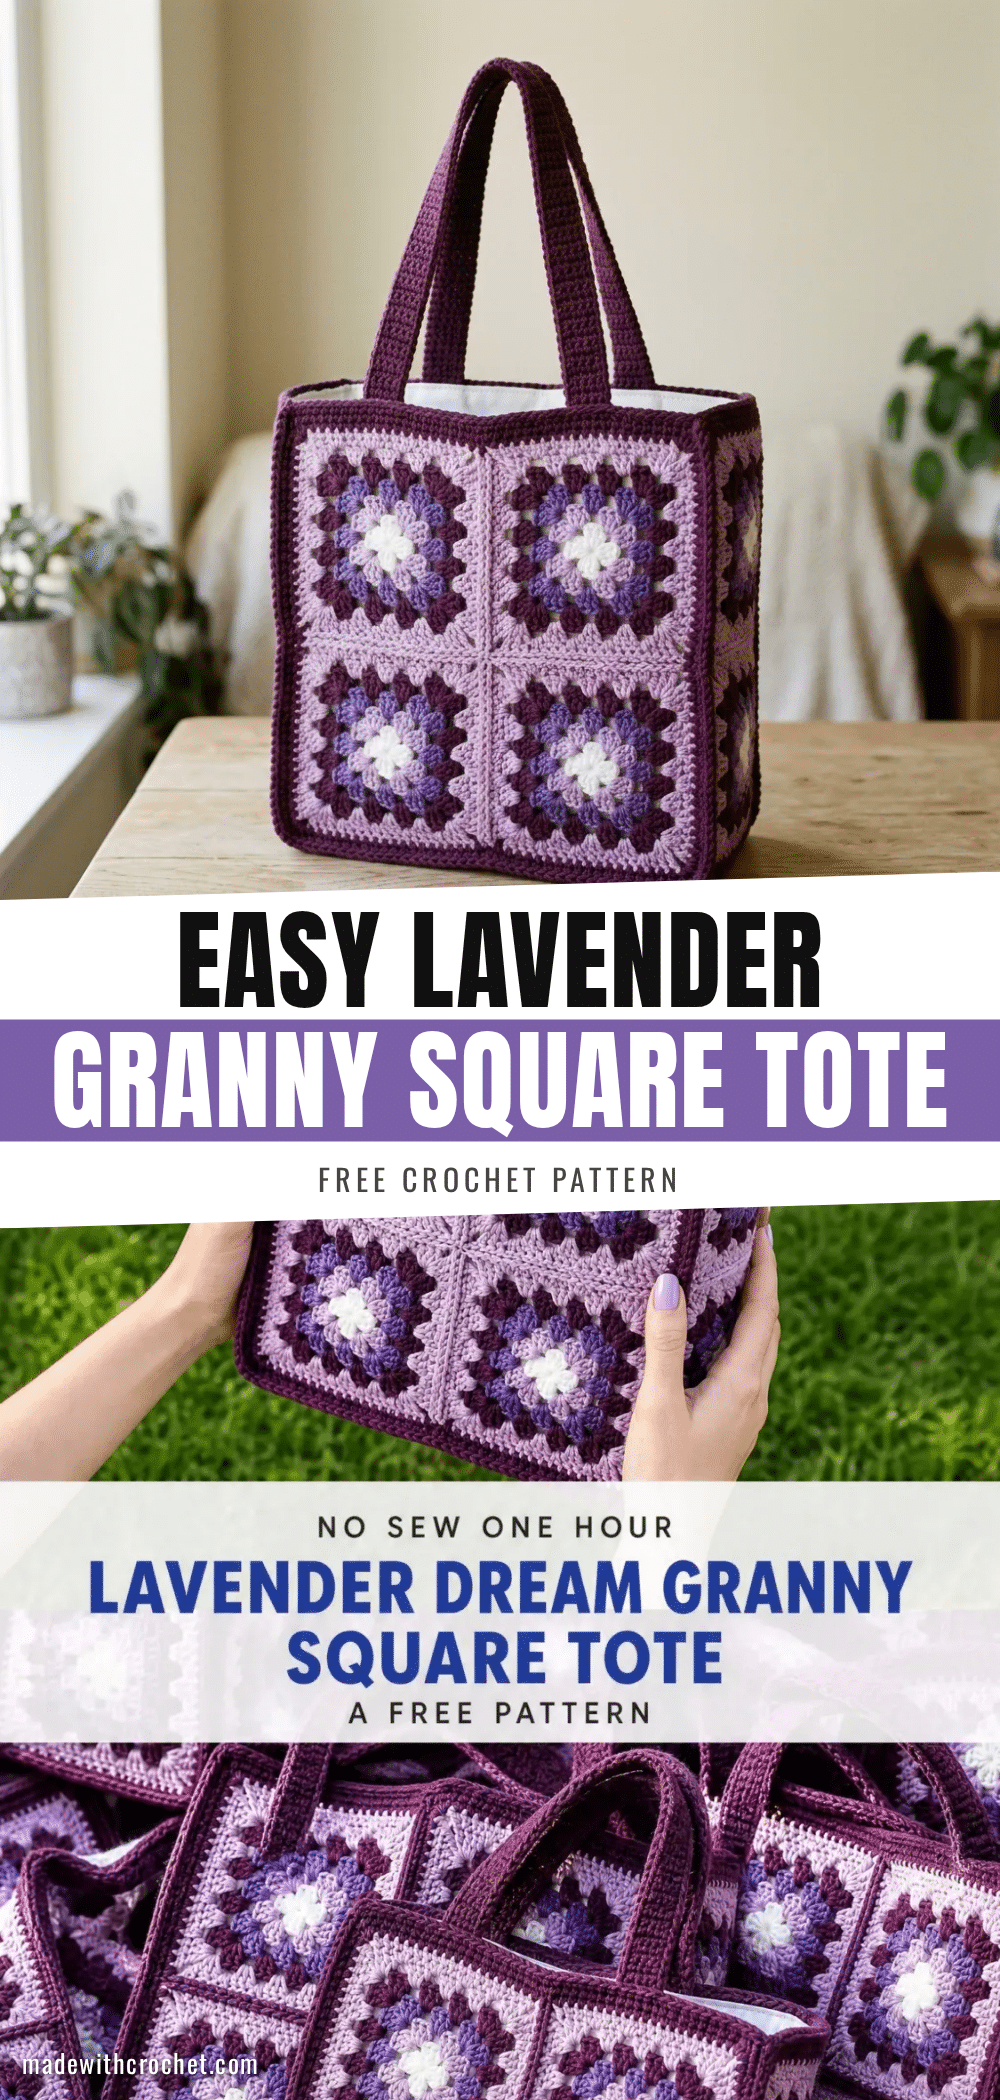
I remember the exact moment I chose the yarn for this bag. I was standing in my stash, holding a skein of deep plum cotton next to a soft lilac, and I just knew they were meant to be together. The way the cool lavender and warm periwinkle played off each other felt intentional, like a color story waiting to be told. That decision turned a simple granny square project into something truly special.
Yarn and Color Notes
The palette in this pattern moves from a crisp white center through soft purples to a deep plum border. This gradient creates a professional, cohesive look that feels both modern and timeless. If you want to customize, try a monochrome scheme in your favorite color or a bright rainbow for a playful twist. The key is using smooth, plied cotton yarns that hold their shape and show off the stitch definition.
Project Overview
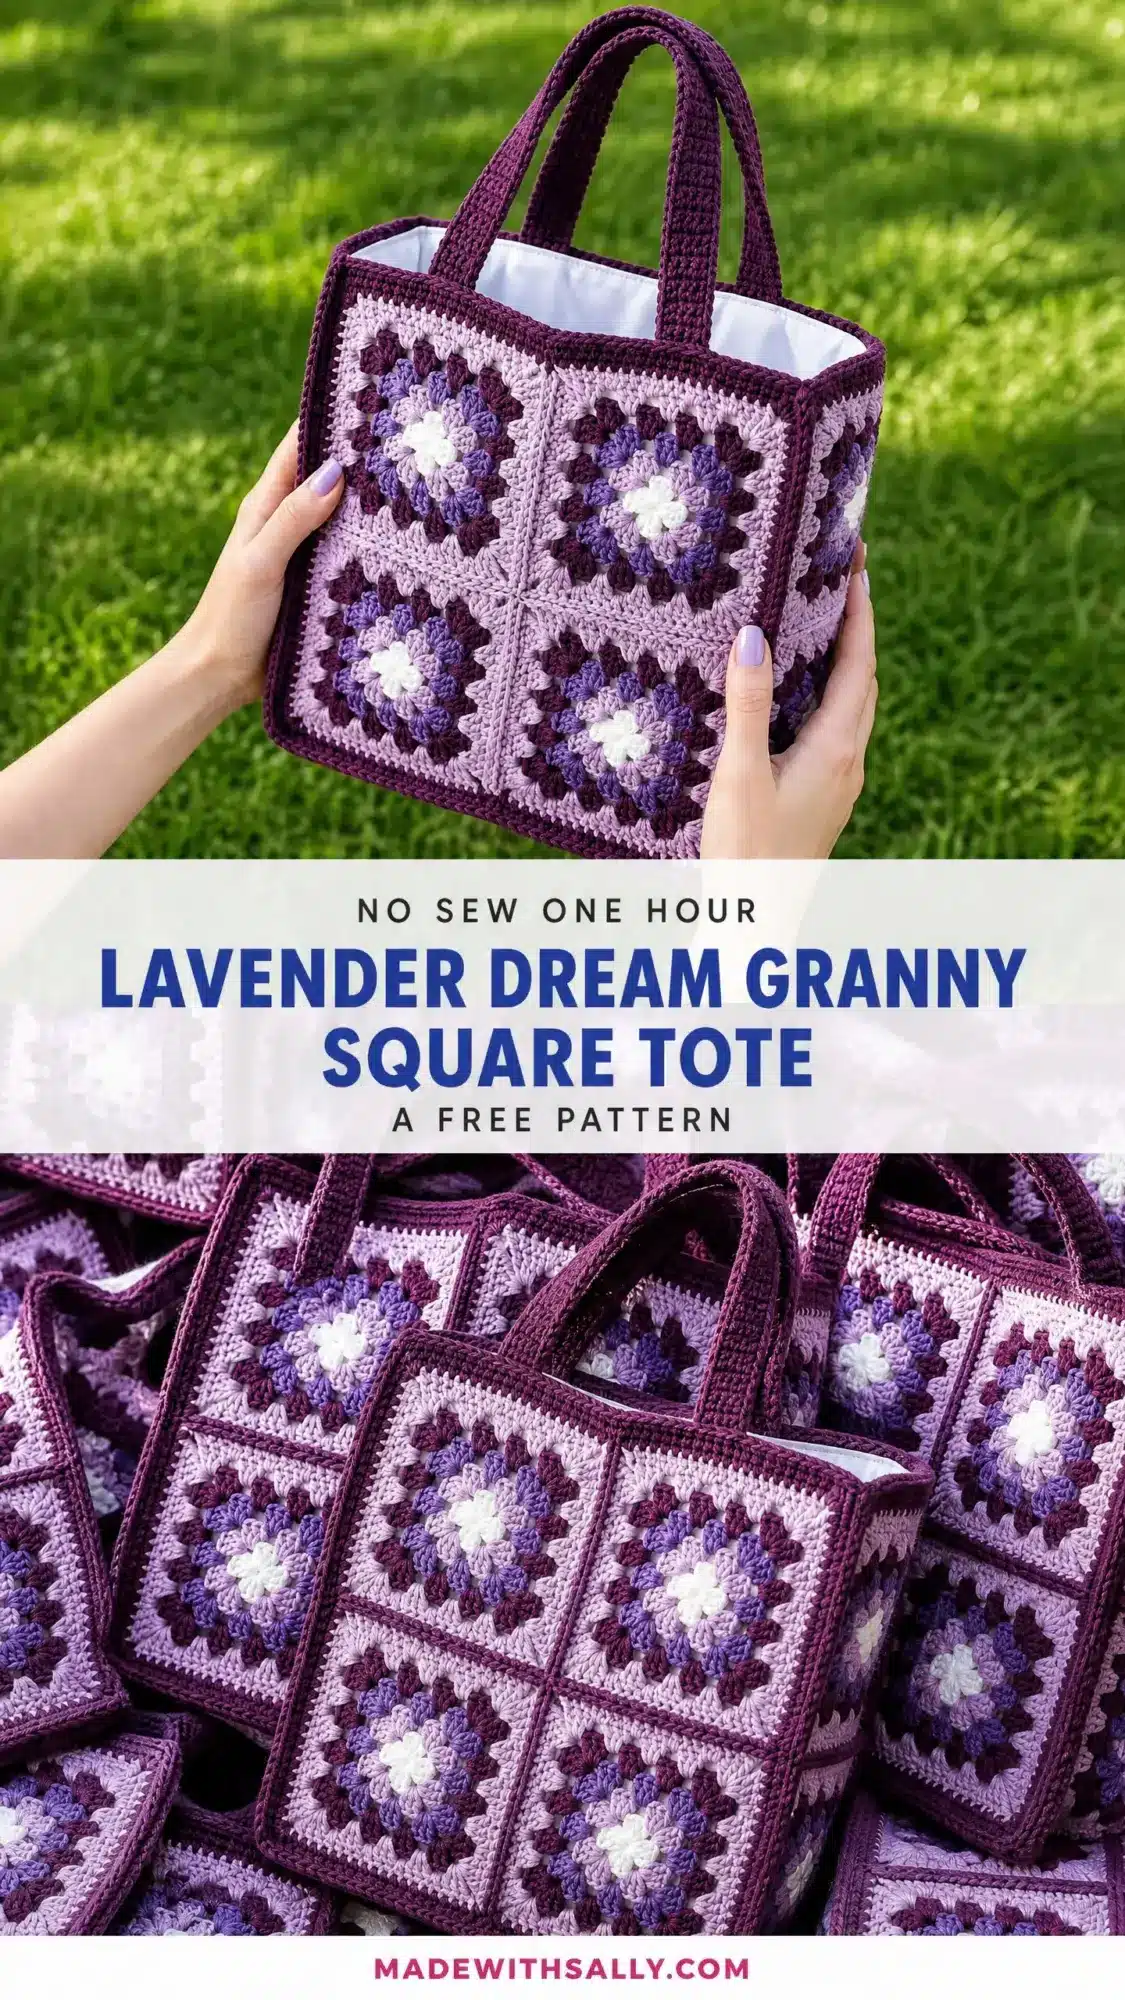
This Lavender Dream Granny Square Tote is a sturdy, beautiful bag that actually holds its shape. Built from twelve classic granny squares in a gorgeous purple palette, it works up into a structured box shape perfect for farmers market trips, library runs, or carrying your current project to a friend’s house. The construction uses basic granny squares joined together with a solid double crochet base panel. If you have made granny squares before, you already know most of what you need. The assembly is methodical and satisfying, and the fabric lining inside gives the finished bag real durability.
Materials
- Yarn: Worsted weight cotton or cotton blend yarn in five colors. You will need approximately:
- Color A (Deep Plum): 320 yards for the border, handles, base, and joining
- Color B (Soft Pink-Lilac): 210 yards for the outer granny round
- Color C (Medium Lavender): 130 yards for the middle granny round
- Color D (Periwinkle Purple): 100 yards for the inner granny round
- Color E (White or Cream): 50 yards for the granny centers
- Hook: US Size J/10 (6.0 mm) crochet hook
- Notions: Yarn needle for weaving ends and seaming, scissors, straight pins or locking stitch markers, 0.75 yard of cotton lining fabric in white or coordinating color, matching thread and hand sewing needle or sewing machine, iron and pressing cloth for blocking
Yarn Suggestions
I recommend Lion Brand 24/7 Cotton in Plum, Lavender, Periwinkle, Lilac, and White. This mercerized cotton holds its structure beautifully and has a lovely sheen. Paintbox Yarns Cotton DK or WeCrochet Dishie also work wonderfully. Avoid fuzzy or stretchy yarns. They obscure the granny square texture and cause the bag to lose its crisp box shape. Smooth, plied cotton is your friend here.
Gauge and Finished Size
- Gauge: One completed granny square equals 6.25 inches (16 cm) square after blocking.
- Finished Dimensions: Approximately 13 inches wide by 13 inches tall by 4.5 inches deep, excluding handles. Handles rise approximately 10 inches above the top edge.
Gauge matters for this project because all twelve squares need to match each other perfectly. Please swatch before starting.
Skill Level
This is an intermediate level crochet pattern. You should be comfortable with working granny squares in joined rounds, changing yarn colors, and basic seaming. If you have completed two or three smaller projects and can read round by round instructions, you will succeed here.
Time Estimate: Plan for 20 to 28 hours total. That breaks down to roughly 12 to 15 hours for the granny squares, 3 to 4 hours for joining and seaming, 2 to 3 hours for the base panel, handles, and border, and 3 to 5 hours for the lining.
Abbreviations
- ch = chain
- sl st = slip stitch
- sc = single crochet
- dc = double crochet
- sp = space
- ch-3 sp = chain 3 space
- ch-2 sp = chain 2 space
- sk = skip
- st(s) = stitch(es)
- RS = right side
- WS = wrong side
- yo = yarn over
Special Stitches Explained
- 3-dc Cluster (3-dc cl): Yarn over, insert hook into indicated space, yarn over, pull up a loop, yarn over, draw through 2 loops (2 loops remain). Repeat this sequence two more times in the same space (4 loops on hook). Yarn over and draw through all 4 loops. One cluster complete.
- Granny Corner Shell: Work (3-dc cl, ch 3, 3-dc cl) all into the same corner ch-3 space. This creates one corner of your granny square.
- Granny Cluster Shell: Work (3-dc cl, ch 2, 3-dc cl) all into the same ch-2 space. This creates one side unit of your granny square.
Pattern Instructions
Section 1: Granny Squares (Make 12)
You will make 12 identical squares. Each square has 4 rounds plus an edging round. Work Rounds 1 through 4 in Colors E, D, C, and B respectively. The final edging round uses Color A.
Round 1 (Color E): Make a magic ring (or ch 4 and join with sl st to form a ring). Ch 3 (counts as first dc of first cluster throughout). Work 2 more dc into the ring to complete the first 3-dc cl. Ch 3. [Work a 3-dc cl into the ring, ch 3] 3 times. Join with sl st to top of beginning ch-3. (4 clusters, 4 ch-3 corner spaces) Fasten off Color E.
Round 2 (Color D): Join Color D with a slip knot into any ch-3 corner space. Ch 3, work 2 dc into same corner sp to complete first 3-dc cl. Ch 3. Work a 3-dc cl into same corner sp. (First corner complete.) Ch 2. [Work a Granny Corner Shell (3-dc cl, ch 3, 3-dc cl) into next ch-3 corner sp. Ch 2.] Rep 3 more times. Join with sl st to top of beginning ch-3. (8 clusters total) Fasten off Color D.
Round 3 (Color C): Join Color C with a slip knot into any ch-3 corner space. Ch 3, work 2 dc into same corner sp to complete first 3-dc cl. Ch 3. Work a 3-dc cl into same corner sp. Ch 2. Work a Granny Cluster Shell (3-dc cl, ch 2, 3-dc cl) into the ch-2 side space from Round 2. Ch 2. [Work a Granny Corner Shell into next ch-3 corner sp. Ch 2. Work a Granny Cluster Shell into next ch-2 side sp. Ch 2.] Rep 3 more times. Join with sl st to top of beginning ch-3. (16 clusters total) Fasten off Color C.
Checkpoint: After Round 3, each square should show three distinct color rings around the white center.
Round 4 (Color B): Join Color B with a slip knot into any ch-3 corner space. Ch 3, work 2 dc into same corner sp to complete first 3-dc cl. Ch 3. Work a 3-dc cl into same corner sp. Ch 2. [Work a Granny Cluster Shell into next ch-2 sp. Ch 2.] 2 times. [Work a Granny Corner Shell into next ch-3 corner sp. Ch 2. [Work a Granny Cluster Shell into next ch-2 sp. Ch 2.] 2 times.] Rep 3 more times. Join with sl st to top of beginning ch-3. (24 clusters total) Fasten off Color B.
Edging Round (Color A): Join Color A with a slip knot into any ch-3 corner space. Ch 3, work 2 dc into same corner sp to complete first 3-dc cl. Ch 3. Work a 3-dc cl into same corner sp. Ch 1. [Work a Granny Cluster Shell into next ch-2 sp. Ch 1.] 3 times. [Work a Granny Corner Shell into next ch-3 corner sp. Ch 1. [Work a Granny Cluster Shell into next ch-2 sp. Ch 1.] 3 times.] Rep 3 more times. Join with sl st to top of beginning ch-3. (32 clusters total) Fasten off Color A.
Weave in all ends. Block each square to 6.25 inches (16 cm) square before joining.
Section 2: Joining Squares Into Panels
Arrange your squares into panels:
- Front and Back Panels: 4 squares each in a 2×2 arrangement
- Side Panels: 2 squares each stacked vertically
Joining Method: Hold two squares with RS together (WS facing out). Using Color A, work sl st through both corresponding ch-1 spaces and cluster tops along the entire shared edge. Work 1 sl st through each space and stitch. At corners, work 1 sl st through both corner ch-3 spaces together.
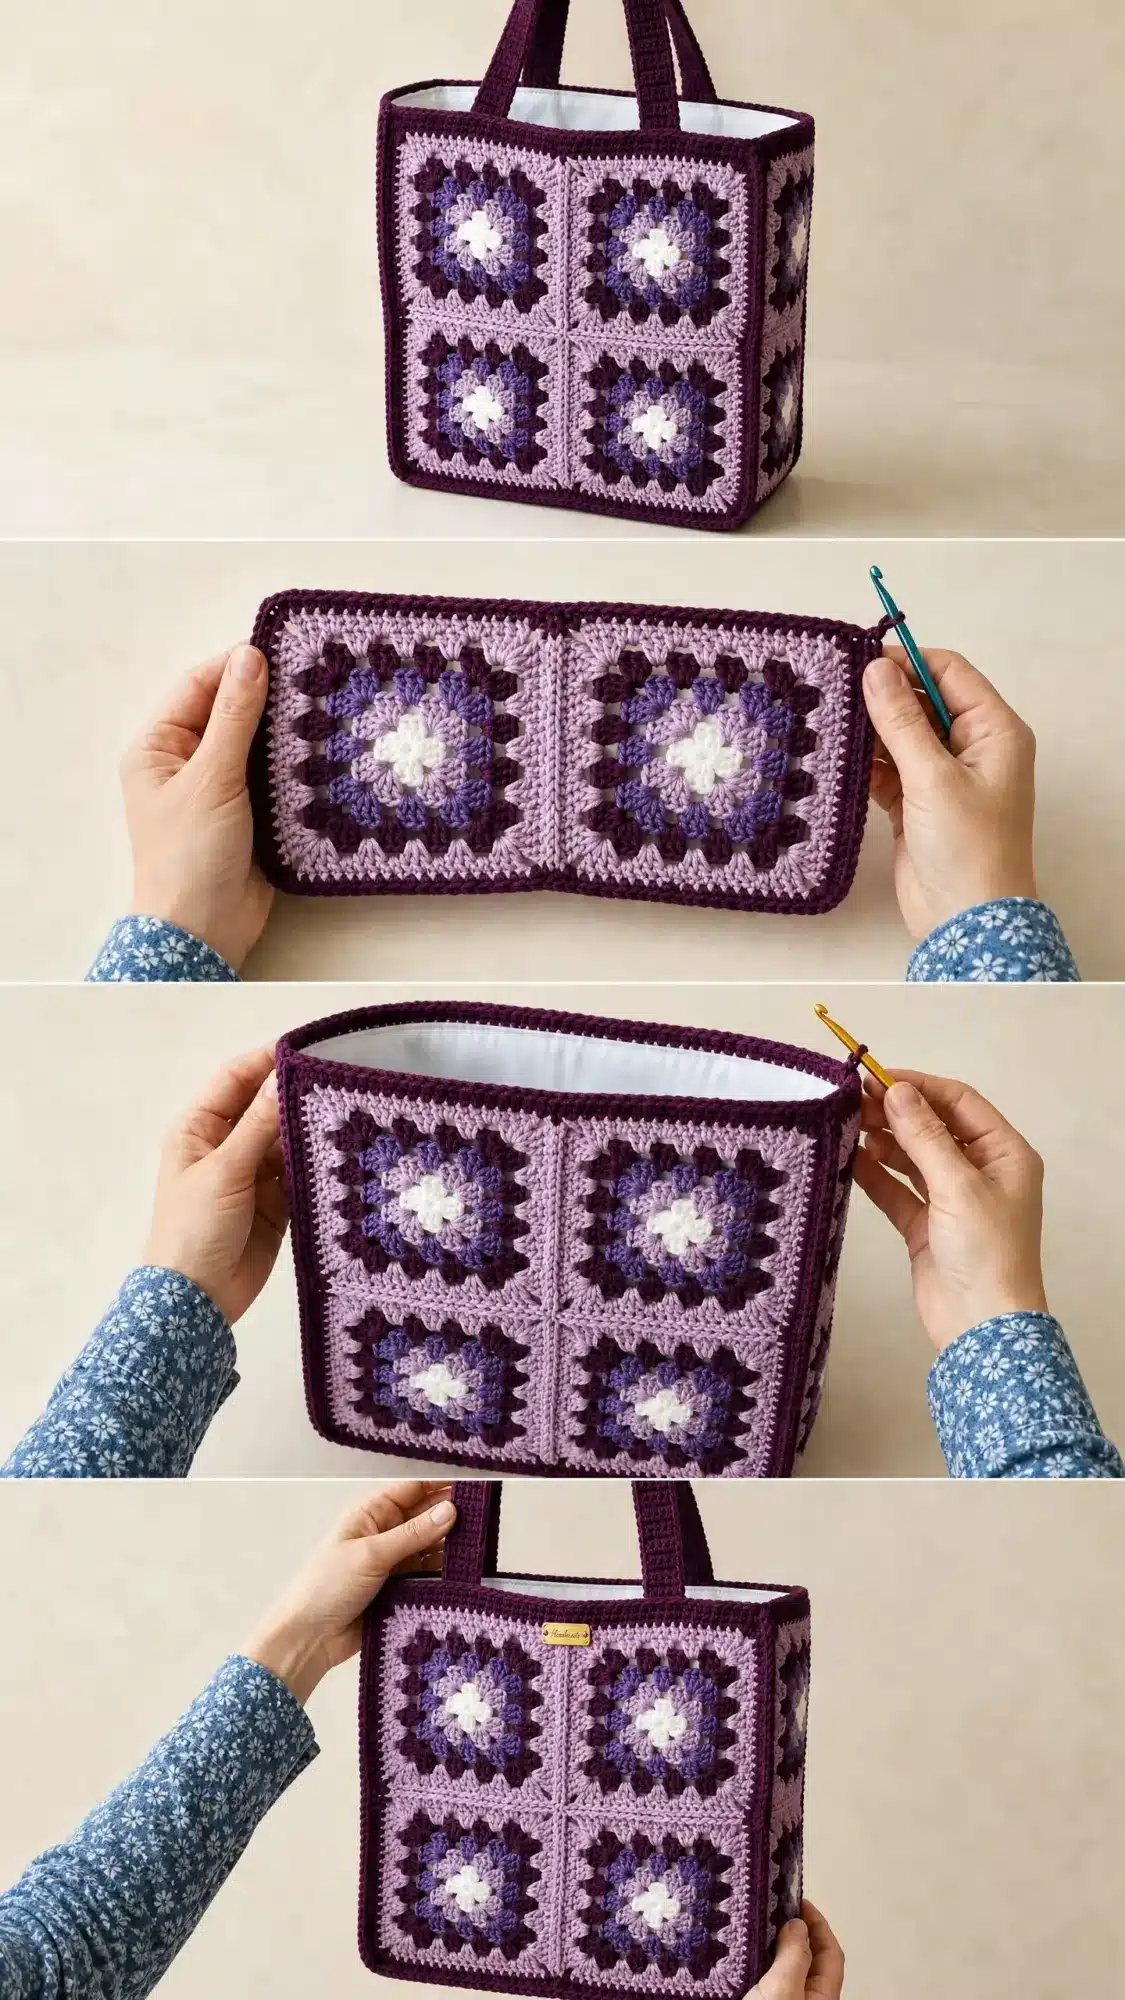
For each 2×2 panel, join the top row horizontally first, then the bottom row, then join the two rows together along their shared horizontal edge. After seaming, turn panels right side out. The seam should sit flat and nearly invisible.
Section 3: Base Panel
The base provides structure and stability.
Foundation Chain: With Color A, ch 47.
Row 1 (RS): Dc in 4th ch from hook (ch 3 counts as first dc) and in each ch across. (45 dc) Turn.
Rows 2 through 7: Ch 3, turn. Dc in each dc across, working in top 2 loops. (45 dc each row)
Base Panel Edging Round: Ch 1, do not turn. Work 1 sc in each dc across the top edge (45 sc). At corner, work 3 sc. Work 1 sc in end of each row down the side (7 sc). At corner, work 3 sc. Work 1 sc in each foundation chain across the bottom (45 sc). At corner, work 3 sc. Work 1 sc in end of each row up the other side (7 sc). At corner, work 3 sc. Join with sl st to first sc. (116 sc total)
Fasten off. Block to 13 inches by 4.5 inches.
Section 4: Assembling the Bag Shell
Using Color A, whip stitch the front panel, back panel, and side panels to the base panel. Then whip stitch the side seams together, matching the squares carefully.
Section 5: Top Border
With Color A, work 1 round of sc around the top opening, working 1 sc in each stitch and 3 sc at each corner. Join with sl st. Then work 2 more rounds of sc. Fasten off.
Section 6: Handles (Make 2)
Foundation Chain: With Color A, ch 73.
Row 1: Dc in 4th ch from hook and in each ch across. (71 dc) Turn.
Rows 2 through 4: Ch 3, turn. Dc in each dc across. (71 dc each row)
Work 1 round of sc edging around the entire handle strip, working 3 sc at each corner. Fasten off.
Fold handle in half lengthwise. Whip stitch the two long edges together to form a double thickness strap.
Attachment: Position handles centered on front and back panels, with ends spaced 4 inches apart and overlapping the top border by 1.5 inches. Sew securely using a box stitch pattern for durability.
Blocking and Care Instructions
Wet block all squares before joining. Pin to 6.25 inches square and dry completely.
For care, hand wash in cool water with gentle detergent. Do not wring. Roll in towel, reshape, and dry flat stuffed with a towel. Do not tumble dry or hang.
Tips
- Weave in ends as you go to save time at the end.
- Use stitch markers to keep track of your place in the pattern.
- Blocking is essential for a professional finish. Do not skip it.
- When sewing in the lining, use a whip stitch and take small, even stitches for a clean look.
FAQs
Can I use a different yarn weight?
This pattern is designed for worsted weight cotton. Using a different weight will change the gauge and finished size. If you substitute, you will need to make a gauge swatch and adjust hook size accordingly.
How do I make the bag bigger or smaller?
You can add more rounds to each granny square to make them larger, or use fewer rounds for smaller squares. Adjust the base panel and handle length to match the new square size.
Do I have to line the bag?
Lining is recommended for durability and to prevent items from slipping through the granny square gaps. It also gives the bag a professional finish.
Can I use acrylic yarn instead of cotton?
Cotton is preferred for its structure and stitch definition. Acrylic may not hold the bag’s shape as well. If you use acrylic, choose a smooth, non-fuzzy variety and block carefully.
How do I keep the handles from stretching?
The double thickness and box stitch attachment help prevent stretching. Using a non-stretchy cotton yarn also helps. Avoid overloading the bag.
What if my squares are not all the same size?
Blocking is the solution. Pin each square to exactly 6.25 inches and let them dry completely. If they are still uneven, check your tension and consider redoing any squares that are significantly off.
Pin This Crochet Pattern!