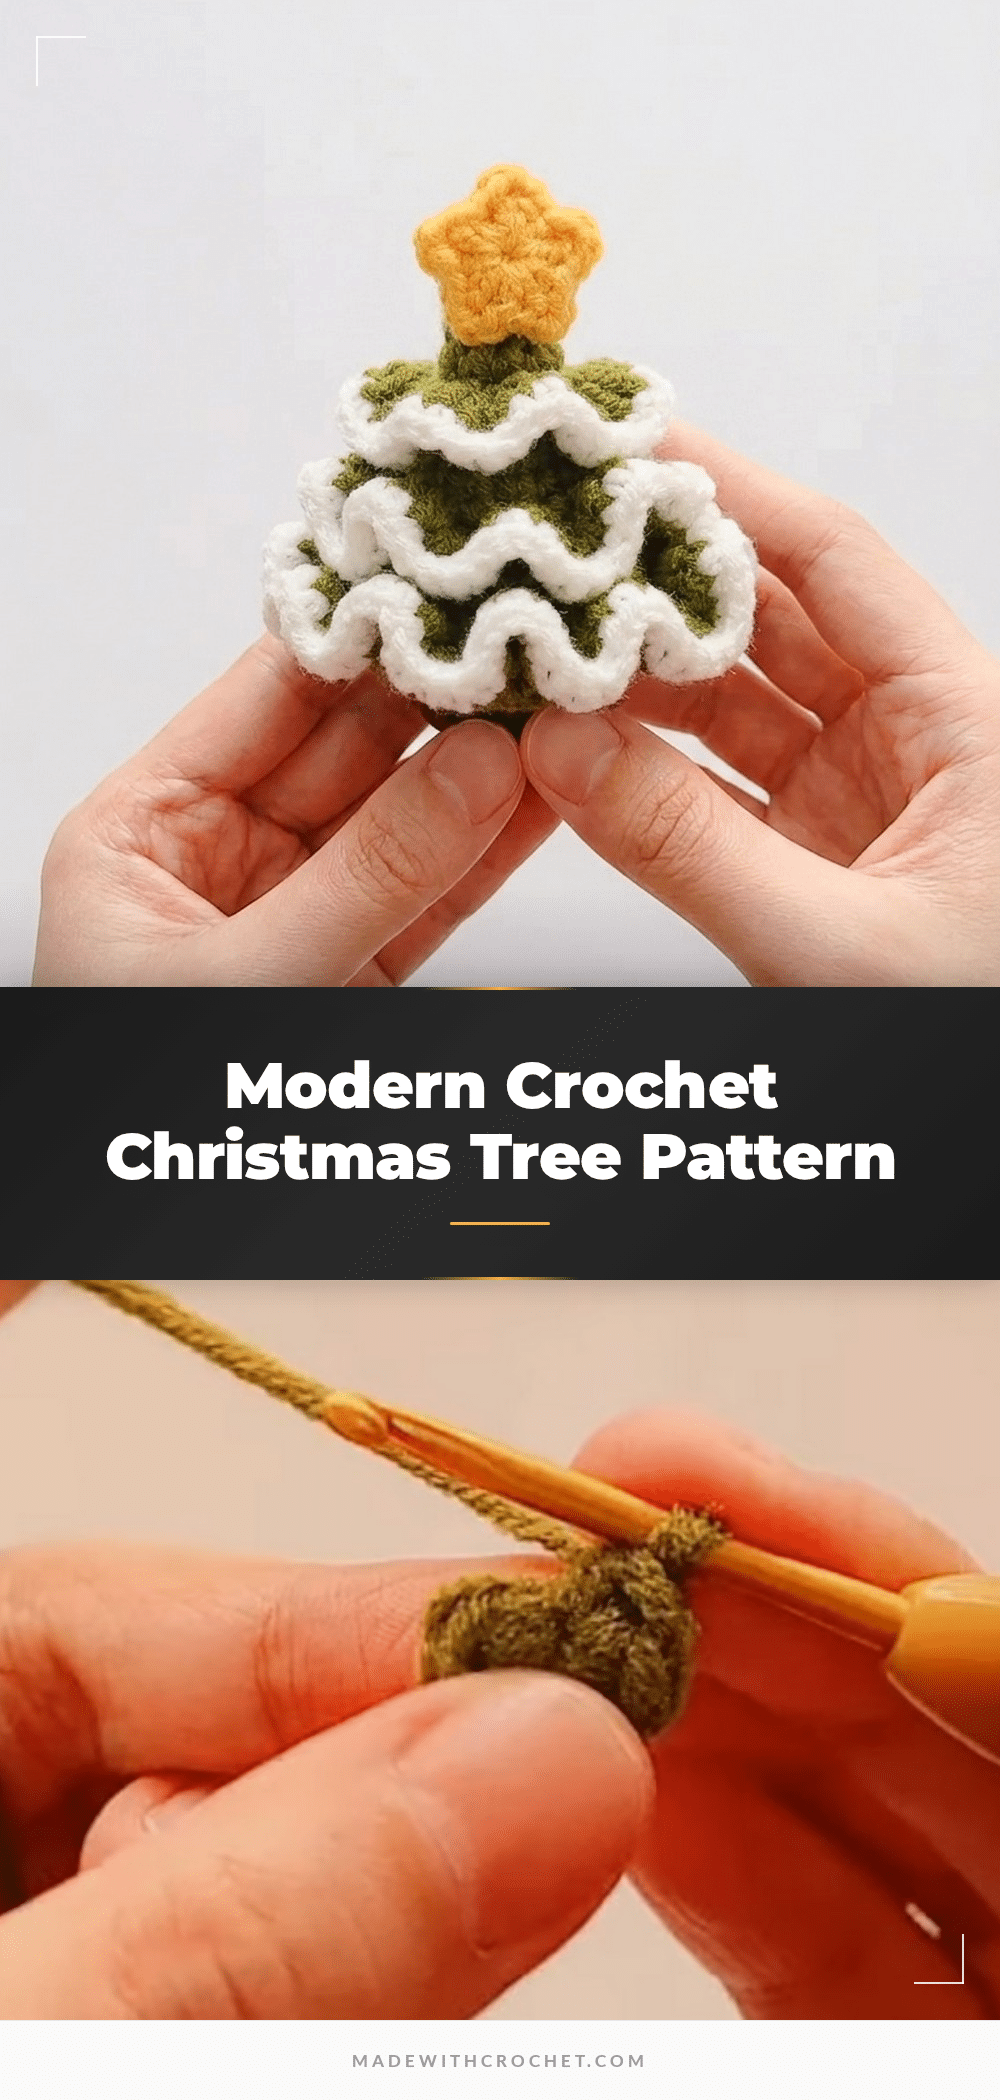
There’s something magical about pulling a skein of forest-green yarn from your stash and knowing it’s destined to become a tiny Christmas tree. I chose a soft, matte cotton blend in a deep evergreen shade—not too shiny, not too dull—because I wanted the texture of the stitches to mimic real pine needles. A little pop of golden yellow for the star and a warm brown for the trunk made the whole project feel intentional, like a miniature woodland scene you could hold in your hand.
Yarn and Color Notes
This pattern shines when you let the yarn do the talking. A solid green with subtle tonal variation gives the tree a natural, layered look, while a bright, cheerful yellow for the star adds a festive focal point. The brown trunk grounds the piece, and if you choose to make a base, a contrasting color like cream or red can make the tree pop even more. Because the project is small, it’s a perfect opportunity to use up leftover yarn from other holiday makes.
Project Overview
This modern crochet Christmas tree pattern creates a classic mini tree, perfect for holiday decor, ornaments, or embellishing gift boxes. The tree features a textured trunk and leafy boughs, a charming star for the top, and a sturdy base. The step-by-step instructions ensure every detail is included for a delightful handmade decoration that can be cherished or gifted.
Materials
- Yarn: Green (tree and leaves), Brown (trunk), Yellow (star). Additional colors for base (optional).
- Crochet Hook: Size appropriate for yarn, generally 2.5–3.5 mm.
- Stuffing/Fiberfill: For filling tree and trunk.
- Scissors
- Yarn Needle: For sewing and weaving in ends.
- Stitch Marker: Optional but recommended.
Gauge and Finished Size
Gauge: Not crucial; ensure work is tight enough for stuffing to stay inside.
Finished Size: Tree Body Height: 5–7 cm (2–2.75″). Base Diameter: 3–5 cm (1.2–2″). Star Size: 1–1.5 cm (0.5″). Finished tree stands approx. 7–8 cm tall with a bushy leafy skirt and a golden star. All parts firmly attached and ends woven in for a professional look.
Skill Level
Beginner to Intermediate. Basic skills include working in the round, increasing, half double crochet, and assembly.
Abbreviations
- MR – Magic Ring (adjustable circle)
- ch – Chain
- sl st – Slip Stitch
- sc – Single Crochet
- hdc – Half Double Crochet
- st(s) – Stitch(es)
- inc – Increase (2 sc in same stitch)
Pattern Notes
- Stitch markers are useful for keeping track of rounds.
- Stuffing can be used to fill the tree and trunk for a plumper look.
- Yarn changes are essential for realism—switch between colors for tree, base, trunk, and star.
- Customize your tree with beads or sequins as ornaments if desired.
Pattern Instructions
Christmas Tree Body
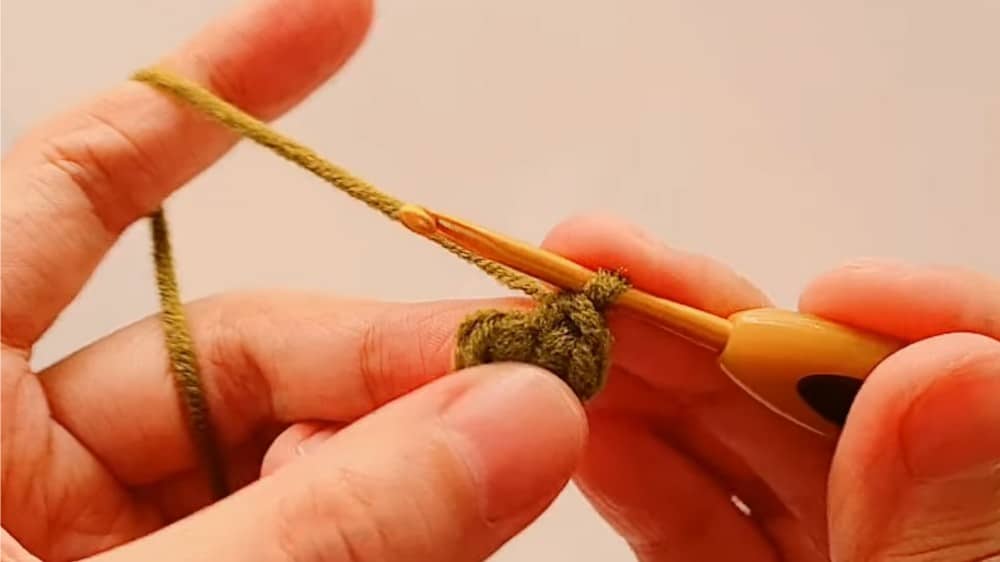
Round 1 (Base Circle): Make a magic ring. Work 6 sc into the ring. Join with a sl st to the first sc. Tighten ring.
Round 2: Work 6 sc (one in each stitch, no increases). Join with sl st.
Round 3: Ch 1, sc in the first st. In the second st, inc (2 sc in same st). Continue: (sc, inc) around; you’ll have 9 sc at round’s end. Join with sl st.
Round 4: Work 9 sc (no increases). Join with sl st.
Round 5: Ch 1, sc in first st, sc in second st, inc in third st (2 sc). Continue: (sc, sc, inc) around. At round’s end, have 12 sc. Join with sl st.
Round 6: Slip one st, work in the back loop only (for leaf attachment later). 12 sc, one in each st. Join with sl st.
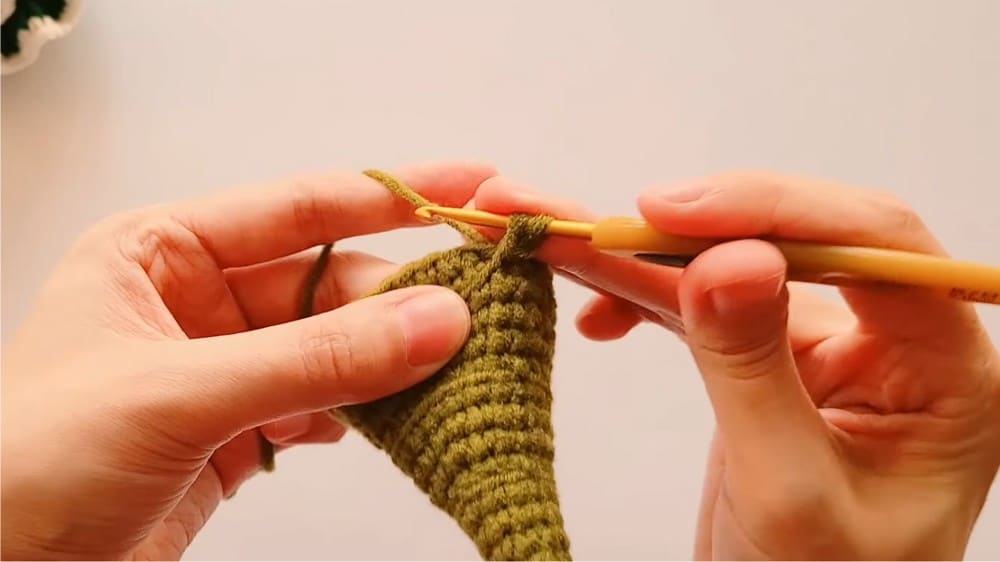
Rounds 7–15: Work 12 sc in the round; continue for a total of 15 rounds. This forms the main trunk and tree.
Leaves (Tree Boughs)
Round 1 of Leaves: Start in the remaining front loops from round 6 of the tree. Ch 1, then 3 hdc in each loop around. Complete the round and join.
Round 2 (Optional for bushier leaves): Switch yarn color if desired. Start at first stitch of previous round, chain 1. 1 sc in each stitch around for a neat finish. Join and fasten off.
Tree Base
Rounds 1–5: Start with magic ring, work 6 sc in ring. In each round, increase 6 stitches evenly. Rnd 2: 12 sc; Rnd 3: 18 sc; Rnd 4: 24 sc; Rnd 5: 30 sc. Join with sl st after each round. Base can be stuffed slightly or made flat.
Attachment: With yarn needle, sew base to bottom edge of tree body.
Tree Trunk (Stump)
Rounds 1–3: Magic ring, work 6 sc in ring. Increase by 6 sc each round: Rnd 2: 12 sc; Rnd 3: 18 sc. Join with sl st after each round.
Rounds 4–7: Work 18 sc in each round, no increases. Join with sl st. Lightly stuff trunk for firmness.
Attachment: Sew trunk to center of tree base.
Star Decoration
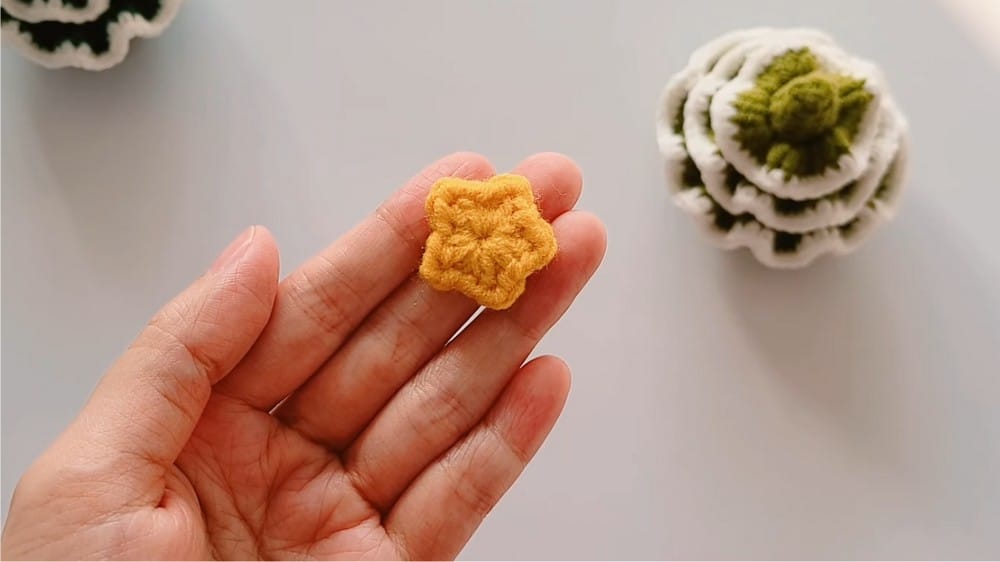
Round 1: Magic ring, work in the following pattern for each point: Sc, hdc into ring. Ch 2, hdc into ring. Repeat for each star point (typically 5 points). Join with sl st at end. Fasten off, leave tail for sewing.
Attachment: Sew or glue star to top of Christmas tree.
Assembly
- Stuff tree and trunk as needed for shape and firmness.
- Sew or glue all parts securely.
- Optional: Attach tree to lid of gift box or use as a standalone ornament.
- Add embellishments if desired.
Tips
- Keep your tension consistent, especially when working the tree body in the round, to ensure a straight, even shape.
- Use a stitch marker to mark the beginning of each round—it’s easy to lose count with so many rounds of 12 sc.
- When sewing the leaves, work slowly and attach them evenly around the tree for a balanced, full look.
- If your tree feels floppy, add a little more stuffing to the trunk and base for extra stability.
FAQs
Can I use a different yarn weight for this pattern?
Yes, but you will need to adjust your hook size accordingly. The finished size will change, so keep that in mind if you want the tree to match the given measurements.
How do I make the tree taller?
You can add more rounds to the tree body (Rounds 7–15) before attaching the leaves. Just continue working 12 sc in each round until you reach your desired height.
What if I don’t have a stitch marker?
A small piece of contrasting yarn or a paperclip works well as a temporary marker. Just place it at the beginning of each round.
Can I make the star larger?
Absolutely. For a bigger star, you can work two rounds instead of one, or use a thicker yarn and larger hook for the star only.
How do I attach the tree to a gift box lid?
Sew the base of the tree securely to the lid using a strong thread or yarn. You can also use a hot glue gun for a more permanent attachment.
Is this pattern suitable for a beginner?
Yes, with some basic knowledge of working in the round and increasing. The half double crochet stitch for the leaves is simple to learn, and the assembly is straightforward.
Pin This Crochet Pattern!