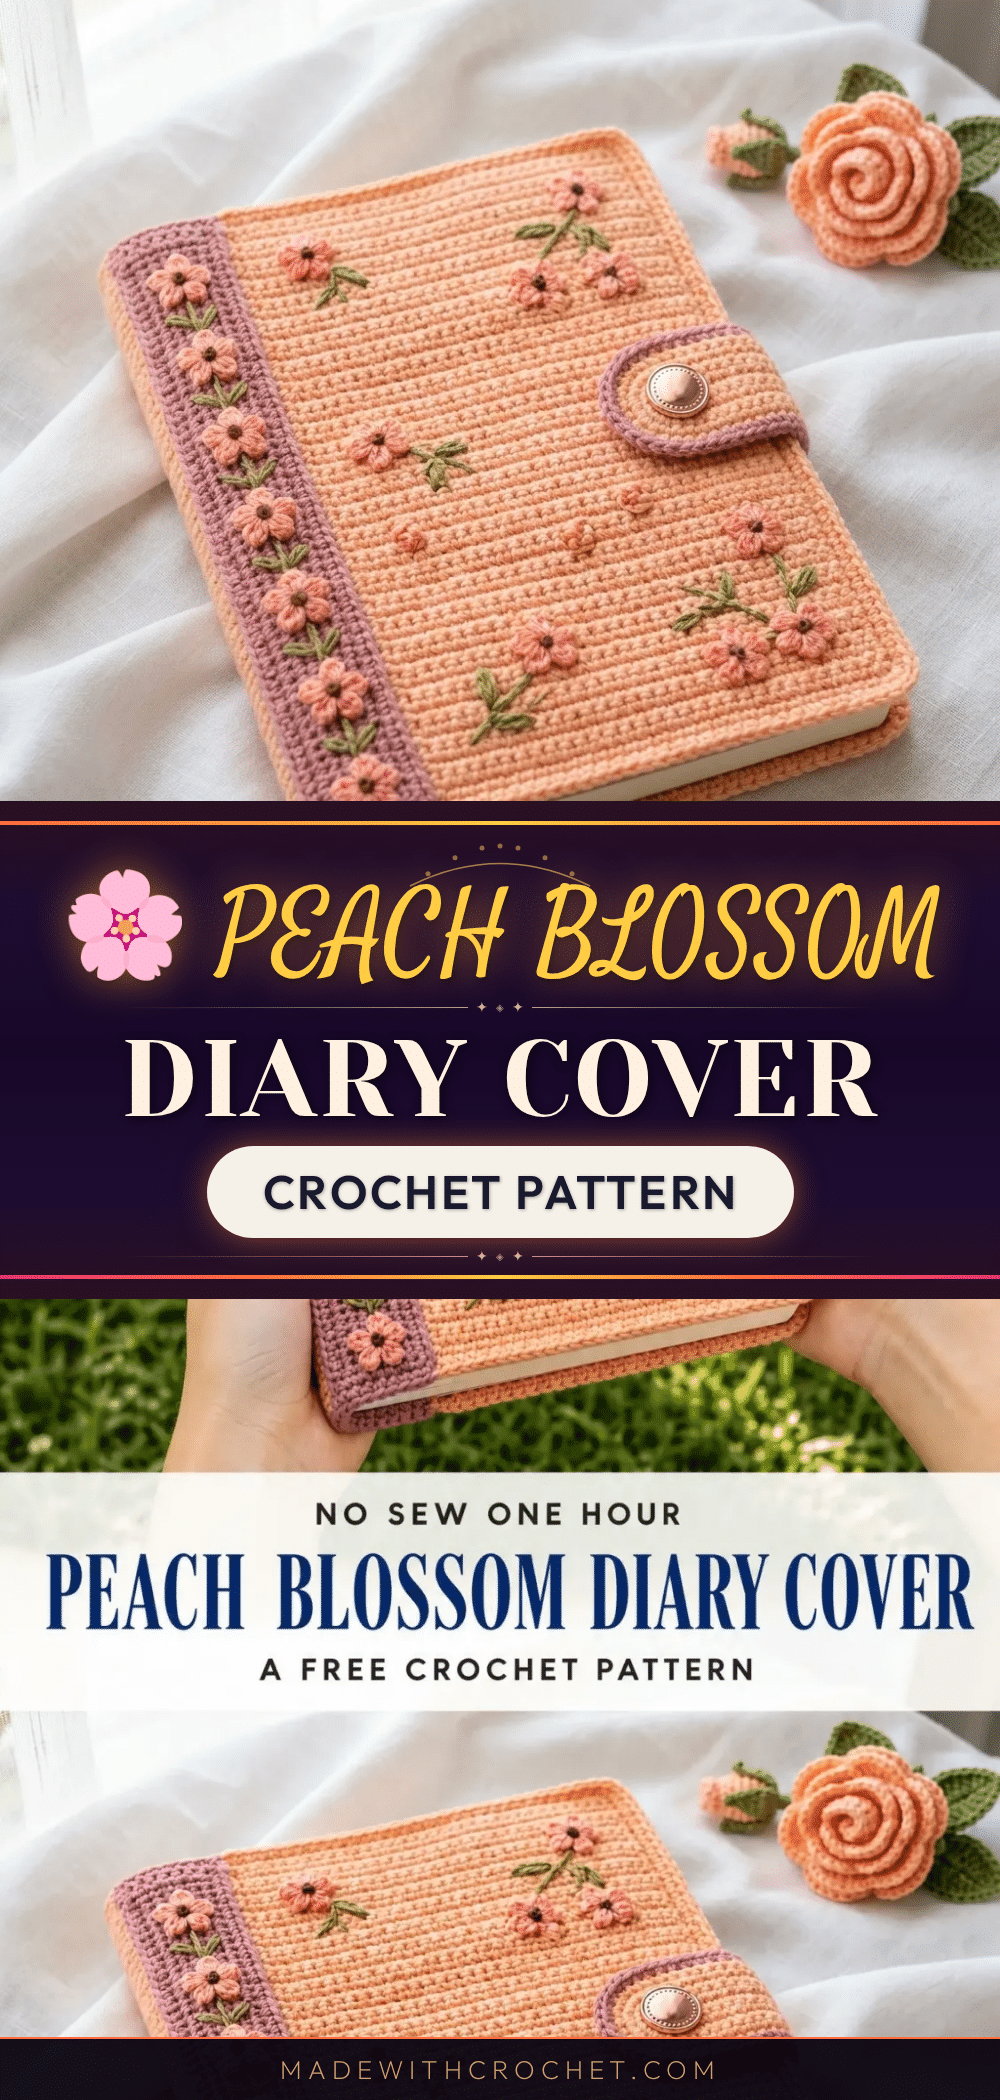
This Peach Blossom Diary Cover is the perfect project for anyone who loves combining crochet with practical handmade gifts. Whether you are looking for a thoughtful birthday present for a journal-loving friend, a beautiful item to sell at a craft market, or simply a special treat for your own desk, this cover delivers. It looks like a boutique find, but the construction is wonderfully straightforward, making it an achievable and satisfying project for an intermediate crocheter.
Gift and Use Ideas
This diary cover is a versatile gift that suits many occasions. It makes an excellent teacher appreciation gift, a thoughtful present for a graduate, or a lovely way to personalize a bullet journal for a friend. You can also create a set of covers in different colors for your own collection, swapping them out to match your mood or the season. The sturdy cotton fabric and beautiful floral details make it a piece you will be proud to give or keep.
Project Overview
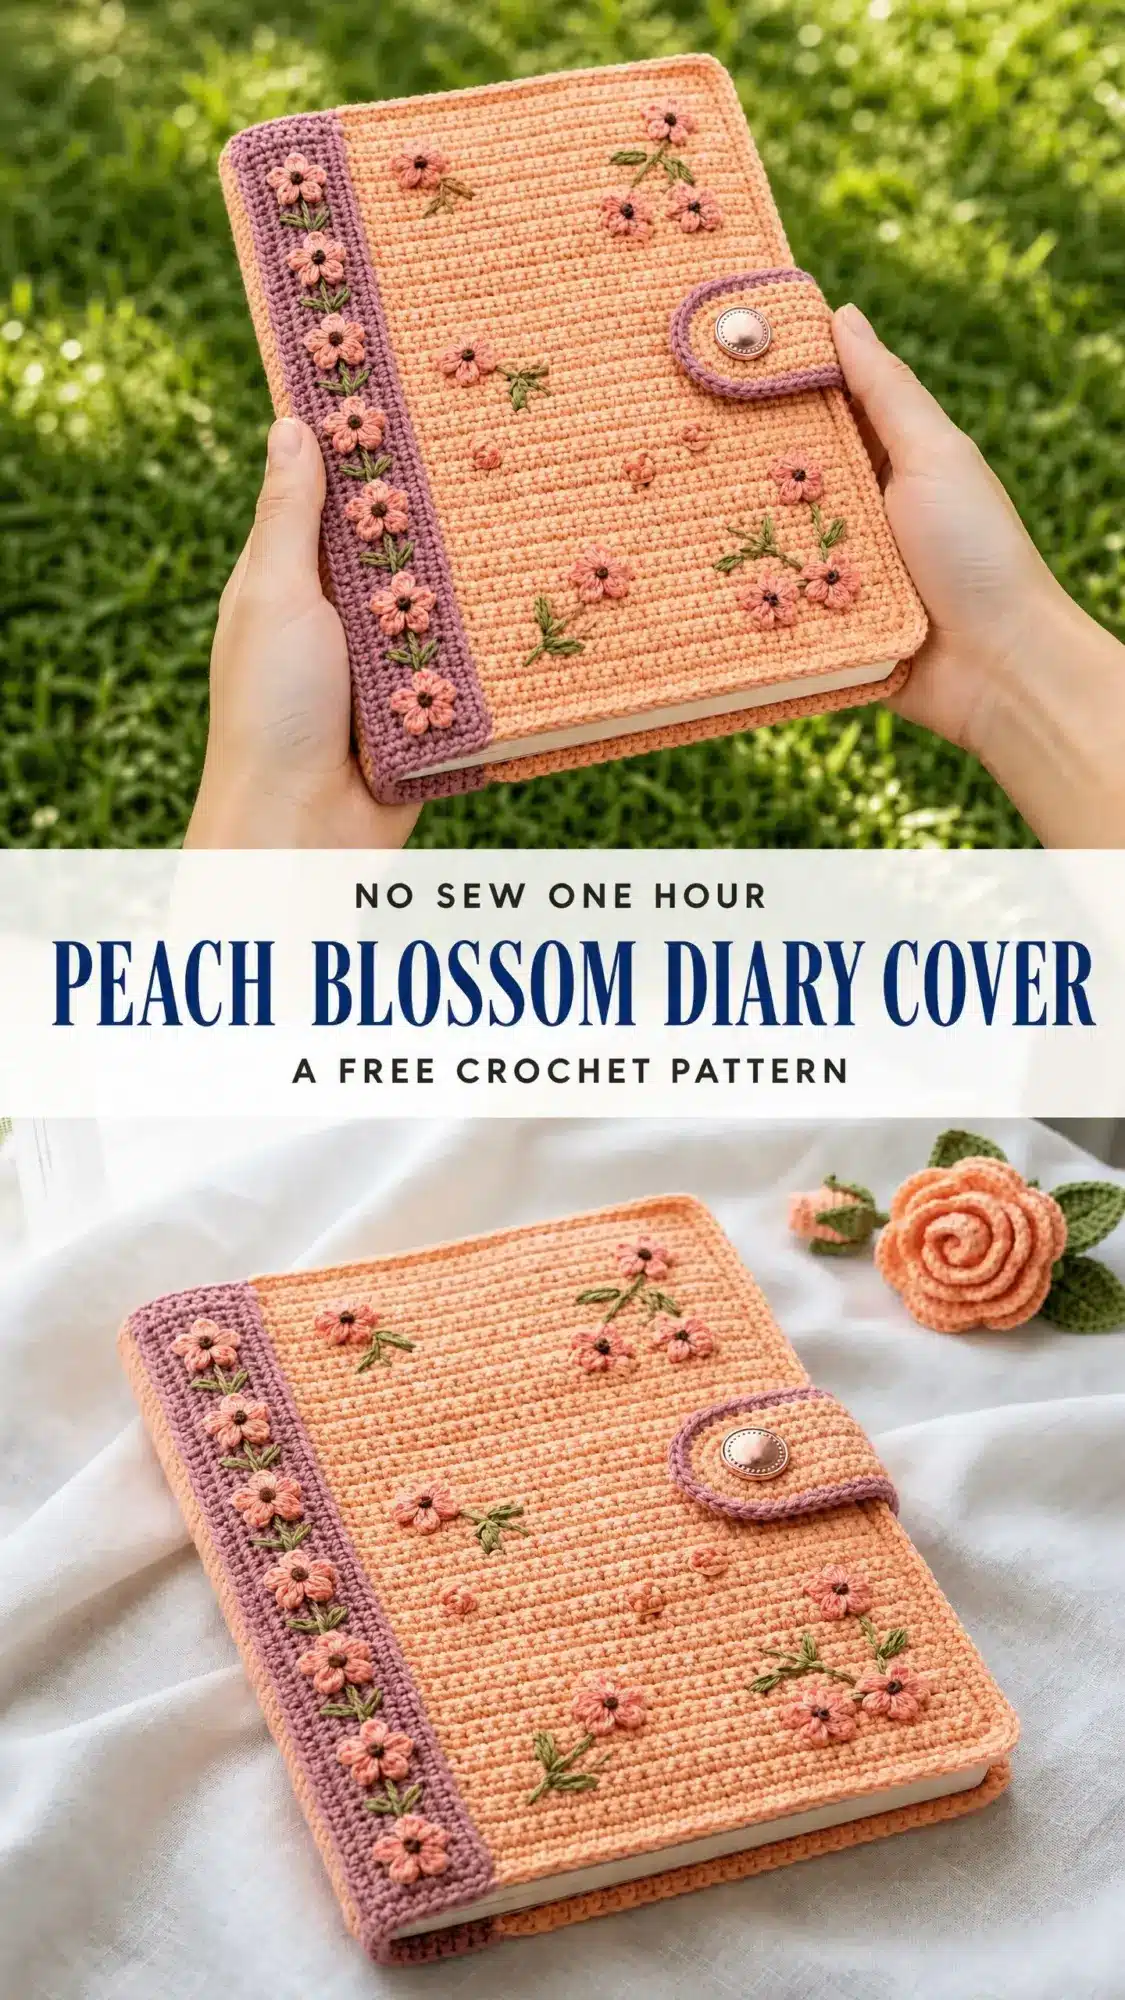
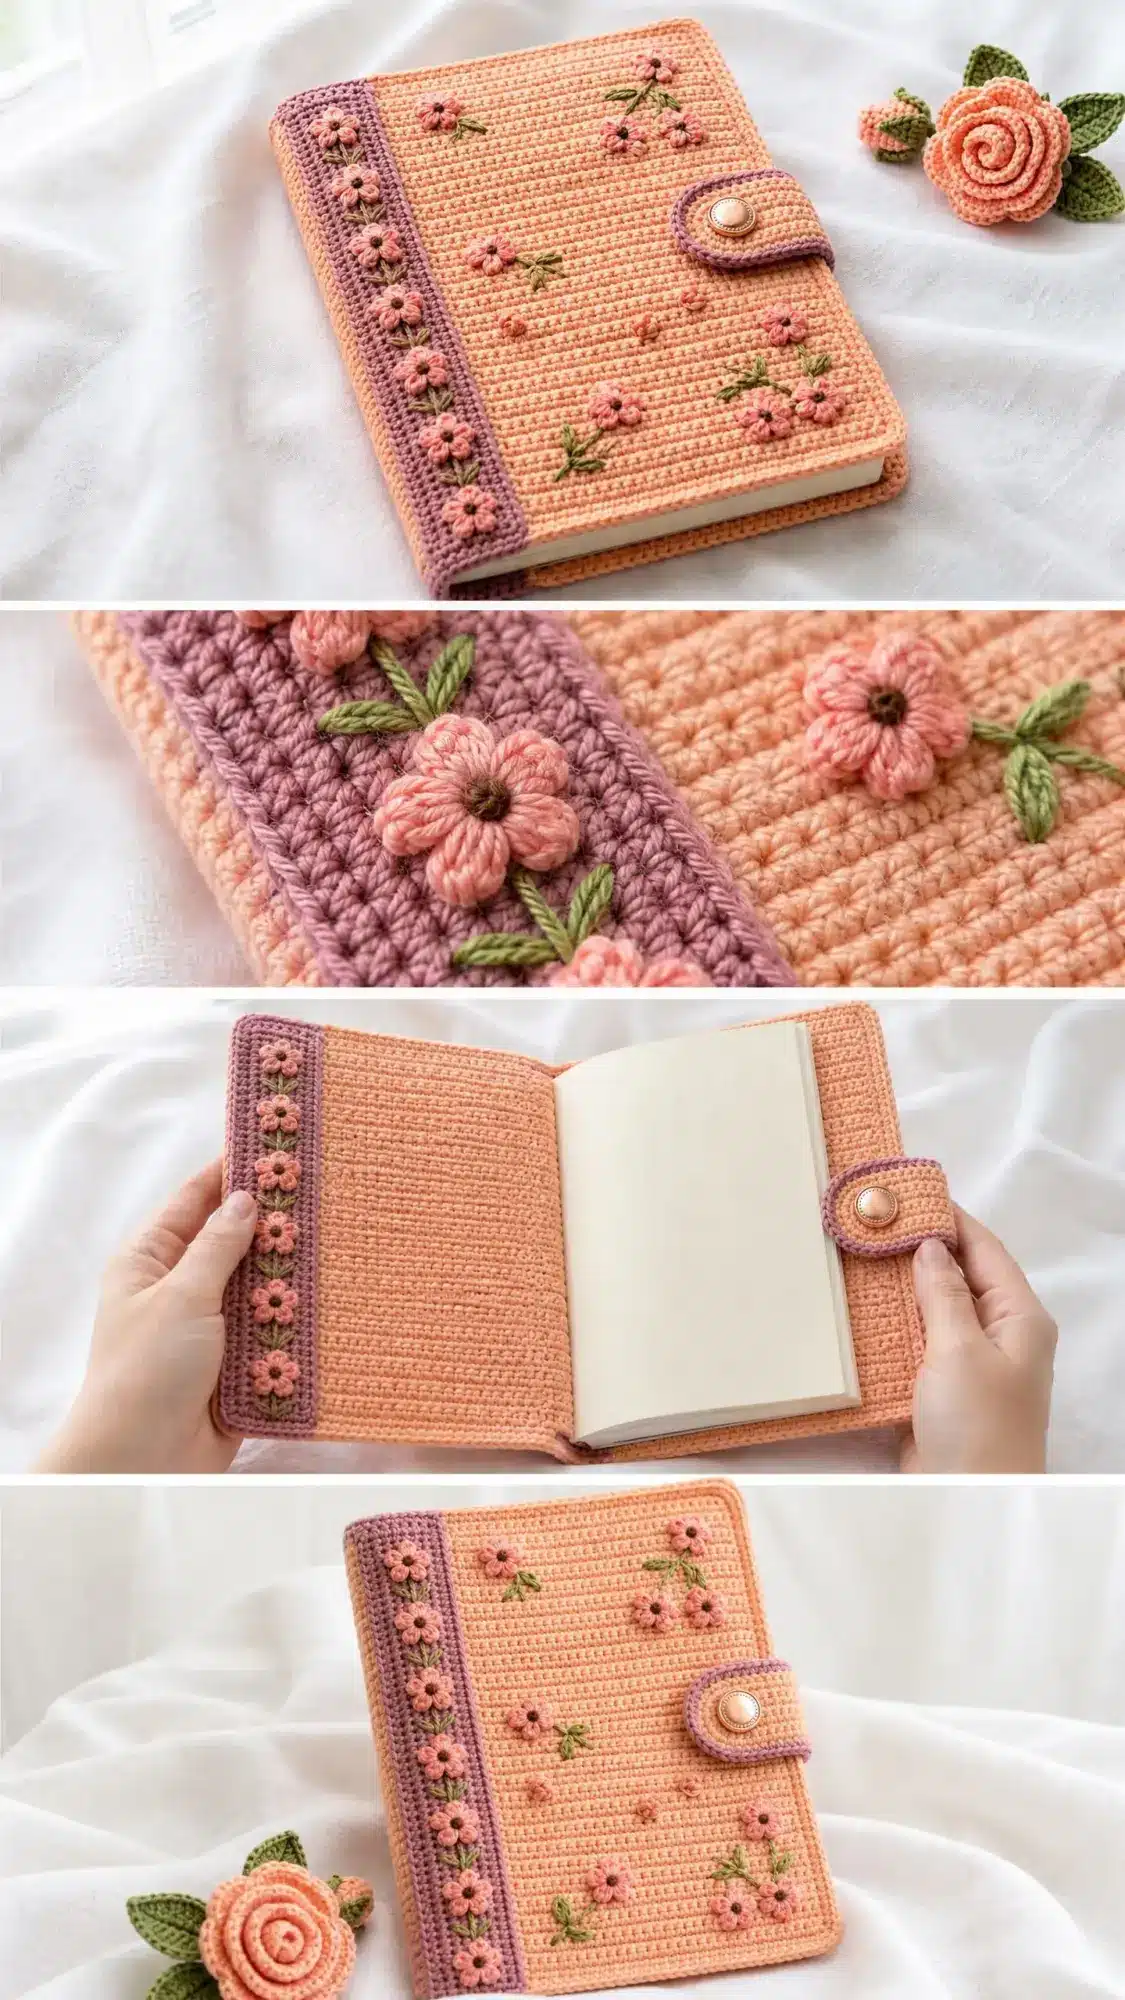
This pattern creates a snug, protective cover for a standard A5 notebook. The dense single crochet fabric, worked in the back loop only, produces a subtle horizontal ribbing that is both elegant and durable. The design is modular: you crochet two flat panels, seam them together, and then add the charming peach blossom appliques and embroidered details. The result is a polished, professional-looking cover that is surprisingly simple to make.
Materials
- Yarn:
- Main color (MC): Peach or apricot cotton yarn, approximately 200 yards (183 m)
- Contrast color A (CA): Dusty mauve or antique rose-purple cotton yarn, approximately 60 yards (55 m)
- Contrast color B (CB): Soft pink cotton yarn, approximately 40 yards (37 m) for flower appliques
- Contrast color C (CC): Medium sage green cotton yarn, approximately 20 yards (18 m) for stems and leaves
- Hooks:
- US size D-3 (3.25 mm) for main panels and border strip
- US size C-2 (2.75 mm) for flower appliques
- Notions:
- Tapestry needle for seaming and embroidery
- One magnetic snap set, 0.75 inch (18 mm) diameter, or one decorative shank button 0.75 inch (18 mm) diameter
- Scissors
- Stitch markers
- Straight pins for blocking and flower placement
- A5 notebook to check fit during construction
Gauge and Finished Size
Gauge
6 stitches and 7 rows = 1 inch (2.5 cm) in back-loop-only single crochet with MC and US D-3 hook, after blocking.
To make a gauge swatch: Chain 20. Work BLO sc across for 15 rows. Block flat. Measure the center 6 stitches by 7 rows. Adjust hook size if needed.
I know gauge swatches feel tedious, but please do not skip this step. The cover needs to fit snugly around your notebook. Too loose and it will slip around. Too tight and you will struggle to insert the notebook covers.
Finished Size
- Closed cover: approximately 6.25 inches wide by 8.5 inches tall (16 cm by 21.5 cm)
- Open cover (full width): approximately 13.5 inches wide by 8.5 inches tall (34 cm by 21.5 cm)
- Spine border strip: approximately 1 inch wide (2.5 cm) running the full height
These measurements fit a standard A5 notebook measuring approximately 5.8 inches by 8.3 inches (14.8 cm by 21 cm).
Skill Level
Intermediate. You should be comfortable with single crochet, working in back loops only, seaming panels together, and basic embroidery. Nothing here is genuinely difficult, but neatness and consistent tension matter for a polished result.
Time estimate: Approximately 8 to 12 hours total, including panels, flowers, embroidery, and finishing.
Abbreviations
- beg: beginning
- BLO: back loop only (insert your hook under just the back loop, the one farthest from you)
- ch: chain
- dc: double crochet
- hdc: half double crochet
- MC: main color
- CA: contrast color A (mauve)
- CB: contrast color B (pink)
- CC: contrast color C (green)
- rep: repeat
- rnd: round
- RS: right side
- sc: single crochet (insert hook, yarn over, pull up a loop, yarn over, pull through both loops)
- sc2tog: single crochet two together (a decrease where you combine two stitches into one)
- sk: skip
- sl st: slip stitch
- sp: space
- st(s): stitch(es)
- t-ch: turning chain
- WS: wrong side
- yo: yarn over
Pattern Notes
- Mark the right side of your work on Row 1 with a stitch marker. The RS shows clear horizontal ridges from the BLO technique.
- All turning chains are ch 1 and do not count as stitches. This keeps your edges neat and your stitch counts consistent.
- Block before seaming. Blocked panels are much easier to align and join evenly.
- If your cover feels slightly tight when inserting the notebook, block it a second time stretched over the closed notebook.
- Take your time with flower placement. Pin everything first and step back to look at the overall arrangement before sewing anything down.
Pattern Instructions
Back Panel
With MC and D-3 hook, chain 39.
- Row 1 (RS): Sc in 2nd ch from hook and in each ch across. Ch 1, turn. (38 sc)
- Row 2: BLO sc in each st across. Ch 1, turn. (38 sc)
- Rows 3 through 60: Repeat Row 2. Ch 1, turn at the end of each row. (38 sc each row)
After Row 60, do not turn. Fasten off and weave in ends.
Checkpoint: Your back panel should measure approximately 6.25 inches wide by 8.5 inches tall after light blocking. If it is significantly off, check your gauge.
Front Panel
With MC and D-3 hook, chain 39.
- Row 1 (RS): Sc in 2nd ch from hook and in each ch across. Ch 1, turn. (38 sc)
- Row 2: BLO sc in each st across. Ch 1, turn. (38 sc)
- Rows 3 through 60: Repeat Row 2. Ch 1, turn at the end of each row. (38 sc each row)
After Row 60, do not turn. Fasten off and weave in ends.
Block both panels before continuing. Cotton yarn loves a good blocking session and will even out beautifully.
Button Loop Tab
With CA and D-3 hook, chain 5.
- Row 1: Sc in 2nd ch from hook and in each ch across. Ch 1, turn. (4 sc)
- Row 2: BLO sc in each st across. Ch 1, turn. (4 sc)
- Rows 3 through 10: Repeat Row 2. Ch 1, turn. (4 sc each row)
Fasten off, leaving a 14-inch tail for sewing. Fold the tab in half widthwise to form a loop approximately 0.75 inch long. Pin the open raw ends together and set aside.
Assembling the Cover
Step 1: Align panels. Place the back panel flat with RS facing up. Place the front panel on top with RS also facing up (both right sides out). The two wrong sides face each other in the middle. Align all four edges precisely.
Step 2: Insert button tab. Position the folded button loop tab so its raw ends are sandwiched between the two panels at the right edge, centered at approximately 4.25 inches from the bottom edge. The loop extends outward to the right. Pin in place.
Step 3: Seam top edge. With CA and D-3 hook, working through both panels together, begin at the top right corner. Work a row of sl st through both layers across the top edge. (38 sl sts) Fasten off.
Step 4: Seam bottom edge. With CA and D-3 hook, working through both panels together, begin at the bottom right corner. Work a row of sl st through both layers across the bottom edge. (38 sl sts) Fasten off.
Tips
- For A6 notebooks (approximately 4.1 by 5.8 inches): Work each panel for 25 stitches across and 41 rows tall. Reduce the spine strip to 5 stitches across and 41 rows tall.
- For B5 journals (approximately 6.9 by 9.8 inches): Work each panel for 42 stitches across and 69 rows tall.
- General formula: Panel stitch count = desired width in inches multiplied by 6. Panel row count = desired height in inches multiplied by 7. Add 2 extra rows for seam take-up.
Care Instructions
Machine wash on gentle cycle in cold water inside a mesh laundry bag, or hand wash in cool water. Reshape while damp. Lay flat to dry away from direct sunlight. Do not tumble dry. If pressing is needed, use a damp cloth and low heat on the wrong side only.
Frequently Asked Questions
Can I use a different type of yarn?
Stick with smooth DK-weight or light worsted cotton yarn. Avoid anything fuzzy or textured because it will hide that beautiful ribbed texture and make embroidery tricky.
What if my gauge is off?
If your panel is too large, try a smaller hook. If it is too small, try a larger hook. The cover needs to fit snugly around your notebook, so adjusting your gauge is important.
Can I use a button instead of a magnetic snap?
Yes, you can use a decorative shank button 0.75 inch (18 mm) in diameter. The button loop tab is designed to work with either closure.
How do I attach the flowers?
Pin the flowers in place first and step back to look at the overall arrangement before sewing anything down. Use a tapestry needle and matching yarn to sew them securely to the front panel.
My cover feels tight when I insert the notebook. What should I do?
Block the cover a second time while it is stretched over the closed notebook. This will help it relax into the perfect fit.
Can I make this cover for a different size notebook?
Absolutely. Use the general formula provided in the tips section to calculate the stitch and row counts for your desired notebook size.
Pin This Crochet Pattern!