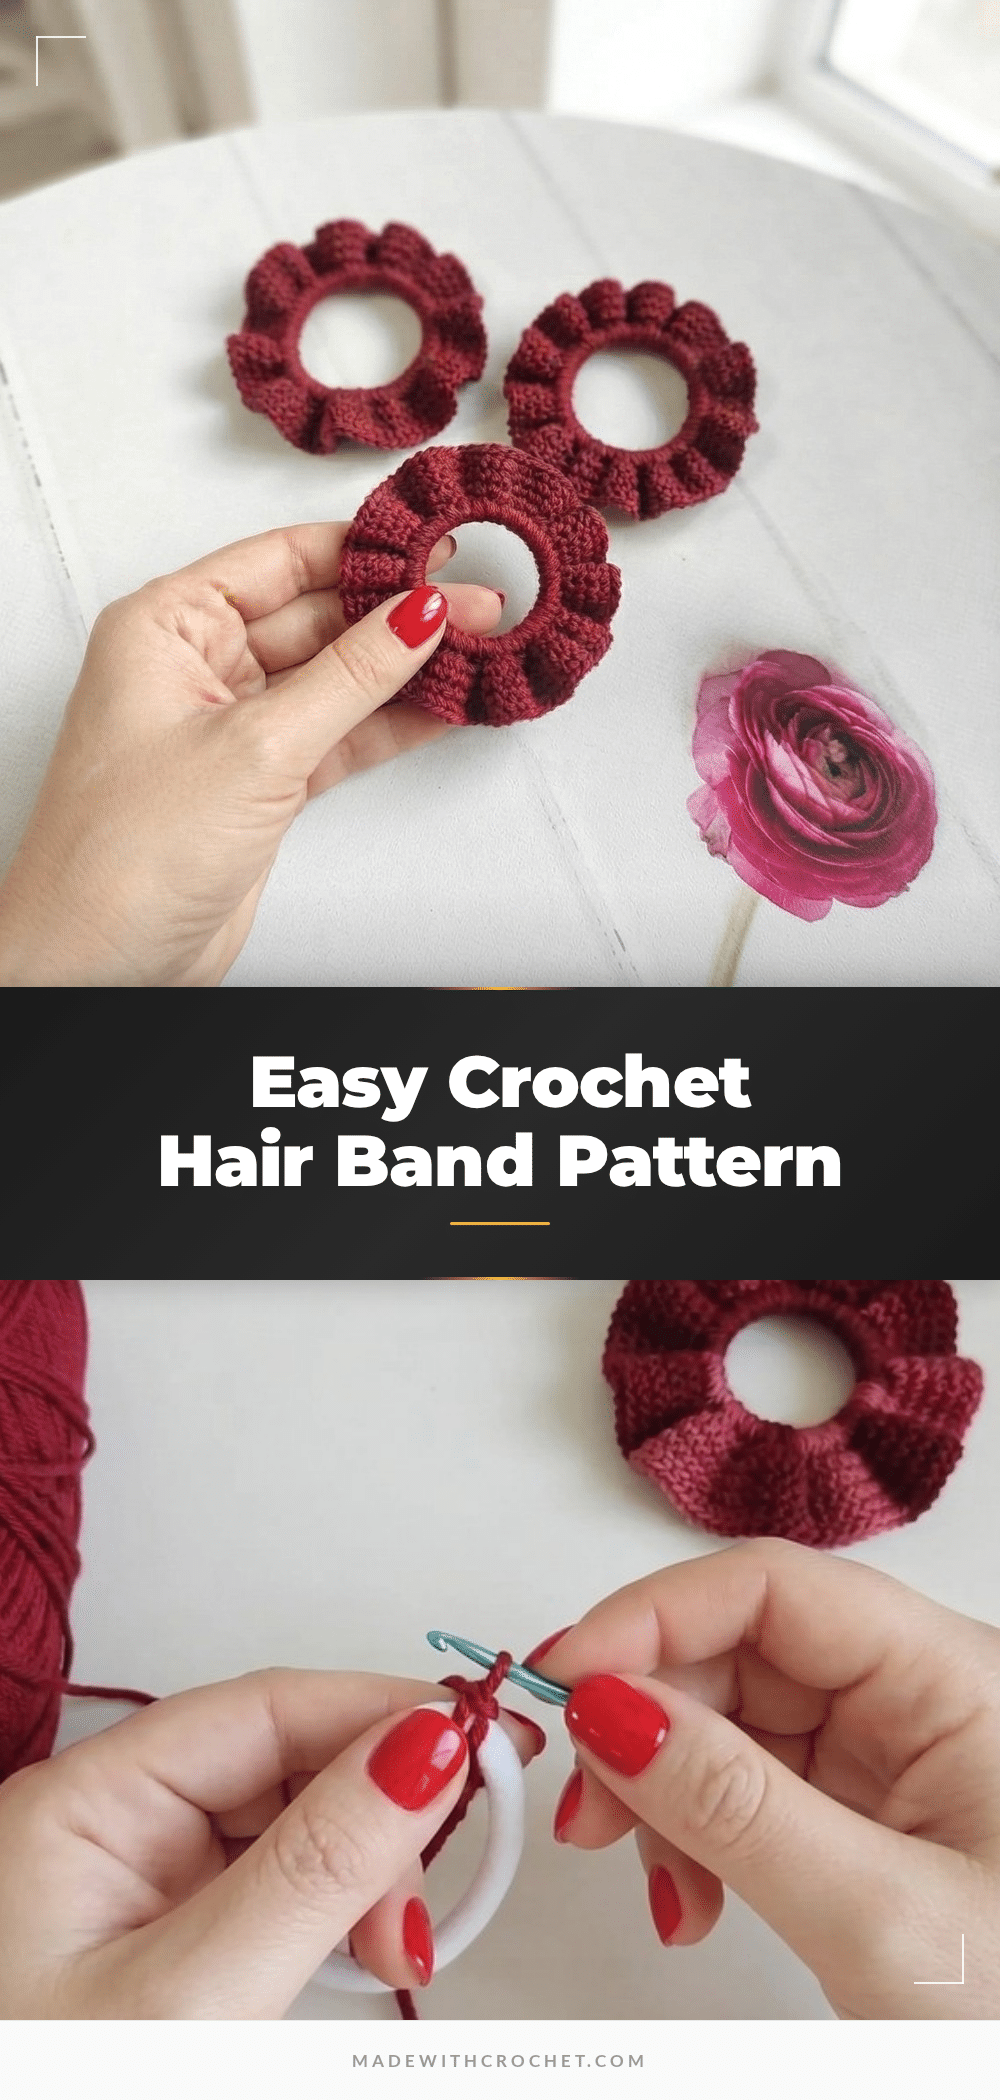
One common worry for new crocheters is that a project needs a precise stitch count to turn out right. But what if the pattern itself tells you there is no fixed number? That is exactly the case with this simple crochet hair band pattern. It is designed to adapt to whatever elastic you have on hand, making it a wonderfully approachable project for beginners and a quick, satisfying make for more experienced crafters.
Maker Notes
This pattern is all about flexibility and fun. The beauty of working directly onto a hair elastic is that you can use up small scraps of soft acrylic yarn to create a custom accessory in minutes. The tight, dense single crochet stitches create a durable and comfortable band that holds hair securely without pulling. It is a perfect project for practicing consistent tension and learning to work in the round, with a finished result that is both practical and charming.
Project Overview
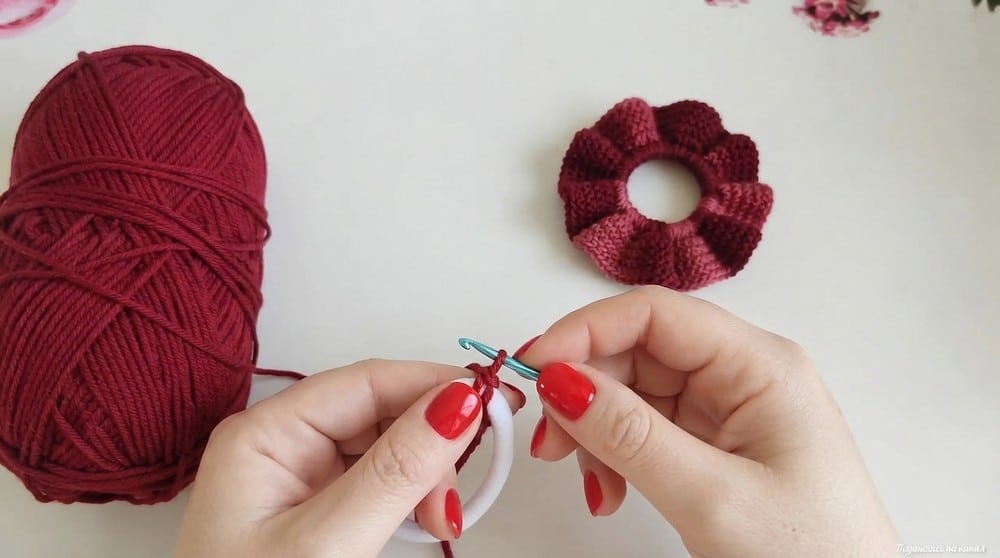
This pattern creates a crochet cover for a standard hair elastic, resulting in a soft, colorful, and comfortable hair band. The entire project is worked in continuous rounds of single crochet directly onto the elastic band. The stitch count is flexible and depends entirely on the size of your elastic and yarn, making it a truly customizable accessory.
Materials
- Yarn: 100% children’s acrylic, four centimeters wide recommended (or equivalent soft acrylic yarn).
- Hook: 2.5 mm crochet hook.
- Elastic band: Hair rubber band, any thickness—pattern adapts to size.
- Scissors: For cutting yarn.
- Yarn Needle: Optional, for weaving in ends.
Gauge and Finished Size
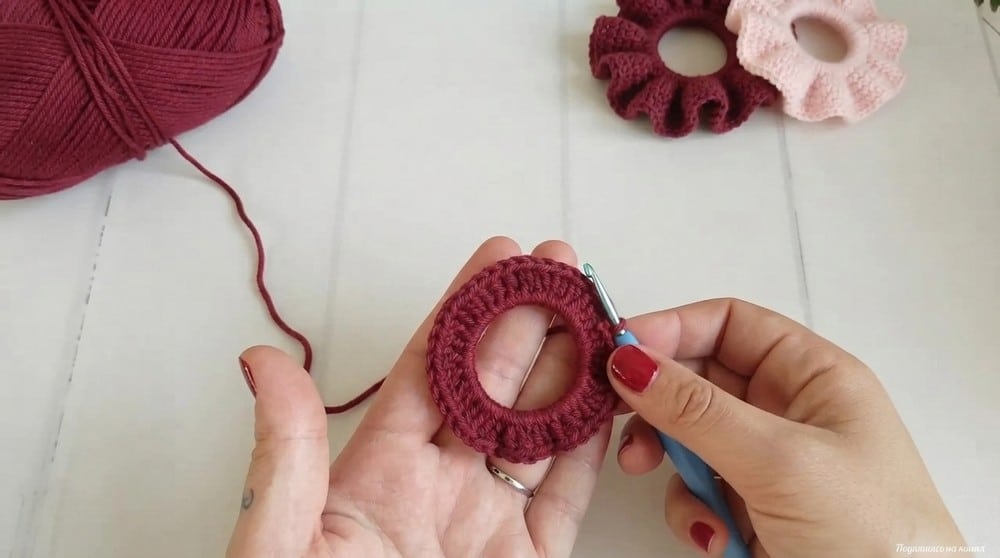
Gauge: Gauge is not critical, but stitches should be tight for structure. Aim for a snug fit around the elastic, with stitches packed closely.
Finished Size: Finished Diameter: Will depend on your elastic; typical outer diameter is 4–5 cm. Stitch Count: Flexible—example given is 109 stitches in one round, but stitch count changes per elastic and yarn weight.
Abbreviations
- sc: Single Crochet
- sl st: Slip Stitch
- st(s): Stitch(es)
Pattern Notes
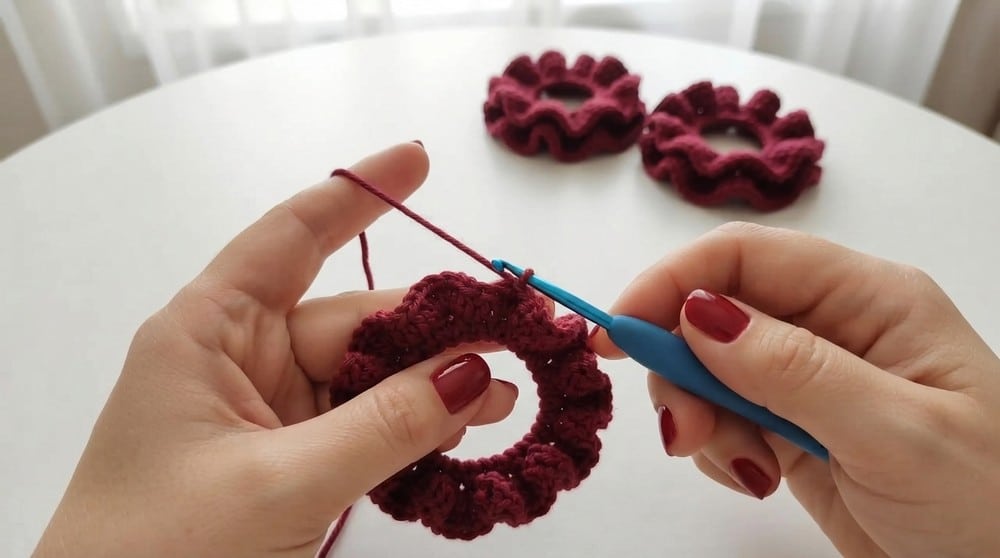
- Elastic Band Size: The number of stitches will vary with band dimension and yarn. There is no fixed stitch count—work tightly and evenly.
- Stitch Tightness: For best results, stitches should be snug against each other and the elastic. This helps prevent gaps and makes the band comfortable to wear.
- Round Joining: Each round is joined with a slip stitch for clarity and structure.
- Yarn Tension: If using soft children’s acrylic, ensure your tension is consistent for a pleasant finish.
- Tail Ends: Securely weave in the yarn ends to prevent unraveling and create a clean edge.
Special Stitches
- Single Crochet (sc): Insert hook into band or stitch, yarn over, pull up loop, yarn over, pull through both loops.
- Slip Stitch (sl st): Insert hook, yarn over, pull through both the stitch and loop on hook.
Pattern Instructions
Step 1: Cast On Around Elastic
Pick up the elastic band. Attach yarn to the band with a slip knot. Single Crochet (sc): Insert hook under the elastic, yarn over, pull up a loop, yarn over, pull through both loops—completing a single crochet. Repeat: Continue placing sc tightly side by side around the elastic, covering it fully. Keep stitches as close and snug as possible; there is no fixed count—the tutorial example used about 109 sc.
Step 2: Complete First Round
When stitches reach all the way around and elastic is completely covered, join with a slip stitch (sl st) to the first stitch of the round.
Step 3: Circular Rounds
Second to Fourth Rounds: Without increasing or decreasing, continue to crochet single stitches (sc) in a circle for three additional rounds. At the end of each round, connect with a slip stitch (sl st) to the starting stitch. The tightness and thickness depend on your preference; three or four rounds give a robust elastic.
Step 4: Finish Off
Final Join: After the last round, join with a final slip stitch (sl st). Cut yarn and pull through to secure. Weave the tail through the elastic band using a hook or yarn needle. Tie a knot, if desired, for extra security. Trim excess yarn for a clean finish.
Assembly
No assembly needed, as band is made in one continuous piece. Finished piece fits snugly on the hair, with a soft, comfortable surface. Stitch count (example: 109 sc per round) depends entirely on the size of your elastic and yarn weight.
Tips for Success
- Work your stitches very tightly around the elastic to ensure the band is secure and no elastic shows through.
- If your yarn is slippery, consider tying a small knot after weaving in the tail for extra security.
- Experiment with different yarn colors to match your wardrobe or create fun, personalized gifts.
- For a thicker, plusher band, you can work more than four rounds.
Frequently Asked Questions
Can I use any type of yarn for this pattern?
Yes, but a soft acrylic yarn is recommended for comfort against the hair and scalp. The pattern works best with a yarn that has good stitch definition and is not too slippery.
What if my elastic band is a different size than the example?
That is perfectly fine. The pattern is designed to adapt to any elastic size. Simply work single crochet stitches around your elastic until it is fully covered, and then continue with the rounds. Your stitch count will naturally be different.
How do I make the hair band thicker?
You can work more than the suggested three or four rounds. Simply continue working single crochet in the round, joining each round with a slip stitch, until you reach your desired thickness.
Is this pattern suitable for a complete beginner?
Yes, this is an excellent beginner project. You only need to know how to make a single crochet and a slip stitch. The pattern is very forgiving as there is no strict stitch count to follow.
Can I add decorations like a bow or flower to this hair band?
Absolutely. Once you have finished the basic band, you can sew on a small crochet flower, a bow, or any other embellishment you like. This is a great way to personalize your creation.
How do I care for my crochet hair band?
Hand washing in cool water with a mild detergent is recommended. Gently squeeze out excess water and lay flat to dry. Avoid wringing or twisting the band to maintain its shape.
Pin This Crochet Pattern!