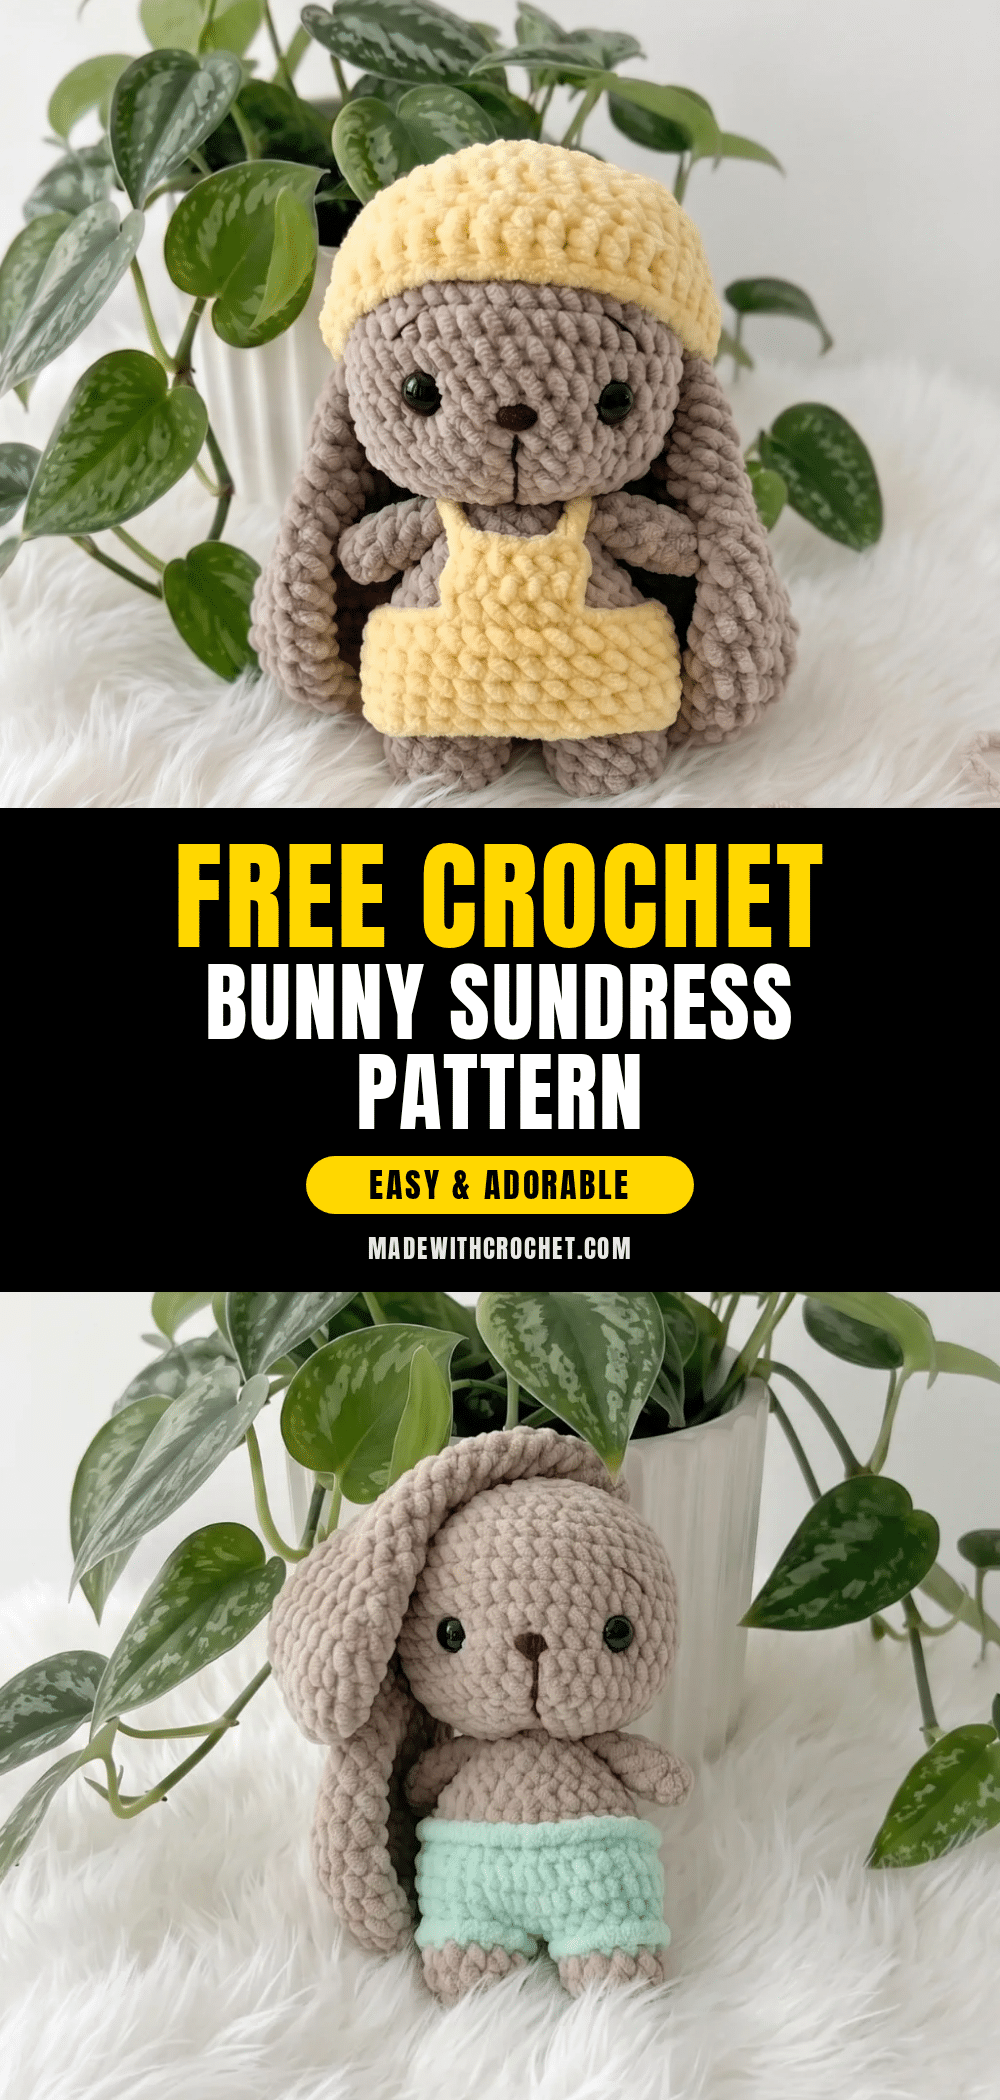
Picture a soft taupe bunny with one ear flopped just so, dressed in a pastel sundress and a matching bonnet tied under the chin — this is the kind of amigurumi that gets adopted the moment it’s finished, whether it lands on a nursery shelf or under someone’s arm on the way out the door.
Why the Finished Piece Stands Out
What makes this bunny sundress pattern so special is the combination of plush, huggable texture and a complete, removable outfit. The bulky chenille yarn hides seams beautifully, making the bunny look polished even for newer crocheters. The dress and bonnet add a layer of charm that turns a simple amigurumi into a gift-worthy keepsake, perfect for baby showers, birthdays, or just because.
Project Overview
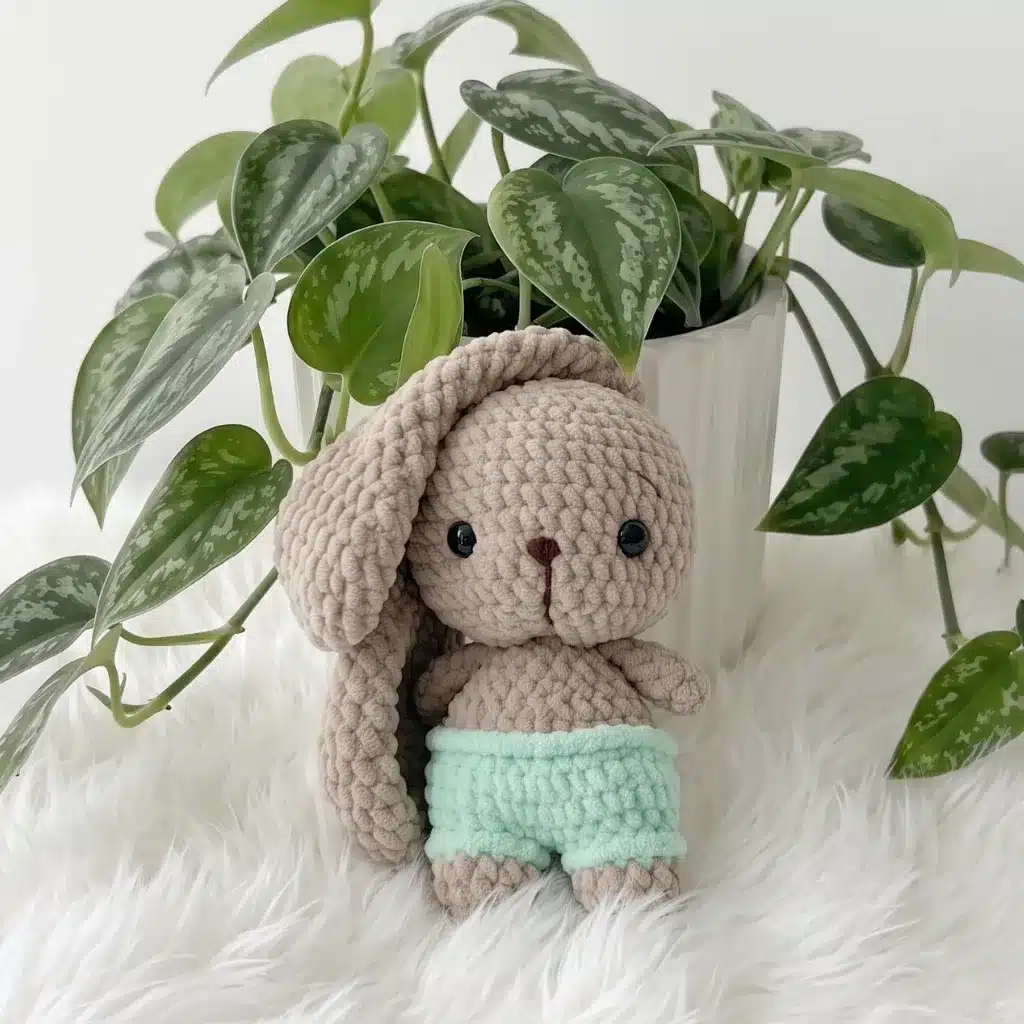
This crochet bunny pattern is written for confident beginners and intermediate crocheters who are comfortable with basic amigurumi shaping and want to level up into simple garment construction. You’ll build the bunny in pieces — head, body, arms, tail, and ears — then dress her in a fitted little dress and a soft bonnet, both worked in the round with just enough shaping to hug her form.
Materials
- Yarn: Bulky (5) weight plush/chenille yarn (such as a Himalaya Dolphin Baby type yarn) — Main Color (body) approx. 2 skeins; Contrast Color (dress and bonnet) approx. 1 skein
- Hook: US 7 (4.5 mm) for the body pieces; US H-8 (5 mm) for the ears, tail, dress, and bonnet
- Safety eyes: 12–14 mm, 1 pair
- Safety nose: 9 x 11 mm, 1 piece
- Contrasting embroidery/sewing thread for face gathering and eyebrow embroidery
- Polyester fiberfill stuffing
- Stitch marker
- Blunt tapestry needle
- Long doll needle (for face shaping and embroidery)
- Straight pins
- Two knitting needles (to hold the head in place while sewing it on)
- A wooden skewer or chopstick (for packing stuffing into small pieces)
- Scissors
- Lighter (to seal yarn tails so they don’t fray)
Abbreviations Used
- BLO — Back Loop Only
- ch — Chain
- dc — Double Crochet
- dec — Decrease (invisible decrease)
- FLO — Front Loop Only
- inc — Increase (2 sc in same stitch)
- sc — Single Crochet
- sl st — Slip Stitch
- st(s) — Stitch(es)
- tch — Turning Chain
Pattern Notes
This pattern is written in US crochet terminology. All amigurumi pieces (head, arms, tail, legs and body, ears) are worked in a continuous spiral — do not join or turn unless a row is specified. Use a stitch marker to track the start of each round. The bonnet and dress include sections of flat, turned rows — these are labeled as “Row” rather than “Rnd.” Gauge is not critical for this project; it will only affect the finished size of your bunny. Just make sure your stitches are tight enough that stuffing doesn’t peek through. Stitch count is given at the end of each round or row in parentheses, like this: (12). Stuff each piece firmly but not so tightly that the piece loses its rounded shape — you want it dense enough to hold form without straining the stitches. Safety eyes and the safety nose are placed at specific rounds noted in the Head section below — always insert and secure these before you finish stuffing and closing the head.
Pattern Instructions
Head
Rnd 1: 6 sc in 2nd ch from hook. (6)
Rnd 2: inc around. (12)
Rnd 3: 1 sc, inc repeat around. (18)
Rnd 4: 2 sc, inc repeat around. (24)
Rnd 5: 3 sc, inc repeat around. (30)
Rnd 6: 4 sc, inc repeat around. (36)
Rnd 7: 5 sc, inc repeat around. (42)
Rnds 8–14: sc around. (42)
Rnd 15: 5 sc, dec repeat around. (36)
Rnd 16: 4 sc, dec repeat around. (30)
Insert the safety eyes between rounds 12 and 13, counting down from the top of the head, spacing them 10 stitches apart. Insert the safety nose between rounds 13 and 14, centered between the eyes.
Rnd 17: 3 sc, dec repeat around. (24)
Rnd 18: 2 sc, dec repeat around. (18)
Rnd 19: 1 sc, dec repeat around. (12)
Rnd 20: dec around. (6)
Stuff firmly before closing. Cinch the opening closed, cut the yarn leaving a length for weaving in, and seal the end with a lighter to prevent fraying.
Arms (make 2)
Rnd 1: 6 sc in 2nd ch from hook. (6)
Rnds 2–5: sc around. (6)
Stuff lightly using a skewer or chopstick to pack the fiberfill into the tip.
Rnd 6: 3 sc, then sl st the remaining stitches together through both loops. (3)
Fasten off and cinch closed. Repeat for the second arm.
Tail
Rnd 1: 8 sc in 2nd ch from hook. (8)
Rnd 2: sc around. (8)
Leave a long yarn tail for sewing — do not stuff.
Legs & Body
Worked as one continuous piece: two legs joined into a single body. If you prefer no visible panty line, skip the color change and BLO instructions below and work the whole piece in your main color.
Leg 1 — Rnd 1: 6 sc in 2nd ch from hook, Main Color. (6)
Rnd 2: inc around. (12)
Rnds 3–4: sc around. (12)
Switch to Contrast Color.
Rnd 5: sc around. (12)
Sl st to close, fasten off, and cut the yarn.
Repeat Rnd 1–5 for Leg 2, but before fastening off, chain 1 and join the two legs by inserting your hook into the first stitch of Leg 1.
Rnd 6: Working across both legs — 12 sc across Leg 1 (BLO), sc in the joining chain space, sc in the ch-1, sc in the joining chain space, 12 sc across Leg 2 (BLO), sc in the ch-1. (28)
Rnd 7: 13 sc, inc repeat around, x2. (30)
Rnd 8: 4 sc, inc repeat around. (36)
Rnd 9: sc around. (36)
Rnd 10: 4 sc, dec repeat around. (30)
Switch back to Main Color.
Rnd 11: sc around, BLO. (30)
Rnd 12: 3 sc, dec repeat around. (24)
Rnd 13: 2 sc, dec repeat around. (18)
Rnd 14: sc around. (18)
Rnd 15: 1 sc, dec repeat around. (12)
Rnd 16: sc around, attaching the arms as you work this round. (12)
Stuff the body firmly and leave a long yarn tail for sewing on the head.
Ears (make 2)
Rnd 1: 6 sc in 2nd ch from hook. (6)
Rnd 2: inc around. (12)
Rnd 3: inc around. (24)
Rnd 4: 3 sc, inc repeat around. (30)
Rnd 5: 4 sc, inc repeat around. (36)
Rnd 6: sc around. (36)
Rnd 7: 16 sc, dec repeat around, x2. (34)
Rnd 8: 15 sc, dec repeat around, x2. (32)
Rnd 9: 14 sc, dec repeat around, x2. (30)
Rnd 10: 13 sc, dec repeat around, x2. (28)
Rnd 11: 5 sc, dec repeat around, x4. (24)
Rnd 12: 4 sc, dec repeat around, x4. (20)
Rnd 13: 8 sc, dec repeat around, x2. (18)
Rnds 14–15: sc around. (18)
Rnd 16: 7 sc, dec repeat around, x2. (16)
Rnds 17–18: sc around. (16)
Rnd 19: 6 sc, dec repeat around, x2. (14)
Rnds 20–21: sc around. (14)
Rnd 22: 5 sc, dec repeat around, x2. (12)
Rnds 23–24: sc around. (12)
Rnd 25: 1 sc, dec repeat around, x4. (8)
Rnd 26: 4 sc, then sl st the remaining stitches together through both loops. (4)
Leave a long yarn tail for sewing. Do not stuff — ears are worked flat-fold and left soft. Repeat for the second ear.
Bonnet with Ties
Worked with the 5 mm hook. On rounds worked in dc, increases are worked in dc as well.
Rnd 1: 6 sc in 2nd ch from hook. (6)
Rnd 2: inc around. (12)
Rnd 3: 1 dc, inc repeat around. (18)
Rnd 4: 2 dc, inc repeat around. (24)
Rnd 5: 3 dc, inc repeat around. (30)
Rnd 6: 4 dc, inc repeat around. (36)
Turn here and continue in flat, turned rows. Begin each sc row with a ch-1 tch; before each dc row, work a ch-2 tch.
Row 7: sc across. (28)
Rows 8–10: dc across. (28)
Row 11: sc across. (28)
Without fastening off, chain 8 plus a tch, then sl st back across all 8 chains. Sl st evenly around the bottom edge of the bonnet. At the opposite edge, chain 8 plus a tch and sl st back across the 8 chains. Fasten off and weave in all ends.
Bonnet (No Ties)
Worked with the 5 mm hook, as an alternative to the tie version above.
Rnd 1: 6 sc in 2nd ch from hook. (6)
Rnd 2: inc around. (12)
Rnd 3: 1 dc, inc repeat around. (18)
Rnd 4: 2 dc, inc repeat around. (24)
Rnd 5: 3 dc, inc repeat around. (30)
Rnd 6: 4 dc, inc repeat around. (36)
Rnd 7: sc around. (36)
Rnd 8: dc around. (36)
Rnd 9: sl st around. (36)
Fasten off and weave in all ends.
Dress
Worked with the 5 mm hook.
Row 1: ch 30 — leave a long starting tail to weave in later. Continue working in a continuous spiral into the first chain.
Rnds 2–3: sc around. (30)
Rnd 4: 26 sc, ch 4 (this creates the tail opening). (30)
Rnds 5–6: sc around. (30)
Rnd 7: sl st around. (30)
Fasten off and weave in all ends.
Assembly
Pin the head onto the body using two knitting needles inserted crosswise to hold it steady while you work. Using the long yarn tail left at the top of the body, sew the head on with a blunt tapestry needle, stuffing the neck firmly with fiberfill as you go to prevent any gaps or wobble.
Finish the panty edge on the body by single crocheting an edging into the front loops only — the loops you skipped earlier when working in BLO. Fasten off, tie the ends together, and weave in.
Pin the tail in place and sew it on using its yarn tail; bury the end inside the stitching.
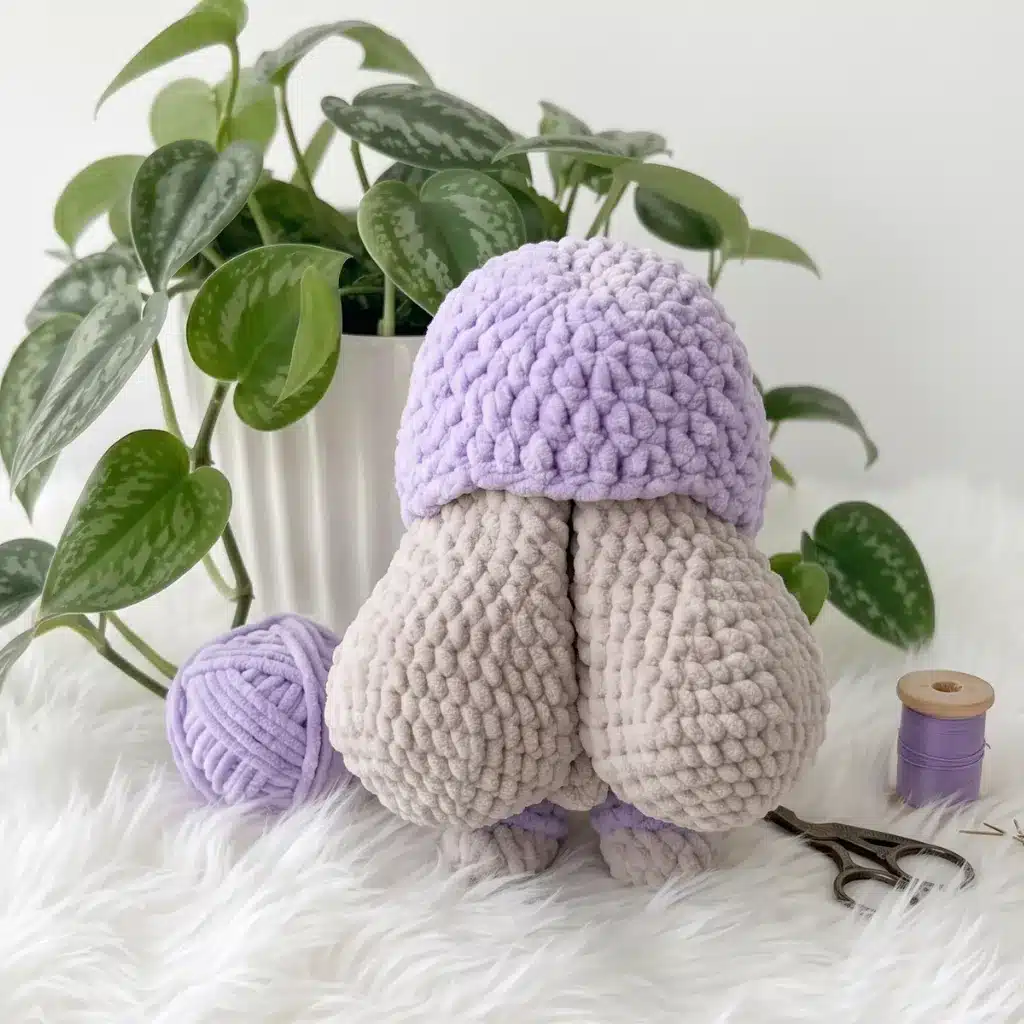
Pin the ears between rounds 4 and 5 of the head, spacing them 2 stitches apart, and sew them on securely, burying the yarn ends inside the head.
Gather the face for shape: using a long doll needle and about 20 inches of contrasting sewing thread, stitch through the marked shaping points on the front of the head, pulling gently until the face has the soft, rounded contour you want, then knot off and bury the ends.
Embroider the eyebrows and any facial detail with a long doll needle and about 20 inches of contrasting worsted-weight yarn, following your pinned placement points between rounds 9–11 of the head, then knot off and bury the ends inside the head.
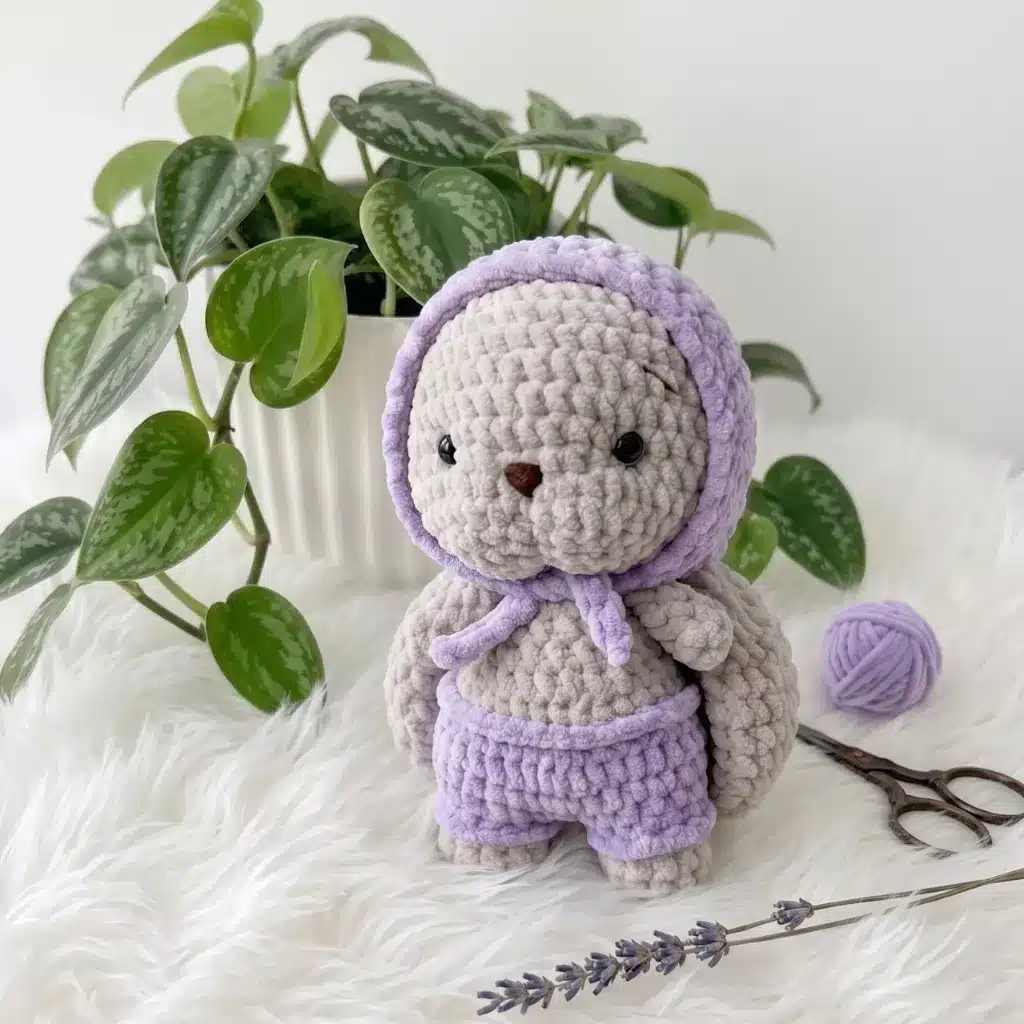
Dress the bunny in the finished dress, threading her tail through the ch-4 opening at the back, then add the bonnet, tying it under the chin if you made the tie version. Weave in any remaining loose ends throughout the project.
Tips
- Keep your tension snug throughout the amigurumi pieces — plush yarn is forgiving, but loose stitches will let stuffing show through at the seams, especially around the increase rounds on the head. If you’re new to invisible decreases, slow down on those rounds specifically; insert your hook into the front loops of both indicated stitches before pulling through, and you’ll get a much smoother decrease line than a standard stitches-together decrease.
- Stuffing firmness makes or breaks the finished shape here. Add fiberfill in small pinches rather than one big handful, and stop adding once the piece feels dense and rounded but still gives slightly under light pressure — overstuffing stretches the stitches and distorts your careful shaping rounds. For narrow pieces like the arms and ears, a skewer or chopstick is essential for pushing fiberfill all the way into the tip without leaving a hollow spot.
- If you’re substituting yarn, stick with a plush or chenille-style yarn in a similar bulky weight — a smooth cotton or acrylic will change both the finished size and the huggable texture that makes this bunny special, since the pile of a plush yarn naturally hides seam lines. When sewing on the head, arms, and ears, work your stitches through the same loop pattern each time and keep tension even; this keeps the seam nearly invisible against the textured yarn.
- The leg-joining round (Round 6 of the Legs & Body section) is the trickiest part of this pattern — take it slowly, and don’t be afraid to count your stitches twice before moving to Round 7, since an off-count here will throw off the increase rounds that shape the belly.
Frequently Asked Questions
What skill level is this pattern suitable for?
This pattern is ideal for confident beginners and intermediate crocheters who are comfortable with basic amigurumi shaping, working in continuous spirals, and simple increases and decreases.
Can I use a different yarn weight?
Yes, but the finished size and texture will change. For best results, stick with a bulky (5) weight plush or chenille yarn to maintain the huggable look and feel.
How do I attach the safety eyes and nose securely?
Insert the safety eyes between rounds 12 and 13 of the head, spacing them 10 stitches apart. Insert the safety nose between rounds 13 and 14, centered between the eyes. Always secure the backs before finishing the head.
What if I don’t want the visible panty line on the body?
Simply skip the color change and BLO instructions in the Legs & Body section and work the entire piece in your main color for a seamless look.
How do I keep the ears from flopping?
The ears are intentionally left unstuffed and worked flat-fold for a soft, floppy look. If you prefer stiffer ears, you can add a small amount of stuffing or a pipe cleaner inside before closing.
Can I wash the finished bunny?
Spot cleaning is recommended due to the safety eyes and nose. If you must wash it, hand wash gently in cool water and lay flat to dry, avoiding the safety hardware.
Pin This Crochet Pattern!