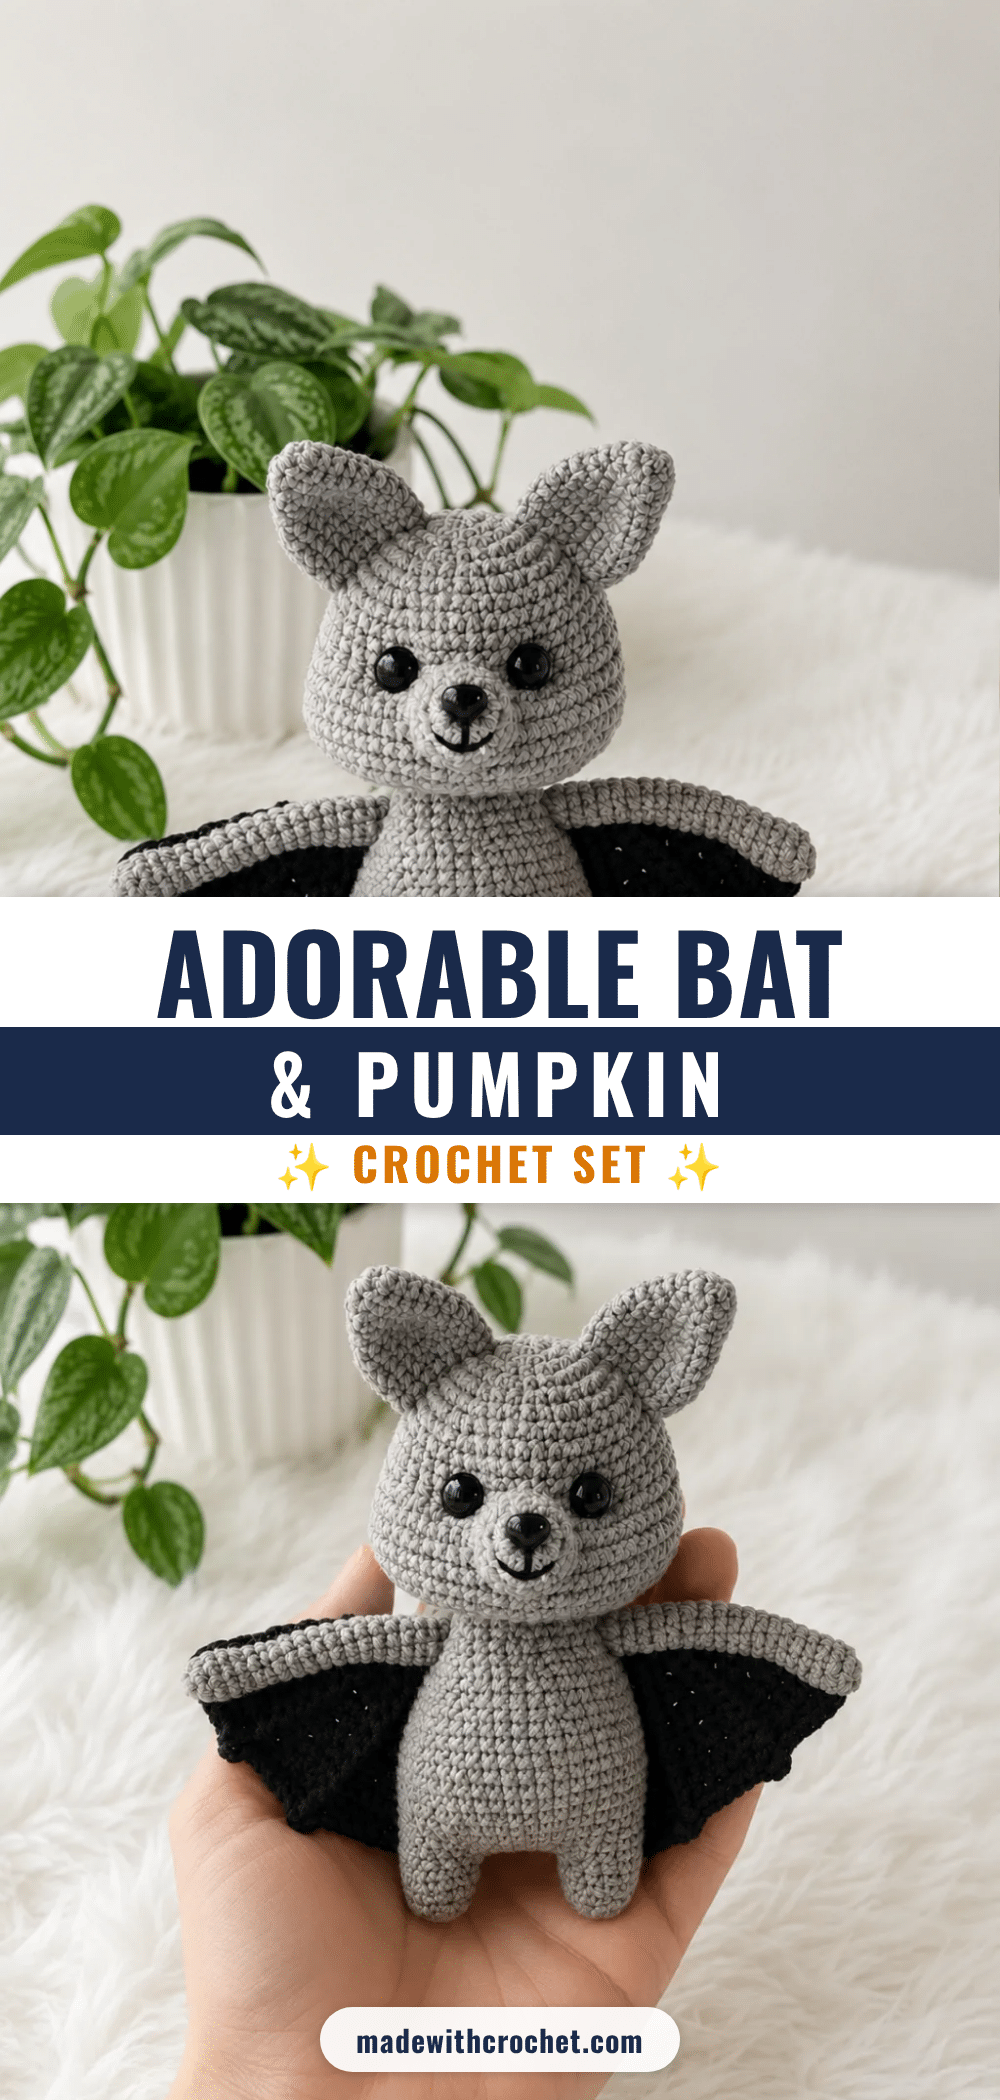
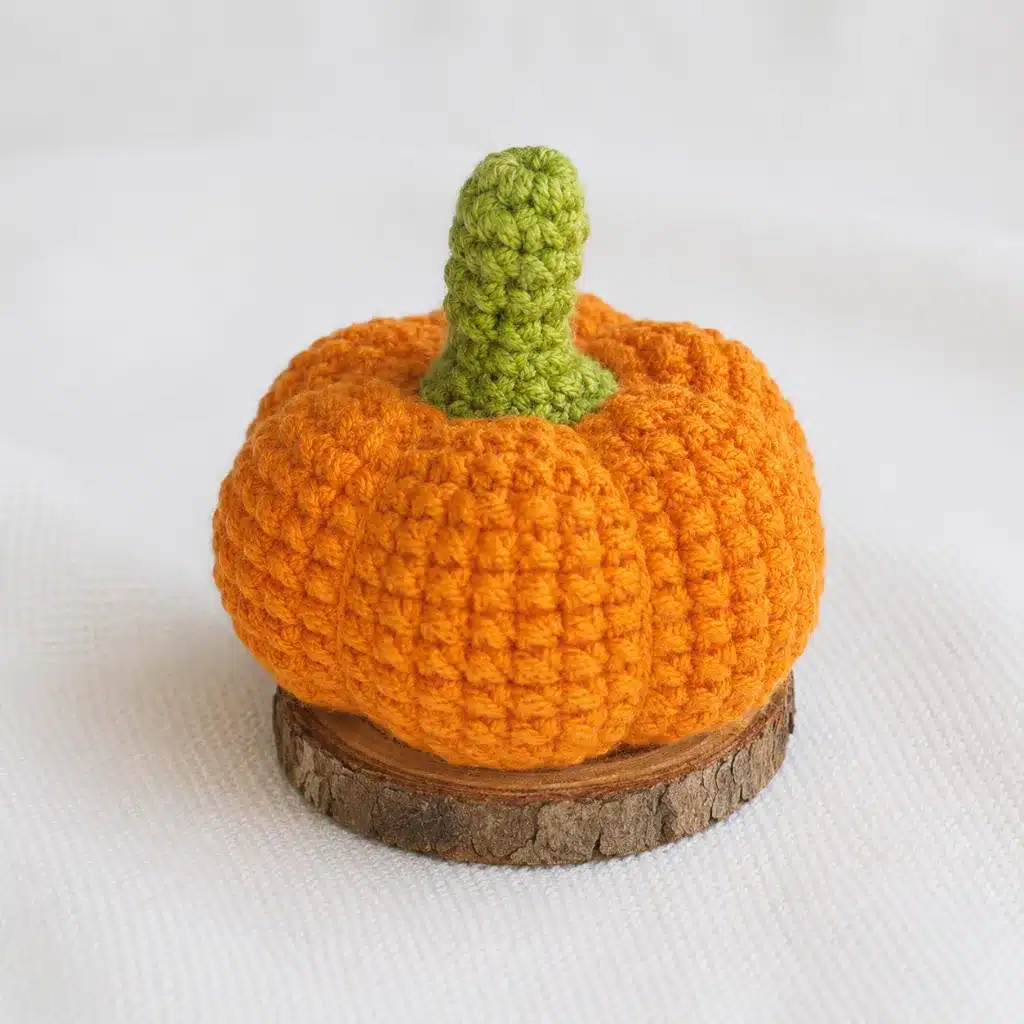
Grab your hook and settle in. There’s a small gray bat with folded velvet-black wings and a ribbed orange pumpkin waiting to take shape on your worktable. This amigurumi set is an intermediate-friendly project that rewards patience with genuinely charming results. The finished bat stands about 6 inches tall, with a rounded head, oversized ears, and wire-supported wings that hold their pose beautifully. The pumpkin companion piece is worked right alongside it — a cinched sphere that looks like it came straight from a craft fair table. Between the two, you’ll practice safety eye placement, wire insertion, invisible decreases, and a clever ribbing technique that gives the pumpkin its signature texture. This one’s worth every stitch.
Why This Project Works
This pattern pairs two iconic Halloween symbols into one cohesive set, making it perfect for mantel displays, gift-giving, or craft fair inventory. The bat’s wire-supported wings and the pumpkin’s ribbed texture offer satisfying technical challenges without overwhelming an intermediate crocheter. The gray and black color palette keeps the bat sophisticated, while the orange pumpkin adds a classic pop of seasonal color. If you’re looking for a project that builds multiple amigurumi skills in a single sitting, this duo delivers.
Materials Needed
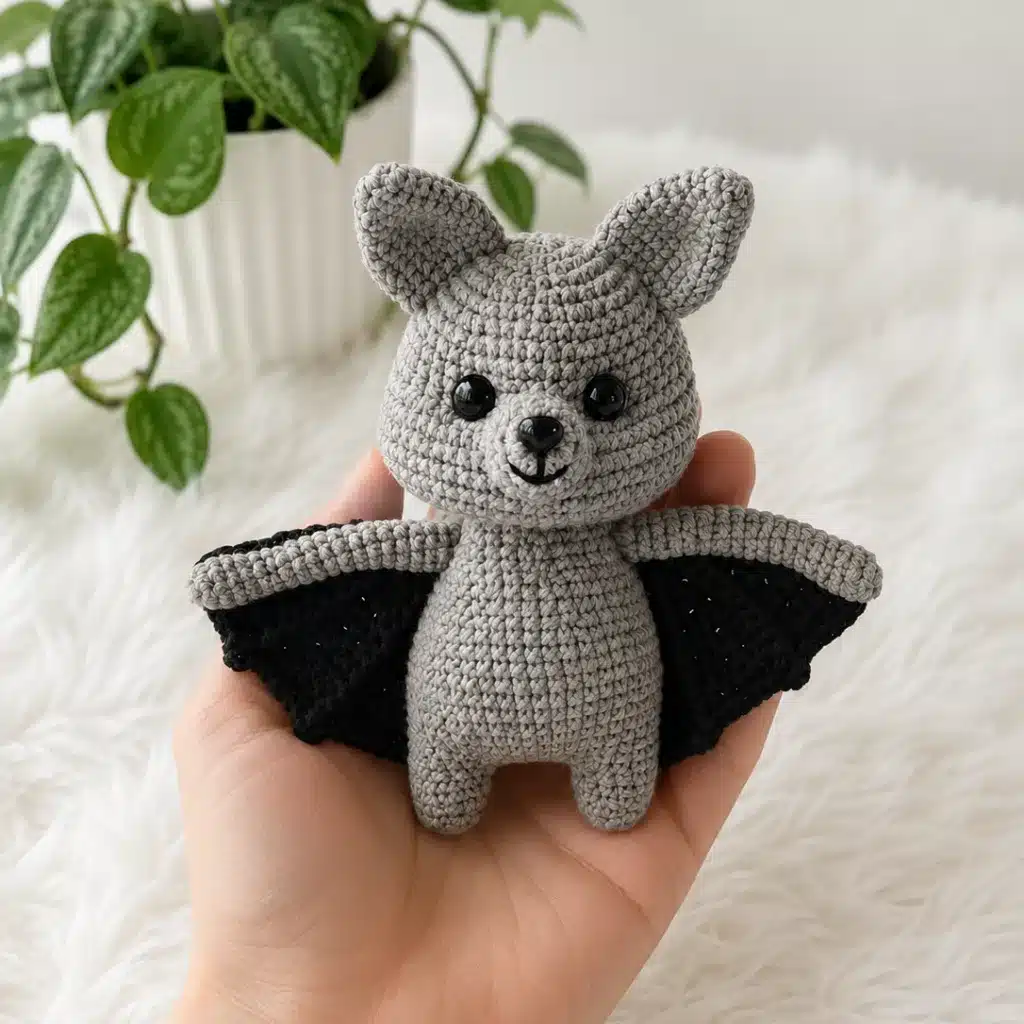
- Worsted weight yarn (55% cotton / 45% acrylic) in gray and black — approximately 50g/160m per color
- Worsted weight yarn (55% cotton / 45% acrylic) in orange and green for the pumpkin — approximately 50g/160m per color
- Hook: US B-1 (2.0 mm) for the bat
- Hook: 1.75 mm (no direct US letter equivalent — a small steel hook works well) for the pumpkin
- Safety eyes, 10 mm (1 pair)
- Safety nose, 10×7 mm (1)
- Craft wire (for shaping the wings)
- Fiberfill stuffing
- Stitch marker
- Yarn needle
- Scissors
Abbreviations Used
- ch — Chain
- dec — Decrease (invisible decrease)
- hdc — Half Double Crochet
- inc — Increase
- MR — Magic Ring
- Rnd — Round
- Row — Row
- sc — Single Crochet
- sl st — Slip Stitch
- st(s) — Stitch(es)
Pattern Notes
- This pattern is written in US crochet terminology.
- The head, muzzle, ears, legs, body, arms, and pumpkin are worked in continuous spirals — do not join or chain between rounds unless noted.
- The wings are worked flat in turning rows, then joined and edged.
- Gauge is not critical for this project; work at a tension tight enough that stuffing doesn’t peek through the stitches.
- Stitch count is given at the end of each round or row in parentheses.
- Safety eyes are inserted at a specific round on the head — place them before continuing, since they can’t be repositioned once secured.
- The wings use wire instead of stuffing to hold their shape, so handle them gently while assembling.
Pattern Instructions
Head
Rnd 1: 6 sc in MR. (6)
Rnd 2: inc in each st around. (12)
Rnd 3: 1 sc, inc repeat around. (18)
Rnd 4: 2 sc, inc repeat around. (24)
Rnd 5: 3 sc, inc repeat around. (30)
Rnd 6: 4 sc, inc repeat around. (36)
Rnd 7: 5 sc, inc repeat around. (42)
Rnd 8: 6 sc, inc repeat around. (48)
Rnds 9–12: sc in each st around. (48)
Rnd 13: 14 sc, 6 inc, 8 sc, 6 inc, 14 sc. (60)
Rnds 14–18: sc in each st around. (60)
Insert the safety eyes now, positioning them between Rnds 11 and 12, with 9 stitches between the two eye holes.
Rnd 19: 14 sc, 6 dec, 8 sc, 6 dec, 14 sc. (48)
Rnd 20: 6 sc, dec repeat around. (42)
Rnd 21: 5 sc, dec repeat around. (36)
Rnd 22: 4 sc, dec repeat around. (30)
Rnd 23: 3 sc, dec repeat around. (24)
Fasten off, leaving a tail. Stuff firmly before closing. Use the tail to cinch the eye area for definition.
Muzzle
Rnd 1: 6 sc in MR. (6)
Rnd 2: inc in each st around. (12)
Rnd 3: sc in each st around. (12)
Rnd 4: 1 sc, inc repeat around. (18)
Leave a 6-inch tail. Insert the safety nose. Embroider the mouth and teeth, add a small amount of stuffing, and sew the muzzle onto the head.
Ears (make 2)
Rnd 1: 6 sc in MR. (6)
Rnd 2: 1 sc, inc repeat 3 times. (9)
Rnd 3: 2 sc, inc repeat 3 times. (12)
Rnd 4: sc in each st around. (12)
Rnd 5: 2 sc, inc repeat 4 times. (16)
Rnd 6: 3 sc, inc repeat 4 times. (20)
Rnds 7–10: sc in each st around. (20)
Rnd 11: 3 sc, dec repeat 4 times. (16)
Rnd 12: sc in each st around. (16)
Leave an 8-inch tail. Sew the ears symmetrically to the head, aligned with the muzzle.
Legs (make 2)
Rnd 1: 6 sc in MR. (6)
Rnd 2: inc in each st around. (12)
Rnds 3–4: sc in each st around. (12)
Work the second leg the same way, but do not fasten off — you’ll continue directly into the body.
Body
Rnd 5: Ch 6, sl st to join to the second leg. Work 12 sc around the first leg, 6 sc along one side of the ch-6, 12 sc around the second leg, then 6 sc along the other side of the ch-6. (36)
Rnd 6: 12 sc, (1 sc, inc) x3, 12 sc, (1 sc, inc) x3. (42)
Rnds 7–16: sc in each st around. (42)
Rnd 17: 5 sc, dec repeat around. (36)
Rnds 18–19: sc in each st around. (36)
Rnd 20: 4 sc, dec repeat around. (30)
Rnds 21–22: sc in each st around. (30)
Rnd 23: 3 sc, dec repeat around. (24)
Rnds 24–25: sc in each st around. (24)
Leave an 8–10 inch tail. Stuff firmly before closing.
Arms (make 2)
Rnd 1: 6 sc in MR. (6)
Rnd 2: 1 sc, inc repeat 3 times. (9)
Rnds 3–5: sc in each st around. (9)
Rnd 6: dec, 7 sc repeat around. (8)
Rnds 7–20: sc in each st around. (8)
Leave a 6-inch tail. Insert wire in place of stuffing so the arm holds its pose. Sew to the body.
Wings (make 2 — each built from 3 joined triangles)
Worked flat in black yarn. Ch 7, starting in 2nd ch from hook.
Row 1: 6 sc, ch 1, turn. (6)
Row 2: 6 sc, ch 1, turn. (6)
Row 3: 2 sc, dec, 2 sc, ch 1, turn. (5)
Row 4: 5 sc, ch 1, turn. (5)
Row 5: 2 sc, dec, 1 sc, ch 1, turn. (4)
Row 6: 4 sc, ch 1, turn. (4)
Row 7: 1 sc, dec, 1 sc, ch 1, turn. (3)
Row 8: 3 sc, ch 1, turn. (3)
Row 9: dec, 1 sc, ch 1, turn. (2)
Row 10: 2 sc, ch 1, turn. (2)
Row 11: dec. (1)
Make 3 triangles per wing. Join the triangles by working 11 sc across their bases, weaving in all yarn tails as you go. Single crochet evenly around the entire perimeter of the joined wing; at each outer point, work (1 sc, ch 3, 1 sc) into the same stitch to form a picot tip.
Pumpkin
Rnd 1: 6 sc in MR. (6)
Rnd 2: inc in each st around. (12)
Rnd 3: 1 sc, inc repeat around. (18)
Rnd 4: 2 sc, inc repeat around. (24)
Rnd 5: 3 sc, inc repeat around. (30)
Rnd 6: 4 sc, inc repeat around. (36)
Rnd 7: 5 sc, inc repeat around. (42)
Rnds 8–14: sc in each st around. (42)
Rnd 15: 5 sc, dec repeat around. (36)
Rnd 16: 4 sc, dec repeat around. (30)
Rnd 17: 3 sc, dec repeat around. (24)
Rnd 18: 2 sc, dec repeat around. (18)
Rnd 19: 1 sc, dec repeat around. (12)
Rnd 20: dec around. (6)
Stuff loosely — not too firmly — before closing. Leave a 10-inch tail (or slightly longer) and cinch the opening closed with a wide-eye needle. Using the same tail, pass the needle through the center of the pumpkin and wrap the yarn around the outside, dividing the sphere into 6 evenly spaced ribs, holding each wrap in place with your finger as you go. Secure the tail, trim, and hide the end inside the piece.
Stem/Vine
Rnd 1: 7 sc in MR. (7)
Rnds 2–6: sc in each st around. (7)
Rnd 7: inc in each st around. (14)
Rnd 8: sc in each st around. (14)
Fill the base with stuffing. Leave an 8-inch tail and sew the stem to the pumpkin.
Assembly
- Sew the Muzzle onto the Head, centering it below the eyes, then attach the Ears symmetrically on either side.
- Sew each Arm to the Body at the shoulder position, using the wire core to help set the pose.
- Sew one edge of each Wing to an Arm and the opposite edge to the Body, so the wing spans naturally between the two.
- Sew the Head onto the Body using the whipstitch, aligning the muzzle with the front of the body.
- Sew the Stem onto the top of the Pumpkin.
- Weave in all remaining ends throughout both pieces.
Tips & Tricks
- Keep your tension slightly tighter than you would for a garment — amigurumi worked in worsted weight cotton-acrylic blends needs a snug fabric so stuffing doesn’t show through the stitches.
- When working invisible decreases, insert your hook into the front loops only of the next two stitches before pulling through, which keeps the decrease nearly seamless on a rounded surface like the head.
- Stuff the head and body firmly enough that they hold their shape when squeezed gently, but stop before the fabric starts to stretch or distort — the pumpkin, by contrast, wants a looser fill so the ribbing technique can cinch it into that classic pumpkin shape.
- If you substitute yarn, stick with a cotton-acrylic or all-cotton worsted weight; pure acrylic will make the stitch definition softer and less crisp, which matters most on the wing points.
- For nearly invisible seams when sewing the wings to the arms and body, use a whipstitch through the back loops only on both pieces, catching small amounts of yarn with each pass.
Frequently Asked Questions
What skill level is this pattern?
This pattern is best suited for intermediate crocheters. It uses techniques like invisible decreases, working in continuous spirals, wire insertion, and flat-row construction for the wings.
Can I use a different yarn weight?
Yes, but you may need to adjust your hook size to maintain a tight fabric. Stick with a cotton-acrylic or all-cotton blend for the best stitch definition, especially on the wing points.
How do I keep the wings from flopping?
The wings use craft wire instead of stuffing to hold their shape. Insert the wire carefully as you work, and handle the wings gently during assembly to avoid bending the wire out of place.
Can I sell items made from this pattern?
This pattern is designed for personal use. If you wish to sell finished items, please check the original designer’s terms of use for specific permissions and credit requirements.
How do I make the pumpkin ribs even?
After cinching the opening closed, pass the yarn tail through the center of the pumpkin and wrap it around the outside, dividing the sphere into 6 evenly spaced sections. Hold each wrap in place with your finger as you go to keep the ribs consistent.
What if I don’t have a 1.75 mm hook for the pumpkin?
A small steel hook (such as a size 4 or 5 steel hook) works well as a substitute. The key is to use a hook that is slightly smaller than what you’d use for the bat to create a denser fabric for the pumpkin.
Pin This Crochet Pattern!