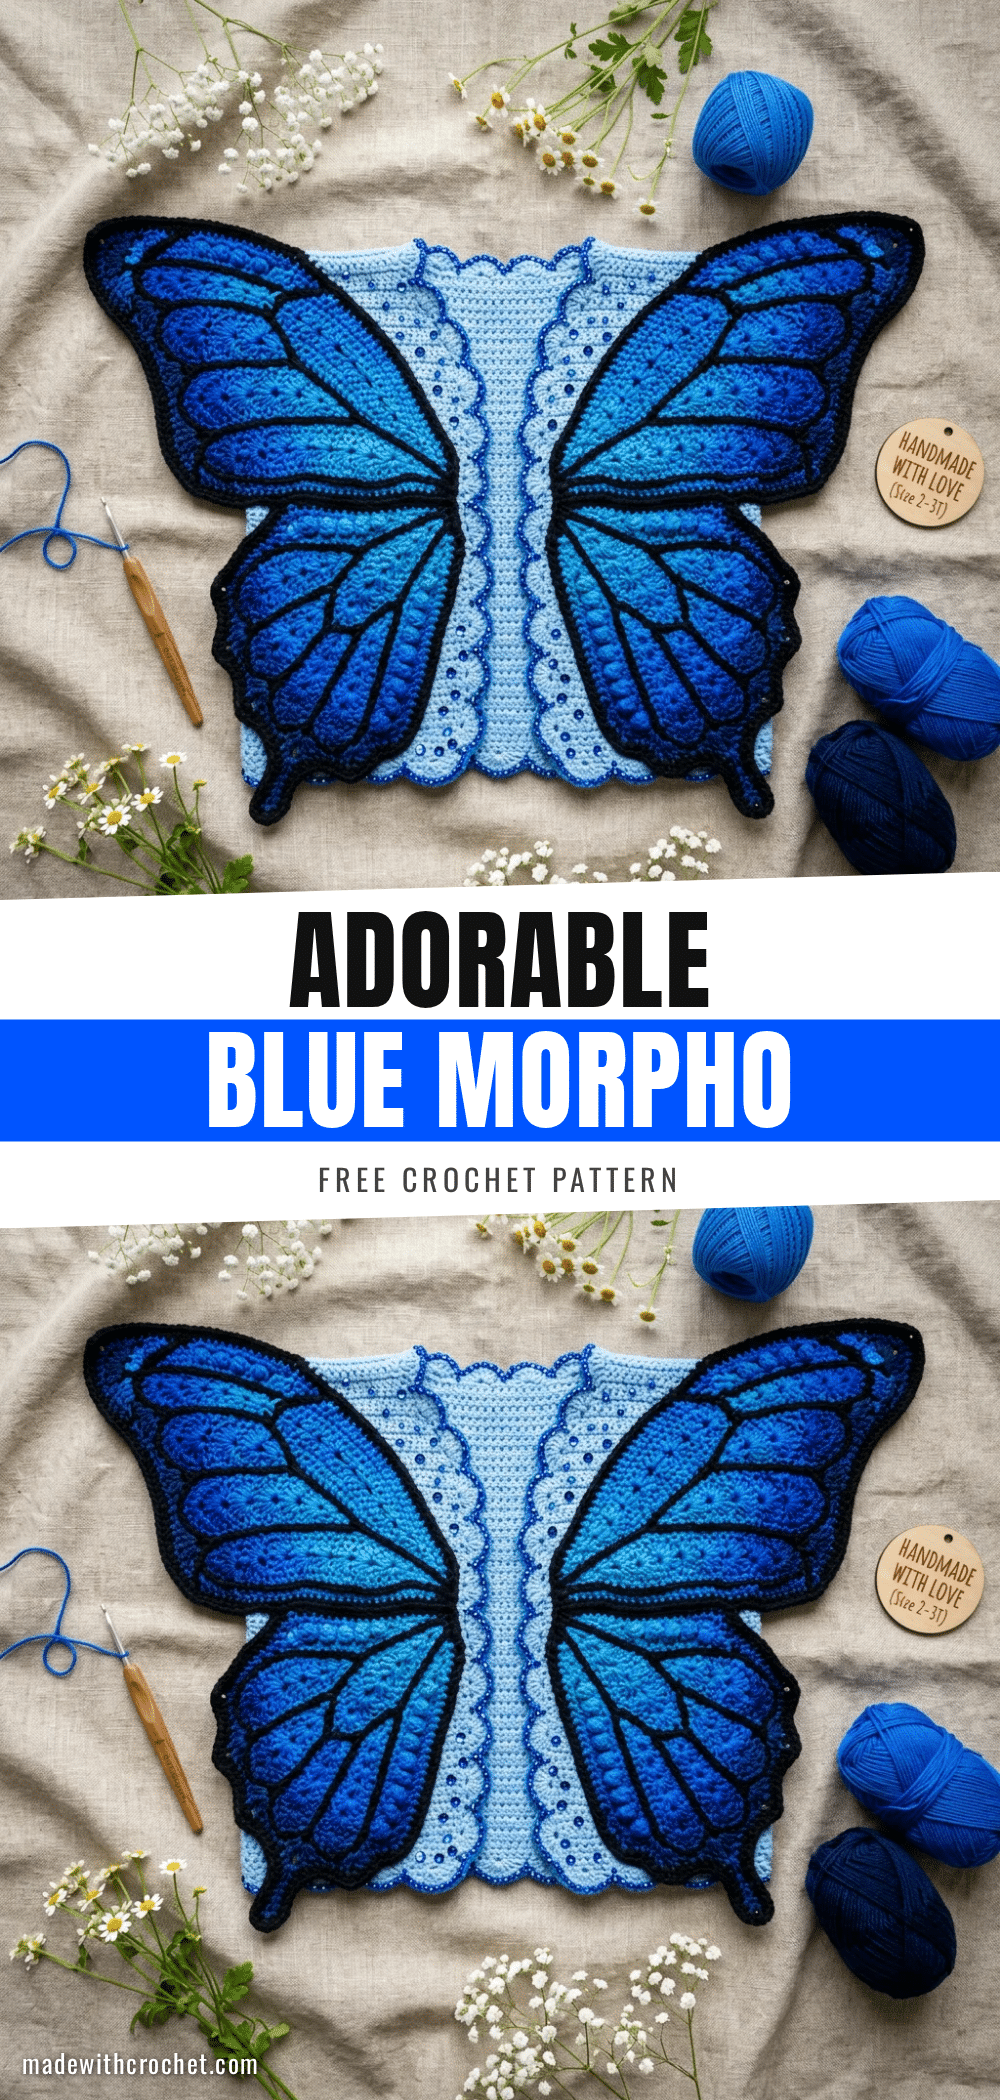
It is impossible to look at this Blue Morpho Butterfly Cardigan and not gasp. The moment you see the finished object, you are struck by how incredibly cute, useful, and display-worthy it is. It is a wearable piece of art that transforms a toddler into a fluttering butterfly, complete with dramatic, dimensional wings that extend outward. It is squishy enough to cuddle yet structured enough to hold its shape, making it a tidy, giftable masterpiece that looks like it belongs in a gallery. But don’t let the intricate appearance fool you; this pattern breaks down into manageable steps that allow you to create this stunning effect.
Why the Finished Piece Stands Out
What makes this cardigan truly special is the interplay between the simple, sturdy body and the complex, organic wings. The body is a clean, open-front vest that provides a perfect canvas, while the wings utilize a combination of shell stitches, raised clusters, and surface slip stitch veining to replicate the layered cell structure of a real Blue Morpho. The gradient of blues—from light sky to deep navy—creates a realistic depth, and the addition of beaded accents along the center front edges adds a touch of sparkle that catches the light. It is a project that rewards patience with a garment that is as magical to wear as it is to make.
Project Overview
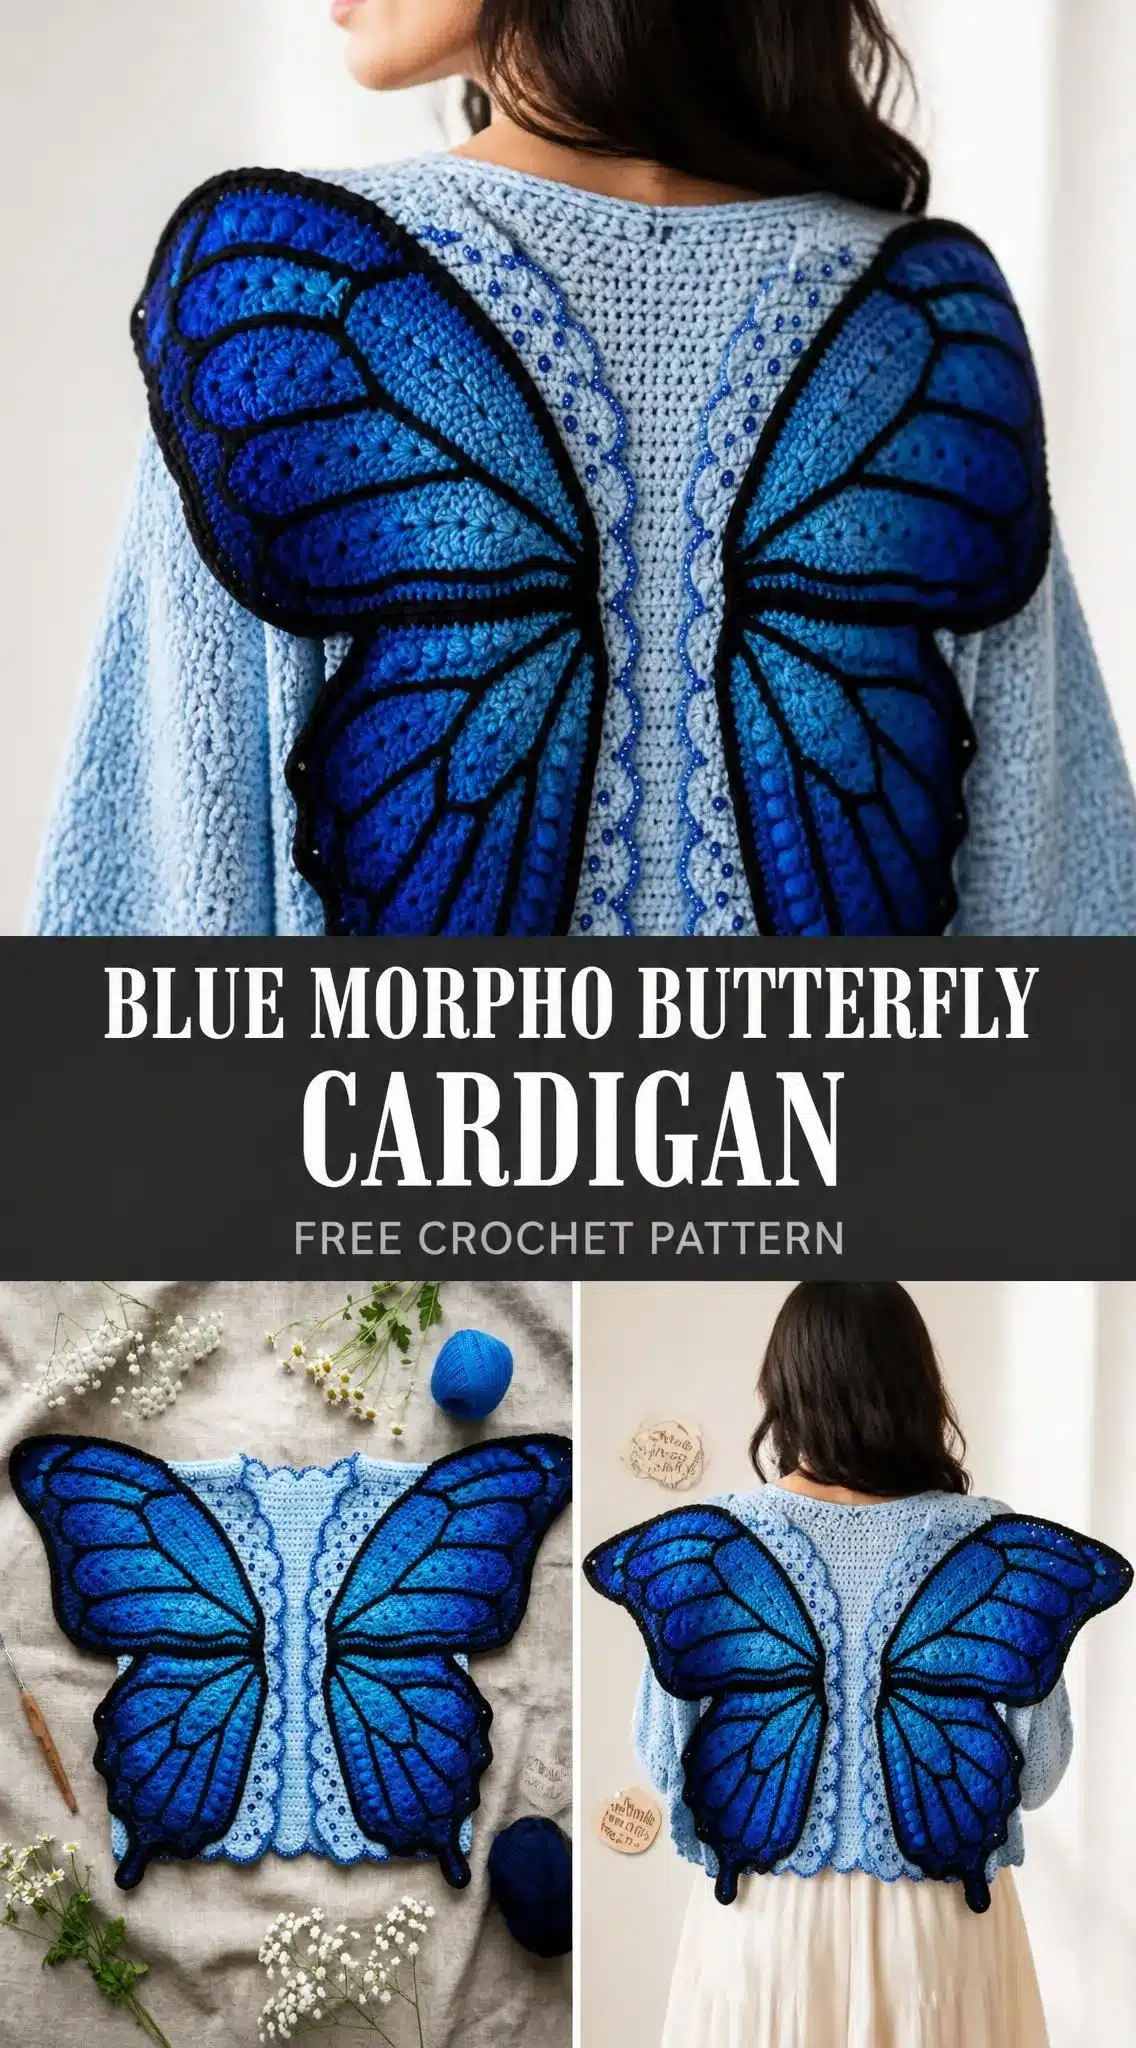
This Blue Morpho Butterfly Cardigan is a wearable art piece designed for toddlers sized 2T to 3T. The finished garment features a simple open-front vest body with dramatic dimensional wing appliques that extend outward from the front panels. When a child wears it, they transform into a butterfly. The cardigan has no closures and is worn open, making it easy for little ones to put on and take off.
Materials
Gather everything before you start. Having all your supplies ready makes the process smoother and more enjoyable.
- Yarn (Worsted Weight): Use 100% acrylic or an acrylic-cotton blend for best results. Avoid fuzzy or mohair yarns because the wing cell detail and surface veining require clear stitch visibility.
- Color A (light sky blue): 250 yards (229 m)
- Color B (bright royal blue): 180 yards (165 m)
- Color C (deep cobalt/medium blue): 150 yards (137 m)
- Color D (dark navy blue): 100 yards (91 m)
- Color E (black): 80 yards (73 m)
Recommended Yarn Options:
- Lion Brand Pound of Love in Baby Blue and Royal Blue
- Paintbox Yarns Simply DK held double throughout
- Red Heart Soft Yarn in Icy Blue, Royal Blue, and True Blue
Hook: US Size J / 6.0 mm
Notions:
- Tapestry needle for seaming and weaving ends
- At least 8 stitch markers
- Approximately 150 blue seed beads (size 6/0)
- Beading needle and thread to match Color A
- Scissors
Gauge and Finished Size
Getting gauge right is mandatory for this garment. The body must fit a toddler chest of 22 inches.
- In single crochet with Color A and a 6.0 mm hook: 16 sc x 18 rows = 4 inches (10 cm) square, blocked
- In shell pattern (used in wings): One 5-dc shell + 1 sc = 1.5 inches (3.8 cm) wide; Shell row height = 0.75 inches (1.9 cm)
Work a gauge swatch of at least 6 x 6 inches. Wash it, block it, and measure it before starting the actual project. This step will save you from heartbreak later.
Finished Measurements:
- Chest circumference at underarm: 22 inches (56 cm)
- Body length from shoulder to hem: 12 inches (30.5 cm)
- Wing span tip to tip when worn flat: approximately 26 inches (66 cm)
- Wing height from top to bottom tip: approximately 10 inches (25.5 cm)
Abbreviations
Understanding these terms is essential before diving into the step by step instructions. I’ll define each one with a plain-English explanation.
- beg = beginning
- BLO = back loop only (insert hook under just the back loop of the stitch)
- ch = chain (yarn over, pull through loop on hook)
- ch-sp = chain space (the gap created by a chain)
- dc = double crochet (yarn over, insert hook, pull up loop, yarn over, pull through 2 loops twice)
- FPtr = front post treble crochet (a tall stitch worked around the post of a stitch below, creating a raised texture)
- hdc = half double crochet (yarn over, insert hook, pull up loop, yarn over, pull through all 3 loops)
- inc = increase (2 sc in the same stitch)
- PM = place marker
- RS = right side (the public-facing side of your work)
- sc = single crochet (insert hook, pull up loop, yarn over, pull through both loops)
- sc2tog = single crochet 2 together (a decrease that turns 2 stitches into 1)
- sk = skip
- sl st = slip stitch (insert hook, pull yarn through stitch and loop on hook in one motion)
- st(s) = stitch(es)
- t-ch = turning chain
- tr = treble crochet (yarn over twice, insert hook, pull up loop, yarn over, pull through 2 loops three times)
- WS = wrong side (the inside of your work)
- yo = yarn over
Pattern Notes
- The cardigan has four main sections: Back Body Panel, Left Front Body Panel, Right Front Body Panel, and two Wings (Left and Right). The body is seamed at the shoulders only. The wings are seamed to the outer edge of each front body panel.
- The body uses Color A throughout. Wing colorwork uses the intarsia method. Carry unused colors loosely across the back or cut and rejoin as needed. Never carry Color E (black) across the back. Always cut and rejoin.
- The sides are left open (no side seams). This open-side construction allows the wings to extend outward freely.
- Turning chains: Chain 1 does not count as a stitch. Chain 3 counts as 1 dc.
- Wing veining is added entirely with surface slip stitch after all pieces are blocked.
- Beads are sewn on last, after all blocking and veining are complete.
Pattern Instructions
How to Crochet the Back Body Panel
The back is one rectangle with a shaped neckline at the top.
Foundation: With Color A and 6.0 mm hook, ch 47.
Row 1 (WS): Sc in 2nd ch from hook and in each ch across. Turn. (46 sc)
Rows 2 through 52: Ch 1, sc in each st across. Turn. (46 sc each row)
At the end of Row 52, the piece should measure approximately 11.5 inches (29 cm) tall and 11.5 inches (29 cm) wide.
Back Neckline Shaping
Mark the center 16 stitches of the 46-stitch row. These are stitches 16 through 31.
Left Shoulder:
Row 53 (RS): Ch 1, sc in first 15 sts. Turn, leaving remaining sts unworked. (15 sc)
Row 54: Ch 1, sc2tog, sc in each st to end. Turn. (14 sc)
Row 55: Ch 1, sc in each st to last 2 sts, sc2tog. Turn. (13 sc)
Row 56: Ch 1, sc2tog, sc in each st to end. Turn. (12 sc)
Row 57: Ch 1, sc in each st across. Turn
How to Crochet the Front Body Panels (Make 2)
Each front panel is half the width of the back. Both are worked identically to Row 52, then the neckline shaping differs by side.
Foundation: With Color A and 6.0 mm hook, ch 24.
Row 1 (WS): Sc in 2nd ch from hook and in each ch across. Turn. (23 sc)
Rows 2 through 52: Ch 1, sc in each st across. Turn. (23 sc each row)
Each front panel should measure approximately 5.75 inches wide by 11.5 inches tall after Row 52.
Wing Construction Overview
Each wing represents both the upper wing (larger, wider) and lower wing (smaller, more pointed) of the butterfly, joined at the body center axis. The two wings are mirror images.
Looking at the wing flat on a surface:
- Use the intarsia method for color changes. Each color section uses a separate bobbin of yarn. Drop the old color and pick up the new from below to twist yarns and avoid holes.
Foundation: With Color A and 6.0 mm hook, ch 3.
Row 1 (WS): Sc in 2nd ch from hook, sc in next ch. Turn. (2 sc)
Row 2 (RS): Ch 1, inc in first st, inc in last st. Turn. (4 sc)
Row 3: Ch 1, inc in first st, sc to last st, inc in last st. Turn. (6 sc)
Row 4: Ch 1, inc in first st, sc to last st, inc in last st. Turn. (8 sc)
Row 5: Ch 1, inc in first st, sc to last st, inc in last st. Turn. (10 sc)
Row 6: Ch 1, inc in first st, sc to last st, inc in last st. Turn. (12 sc)
Row 7: Ch 1, inc in first st, sc to last st, inc in last st. Turn. (14 sc)
Row 8: Ch 1, inc in first st, sc to last st, inc in last st. Turn. (16 sc)
Row 9: Ch 1, inc in first st, sc to last st, inc in last st. Turn. (18 sc)
Row 10: Ch 1, inc in first st, sc to last st, inc in last st. Turn. (20 sc)
All stitches in Rows 2 through 10 are worked in Color A.
Wing Colorwork Arrangement
Now begin colorwork. The color distribution is noted in brackets showing color and stitch counts.
Row 11 (RS): Ch 1, inc in first st (A: 1 st inc), sc 16 in established colors [A: 4 sts, B: 12 sts], inc in last st (B: 1 inc). Turn. (22 sc) Distribution: A: 5, B: 17.
Row 12: Ch 1, inc in first st (B), sc in each st [B: 16, A: 5], inc in last st (A). Turn. (24 sc) Distribution: A: 6, B: 18.
Continue following the pattern through Row 36, which is the narrowest point between upper and lower wing lobes (the notch). The piece should be approximately 6.25 inches wide at Row 36.
Lower Wing Lobe, Stage 2
The lower lobe fans back outward before tapering to the bottom point. Continue from Row 37 through Row 72, following the decrease pattern until you end with a single stitch at the lower wing tip.
Checkpoint: The finished wing (before border and surface work) should measure approximately 10 inches (25.5 cm) from top axis corner to bottom point, and approximately 7.75 inches (19.7 cm) at its widest point in the upper lobe.
Wing Border
With RS facing and Color E (black), join yarn at the top inner corner of the wing. Work sc evenly around the entire outer perimeter, placing 1 sc per row along straight edges, 3 sc at each outer corner, and sc2tog at each inward notch point. Do not border the inner axis edge as this will be seamed to the cardigan.
After one round of sc border, work one more round of sl st in Color E for a firm, defined black outline. Fasten off.
Make the second wing as a mirror image.
Adding Wing Veins
Using Color E and the surface slip stitch technique, add vein lines following the natural cell structure of a butterfly wing. Start at the body axis and work outward. Add secondary veins in Color B within the cell bodies for extra dimension.
Attaching Wings
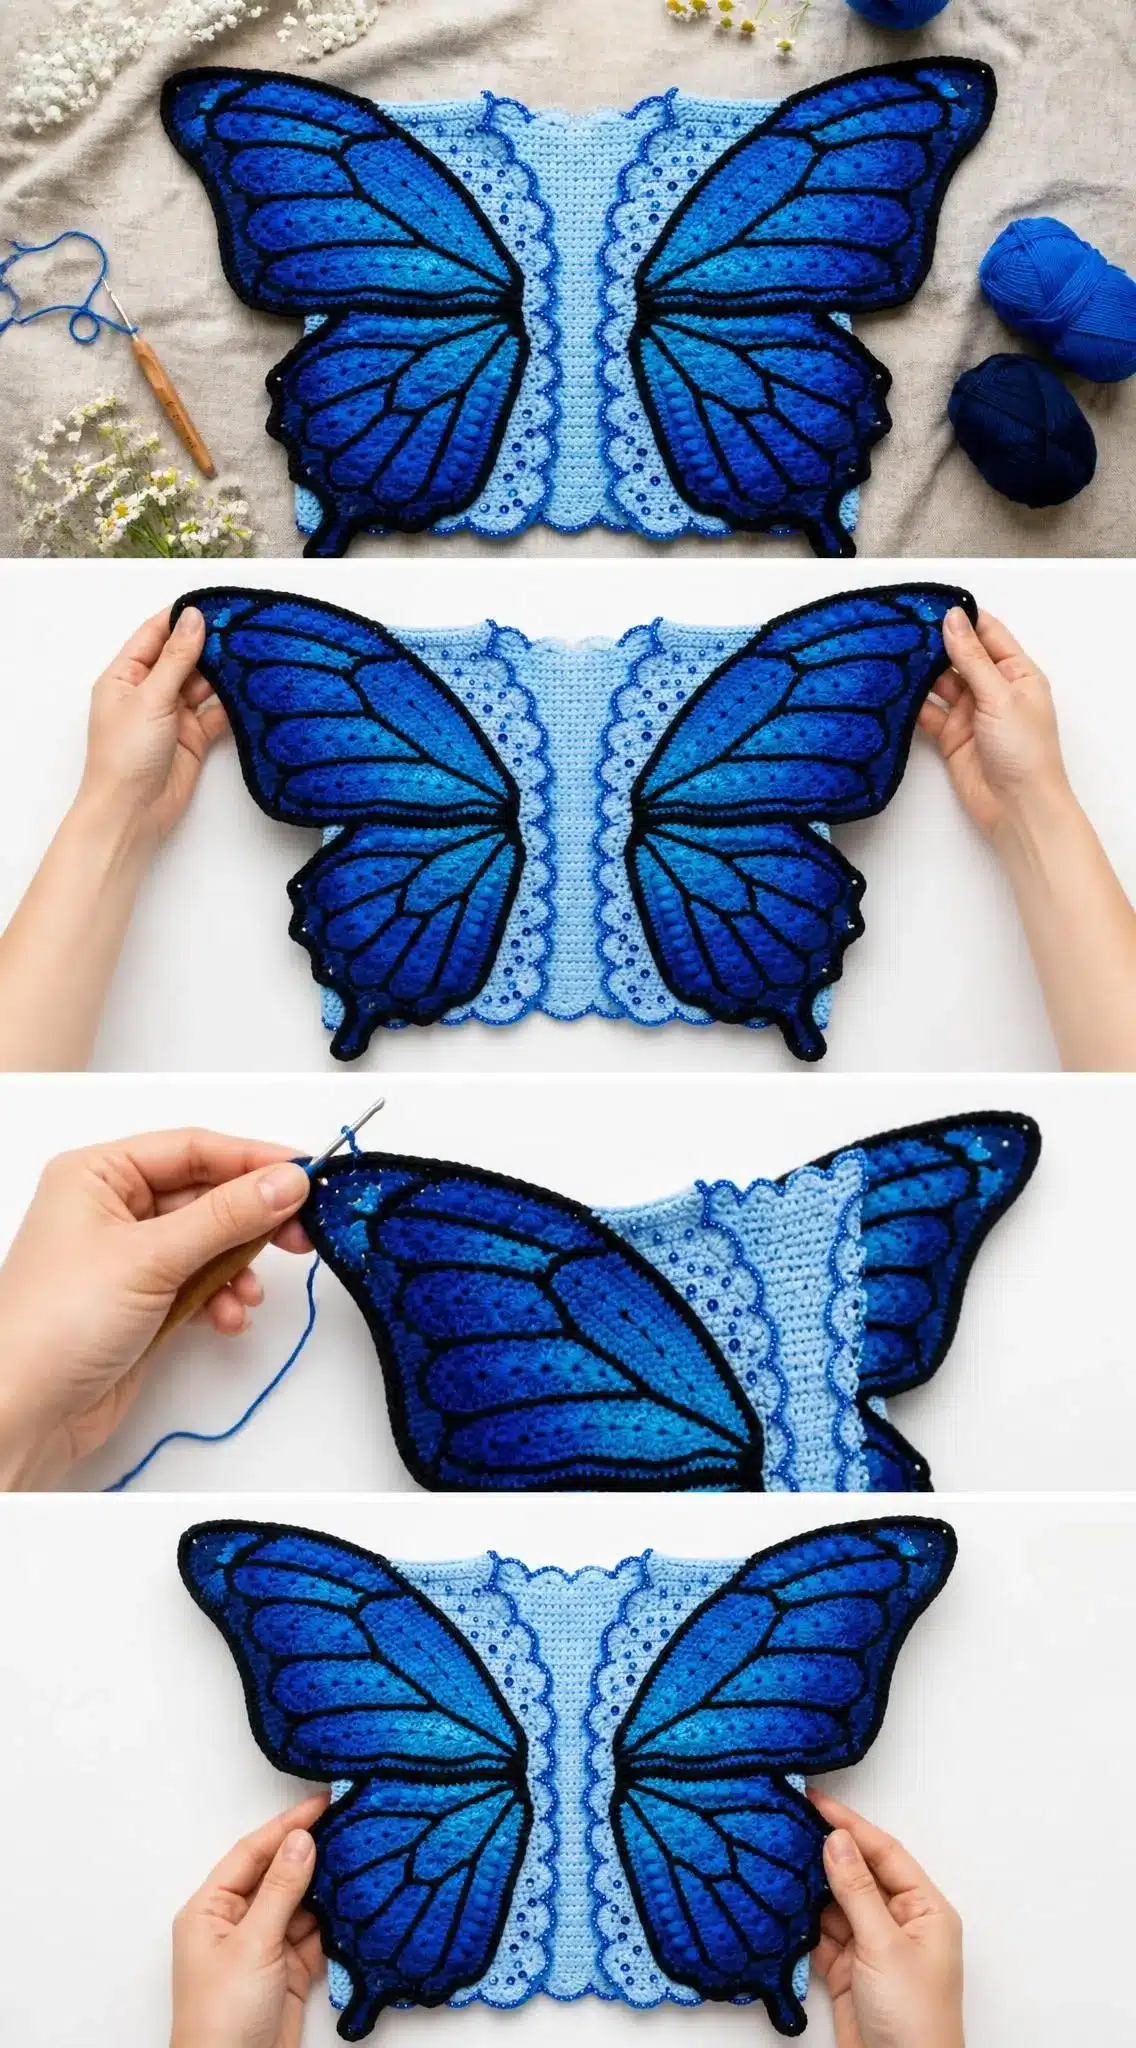
Pin each wing to the outer edge of its corresponding front body panel, with the inner axis edge of the wing aligned to the outer edge of the front panel. The wings should extend outward. Whip stitch securely in place.
Adding Beads
Using a beading needle and thread to match Color A, sew the blue seed beads along the center front edges of the cardigan for extra sparkle. This is done last, after all blocking and veining are complete.
Assembly
Seam shoulders: With tapestry needle and Color A, seam each front shoulder strap to the corresponding back shoulder strap using mattress stitch or whip stitch. Each seam joins 12 sts of front to 12 sts of back.
Do not seam the sides. The side edges remain open.
Body Neckline and Front Edge Finishing:
With RS facing and Color A, join yarn at the lower right front edge. Work sc evenly up the right front edge, across the back neckline, and down the left front edge. Place approximately 1 sc per row along vertical edges and 1 sc per stitch across the back neck.
Approximate count: 52 sc up right front, 16 sc across back neck gap, 52 sc down left front. Total approximately 120 sc. Work 3 sc in each corner stitch to turn neatly around neckline corners.
Row 2 of edging (scallop): Work scallop edge across entire front opening and neck: [Sl st in next st, ch 1, 3 dc in next st, ch 1, sl st in next st] repeat across. Fasten off.
Body Hem Finishing:
Back hem: Join Color A at lower right corner of back, ch 1, sc across 46 sts. Work scallop edge row. Fasten off.
Each front hem: Join Color A at lower corner of front panel, ch 1, sc across 23 sts. Work scallop edge row. Fasten off.
Tips
Even though this is labeled intermediate to advanced, the individual techniques are accessible. Here’s how to approach it:
- Start with the body. It’s entirely single crochet, which builds confidence before tackling the wings.
- Practice intarsia. If you’ve never done colorwork where colors are worked in blocks (not carried across), try a small swatch first. The key is twisting the yarns at each color change to prevent holes.
- Take your time with wing shaping. The increases and decreases follow a logical pattern. Use stitch markers to track your axis edge versus your outer edge.
- Don’t skip blocking. Blocking transforms the wings from floppy fabric into crisp, defined shapes ready for surface embellishment.
- Add veins last. This is actually the fun part. Once everything is blocked, the surface slip stitch goes quickly and dramatically transforms the look.
FAQs
What type of yarn should I use for the wings?
Use 100% acrylic or an acrylic-cotton blend. Avoid fuzzy or mohair yarns because the wing cell detail and surface veining require clear stitch visibility.
Do I need to seam the sides of the cardigan?
No. The sides are left open (no side seams). This open-side construction allows the wings to extend outward freely.
How do I prevent holes when changing colors in the wings?
Use the intarsia method. Drop the old color and pick up the new from below to twist yarns at each color change. Never carry Color E (black) across the back; always cut and rejoin.
When should I add the beads?
Beads are sewn on last, after all blocking and veining are complete.
Is this pattern suitable for beginners?
It is labeled intermediate to advanced. However, beginners with some patience who can work single crochet, increase, decrease, and follow a color chart can absolutely make this. The body is simple, and the wings are flat pieces with basic shaping.
Pin This Crochet Pattern!