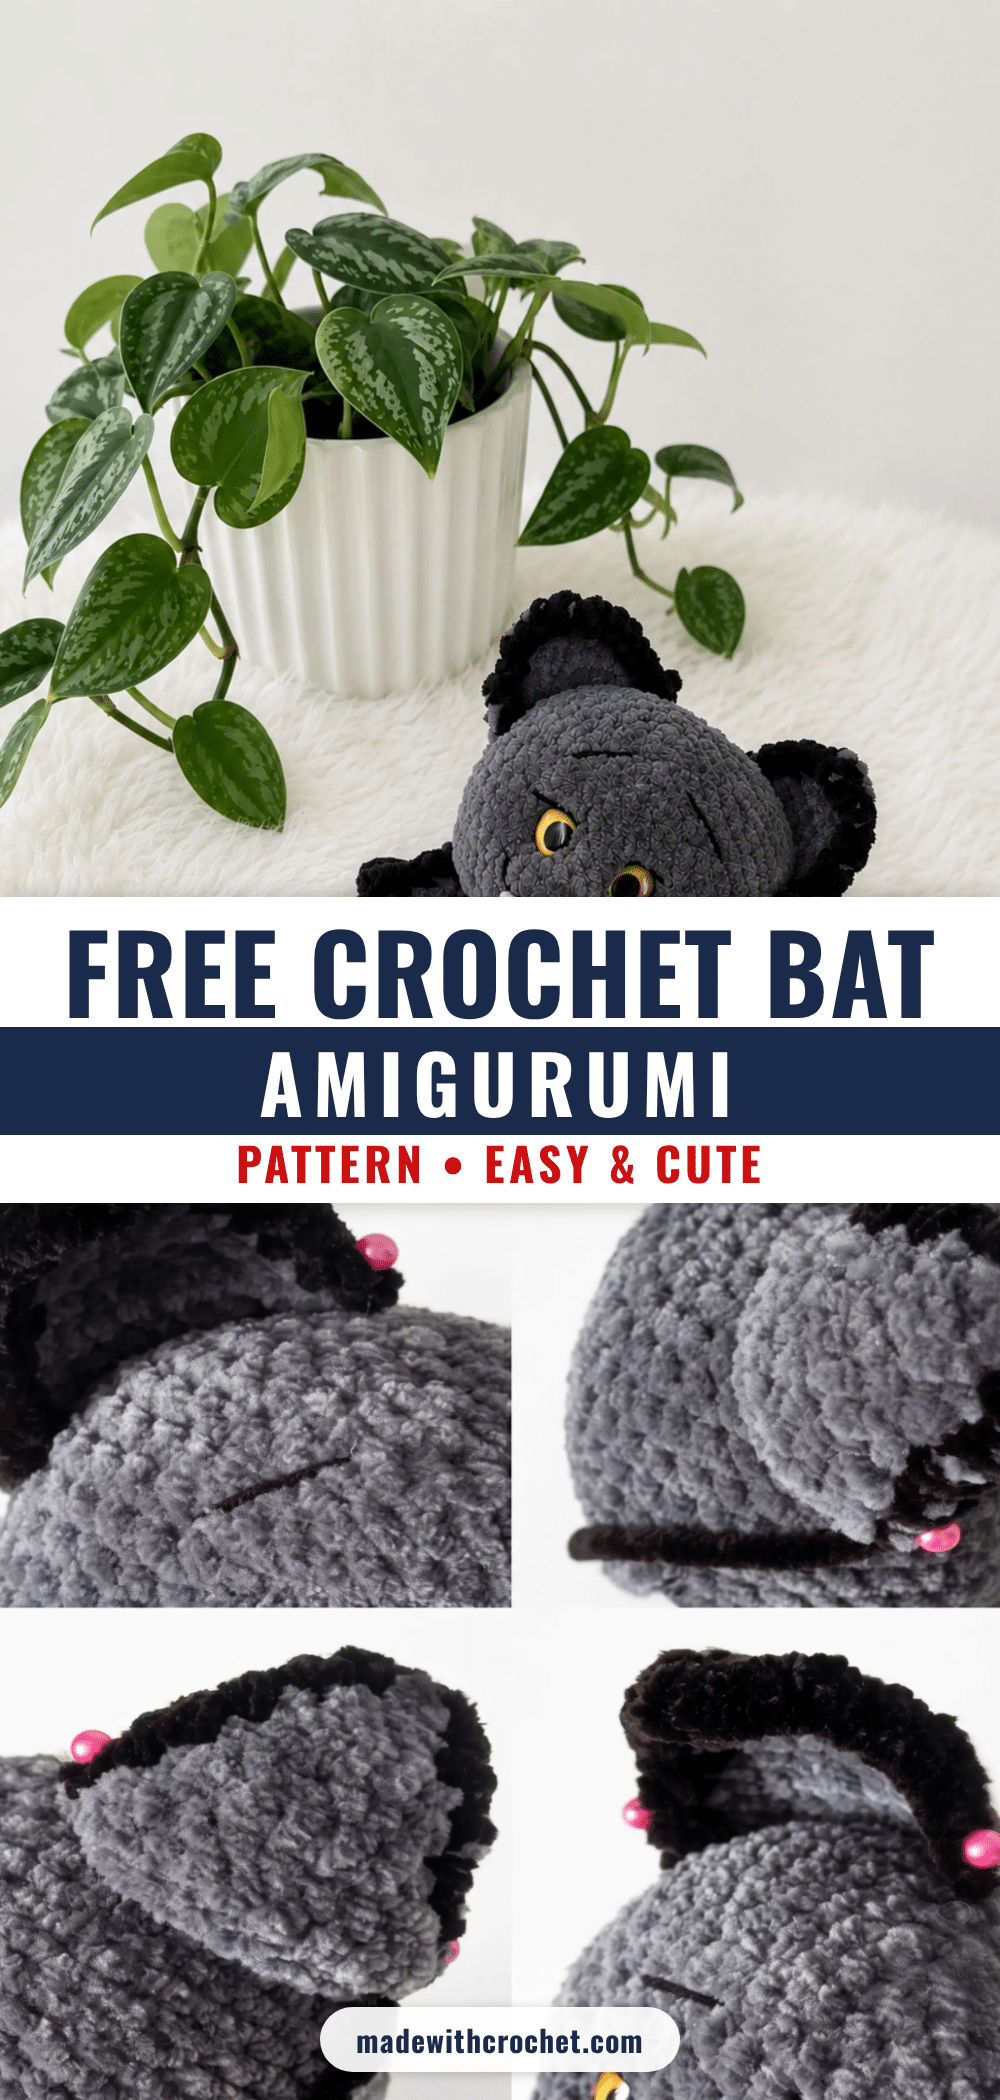
Looking for a charming handmade gift that works for Halloween, fall decor, or even a year-round desk buddy? This adorable crochet bat amigurumi pattern is the perfect project. Standing about 6 inches tall, this little bat with its round cheeks, tiny fangs, and floppy wings makes a wonderful gift for kids, a cute addition to your seasonal decor, or a popular item for craft fairs and market tables. It’s an easy amigurumi project that confident beginners will love.
Gift and Use Ideas
This little bat is incredibly versatile. Stitch one up as a thoughtful handmade gift for a Halloween-loving friend or a new baby’s first spooky season toy. Place a few on your mantelpiece alongside pumpkins for a non-scary fall display, or attach a keychain ring to turn it into an adorable bag charm. Because of its soft, plush yarn and sweet expression, it’s just as welcome in a child’s bedroom as it is on a seasonal shelf.
Project Overview
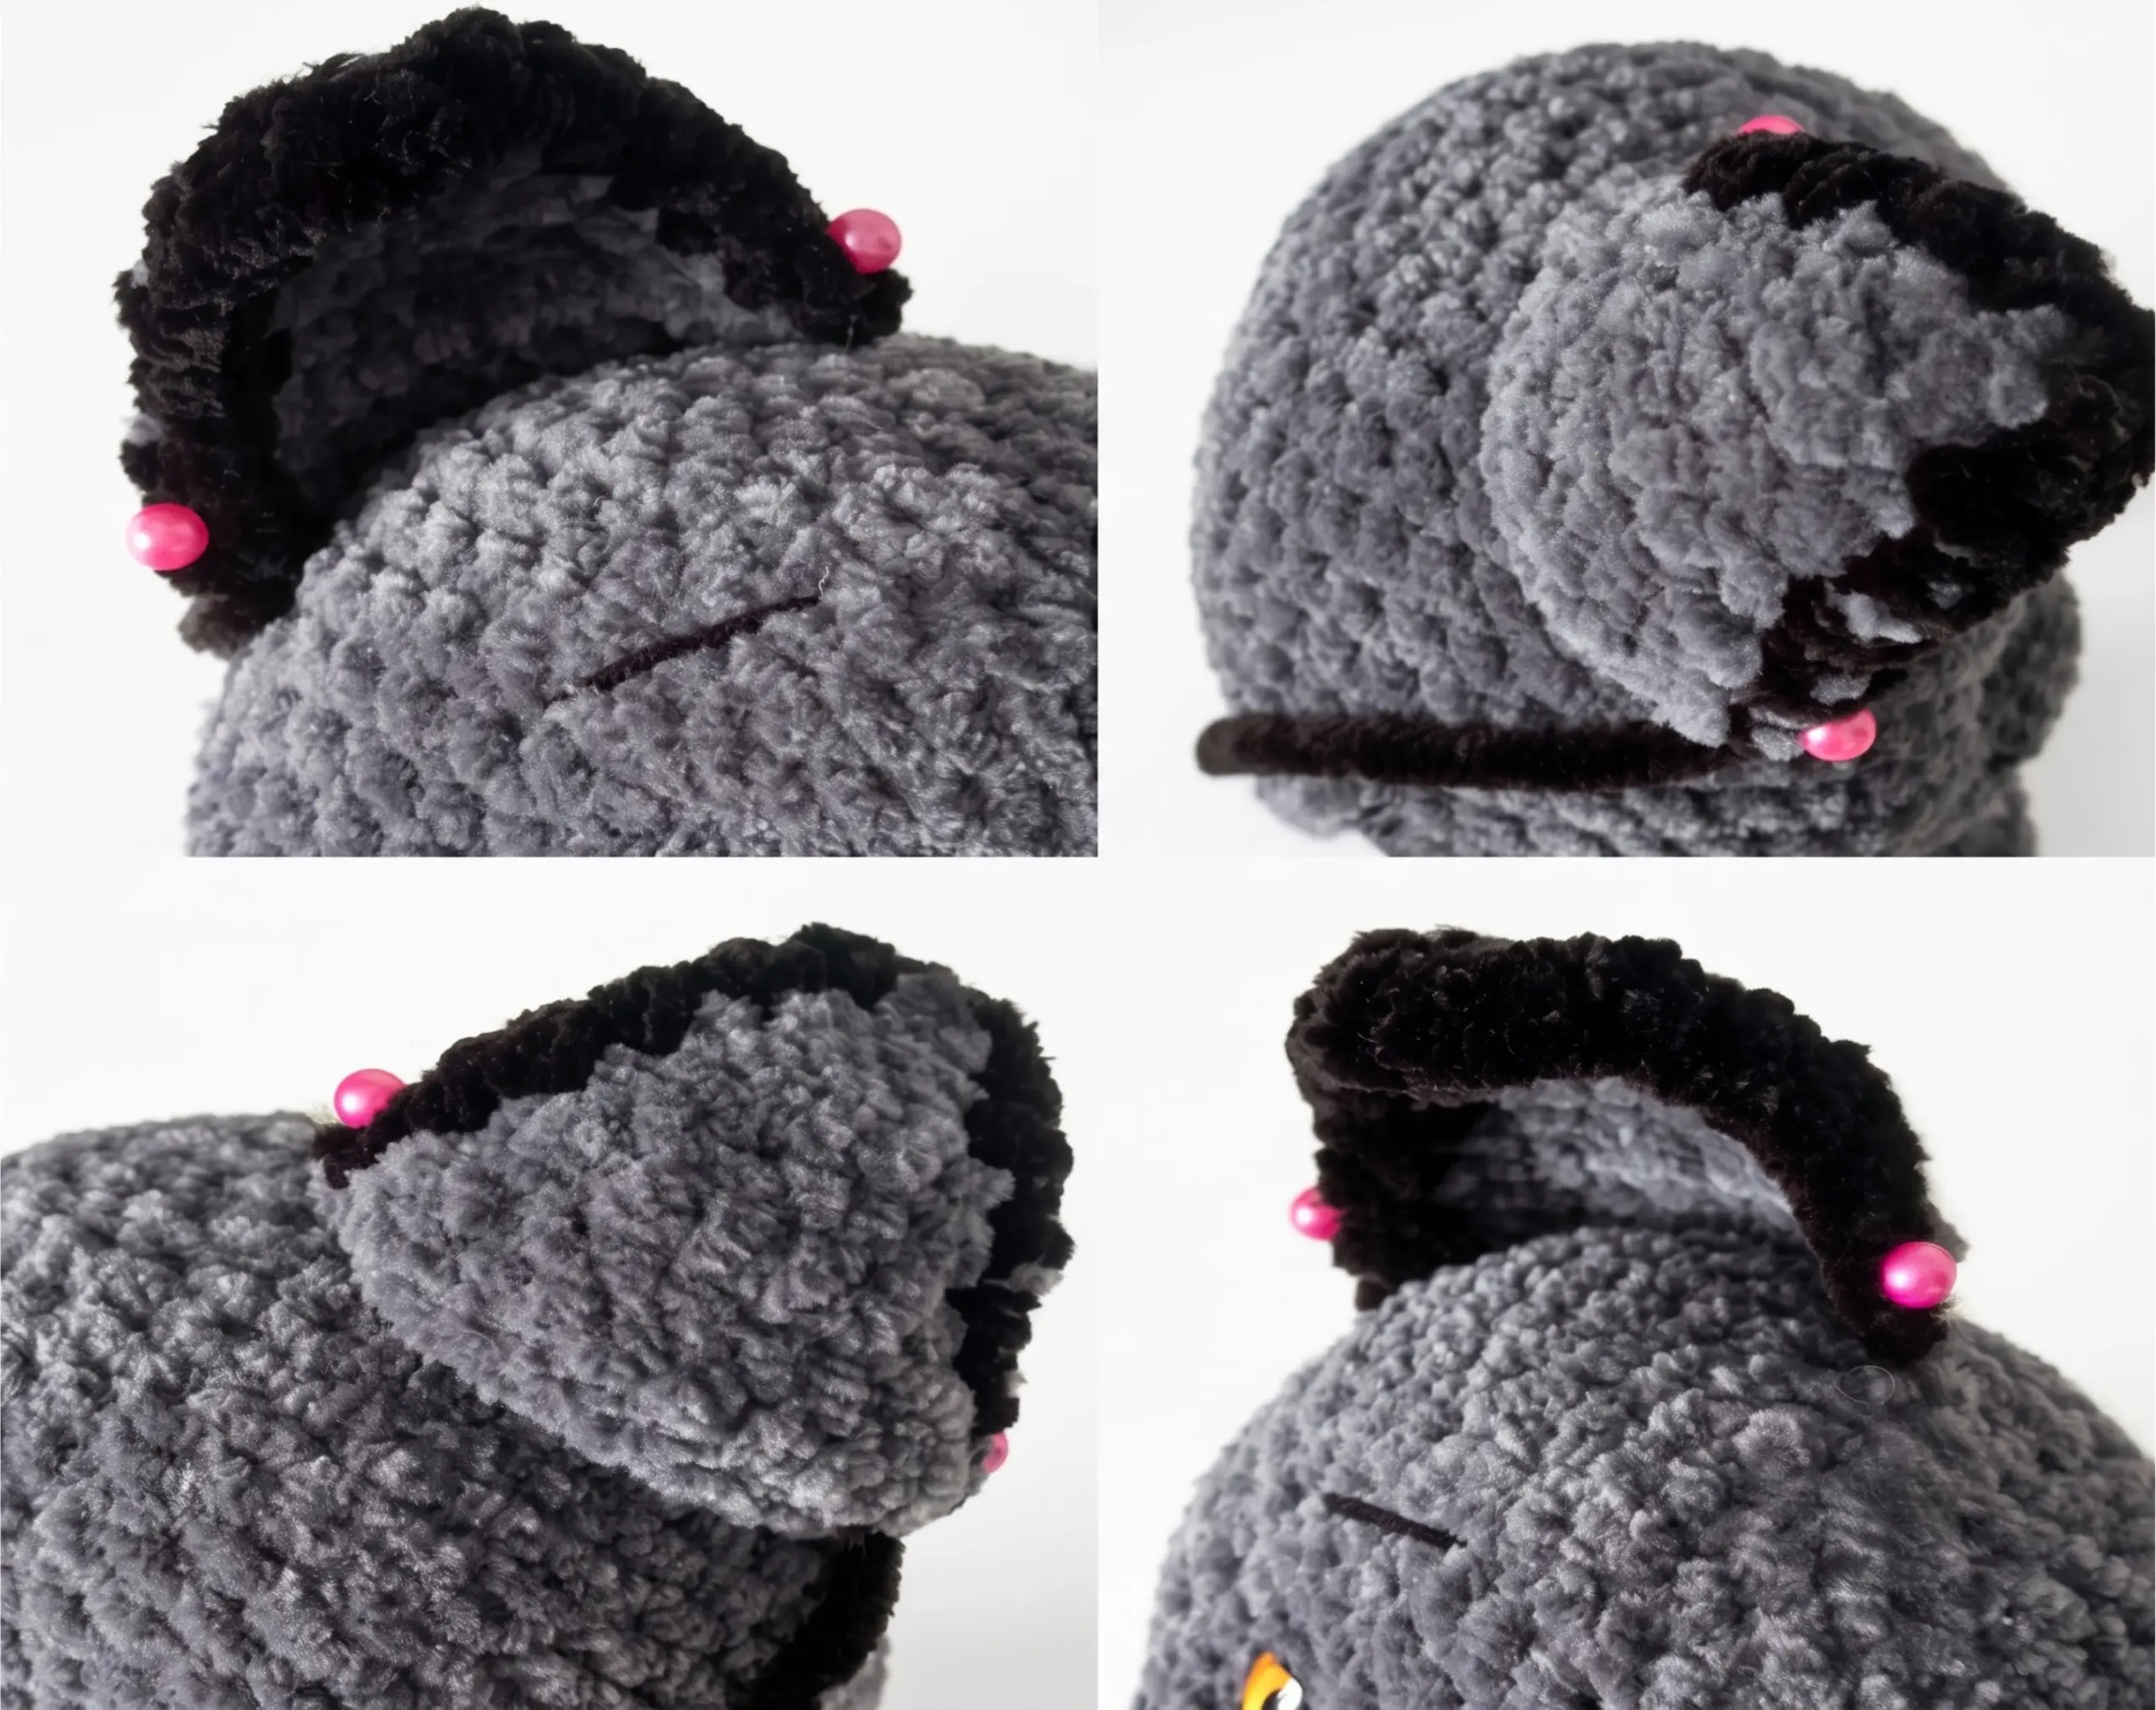
This pattern creates a 6-inch (15 cm) tall amigurumi bat using worsted weight plush yarn. The body and head are worked in one continuous spiral piece, while the wings and ears are crocheted in turned rows and sewn on. The pattern includes instructions for adding simple facial features and felt fangs for extra character.
Materials
- Yarn: Worsted weight (Category 4) plush/chenille-style yarn — gray as the main color, black as a small contrast color for the wing and ear trim
- Embroidery floss or a thin contrasting yarn for facial details (mouth, nose lines)
- Hook size US G/6 (4.5 mm), or the size needed to match your gauge
- Safety eyes, oval, 18mm x 13mm (1 pair)
- Polyester fiberfill stuffing
- Stitch marker
- Felt scraps and hot glue (or needle and thread, for fangs)
- Yarn needle
- Scissors
Abbreviations
- BLO — Back Loop Only
- ch — Chain
- dec — Decrease (invisible decrease)
- hdc — Half Double Crochet
- inc — Increase (2 sc in same stitch)
- MR — Magic Ring
- Rnd — Round
- Row — Row
- sc — Single Crochet
- sl st — Slip Stitch
- st(s) — Stitch(es)
Pattern Notes
- This pattern is written in US crochet terminology.
- The Body-Head is worked in a continuous spiral — do not join or chain at the end of each round; use a stitch marker to track the beginning of each round.
- The Wings and Ears are worked in turned rows, with a chain 1 at the end of each row that does not count as a stitch.
- Gauge is not critical for this project, but a firm fabric with no gaps helps stuffing stay contained.
- Finished height is approximately 6 inches (15 cm).
- Stitch counts are given at the end of every round or row in parentheses: (##).
- Insert the safety eyes between Rounds 23 and 24 of the Body-Head, spaced 4 single crochets apart, using the six decreases from Round 28 as your centering guide.
- Stuff firmly but evenly, adding fiberfill in small amounts as you go rather than all at once at the end.
Pattern Instructions
Body-Head
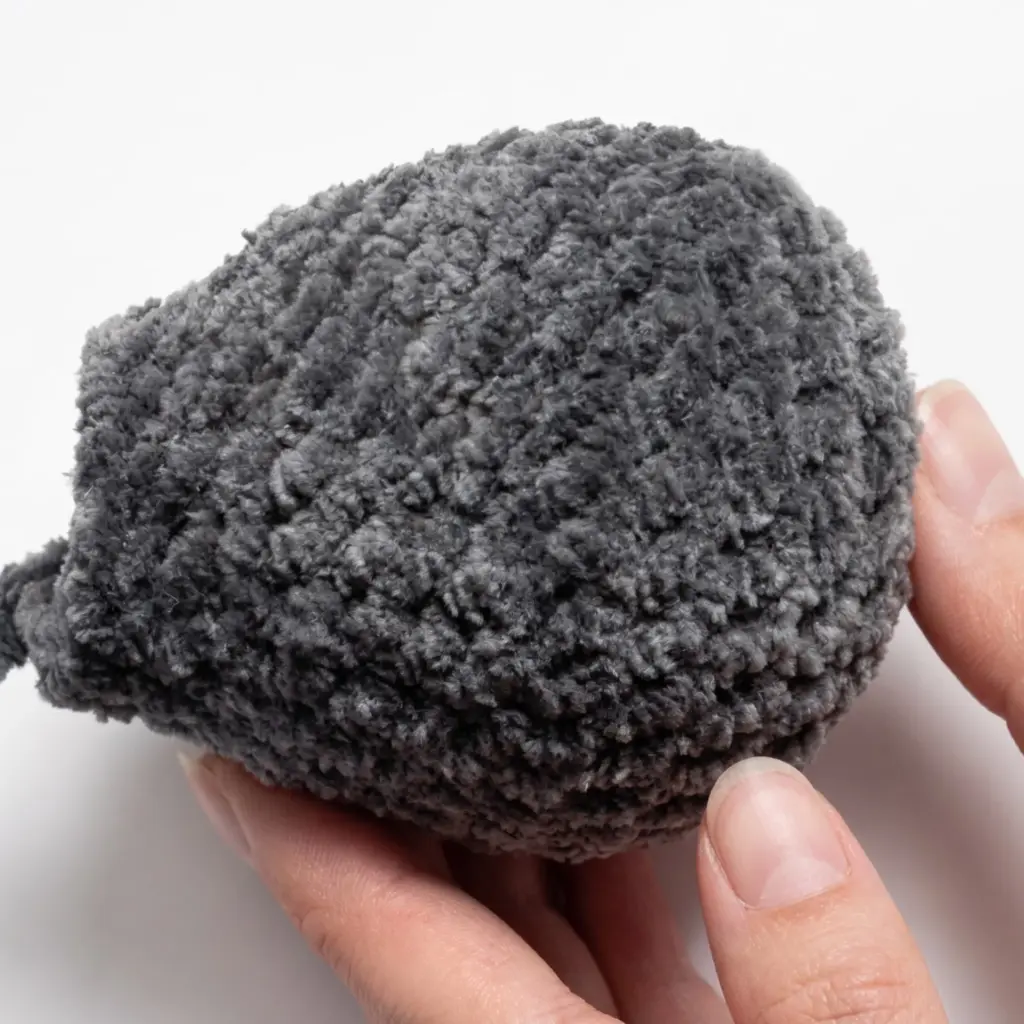
Rnd 1: 6 sc in MR. (6)
Rnd 2: inc in each st around. (12)
Rnd 3: sc, inc repeat around. (18)
Rnd 4: 1 sc, inc, 2 sc, inc repeat 5 times, 1 sc. (24)
Rnd 5: 3 sc, inc repeat around. (30)
Rnds 6–8: sc in each st around. (30)
Rnd 9: 9 sc, 6 dec, 9 sc. (24)
Rnds 10–12: sc in each st around. (24)
Rnd 13: 1 sc, dec, 2 sc, dec repeat 5 times, 1 sc. (18)
Stuff the body firmly at this point.
Rnd 14: 4 sc, dec repeat 3 times. (15)
Rnd 15: sc in each st around. (15)
Rnd 16: inc in each st around. (30)
Rnd 17: 2 sc, inc, 4 sc, inc repeat 5 times, 2 sc. (36)
Rnd 18: 5 sc, inc repeat around. (42)
Rnd 19: 3 sc, inc, 6 sc, inc repeat 5 times, 3 sc. (48)
Rnds 20–26: sc in each st around. (48)
Rnd 27: 3 sc, dec, 6 sc, dec repeat 5 times, 3 sc. (42)
Rnd 28: 5 sc, dec repeat 6 times. (36) These six decreases mark the belly center — use them to line up the eyes evenly.
Rnd 29: 2 sc, dec, 4 sc, dec repeat 5 times, 2 sc. (30)
Stuff firmly. Attach the safety eyes now, between Rounds 23 and 24, spaced 4 stitches apart.
Rnd 30: 3 sc, dec repeat 6 times. (24)
Rnd 31: 1 sc, dec, 2 sc, dec repeat 5 times, 1 sc. (18)
Rnd 32: 1 sc, dec repeat 6 times. (12)
Stuff firmly.
Rnd 33: 6 dec. (6)
Fasten off, leaving a long tail for closing the head.
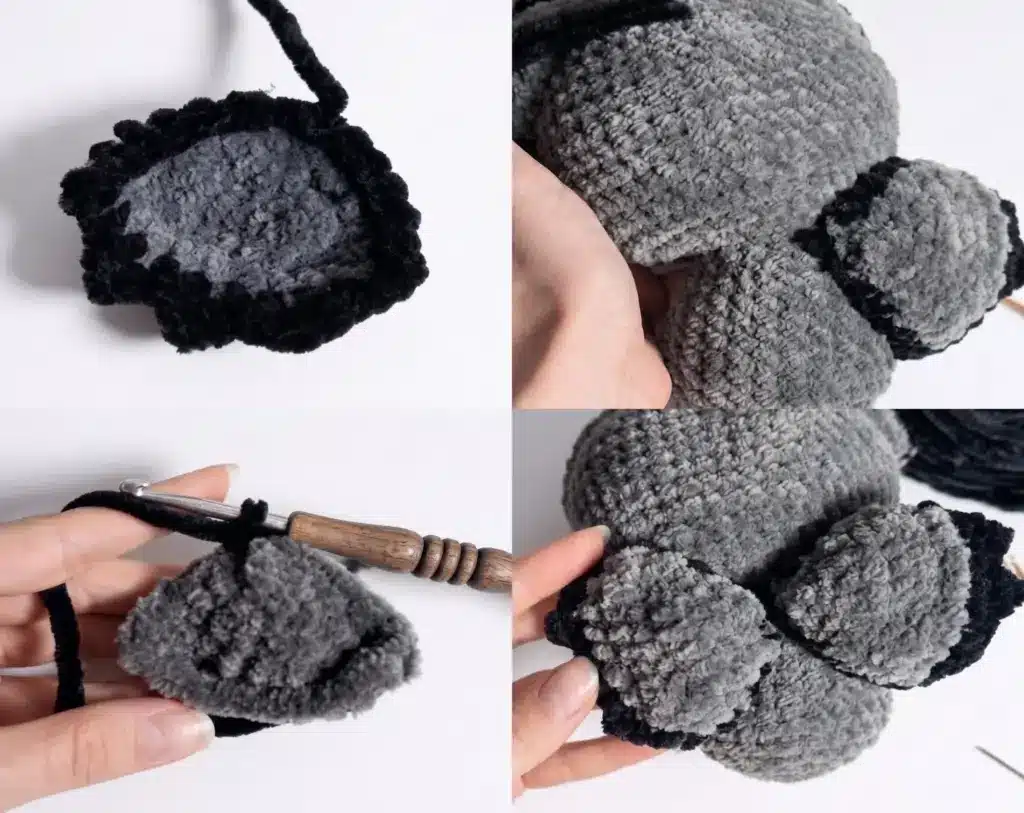
Wings (make 2)
Row 1: Ch 11, turn.
Row 2: sc in 2nd ch from hook and each st across, ch 1, turn. (10)
Row 3: dec, 6 sc, dec, ch 1, turn. (8)
Row 4: dec, 4 sc, dec, ch 1, turn. (6)
Row 5: dec, 2 sc, dec, ch 1, turn. (4)
Row 6: dec twice. (2)
Row 7: Ch 1, work 5 sc evenly along the side edge, ch 1, 8 sc across the foundation chain, ch 1, dec, switch to black yarn here, or continue in gray, 5 sc, then ch 2, turn, sc in the ch-1 space, continue with 2 sc along the established edge repeat 4 times, ch 2, turn, sc in the ch-1 space, 5 sc along the remaining side edge, sl st in first sc, sl st. Fasten off, leaving a tail for sewing.
Ears (make 2)
Row 1: Ch 11, turn. Leave a long starting tail for sewing before beginning the chain.
Row 2: sc in 2nd ch from hook and each st across, ch 1, turn. (10)
Row 3: dec, 6 sc, dec, ch 1, turn. (8)
Row 4: dec, 4 sc, dec, ch 1, turn. (6)
Row 5: sc in each st across, ch 1, turn. (6)
Row 6: dec, 2 sc, dec, ch 1, turn. (4)
Row 7: dec twice, ch 1, turn. (2)
Row 8: dec, sl st. (1)
Fasten off.
Edging: Working in black or gray yarn, start at the corner of Row 1: sl st, sc along the side edge, 6 sc, inc at the tip, 6 sc, sl st. Fasten off, leaving a tail for sewing.
Assembly
- Weave in the tail at the top of the Body-Head to close any remaining gap, cinching it closed if needed.
- Complete the facial cinching by threading a needle with yarn and following the tension points described in your reference photos to shape the muzzle and set the eyes snugly into the face — pull each pass tight and knot securely before moving to the next.
- Position the two Wings on either side of the body, between Rounds 13 and 15, and sew them in place using the yarn tail left on each wing, whipstitching around the straight edge.
- Position the two Ears on top of the head, between Rounds 23 and 32, and sew them in place using the yarn tail left on each ear, matching them symmetrically on either side of center.
- Using embroidery floss, stitch a simple mouth line and nose details onto the face for extra character.
- Cut small white felt triangles for fangs and attach them beneath the mouth with hot glue, or sew them on by hand for a more secure hold.
- Weave in all remaining yarn ends throughout the piece.
Tips
- Work your single crochet stitches with consistent, snug tension throughout the Body-Head — a looser gauge will let stuffing peek through and make the decrease rounds harder to shape cleanly. If you’re new to invisible decreases, practice a few on scrap yarn first; inserting your hook under only the front loops of the next two stitches, rather than through both loops of both stitches, keeps the decrease from creating a visible bump.
- Stuff in small handfuls as you go rather than waiting until the piece is fully closed. Adding stuffing gradually lets you feel for lumps and gaps while you still have an opening to fix them, and it keeps the finished shape rounder and firmer.
- If you substitute yarn, stick with a worsted weight plush or chenille-style yarn to match the soft, plump look of the original — a thinner or smoother yarn will change the proportions and make the stitch definition more visible than intended, which isn’t necessarily a problem, just a different finished look.
- When sewing the Wings and Ears to the body, pin them in place first and step back to check the placement is even on both sides before you commit to stitching. Whipstitching through the very edge stitches, rather than deep into the fabric, keeps your seams nearly invisible.
- The facial cinching step is the trickiest part of this pattern. Take it slowly, keep your tension points labeled or marked with stitch markers as you go, and don’t be afraid to loosen and retry the tightening pass if the face doesn’t look symmetrical the first time.
Frequently Asked Questions
What size hook and yarn do I need for this crochet bat pattern?
This pattern uses worsted weight (Category 4) plush or chenille-style yarn paired with a US G/6 (4.5 mm) crochet hook. You can size up or down slightly to match your gauge, but keep in mind that a different hook size will change the finished height, which is approximately 6 inches with the materials listed.
Is this amigurumi bat pattern good for beginners?
Yes, this pattern is well suited to confident beginners who already know how to work a magic ring, single crochet, increases, and decreases. The invisible decrease technique is used, but it’s easy to learn with a little practice on scrap yarn first.
Can I use different yarn for this pattern?
You can substitute yarn, but for the best results, stick with a worsted weight plush or chenille-style yarn. A thinner or smoother yarn will change the proportions and make the stitch definition more visible, giving a different finished look.
How do I attach the safety eyes securely?
Insert the safety eyes between Rounds 23 and 24 of the Body-Head, spaced 4 single crochets apart. Use the six decreases from Round 28 as your centering guide to ensure they are evenly placed. Push the backing on firmly from the inside of the head before stuffing.
What is facial cinching and why is it important?
Facial cinching is a technique used to shape the muzzle and set the eyes more deeply into the face, giving the bat a more defined and expressive look. It involves threading a needle with yarn and pulling at specific tension points to create the desired shape. Take it slowly and use stitch markers to mark your tension points.
How do I make the fangs for the bat?
Cut small white felt triangles for the fangs and attach them beneath the mouth line using hot glue. For a more secure hold, you can sew them on by hand with a needle and thread.
Pin This Crochet Pattern!