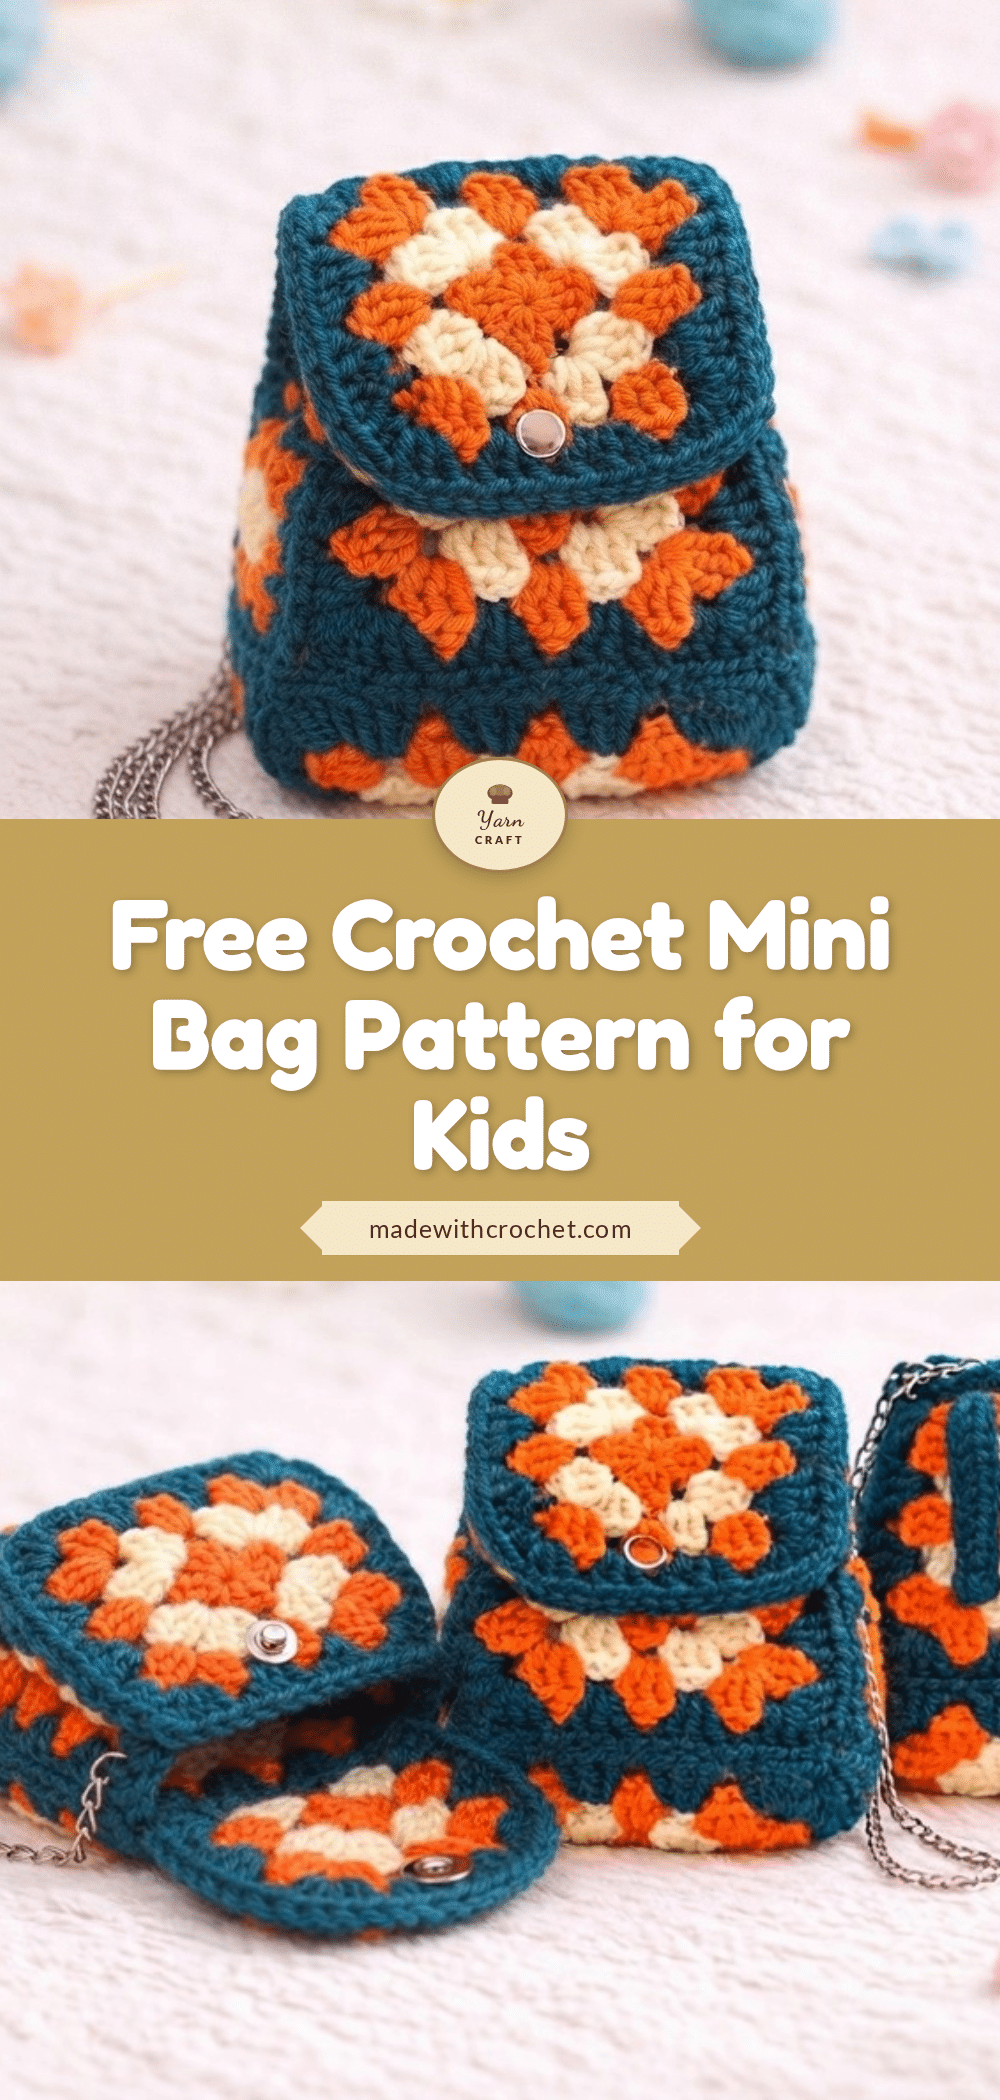
There is something so satisfying about a crochet project that comes together quickly and looks absolutely charming. This free crochet kids mini bag pattern is a perfect example, built from six simple granny squares. The real magic happens in the details: the neat, invisible joins that create a polished finish, the satisfying boxy shape that emerges as you seam the sides, and the little touches like a keychain loop and a snap button. It’s the kind of project that makes you want to keep going, just to see the next row of stitches take form.
Texture and Stitch Notes
This pattern is a wonderful showcase for the classic granny square. The open, airy texture of the squares is balanced by the sturdy, structured shape of the finished bag. The choice of yarn colors is where you can really make this project your own. A bright, solid color creates a playful, modern look, while a mix of coordinating shades gives it a more vintage feel. The invisible join technique is the star here, creating a nearly seamless connection between squares that elevates the entire project from simple to special. This bag is perfect for a child’s first “purse,” a cute gift for a friend, or a quick, satisfying make for yourself.
Project Overview
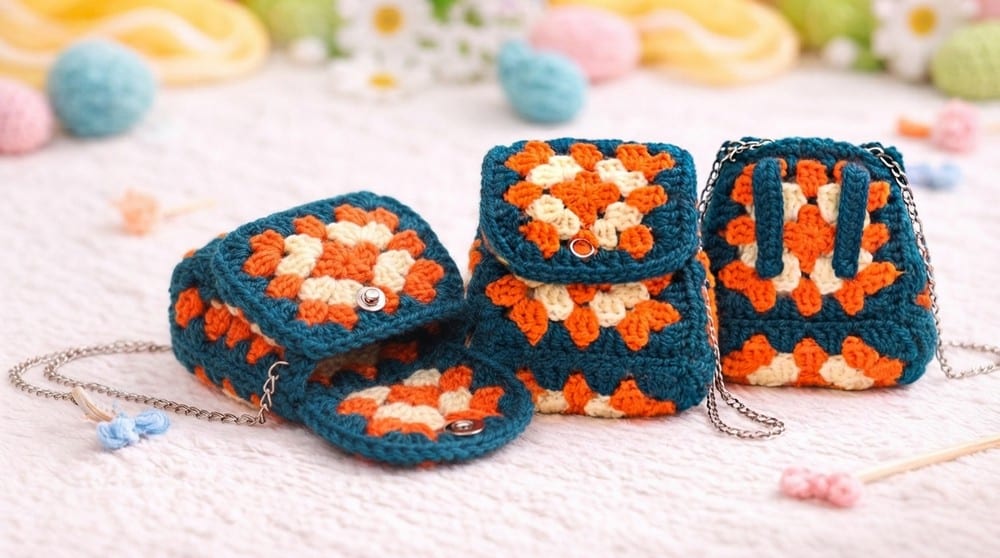
This pattern guides you through making a charming mini crochet bag using six granny squares. You’ll learn how to join the squares for a seamless finish, attach a flap, and create sturdy straps, resulting in a practical and cute accessory.
Materials
- Worsted weight yarn in your choice of colors
- Crochet hook suitable for yarn (usually 3.5mm–4mm)
- Tapestry needle for joining and weaving ends
- Scissors
- Press button or snap fastener
- Optional: keychain ring
Gauge and Finished Size
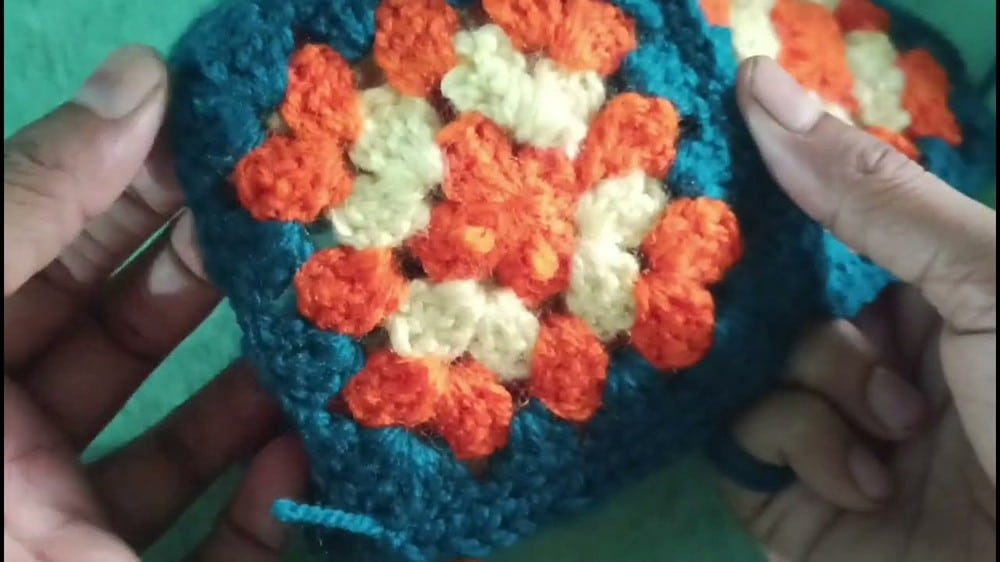
Gauge: Not critical; just ensure all six granny squares match in size.
Finished Size: Each granny square: approx. 8-9 cm (3-3.5″) square. Finished bag: approx. 12 x 12 x 8 cm (not including straps).
Skill Level
Beginner to Adventurous Beginner (must be familiar with basic granny squares and simple joining).
Abbreviations
- ch – chain
- sl st – slip stitch
- sc – single crochet
- hdc – half double crochet
- st – stitch
- BLO – back loop only
- FLO – front loop only
Pattern Notes
- Keep all granny squares the same size for best results.
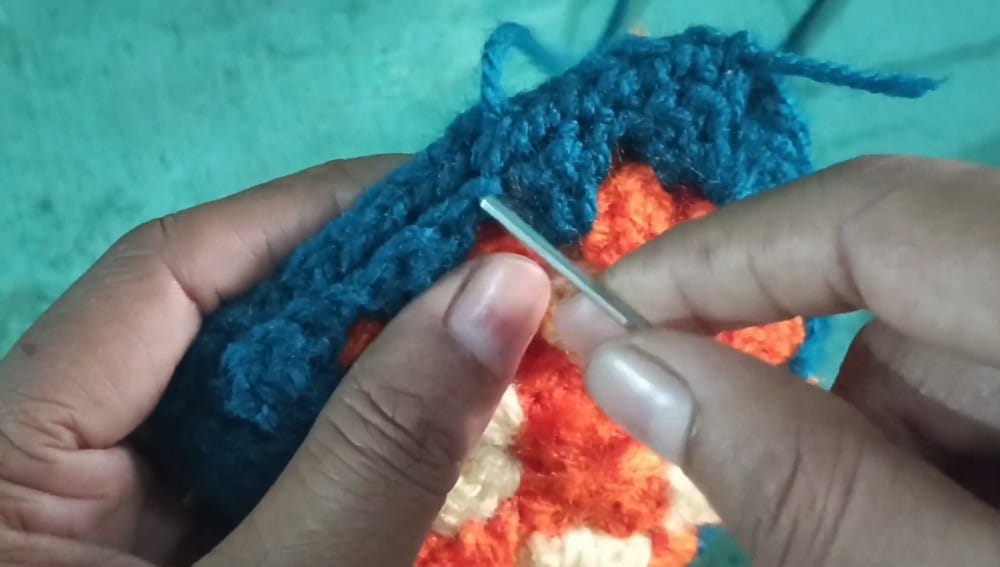
- Use an invisible joining method by working into the back loop of one square and front loop of the adjacent square.
- Assemble the bag inside-out for a neater exterior finish.
- Adjust strap length as needed for different uses.
Special Stitches
Invisible Join: Work through BLO of one square, FLO of adjacent square to create a nearly seamless join between granny squares.
Pattern Instructions
1. Preparation
Crochet or gather six identical granny squares in your preferred style and color.
2. Joining the Squares
Join the Bottom and Sides
Arrange five squares: one for the base (bottom), four for the sides. Step-by-step: Lay the base piece flat. Attach each of the four side-squares, one per edge of the base. Hold squares with wrong sides facing out (you’re working inside out for a cleaner outside finish). Use the invisible join: Insert hook in the back loop of the base square and the front loop of the side square. Slip stitch to join the edges. Continue this process for each bottom/side joint. Then, join adjacent sides together the same way. Continue until all sides are joined, forming a box shape.
Seaming the Sides
Keep the bag inside out as you work. After all joins are complete, turn the bag right side out.
3. Attaching the Top Flap
With leftover yarn from joining, attach the sixth (top) granny square to one side of the bag. Secure only one edge of the flap to the back upper edge of the bag.
4. Adding Straps
Make the first strap: Attach yarn to the bottom edge of one back-side corner. Ch 12 (or 10-11 for a shorter handle). Attach chain to the top of the bag. Work hdc back down the chain for a sturdy strap. Fasten off securely. Repeat for the second strap on the opposite side.
5. Finishing Touches
Keychain Loop: At the top edge, ch 4, join with a slip stitch to the same spot to create a loop.
Add a Press Button: Sew a press/snap button to the front of the bag for secure closure.
Assembly
Ensure all squares and straps are securely joined. Weave in all ends. Attach keychain ring if desired. Attach snap button. Final bag size is approx. 12 x 12 x 8 cm (variable based on granny square size).
Tips
- For a truly polished look, take your time with the invisible join. It’s worth the extra care.
- If you want a longer strap, simply chain more stitches at the start.
- Block your granny squares before joining to ensure they are all exactly the same size.
Frequently Asked Questions
Can I use a different type of yarn?
Yes, you can use any worsted weight yarn. Just be sure to use the recommended hook size for your chosen yarn and check that all your squares match in size.
How do I make the invisible join?
Work a slip stitch through the back loop only of one square and the front loop only of the adjacent square. This creates a nearly invisible seam on the right side.
Can I make the bag larger?
Absolutely. You can make larger granny squares by adding more rounds, or you can use more squares to create a bigger bag. Just keep all squares the same size.
What is the best way to attach the snap button?
Sew the snap button securely to the front of the bag, using a tapestry needle and matching yarn. Make sure it is centered and aligned with the flap for a proper closure.
Can I add a lining to the bag?
Yes, adding a fabric lining is a great way to give the bag more structure and prevent small items from slipping through the granny square holes.
How do I care for my finished bag?
Hand wash your bag in cool water with a mild detergent, and lay it flat to dry. This will help it keep its shape and color.
Pin This Crochet Pattern!