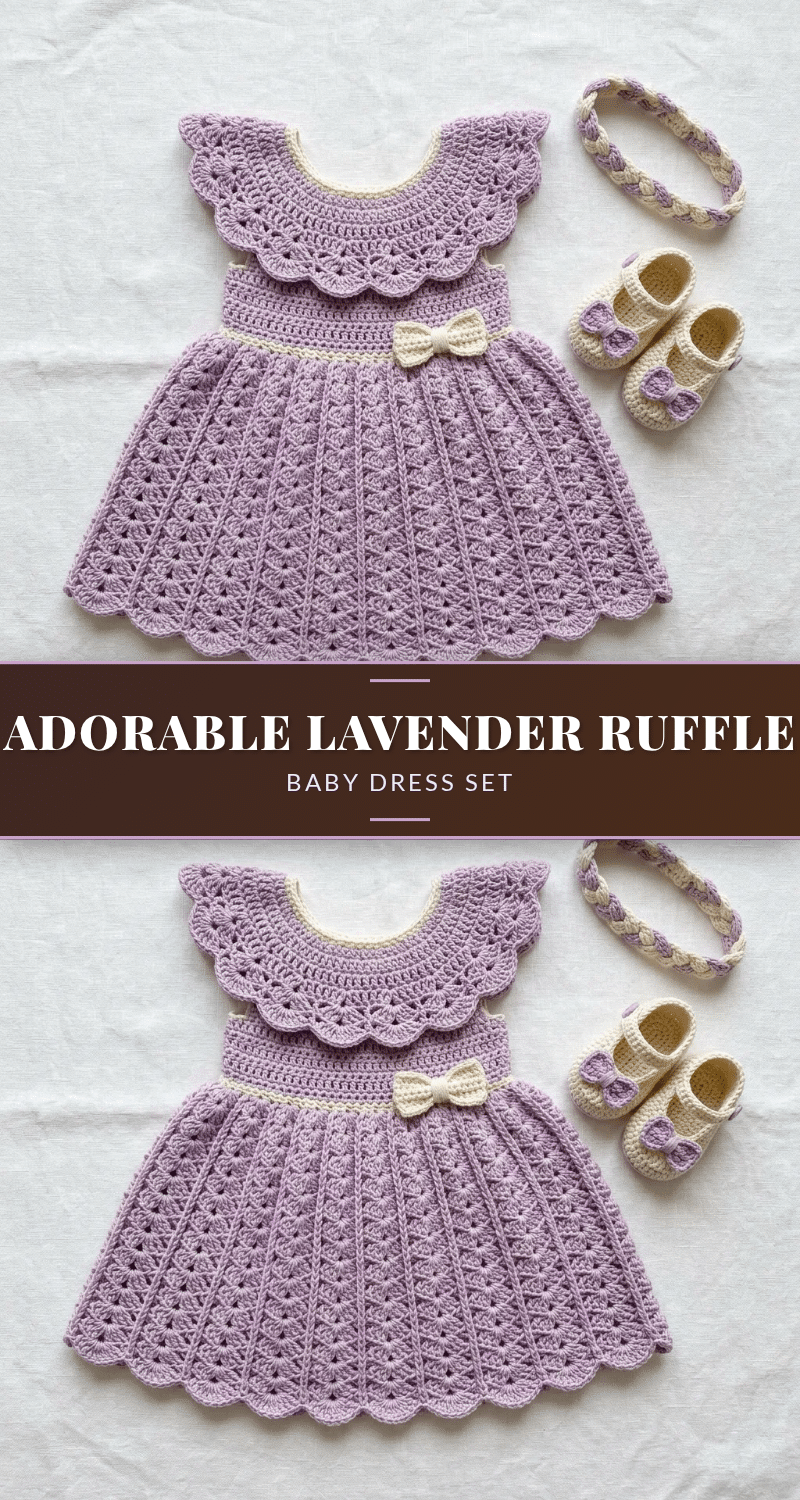
There is nothing quite like the joy of gifting a handmade heirloom that captures a moment in time. This Adorable Lavender Ruffle Baby Dress Set is the ultimate gift for a new arrival, offering a blend of vintage elegance and modern ease. Whether you are preparing for a baby shower, a christening, or simply want to create a keepsake for your own little one, this coordinated set—including a flowing dress, a braided headband, and Mary Jane booties—provides a beautiful way to share your craft. It is a project that rewards patience with a stunning, professional-looking result that will be cherished for years.
Gift and Use Ideas
While the lavender and cream color palette is timeless, the versatility of this set allows for creative styling. The soft DK yarn makes it perfect for spring and summer events, but the layering potential allows it to work year-round. The dress features a practical back button closure, making it easy to dress a wiggly baby. Beyond the main outfit, the coordinating booties and headband make for excellent “photo props” for milestone pictures. You can also use the remaining yarn to create matching accessories for a twin set or swap the lavender for a soft pink or mint green to match nursery themes. The ruffle collar adds a touch of formality suitable for family gatherings, while the comfortable fit ensures the baby remains happy.
Project Overview
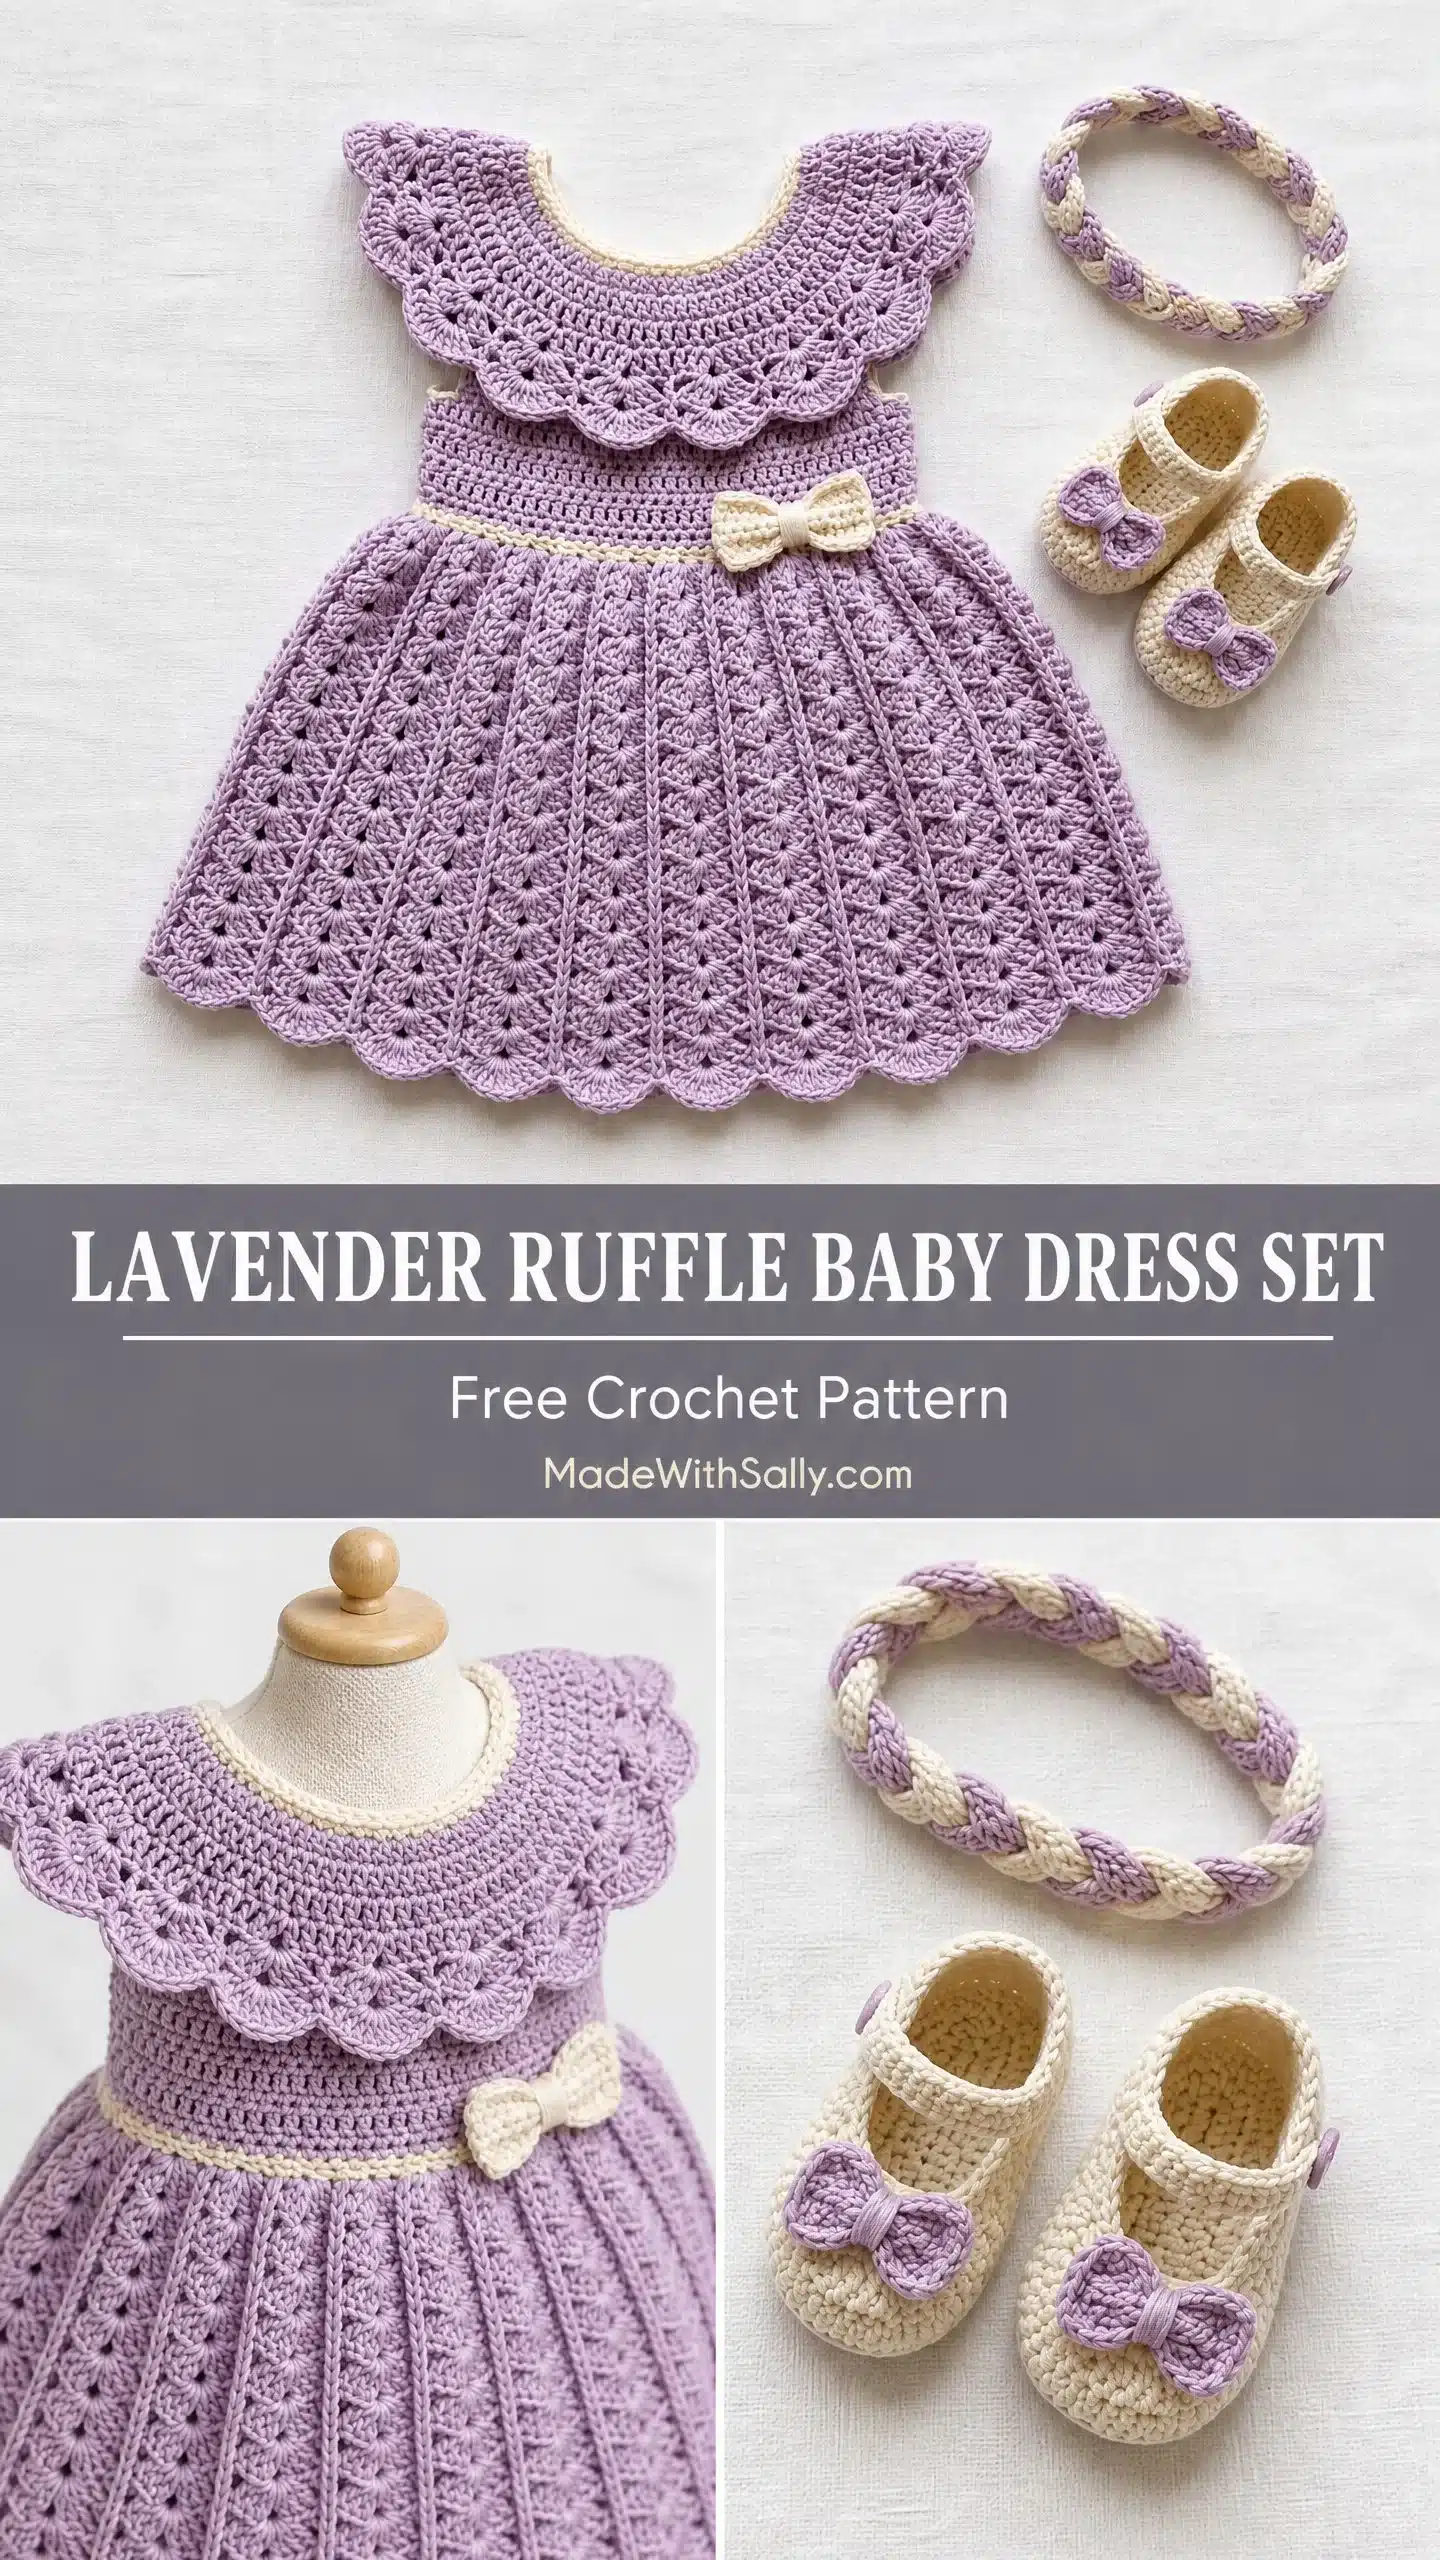
This wearable set is designed for babies aged 3 to 6 months. It features a top-down yoke construction for the dress, allowing for adjustable length, and a fan-stitch skirt for an elegant drape. The set includes three distinct components: the dress, a headband (with two construction options), and a pair of Mary Jane booties. The project utilizes basic stitches but requires attention to stitch counts and color changes, making it a rewarding challenge for intermediate crocheters.
Materials
Yarn
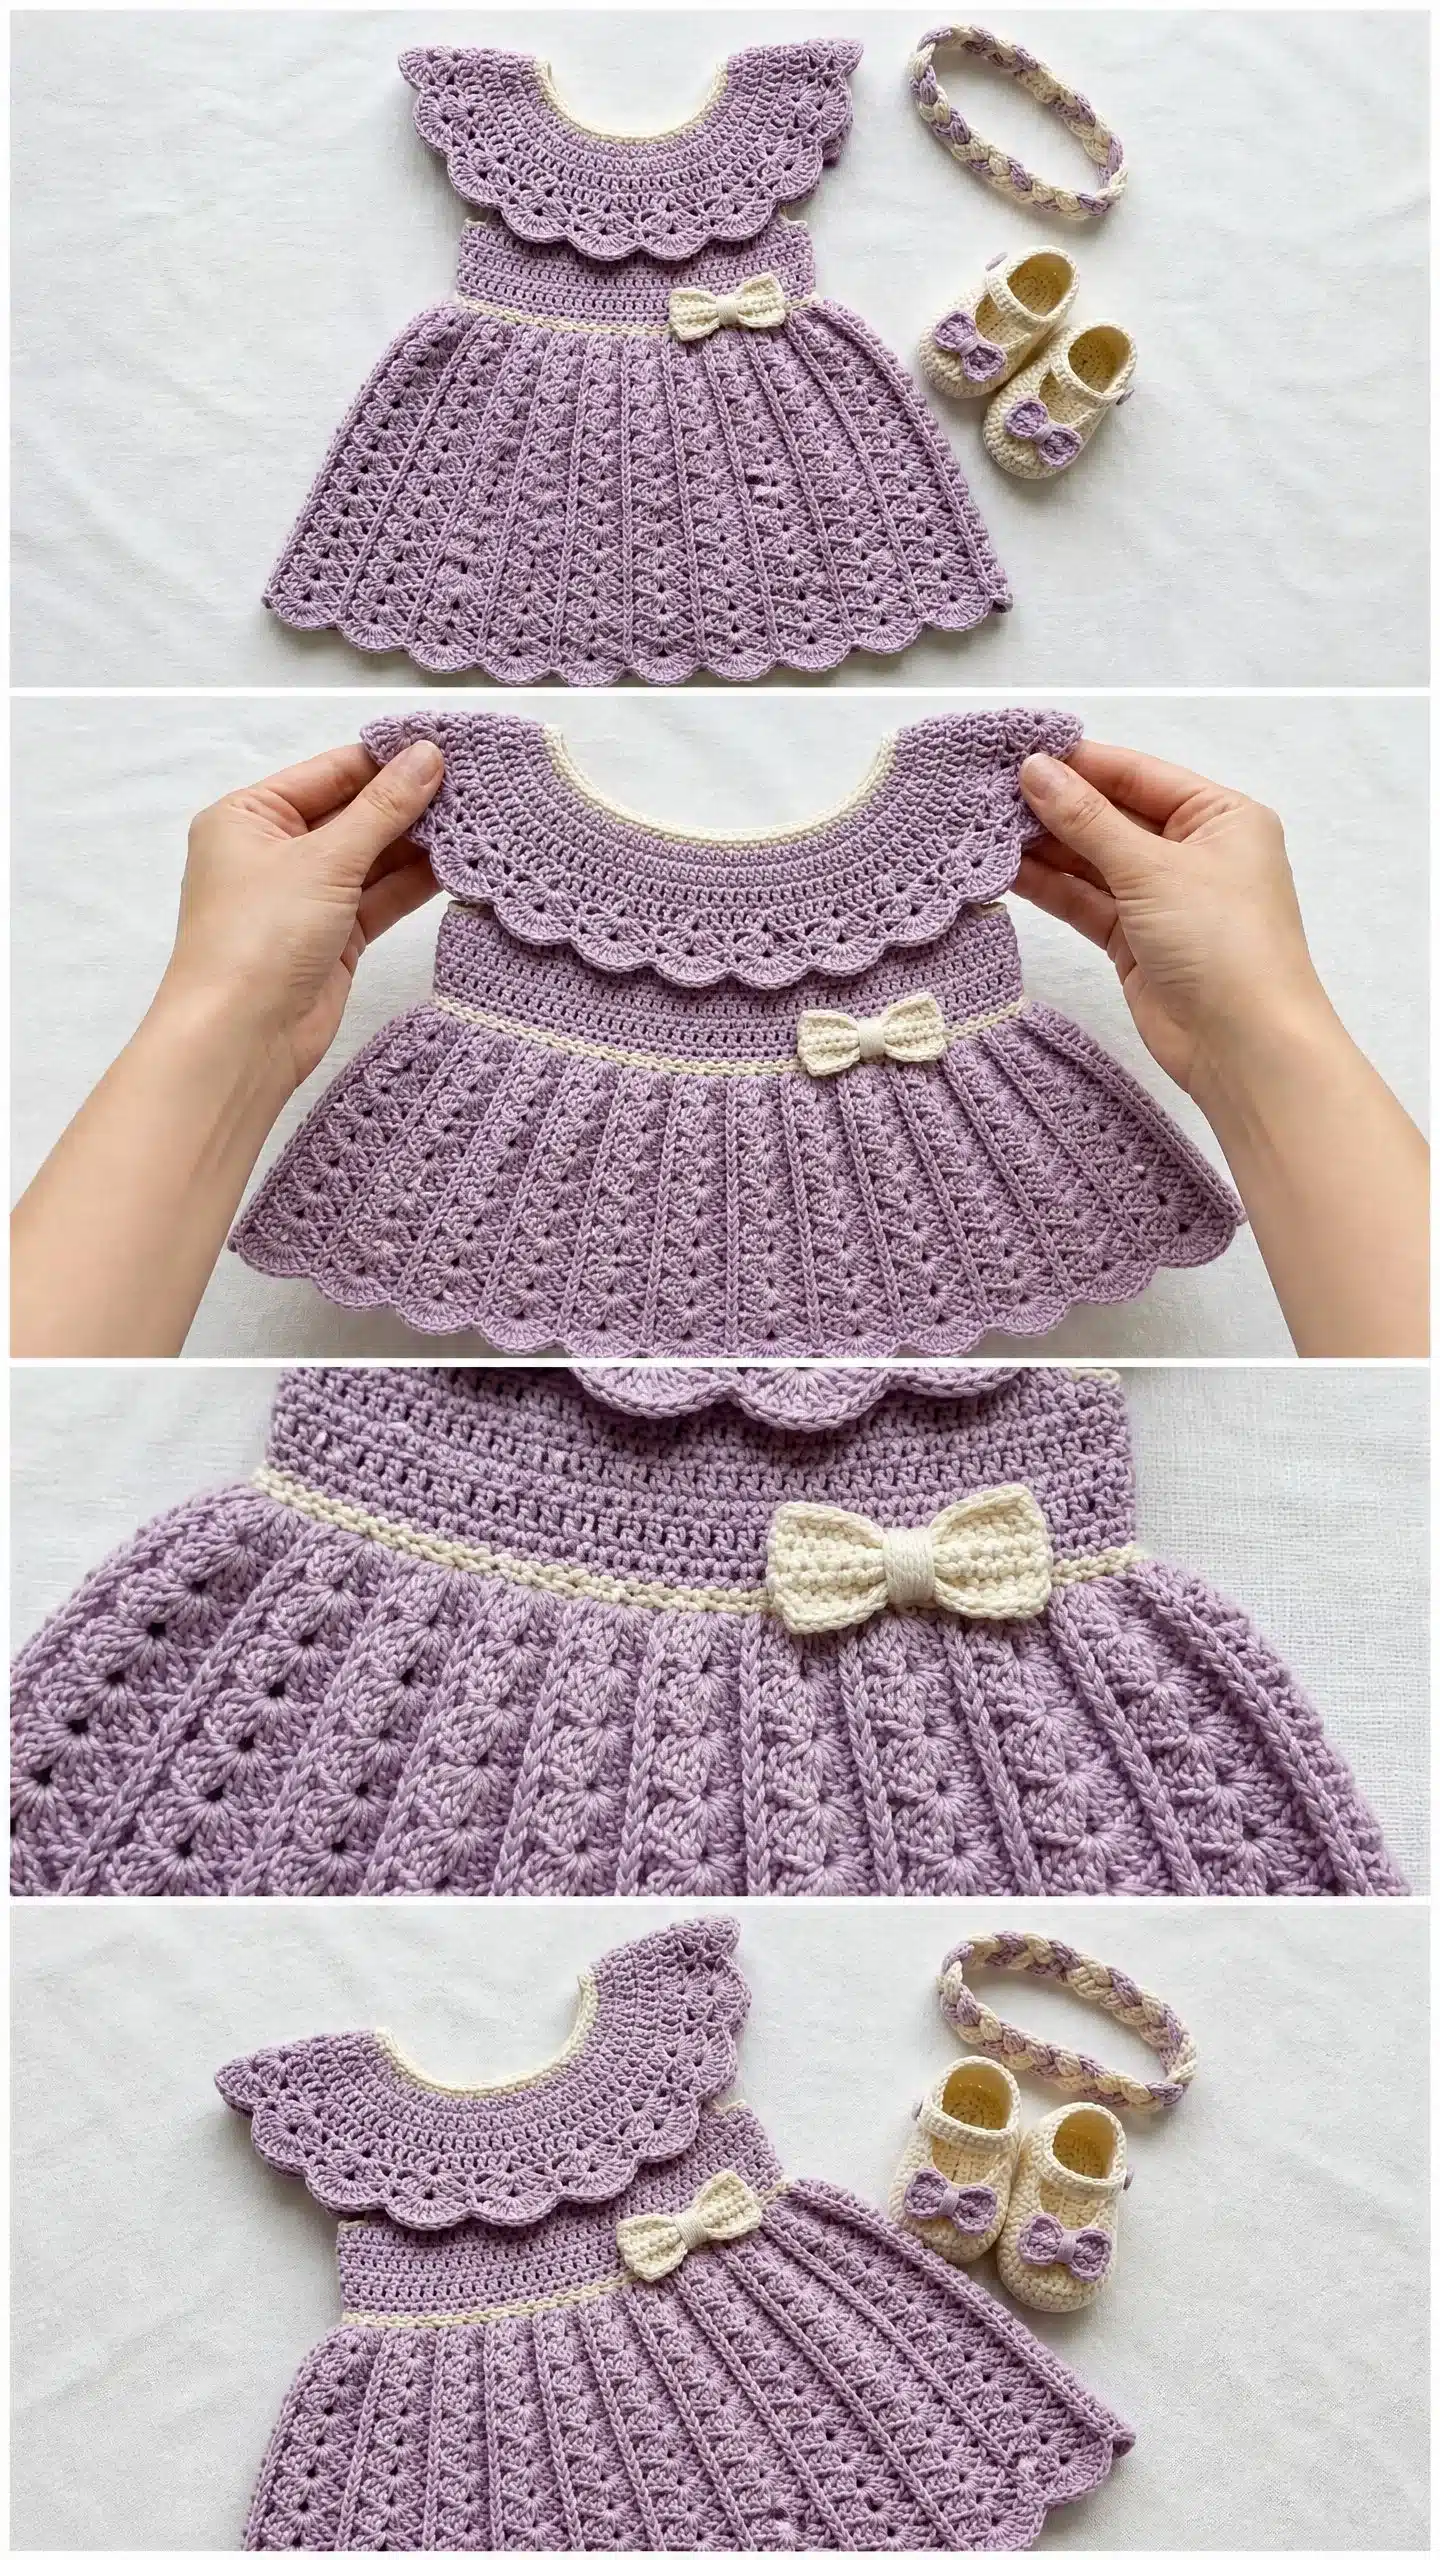
- Color A (Lavender, main color): Approximately 350 yards (320 meters) of DK weight yarn.
- Color B (Cream, contrast color): Approximately 100 yards (91 meters) of DK weight yarn.
- Recommendations: Paintbox Yarns Simply DK (acrylic), Drops Safran (cotton), or Lion Brand Pound of Love (acrylic). Avoid fuzzy or textured yarns to keep stitch patterns clear.
Hooks
- US size E-4 / 3.5 mm crochet hook (main hook for dress).
- US size D-3 / 3.25 mm crochet hook (for booties and headband).
Notions
- Yarn needle or tapestry needle.
- Stitch markers (at least 4).
- Three small buttons approximately 7/8 inch (10 mm) diameter.
- Scissors.
- Blocking mat and rust-proof pins.
- Measuring tape.
Gauge and Finished Size
Getting gauge right matters for garment fit. With your larger hook (E-4 / 3.5 mm) and Color A:
- 16 stitches x 10 rows = 4 inches (10 cm) in double crochet.
- For the fan stitch skirt panel: One fan repeat (12 stitches wide) = approximately 3 inches (7.5 cm); One fan repeat (8 rows tall) = approximately 3.5 inches (9 cm).
Tip: Work a swatch at least 5 inches square, wash and block it, then measure. If your swatch is too small, go up a hook size. Too large? Go down a hook size.
Finished Measurements
The dress fits babies 3 to 6 months with these dimensions:
- Chest circumference: approximately 17 inches (43 cm).
- Dress length from shoulder to hem: approximately 14 inches (35.5 cm).
- Headband circumference: approximately 14 to 16 inches (35.5 to 40.5 cm) with stretch.
- Bootie length: approximately 3.5 inches (9 cm).
Abbreviations
Let me walk you through every abbreviation you’ll encounter:
- beg = beginning
- BLO = back loop only (insert hook under just the back loop instead of both loops)
- ch = chain (yarn over, pull through loop on hook)
- ch-sp = chain space (the gap created by a chain)
- dc = double crochet (yarn over, insert hook, pull up loop, yarn over and pull through 2 loops twice)
- dc2tog = double crochet 2 together, a decrease that turns 2 stitches into 1
- hdc = half double crochet (yarn over, insert hook, pull up loop, yarn over and pull through all 3 loops)
- MC = main color (Color A, lavender)
- CC = contrast color (Color B, cream)
- rem = remaining
- rep = repeat
- rnd = round
- RS = right side (the public-facing side)
- sc = single crochet (insert hook, pull up loop, yarn over and pull through both loops)
- sk = skip
- sl st = slip stitch (insert hook, pull loop directly through stitch and loop on hook)
- sp = space
- st(s) = stitch(es)
- t-ch = turning chain
- WS = wrong side (the inside)
- yo = yarn over
Pattern Notes
- The dress works in joined rounds from the top down. The yoke is worked flat first (back and forth in rows) to create the back button opening, then joins to work the body in the round from the underarm down.
- The collar ruffle is worked separately and sewn onto the yoke after the dress body is complete. This gives you clean attachment and helps the ruffle lie flat.
- Turning chains for double crochet rows count as one double crochet throughout this pattern unless stated otherwise. Place a stitch marker in the top of each turning chain to help with count accuracy.
- When changing color, complete the last yarn-over pull-through of the final stitch using the NEW color. Cut and weave in ends as you go.
- The back opening uses a simple overlap method with chain button loops on the left panel and buttons sewn to the right panel.
- All rounds join with a slip stitch to the top of the beginning chain or first stitch unless otherwise noted.
Pattern Instructions
Section 1: Yoke
The yoke is worked flat in rows beginning at the neckline.
Foundation: With Color A and larger hook, chain 61.
Row 1 (RS): Double crochet into 4th chain from hook (this counts as first dc plus turning chain of 3), double crochet in each chain across. Turn. (59 dc)
Row 2 (WS): Chain 3 (counts as dc), dc into next 5 sts, 2 dc in next st, dc in next 4 sts, 2 dc in next st, dc in next 15 sts, 2 dc in next st, dc in next [pattern continues as per source structure].
Section 2: Dividing for Armholes
Row 9 (Divide Row): Chain 3 (counts as dc). Work 12 dc across left back. Chain 4 (underarm chain bridge). Skip 15 sts (sleeve stitches). Work 27 dc across front. Chain 4 (underarm chain bridge). Skip 15 sts (sleeve stitches). Work 13 dc across right back. Turn.
Working stitch count: Left back 13 + underarm chain 4 + front 27 + underarm chain 4 + right back 13 = 61 stitches.
Row 10 (WS): Chain 3 (counts as dc), dc across left back (12 dc), dc across 4 chain bridge (4 dc), dc across front (27 dc), dc across second chain bridge (4 dc), dc across right back (13 dc). Turn. (61 dc)
Row 11: Chain 3 (counts as dc), dc across all stitches. Turn. (61 dc)
Button Band Setup
You have two options here.
Option 1 (Braided): Cut 12 strands of Color A, each 36 inches (91 cm) long. Divide into three groups of 4 strands. Braid tightly. Knot both ends. Cut 6 strands of Color B, each 36 inches (91 cm) long. Divide into three groups of 2 strands. Braid or twist each group. Hold one Color A braid and one Color B strand together. Braid these with a third Color A cord. The finished braid should measure approximately 16 inches (40.5 cm). Bring ends together and sew firmly, hiding the join inside a 1.5 inch (4 cm) overlap so the headband forms a circle. Trim ends neatly.
Option 2 (Crocheted): With Color A and smaller hook, chain 6. Row 1: Sc into 2nd chain from hook and across. Turn. (5 sc). Row 2: Ch 1, sc in each st across. Turn. (5 sc). Repeat Row 2 until piece measures 14 to 16 inches (35.5 to 40.5 cm). Fasten off. Sew short ends together. Work a surface slip stitch chain in alternating Color A and Color B along the top edge for the braided look.
Section 3: Joining to Work in the Round (Body)
Overlap the button bands (left over right when viewed from front) and pin in place. Beginning at the center back overlap point, join Color A with a slip stitch.
Round 1 (Body): Ch 3 (counts as dc), dc in each st around, working 2 dc into the center underarm chain stitch at each underarm (2 increases total, one at each underarm). Sl st to top of ch-3. (63 dc)
Round 2: Ch 3 (counts as dc), dc in each st around. Sl st to top of ch-3. (63 dc)
Round 3: Ch 3 (counts as dc), dc in each st around, increasing 1 st evenly at each side (work 2 dc in one st at each underarm region). Sl st to top of ch-3. (65 dc)
Waistband
Proceed with the waistband instructions as detailed in the full pattern source to establish the transition to the skirt.
Section 4: Skirt
The skirt utilizes the fan stitch. Work the fan stitch panels as specified in the source pattern to create the flowing drape.
Section 5: Hem Scallop
Work the scallop edge to finish the hem:
- Slip stitch into first stitch.
- Chain 1, single crochet into same stitch.
- Work 5 double crochet into the next stitch.
- Single crochet into the stitch after that.
- Repeat steps 3 and 4 across for a neat scalloped border.
Section 6: Collar Ruffle
Work the collar ruffle separately using the fan stitch for a fuller effect, then sew it onto the yoke neckline after the dress body is complete.
Headband Instructions
Follow the Braided Headband (Option 1) or Crocheted Headband (Option 2) instructions provided in Section 2 above.
Mary Jane Booties (Make 2)
Sole: Crochet the sole using the smaller hook (D-3 / 3.25 mm) and appropriate yarn.
Upper: Work the upper part of the bootie, incorporating the lavender and cream combination.
Finishing Touches: Create a bow embellishment using CC (Color B). Chain 25. Row 1: Single crochet into second chain from hook and across. (24 sc). Fasten off leaving a long tail. Pinch the piece at its center and wrap the tail tightly around the center several times, pulling firm. Knot to secure and use the tail to sew the bow to the dress waistband or booties.
Assembly
- Block all pieces gently using your blocking mat and rust-proof pins. For acrylic yarn, steam blocking works well. For cotton, wet blocking gives the best results. Allow pieces to dry completely before assembling.
- Sew the bow to the center front waistband using matching yarn.
- Attach the three buttons to the back opening.
- Weave in any remaining ends.
Tips
Don’t let the time estimates scare you. This is a wonderful project to work on over several evenings while watching your favorite shows. The dress takes approximately 10 to 14 hours, the headband 1 to 2 hours, and the booties 3 to 4 hours. Total set time is approximately 14 to 20 hours depending on your experience level.
FAQs
Can I substitute the yarn?
Yes, any smooth DK weight yarn (weight category 3) works beautifully. However, avoid fuzzy or textured yarns because they will obscure the pretty stitch patterns like the shell and fan stitches.
How do I adjust the size?
The dress is designed for 3-6 months. You can adjust the length by adding or removing rows in the body and skirt sections. The yoke shaping allows for some flexibility in width.
What is the best way to wash the finished set?
For machine-washable yarn, launder on a gentle cycle in cold water. Lay flat to dry. Store folded, not hung, to prevent stretching. If using cotton yarn, expect some initial shrinkage with the first wash, so blocking to measurements after washing is recommended.
Why is the yoke worked flat first?
Working the yoke flat allows for the creation of the back button opening and ensures a precise fit before joining the body in the round.
Do I need to block the pieces?
Yes, blocking is highly recommended to even out stitches and ensure the ruffles and scallops lie flat. It helps the garment look professional and fit correctly.
Pin This Crochet Pattern!