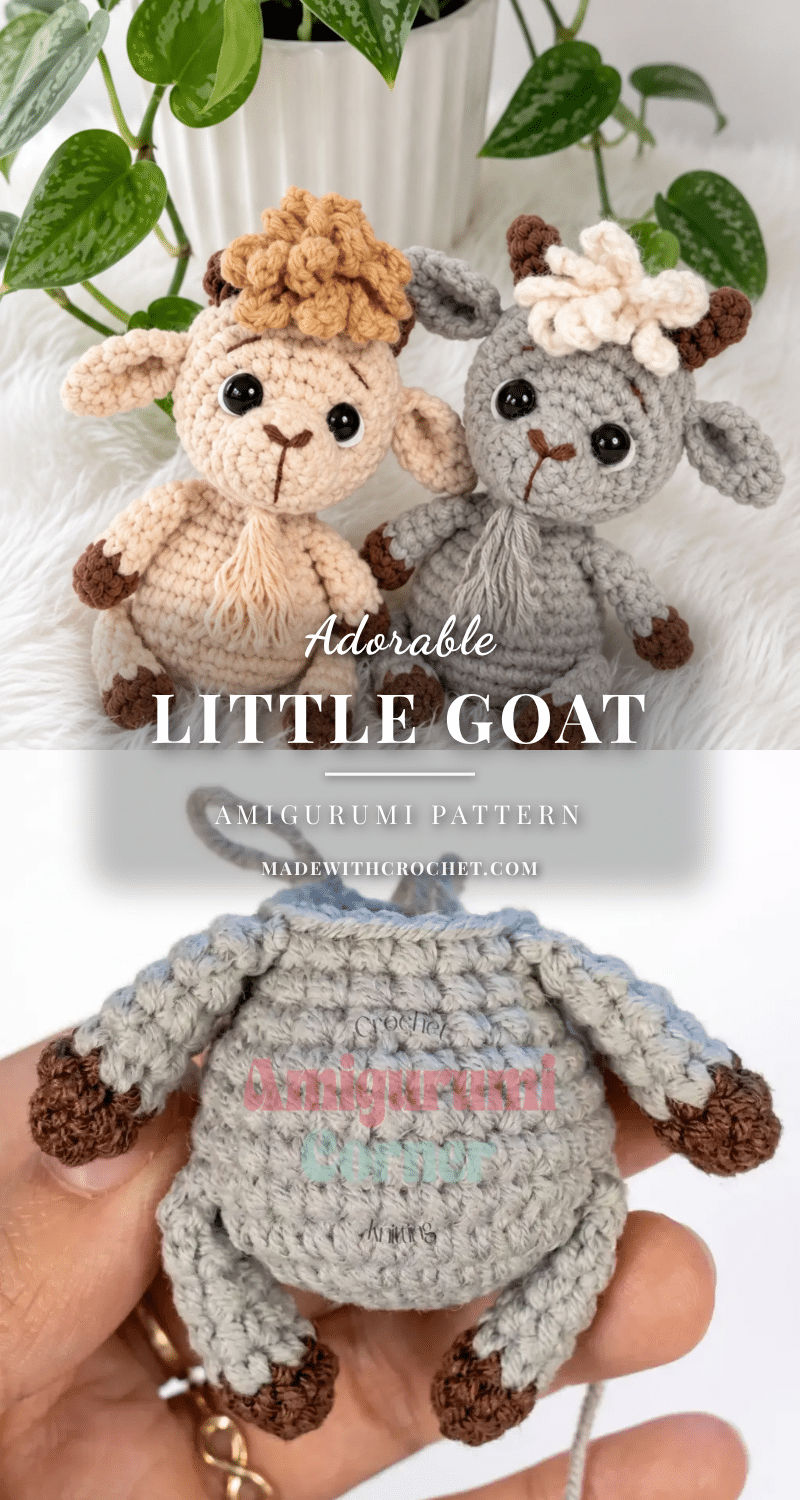
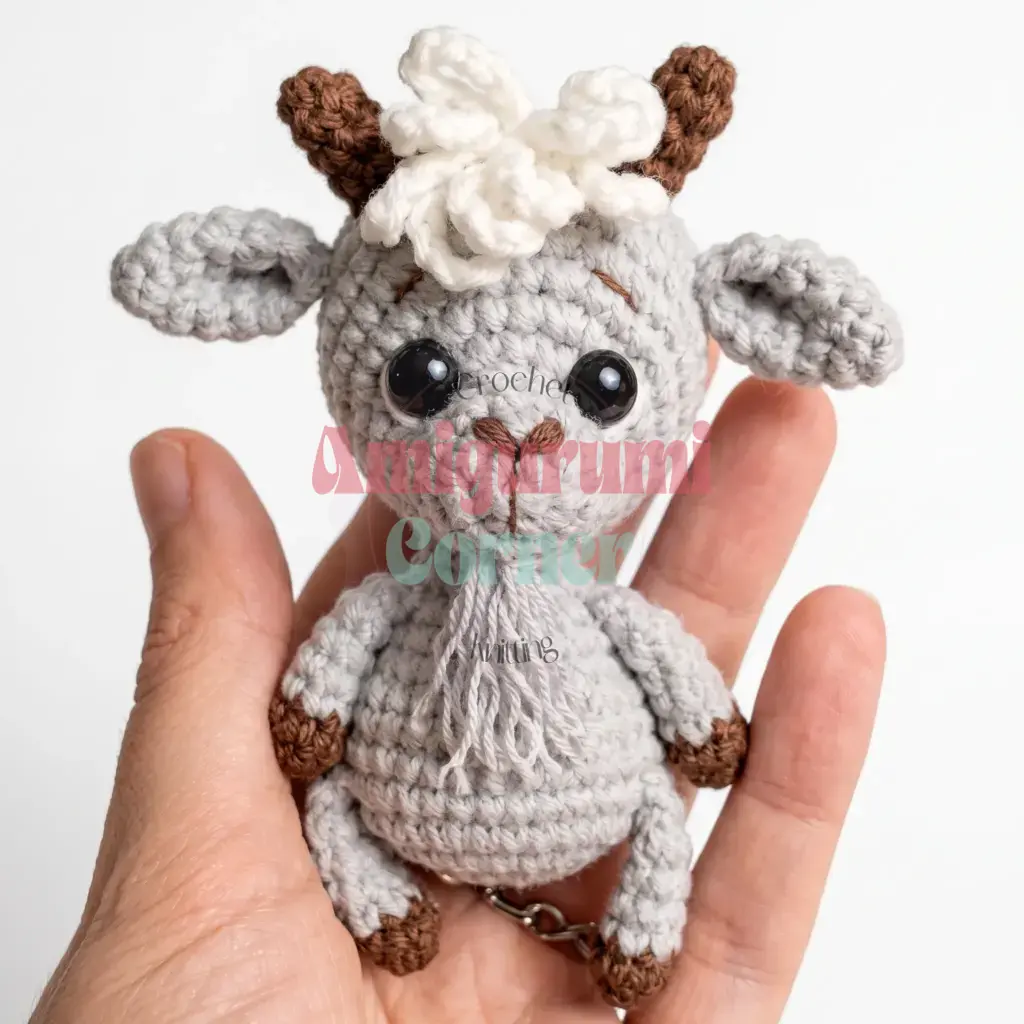
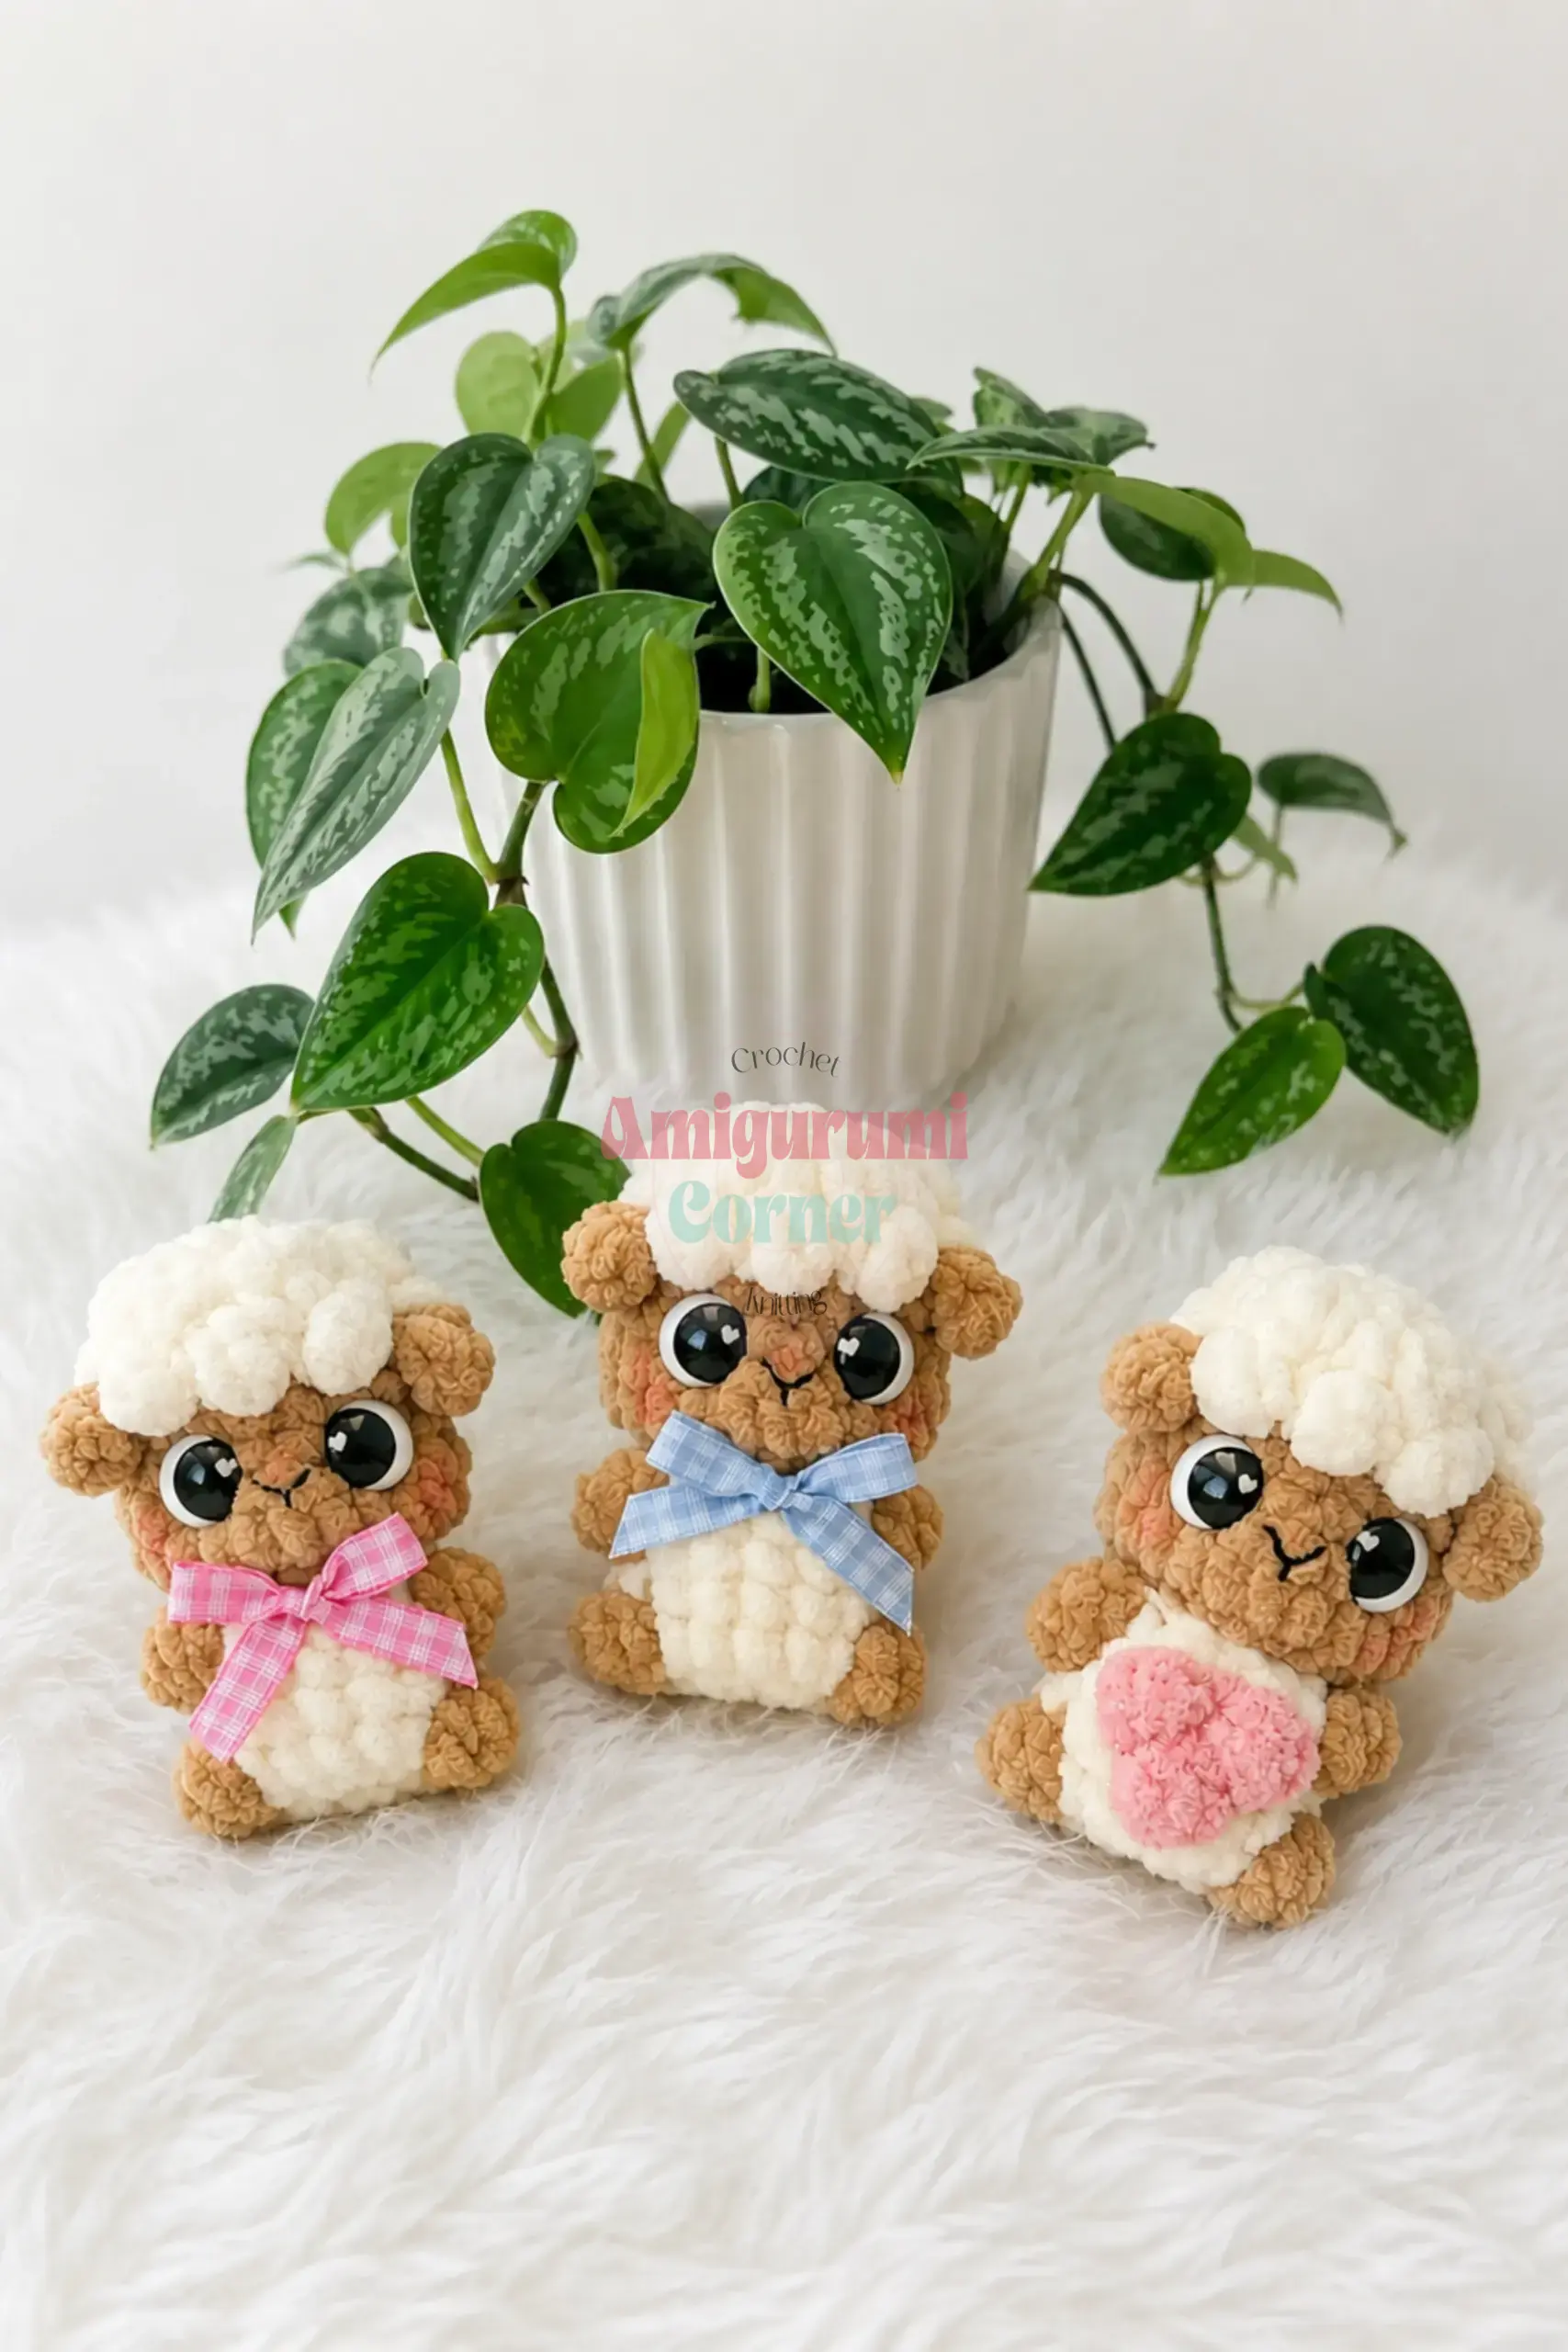
With 2027 declared the year of the goat, this little amigurumi friend is exactly the kind of gift that feels timely without feeling trendy. Small enough to tuck into a card, personal enough to keep on a shelf for years, this pattern is a quick, satisfying make for anyone comfortable with basic amigurumi stitches. Standing about 4 inches tall with tiny curled horns and a wisp of a beard, it is a charming addition to any collection.
Seasonal Styling Ideas
While this little goat is a year-round companion, its neutral gray or beige tones make it incredibly versatile for seasonal decor. In the spring, pair it with pastel yarns for the curls and beard to match Easter baskets or nursery themes. As autumn approaches, swap the accent colors for warm terracotta or mustard hues to complement harvest tables. Because of its compact 4-inch size, it fits perfectly as a bookend, a keychain charm, or a sweet accent on a winter holiday wreath. The textured curls and soft beard add a tactile element that invites cuddling, making it a perfect comfort toy for children or a cozy desk buddy for the work-from-home season.
Project Overview
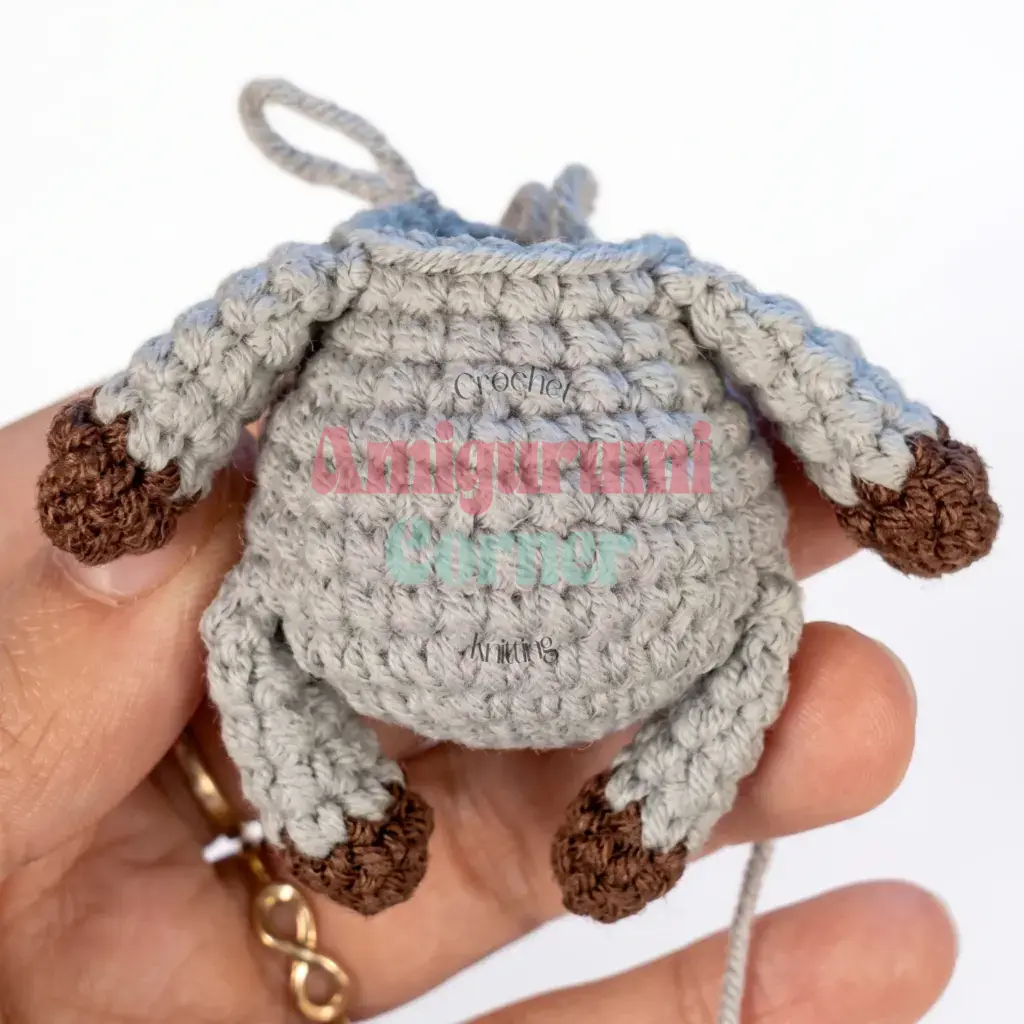
This is an easy-level amigurumi pattern, worked entirely in continuous spiral rounds with no joining or turning required. You’ll shape the head, body, and four matching limbs, then finish with a bit of needle-sculpting to bring out the face and a few crocheted curls for texture. The limbs are joined directly into the body during the crochet process, creating a seamless and sturdy structure.
Materials
- Worsted weight (CYCA #4) cotton-blend yarn in your main body color (gray or beige shown)
- Accent yarns: Brown, white, and a light accent color for the curls and beard
- 2.25 mm (US size B-1) crochet hook — adjust for your gauge
- 8 mm safety eyes or half-round eye cabochons (1 pair)
- Polyester fiberfill stuffing
- Stitch marker (to track the start of each round)
- Yarn needle with a large eye, for sewing pieces together
- Scissors
- Super glue (if using glue-on eyes rather than standard safety eyes)
Gauge and Finished Size
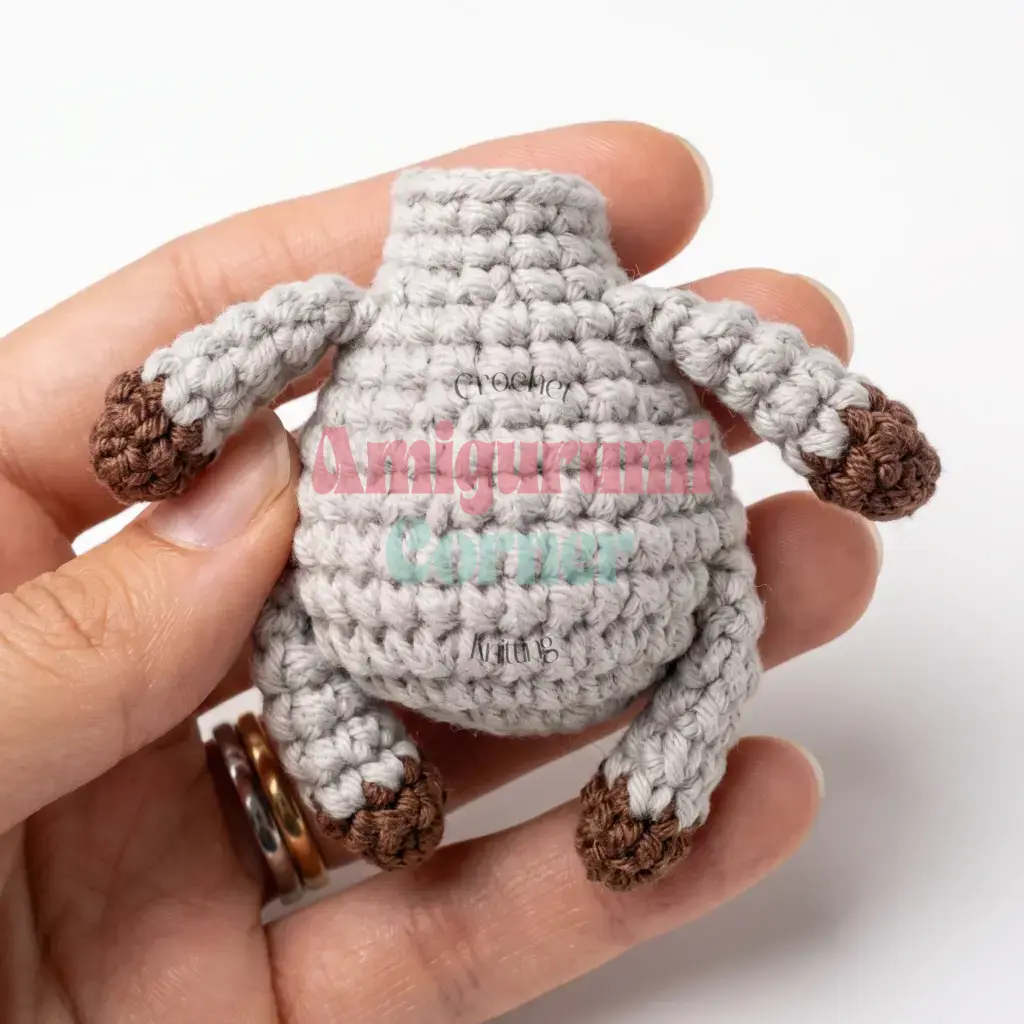
Gauge isn’t critical here; it will simply affect the finished size of your goat. The pattern measures about 4 inches (10 cm) tall at the yarn weight and hook size listed above.
Abbreviations
- ch — Chain
- dec — Decrease (invisible decrease)
- inc — Increase (2 sc in same stitch)
- MR — Magic Ring
- Rnd — Round
- sc — Single Crochet
- sl st — Slip Stitch
- st(s) — Stitch(es)
Pattern Notes
This pattern is written in US crochet terminology. Every piece is worked in continuous spiral rounds — do not join or turn unless a step says otherwise. The stitch count is given at the end of every round in parentheses, like this: (12).
The arms and legs are worked separately, left unstuffed, and joined directly into the body while you crochet Round 6 — read that round carefully before you get there. On the arms and legs, you’ll shift your starting point by one extra stitch on each round; this stitch keeps the color-change seam sitting neatly at the back and is never included in the stitch count. Stuff the body as you go rather than waiting until it’s fully worked, so you can control the firmness in each section.
Pattern Instructions
Head
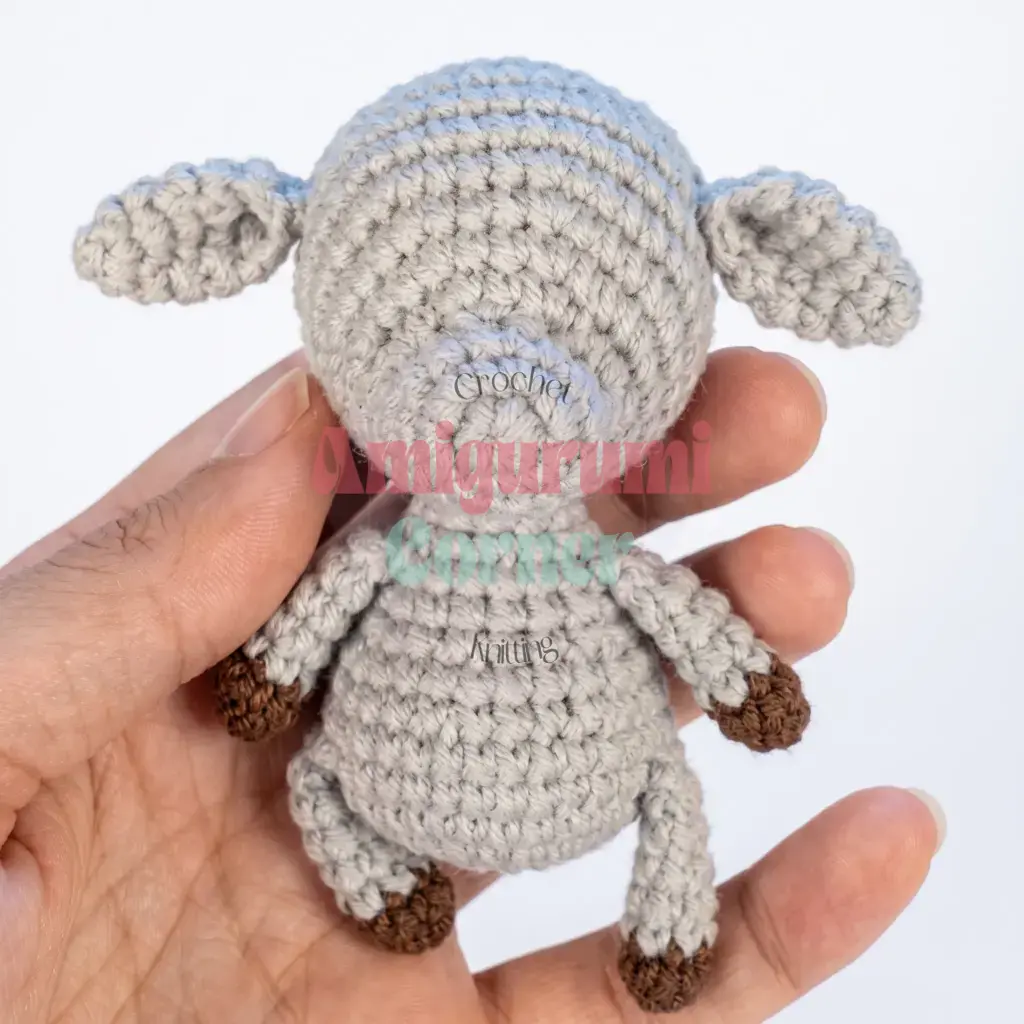
Rnd 1: 6 sc in MR. (6)
Rnd 2: inc in each st around. (12)
Rnd 3: 3 sc, inc repeat 3 times around. (15)
Rnd 4: sc in each st around. (15)
Rnd 5: 4 sc, inc repeat 3 times around. (18)
Rnd 6: 4 sc, 1 sc, inc repeat 5 times, 4 sc. (23)
Rnd 7: 4 sc, 2 sc, inc repeat 5 times, 4 sc. (28)
Rnd 8: 4 sc, 3 sc, inc repeat 5 times, 4 sc. (33)
Rnd 9: 4 sc, 4 sc, inc repeat 5 times, 4 sc. (38)
Rnds 10–12: sc in each st around. (38) Work 3 rounds even.
Rnd 13: 17 sc, dec repeat 2 times around. (36)
Rnd 14: 4 sc, dec repeat 6 times around. (30)
Rnd 15: 3 sc, dec repeat 6 times around. (24)
Rnd 16: 2 sc, dec repeat 6 times around. (18)
Rnd 17: 1 sc, dec repeat 6 times around. (12)
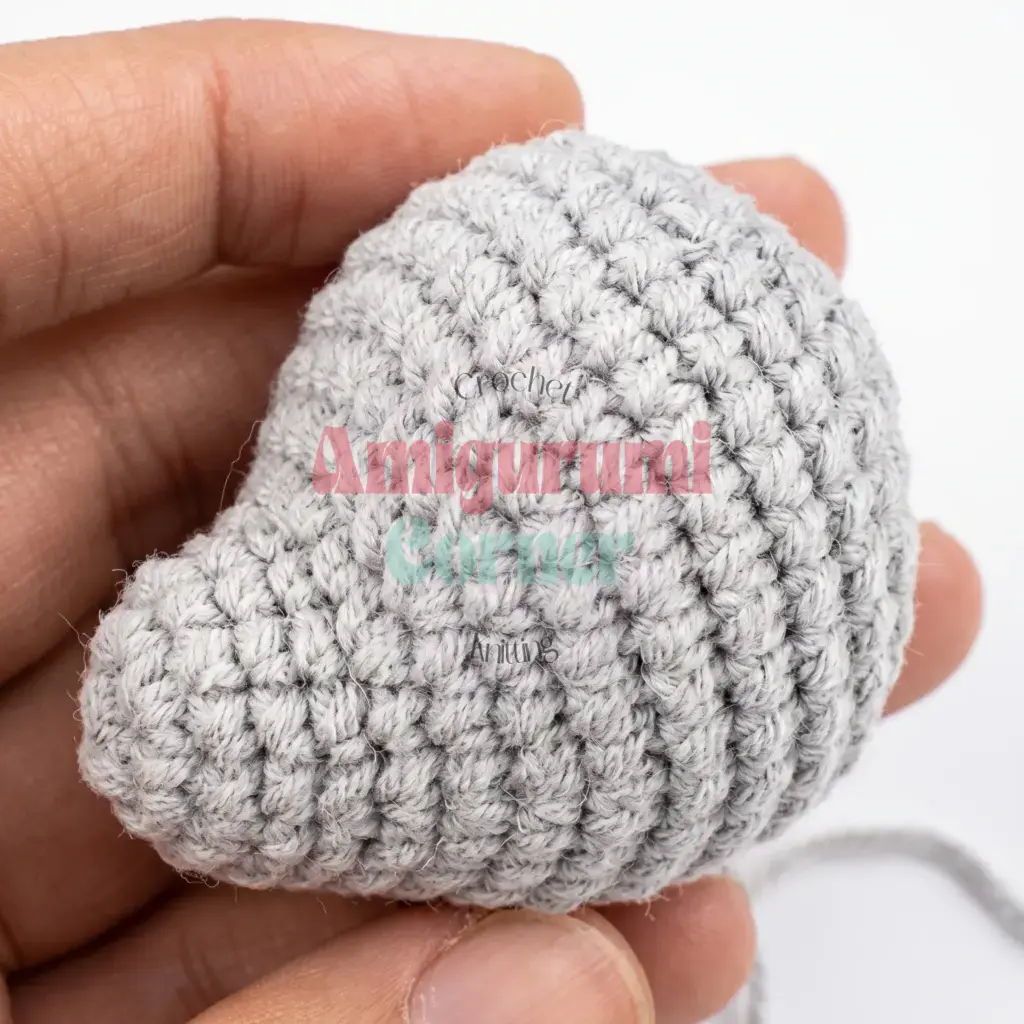
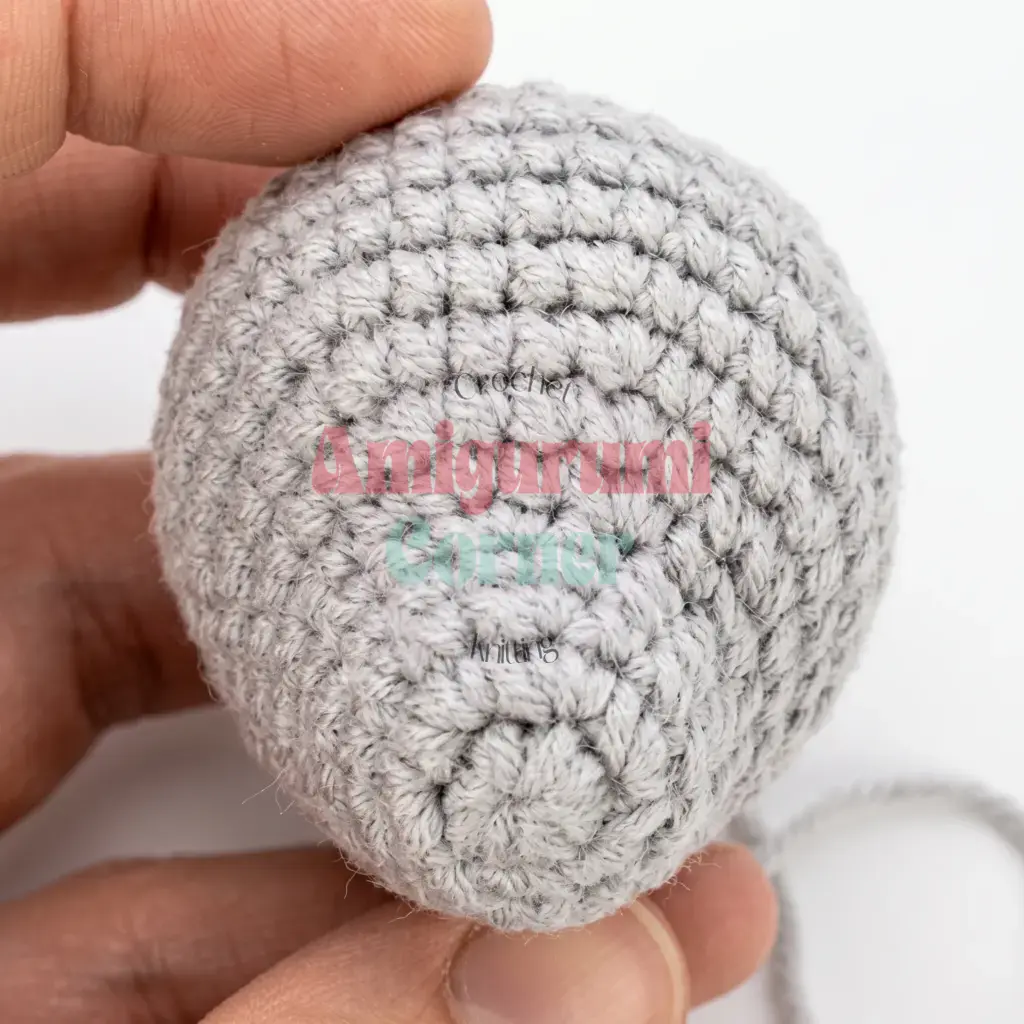
Rnd 18: dec 6 times around. (6) Fasten off, weave in end.
If you’re using standard safety eyes with backing washers rather than glue-on eyes, insert them now between Rounds 12 and 13, spacing them per your preference before you continue shaping the head.
Horns (make 2)
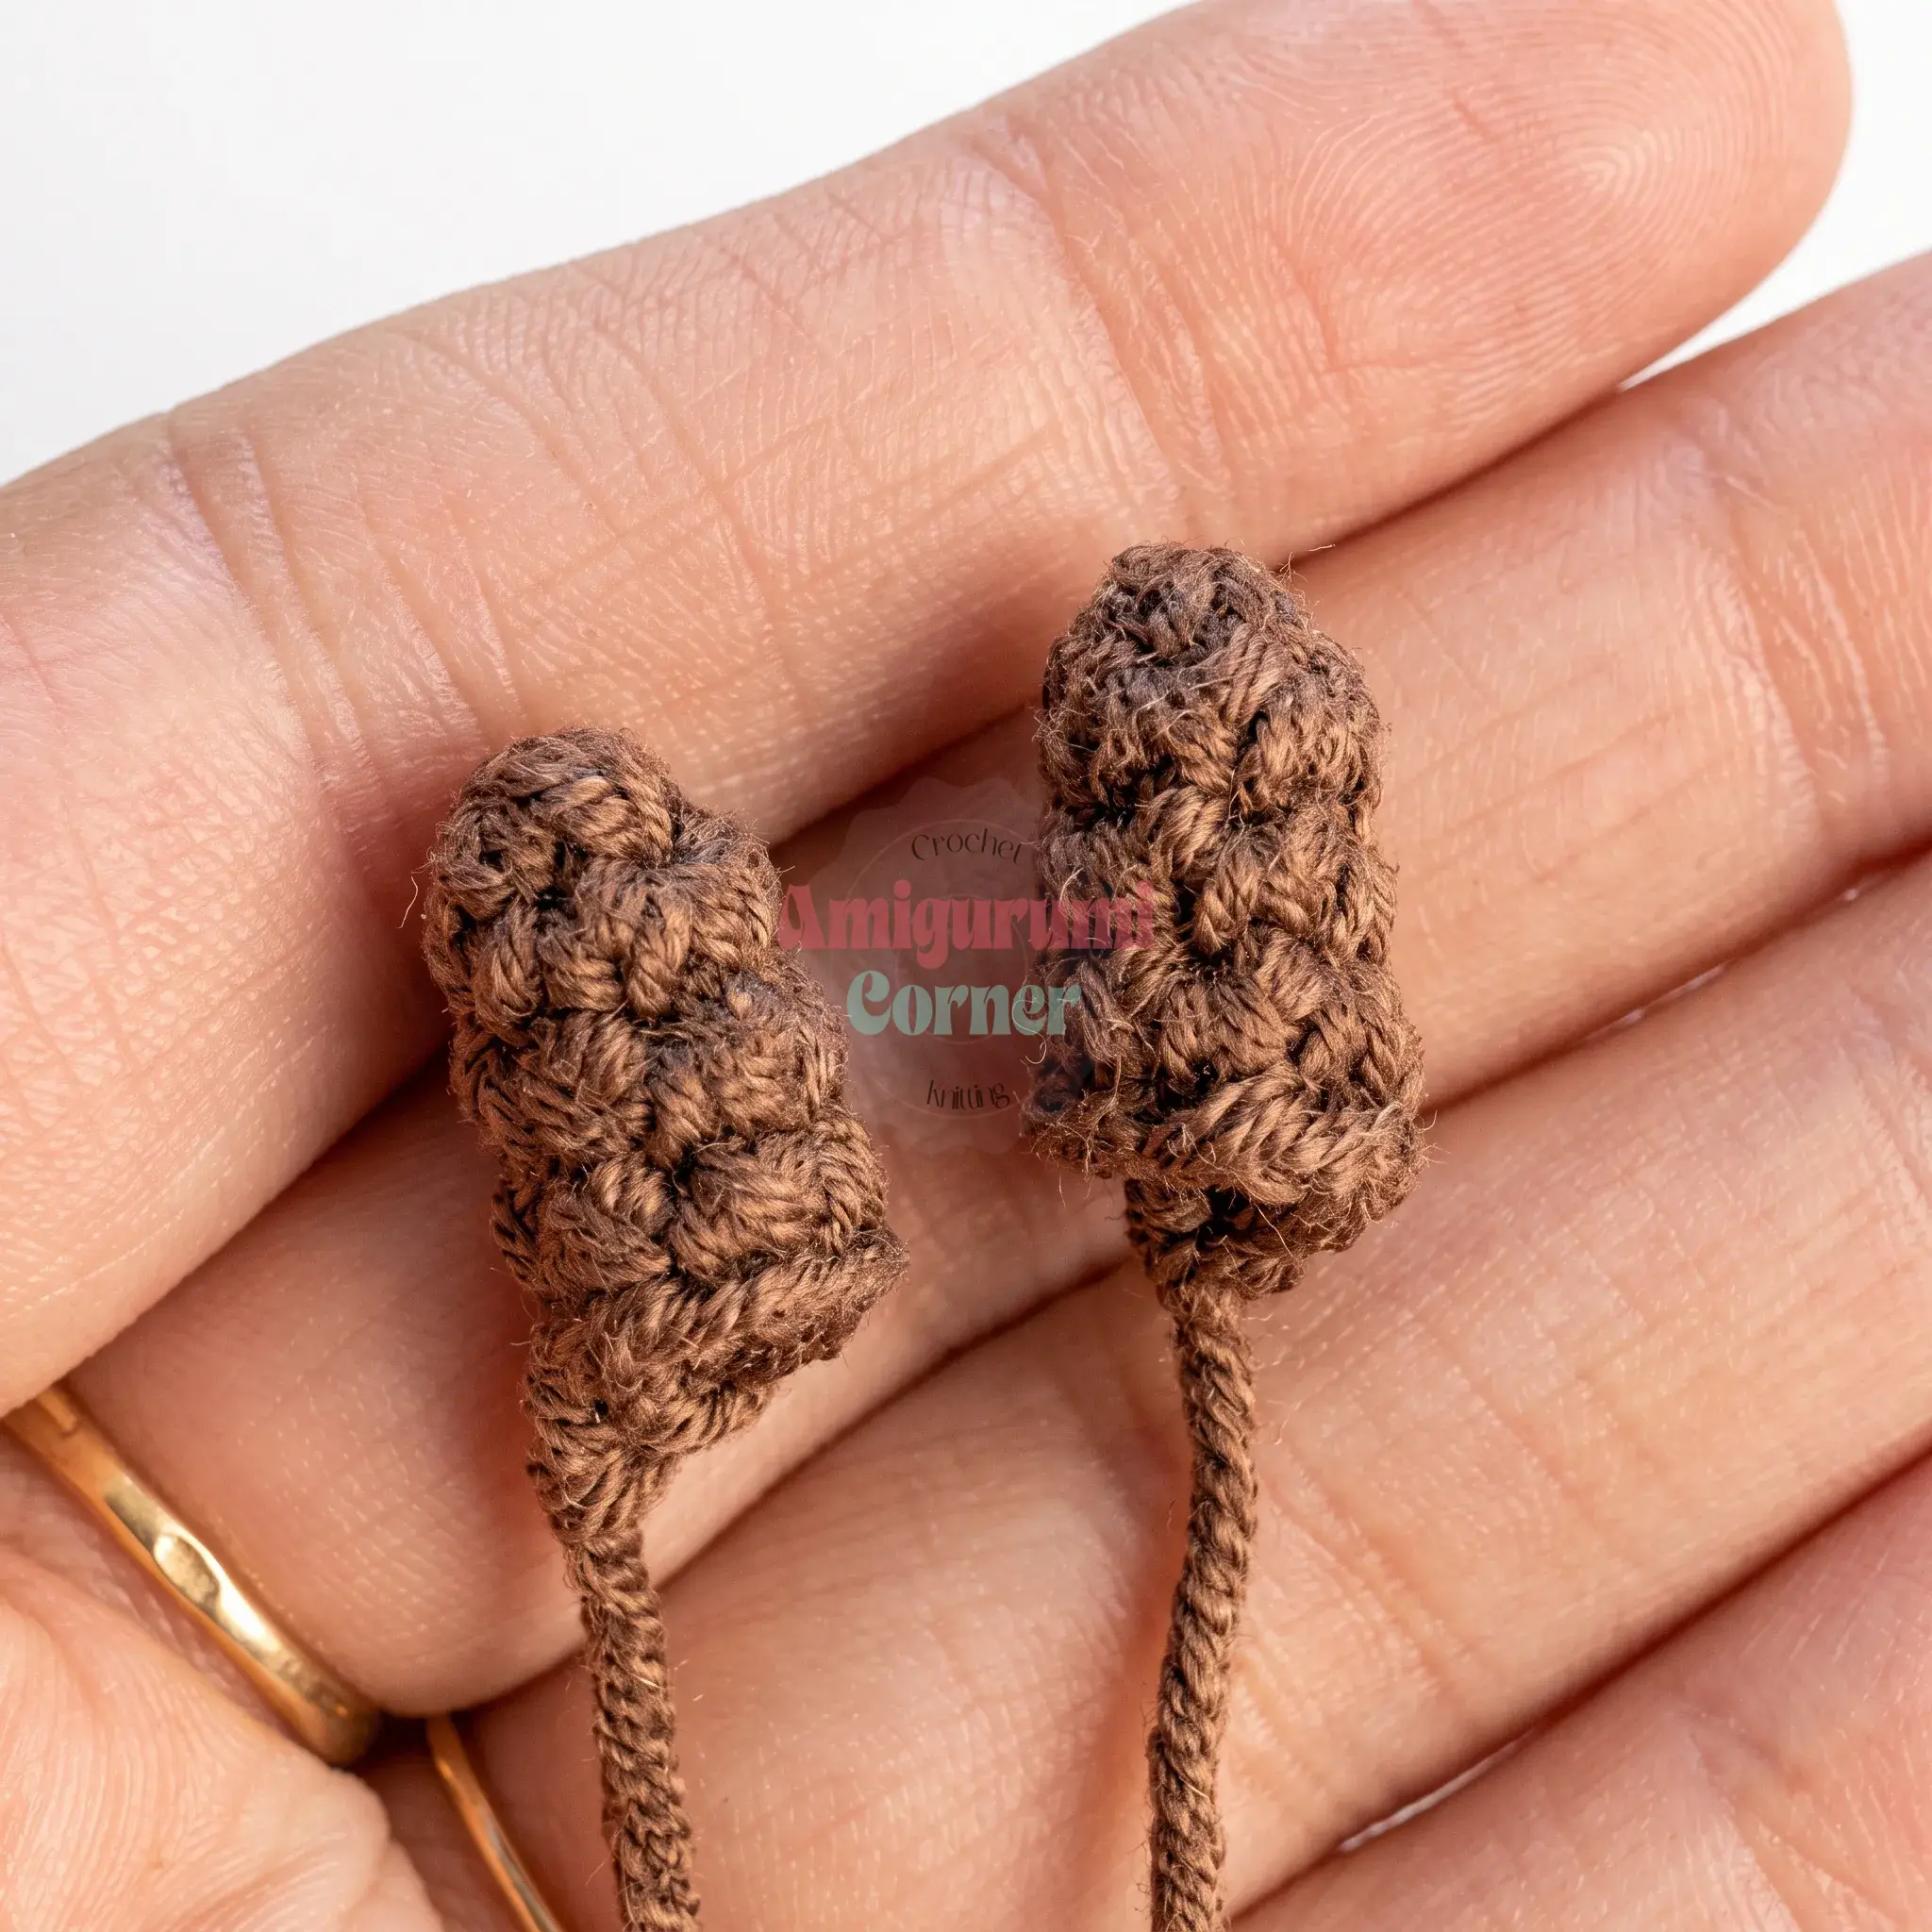
Worked in brown.
Rnd 1: 5 sc in MR. (5)
Rnd 2: 4 sc, inc. (6)
Rnd 3: 5 sc, inc. (7)
Rnd 4: sc in each st around. (7) Leave a long tail for sewing.
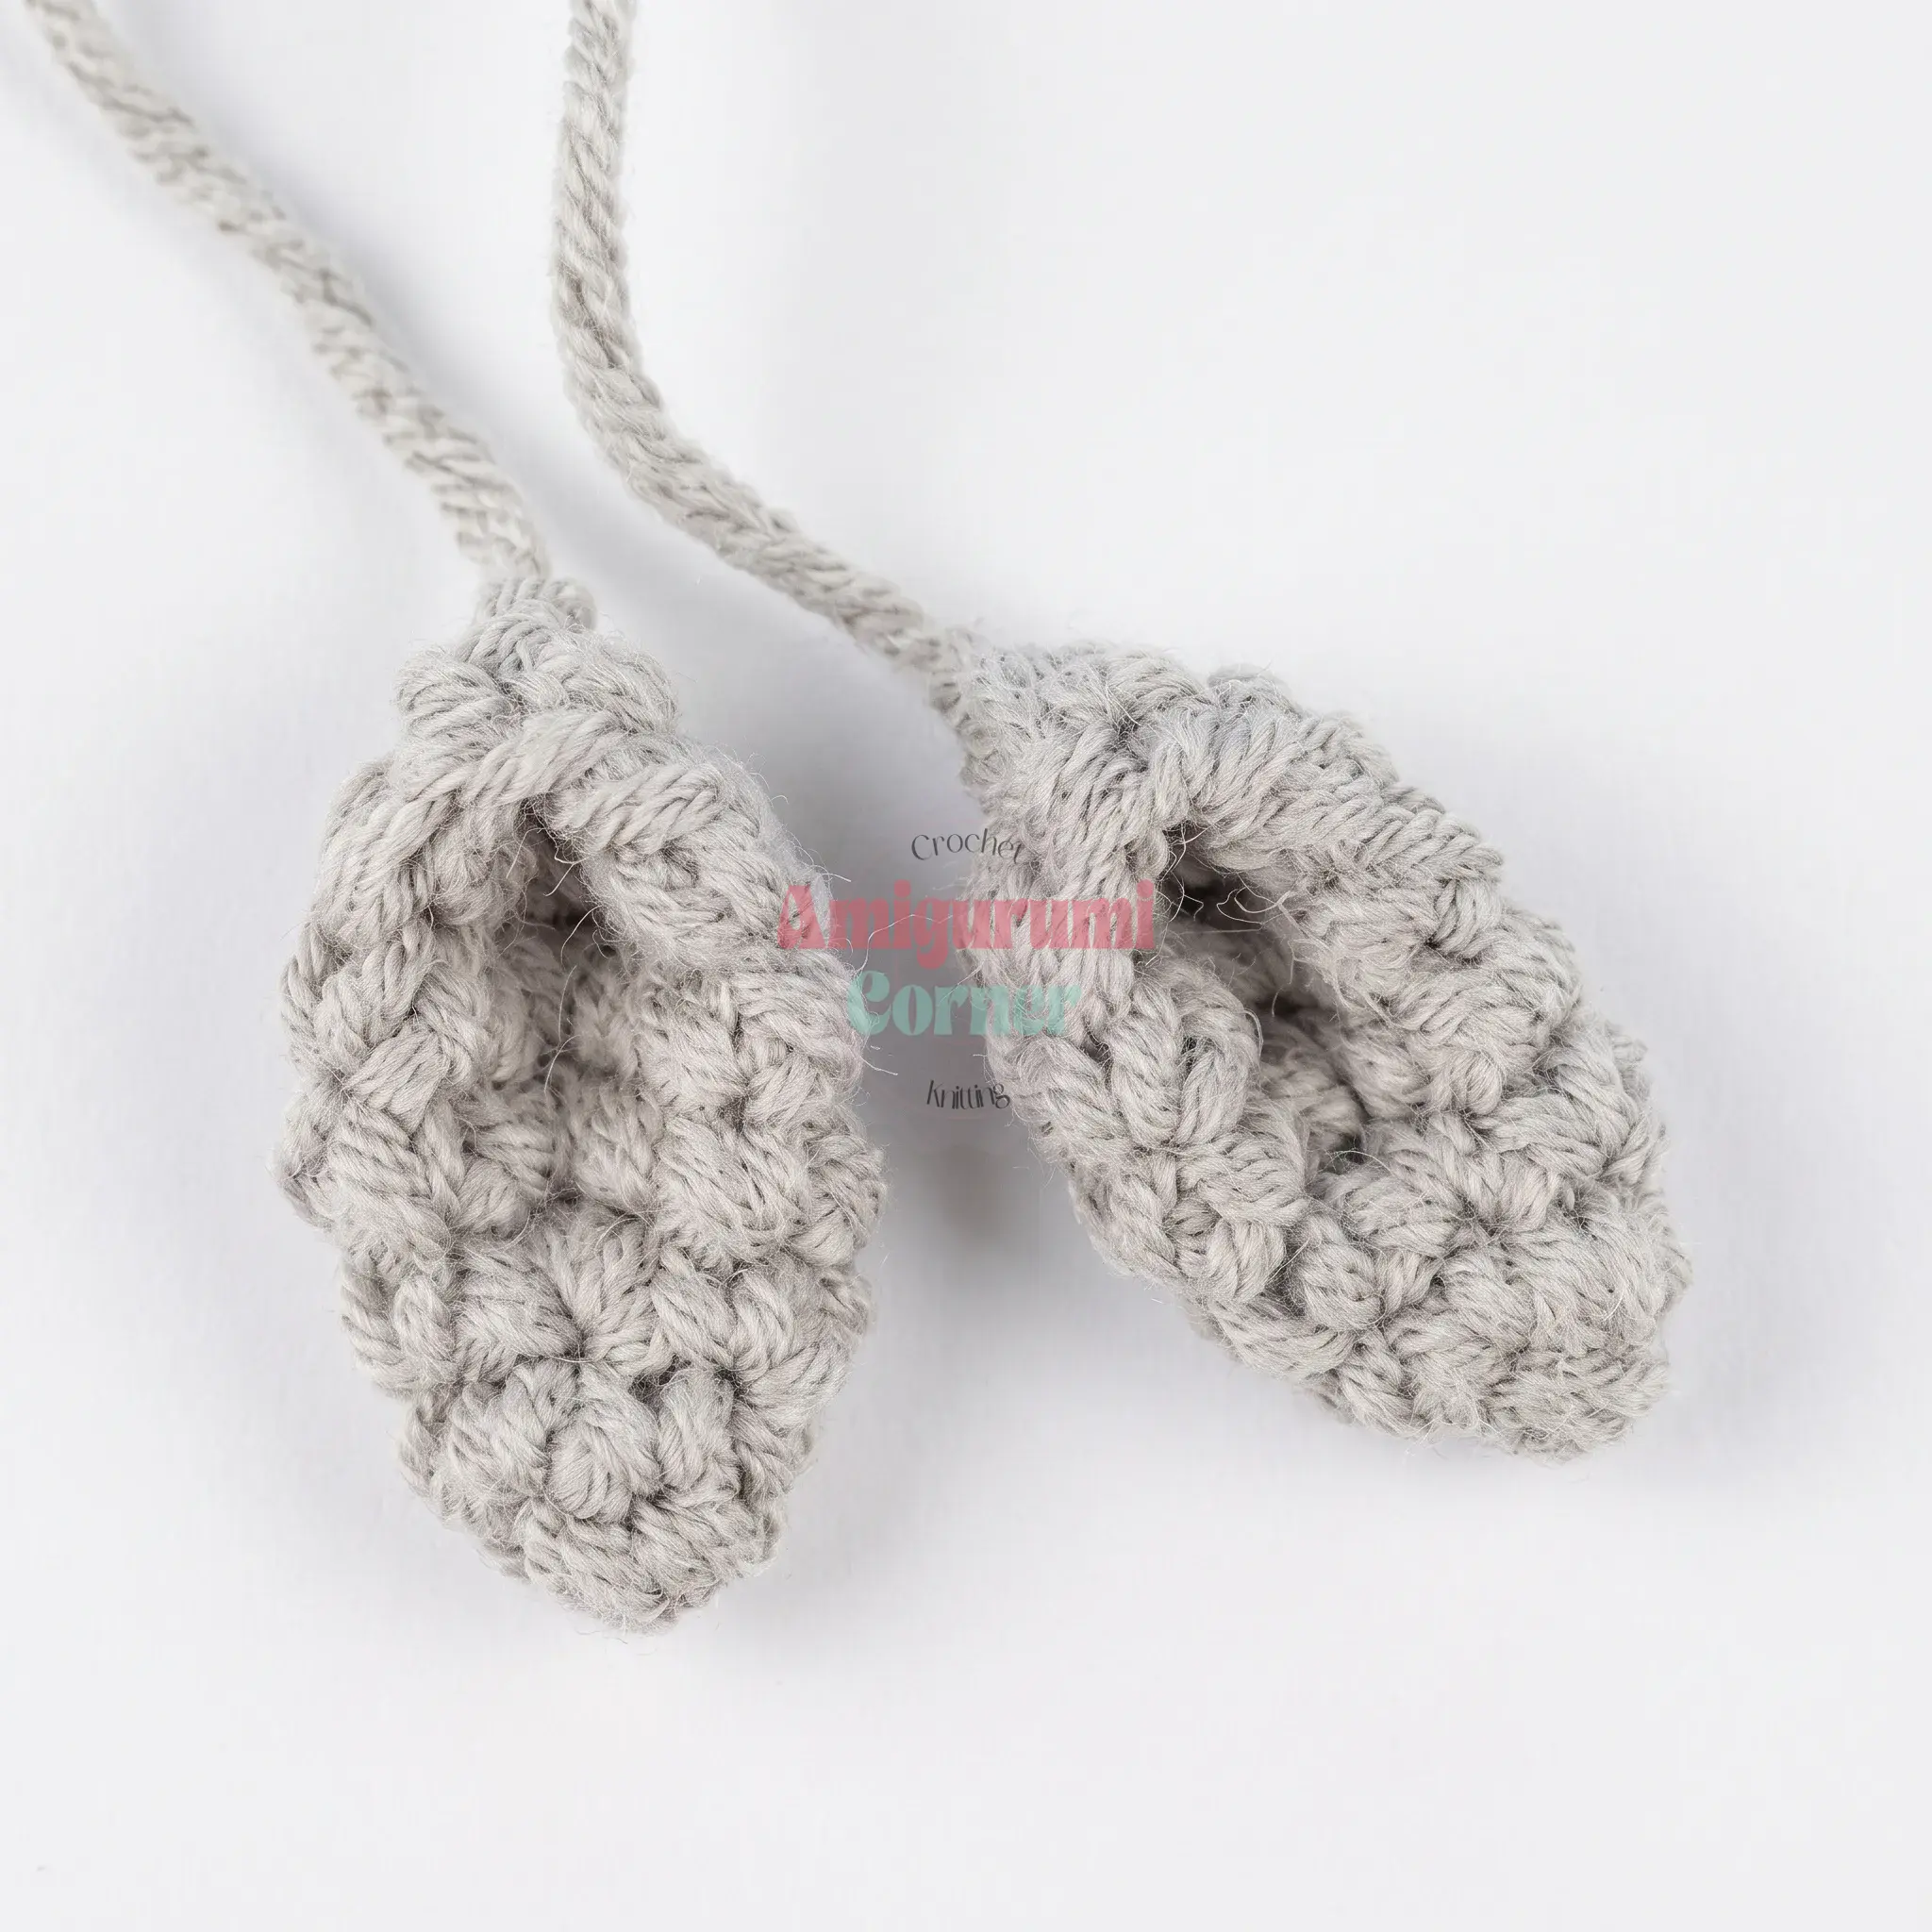
Ears (make 2)
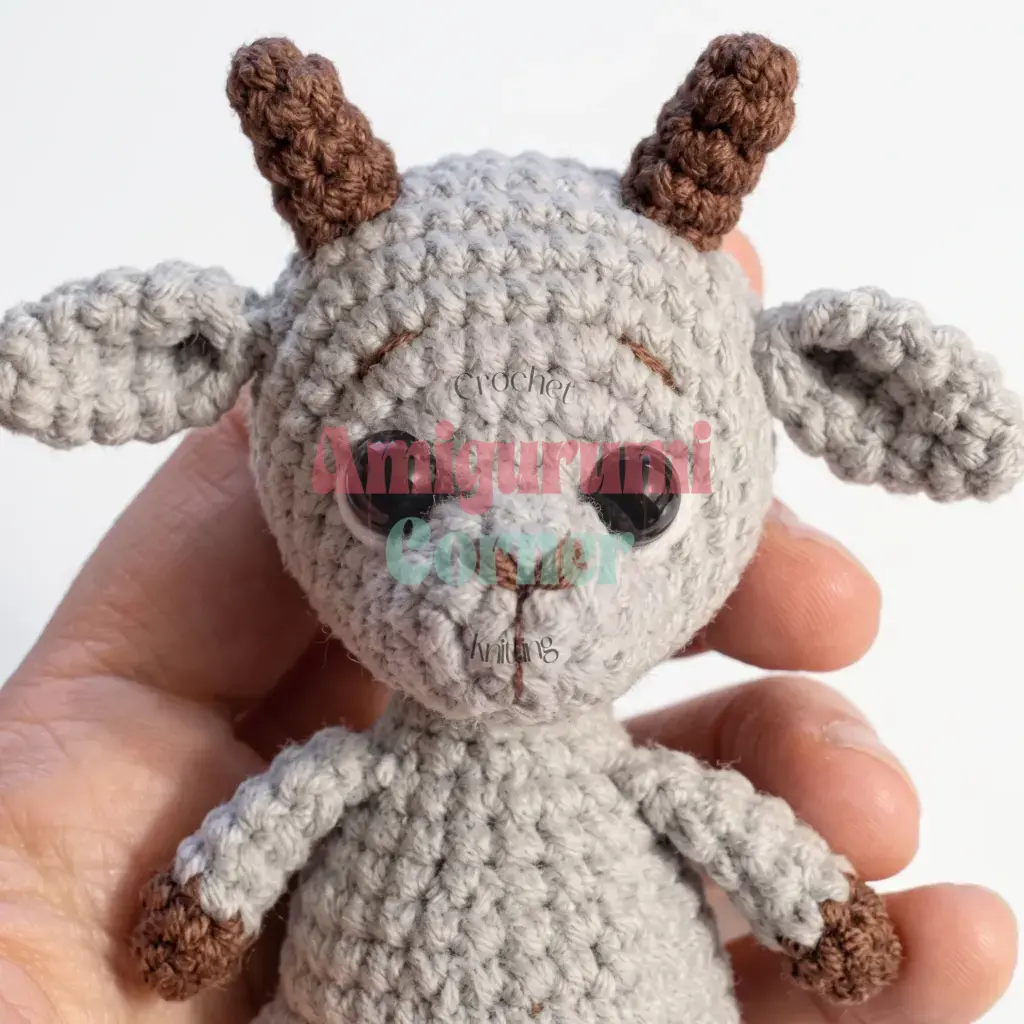
Worked in main color.
Rnd 1: 6 sc in MR. (6)
Rnd 2: sc in each st around. (6)
Rnd 3: 1 sc, inc repeat 3 times around. (9)
Rnd 4: 2 sc, inc repeat 3 times around. (12)
Rnd 5: sc in each st around. (12)
Rnd 6: Working through both loops, sc in the next 6 sts. Fold the piece flat in half again and sc through both layers of the next 3 sts to close. Leave a tail for sewing.
Arms and Legs (make 4)
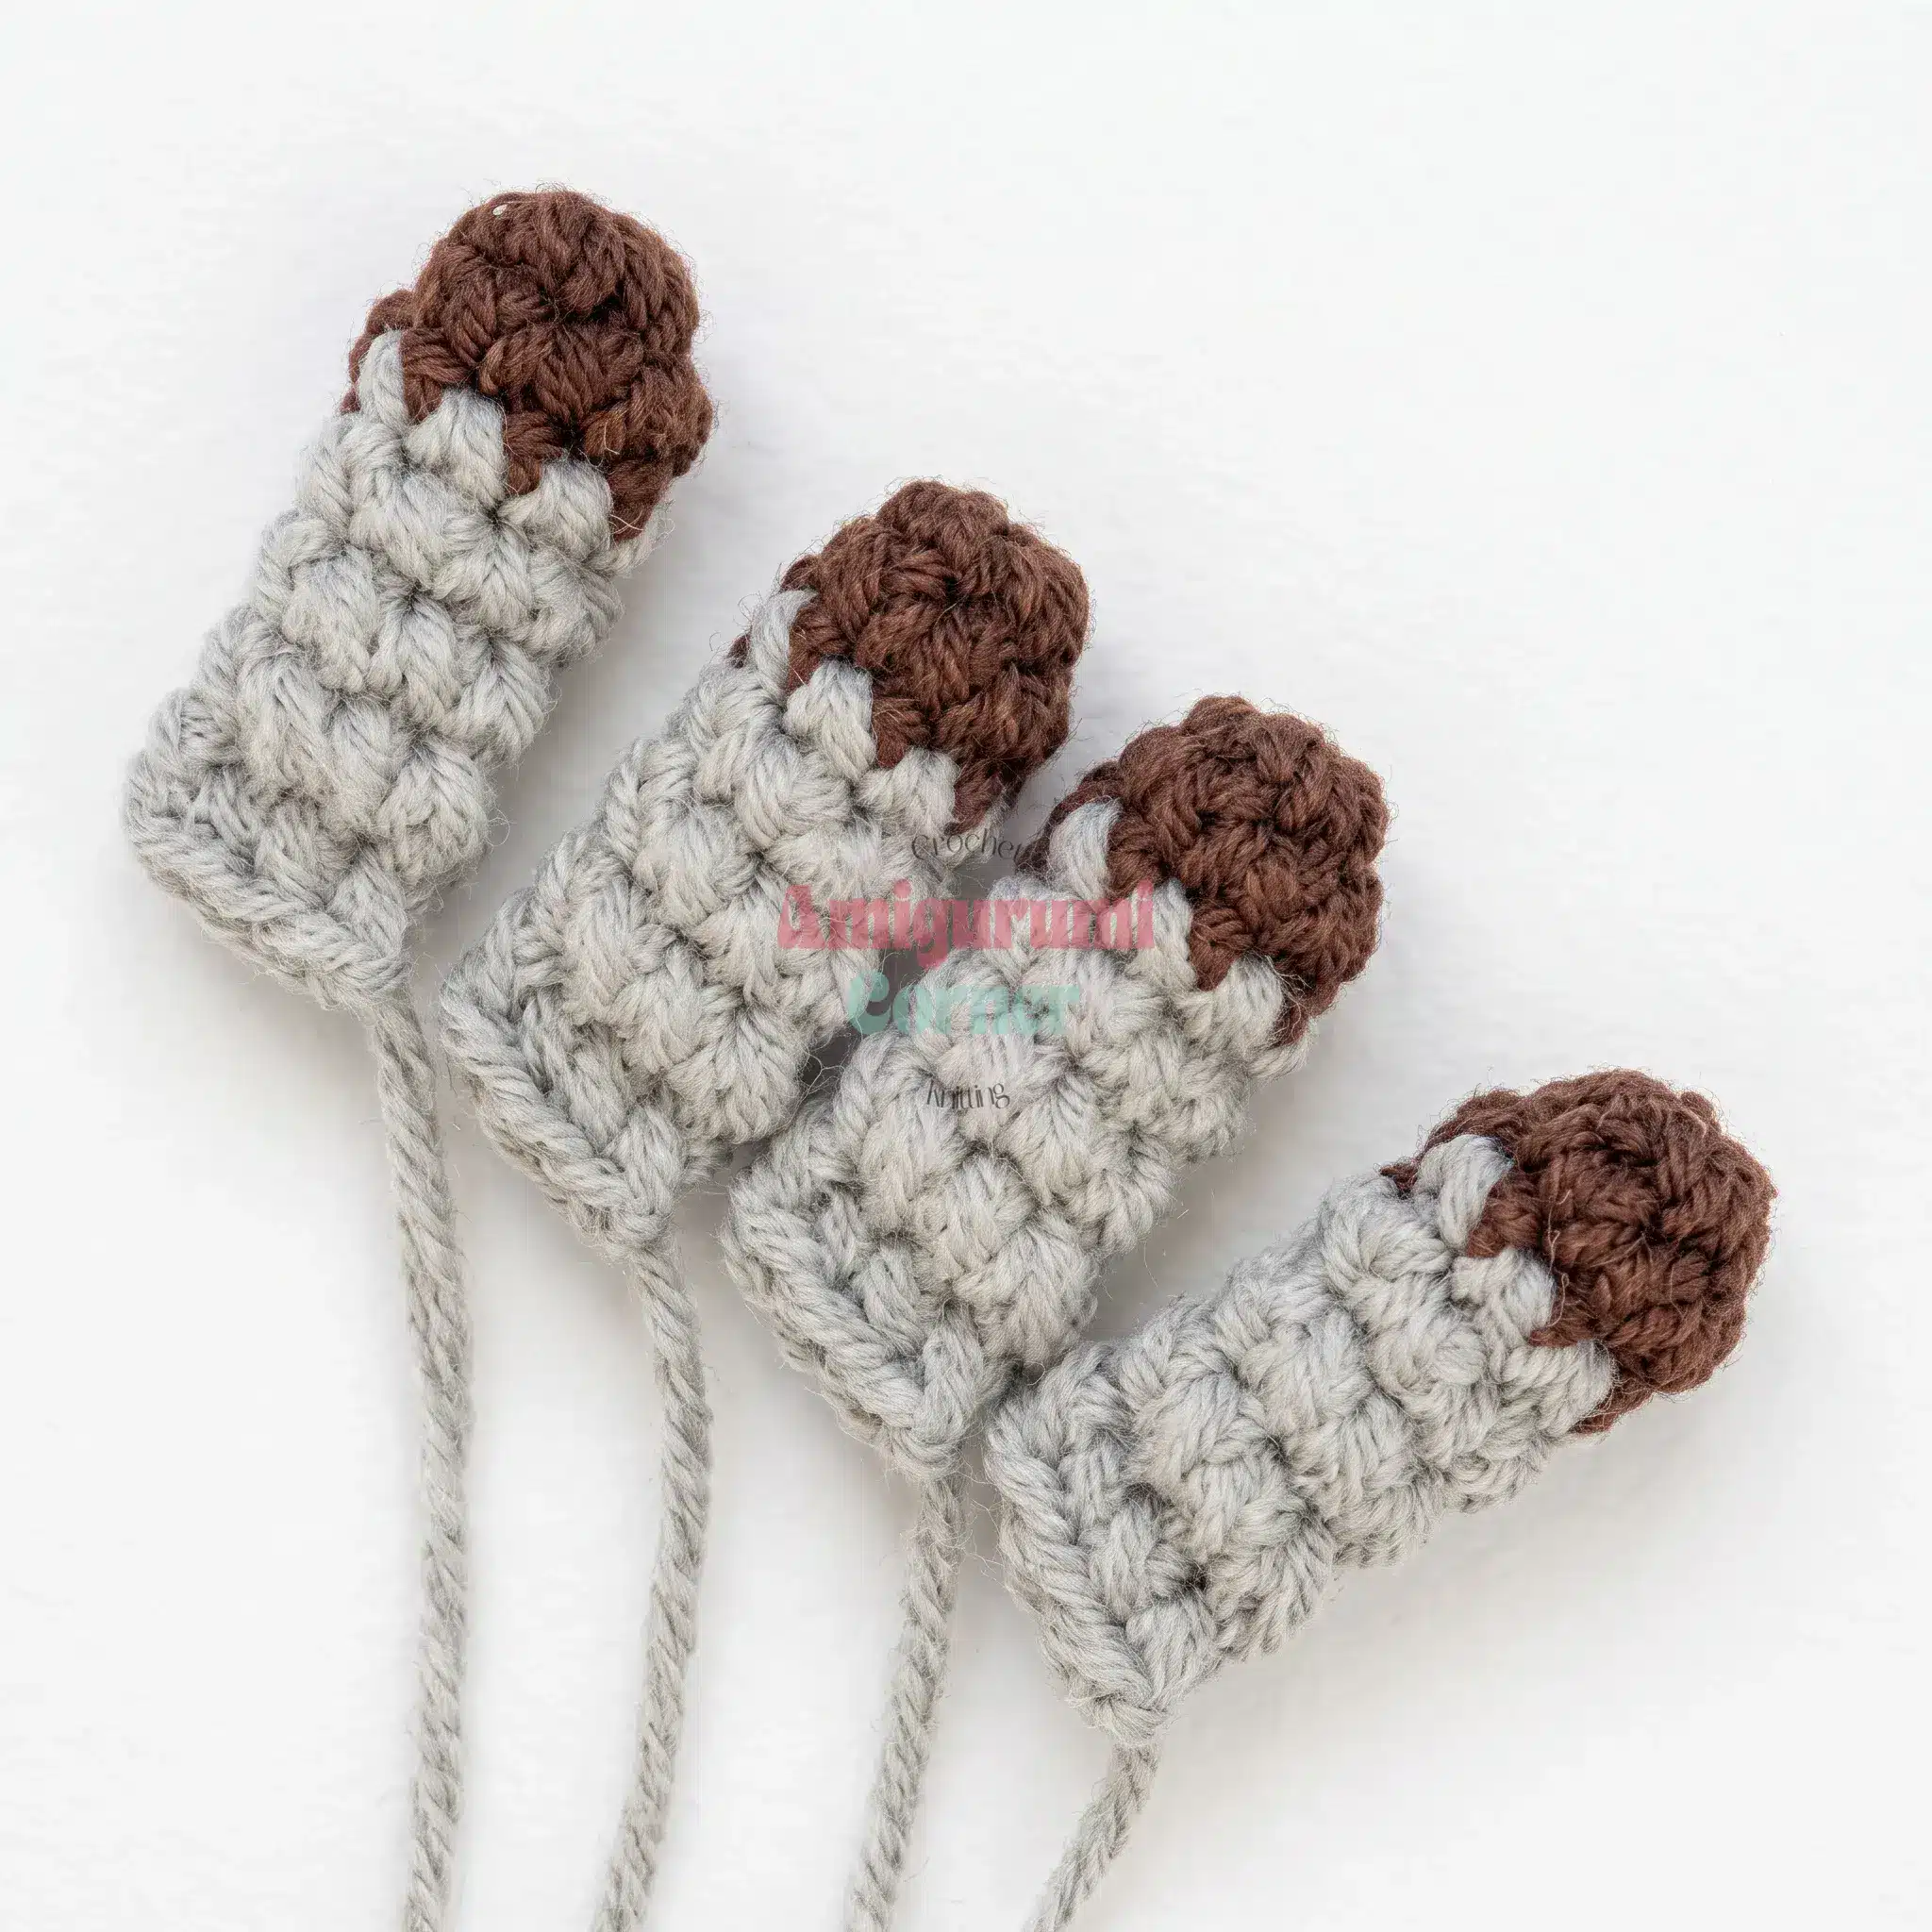
Do not stuff these pieces. Begin in brown.
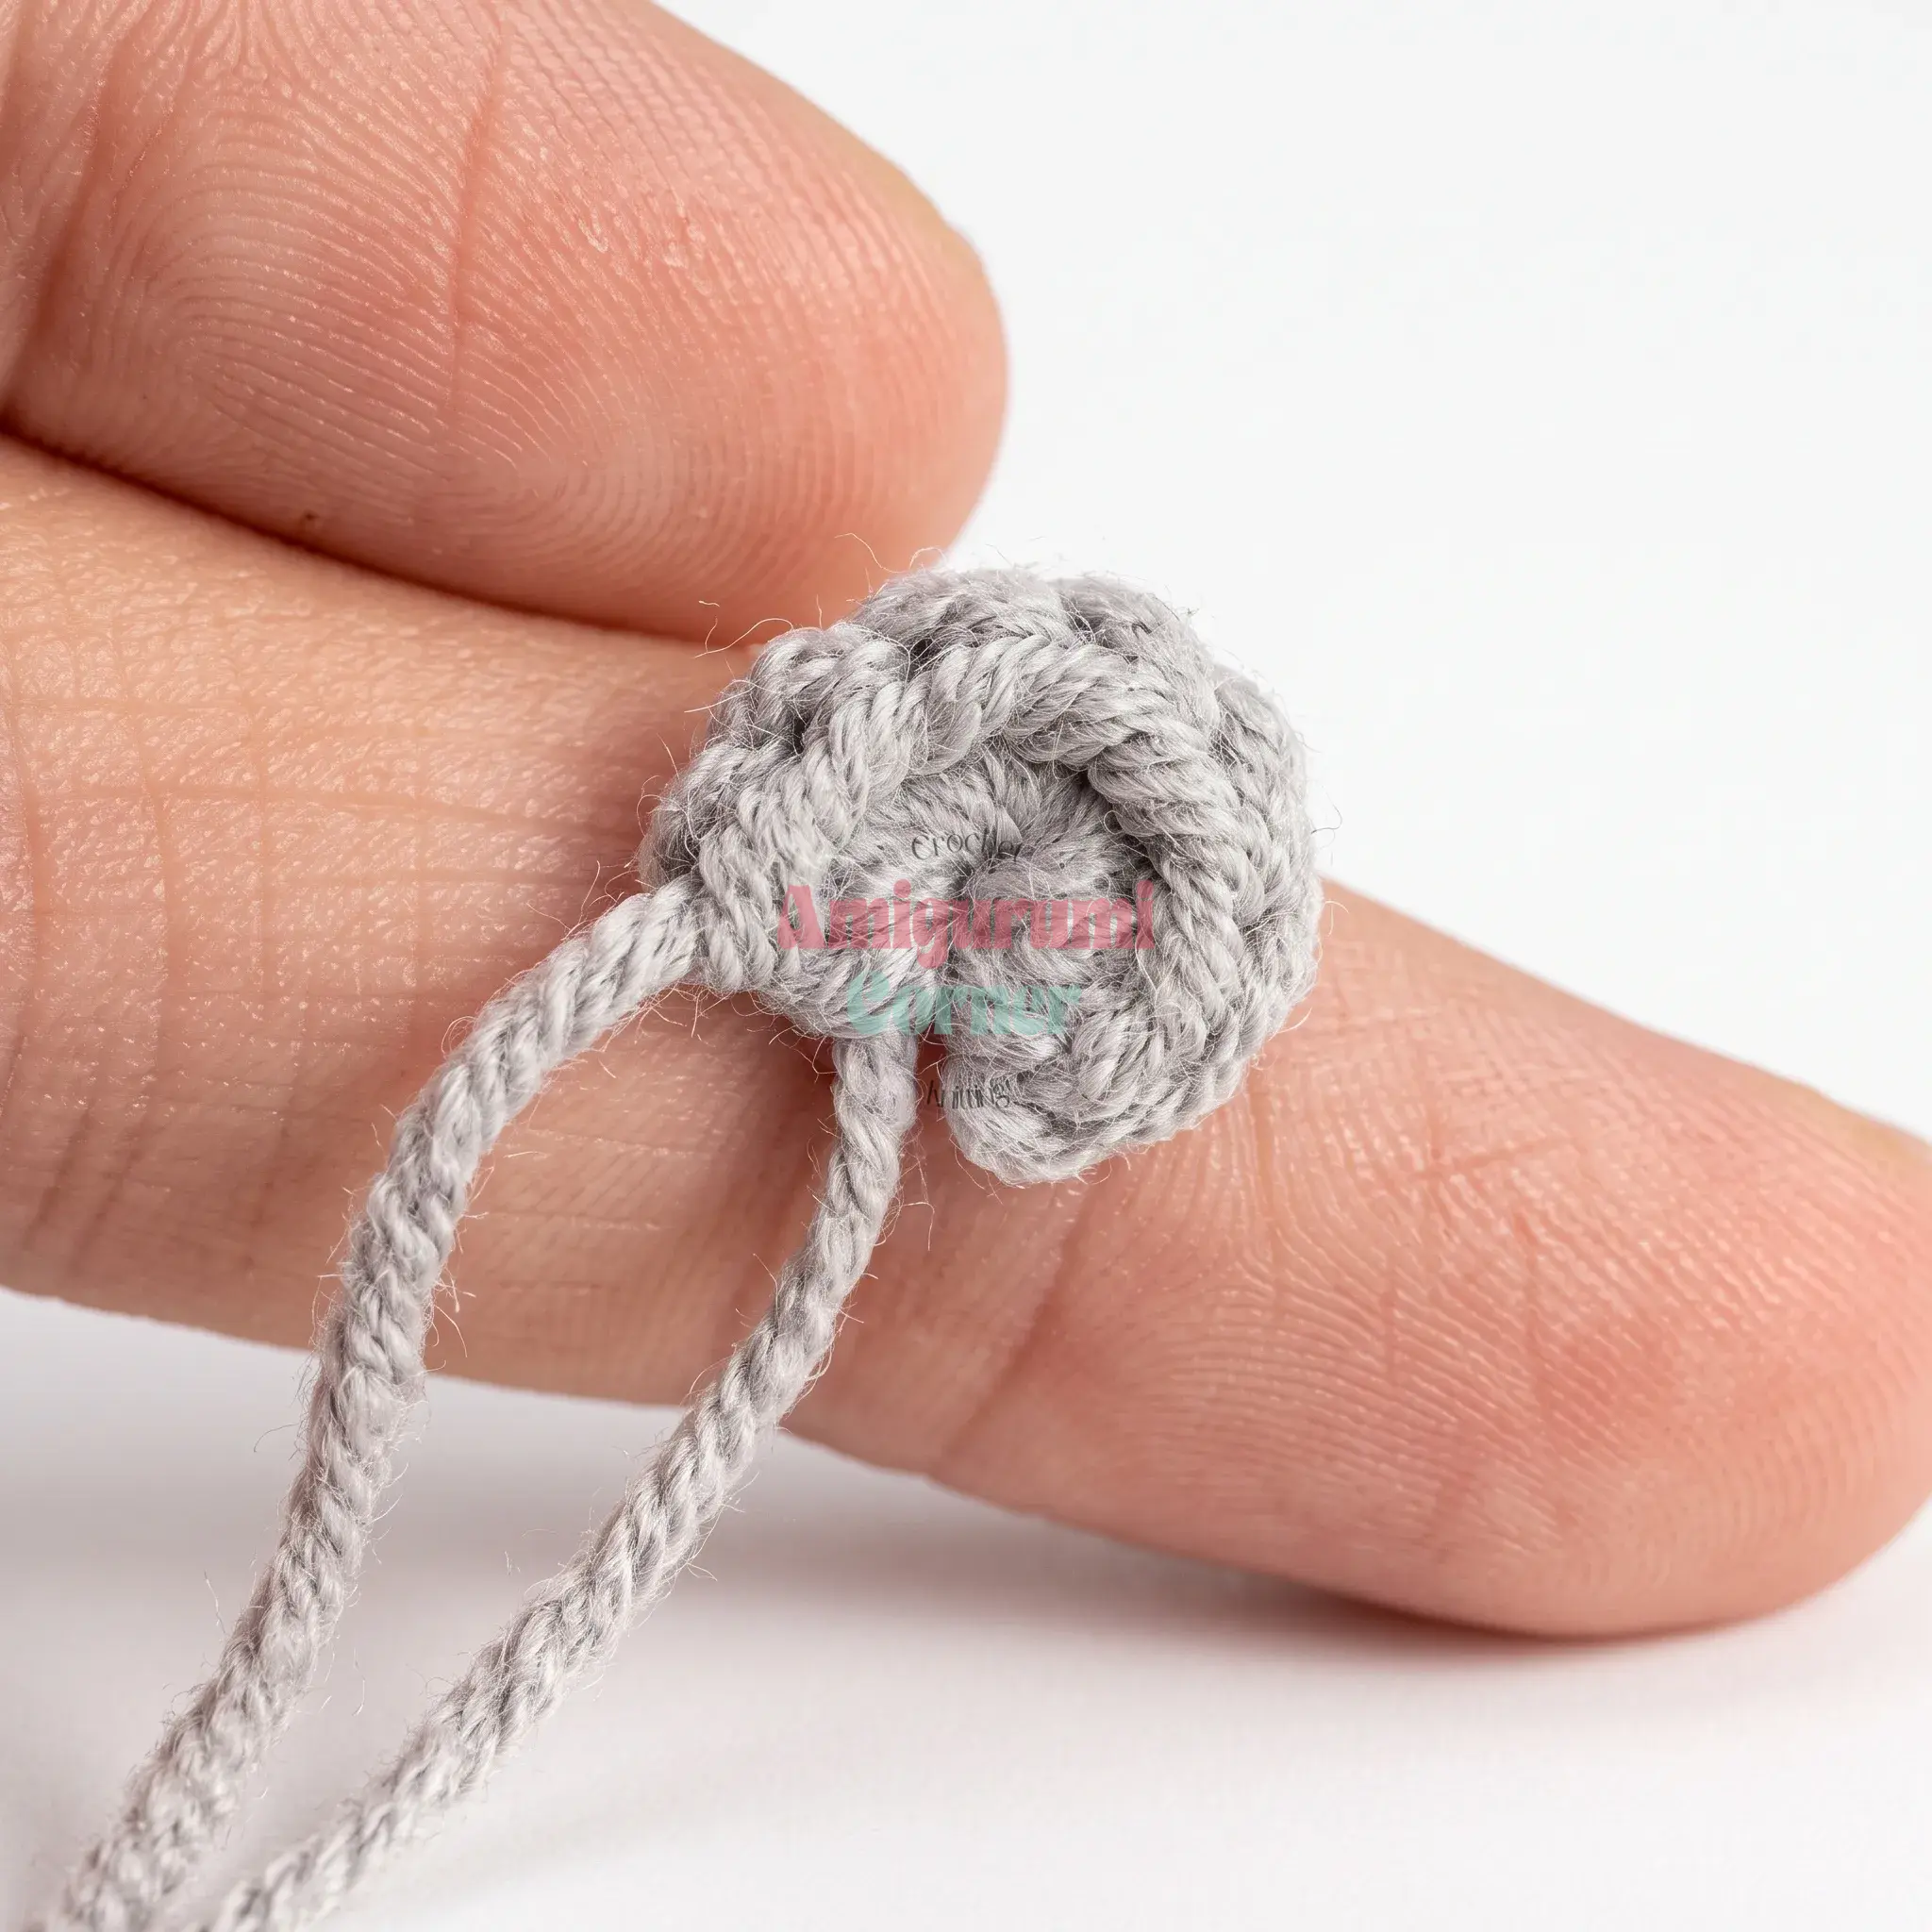
Rnd 1: 7 sc in MR. (7)
Rnd 2: sc in each st around, changing to your beige (or accent) color in the last stitch. (7)
Rnds 3–6: sc in each st around. (7) Work 4 rounds, shifting your starting point by one stitch each round so the color-change seam sits centered at the back; this offset stitch is not counted in the total. After the last round, fold the piece flat and sc through both layers of the next 3 sts to close. Fasten off.
Body
Rnd 1: 7 sc in MR. (7)
Rnd 2: inc in each st around. (14)
Rnd 3: 1 sc, inc repeat 7 times around. (21)
Rnd 4: 2 sc, inc repeat 7 times around. (28)
Rnd 5: 3 sc, inc repeat 7 times around. (35)
Rnd 6: sc 8, join a leg by working 3 sc through the leg opening and the body together, sc 13, join the second leg the same way with 3 sc, sc 8. (35)
Rnd 7: sc in each st around. (35)
Rnd 8: 3 sc, dec repeat 7 times around. (28)
Rnd 9: sc in each st around. (28)
Rnd 10: 2 sc, dec repeat 7 times around. (21)
Rnd 11: sc in each st around. (21)
Rnd 12: sc 5, join an arm by working 3 sc through the arm opening and the body together, sc 6, join the second arm the same way with 3 sc, sc 4. (21)
Rnd 13: 1 sc, dec repeat 7 times around. (14)
Rnds 14–15: sc in each st around. (14) Work 2 rounds, then leave a long tail for sewing. Stuff the body firmly as you go.
Tail
Rnd 1: 7 sc in MR, leaving short starting and ending tails for sewing. (7)
Assembly
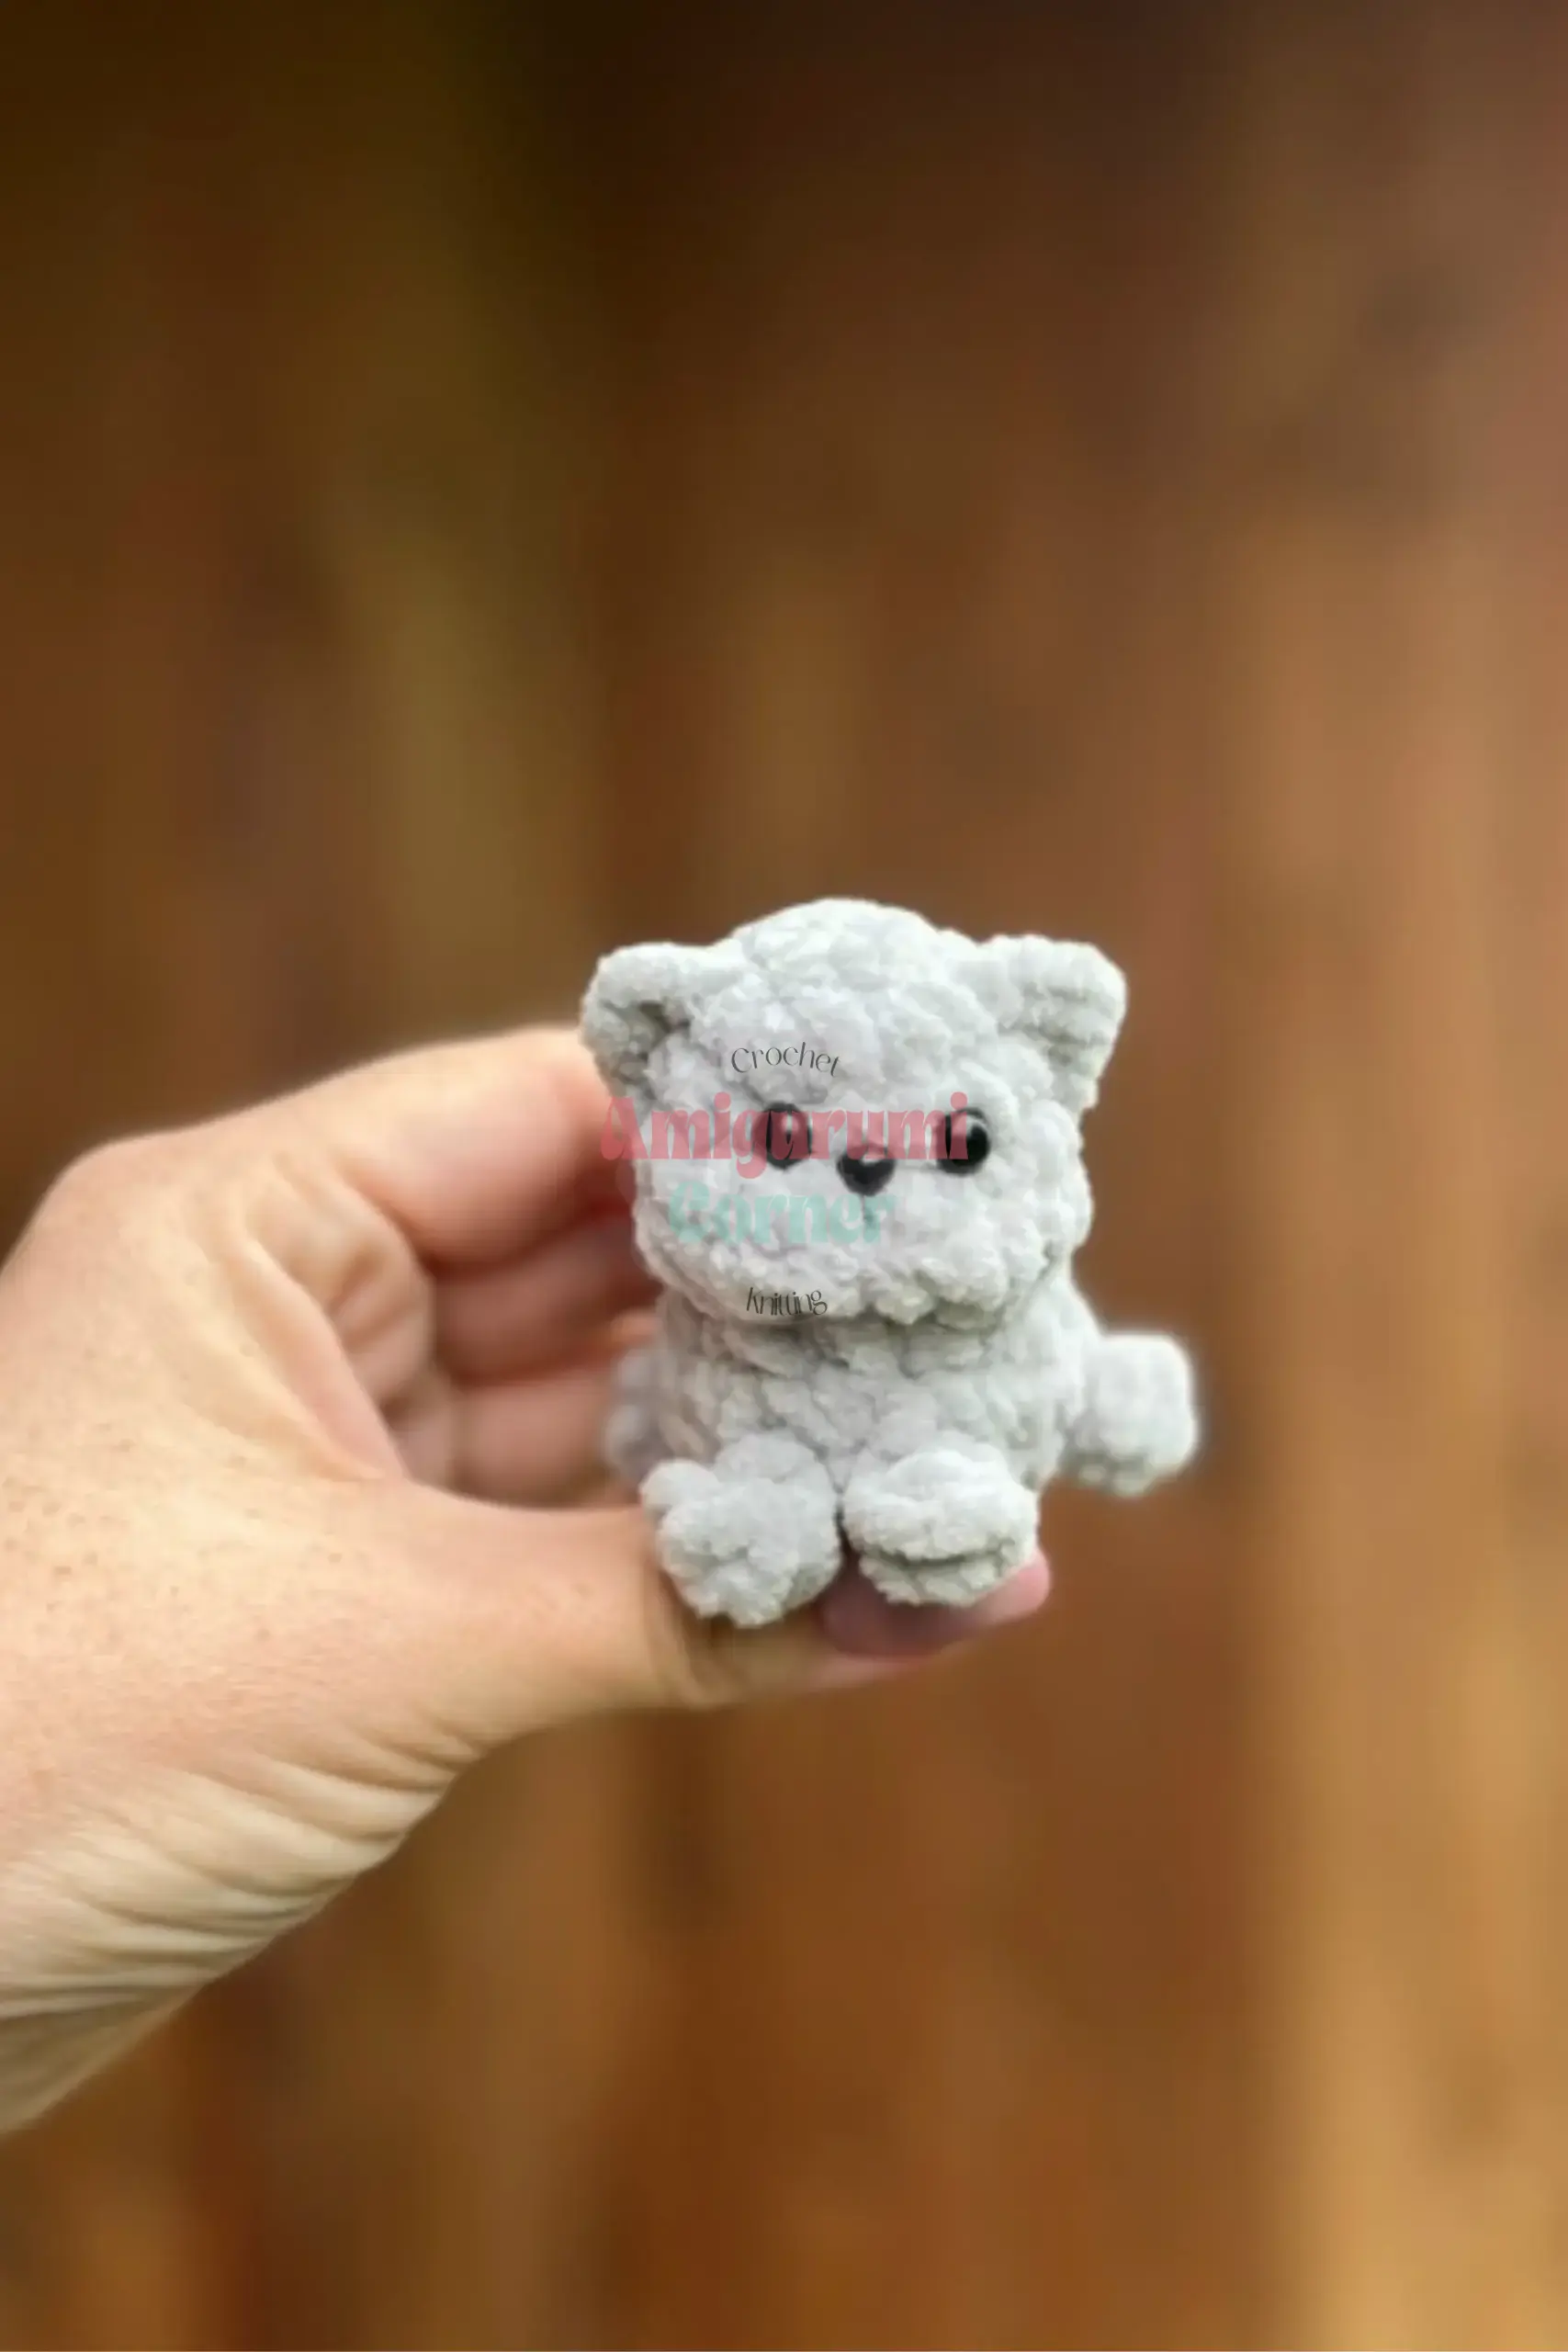
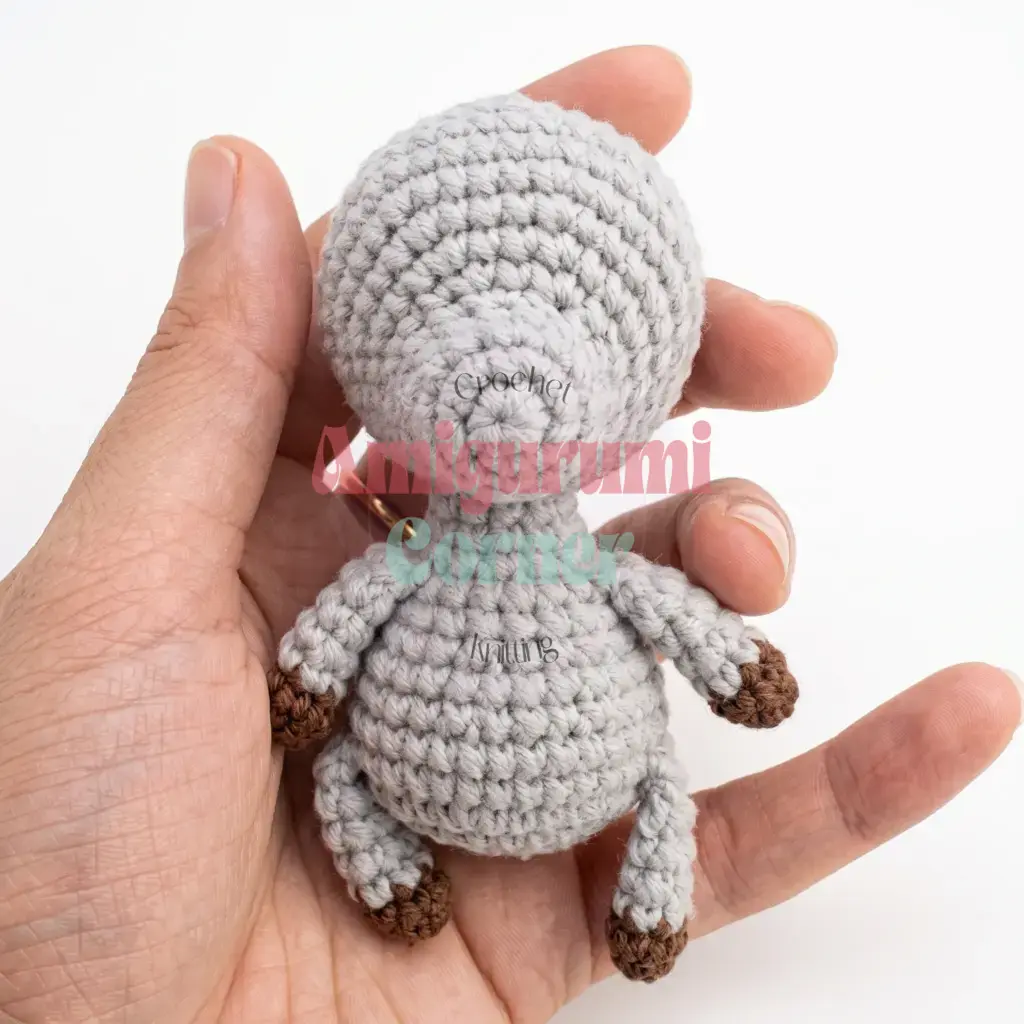
- Sew the Head to the top of the Body using your preferred sewing technique, matching it up as shown in your reference photos.
- Use a yarn needle to pull a length of yarn through the head at a few key points, cinching gently to needle-sculpt a slight indent around the eyes and muzzle — this gives the face its soft, dimensional shape. Knot off, bury the tail inside the head, and trim.
- Sew the Ears onto the head, positioned symmetrically on either side.
- Sew the Tail to the back of the Body.
- Sew the Horns onto the top of the head, just above the ears.
- Embroider white highlights onto the eye area to suggest the whites of the eyes, then embroider a small nose and two short eyebrow lines using matching thread.
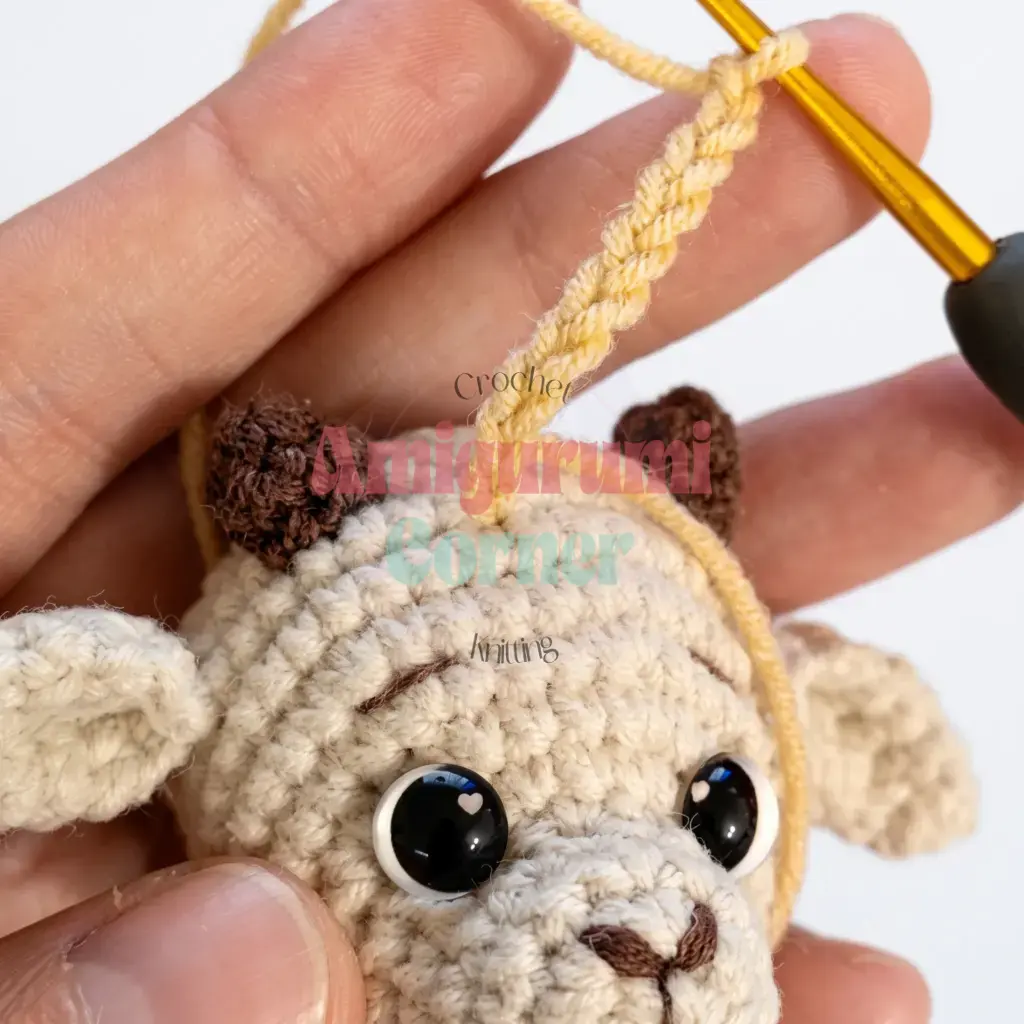
- Using a contrasting curl-color yarn, join with a slip stitch near the center of the head. Chain 10, then slip stitch into the next stitch on the head, chain 10 again, and repeat to build as many curls as you like across the top of the head.
- Cut several short strands of yarn for the beard, pull them through the chin area with your hook, and tighten to secure a fringe-style beard.
- Weave in all remaining ends.
Tips
- Keep your tension tight and even. Amigurumi stitches should sit close together so stuffing doesn’t peek through — if your stitches look loose, try dropping down half a hook size.
- Master the invisible decrease early. Working through only the front loops of the next two stitches (rather than both loops of both stitches) gives you a cleaner, less bulky decrease, especially noticeable on the visible decrease rounds of the head.
- Stuff firmly but don’t overdo it. Add stuffing in small pinches as you go, especially in the head and body, and stop once the piece feels dense but still slightly squeezable — overstuffing can distort your stitch definition.
- Watch that offset stitch on the arms and legs. It’s easy to forget the one-stitch shift on Rounds 3–6; a sticky note or stitch marker moved each round will keep your color-change seam lined up neatly at the back.
- Take your time joining the limbs into the body. Working those 3-stitch joins in Rounds 6 and 12 through both layers can feel fiddly — go slowly, and use your fingers to hold the limb opening steady against the body stitches as you crochet through both.
FAQs
Can I use acrylic yarn instead of cotton-blend?
Yes, you can use acrylic yarn, but keep in mind that cotton-blend often holds stuffing better and provides a slightly firmer finish. If you use acrylic, ensure your tension remains tight to prevent gaps.
What if I don’t have a 2.25 mm hook?
You can adjust your hook size to match your gauge. If your stitches are too loose and stuffing shows through, use a smaller hook. If they are too tight to stuff comfortably, use a larger hook.
How do I make the curls look uniform?
Chain 10 for each curl as instructed. To keep them uniform, try to maintain consistent tension when you slip stitch back into the head. You can adjust the number of chains (e.g., 8 or 12) if you prefer shorter or longer curls.
Is this pattern suitable for beginners?
This is an easy-level amigurumi pattern. It requires knowledge of basic stitches (sc, inc, dec) and working in continuous rounds. The assembly involves sewing, which is straightforward if you follow the step-by-step instructions.
How do I secure the safety eyes?
If using standard safety eyes, insert them between Rounds 12 and 13 and secure with the backing washers. If using glue-on eyes or cabochons, apply super glue to the base before inserting them into the head.
Pin This Crochet Pattern!