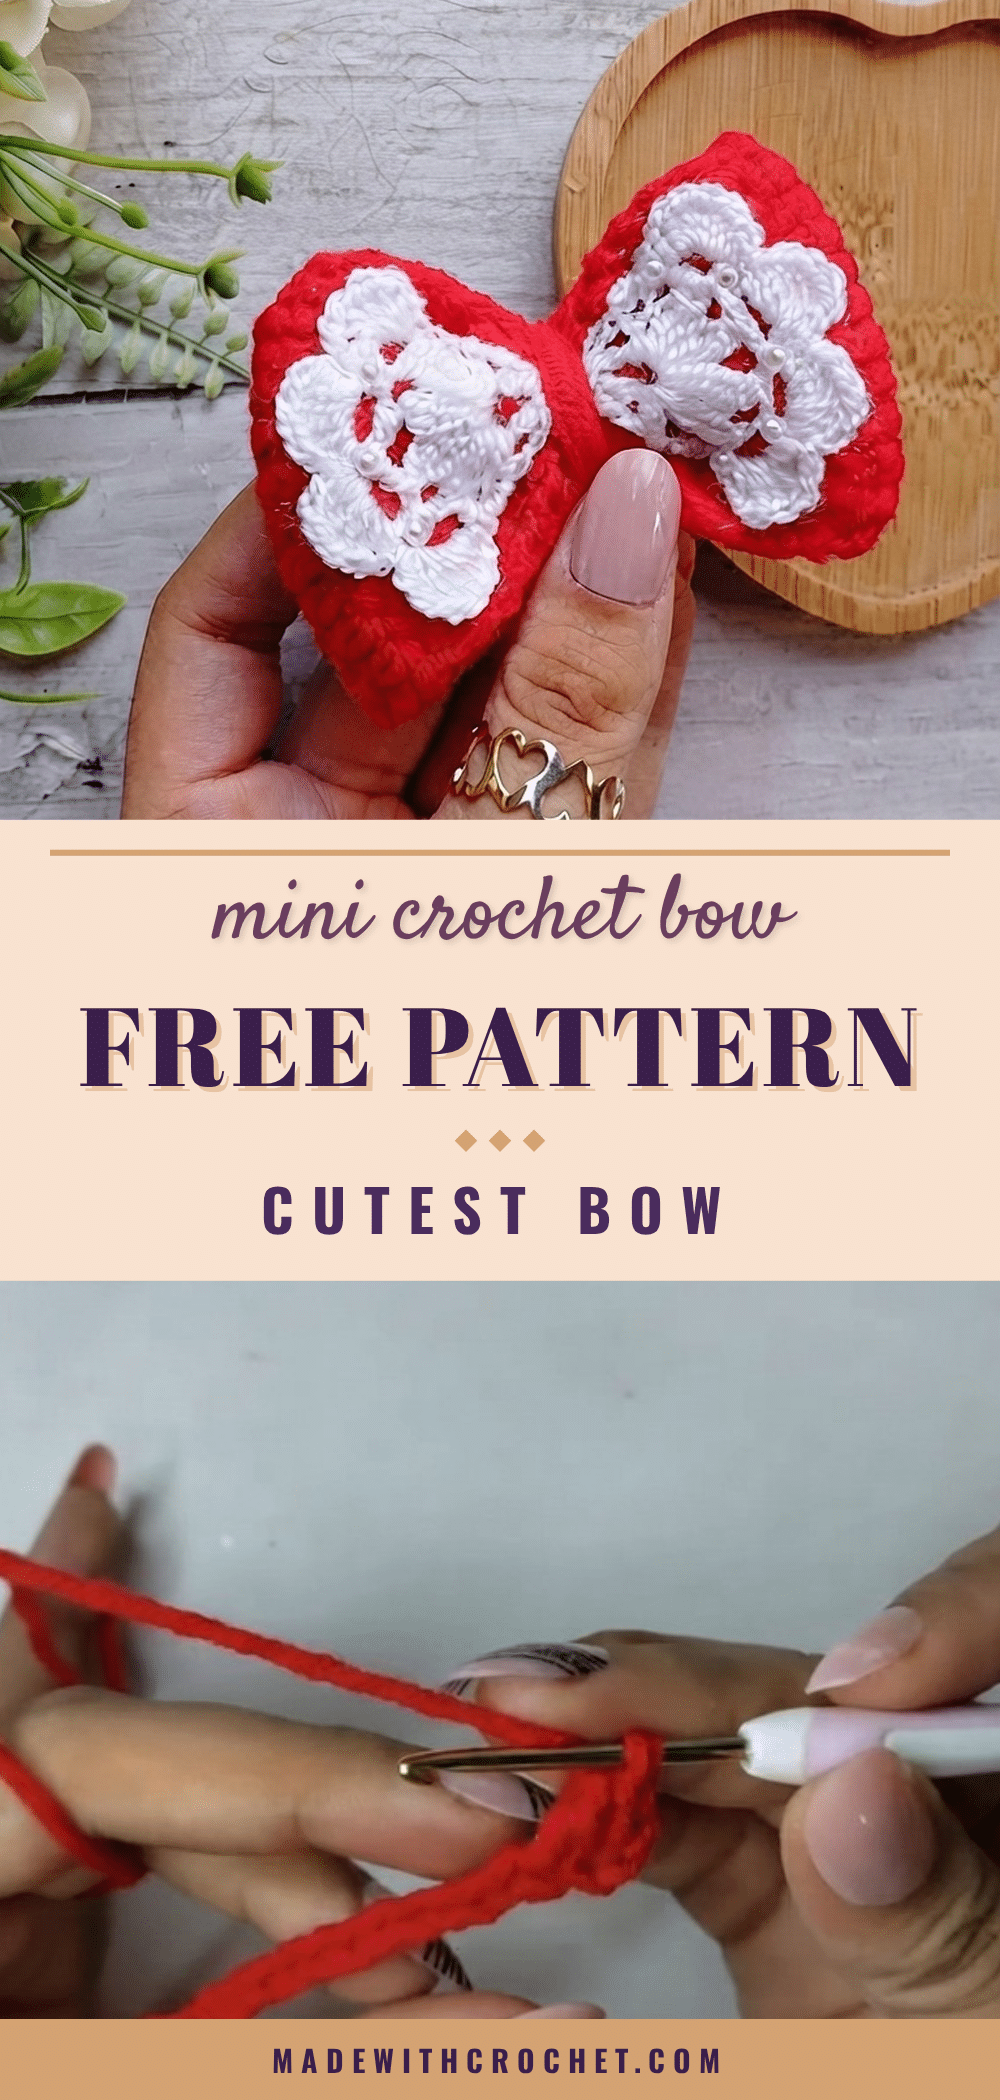
You’ve got your yarn on the table, hook in hand, and a little idea starting to take shape. Maybe it’s for a gift, a hair accessory, or just because you want to make something cute today. This mini crochet bow is that project — quick, satisfying, and ready to attach to almost anything.
Why This Project Works
This pattern hits that sweet spot between instant gratification and a polished finish. The two-part construction — a sturdy base and a delicate center — gives you a bow that holds its shape without being stiff. It’s small enough to finish in one sitting, but the cluster stitch detail adds just enough interest to keep it from feeling basic. Use it for hair clips, headbands, gift toppers, or bag charms. The color options are endless, and the size is just right for adding a handmade touch without overwhelming your project.
Project Overview
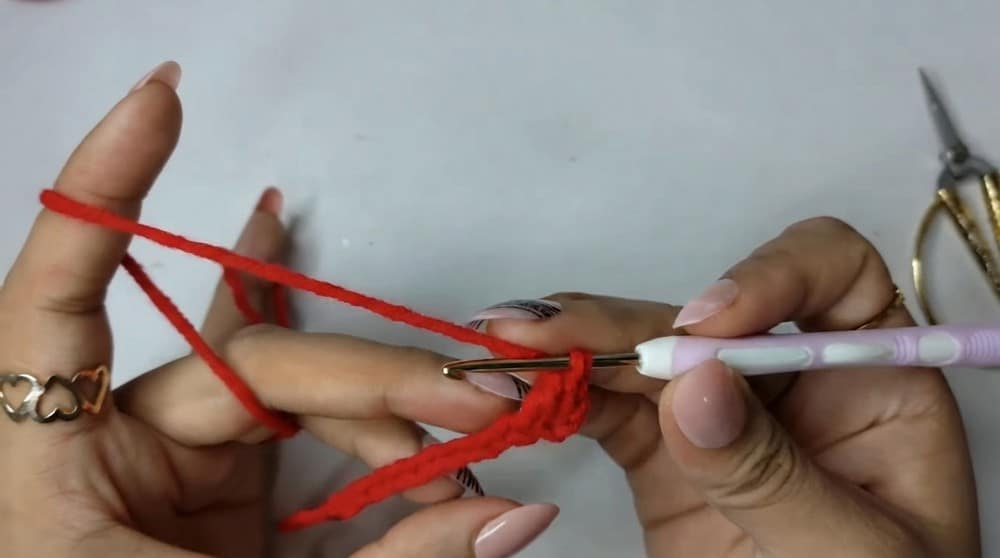
This crochet bow is made in two parts: a rectangular base worked in double crochet, and a round decorative center piece with cluster stitches and a fan edging. After assembly, you can attach a clip or hair tie to the back.
Materials
- Thicker yarn (for bow base)
- Thinner yarn (for center piece)
- Crochet hooks: 2.5 mm and 1.75 mm
- Tapestry needle
- Scissors
- Clip or hair tie
- Needle and thread for sewing
Gauge and Finished Size
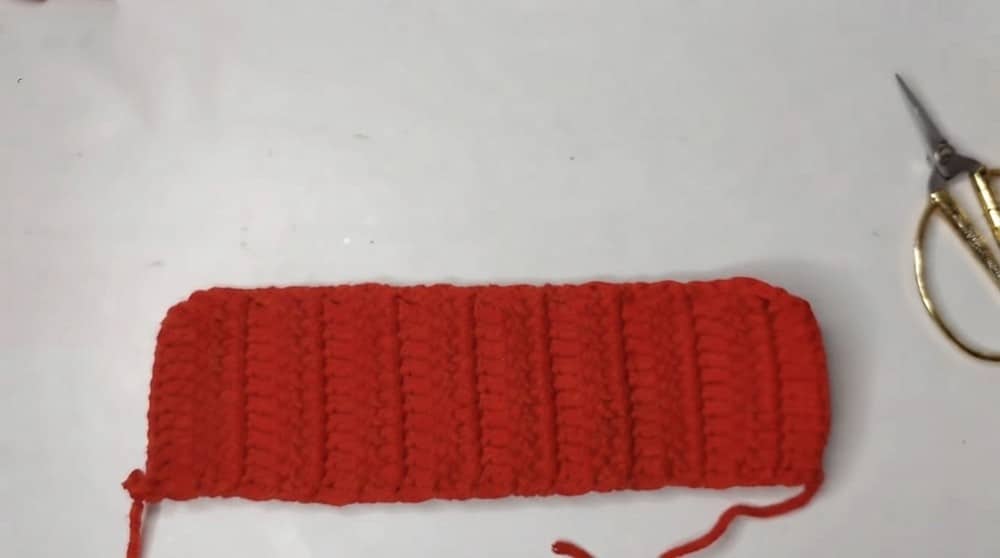
Finished Size: Bow length about 17.5 cm to 18 cm
Abbreviations
- ch = chain
- sl st = slip stitch
- dc = double crochet
- hdc = half double crochet
- sc = single crochet
- cl = cluster stitch (2 unfinished double crochets closed together)
Pattern Notes
- Use consistent tension throughout.
- Take your time with cluster stitches — instructions are clear and simple.
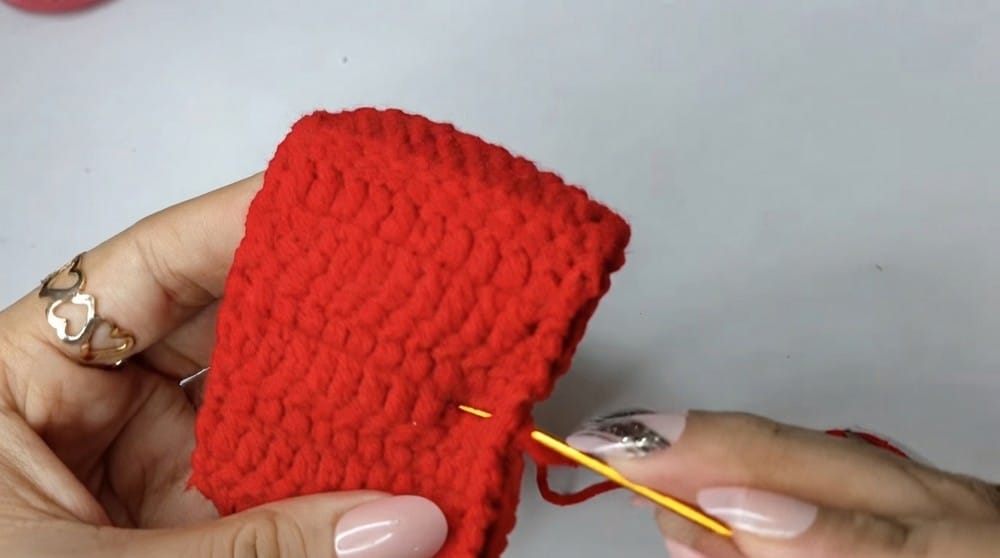
- Use a tapestry needle to sew pieces neatly.
- Skill Level: Beginner to Intermediate (basic knowledge of double crochet and single crochet is helpful)
Special Stitches
Cluster Stitch (cl)
Yarn over, insert hook in stitch, yarn over and pull up a loop, yarn over and pull through 2 loops (leave last loop on hook). Yarn over and insert hook into same stitch, yarn over and pull up a loop, yarn over and pull through 2 loops. Yarn over and pull through all loops on hook to complete cluster.
Pattern Instructions
Part 1: Main Bow Base
Using thicker yarn and 2.5 mm hook.
Foundation: Make a slip knot. Chain 14.
Row 1: Count the 3rd chain from hook as first double crochet (dc). Work 1 dc into the 4th chain from the hook and into each remaining chain. You should have 12 dc stitches total (including the turned chains).
Next rows: Chain 2, turn your work. Work 12 dc stitches across. Repeat until the piece measures about 17.5 cm to 18 cm long.
Join to form loop: With tapestry needle, sew the two short ends together, creating a loop. Keep the seam at the back.
Part 2: Decorative Center Piece
Using thinner yarn and 1.75 mm hook.
Magic ring & chain: Make a magic ring. Chain 5 (counts as 1 dc + chain 2 space).
Round 1: Inside magic ring, work: 3 dc stitches, each separated by ch 2. You will have 4 dc stitches total, each separated by 2 chains.
Round 2: Chain 3, turn. In each center space (‘V’) of the previous round, work: 4 cluster stitches (cl) (each is 2 unfinished dc closed together). Separate each cluster with ch 2.
Round 3: Slip stitch into the top of previous round to secure. Turn, then slip stitch into the next 2 chains. Chain 3. Work a single crochet (sc) into each space created by clusters, separated by ch 3.
Round 4 – The Edging: In each ch-3 space, work the following “fan”: 1 half double crochet (hdc), 4 double crochet (dc), 1 half double crochet (hdc). Slip stitch into the center single crochet of the previous round to attach each fan.
Finish: Repeat the edging on the other side of the center piece if desired.
Assembly
- Fold the main bow base loop so the seam is hidden at the back and sides are pinched inward.
- Place the decorative center piece around the pinched center of the bow.
- Use needle and thread to sew the center piece securely in place.
- Attach your clip or hair tie to the back of the bow.
Tips
- For a neater finish, weave in all yarn ends before attaching the center piece.
- If your bow feels floppy, try a slightly thicker yarn for the base or work with tighter tension.
- The center piece can be sewn on both sides for a reversible look.
FAQs
Can I use the same yarn weight for both parts?
The pattern calls for thicker yarn for the base and thinner yarn for the center piece. Using two different weights helps the bow hold its shape while keeping the center detail delicate.
What if my bow base is too short or too long?
Check your gauge and continue working rows until the piece measures 17.5 cm to 18 cm. The length determines the final bow size.
How do I attach the bow to a hair clip?
After sewing the center piece in place, use needle and thread to stitch the clip or hair tie securely to the back of the bow. Make sure the clip opens freely.
Can I make this bow smaller or larger?
Yes. Adjust your starting chain and number of rows to change the size. Keep the center piece proportional by using a smaller or larger hook and yarn weight.
What if I don’t know how to make a magic ring?
You can chain 4 and slip stitch to form a ring as an alternative. Work Round 1 into the ring instead of a magic ring.
How do I keep the cluster stitches even?
Work slowly and keep your tension consistent. The cluster stitch is forgiving — just make sure all loops are pulled to the same height before closing.
Pin This Crochet Pattern!