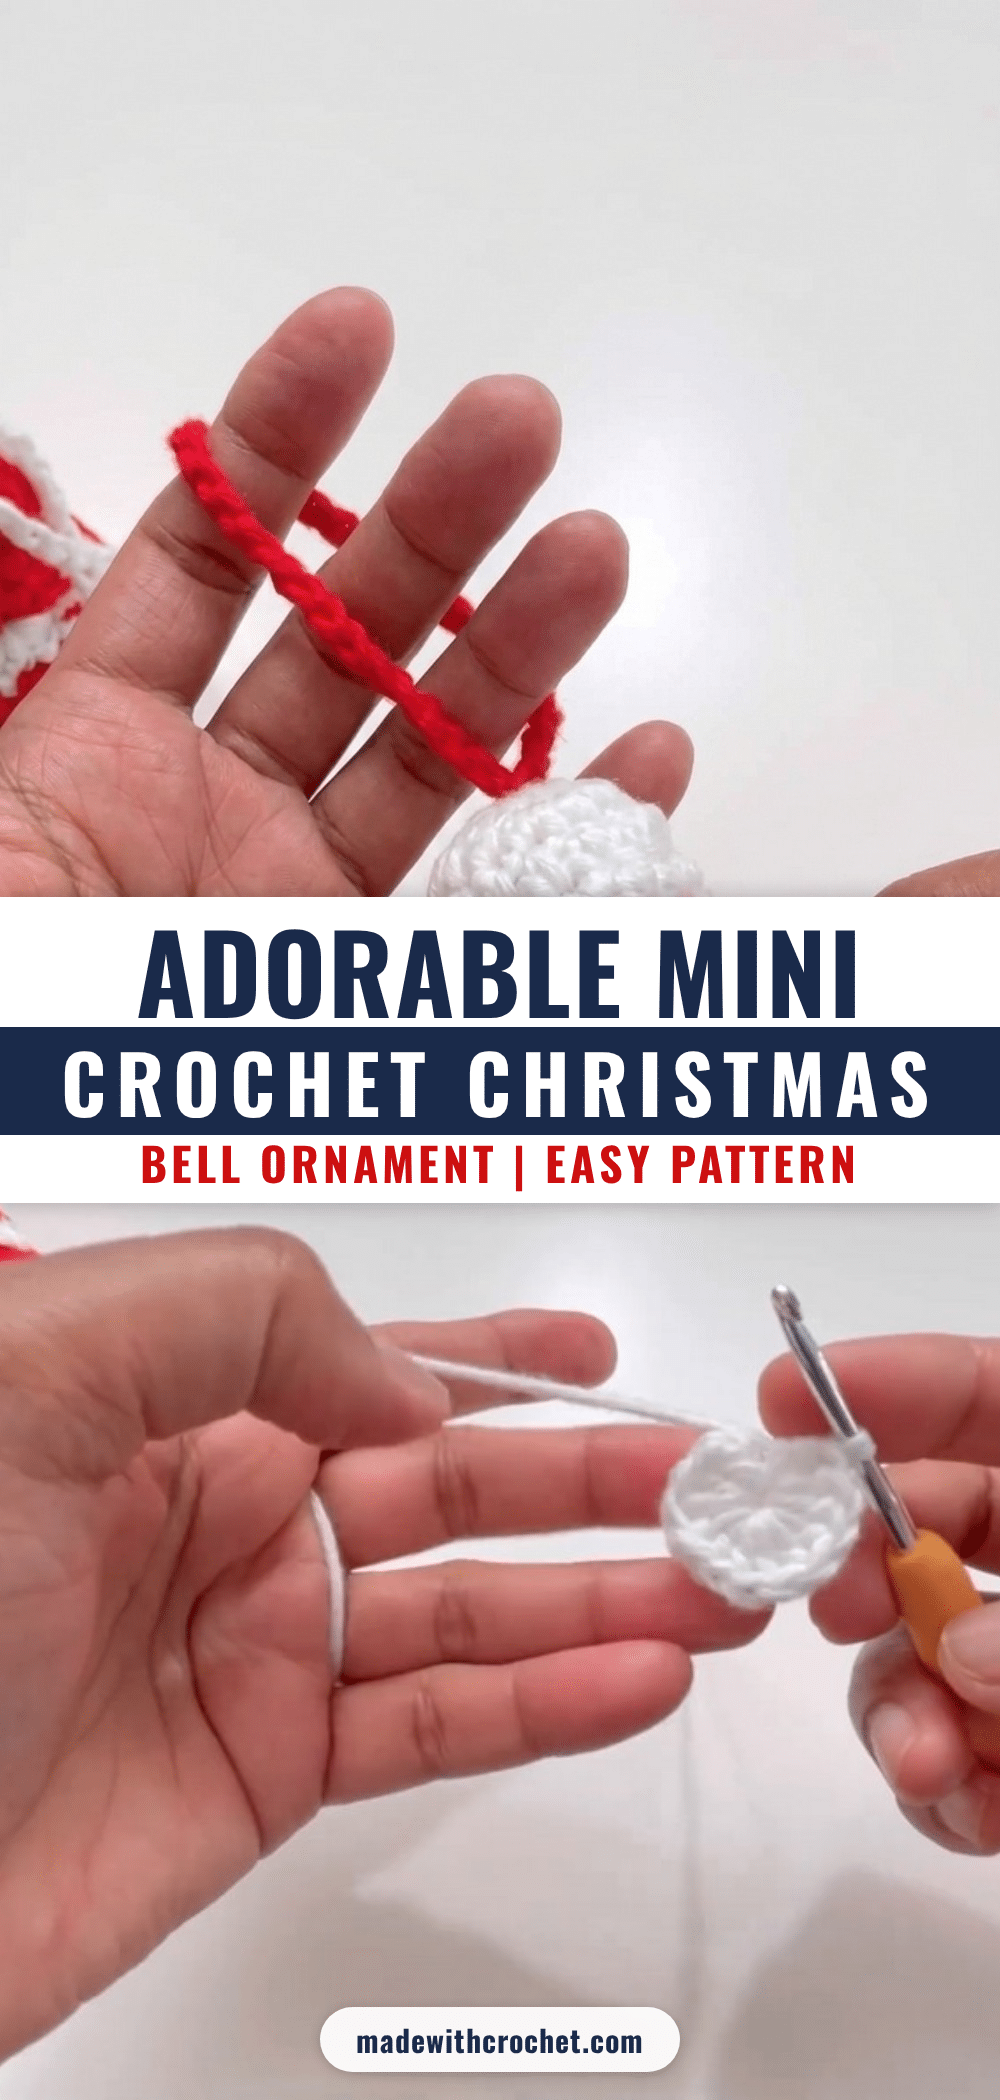
There’s something so satisfying about settling in for a quiet evening with a small batch of yarn, counting stitches as a relaxing repeat takes over. This mini crochet Christmas bell keychain is the perfect project for just such a moment—quick to work up, easy to memorize, and endlessly rewarding. Whether you’re making a batch for gift tags, tree ornaments, or cheerful little keychains, this pattern brings a handmade touch to the holiday season that feels both personal and festive.
Small Details That Make It Better
What makes this little bell so charming is the thoughtful interplay of color and texture. The main body is worked in a smooth half double crochet, while a contrasting accent round introduces an open double crochet cluster for a delicate, decorative band. A final round of single crochet in the back loop only adds a crisp, finished edge. The result is a bell that looks more intricate than it is—perfect for using up small scraps of cotton yarn in red, green, gold, or white. Attach a simple chain loop, and you have a sweet, sturdy keychain or ornament that’s ready to gift or hang.
Project Overview
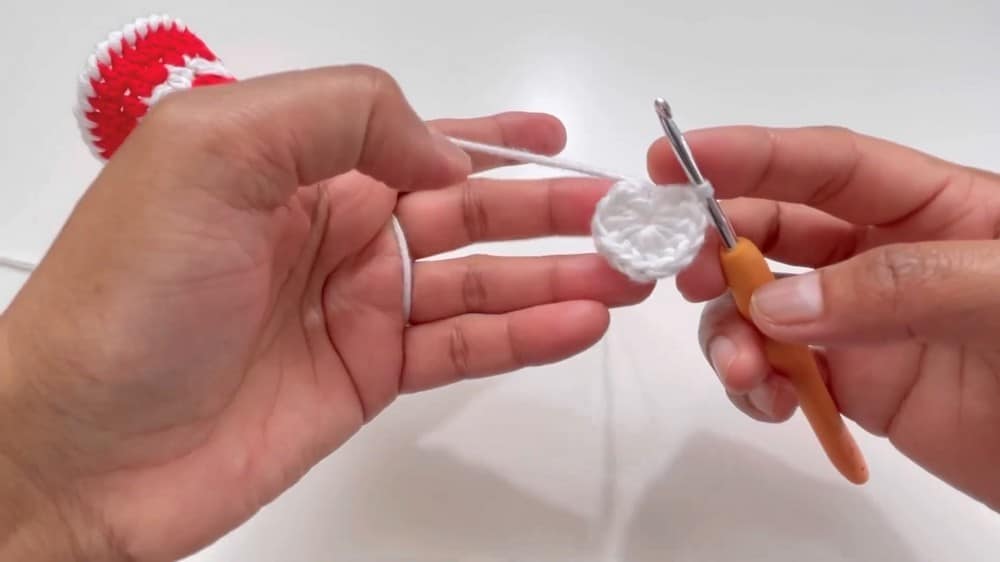
This mini Christmas bell is worked in the round from the top down, starting with a magic ring. The body flares gently through increases, and a contrasting color change creates a decorative band. A final hanging loop is added after assembly. The pattern uses US crochet terminology and is beginner-friendly.
Materials
- Yarn: 100% cotton yarn in two contrasting colors (main color for bell body, accent color for decorative bands)
- Hook: 3 mm crochet hook
- Notions: Yarn needle (for sewing ends), scissors
Gauge and Finished Size
Gauge: Gauge is not critical. For reference, the first two rounds (18 HDC) should measure about 2 cm (0.75″) across. Adjust hook size as needed for desired firmness or drape.
Finished Size: Finished bell is approximately 4–5 cm (1.5–2″) in height, and about 4 cm (1.5″) in diameter at the open end, using recommended yarn and hook. The hanging loop is about 8–10 cm (3–4″) long (adjustable by changing chain length).
Abbreviations
- MR – Magic Ring/Magic Circle
- ch – Chain
- sl st – Slip Stitch
- sc – Single Crochet
- hdc – Half Double Crochet
- dc – Double Crochet
- st(s) – Stitch(es)
- sp – Space
Pattern Notes
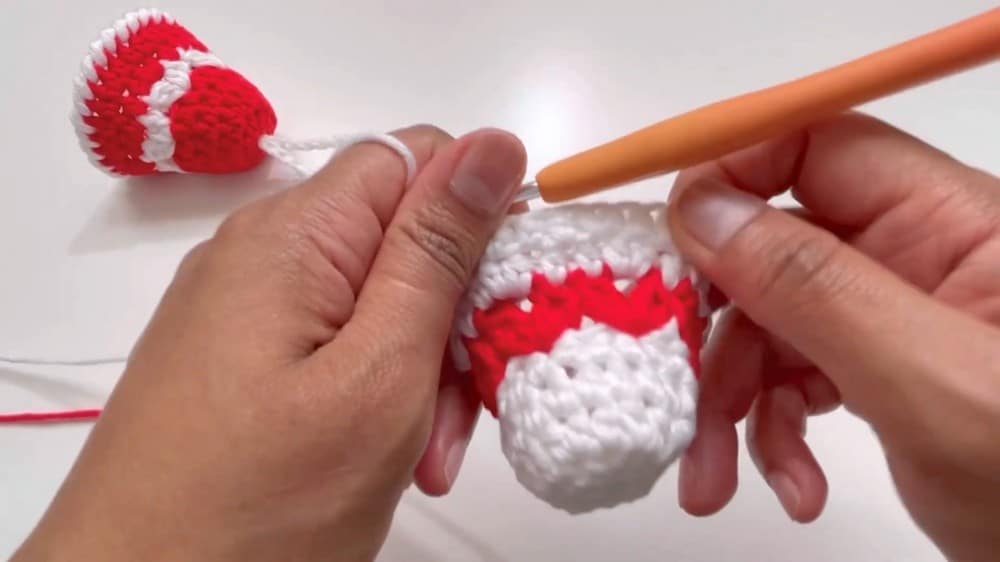
- Color changes: Make sure to fasten off and weave in ends neatly at every color change for a polished final look.
- Customization: Choose colors that match your decor theme or make several bells in different combinations for a vibrant effect.
- Finishing: For crisp edges and the best appearance, always block or gently steam your finished bell shape if cotton yarn is used.
Special Stitches
- Magic Ring (MR): Form a loop, insert hook, pull up a loop, ch 1, then crochet into the ring as instructed. Pull tail to tighten.
- Double Crochet Cluster: Work 2 DC, ch 2, 2 DC in the same stitch or space, then skip 2 stitches as instructed. This creates an open cluster effect.
- Back Loop Only (BLO): For designated rounds, insert hook only into the back loop of each stitch before completing stitch.
Pattern Instructions
Preparation & Foundation
Begin with your main color yarn. Make a Magic Ring (MR). Ch 1 to secure (does not count as a stitch).
Bell Body Rounds
Round 1: Work 12 HDC into the MR. Sl st to the first HDC to join. (12 sts)
Round 2: Ch 1 (does not count as a stitch). [1 HDC in next st, 2 HDC in next st (increase)] — repeat around. (1, 2, 1, 2…) = 18 sts total. Sl st to join.
Rounds 3 & 4: Ch 1, then 1 HDC in each st around (18). Sl st to join at end of each round.
Decorative Color Change
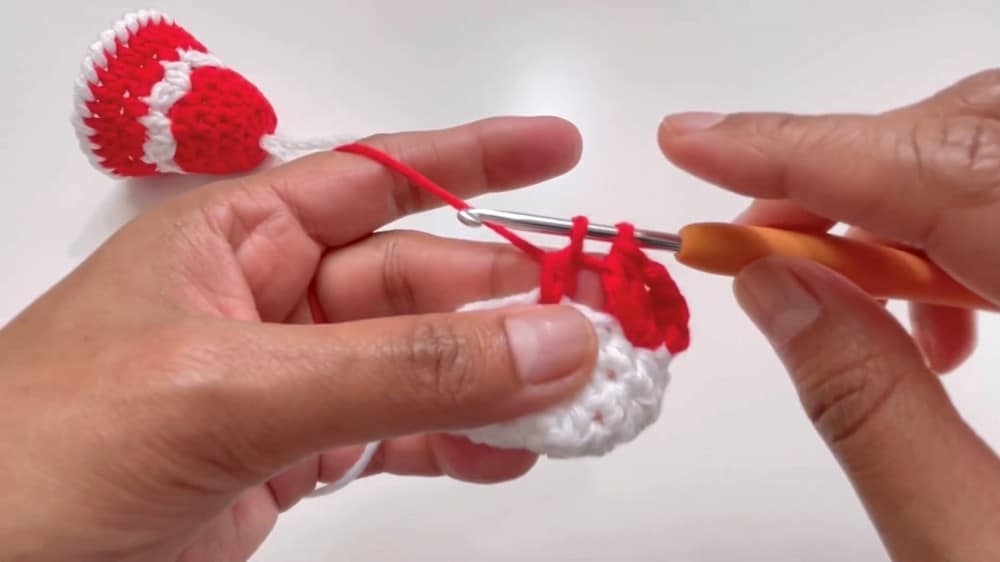
Round 5: Switch to accent color. Attach new yarn, ch 1. [In the same st: (2 DC, ch 2, 2 DC), skip 2 sts] — repeat all the way around. After the last cluster, sl st to join.
Final Body Rounds
Round 6: Switch back to main color. Ch 1. [1 HDC in the next st, 2 HDC in the ch-2 space] — repeat pattern around. (1 HDC, 2 HDC in each cluster ch-2 sp) = 24 sts total. Sl st to join.
Round 7: Ch 1. [1 HDC in next 3 sts, 2 HDC in next st (increase)] — repeat around. (3, inc, 3, inc…) = 30 sts total. Sl st to join.
Round 8: Switch to accent color. Ch 1. Work 1 SC in the back loop only (BLO) of each st around (30 total). Sl st to join. Fasten off and cut yarn.
Assembly
- Weave in loose ends: Use your yarn needle to neatly weave in and secure all yarn tails.
- Hanging Loop: With either main color or accent color, ch 30. Thread loop through the top center opening of the bell (where magic ring was started). Pull both ends of the chain through to form a loop, knot securely inside the bell. Weave in any remaining ends for a tidy finish.
Tips
- Use a stitch marker to keep track of the start of each round, especially when working the increases.
- If your cotton yarn feels stiff, a gentle steam block will soften the fabric and help the bell hold its shape.
- For a sturdier keychain, use a small split ring instead of a yarn loop.
Frequently Asked Questions
Can I use a different yarn weight?
Yes, but the finished size will change. Use a corresponding hook size for your chosen yarn and check your gauge if a specific size is needed.
How do I make the bell larger or smaller?
Adjust the hook size or yarn weight. You can also add extra increase rounds before Round 5 for a wider bell.
Is this pattern suitable for a beginner?
Yes, it is beginner-friendly. You should be comfortable with the magic circle, basic stitches (HDC, DC, SC), increases, and joining rounds.
Can I use acrylic yarn instead of cotton?
Absolutely. Acrylic yarn will work well, though the bell may be less crisp in shape. Blocking can help.
How do I attach the keychain ring?
Instead of a yarn loop, you can thread a small split ring or lobster clasp through the top opening and secure it with a knot or jump ring.
What if my bell doesn’t hold its shape?
Try using a smaller hook for a tighter fabric, or block the finished bell with steam to set the stitches.
Pin This Crochet Pattern!