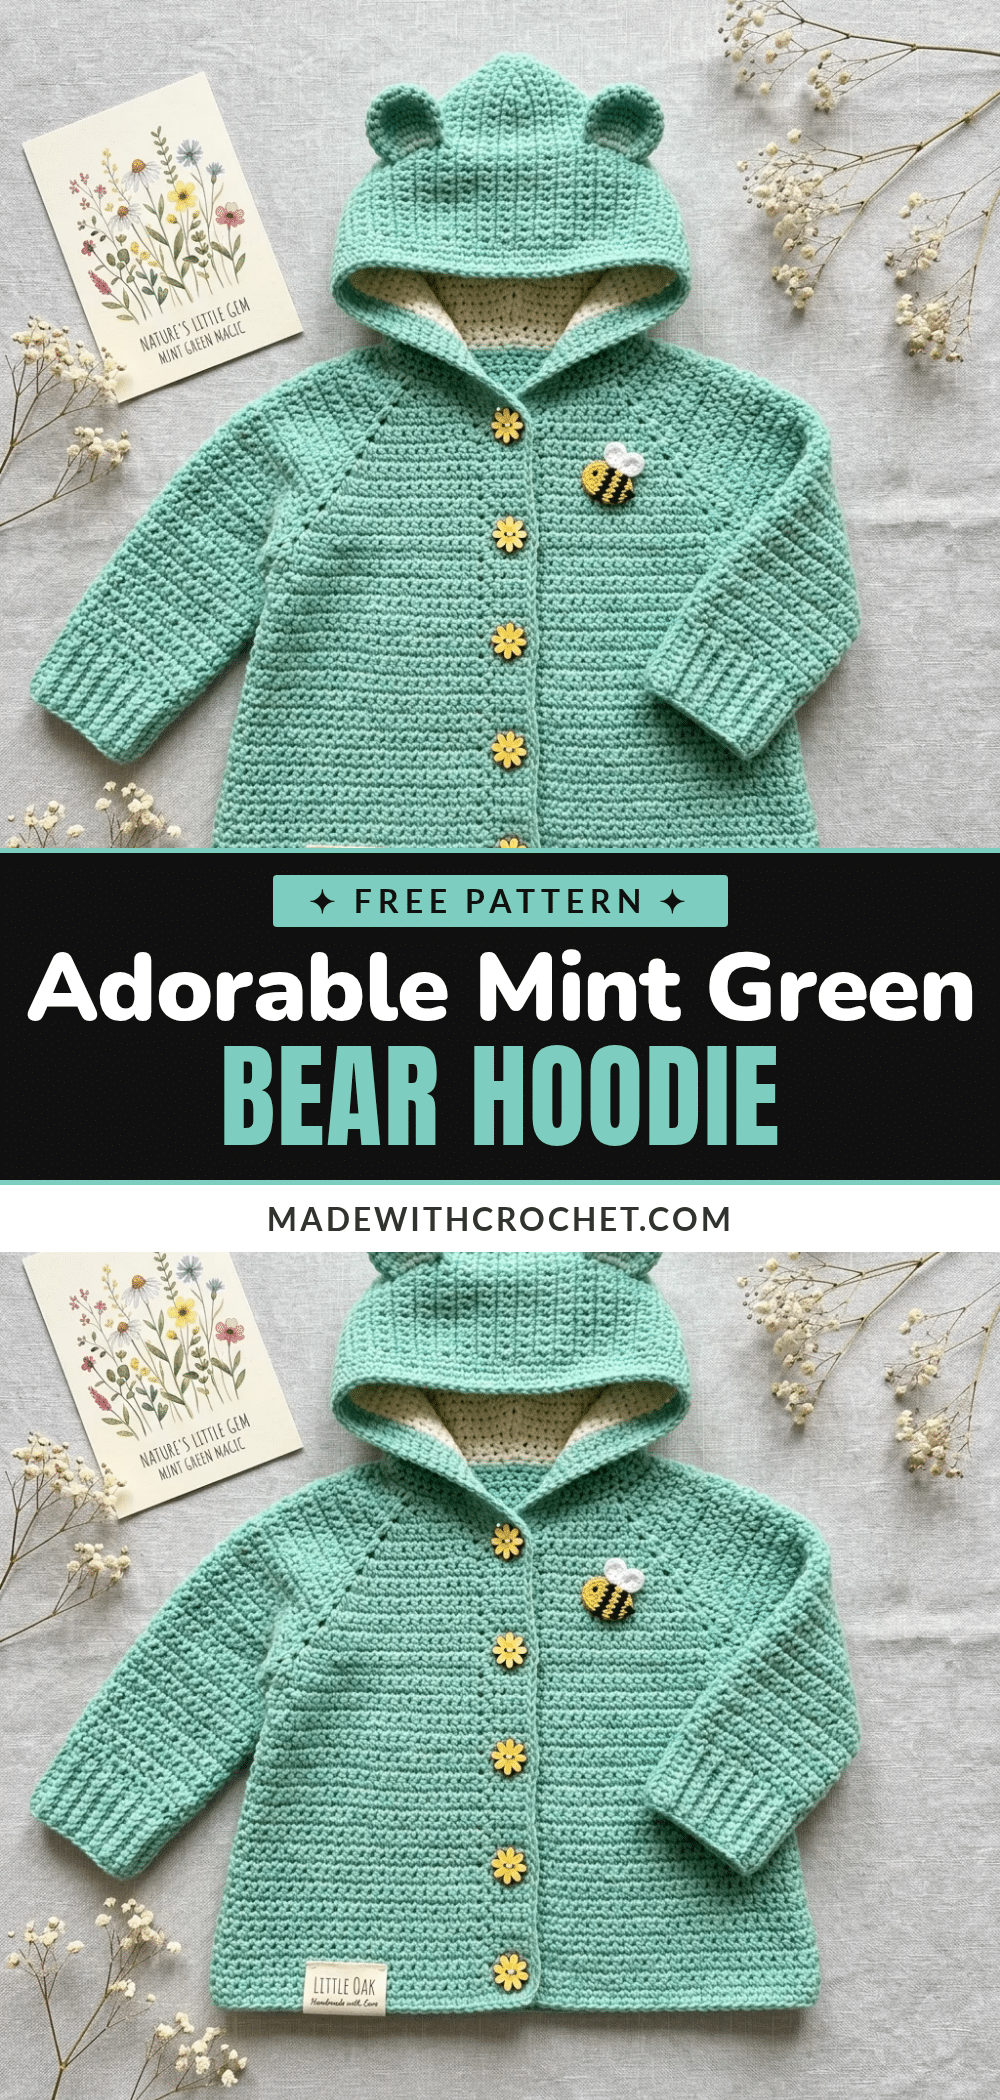
There is something undeniably magical about the texture of half double crochet when it forms the structured body of a baby garment. The dense, even fabric created by this stitch offers a perfect balance of warmth and drape, making it the ideal choice for a cozy cardigan. As you work through the rows, you will notice how the raglan increases create those beautiful diagonal lines that define the yoke, leading the eye down to the hem. It is these little details—the precise placement of markers, the satisfying click of the hook, and the gradual shaping of the sleeves—that keep crocheters engaged from the first chain to the final button. This pattern captures that joy, transforming simple stitches into a wearable piece of art that feels as good as it looks.
Texture and Stitch Notes
The half double crochet (hdc) stitch is the backbone of this cardigan, providing a fabric that is denser than single crochet but works up faster than double crochet. This texture is essential for a baby garment, as it offers excellent coverage and warmth without being too heavy. The stitch definition is clean, allowing the mint green color to shine while providing enough structure to hold the shape of the hood and sleeves. When you work the raglan increases, the fabric naturally flares out, creating a smooth transition from the neckline to the underarms. Paying attention to the tension in these rows ensures that the final garment lays flat and fits perfectly, showcasing the professional finish that comes from consistent stitch work.
Project Overview
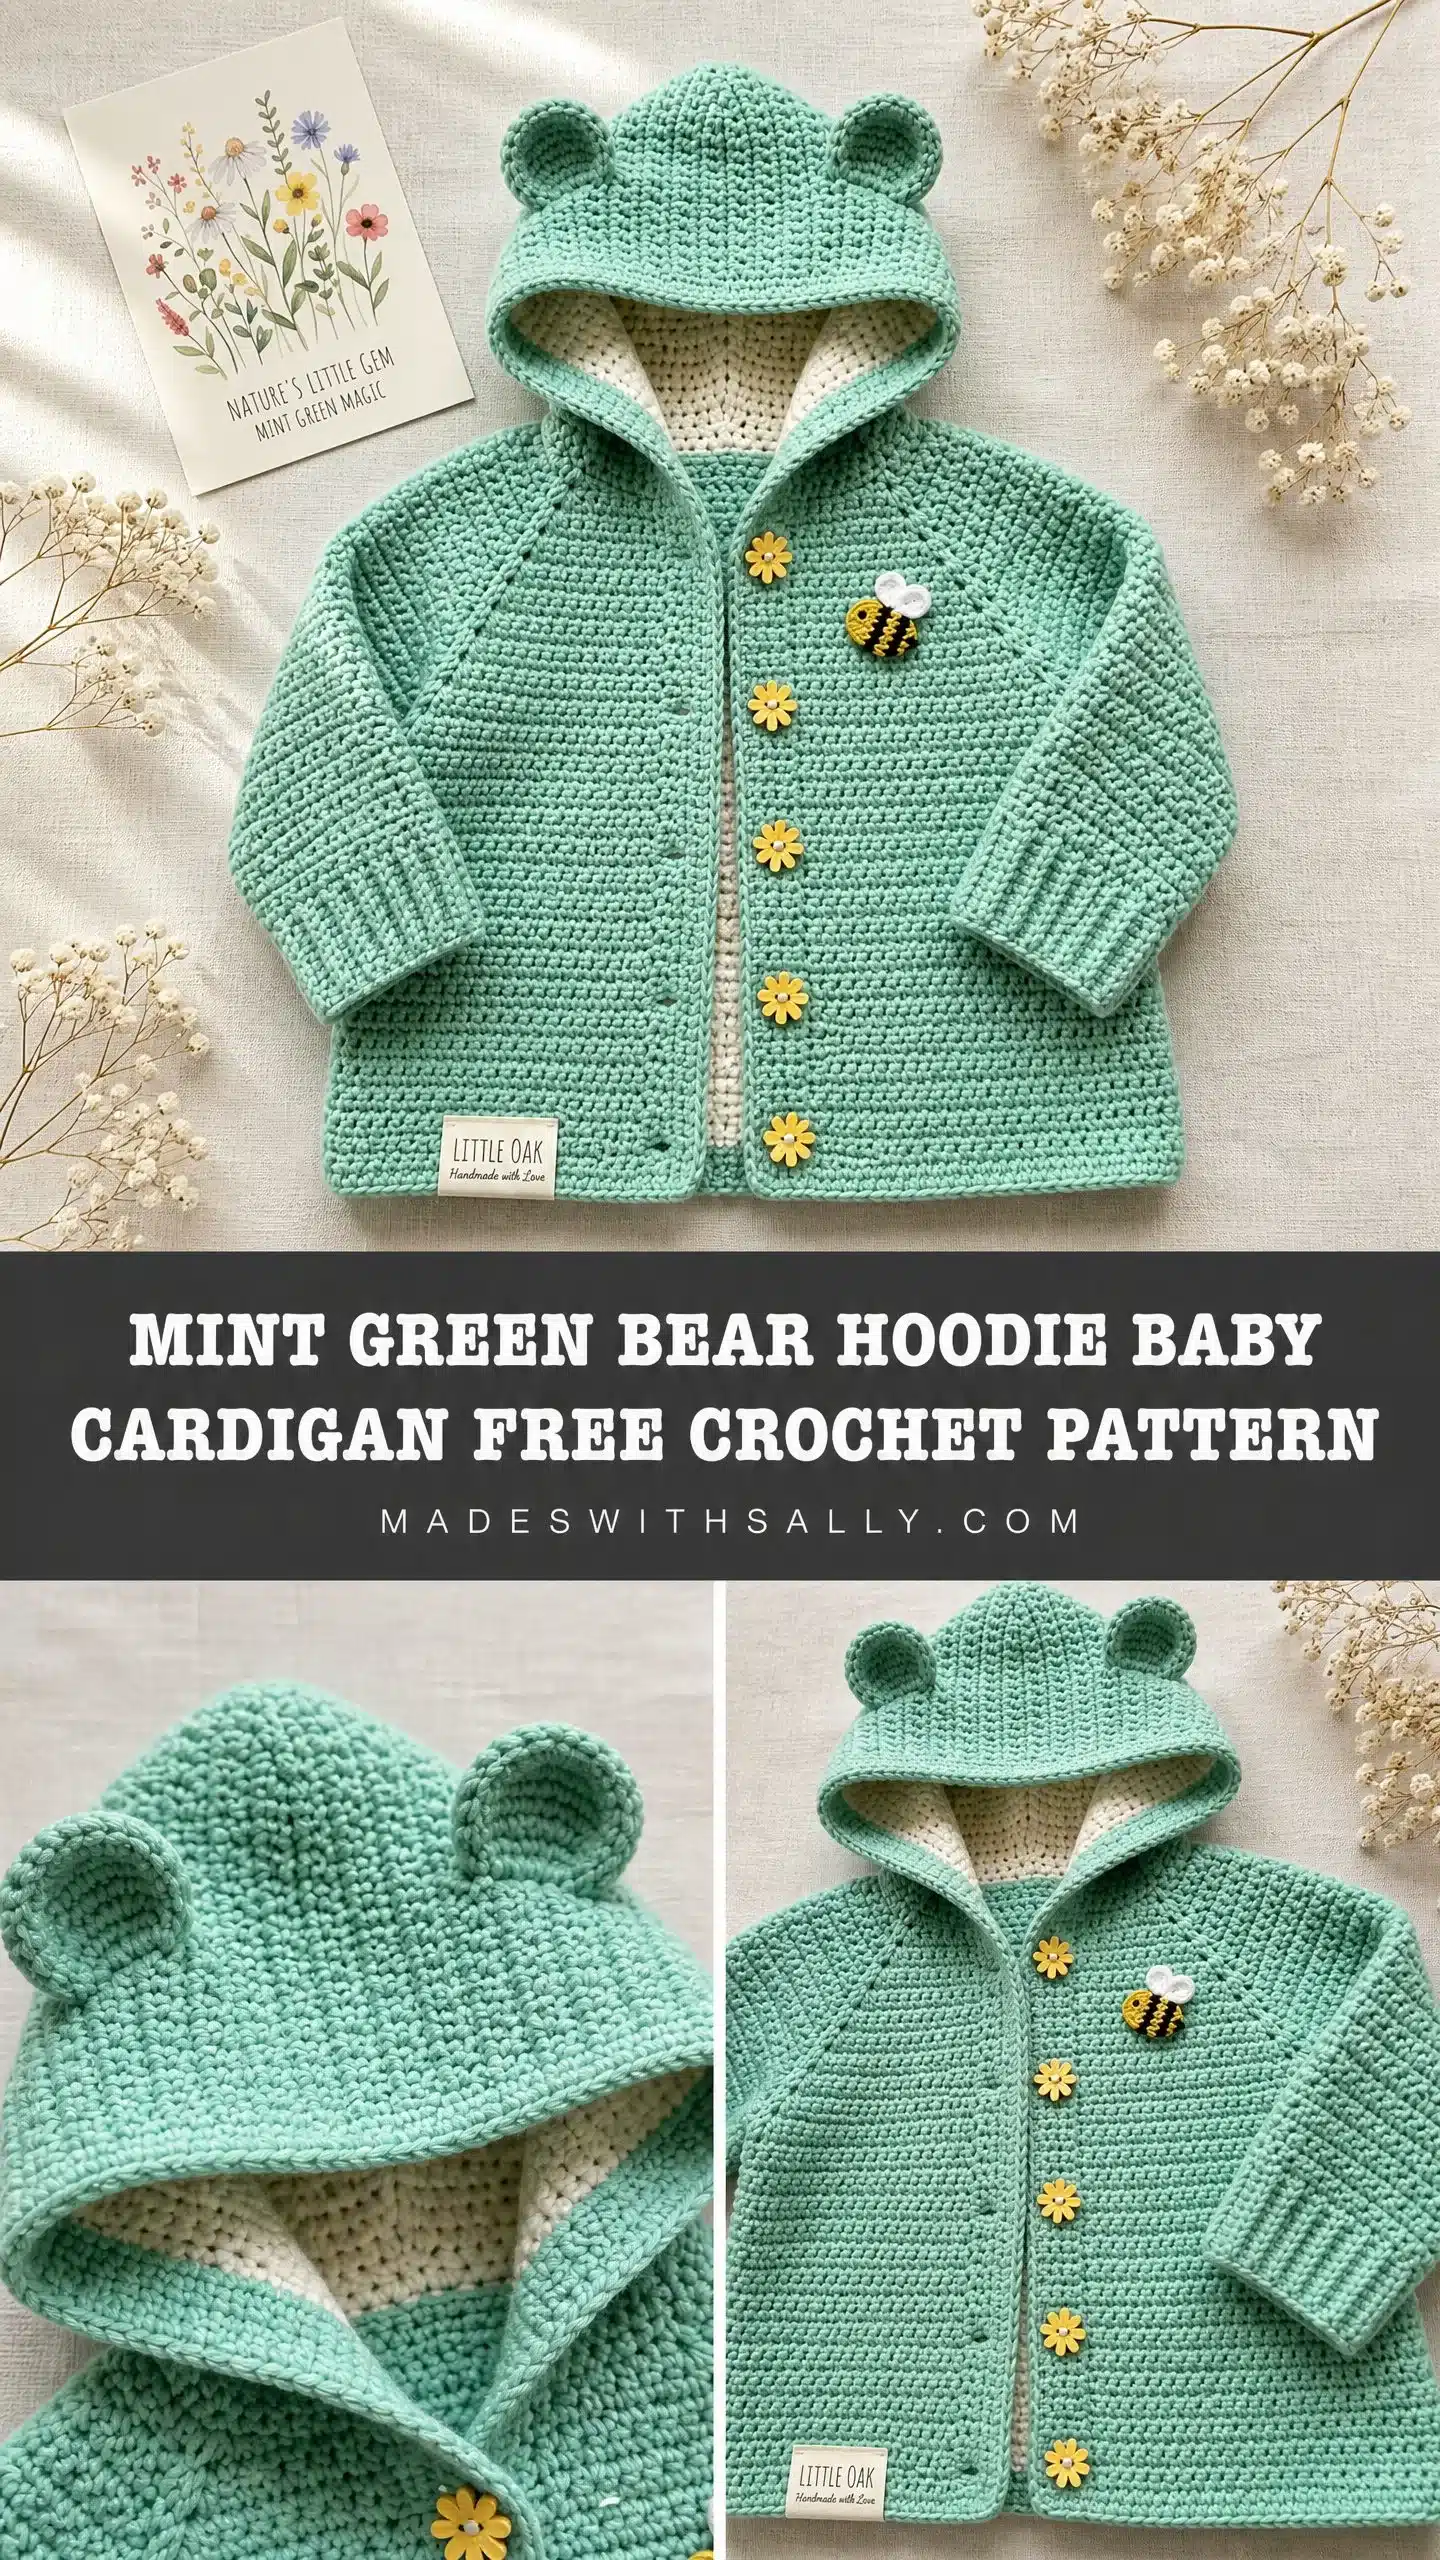
This adorable mint green bear hoodie baby cardigan is a top-down raglan construction project, designed for babies aged 6 to 12 months. The pattern features a sweet hood lined in cream, detachable bear ears, and charming finishing details like daisy buttons and a bumblebee applique. The construction method allows you to try the cardigan on as you go, ensuring a perfect fit before committing to the body and sleeves. The half double crochet stitch creates a dense, warm fabric that is perfect for cooler weather, while the raglan design minimizes seaming for a comfortable, professional finish.
Materials
- Yarn: Worsted weight yarn (weight category 4), approximately 300 to 350 yards / 275 to 320 meters in Mint Green (Color A).
- Yarn: Approximately 40 yards / 37 meters in Cream (Color B) for the hood lining.
- Hook: US size H-8 / 5.0 mm crochet hook.
- Notions:
- Yarn needle for seaming and weaving in ends.
- 5 daisy-shaped buttons, approximately 18 mm diameter, in yellow.
- 1 small bumblebee applique or embroidered bee accent.
- Stitch markers (at least 6).
- Scissors.
- Rust-proof pins for blocking.
Gauge and Finished Size
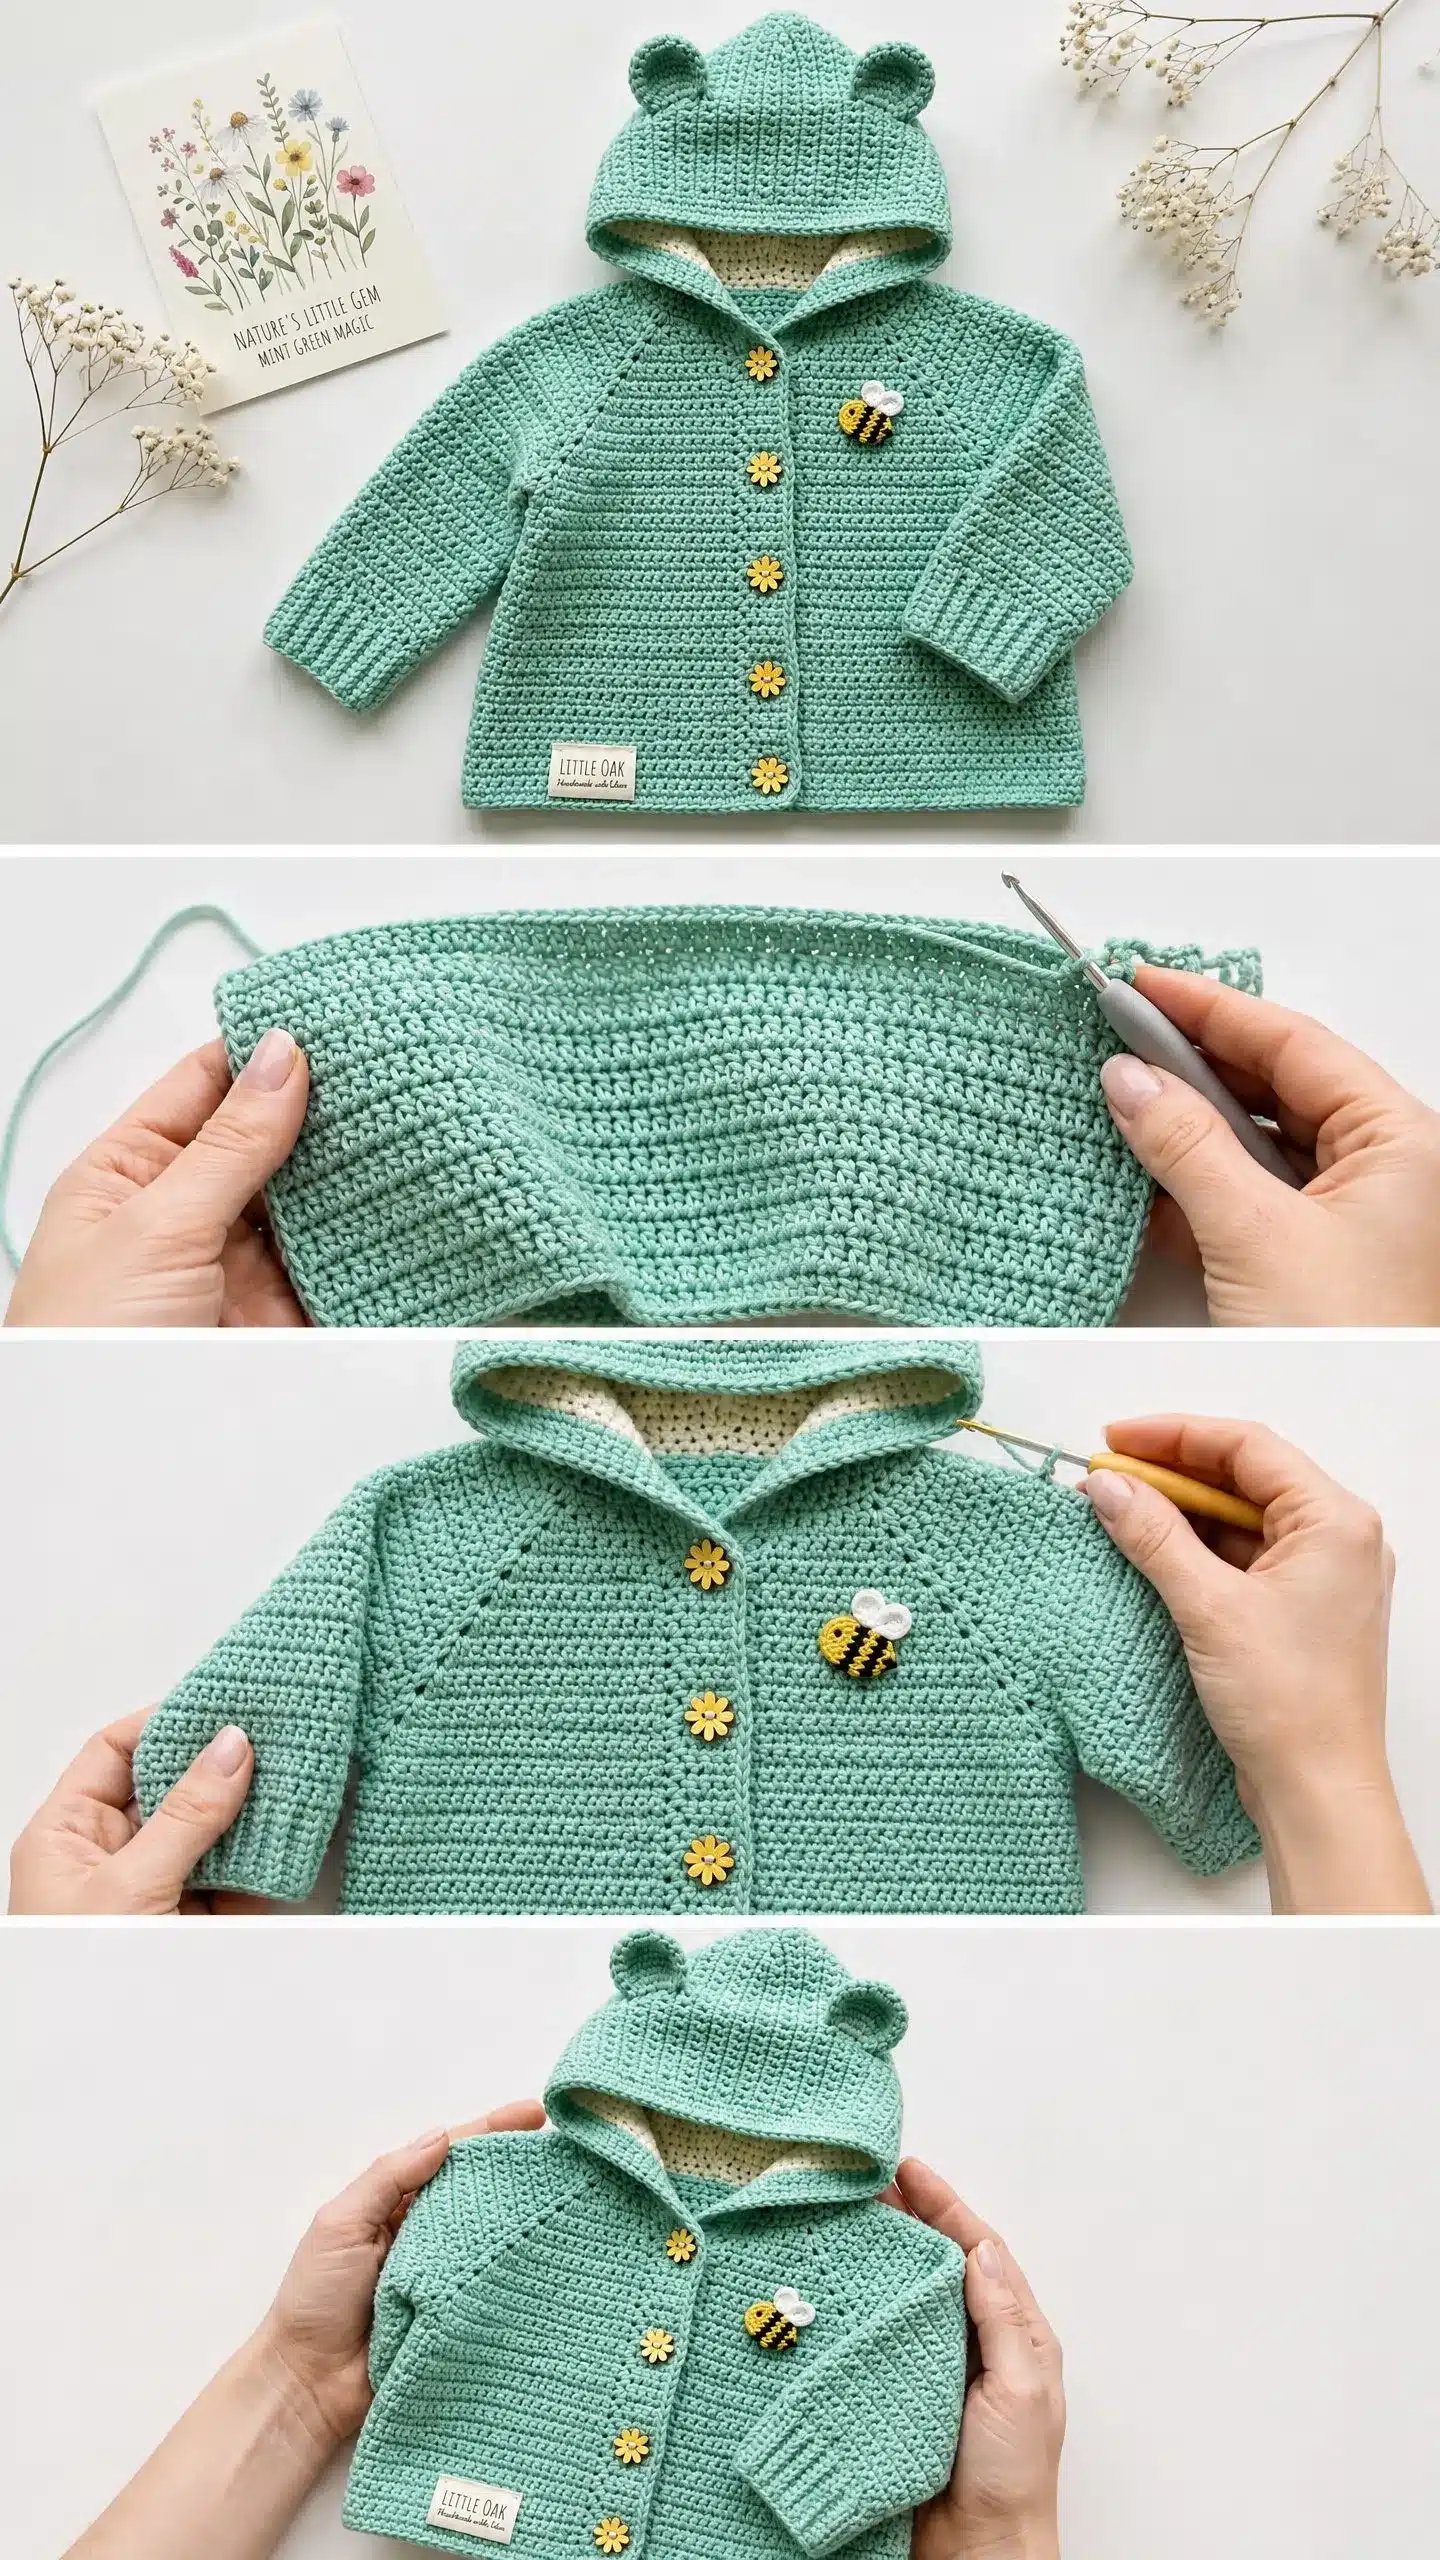
Gauge: 16 hdc x 11 rows = 4 inches / 10 cm, worked in rows, blocked.
Important: Gauge is mandatory for this garment. Even small deviations will significantly change the chest circumference and length. Swatch with the exact yarn and hook you plan to use, then wash and block the swatch before measuring. If your swatch is too big, go down a hook size. If it is too small, go up a hook size.
Finished Size: This pattern is written for size 6 to 12 months.
- Finished chest circumference (buttoned): approximately 20 inches / 51 cm
- Finished length (back neck to hem): approximately 11 inches / 28 cm
- Sleeve length (underarm to cuff): approximately 6.5 inches / 16.5 cm
- Hood height (from neckline pickup to top of hood): approximately 6.5 inches / 16.5 cm
Abbreviations
- beg = beginning
- BLO = back loop only
- ch = chain
- ch-sp = chain space
- hdc = half double crochet (yarn over, insert hook, yarn over, pull up loop, yarn over, pull through all 3 loops)
- hdc2tog = half double crochet two together, a decrease stitch
- inc = increase (2 hdc in same stitch)
- pm = place marker
- rep = repeat
- RS = right side
- sc = single crochet
- sk = skip
- sl st = slip stitch
- st(s) = stitch(es)
- WS = wrong side
- yo = yarn over
Pattern Notes
- The turning chain (ch 1, turn) begins each row throughout this pattern. The turning chain does not count as a stitch.
- The right side is the outside of the garment facing out when worn.
- Four raglan seam stitches are marked and maintained throughout the yoke. These 4 stitches are not increased into. The increases happen on either side of them.
- After the yoke, sleeves are separated onto holders and the body is worked in one piece back and forth down to the hem.
Pattern Instructions
Yoke
The yoke is worked flat, back and forth in rows, beginning at the back neck edge and working downward.
Foundation Chain: Ch 39.
Row 1 (RS): Hdc in 2nd ch from hook and in each ch across. (38 hdc)
Raglan Setup: Mark stitches 5, 14, 25, and 34 as raglan seam stitches. Your sections are now: Right Front = sts 1-4 (4 sts), Seam = st 5 (1 st), Right Sleeve = sts 6-13 (8 sts), Seam = st 14 (1 st), Back = sts 15-24 (10 sts), Seam = st 25 (1 st), Left Sleeve = sts 26-33 (8 sts), Seam = st 34 (1 st), Left Front = sts 35-38 (4 sts). Total = 4+1+8+1+10+1+8+1+4 = 38. Confirmed.
Row 2 (WS): Ch 1, turn. Work across to 1 st before first seam st, 2 hdc in next st, hdc in seam st (move marker up), 2 hdc in next st, work to 1 st before second seam st, 2 hdc in next st, hdc in seam st (move marker up), 2 hdc in next st, work to 1 st before third seam st, 2 hdc in next st, hdc in seam st (move marker up), 2 hdc in next st, work to 1 st before fourth seam st, 2 hdc in next st, hdc in seam st (move marker up), 2 hdc in next st, hdc to end. (46 hdc)
Row 3 (RS): Ch 1, turn. Hdc in each st across, placing 2 hdc in the st immediately before each seam st and 2 hdc in the st immediately after each seam st, hdc in each seam st. (54 hdc)
Row 4 (WS): Ch 1, turn. Work increase row as established. (62 hdc)
Row 5 (RS): Ch 1, turn. Work increase row as established. (70 hdc)
Row 6 (WS): Ch 1, turn. Work increase row as established. (78 hdc)
Row 7 (RS): Ch 1, turn. Work increase row as established. (86 hdc)
Row 8 (WS): Ch 1, turn. Work increase row as established. (94 hdc)
Row 9 (RS): Ch 1, turn. Work increase row as established. (102 hdc)
Row 10 (WS): Ch 1, turn. Work increase row as established. (110 hdc)
Row 11 (RS): Ch 1, turn. Work increase row as established. (118 hdc)
Checkpoint: After Row 11, your piece should measure approximately 4 inches / 10 cm from the top neck edge to the bottom of the yoke row. Each front panel is 14 stitches wide, the back is 30 stitches wide, and each sleeve section is 28 stitches wide (not counting seam stitches).
Divide for Body and Sleeves
Row 12 (WS): Work hdc across first 14 Right Front sts. Skip the next seam st. Place 28 Right Sleeve sts plus the two flanking seam sts on a holder or length of scrap yarn (30 sts total held). Ch 2 to bridge the underarm. Work hdc across 30 Back sts. Skip the next seam st. Place 28 Left Sleeve sts plus the two flanking seam sts on a holder (30 sts total held). Ch 2 to bridge the underarm. Work hdc across 14 Left Front sts. (62 sts)
Body
Rows 13 through 30: Ch 1, turn. Hdc in each st across. (62 hdc each row)
Continue working even rows of hdc until body measures approximately 6.5 inches / 16.5 cm from the underarm row.
Checkpoint: After completing the body rows, your piece should measure approximately 11 inches / 28 cm from the back neck chain to the bottom hem edge.
Sleeves (Make 2)
Note: The source text does not provide specific instructions for the sleeves or cuff ribbing, only that they are separated onto holders. Please refer to the original source for complete sleeve instructions if needed.
Hood
Note: The source text does not provide specific instructions for the hood construction or hood lining, only for the bear ears and attachment. Please refer to the original source for complete hood instructions if needed.
Bear Ears (Make 2)
With Color A, make a magic ring.
Rnd 1: Ch 1, 6 sc into ring, join with sl st to first sc. (6 sc)
Rnd 2: Ch 1, 2 sc in each sc around, join with sl st. (12 sc)
Rnd 3: Ch 1, (sc in next sc, 2 sc in next sc) 6 times, join with sl st. (18 sc)
Fasten off, leaving a long tail.
Fold each ear slightly to create a cupped shape. Position each ear on top of the hood, approximately 1.5 inches / 4 cm from the center seam. Using the yarn tail, sew each ear securely to the hood.
Assembly
- Weave in all remaining ends from yoke, body, sleeves, and hood sections.
- Block the entire garment by wet-blocking or steam-blocking according to yarn fiber content. Lay flat and pin to measurements. Allow to dry completely.
- Sew 5 daisy-shaped buttons to the left front button band, aligning each button with a buttonhole.
- Sew or embroider one bumblebee applique to the upper left chest panel, approximately 2 inches below the neckline and 2 inches from the center front opening edge.
Tips
- For acrylic yarns, machine wash cold on gentle cycle and lay flat to dry. Do not tumble dry if the yarn label advises against it.
- Remove and reattach buttons before washing if they are not heat or water safe.
FAQs
What is the best yarn to use for this pattern?
Lion Brand Pound of Love in Pastel Green or Fisherman works beautifully. It is 100% acrylic, machine washable, and baby-soft. Paintbox Yarns Simply DK in Spearmint Green and Vanilla is another excellent choice for its smooth stitch definition.
Can I substitute the mint green color?
Yes, you can use any worsted weight yarn that achieves the stated gauge. Choose something labeled machine washable and baby-safe. Avoid novelty or textured yarns because the clean stitch texture is essential to the finished look.
How do I ensure the cardigan fits my baby?
Gauge is mandatory for this garment. Swatch with the exact yarn and hook you plan to use, then wash and block the swatch before measuring. If your swatch is too big, go down a hook size. If it is too small, go up a hook size.
What is the skill level for this pattern?
This pattern is suitable for experienced intermediate crocheters. It involves raglan construction, which requires understanding of increases and maintaining stitch markers, but the steps are broken down into manageable sections.
How do I care for the finished cardigan?
Machine wash cold on gentle cycle and lay flat to dry for acrylic yarns. Do not tumble dry if the yarn label advises against it. Remove and reattach buttons before washing if they are not heat or water safe.
Pin This Crochet Pattern!