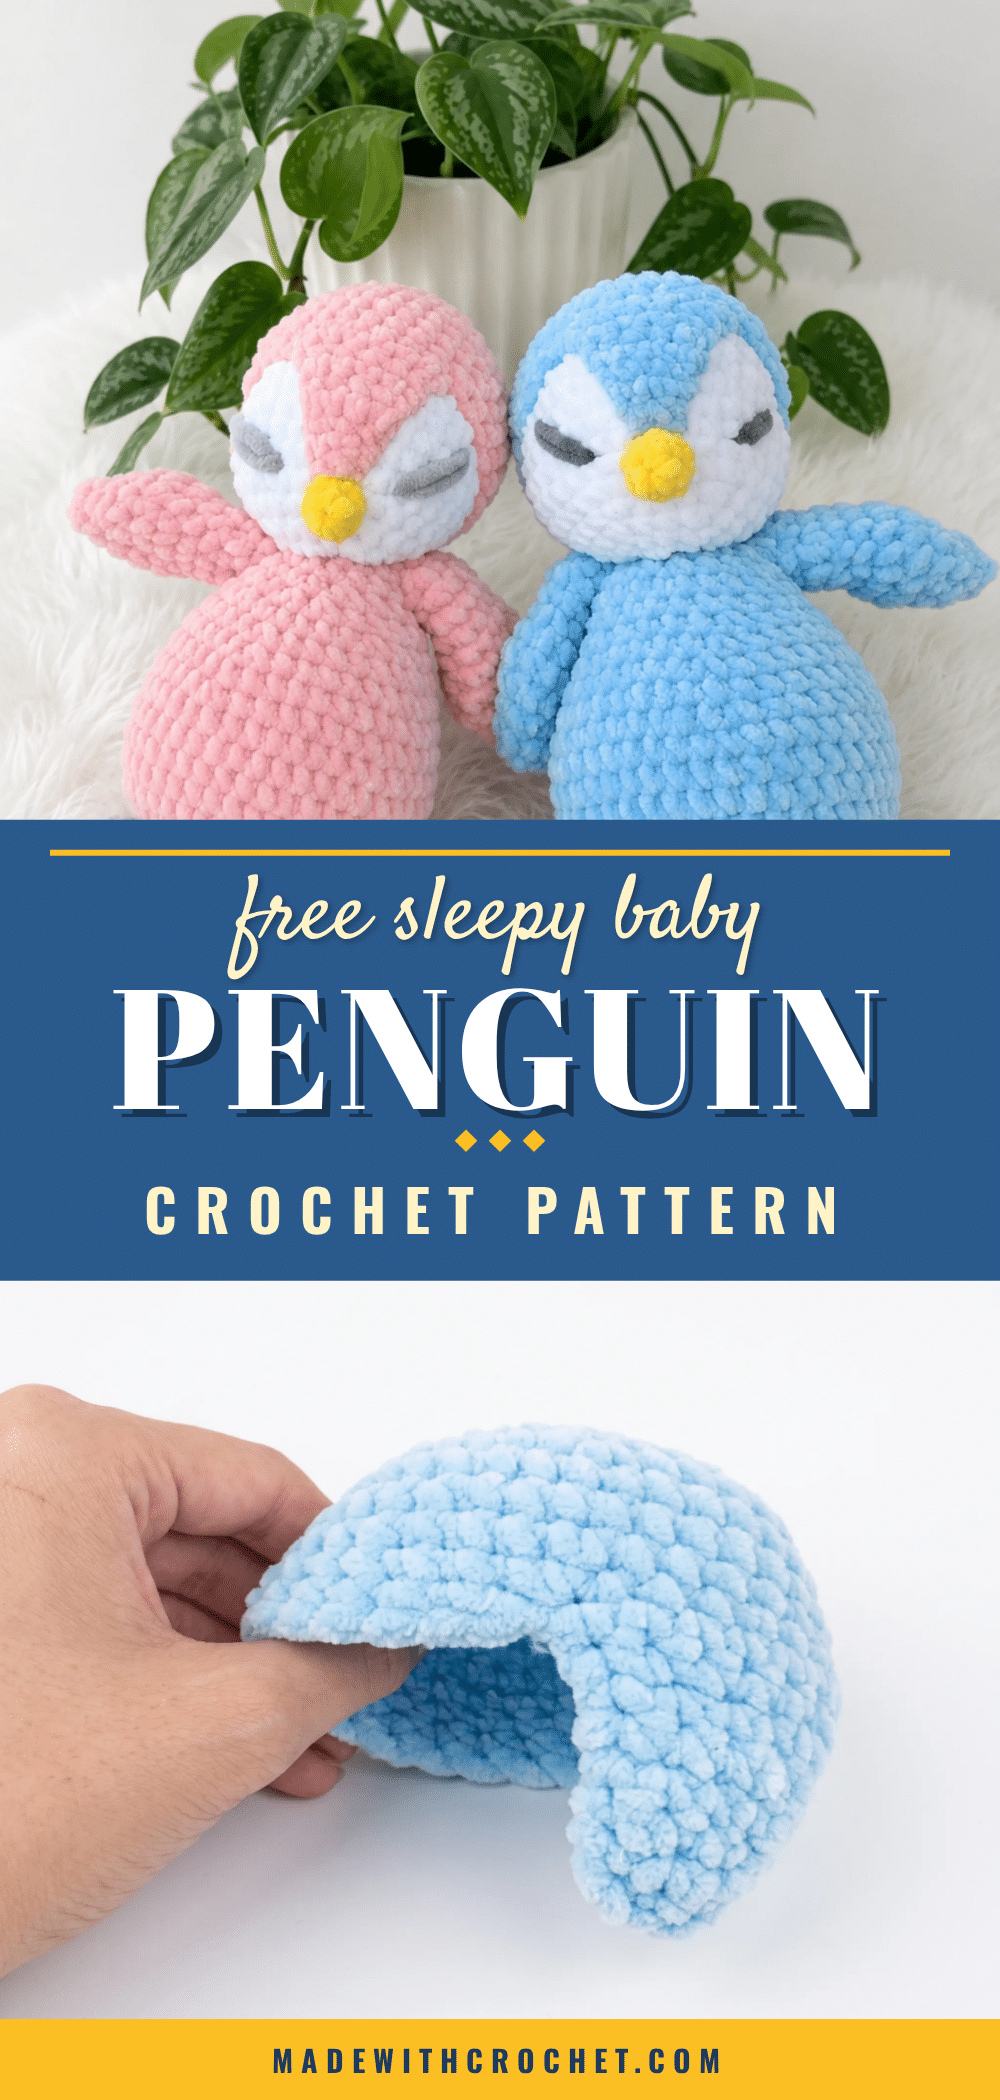
Picture a quiet evening, a small batch of soft yarn in your lap, and the gentle rhythm of counting stitches as a sleepy little penguin takes shape in your hands. This is the kind of project that turns a relaxing repeat into something truly heartwarming. The Sleepy Baby Penguin Amigurumi pattern is a delightful way to spend a cozy evening, creating a huggable friend with a peaceful, closed-eye expression. With its plush texture and charming details, this pattern is perfect for intermediate crocheters looking to add a touch of new technique to their skills. Grab your hook, settle in, and let’s build this dreamy little friend from the magic ring up.
Small Details That Make It Better
What makes this penguin so special is the thoughtful design that brings its sleepy personality to life. The turned-row shaping on the head panel creates a soft, cap-like face marking that gives the penguin its unique character. The decision to embroider the eyes rather than use safety eyes is a brilliant touch — it not only keeps the face soft and safe for little ones but also allows for that perfectly serene, closed-eye expression. The plush, bulky yarn adds a marshmallow-like softness that makes this penguin irresistible to cuddle. Whether you choose a classic gray body or a more whimsical color, the simple color palette and gentle shaping make this a project you’ll want to make again and again.
Project Overview
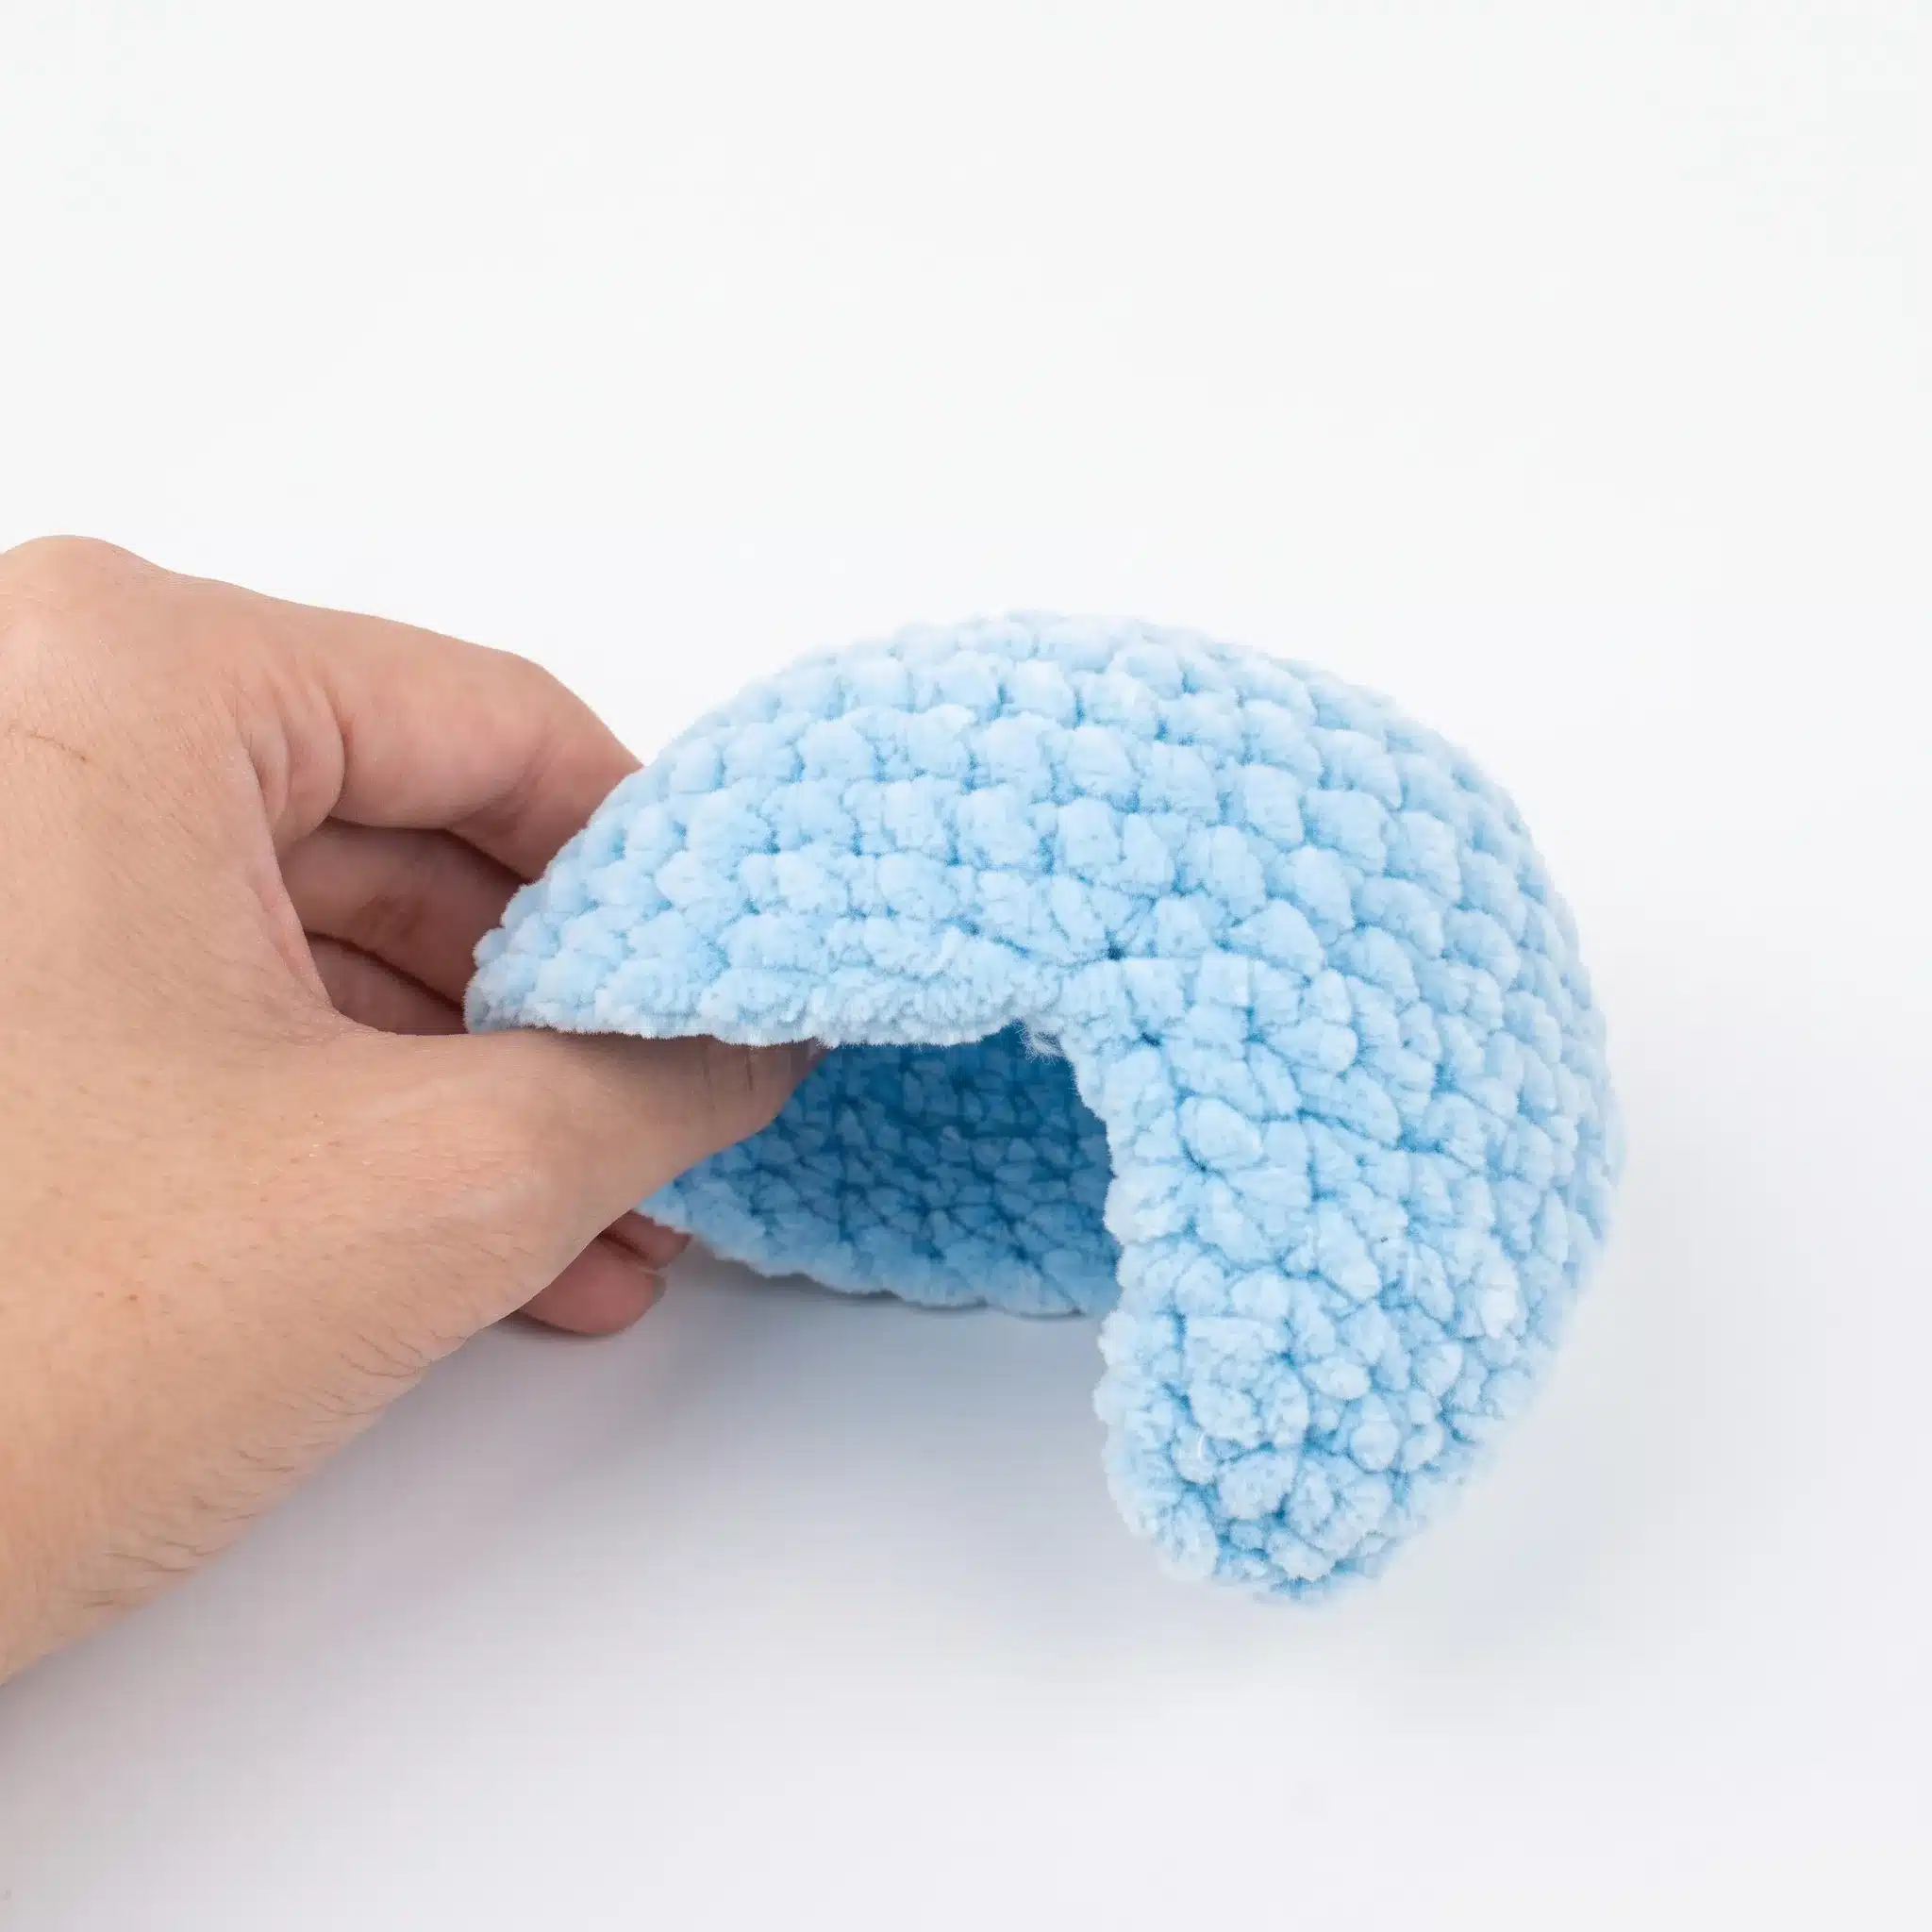
This Sleepy Baby Penguin is an intermediate-level amigurumi project worked in soft, bulky plush yarn. The pattern features a combination of continuous spiral rounds and turned rows for the face panel, creating a three-dimensional toy that stands on its own. The finished penguin is made up of a head, body, wings, feet, and a tiny beak, all assembled with invisible seams for a polished look.
Materials
- Yarn: Plush/chenille yarn (such as Himalaya Dolphin Baby), Bulky weight, in 4 colors — one for the body, one for the feet, one for the head/beak trim, and yellow for the beak (approximately 0.5 skein for the body color)
- Hook: US G/6 (4 mm), US 7 (4.5 mm), or US H/8 (5 mm) — this sample was worked with a 4.5 mm hook
- Polyester fiberfill stuffing
- Yarn needle with a wide eye
- Stitch marker (or a scrap of contrasting yarn)
- Scissors
Abbreviations Used
- ch — Chain
- dec — Decrease (invisible decrease)
- inc — Increase (2 sc in same stitch)
- mr — Magic Ring
- rep — Repeat
- sc — Single Crochet
- sl st — Slip Stitch
- st(s) — Stitch(es)
Pattern Notes
This pattern is written in US crochet terminology. Most pieces are worked in continuous spiral rounds — do not join or chain between rounds unless a step specifically says so. The colored head panel switches to turned rows partway through to shape the face — this section is noted clearly below. Gauge is not critical for this project; instead, aim for a tight, dense fabric that keeps stuffing from peeking through. Stitch count is given at the end of each round or row in parentheses, like this: (12). Place a stitch marker in the first stitch of every round so you always know where your round begins. The eyes are embroidered directly onto the face rather than using safety eyes, giving the penguin its signature sleepy, closed-eye expression.
Pattern Instructions
Head Panel (Contrast Color)
Rnd 1: 6 sc in mr. (6)
Rnd 2: inc in each st around. (12)
Rnd 3: sc, inc rep around. (18)
Rnd 4: 2 sc, inc rep around. (24)
Rnd 5: 3 sc, inc rep around. (30)
Rnd 6: 4 sc, inc rep around. (36)
Rnds 7–9: sc in each st around. (36)
Rnd 10: 7 sc, dec rep around. (32)
Rnd 11: 6 sc, dec rep around. (28)
Row 12: 7 sc, turn. Begin working in turned rows from here to shape the face panel. (7)
Row 13: 7 sc, turn. (7)
Row 14: dec, 3 sc, dec, turn. (5)
Row 15: 5 sc, turn. (5)
Row 16: 5 sc, turn. (5)
Row 17: 5 sc, turn. (5)
Row 18: dec, 1 sc, dec, turn. (3)
Row 19: 3 sc, turn. (3)
Row 20: 3 sc, fasten off, leaving a long tail for sewing. (3)
Set this shaped panel aside — it becomes the face marking once sewn onto the white head.
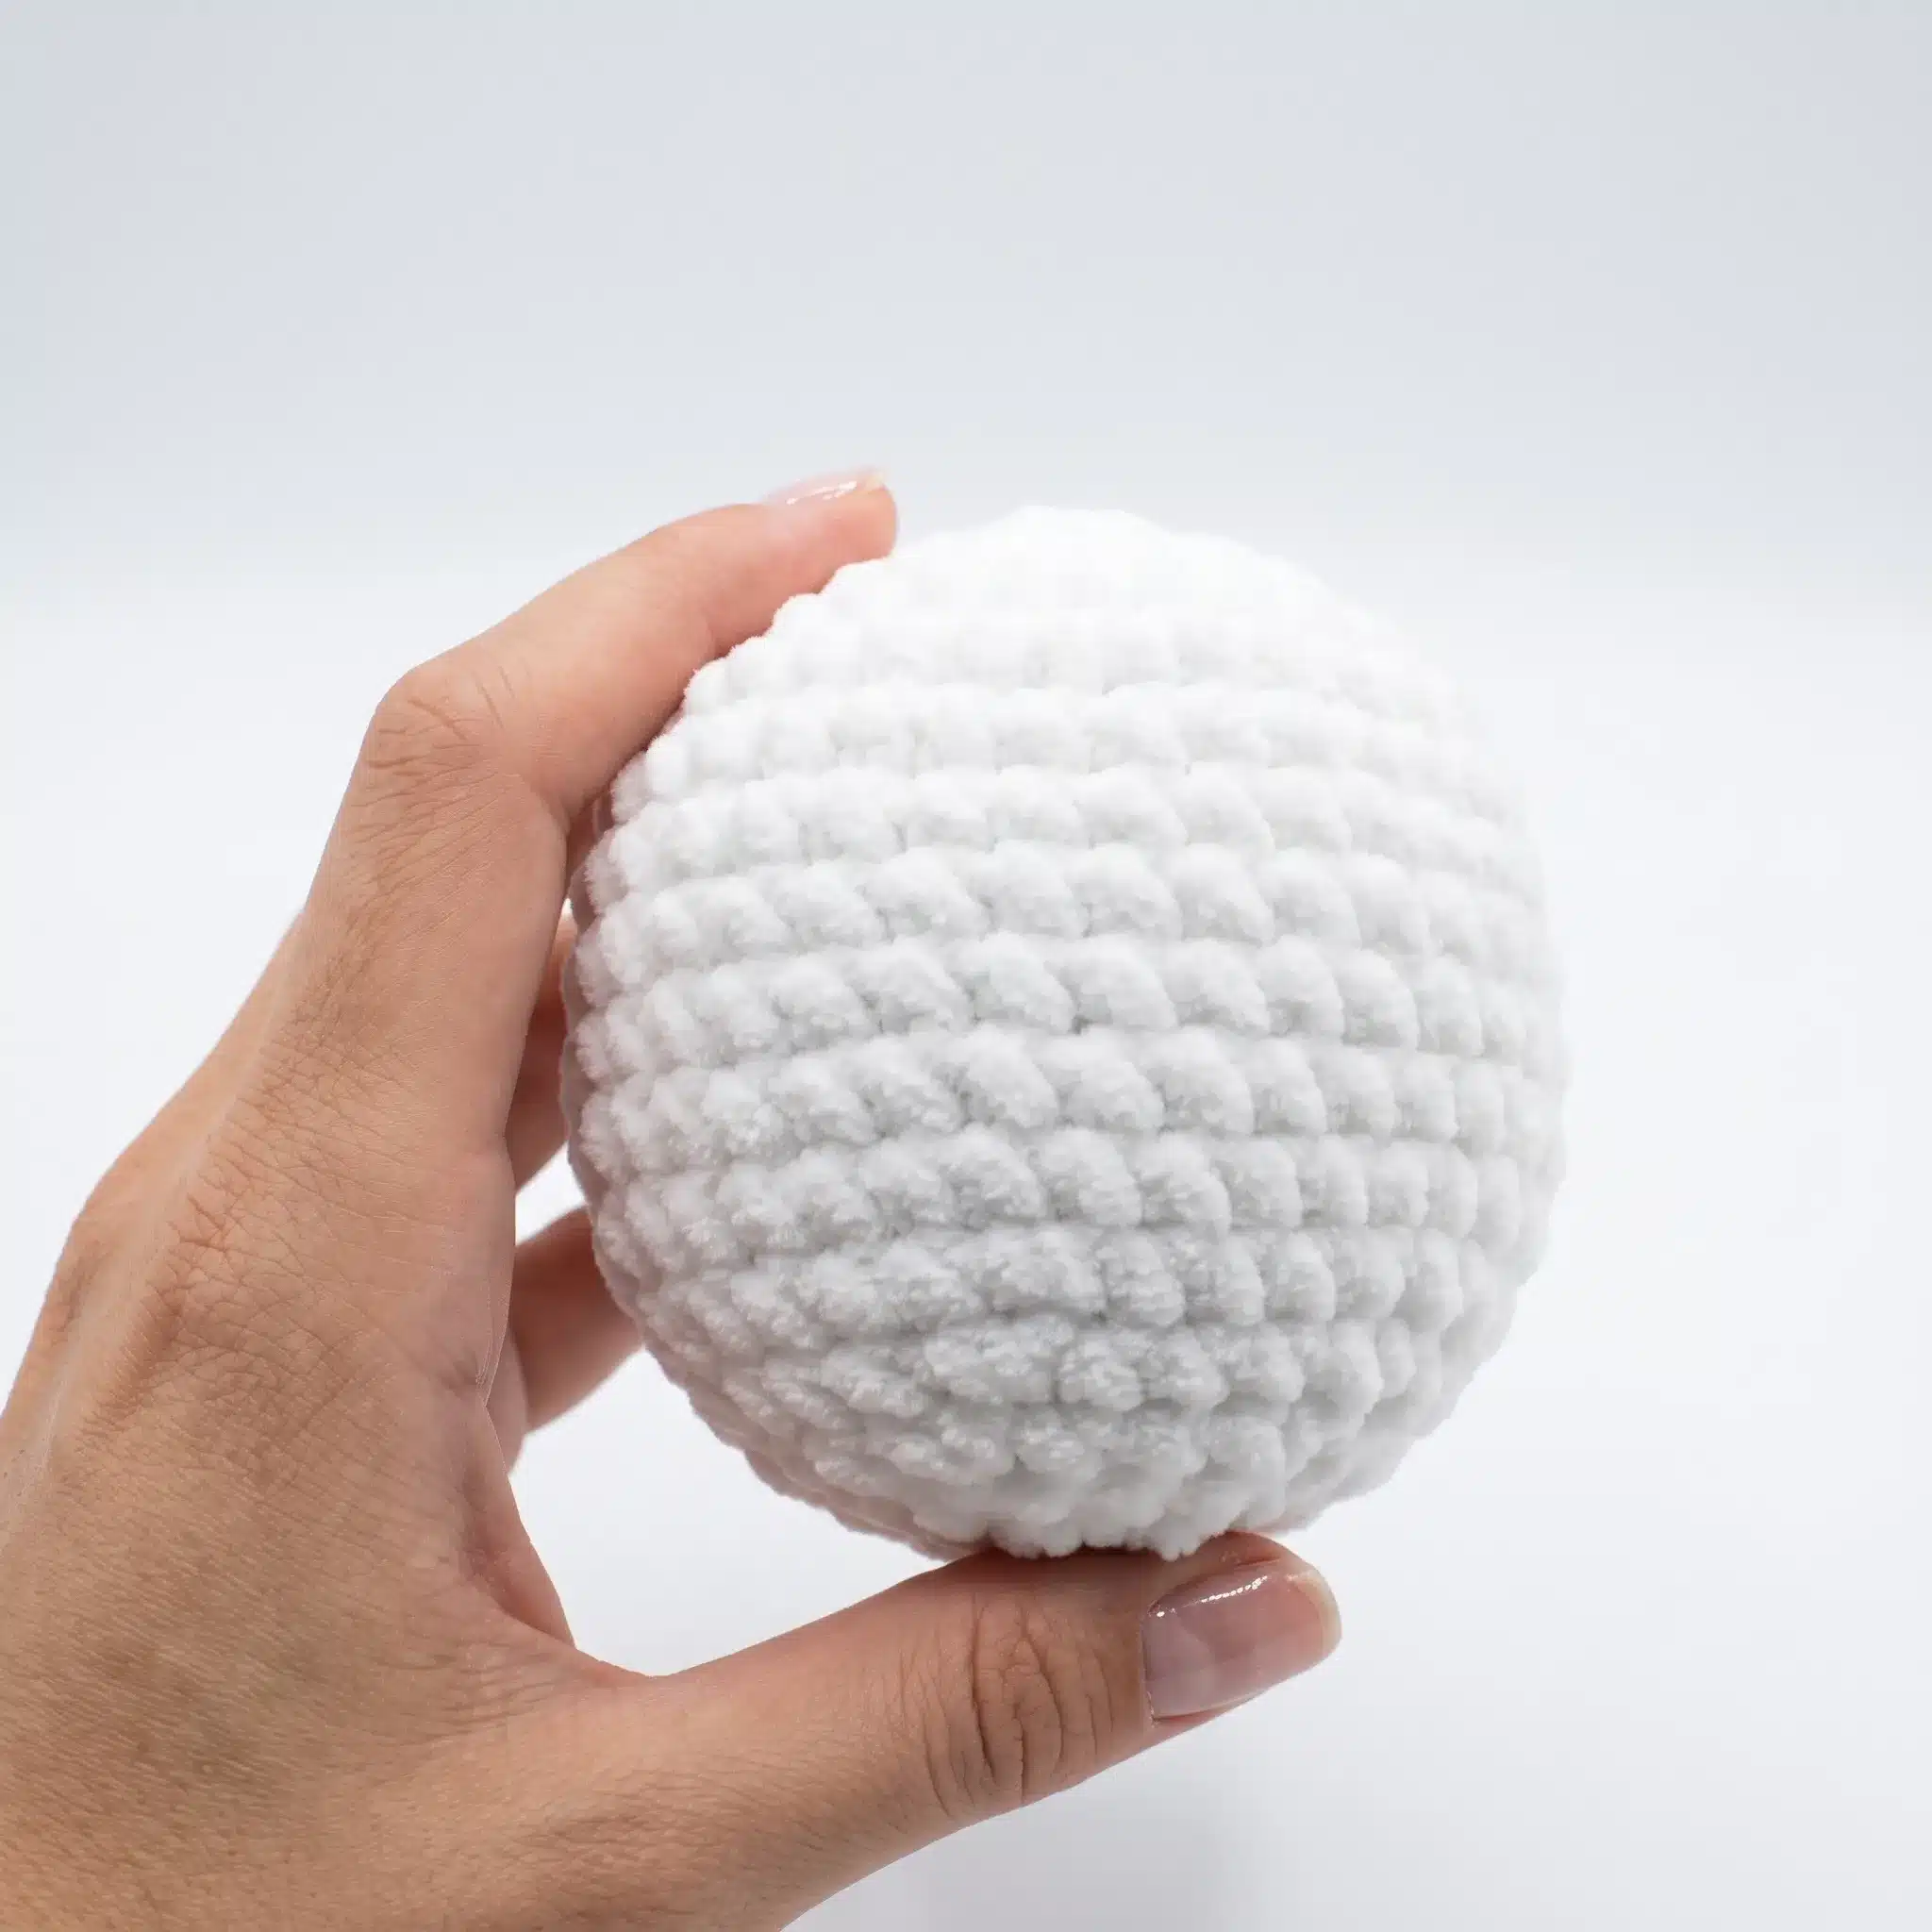
Head (White)
Rnd 1: 6 sc in mr. (6)
Rnd 2: inc in each st around. (12)
Rnd 3: sc, inc rep around. (18)
Rnd 4: 2 sc, inc rep around. (24)
Rnd 5: 3 sc, inc rep around. (30)
Rnd 6: 4 sc, inc rep around. (36)
Rnds 7–12: sc in each st around. (36)
Rnd 13: 4 sc, dec rep around. (30)
Rnd 14: 3 sc, dec rep around. (24)
Rnd 15: 2 sc, dec rep around. (18)
Rnd 16: sc, dec rep around. (12)
Rnd 17: dec 6 times, sl st to close. (6)
Stuff this piece firmly before closing the final round — this will be the base you sew the face panel onto.
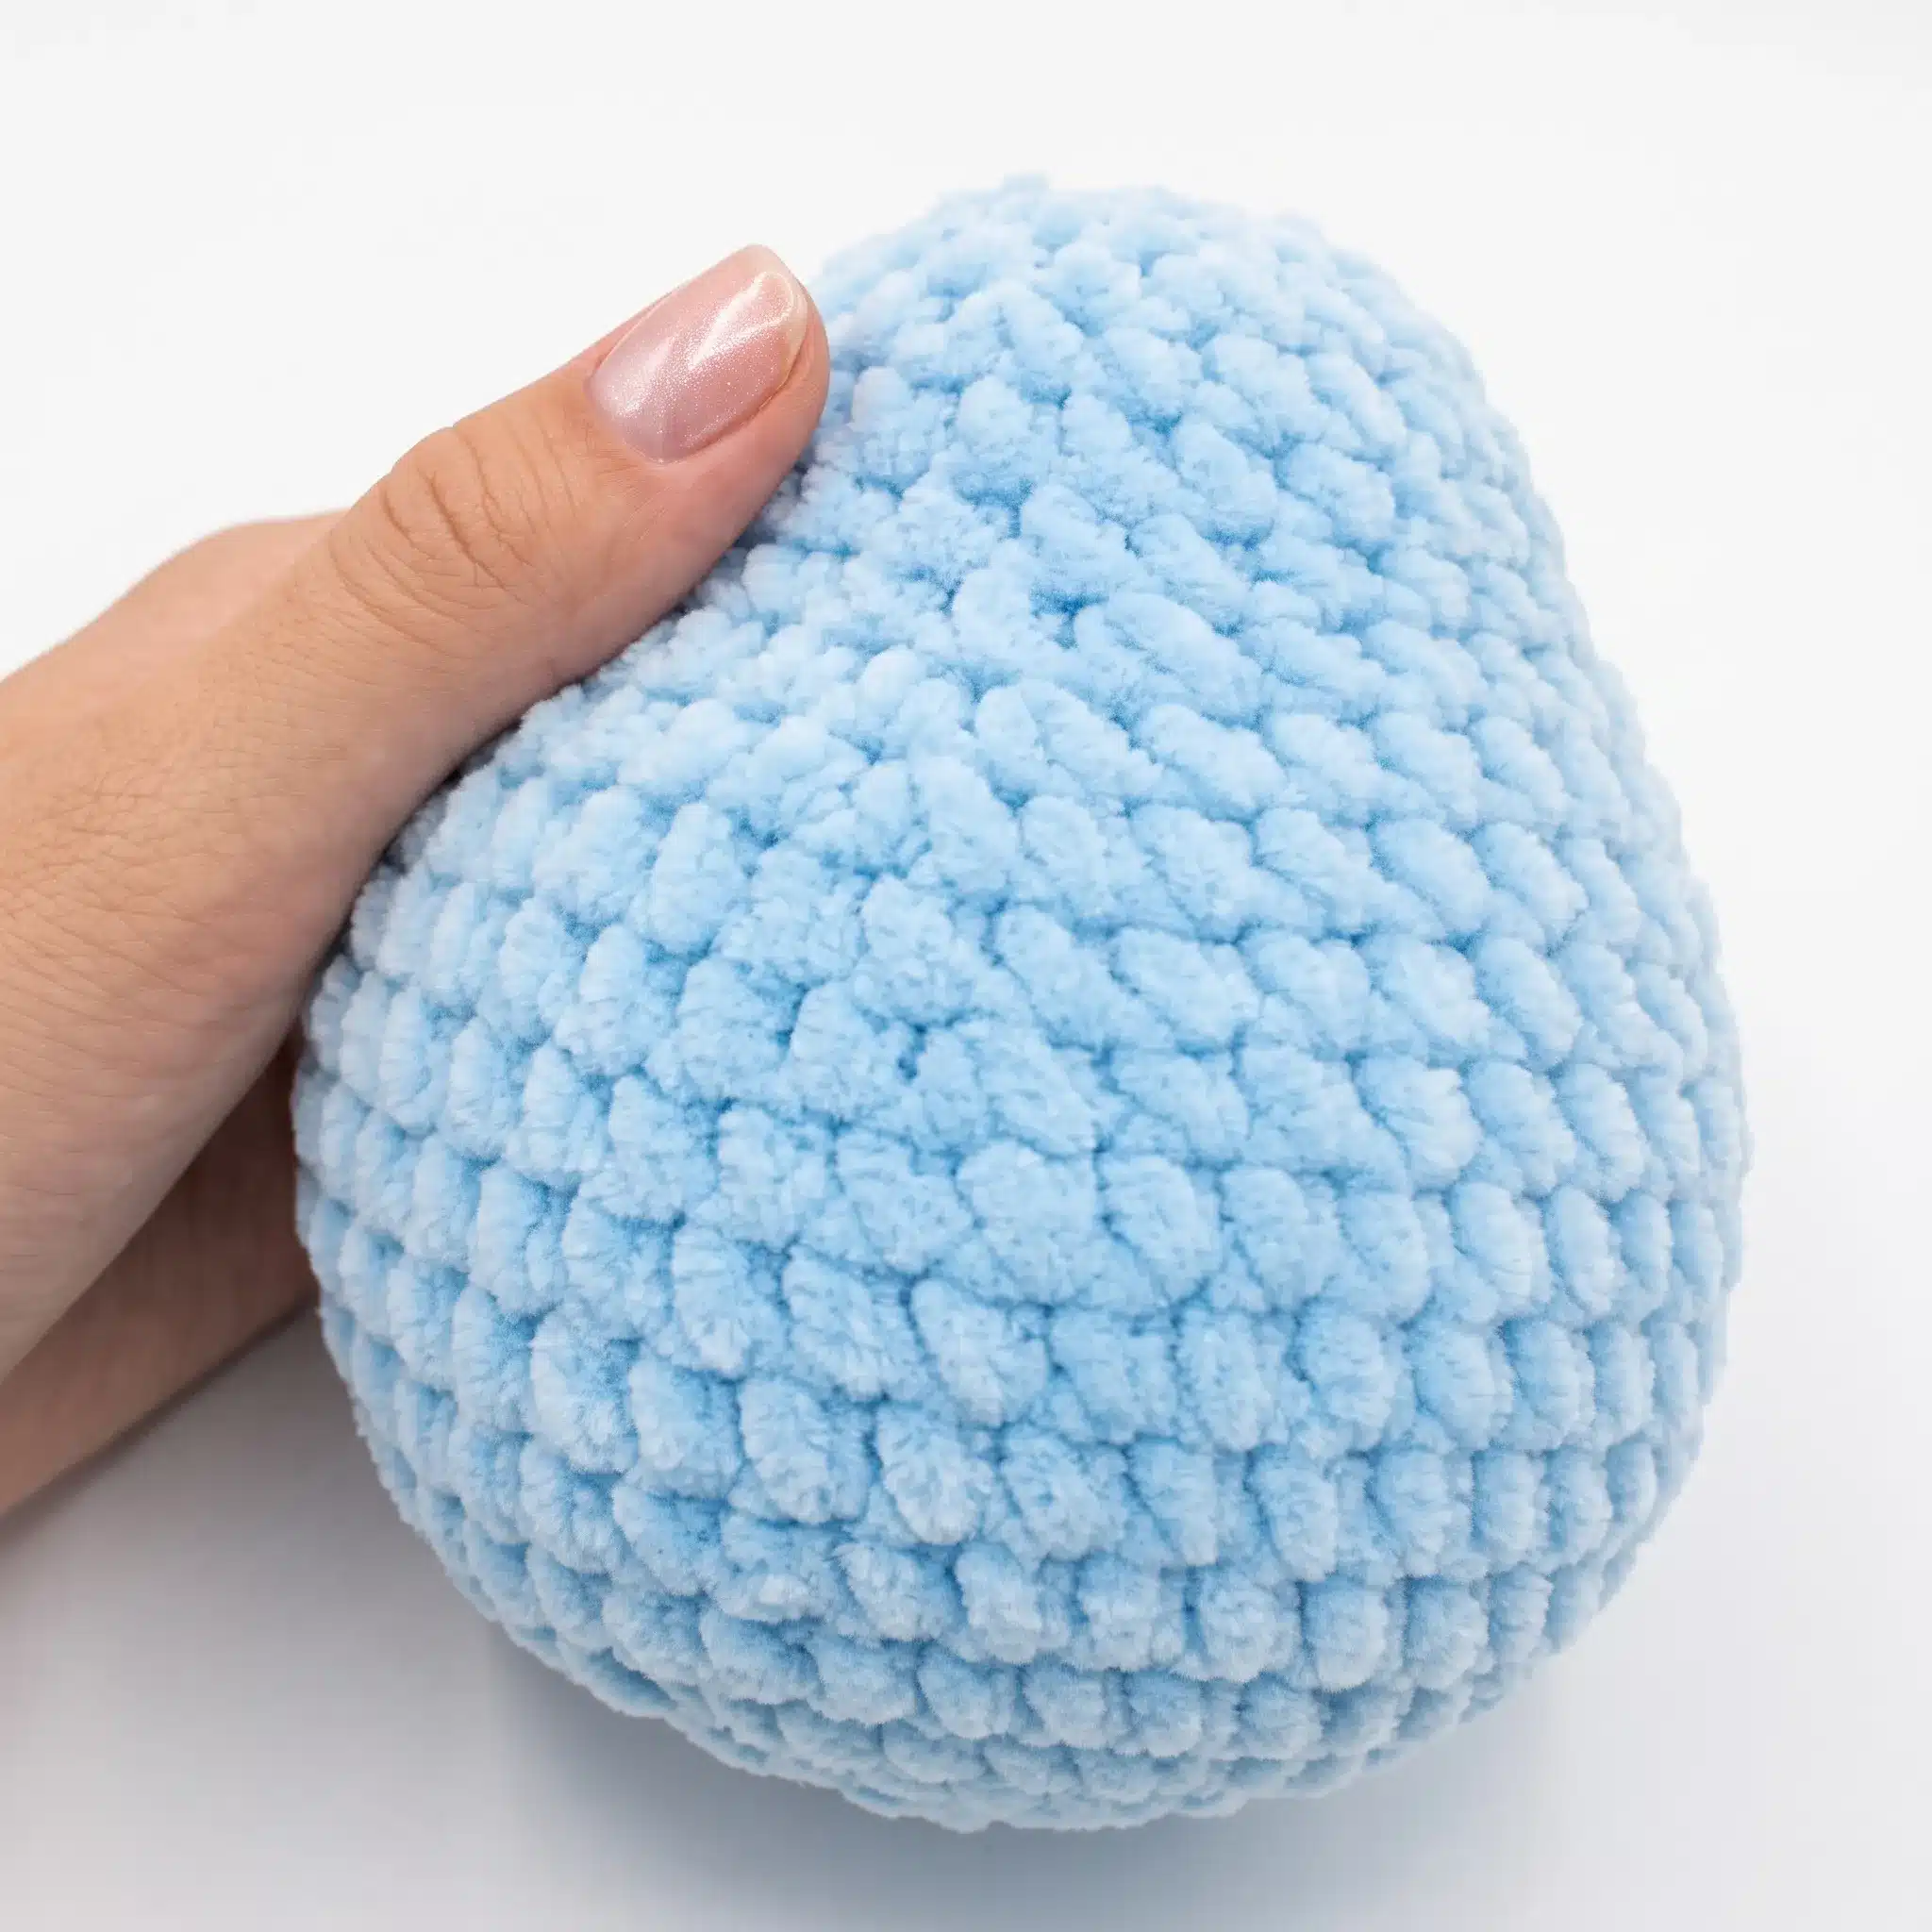
Body
Rnd 1: 6 sc in mr. (6)
Rnd 2: inc in each st around. (12)
Rnd 3: sc, inc rep around. (18)
Rnd 4: sc, inc rep around. (27)
Rnd 5: 2 sc, inc rep around. (36)
Rnd 6: 3 sc, inc rep around. (45)
Rnds 7–11: sc in each st around. (45)
Rnd 12: 7 sc, dec rep around. (40)
Rnd 13: sc in each st around. (40)
Rnd 14: 6 sc, dec rep around. (35)
Rnd 15: 5 sc, dec rep around. (30)
Rnd 16: 4 sc, dec rep around. (25)
Rnds 17–18: sc in each st around. (25)
Rnd 19: 3 sc, dec rep around. (20)
Rnd 20: 2 sc, dec rep around. (15)
Rnd 21: sc, dec rep around. (10)
Rnd 22: dec 5 times, sl st to close. (5)
Stuff firmly, adding a little extra to the rounded bottom so the penguin can stand on its own.
Wings (make 2)
Rnd 1: 5 sc in mr. (5)
Rnd 2: inc in each st around. (10)
Rnd 3: sc in each st around. (10)
Rnd 4: inc, 3 sc, inc, 5 sc. (12)
Rnd 5: sc in each st around. (12)
Rnd 6: inc, 4 sc, inc, 4 sc, inc, 1 sc. (15)
Rnd 7: inc, 2 sc rep around. (20)
Rnd 8: sc in each st around. (20)
Rnd 9: 2 sc, dec rep around. (15)
Rnd 10: sc, dec rep around. (10)
Rnd 11: sc in each st around. (10)
Rnd 12: dec 5 times, fasten off leaving a long tail for sewing. (5)
Leave the wings flat and only lightly stuffed, or unstuffed, so they curve naturally against the body.
Feet (make 2)
Rnd 1: 6 sc in mr. (6)
Rnd 2: inc in each st around. (12)
Rnds 3–5: sc in each st around. (12)
Rnd 6: dec, 4 sc rep twice. (10)
Rnds 7–8: sc in each st around. (10)
Rnd 9: inc in each st around. (20)
Rnd 10: sc in each st around. (20)
Rnd 11: dec 10 times. (10)
Rnd 12: dec 5 times, sl st to close. (5)
Stuff lightly and press the base of each foot flat as you sew it on, so the penguin sits and stands steadily.
Beak
Rnd 1: 6 sc in mr. (6)
Rnd 2: sc in each st around. (6)
Fasten off leaving a long tail for sewing. Stuff very lightly, or leave unstuffed for a flatter beak.
Assembly
- Sew the Head Panel (contrast color) onto the White Head, positioning it so it covers roughly the top and one side of the head like a little cap.
- Sew the Beak to the center-front of the head, right where the two head colors meet.
- Using the yarn tails, sew the Wings to either side of the Body, angling them slightly forward.
- Sew the Feet to the bottom of the Body, spacing them so the penguin balances upright.
- Embroider the eyes with yarn and a needle just above the beak, using a soft curved line for that sleepy, closed-eye look.
- Sew the Head to the top of the Body, adding a touch of extra stuffing at the neck seam for a smooth, seamless join.
- Weave in all remaining yarn ends and trim neatly.
Tips & Tricks
- Keep your tension snug throughout this project — plush yarn is naturally soft and a little forgiving, but a loose gauge will let stuffing show through the stitches, especially on the pale white head. If your stitches feel airy, consider dropping down half a hook size.
- The turned-row section on the Head Panel is the trickiest part of this pattern, so slow down there. Because you’re working back and forth instead of in the round, remember to turn your work at the end of every row, and keep your decreases centered so the panel stays symmetrical.
- For clean decreases, use the invisible decrease method — insert your hook into the front loops of the next two stitches only, then pull your yarn through both, rather than working a standard decrease through both full stitches. This keeps your amigurumi surface smooth with no visible gaps.
- Stuff as you go rather than waiting until a piece is closed. Add small amounts of fiberfill starting around the halfway point of the Head and Body, checking firmness with a gentle squeeze — you want it firm enough to hold shape, but soft enough to hug.
- When sewing the Head Panel and Beak on, use a whipstitch and work through the back loops only of the surface piece, catching just a few strands of the base piece each time. This keeps the seam nearly invisible and lets the plush texture of the yarn hide any small stitch irregularities.
Frequently Asked Questions
What yarn weight works best for this penguin pattern?
This pattern is designed for bulky weight plush or chenille yarn, which gives the finished penguin its soft, huggable texture. If you substitute a different weight, expect your finished size and fabric density to change.
Can I use safety eyes instead of embroidering them?
While the pattern calls for embroidered eyes to achieve the sleepy, closed-eye look, you can certainly use safety eyes if you prefer. Just be sure to attach them before closing the head if you choose that option.
How do I keep the turned-row section on the head panel symmetrical?
Focus on keeping your decreases centered. After each row, count your stitches to ensure the decreases are aligned. Using a stitch marker on the first stitch of each row can also help maintain consistency.
Why are the wings left unstuffed or lightly stuffed?
Leaving the wings flat or lightly stuffed allows them to curve naturally against the body, giving the penguin a more organic and cuddly appearance. Over-stuffing would make them stick out stiffly.
How can I make sure my penguin stands on its own?
Add a little extra stuffing to the rounded bottom of the body, and press the base of each foot flat when sewing them on. Spacing the feet evenly will also help the penguin balance upright.
What if my stitches look loose with plush yarn?
If your stitches feel airy, try dropping down half a hook size. A tighter gauge is essential with plush yarn to prevent stuffing from showing through, especially on lighter colors like the white head.
Pin This Crochet Pattern!