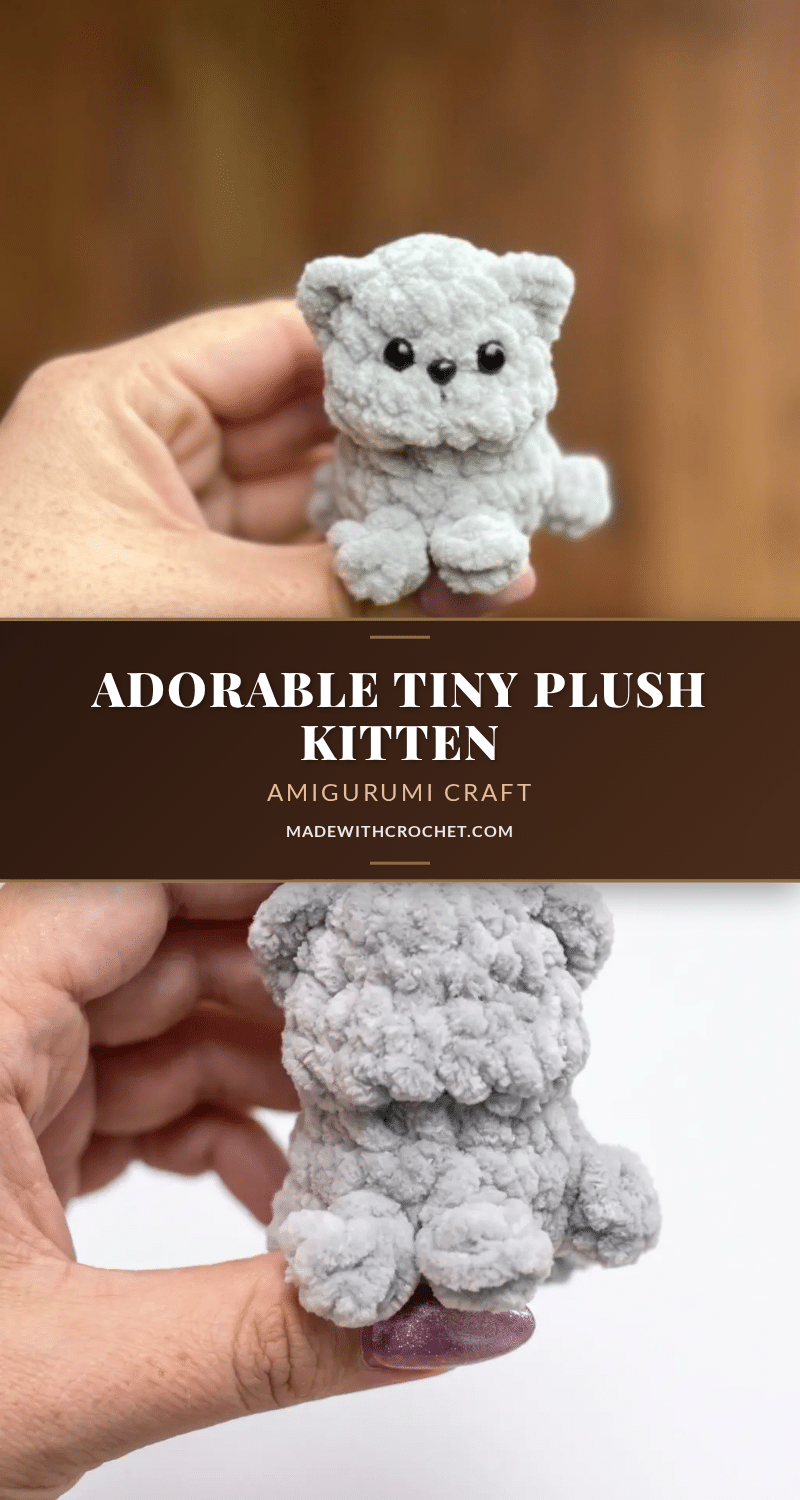
There is something deeply soothing about the rhythm of amigurumi: the quiet of a late evening, the soft weight of a small ball of yarn in your lap, and the steady, hypnotic click of the hook. This Tiny Plush Kitten pattern is designed for that exact moment of relaxation. It is a compact project that rewards patience with an incredibly cute result, perfect for a cozy night in where you want to create something tangible without a massive time commitment. As you count your stitches and shape the little body, you will find yourself settling into a meditative flow, crafting a pocket-sized companion that is as delightful to make as it is to hold.
Small Details That Make It Better
While this kitten is tiny, the charm lies in the specific choices of texture and construction. Using a bulky plush or chenille yarn gives the finished piece a velvety, cloud-like appearance that is irresistible to the touch. The decision to build the legs and tail directly into the body rounds is a clever design choice; it eliminates the need for sewing on separate limbs, resulting in a seamless, sturdy shape that holds its form beautifully. Additionally, the cinching technique used for the face adds a unique character to the kitten, creating a soft, rounded muzzle that distinguishes it from standard amigurumi heads. These small details transform a simple crochet project into a high-quality plush toy.
Project Overview
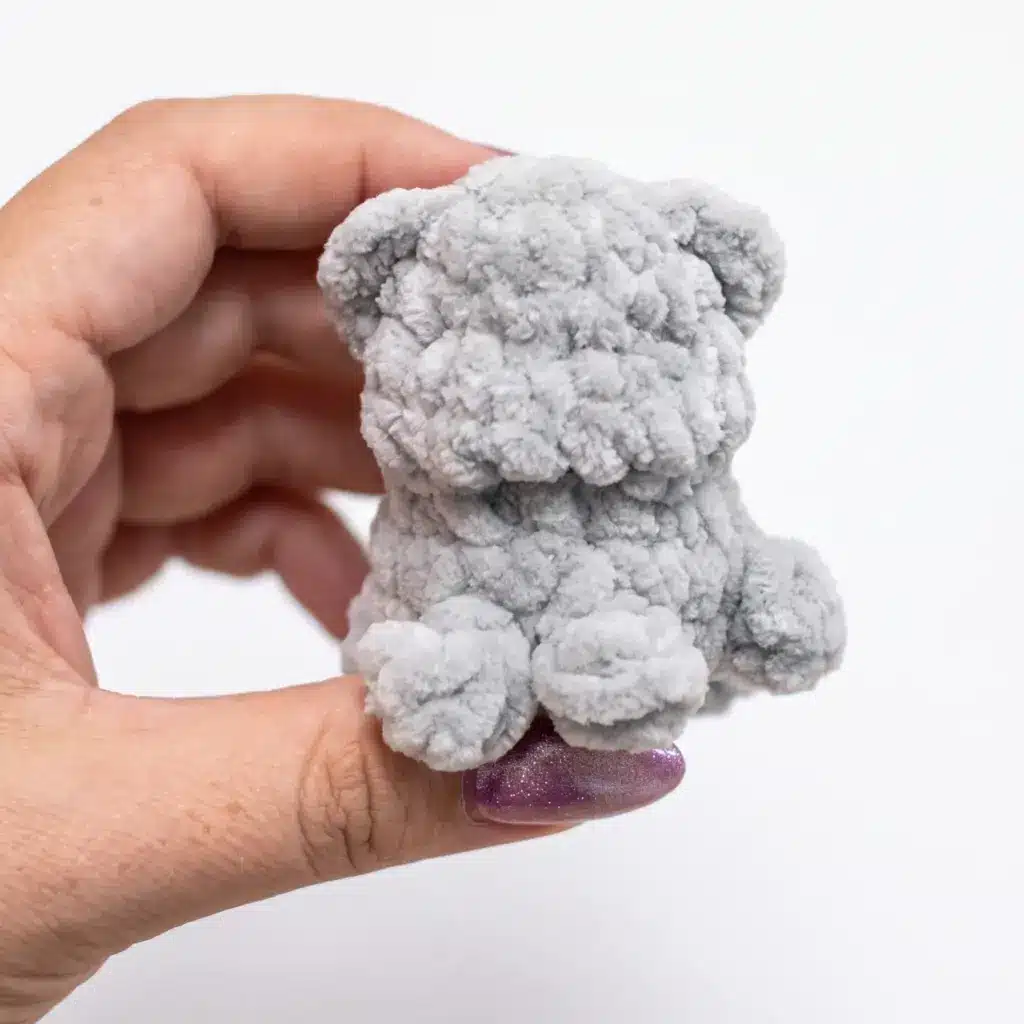
This pattern creates a tiny, round-cheeked kitten approximately 2 inches (5 cm) tall and long. It is worked in one continuous spiral from the bottom up, incorporating the legs and tail directly into the body rounds. The ears are attached separately and then used to cinch the face, giving the kitten its signature soft muzzle. This project is ideal for practicing shaping, invisible decreases, and simple limb attachments.
Materials
- Bulky (5) weight plush or chenille yarn, in your color of choice (light gray shown in the sample)
- Crochet hook, size E-4 (3.5 mm) or G-6 (4 mm)
- Safety eyes, 5 mm (1 pair)
- Safety nose, approximately 5 mm (1)
- Black cotton embroidery thread, for eyebrows (optional)
- Cotton thread, for cinching the face
- Fiberfill stuffing
- Yarn needle with a large eye
- Stitch marker
- Scissors
Gauge and Finished Size
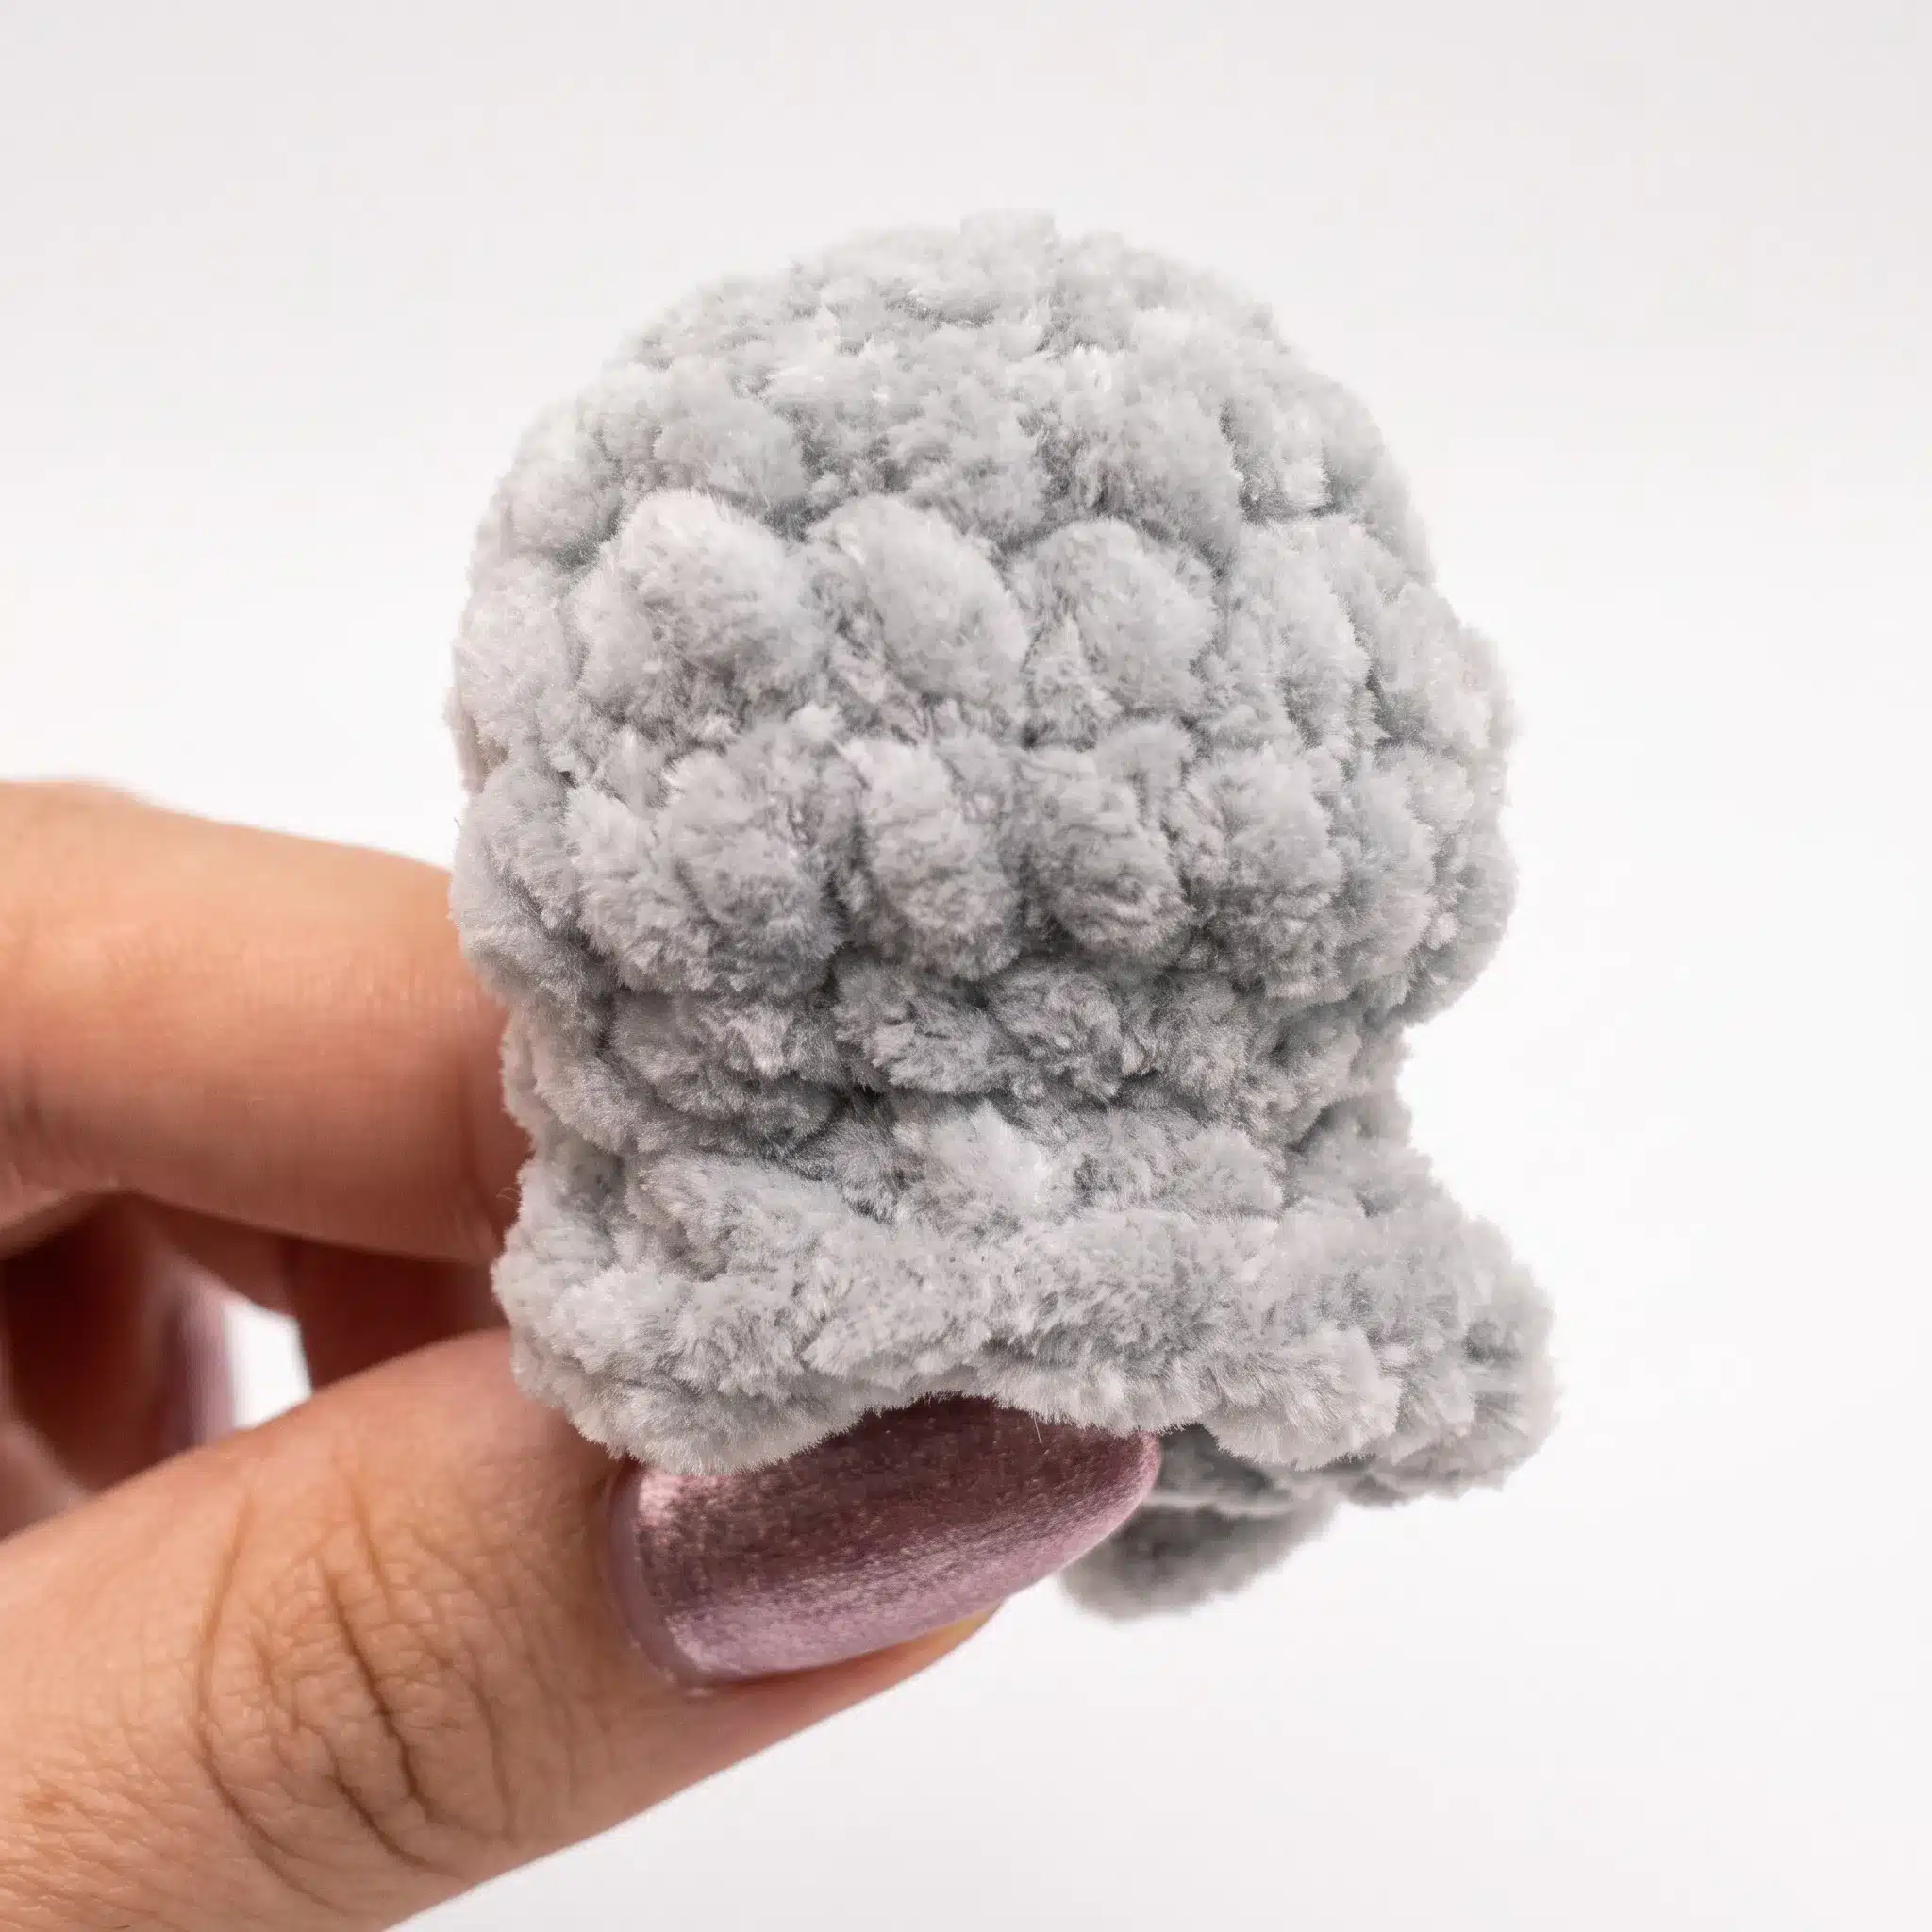
Gauge is not critical for this pattern, but tighter tension will give you a firmer, more defined shape. The sample kitten finishes at roughly 2 inches (5 cm) tall and long.
Abbreviations
- ch — Chain
- dc — Double Crochet
- dec — Decrease (invisible decrease)
- inc — Increase (2 sc in same stitch)
- MR — Magic Ring
- puff st — Puff Stitch (2 dc worked with the same base and same top)
- sc — Single Crochet
- sl st — Slip Stitch
Pattern Notes
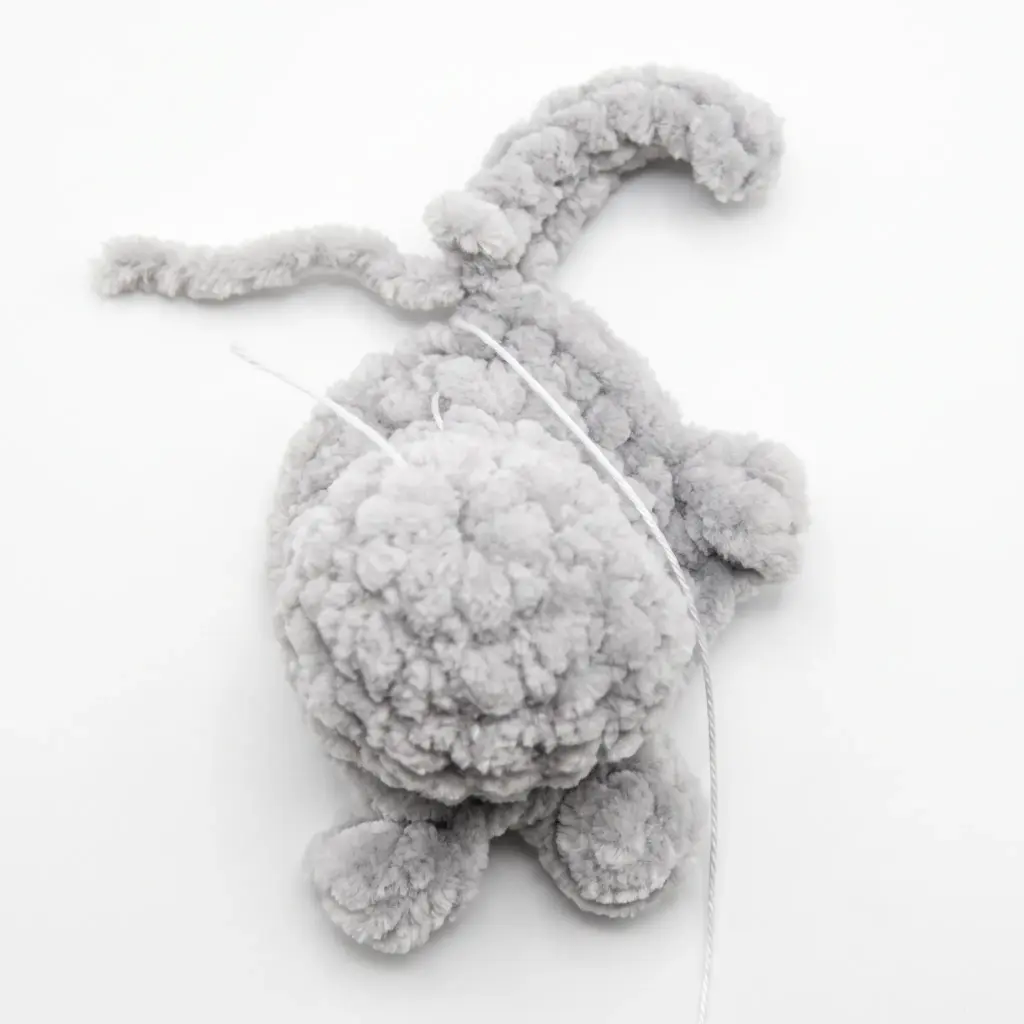
- This pattern is written in US crochet terminology.
- The body, legs, and tail are worked in one continuous spiral — no joining or turning.
- Stitch counts are given at the end of each round in parentheses.
- Stuff as you go, packing the edges first and the center last, so the shape stays even and round.
- The legs and tail are built directly into the body rounds using short chains and puff stitches — no separate pieces to sew on later.
Pattern Instructions
Body & Head (worked in one continuous piece)
Rnd 1: 6 sc in MR. (6)
Rnds 2–3: sc in each st around. (12)
Rnd 4: 3 sc, 2 inc, 2 sc, 2 inc, 2 sc, inc. (17)
Rnd 5: inc, 2 sc, 2 dec, 2 sc, 2 dec, 4 sc. (14)
Rnd 6: 4 sc, 3 dec, 2 sc, 2 inc. (13)
Rnd 7: 2 inc, 2 sc, inc, 2 sc, inc, 3 sc, 2 inc. (19)
Rnd 8: 2 inc, 6 sc, Front Leg (ch 3, puff st [2 dc] in 2nd ch from hook), 2 sc, Front Leg (ch 3, puff st [2 dc] in 2nd ch from hook), 4 sc, Back Leg (ch 2, puff st [2 dc] in 2nd ch from hook), 5 sc, Tail (ch 5, 4 sc starting in 2nd ch from hook). (21)
Rnd 9: 5 sc, Back Leg (ch 2, puff st [2 dc] in 2nd ch from hook), 4 sc, 2 dec, 2 sc, 3 dec. (16)
Begin stuffing the body now, packing the legs and tail first, then filling the center firmly. Attach the safety eyes and nose at this point, spacing the eyes evenly across the widest part of the face before you continue closing the round.
Rnd 10: dec around to close the opening. Close the opening and weave in the yarn tail.
Ears (make 2)
Attach yarn directly behind the increases worked in Rnd 4.
Next rnd: (sc, ch 1, sc) all in the same stitch.
Next rnd: sl st across. Fasten off, leaving a short tail for cinching.
Assembly
Using the yarn tails left on each ear, cinch the head from ear to ear, pulling gently to flatten and shape the face into a soft, rounded muzzle. Secure the cinching thread with a few small stitches at the base of one ear, then weave the end down through the head and trim. If you’d like expressive brows, embroider two small angled lines above the eyes using black cotton thread. Weave in any remaining loose ends, including those from the legs, tail, and ears. Give the finished kitten a gentle shape-check, fluffing the plush stitches so the ears and paws sit evenly.
Tips
- Keep your tension consistent. Plush and chenille yarns hide stitch definition well, but loose tension will let stuffing show through at the increases and decreases. Work snugly, especially through Rounds 4–9 where the shaping happens.
- Master the invisible decrease early. Since Rounds 5, 6, and 9 rely heavily on decreases, practice the invisible decrease technique (working into the front loops of the next two stitches together) before you start the body — it keeps the surface smooth instead of leaving visible bumps.
- Don’t overstuff the tiny appendages. The legs and tail are formed from short chains and a single puff stitch, so they don’t need stuffing — just let the puff stitch itself create the rounded shape. Overstuffing at this scale can distort the puff and make the paw look lumpy.
- Stuff before you close, not after. Because this pattern finishes with a decrease round rather than a wide opening, add all your stuffing by Round 9. Trying to push stuffing through the small closed opening at Round 10 is much harder and can misshape your decreases.
- Watch your puff stitch placement. The Front Leg and Back Leg instructions both start the puff stitch in the 2nd chain from the hook — double-check your chain count before working the puff, since being off by even one chain will make the paws sit at uneven lengths.
FAQs
What type of yarn is best for this pattern?
Bulky (5) weight plush or chenille yarn works best. These yarns create a soft, velvety texture that enhances the plush look of the kitten.
Do I need to sew the legs and tail on?
No. The legs and tail are created directly in the body rounds using chains and puff stitches, so no sewing is required for these parts.
How do I make the face look rounded?
After attaching the ears, use the yarn tails from the ears to cinch the head from ear to ear. Pull gently to flatten and shape the face into a soft, rounded muzzle.
Can I skip the safety eyes?
You can, but the pattern is designed with safety eyes in mind. If you prefer embroidered eyes, you can add them during the assembly phase, though the safety eyes provide a more defined look for this specific pattern.
Why is my kitten lumpy?
This often happens if the tension is too loose or if the tiny appendages are overstuffed. Ensure you work snugly and only stuff the main body firmly, leaving the puff-stitch legs and tail unstuffed.
Pin This Crochet Pattern!