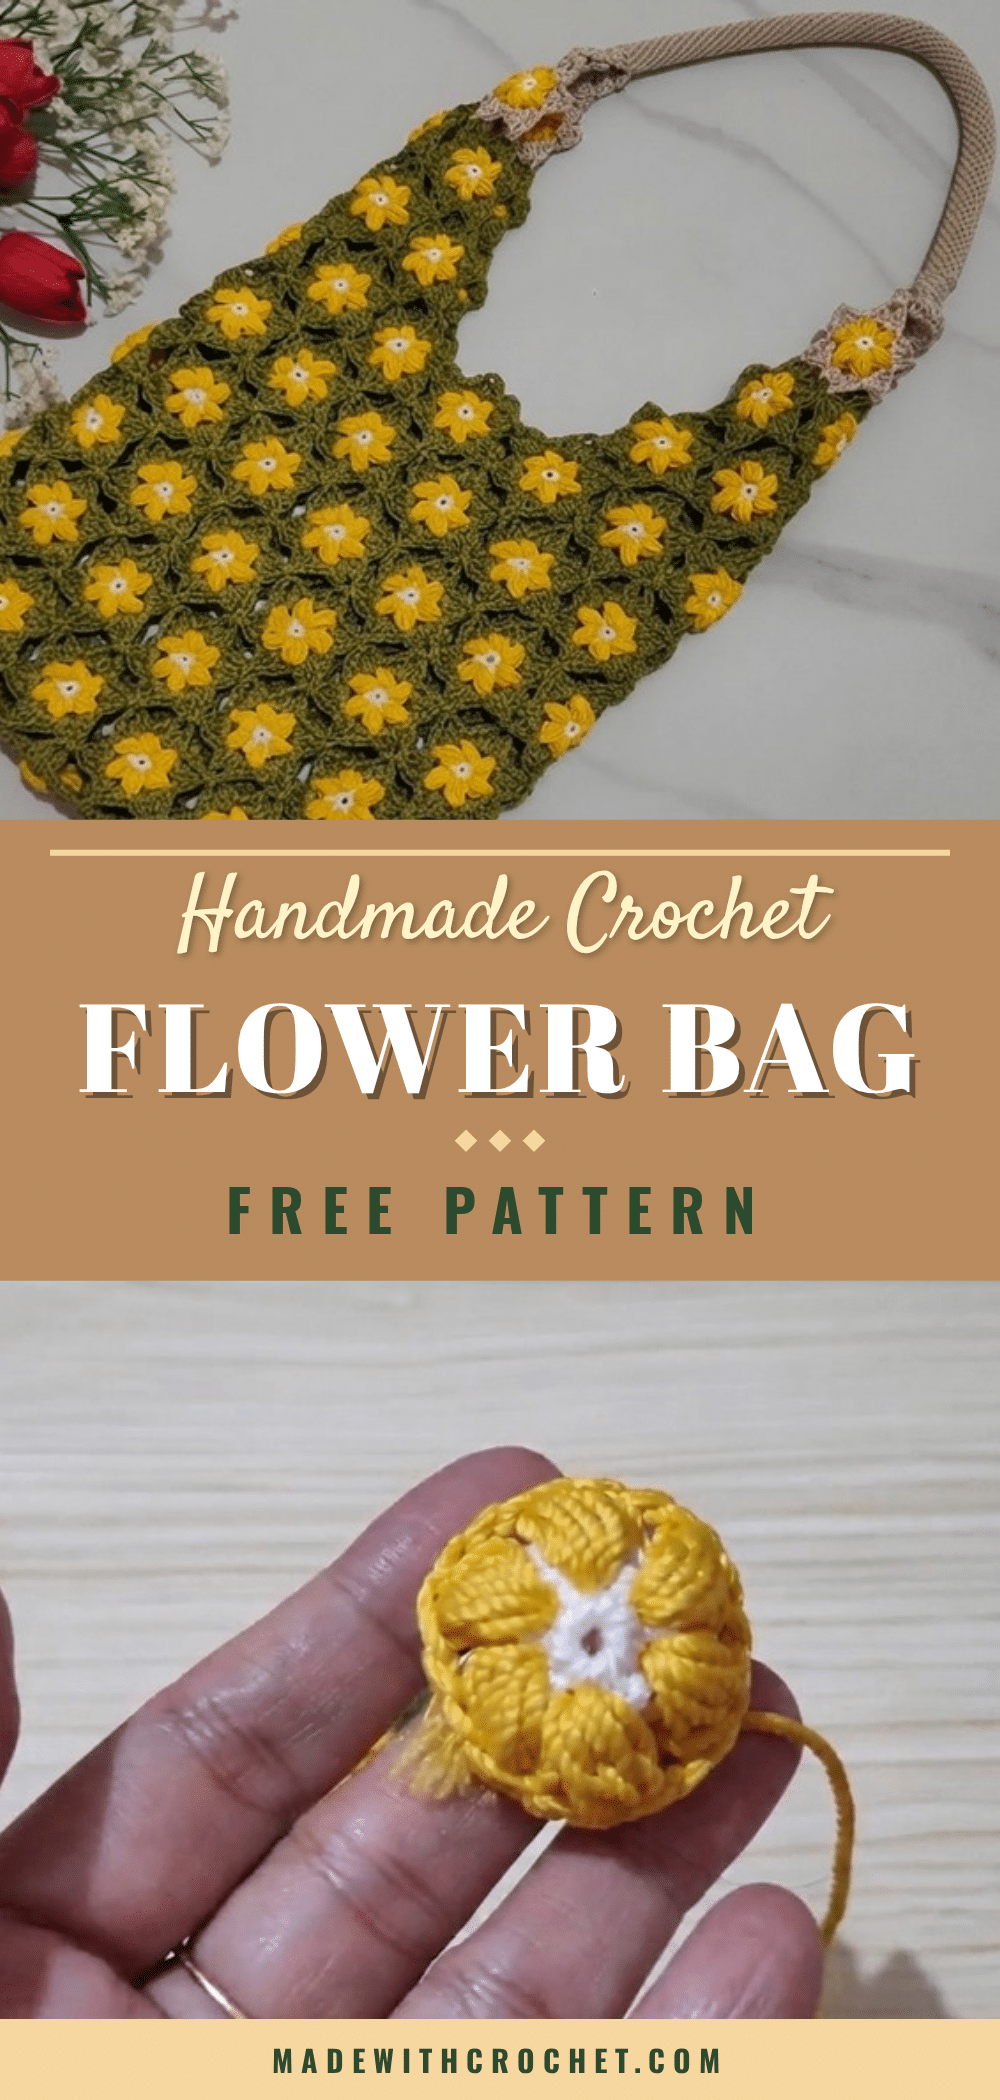
You sit down with your yarn stash, hook in hand, and a stack of colorful DK-weight skeins spread across the table. The idea of turning simple puff flowers into a sturdy, cheerful bag starts to take shape. This is that perfect kind of project—relaxing enough for an evening of crochet, yet rewarding enough to become your new favorite accessory. Let’s begin.
Why This Project Works
This crochet flower bag is a brilliant blend of whimsy and practicality. The puff flowers create a beautiful, three-dimensional texture that feels soft yet substantial. The join-as-you-go technique means no tedious sewing at the end, making the process as enjoyable as the finished piece. It’s a fantastic stash-buster, letting you use up small amounts of yarn in a rainbow of colors, and the finished size is perfect for carrying everyday essentials. Whether you’re a seasoned maker or an advanced beginner looking for a fun challenge, this bag is a joy to create and carry.
Project Overview
This beginner-friendly pattern guides you through making puff flowers and joining them as you go to form a bag base, body, and handles. The result is a colorful, 3D bag that’s both stylish and functional.
Materials
- Yarn: DK (light worsted) weight—several colors for a colorful bag
- Hook: 3.0 mm (or size to match your yarn)
- Scissors
- Tapestry needle (for weaving in ends)
- Stitch markers (helpful for joins)
Gauge and Finished Size
- Gauge: Gauge is not important for this project. Just make sure your flowers are the same size.
- Finished Size: Each finished flower: about 4–5 cm across. Bag base: 5 flowers in a circle. First round of body: 12 flowers. 6 rounds give a medium-sized bag (about 20 x 20 cm). Handle: made of 4 flowers in first row, 3 flowers above. Finished bag size: About 20 x 20 cm (without handles), but adjust by making more or fewer rounds.
Abbreviations
- MR: Magic ring
- ch: Chain
- sc: Single crochet
- hdc: Half double crochet
- dc: Double crochet
- sl st: Slip stitch
- puff: Puff stitch (see below)
Pattern Notes
- Each puff flower is made in 2 main rounds: a center and petals.
- Flowers are joined as you crochet them—not sewn at the end!
- Following the join points is important for the bag to keep its shape.
- If you’re new to puff stitches, take your time and practice first.
Special Stitches
Puff Stitch (for petals): Yarn over, insert hook into stitch, yarn over, pull up a loop — do this 4 times (total 9 loops), then yarn over and pull through all loops on hook.
Pattern Instructions
Step 1: Make a Puff Flower
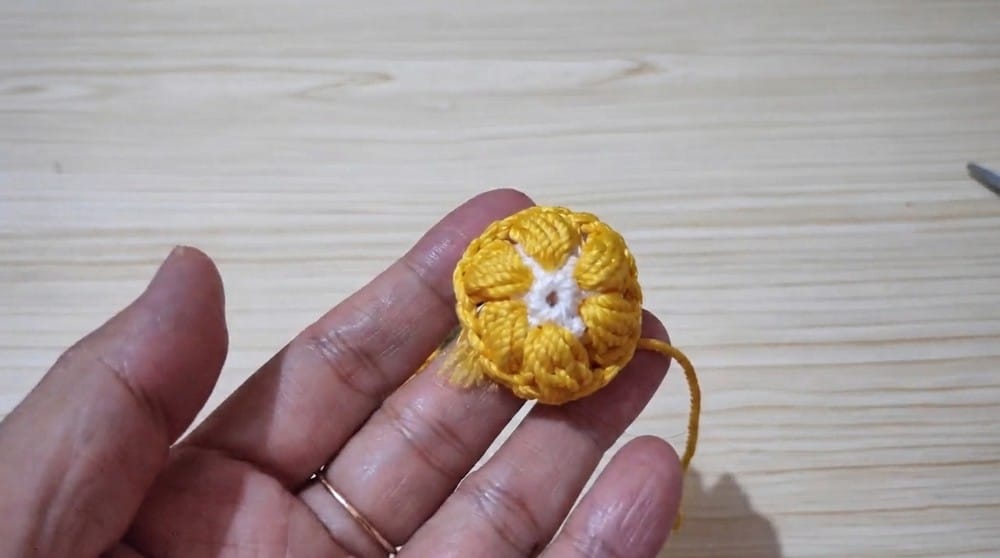
Center of Flower: Make a magic ring. Ch 1, work 6 single crochets (sc) into the magic ring. Pull the ring tight. Join to first sc with a slip stitch (sl st). Change to your petal color.
Petal Round: In any sc, join new color. Make a puff stitch, then chain 2. Repeat: In each of the next 5 sc, make one puff stitch and chain 2 after each. After 6 puff stitches (6 petals), sl st into the first puff to finish the round. Fasten off or get ready to join to the next flower.
Step 2: Make and Join More Flowers for the Bag Base
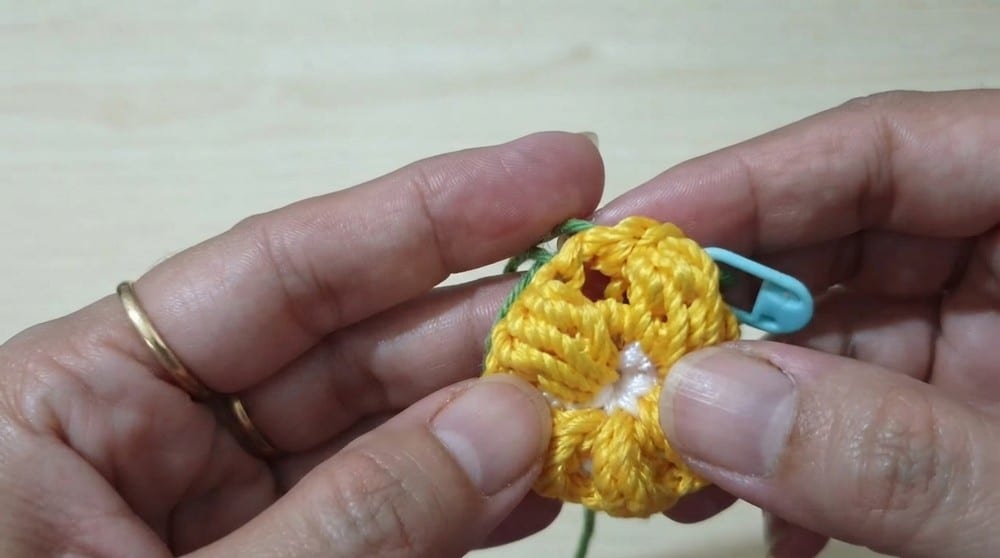
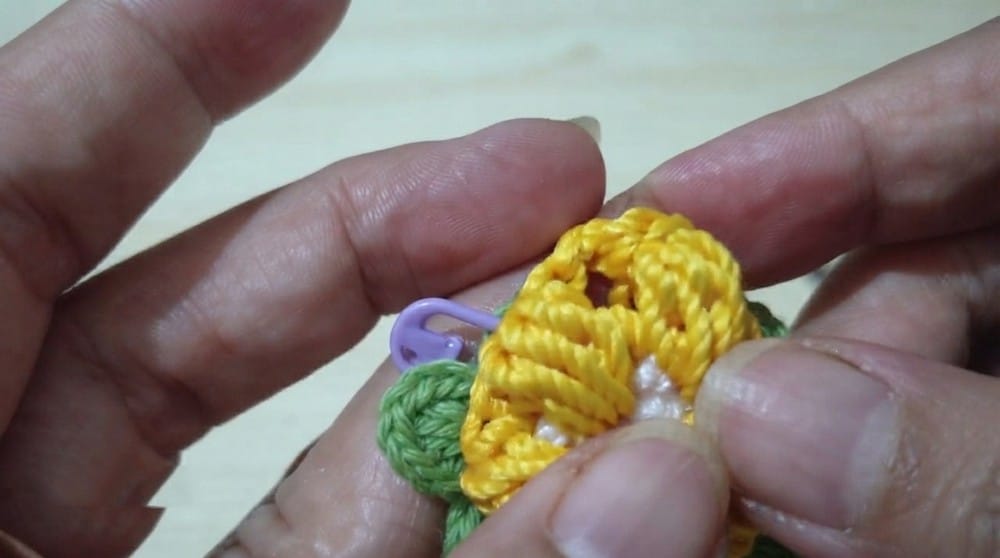
Make more flowers as in Step 1. As you make each new flower’s petals, join them to the previous flowers where petals connect (at the chain-2 spaces). For the bag base, join 5 flowers in a circle; connect petals at 2 or 3 spots per flower as needed.
Step 3: Start the Bag Body (First Round)
Work a new flower and join it to the edge of the base at 3 points (to 3 chain-2 spots on neighboring base flowers). Continue filling in around the base, always joining at the correct spots: Most flowers join at 4 places. Some (corners) join at 3 or 5 places. Keep going until you have 12 flowers around, making a ring. Tip: It helps to lay out your base and mark join points with stitch markers.
Step 4: Build Up the Bag (Add More Rounds)
For each new round, make flowers and join as you go: First flower: join at 3 points. Flowers 2-11: join at 4 points each. Last flower: join at 5 points. Repeat until your bag is as tall as you like (about 6 rounds for a medium size).
Step 5: Make Handles
From where you want your handles, fold the top edge in half to help center them. For the first handle row: Make 4 joined flowers in a row, each joined to the bag at 3 points. Second handle row (on top): Make 3 flowers, joining to the row below and at the sides. Repeat handle for the opposite side of your bag.
Step 6: Make Strap Holes
At the base of each handle, attach yarn. Ch 1, make 2 single crochets in next stitches. Ch 8 (forms a loop for the strap). Make 2 single crochets on the other side. Ch 1 and turn. Make a long sc (insert into stitches below for strength). Work 8 sc along the ch-8 loop. Do 2 more long sc into the base. Fasten off. Repeat on the other handle. These loops are for attaching your crossbody or shoulder strap.
Assembly
Weave in all yarn ends with your tapestry needle. Gently block bag if you want to help it keep its shape. Optionally, add a spiral or braided strap (see video for details, or use a pre-made bag strap).
Tips
- Lay out your base flowers and use stitch markers to mark join points before you start connecting them. This helps keep the shape even.
- If you’re new to puff stitches, practice on a small swatch first to get the tension consistent.
- Experiment with color combinations—this bag looks great in bright, contrasting colors or soft pastels.
Frequently Asked Questions
Can I use a different yarn weight?
Yes, but your flower size and overall bag dimensions will change. Use a hook size recommended for your chosen yarn and make a test flower to check the size.
How do I adjust the bag size?
To make a larger or smaller bag, simply add or remove rounds of flowers in Step 4. Each round adds about 4–5 cm in height.
What if my puff stitches are too loose or too tight?
Practice a few puff stitches to find a comfortable tension. The key is to pull up loops evenly. If they’re too tight, try using a slightly larger hook for the puff stitches only.
Can I sew the flowers together instead of joining as I go?
While you can sew them, the pattern is designed for join-as-you-go to save time and create a more secure connection. If you prefer sewing, use the same chain-2 spaces as attachment points.
How do I attach a strap?
Use the strap holes created in Step 6. You can crochet a simple chain strap, braid yarn, or attach a pre-made bag strap using a clasp or by sewing it securely.
Is this pattern suitable for a beginner?
This pattern is rated for advanced beginners. You should be comfortable with basic stitches (sc, hdc, dc, ch, sl st), a magic ring, and simple color changes. The puff stitch is easy to learn with a little practice.
Pin This Crochet Pattern!