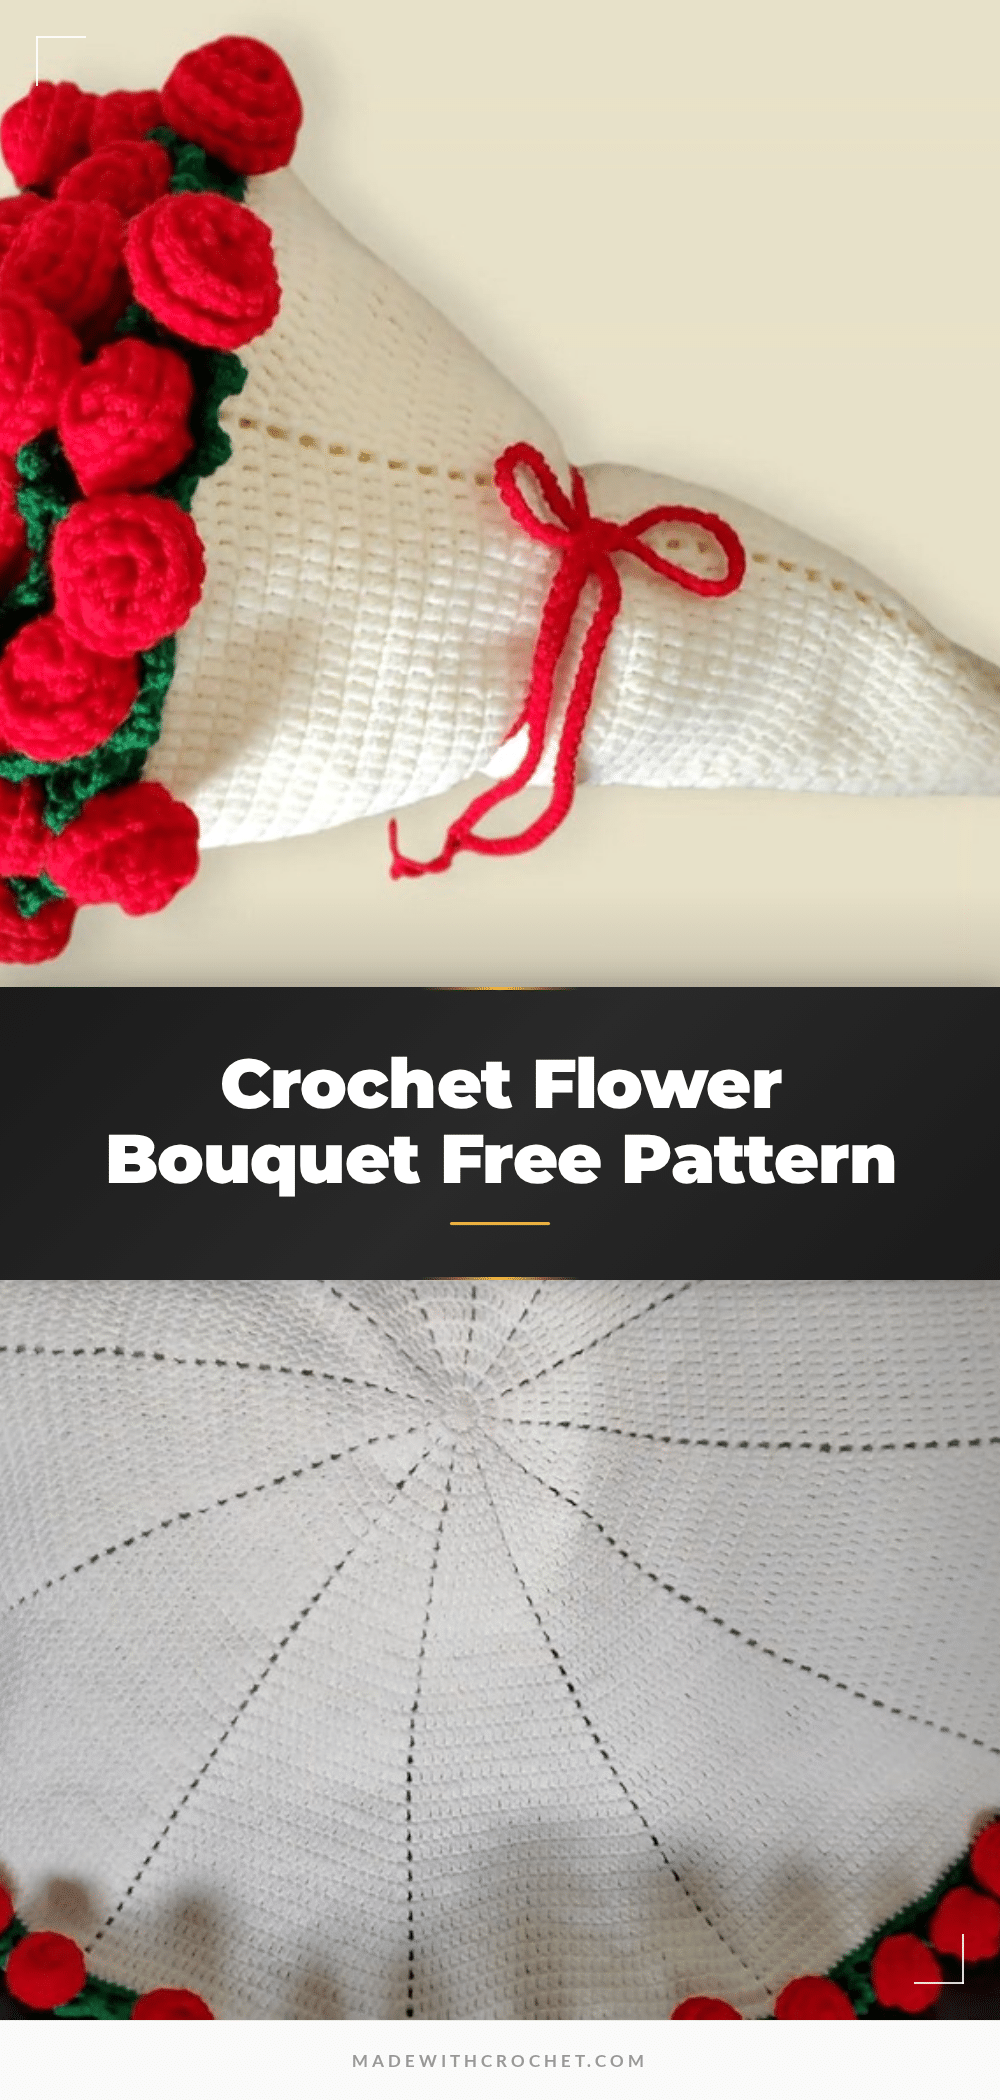
Spring is the perfect time to add a touch of handmade charm to your home, and this crochet flower bouquet pattern is just the project to do it. Whether you’re looking to brighten up a nursery, create a unique gift for a loved one, or simply enjoy a cozy crafting session, these everlasting blooms are a delightful choice. This free pattern guides you through creating a beautiful flower blanket with 3D roses, but the flowers themselves can be arranged into a charming bouquet. It’s a wonderful way to celebrate the season with color and texture that never fades.
Seasonal Styling Ideas
This pattern is incredibly versatile. For a spring bouquet, choose pastel pinks, soft yellons, and fresh greens. For a more rustic, autumn feel, opt for warm oranges, deep reds, and cream. The flowers can be attached to stems made from floral wire and green yarn, then arranged in a vase for a stunning centerpiece. You could also sew them onto a headband for a whimsical accessory or use them to embellish a plain tote bag. The possibilities are as endless as your color palette.
Project Overview
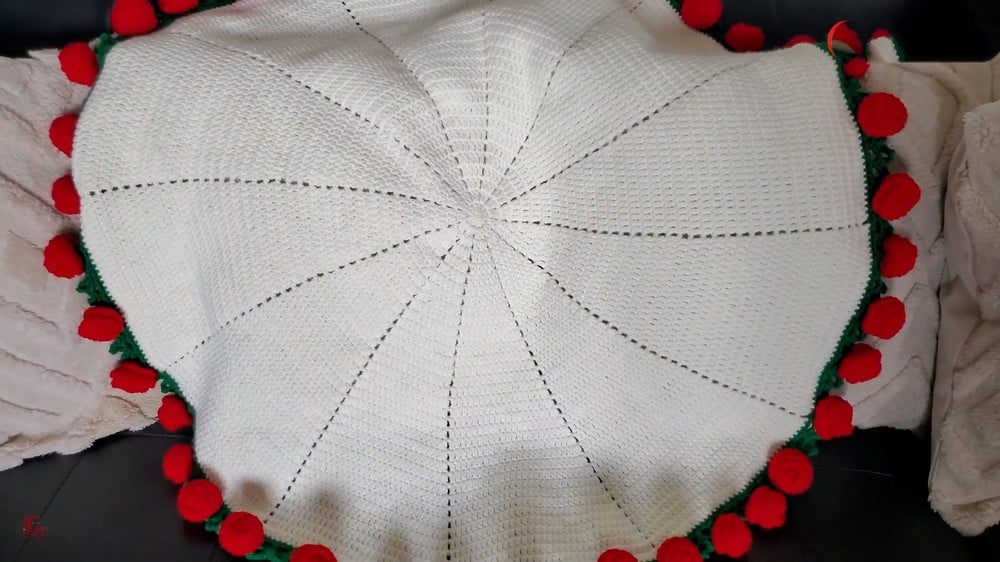
This pattern creates a circular blanket with a vibrant border of 3D roses. The blanket is worked from the center out, and the number of rounds can be adjusted to achieve your desired size. The roses are made separately and then attached to the blanket edge, creating a beautiful, textured finish. The project is suitable for confident beginners and beyond.
Materials
- Yarn: Size 4 (Worsted weight) acrylic yarn in at least two colors (one for blanket base, one for flowers)
- Total Amount: Blanket base: approx. 3–5 skeins (varies by size); flowers: small amounts per rose
- Hook: 4.0 mm crochet hook (or as recommended for yarn)
- Notions: Scissors, Yarn needle or darning needle, Stitch marker (optional), Measuring Tape (optional)
Key Abbreviations (US Terms)
- ch: chain
- sl st: slip stitch
- sc: single crochet
- dc: double crochet
- st: stitch
- rep: repeat
Pattern Notes
- Pattern is worked in rounds from the center out.
- Always join each round with a slip stitch to the top of the beginning ch-2 (unless instructed otherwise).
- Number of rows or finished size is fully adjustable.
- Petal stems and roses are optional—skip flower steps for a plain blanket.
Pattern Instructions
1. Blanket Base (Circular Center Out)
Foundation
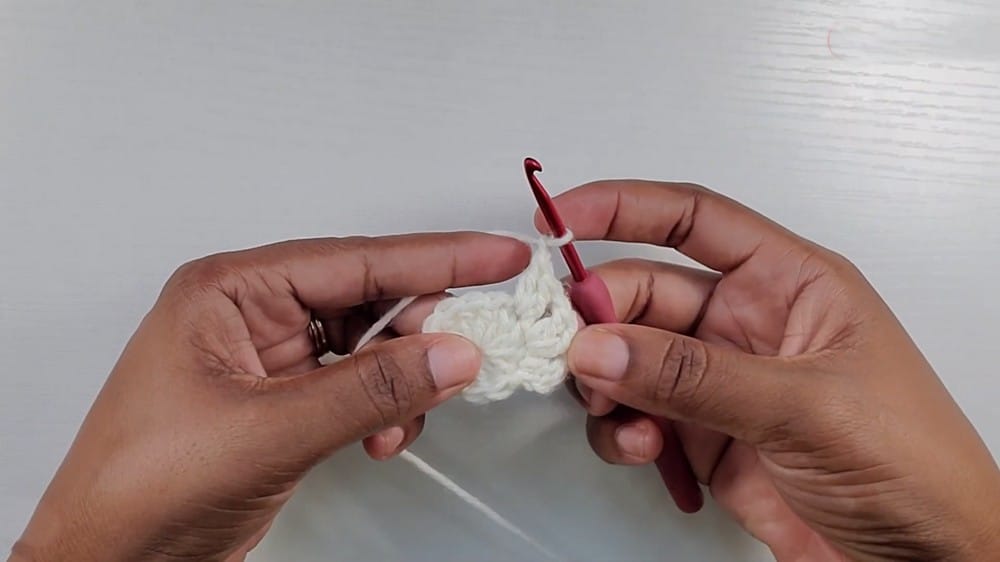
Begin with a magic ring.
Round 1
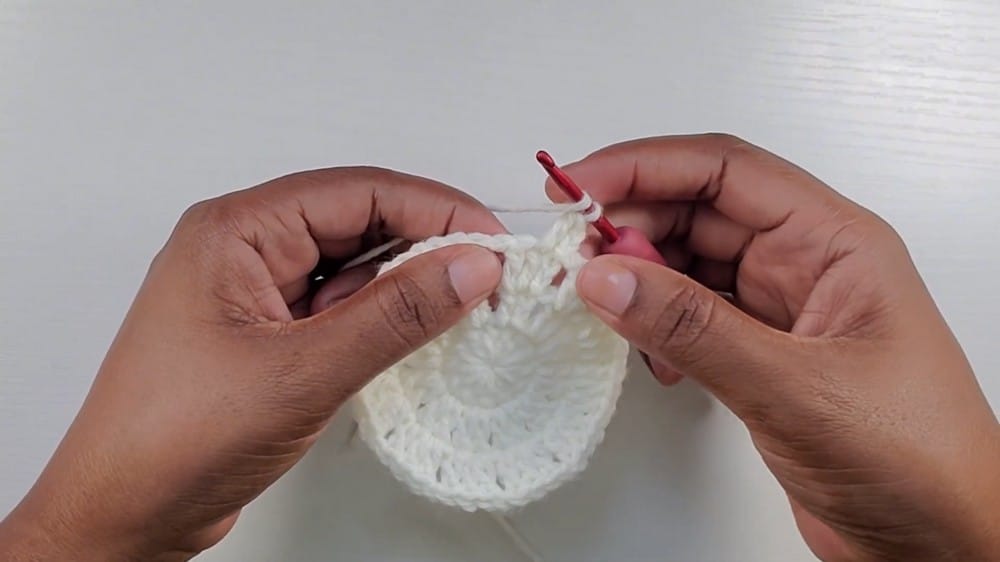
Ch 2 (counts as dc); then work 12 dc into the ring. Sl st to top of beginning ch-2 to close the ring. (12 dc)
Round 2
Ch 2 (counts as first dc; all ch-2 at start of rounds counts as dc). In the same st as joining, dc 1 (2 dc in same st). Ch 1, then 2 dc in next st, ch 1, repeat around. After last ch 1, sl st to top of beginning ch-2. (Twelve 2-dc clusters, separated by ch-1)
Round 3
Ch 2 (counts as dc), dc 1 in same st. Dc 1 in next st, ch 1. For each 2-dc cluster from prior round: [dc 1 in first st, dc 2 in second st, ch 1] Repeat around, sl st to beginning ch-2.
Round 4
Ch 2, dc 1 in next st(s) as established, increase (2 dc) in last st of cluster, ch 1. Continue: [dc 1 in each st to last st of cluster, 2 dc in last st, ch 1]. Repeat as established, sl st to beginning ch-2.
Subsequent Rounds (5 and beyond)
Ch 2 (counts as dc), Dc in each st across cluster, 2 dc in last st of cluster, Ch 1, Repeat for each cluster around. Join to ch-2 to finish round.
Tip: Each round grows your clusters by 1 dc. Row 2: 2 dc per cluster; Row 3: 3 dc per cluster; Row 4: 4 dc per cluster; etc. Continue this pattern until blanket is desired size (sample: 36 rounds). At end of last round, ch 1, fasten off, and weave in end.
2. Flower Stem Round
Joining Flower Base Color
Join new color in any stitch along blanket edge with a slip knot (personal preference). Sc in same st, and in each st around. Work single crochets into every stitch and ch-1 space around, including into ch-1 gaps. Work over tail if desired to minimize weaving. Sl st to 1st sc to join round.
3. Petal Loops (Preparation for Flowers)
Ch 4, Skip 2 sts, sc in next st (the third st). Repeat: ch 4, skip 2 sts, sc in next st, around the blanket edge. At end of round, join with sl st to starting point.
4. Flower Stem/Petal Creation
For each ch-4 loop: Ch 4. Slip st into the 2nd ch from hook (creates a small loop at the top of the stem). Ch 3. Sc in the same loop (the ch-4 space, not into the chains). Sc in next ch-4 loop, and repeat each step around. Note: Each ch-4 loop becomes a stem/petal for a rose. At the end of round, sc or sl st to first stem/petal as desired. Fasten off and weave in end.
5. Making the Roses
Rose Foundation
For each stem/petal base: Join flower color in the 2 “loops” (the stem base created previously). Ch 20. For smaller flowers, ch 16 or 18.
Rose Body
Skip 3 ch from hook, in 4th ch, work 3 dc. In each remaining ch, work 3 dc in same ch (this curls naturally). Continue to end of chain.
Forming & Attaching Rose
Roll “ruffle” up into a spiral to form a rose shape. Use the working yarn tail and your hook (or a yarn needle), stitch through the base of the petals a few times to secure the rose. Attach base of rose to stem by slip stitching or sewing through the petal base or sc at petal base. Ch 1, fasten off, weave in ends securely. Placement: Skip 2–3 sc between each new rose for balanced spacing. Repeat around blanket, making as many roses as you like.
Assembly
The roses are attached directly to the stem/petal bases created in the previous steps. There is no separate assembly of different components; the flowers are built onto the blanket edge.
Tips
- Cluster Consistency: Always work 2 dc in last st of each cluster before ch-1 for even growth.
- Petals/Roses: Base and roses can be made in any color combination desired.
- Rose Size: Adjust starting chain for longer/bigger or shorter/smaller roses.
- Sturdier Flowers: Use a yarn needle to securely tack down roses through all layers on the stem base.
- Finishing: Weave in all ends for a tidy finish. Gently block blanket if desired for flatness.
- Blanket Sizing: For a larger blanket, either use a larger hook or continue rounds before flower edge.
FAQs
Can I use this pattern to make a bouquet instead of a blanket?
Absolutely! The roses from this pattern can be attached to floral wire stems wrapped in green yarn to create a beautiful, everlasting bouquet. Simply follow the rose-making instructions and skip the blanket base.
How do I adjust the size of the roses?
You can make larger or smaller roses by changing the length of the starting chain. For smaller flowers, chain 16 or 18 instead of 20. For larger ones, chain 22 or more.
What is the best yarn for this project?
Size 4 (worsted weight) acrylic yarn is recommended. It’s durable, easy to care for, and holds the shape of the roses well. You can also experiment with cotton blends for a different texture.
How do I keep the roses from unraveling?
Be sure to securely stitch through all layers of the rolled rose at the base using a yarn needle. Weave in the yarn tail thoroughly to lock the shape in place.
Can I add more than one color of flower?
Yes! This pattern is perfect for using up scrap yarn. You can make each rose in a different color or create a gradient effect. The flower base color can also be changed for each rose.
Pin This Crochet Pattern!