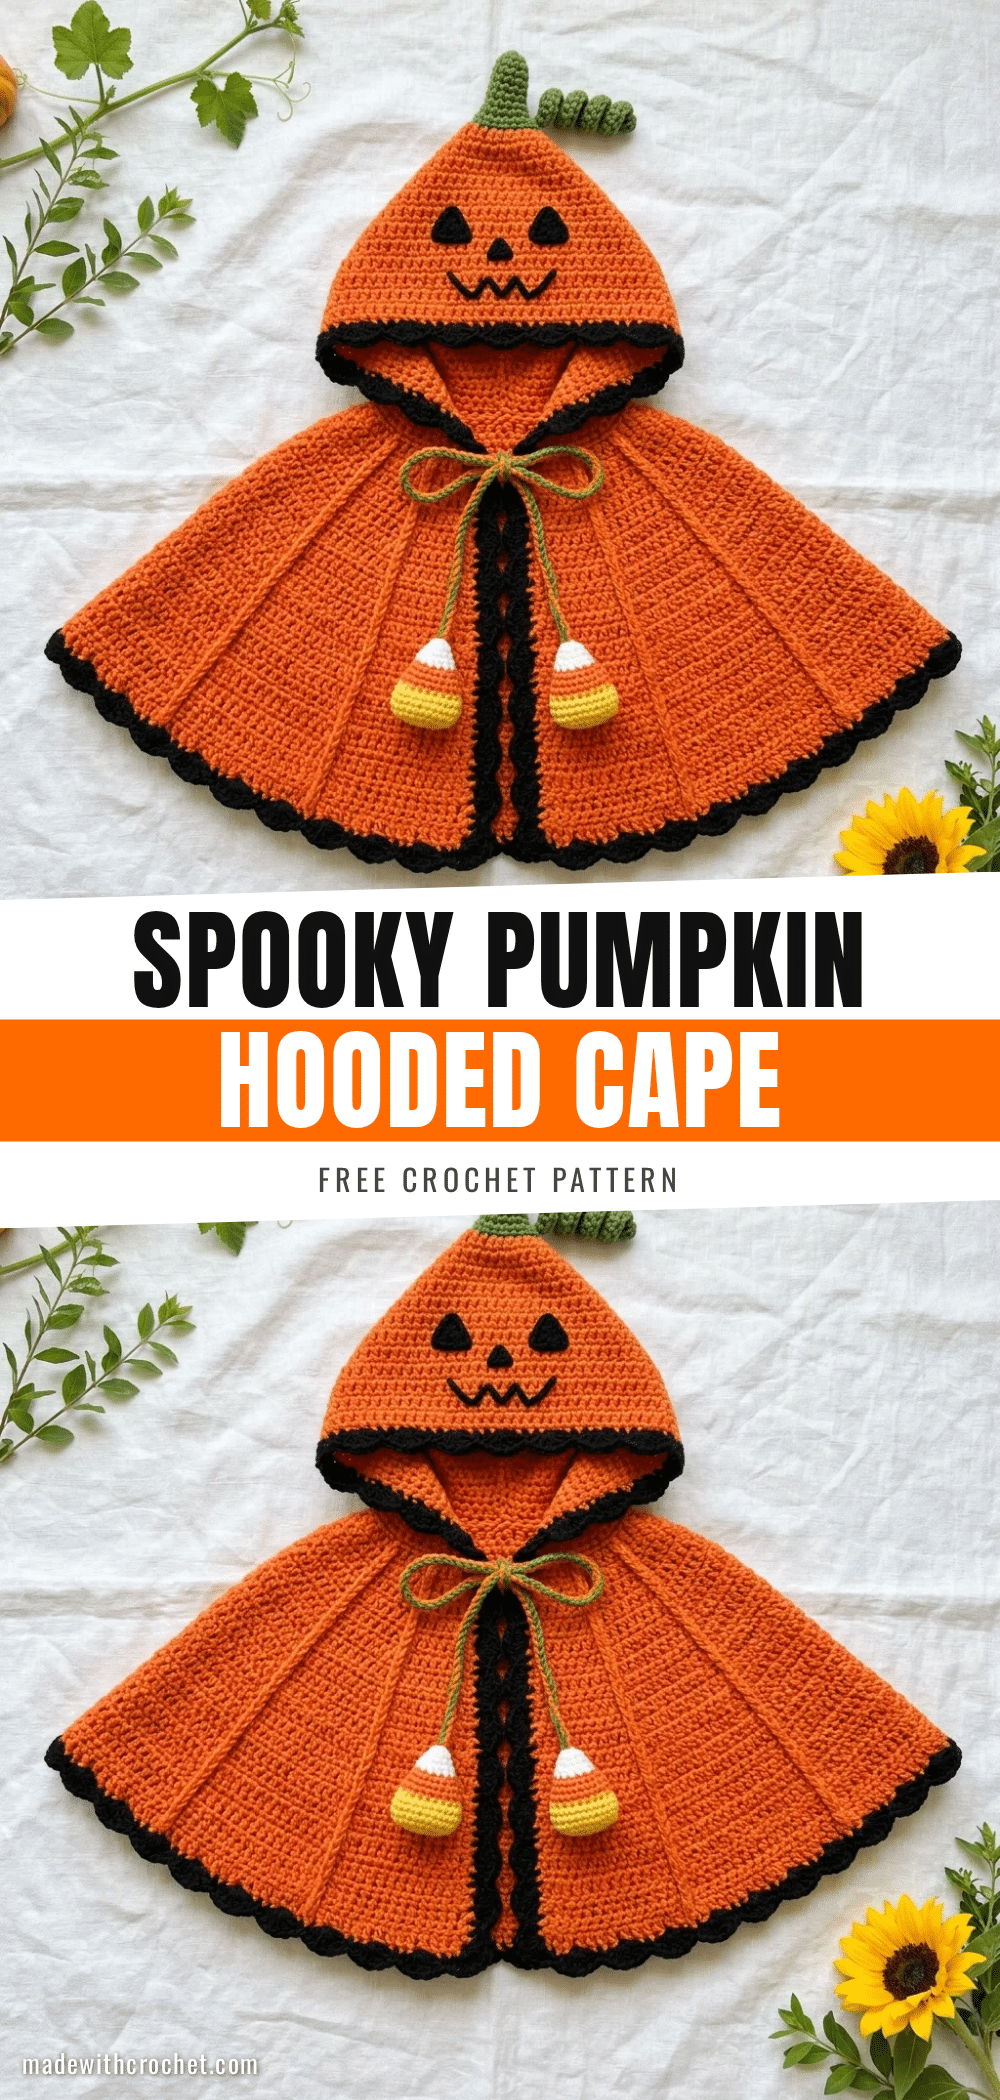
Yarn is on the table, hook in hand, and the project begins to take shape. There is a specific kind of magic in watching a pile of worsted weight yarn transform into a wearable costume. For this Spooky Pumpkin Hooded Cape, that moment happens when the flat collar is joined into a tube, and suddenly, you are working in the round, building the circular sweep of the pumpkin. It is a satisfying progression, turning simple stitches into a garment that a toddler will actually want to wear. This pattern is designed for intermediate crocheters, though confident beginners can certainly tackle it with patience.
Why This Project Works
The design relies on a clever simplicity. By using six evenly spaced increase columns, the cape drapes beautifully without requiring complex shaping. The hood sits like a pointed pumpkin top, complete with a crocheted stem and curling vine tendril. What makes this project truly special is how the pieces come together. The black trim along the edges and hem provides that classic Halloween contrast, while the surface slip stitch face applique reads clearly against the orange background. The tiny stuffed candy corn pieces dangling from the tie add pure charm, transforming a simple cape into a memorable costume.
Project Overview
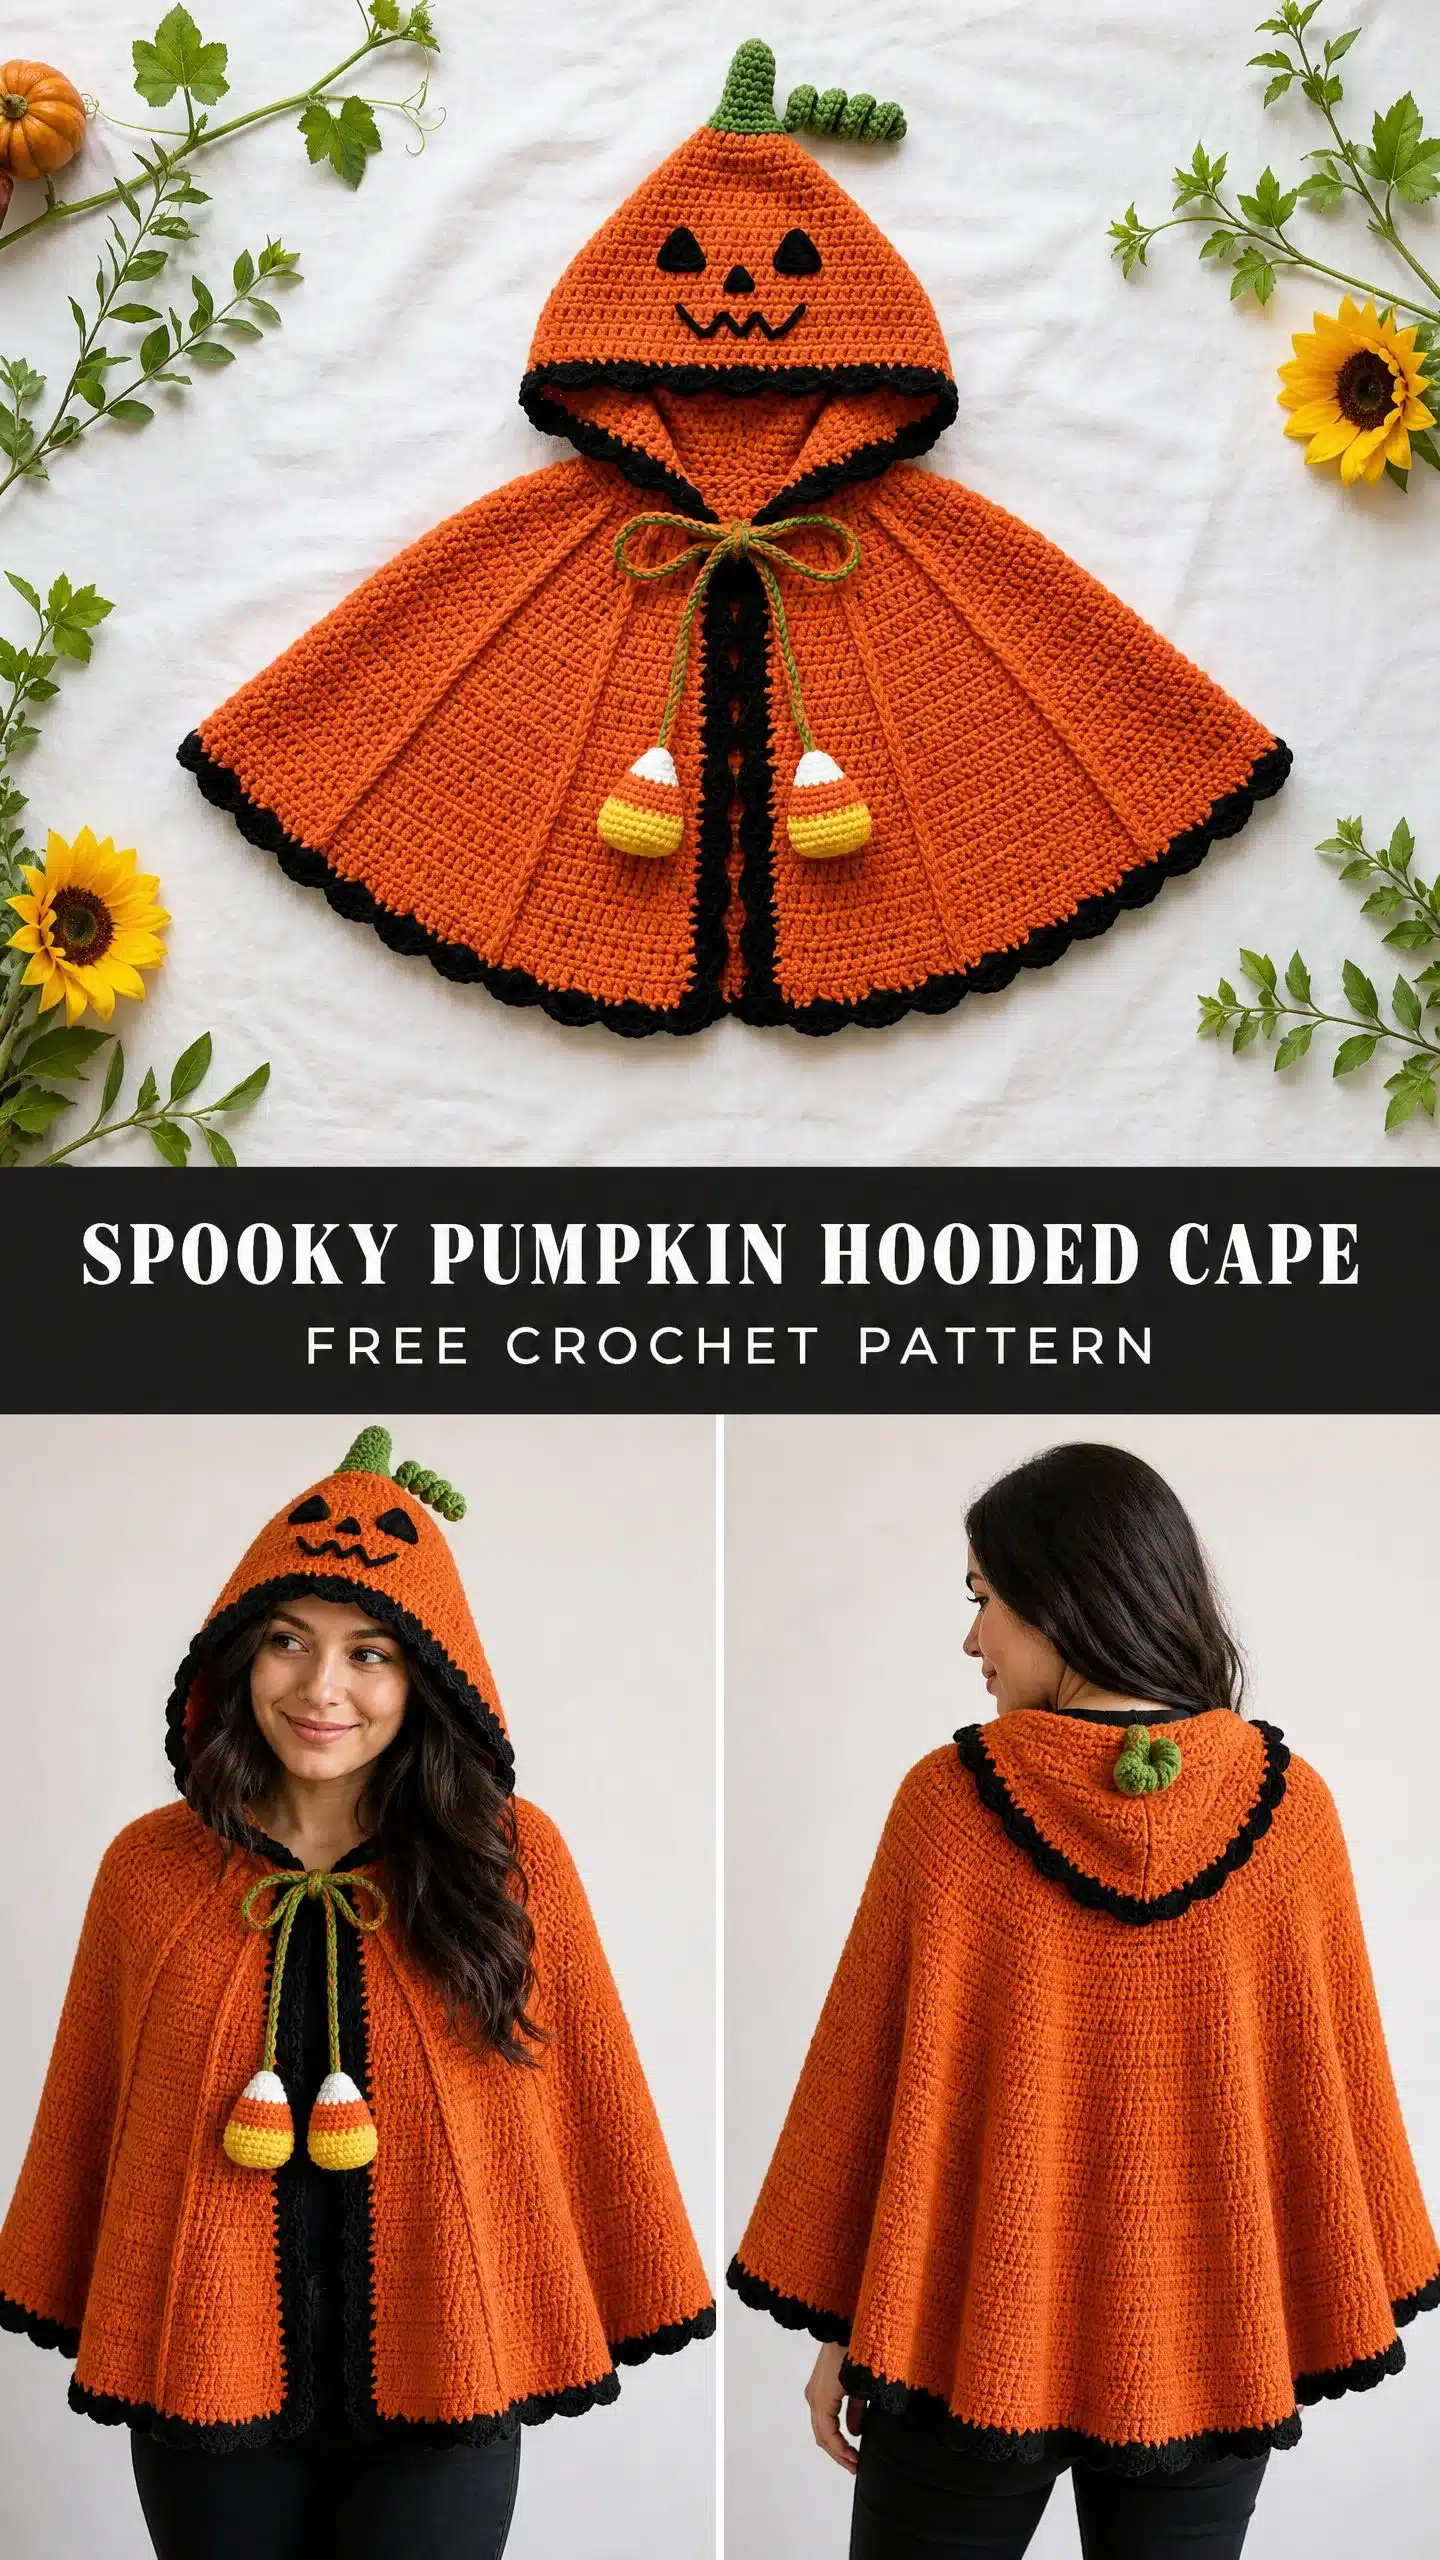
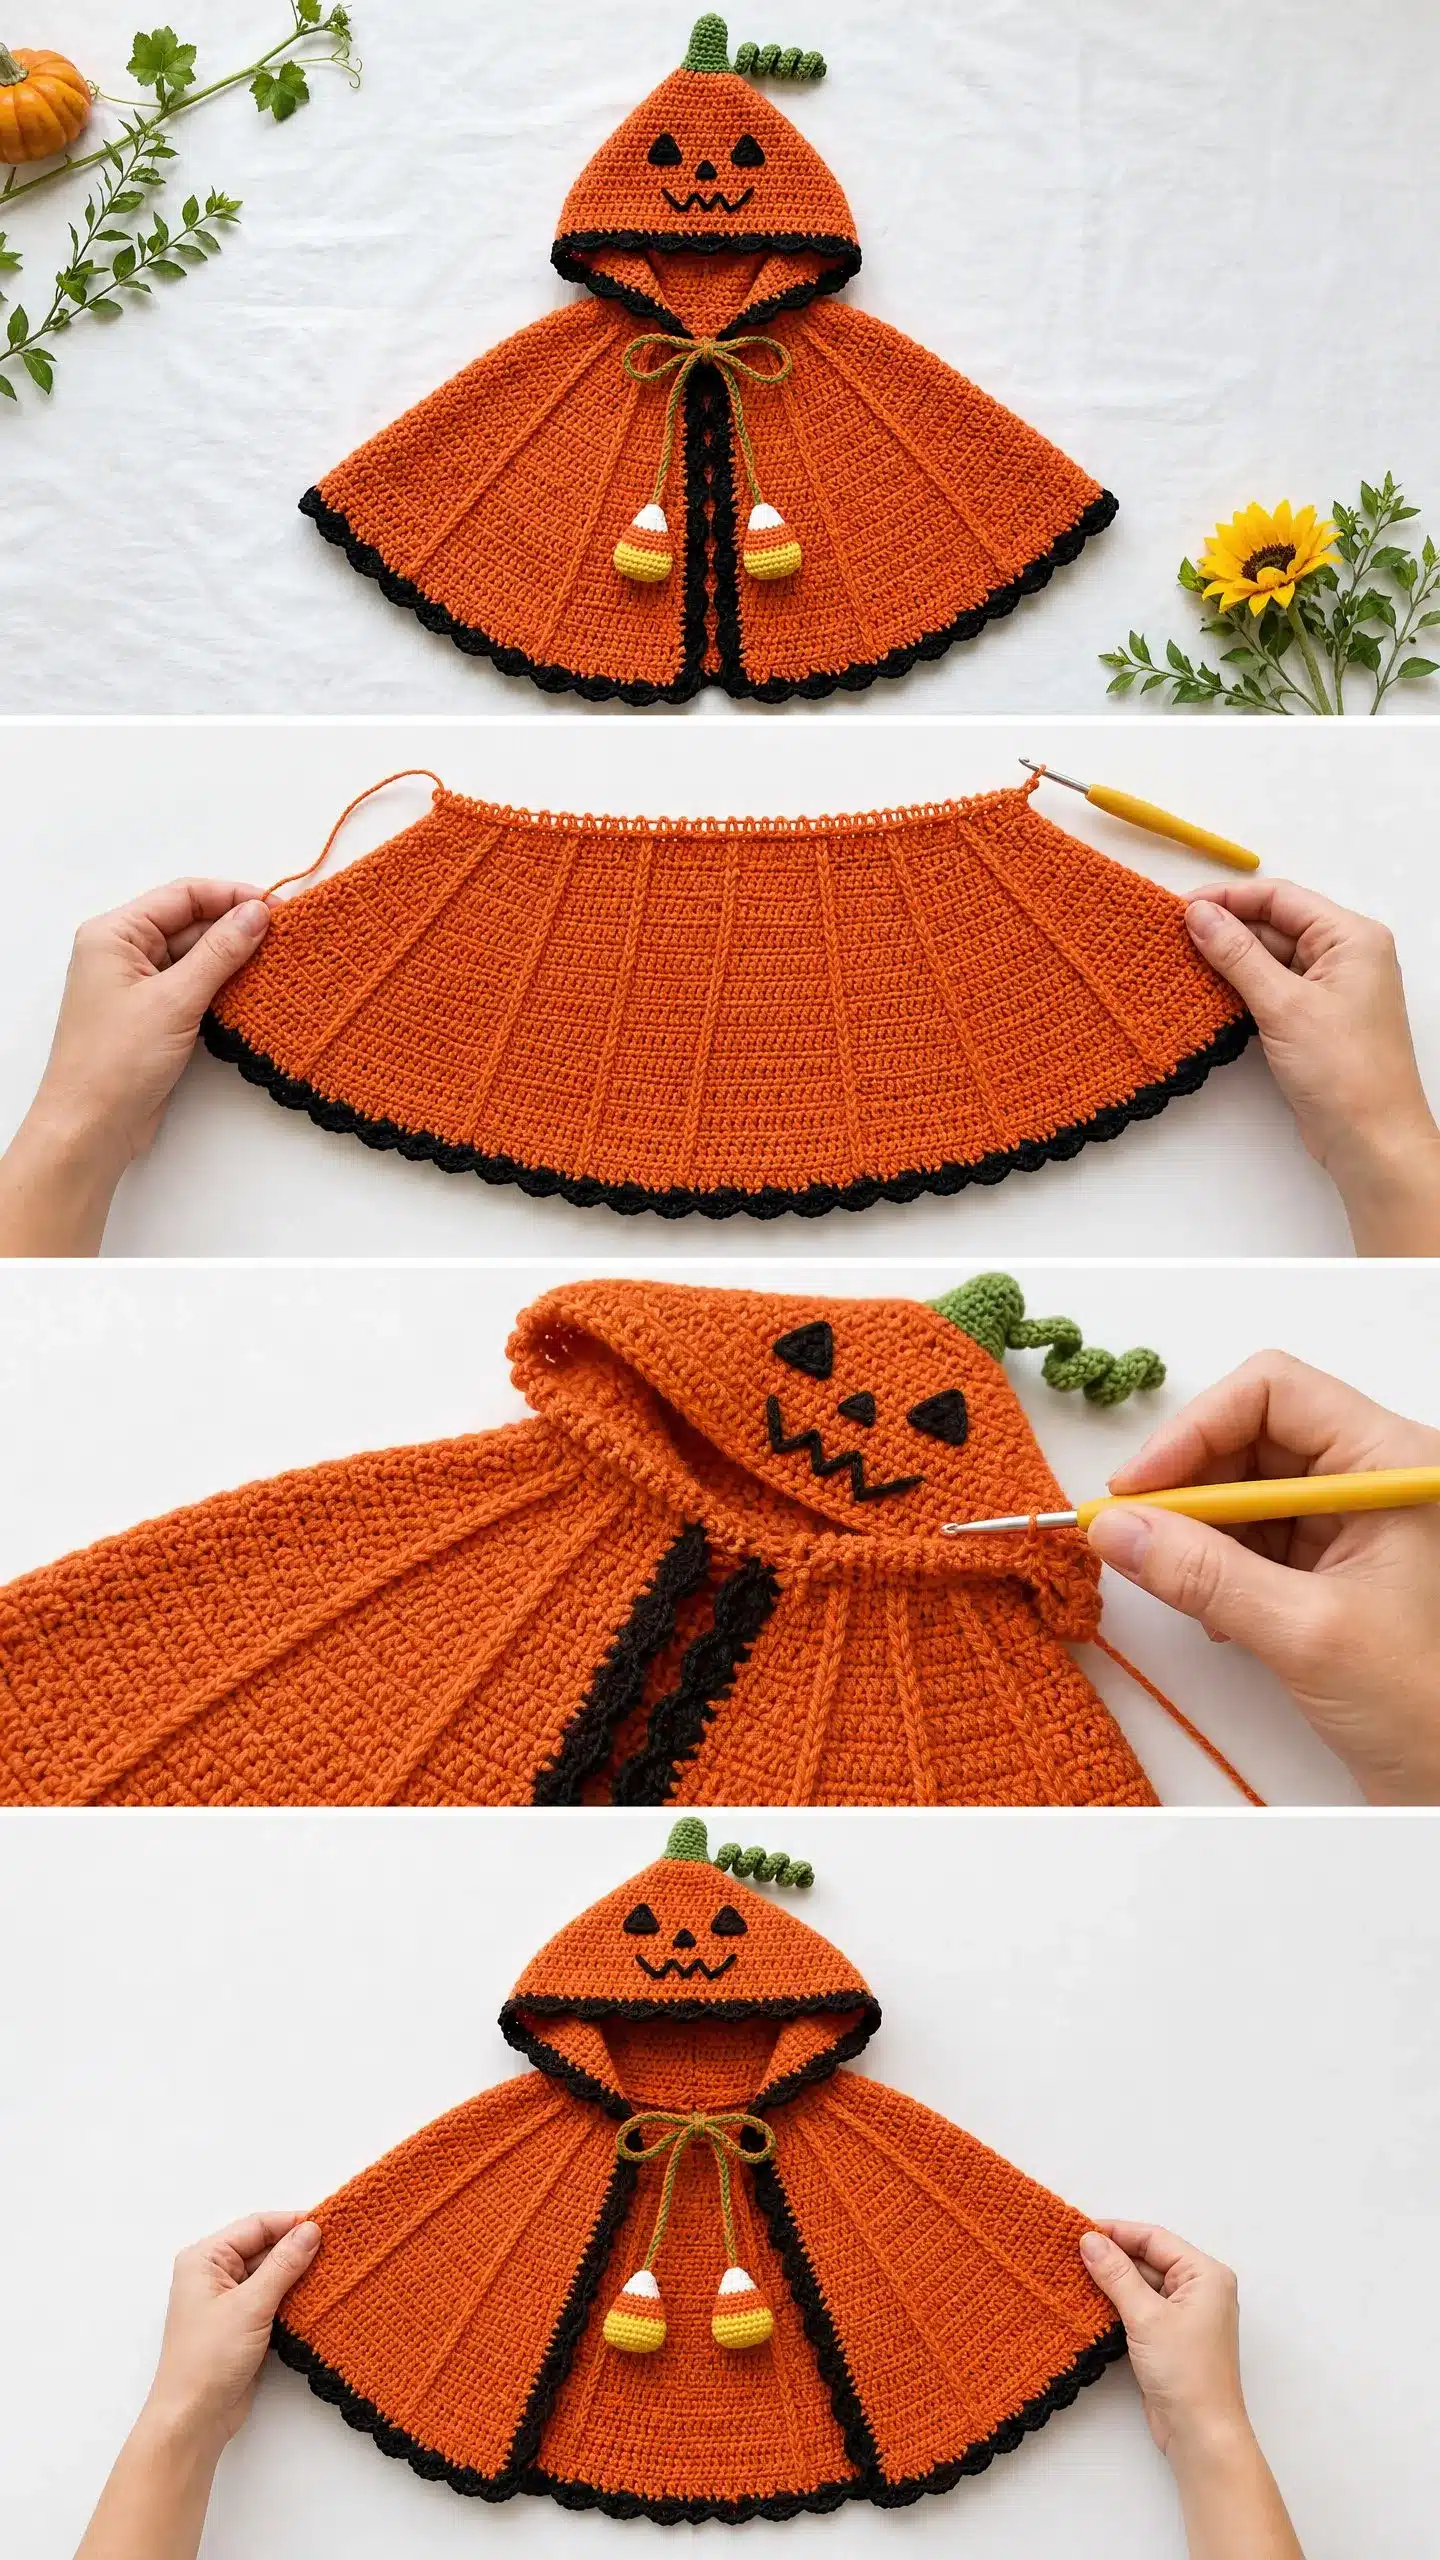
This hooded pumpkin cape is sized for toddlers, specifically fitting ages 2 to 4 years. It is constructed from the neck down, starting with a flat collar that is joined into a tube. The yoke expands through continuous rounds with increases at six points to create the circular shape. The hood is a separate cone worked from the tip down and seamed to the neckline. The project uses single crochet throughout, making it accessible for those who know the basic stitch, while the embellishments add the necessary texture and character.
Materials
Yarn
All yarns are worsted weight, Category 4. You will need:
- Yarn A (Pumpkin Orange): Approximately 700 yards / 640 m
- Yarn B (Black): Approximately 100 yards / 91 m
- Yarn C (Green): Approximately 60 yards / 55 m
- Yarn D (Yellow): Approximately 15 yards / 14 m
- Yarn E (White): Approximately 10 yards / 9 m
Recommended Brands: Lion Brand Pound of Love works beautifully for this project. It is machine washable, soft against children’s skin, and widely available. Caron Simply Soft gives a slightly softer drape if you prefer that look.
Tools
- US size J-10 / 6.0 mm crochet hook (for cape body and hood)
- US size I-9 / 5.5 mm crochet hook (for embellishments)
- Stitch markers (at least 6)
- Yarn needle
- Small amount of fiberfill stuffing
- Scissors
Gauge and Finished Size
Finished Size
This pattern fits size 2T to 4T (approximately ages 2 to 4 years).
- Neck circumference: approximately 10 in / 25.5 cm
- Cape length from neck to hem: approximately 12 in / 30.5 cm
- Hem circumference: approximately 60 in / 152.5 cm
- Hood height: approximately 9 in / 23 cm
- Hood opening: approximately 18 in / 45.5 cm
Gauge
With US J-10 / 6.0 mm hook and Yarn A in single crochet (sc) worked in continuous rounds:
- 14 sc = 4 in / 10 cm
- 14 rows = 4 in / 10 cm
To make a gauge swatch: Chain 18. Work sc across in rows for 18 rows. Block lightly and measure the center 4 in x 4 in section. Gauge matters here. Even one stitch per inch difference will change the neck circumference significantly. Please take time to swatch.
Abbreviations
- sc = single crochet (insert hook, yarn over, pull up a loop, yarn over, pull through both loops)
- ch = chain (yarn over, pull through loop on hook)
- sl st = slip stitch (insert hook, yarn over, pull through stitch and loop on hook in one motion)
- inc = increase (work 2 sc in the same stitch)
- inv dec = invisible decrease (insert hook into front loop only of next stitch, then front loop only of following stitch, yarn over and pull through both front loops, yarn over and pull through both loops on hook)
- MR = magic ring (make a loop with tail behind working yarn, insert hook through loop, yarn over and pull up a loop, chain 1, then work stitches into the ring)
- ss = surface slip stitch (hold yarn at wrong side, insert hook from front to back through fabric, yarn over and pull up a loop through fabric and through loop on hook)
- st(s) = stitch(es)
- rnd = round
- RS = right side
- WS = wrong side
Pattern Notes
The cape is worked in continuous rounds, meaning you do not join with a slip stitch at the end of each round. Instead, you work the first stitch of the new round into the first stitch of the previous round. Use stitch markers to keep track of your increases. The hood is worked separately and attached to the cape body. The face and embellishments are added after the main construction is complete.
Pattern Instructions
Section 1: Cape Body
The cape begins at the neckline with rows that form a collar, then joins to work in rounds from the neck down.
Foundation and Collar (worked flat)
With Yarn A and J-10 hook, chain 44.
Row 1 (RS): Sc in 2nd ch from hook and in each ch across. Turn. (43 sc)
Rows 2 through 6: Ch 1, sc in each st across. Turn. (43 sc)
At the end of Row 6, do not turn. Fold so the right side faces out and slip stitch the short ends together to form a tube. This creates your neck opening with a gap at center front.
Yoke Setup Round
With RS facing, join Yarn A at center back bottom edge with a slip stitch.
Setup Rnd: Work 43 sc evenly around the bottom edge of the collar tube. Place stitch markers at stitches 1, 8, 15, 22, 29, and 36. These mark your 6 increase columns. (43 sc)
Yoke Increase Rounds
Work in continuous rounds. At each marked stitch, work 2 sc (increase). Work 1 sc in all other stitches.
Rnd 1 (inc rnd): (Sc in each st to marked st, 2 sc in marked st) 6 times, sc in any remaining sts. (49 sc)
Rnd 2: Sc in each st around. (49 sc)
Rnd 3 (inc rnd): (Sc in each st to marked st, 2 sc in marked st) 6 times, sc in any remaining sts. (55 sc)
Rnd 4: Sc in each st around. (55 sc)
Continue this pattern of alternating one increase round with one plain round. Each increase round adds 6 stitches.
Rnd 5: Inc rnd. (61 sc)
Rnd 6: Plain. (61 sc)
Rnd 7: Inc rnd. (67 sc)
Rnd 8: Plain. (67 sc)
Rnd 9: Inc rnd. (73 sc)
Rnd 10: Plain. (73 sc)
Rnd 11: Inc rnd. (79 sc)
Rnd 12: Plain. (79 sc)
Rnd 13: Inc rnd. (85 sc)
Rnd 14: Plain. (85 sc)
Rnd 15: Inc rnd. (91 sc)
Rnd 16: Plain. (91 sc)
Rnd 17: Inc rnd. (97 sc)
Rnd 18: Plain. (97 sc)
Rnd 19: Inc rnd. (103 sc)
Rnd 20: Plain. (103 sc)
Rnd 21: Inc rnd. (109 sc)
Rnd 22: Plain. (109 sc)
Rnd 23: Inc rnd. (115 sc)
Rnd 24: Plain. (115 sc)
Rnd 25: Inc rnd. (121 sc)
Rnd 26: Plain. (121 sc)
Rnd 27: Inc rnd. (127 sc)
Rnd 28: Plain. (127 sc)
Rnd 29: Inc rnd. (133 sc)
Rnd 30: Plain. (133 sc)
Rnd 31: Inc rnd. (139 sc)
Rnd 32: Plain. (139 sc)
Rnd 33: Inc rnd. (145 sc)
Rnd 34: Plain. (145 sc)
Rnd 35: Inc rnd. (151 sc)
Rnd 36: Plain. (151 sc)
Rnd 37: Inc rnd. (157 sc)
Rnd 38: Plain. (157 sc)
Rnd 39: Inc rnd. (163 sc)
Rnd 40: Plain. (163 sc)
Rnd 41: Inc rnd. (169 sc)
Rnd 42: Plain. (169 sc)
Rnd 43: Inc rnd. (175 sc)
Rnd 44: Sc in each st around. (175 sc)
Sl st in next st. Fasten off Yarn A.
Cape Hem Border
Join Yarn B at the left front edge at the hem with a standing sc.
Rnd 1: Sc in each st around entire hem. (175 sc)
Rnd 2 (picot edge): (Sc in next st, ch 3, sl st in first ch of ch-3, sc in next st) repeat around entire hem. Fasten off.
Front Edge Trim
With Yarn B, work surface slip stitches up the right front edge from hem to collar, then down the left front edge. Work 1 surface slip stitch per row end. Fasten off.
Section 2: Hood
The hood is a cone worked from the tip down.
With Yarn A and J-10 hook, make a MR.
Rnd 1: 6 sc in MR. Pull ring closed. (6 sc)
Section 3: Stem and Tendril
Using Yarn C (green), create a twisted cord. Cut 6 strands, each 60 in / 152.5 cm long. Hold all strands together and knot one end. Secure the knotted end to something stable. Twist all strands in one direction until tightly twisted and kinky. Fold in half, hold both ends together, and let the cord twist back on itself. Knot both ends. The finished cord is approximately 14 in / 35.5 cm long.
Section 4: Jack-o-Lantern Face
Using Yarn B (black) and the surface slip stitch technique, create the face details on the hood. Hold yarn at the wrong side, insert hook from front to back through fabric, yarn over and pull up a loop through fabric and through loop on hook. Work the eyes, nose, and mouth as desired.
Section 5: Candy Corn (make 2)
Using Yarn D (yellow) and Yarn E (white), create small amigurumi candy corn shapes. Stuff lightly with fiberfill.
Section 6: Final Assembly
Attach the hood to the neckline of the cape. Make the twisted cord with Yarn C. Attach one candy corn to each end with the white tip facing up. Thread the cord through the front opening at collar level and tack the center in place. Tie in a bow.
Assembly
Make the twisted cord with Yarn C. Attach one candy corn to each end with the white tip facing up. Thread the cord through the front opening at collar level and tack the center in place. Tie in a bow.
Tips
- For 12M to 18M: Start with chain 38. Work yoke increases to approximately 133 stitches (stop around Round 33). Cape length will be about 9.5 in.
- For 5T to 6T: Start with chain 50. Continue increases to approximately 211 stitches. Cape length will be about 15 in.
- Adjust the hood: Add or remove 2 increase rounds to match the new collar size.
Care Instructions
Machine wash on gentle cycle in cool water. Lay flat to dry. Do not tumble dry on high heat or iron directly on the embellishments.
FAQs
Can I make this cape for an older child?
Yes, you can adjust the size. For ages 5T to 6T, start with a chain of 50 and continue increases to approximately 211 stitches. This will result in a cape length of about 15 inches.
What if my gauge is slightly off?
Gauge is critical for this pattern because it determines the neck circumference. Even a difference of one stitch per inch can make the cape too tight or too loose. Please take time to swatch and adjust your hook size if necessary before starting the collar.
How do I make the twisted cord for the tie?
Cut 6 strands of green yarn, each 60 inches long. Hold them together, knot one end, and twist the strands tightly in one direction. Fold the cord in half and let it twist back on itself to create a sturdy, decorative cord.
Is this pattern suitable for beginners?
This is considered an intermediate project. While the stitches are simple, it requires working in continuous rounds, managing increases, and assembling multiple components. A confident beginner with experience in basic amigurumi can tackle it.
How do I attach the hood?
The hood is worked separately as a cone. Once completed, it is seamed to the neckline of the cape body. Ensure the hood is centered at the back of the neck before sewing.
Pin This Crochet Pattern!