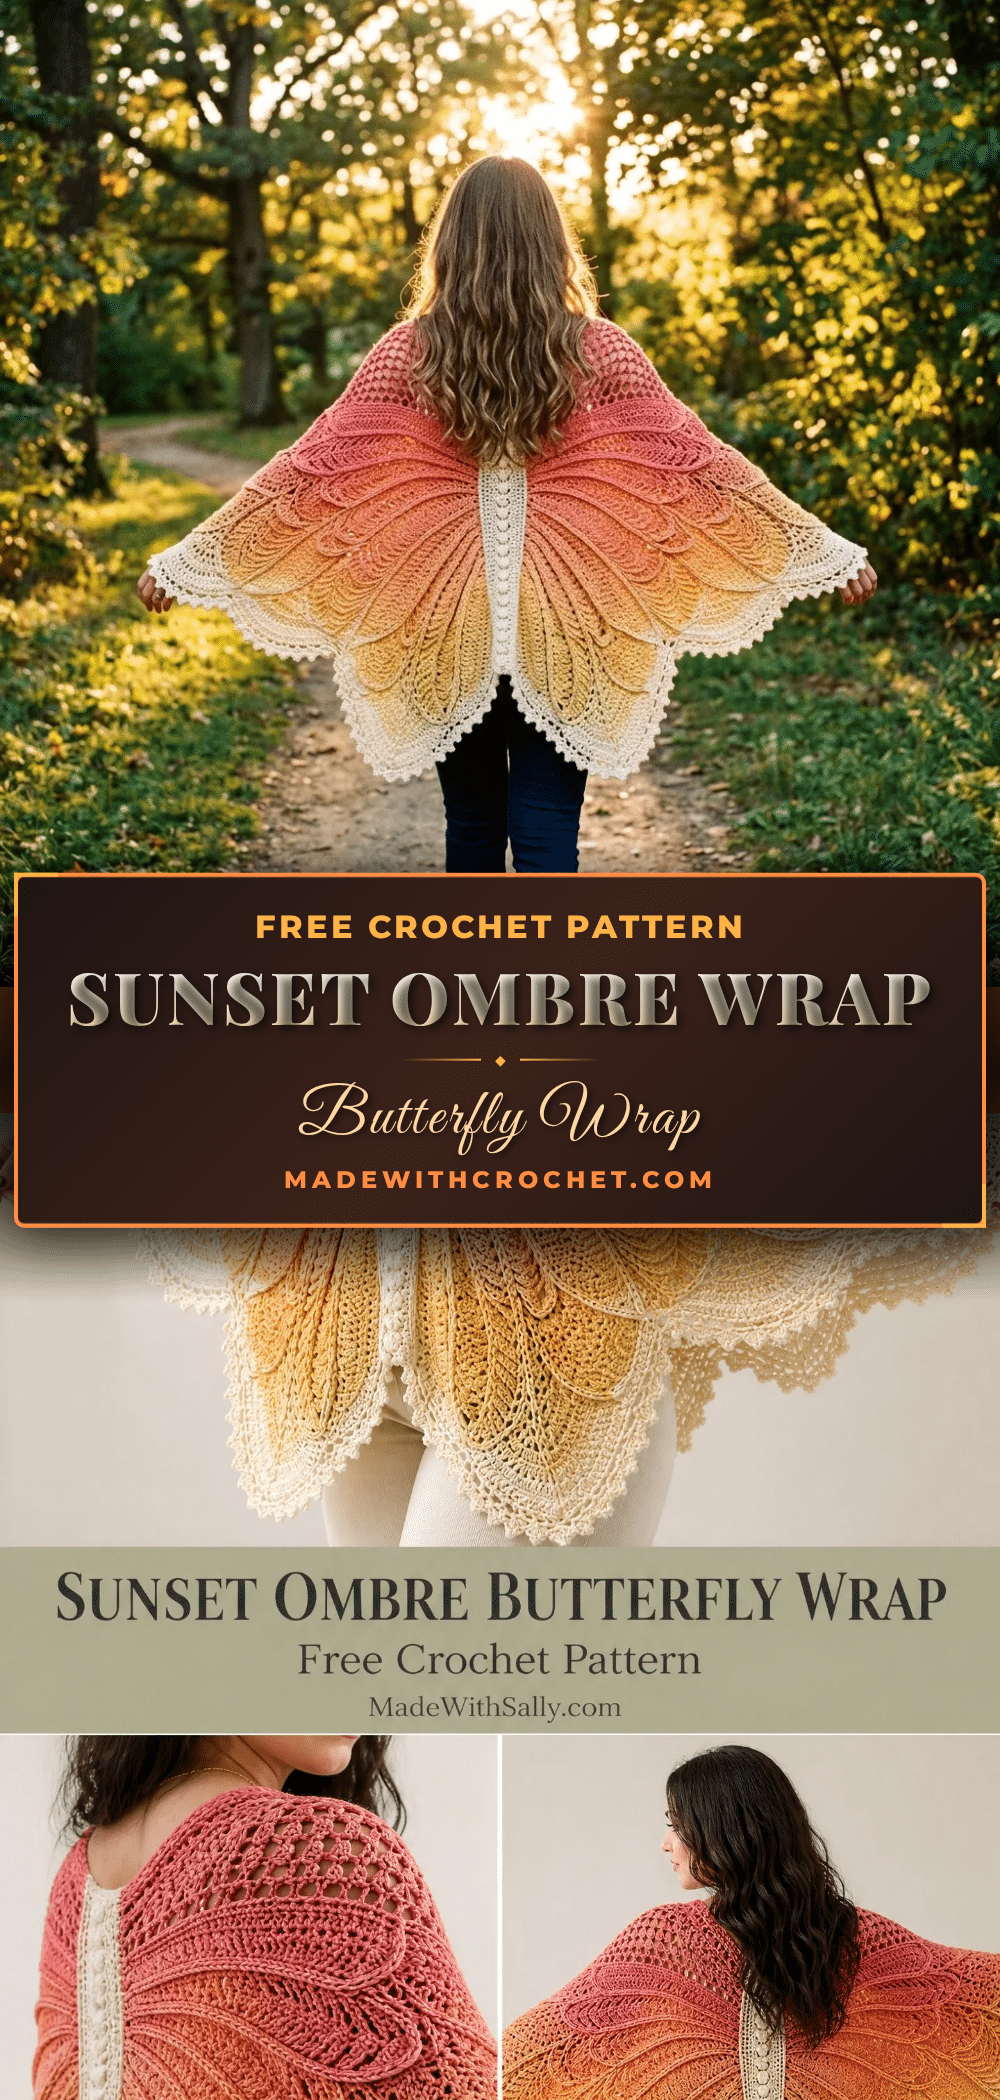
Looking for a crochet project that doubles as a stunning gift, a statement piece for your own wardrobe, or a standout item for your market table? The Cozy Sunset Ombre Butterfly Wrap is exactly that. This wearable art piece drapes from your shoulders and fans open into two symmetrical wing panels, creating a dramatic silhouette that’s sure to turn heads. The gradient color shift from deep rose through coral, peach, golden yellow, and cream creates a sunset effect that looks far more complicated than it actually is. Best of all, the construction is top-down and seamless, making it a rewarding project for advanced intermediate crocheters.
Our Touch: Gift and Use Ideas
This wrap is a versatile handmade treasure. It makes an unforgettable gift for a birthday, anniversary, or holiday—especially for someone who loves bold, artistic accessories. It’s also a perfect piece for a craft fair or online shop, where its dramatic wings and ombre colors will draw immediate attention. Wear it as a cozy layer over a simple dress or jeans and a tee for an instant style upgrade. The open lacework and soft drape make it ideal for cool summer evenings or transitional weather. Because it’s worked in one piece with no seaming, it’s a project you can truly be proud to give or keep.
Project Overview
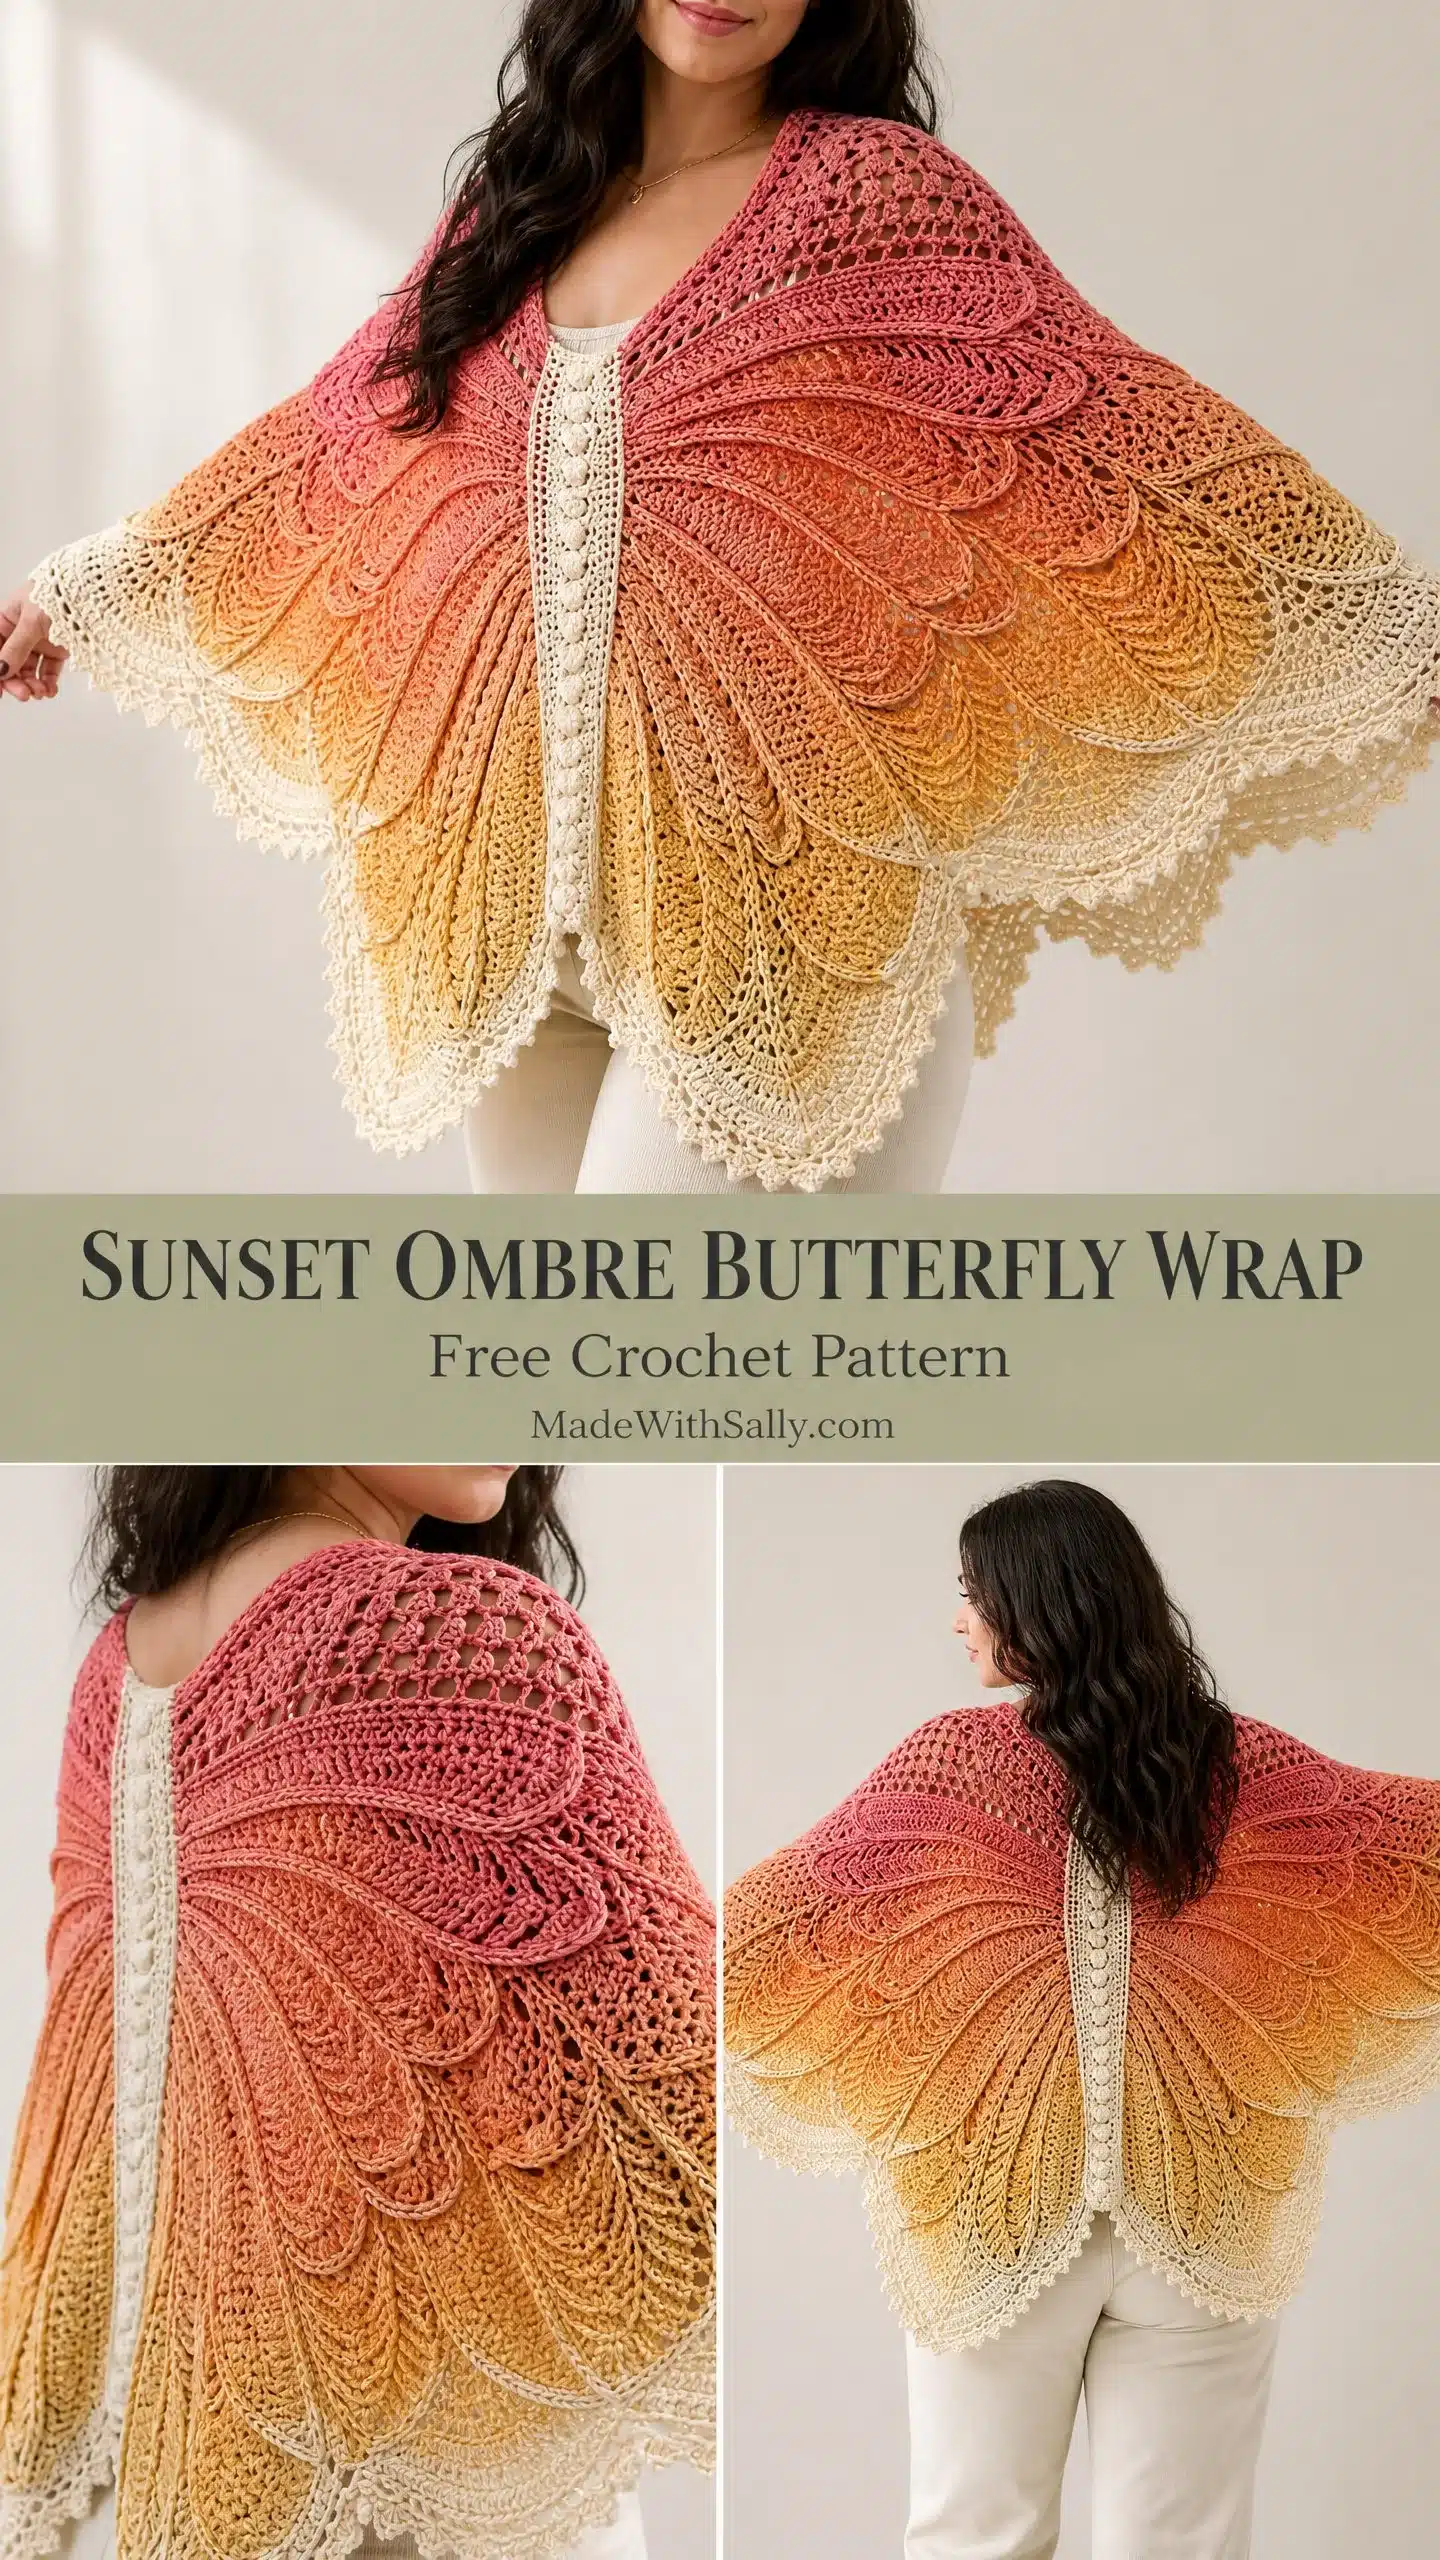
This wearable art piece drapes from your shoulders and fans open into two symmetrical wing panels on each side. The radiating stitch motifs create a layered, petal-like texture that’s visible from both front and back. A central spine of decorative picots runs vertically down the back center, dividing the two wings beautifully. The wrap works up in DK weight yarn with a gorgeous gradient colorway. You can use a single gradient cake for seamless color transitions, or work with five separate skeins if you prefer more control over the color placement.
Skill Level: Advanced intermediate. You’ll need familiarity with working long foundation rows, managing large stitch counts, and executing the feather and fan stitch repeat consistently. If you’re comfortable with lace shawls and top-down garment construction, you can absolutely tackle this within a weekend to two weeks.
Time Estimate: Approximately 20 to 35 hours total, depending on your working speed.
Materials
- Yarn: Approximately 1200 to 1400 yards (1097 to 1280 meters) of DK weight yarn (CYCA 3 Light) in a gradient colorway. If working with a single gradient cake, look for approximately 1300 yards. If working with separate skeins, you’ll need:
- Color A (Deep Rose): approximately 200 yards (183 meters)
- Color B (Coral): approximately 250 yards (229 meters)
- Color C (Peach): approximately 250 yards (229 meters)
- Color D (Golden Yellow): approximately 250 yards (229 meters)
- Color E (Cream): approximately 300 yards (274 meters), includes border
- Hooks:
- US Size G-6 / 4.0 mm (primary hook for body)
- US Size F-5 / 3.75 mm (optional, for tighter tension on neckline rows)
- Additional materials:
- Tapestry needle for weaving ends
- Rust-proof blocking pins (at least 50 recommended)
- Blocking mats or foam boards
- 6 locking stitch markers
- Scissors
Yarn Suggestions
- Paintbox Yarns Simply DK in a gradient set (Rose, Coral, Peach, Banana Cream, Paper White). This is 100 percent acrylic with excellent stitch definition. Each skein is 137 yards, so purchase 2 skeins of each color.
- WeCrochet Chroma DK comes in gradient cake format with approximately 1260 yards per cake. The 70 percent superwash wool and 30 percent nylon blend blocks beautifully. One cake in a sunset colorway is sufficient.
- Lion Brand Pound of Love in coordinated tones (Dusty Pink, Peach, Banana, Vanilla) offers 1020 yards per skein. It’s 100 percent premium acrylic and machine washable.
Avoid very fuzzy or heavily textured yarns. They’ll obscure the beautiful feather and fan detail you’re working so hard to create.
Gauge and Finished Size
Gauge: 18 stitches and 10 rows = 4 inches (10 cm) in the feather and fan pattern, blocked, using US G-6 / 4.0 mm hook and DK weight yarn. To make a gauge swatch, chain 40 and work the feather and fan stitch pattern for 14 rows. Fasten off, wet block the swatch, and measure the center 4 inches once dry. Gauge matters here. Going up half a hook size adds approximately 4 to 6 inches to your wingspan.
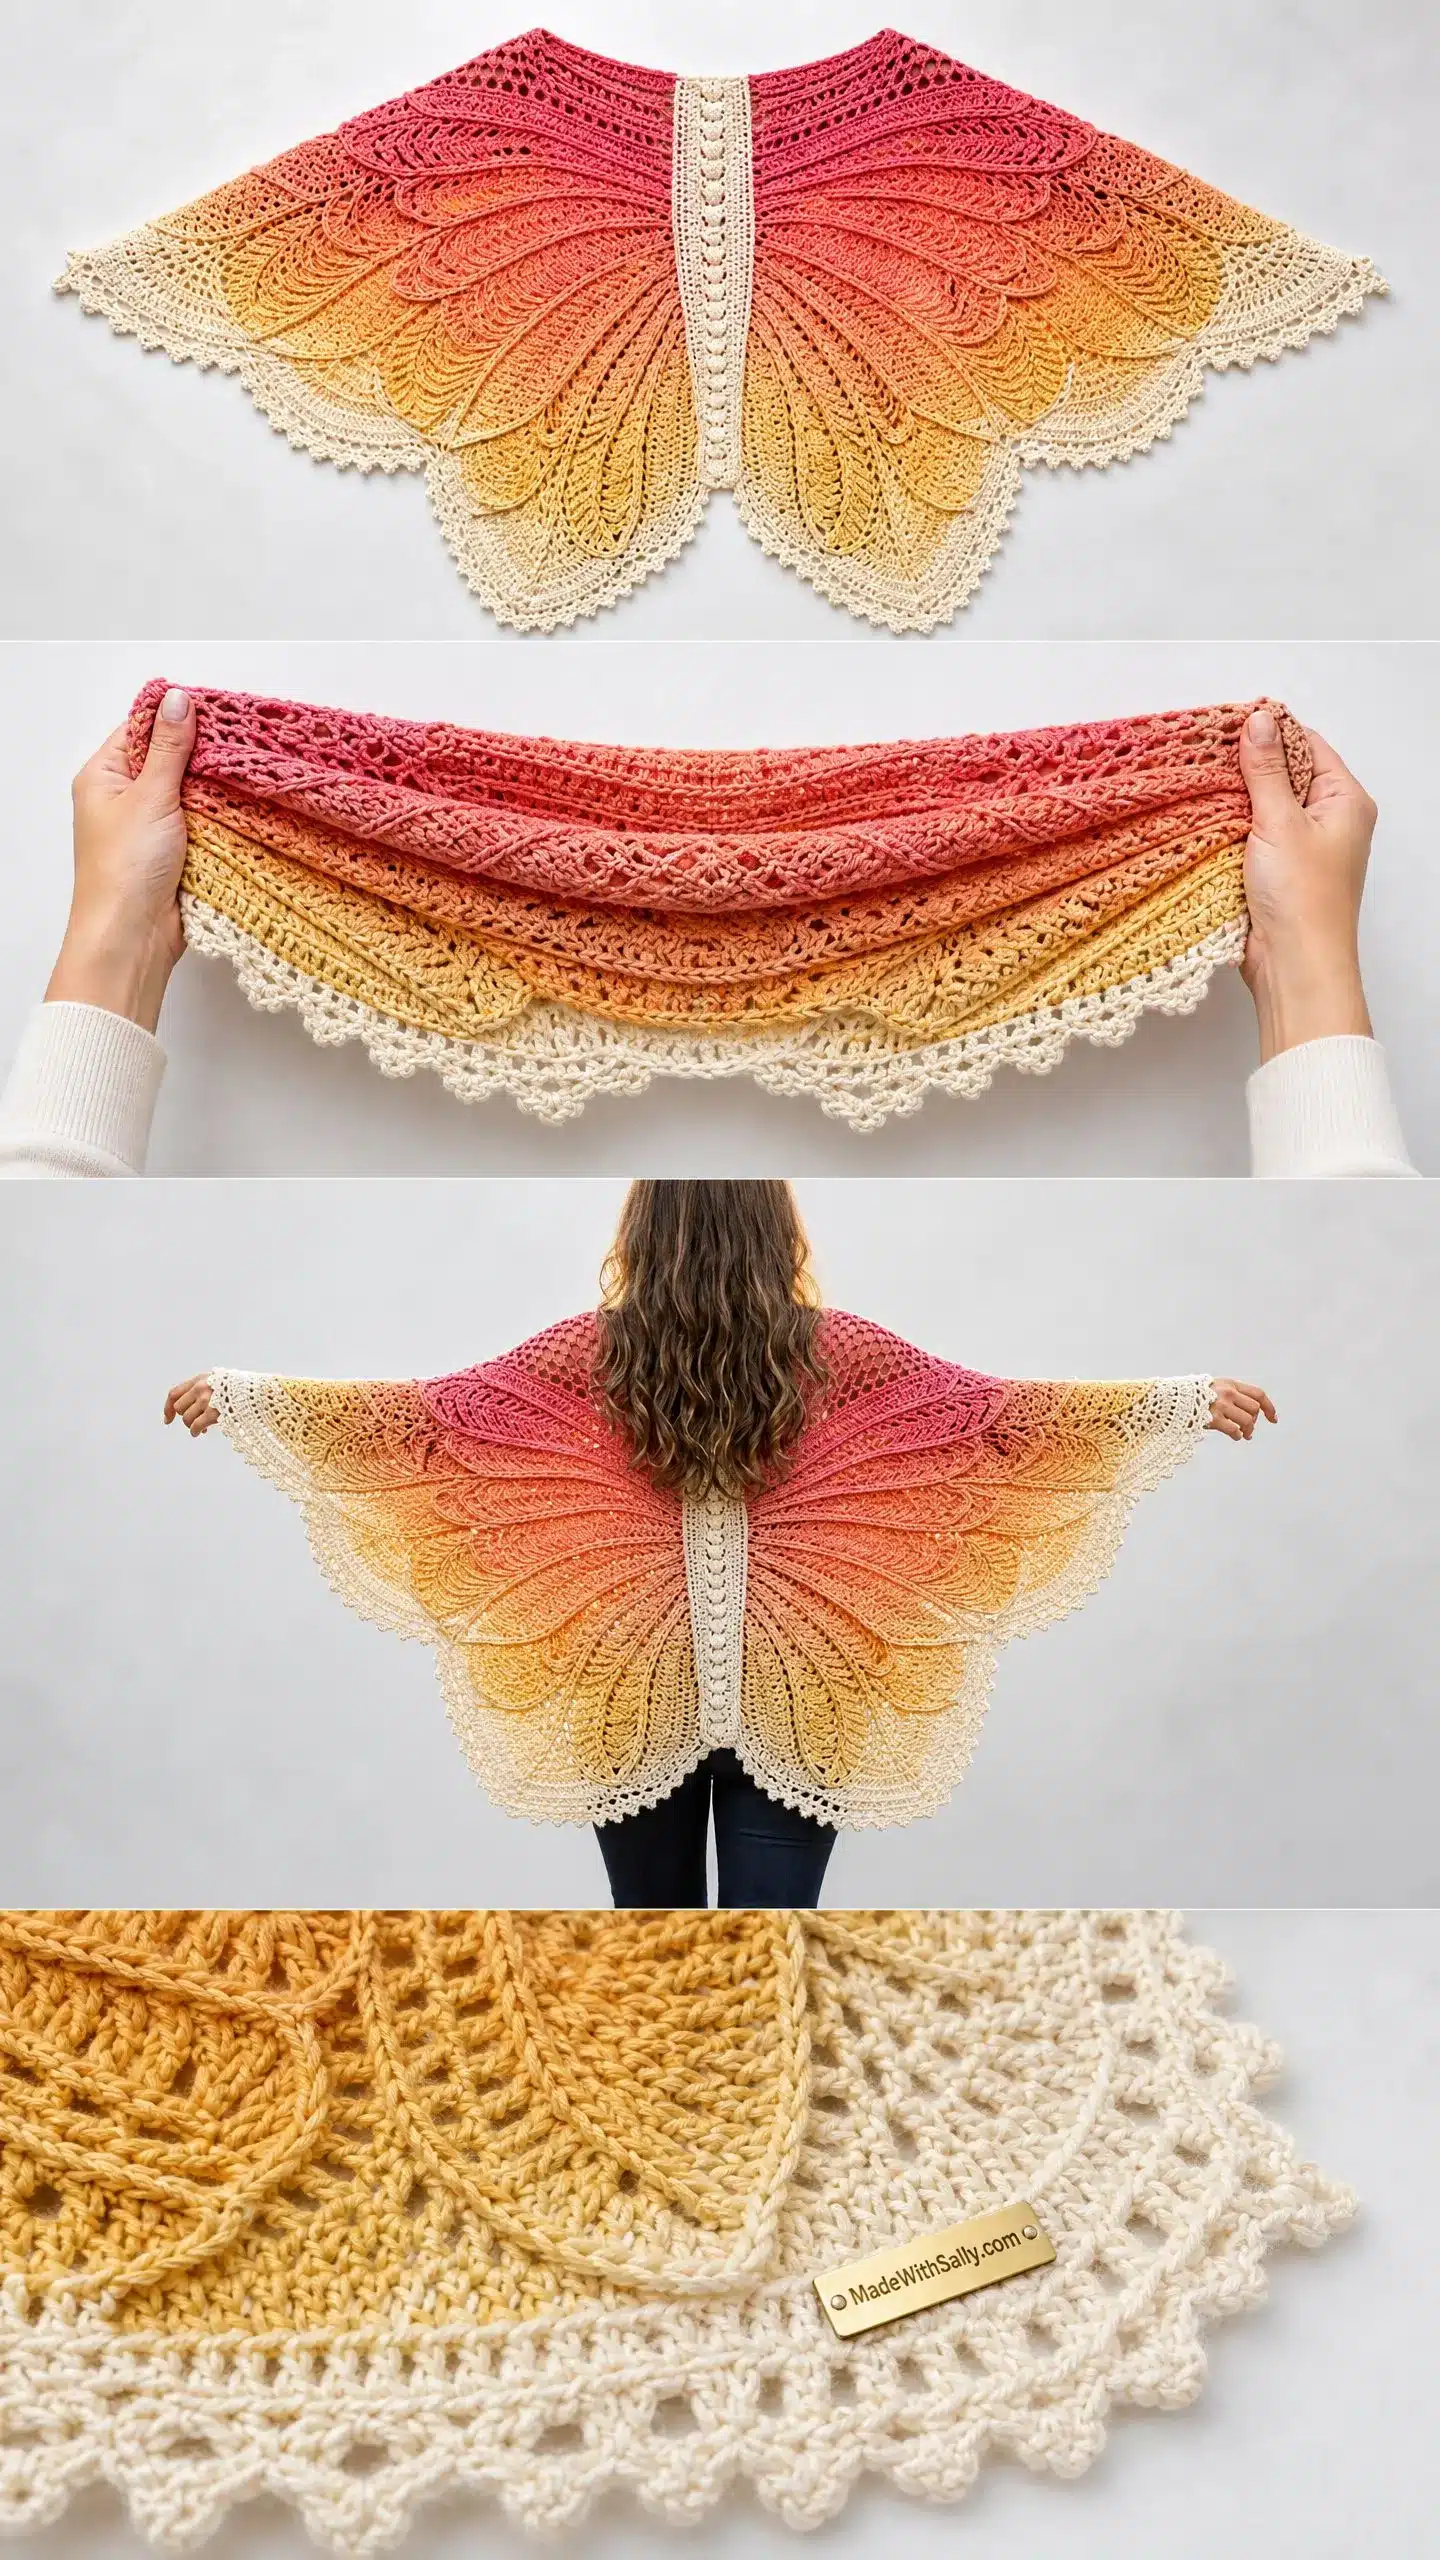
Finished Size (blocked): Wingspan stretches approximately 68 inches (173 cm) from tip to tip. Length from the top of the neckline to the hem at center back measures approximately 28 inches (71 cm).
Abbreviations
- beg: beginning
- ch: chain
- ch-sp: chain space
- dc: double crochet
- dec: decrease
- dec-cl: decrease cluster (3 dc worked together into 3 consecutive stitches)
- hdc: half double crochet
- inc: increase
- lp(s): loop(s)
- rem: remaining
- rep: repeat
- RS: right side
- sc: single crochet
- sk: skip
- sl st: slip stitch
- sp(s): space(s)
- st(s): stitch(es)
- t-ch: turning chain
- tog: together
- tr: treble crochet
- WS: wrong side
- yo: yarn over
Special Stitches
Feather and Fan Unit
This stitch creates the radiating petal appearance that defines the entire wrap. It’s worked over a multiple of 18 stitches plus 2 edge stitches.
- Step 1: Work a 3-dc cluster over the next 3 stitches: yo, insert hook in next st, yo, pull up a loop, yo, pull through 2 loops. Repeat this in the next 2 stitches, then yo and pull through all 4 loops on hook. This is your decrease portion.
- Step 2: Ch 2, skip 0 stitches (the cluster sits over the base stitches), dc in next stitch.
- Step 3: (dc in next st, ch 1) 5 times, dc in next st. This is the fan or increase portion that creates the beautiful open lattice.
- Step 4: Work another 3-dc cluster over the next 3 stitches to close the fan.
Picot
Ch 3, sl st in the 3rd chain from hook. This creates a small decorative knot used in the border and along the center spine.
Shell
(dc, ch 1, dc, ch 1, dc) all in the same stitch or space. Used in the border edging.
V-Stitch (V-st)
(dc, ch 2, dc) all in the same stitch or space. Used in the yoke mesh section.
Increase Fan (inc-fan)
Work (dc, ch 1) 5 times then dc all into the same stitch or space. That’s 6 dc total with 5 ch-1 spaces between them.
Pattern Notes
Read through these before starting. Trust me, it’ll save you from frogging later.
- The wrap is worked from the top down, beginning at the center back neckline.
- Four increase points are maintained throughout: the far left edge, the junction between the left wing and center spine, the junction between the right wing and center spine, and the far right edge. You’ll add 8 stitches every RS row (2 at each point).
- The center spine runs vertically from neckline to hem and visually separates the two wings.
- The yoke (approximately the first 10 rows) uses a V-stitch mesh pattern for the open lacework at the shoulder area.
- The main body (rows 11 through 56) uses the feather and fan pattern.
- Color transitions if using separate skeins:
- Color A (Rose): Rows 1 through 10
- Color B (Coral): Rows 11 through 22
- Color C (Peach): Rows 23 through 34
- Color D (Golden Yellow): Rows 35 through 46
- Color E (Cream): Rows 47 through 56 plus all border rows
To change color, work the last stitch until 2 loops remain on hook, then draw the new color through both loops.
- WS rows are worked even with no increases.
- Place stitch markers at all four increase points and move them up as you work.
- All rows are turned at the end. Ch 3 counts as first dc throughout.
Pattern Instructions
Yoke Section (Rows 1 through 10, Color A)
Foundation: With Color A and G-6 hook, chain 78.
Row 1 (RS): Dc in 4th ch from hook (ch-3 counts as first dc). Dc in each ch across. Turn. (76 dc)
Row 2 (WS): Ch 3 (counts as dc), dc in next 2 sts, ch 2, sk 2 sts, (V-st in next st, ch 1, sk 2 sts) 23 times, V-st in next st, ch 2, sk 2 sts, dc in last 3 sts. Turn. (24 V-sts, plus 6 edge dc) Place stitch markers in the four increase points: the first and last dc of the row, and the two V-sts that will form the center spine junctions.
Continue working the yoke section following the established V-stitch mesh pattern, increasing at the four marked points on every RS row. Work WS rows even with no increases. Complete through Row 10.
Body Section (Rows 11 through 56, Colors B through E)
Now we introduce the feather and fan pattern. The stitch repeat is 18 stitches, and at row 11 your 108-stitch count divides evenly into 6 complete repeats.
Row 11 (RS, Color B): Ch 3 (counts as dc). Edge: dc in first 2 sts. Feather and fan sequence: (dec-cl over next 3 sts, ch 2, dc in next st, (ch 1, dc in next st) 5 times, ch 2, dec-cl over next 3 sts) 5 times, dec-cl over next 3 sts, ch 2, dc in next st, (ch 1, dc in next st) 5 times, ch 2, dec-cl over next 3 sts. Edge: dc in last 2 sts. At the two center-spine markers, work an additional (ch 2, dc, ch 2) cluster. At the two edge markers, work 2 dc instead of the standard dec-cl. (116 sts)
Row 12 (WS): Ch 3, dc in each st and ch-1 sp across. Do not dc into the larger ch-2 spaces at spine junctions; instead ch 2 over those. (116 sts)
Continue the feather and fan pattern with increases at 4 marked positions on every RS row:
- Rows 13-22: Continue pattern as established. Checkpoint after Row 22: Piece should measure approximately 10 to 11 inches (25 to 28 cm) from neckline. Wingspan should be approximately 35 inches (89 cm).
- Rows 23-34 (Color C): Checkpoint after Row 34: Piece should measure approximately 15 to 16 inches (38 to 41 cm). Wingspan should be approximately 46 inches (117 cm).
- Rows 35-46 (Color D): Checkpoint after Row 46: Piece should measure approximately 21 to 22 inches (53 to 56 cm). Wingspan should be approximately 57 inches (145 cm).
- Rows 47-56 (Color E): Final checkpoint: Piece should measure approximately 27 to 28 inches (69 to 71 cm) from neckline. Wingspan should be approximately 65 to 66 inches (165 to 168 cm) before border.
Border
Work the border using Color E (Cream) and the G-6 hook. The border includes a picot edging and a center spine picot column. Follow your preferred edging pattern to finish the wrap.
Assembly
Weave in all yarn ends securely, at least 2 inches in one direction then back. Trim close.
Wet blocking is strongly recommended:
- Submerge the wrap in cool water with gentle wool wash. Press gently to saturate. Do not wring.
- Roll in a clean dry towel and press firmly to remove excess water.
- Lay on blocking mats, RS up. Pin the center neckline first, then the two front edges. Pin the wingtips out to the full 68-inch span. Pin the hem edge, gently stretching the scallops.
- Allow to dry completely, 12 to 24 hours.
- Remove pins. Your feather and fan pattern should now be fully open and gorgeous.
Tips
- To make smaller: Work fewer body rows, stopping when you reach desired length. Each pair of rows adds approximately 0.5 inch (1.3 cm) in length and 0.9 inch (2.3 cm) in wingspan.
- To make larger: Continue feather and fan rows beyond Row 56. Budget approximately 50 additional yards per color section.
- To adjust width: Increase the starting foundation chain by a multiple of 18 for each additional feather and fan repeat.
Care Instructions
- For superwash wool or wool-blend: Hand wash in cool water with gentle wool wash. Lay flat to dry.
- For acrylic or acrylic blend: Machine wash on gentle cycle in a mesh bag. Tumble dry on low or lay flat.
- Do not hang to dry. Do not iron directly. Store folded flat or rolled.
Frequently Asked Questions
What skill level is needed for this pattern?
This pattern is rated advanced intermediate. You should be comfortable with long foundation rows, managing large stitch counts, and executing the feather and fan stitch repeat consistently. Experience with lace shawls and top-down construction is helpful.
Can I use a single gradient cake instead of separate skeins?
Yes, absolutely. If using a single gradient cake, look for one with approximately 1300 yards. This will give you a seamless color transition without needing to change yarns.
How do I adjust the size of the wrap?
To make it smaller, work fewer body rows (each pair adds about 0.5 inch in length and 0.9 inch in wingspan). To make it larger, continue the feather and fan pattern beyond Row 56, budgeting about 50 additional yards per color section. To adjust width, increase the starting foundation chain by a multiple of 18.
What type of yarn works best for this pattern?
DK weight yarn with good stitch definition is ideal. Avoid very fuzzy or heavily textured yarns, as they will obscure the feather and fan detail. Acrylic, superwash wool, or wool-blend yarns all work well.
Is blocking really necessary?
Yes, wet blocking is strongly recommended. It opens up the feather and fan pattern, evens out the stitches, and helps the wrap achieve its full wingspan and drape. Without blocking, the lacework will not look as defined.
How do I care for the finished wrap?
For superwash wool or wool-blend, hand wash in cool water with gentle wool wash and lay flat to dry. For acrylic, machine wash on gentle cycle in a mesh bag and tumble dry on low or lay flat. Never hang to dry or iron directly.
Pin This Crochet Pattern!