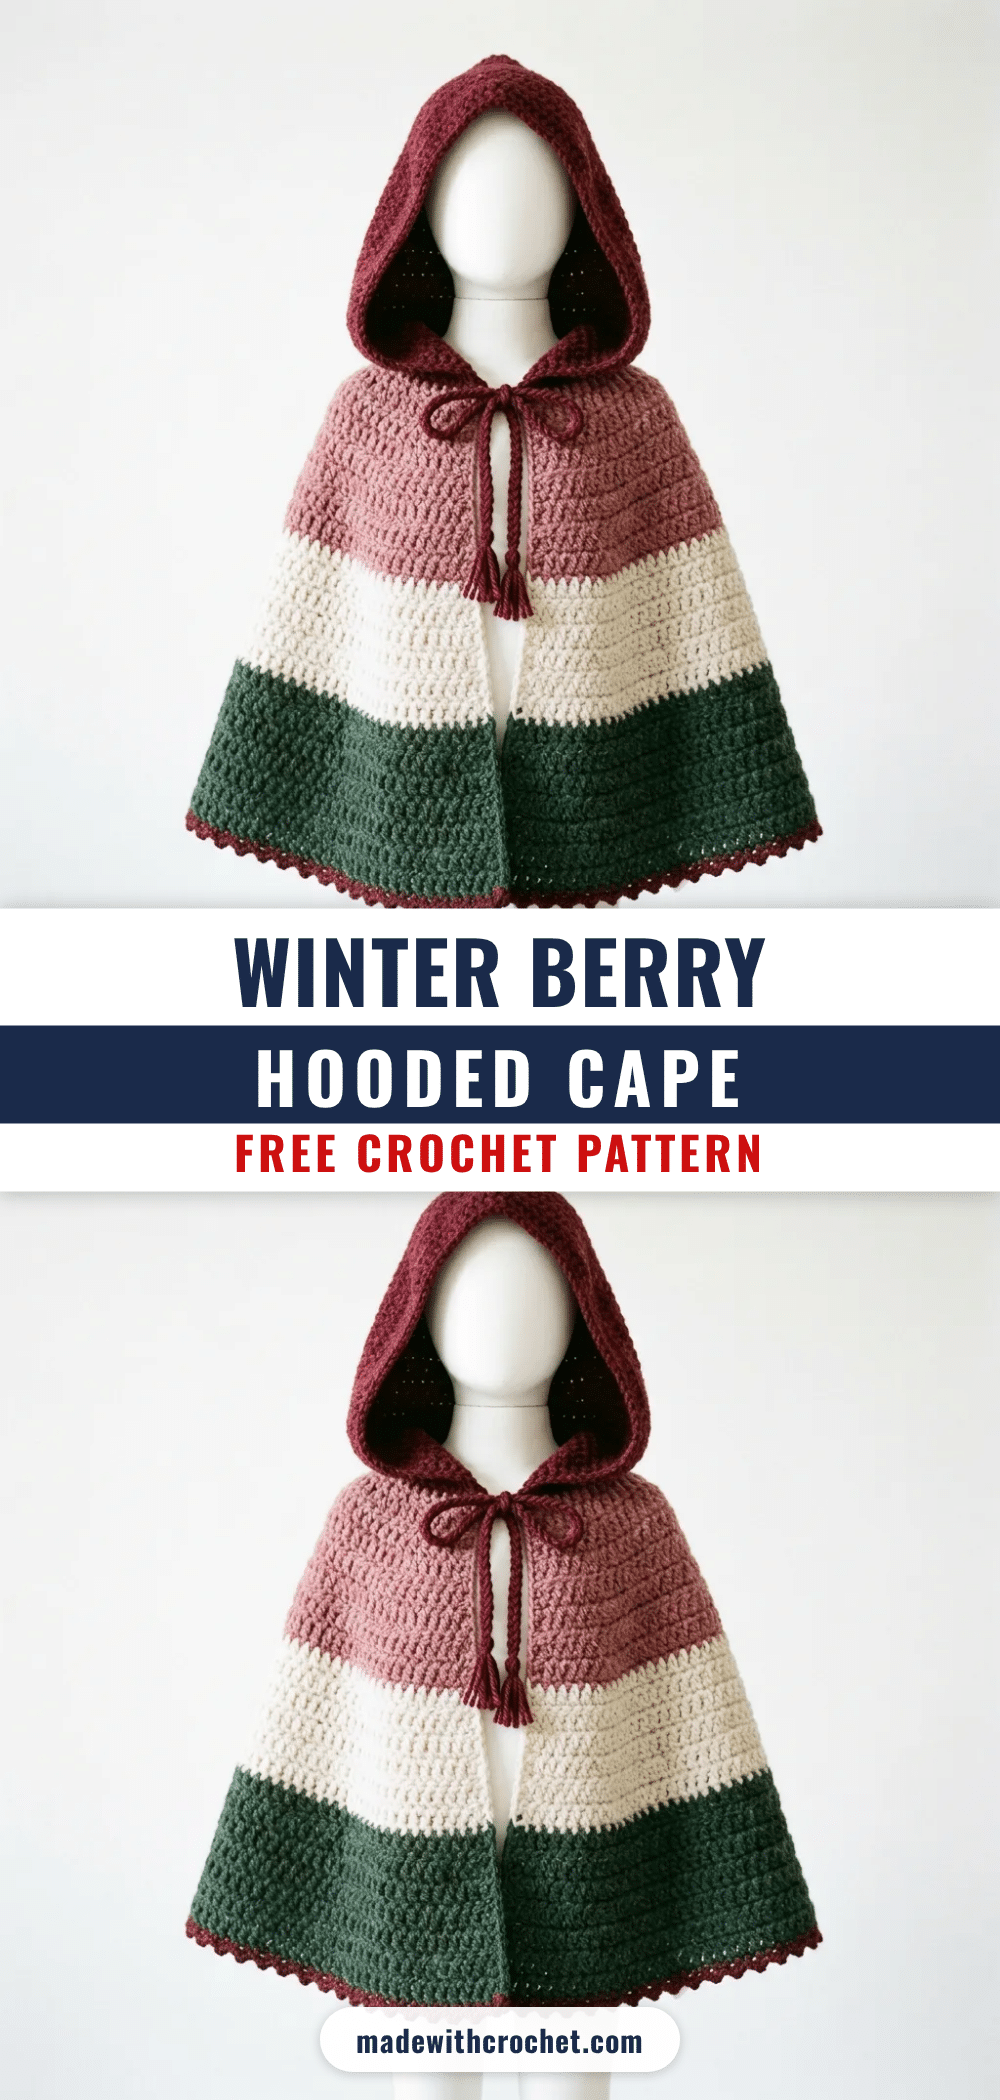
There is something deeply satisfying about the rhythm of a favorite project. A quiet evening, a small batch of yarn, counting stitches, and a relaxing repeat. This Winter Berry Hooded Cape captures that feeling perfectly. It is a storybook garment that feels like a warm hug, constructed with simple half double crochet stitches that create a dense, cozy fabric. The ritual of watching the color blocks grow round by round is meditative, and the result is a whimsical cape that looks as impressive as it feels to wear.
Small Details That Make It Better
While the color blocking is the star of this cape, the finishing details elevate it from a simple project to a keepsake. The picot edging along the hem adds a delicate, scalloped texture that softens the bold stripes of burgundy, dusty rose, cream, and forest green. The hood is designed to sit comfortably, with a depth that frames the face without obstructing vision. We love the inclusion of the braided ties; they provide a secure closure while adding a handmade, artisanal touch that machine-made garments often lack. The split front panels allow for easy movement, making it perfect for active children who want to feel like fairytale characters without being restricted.
Project Overview
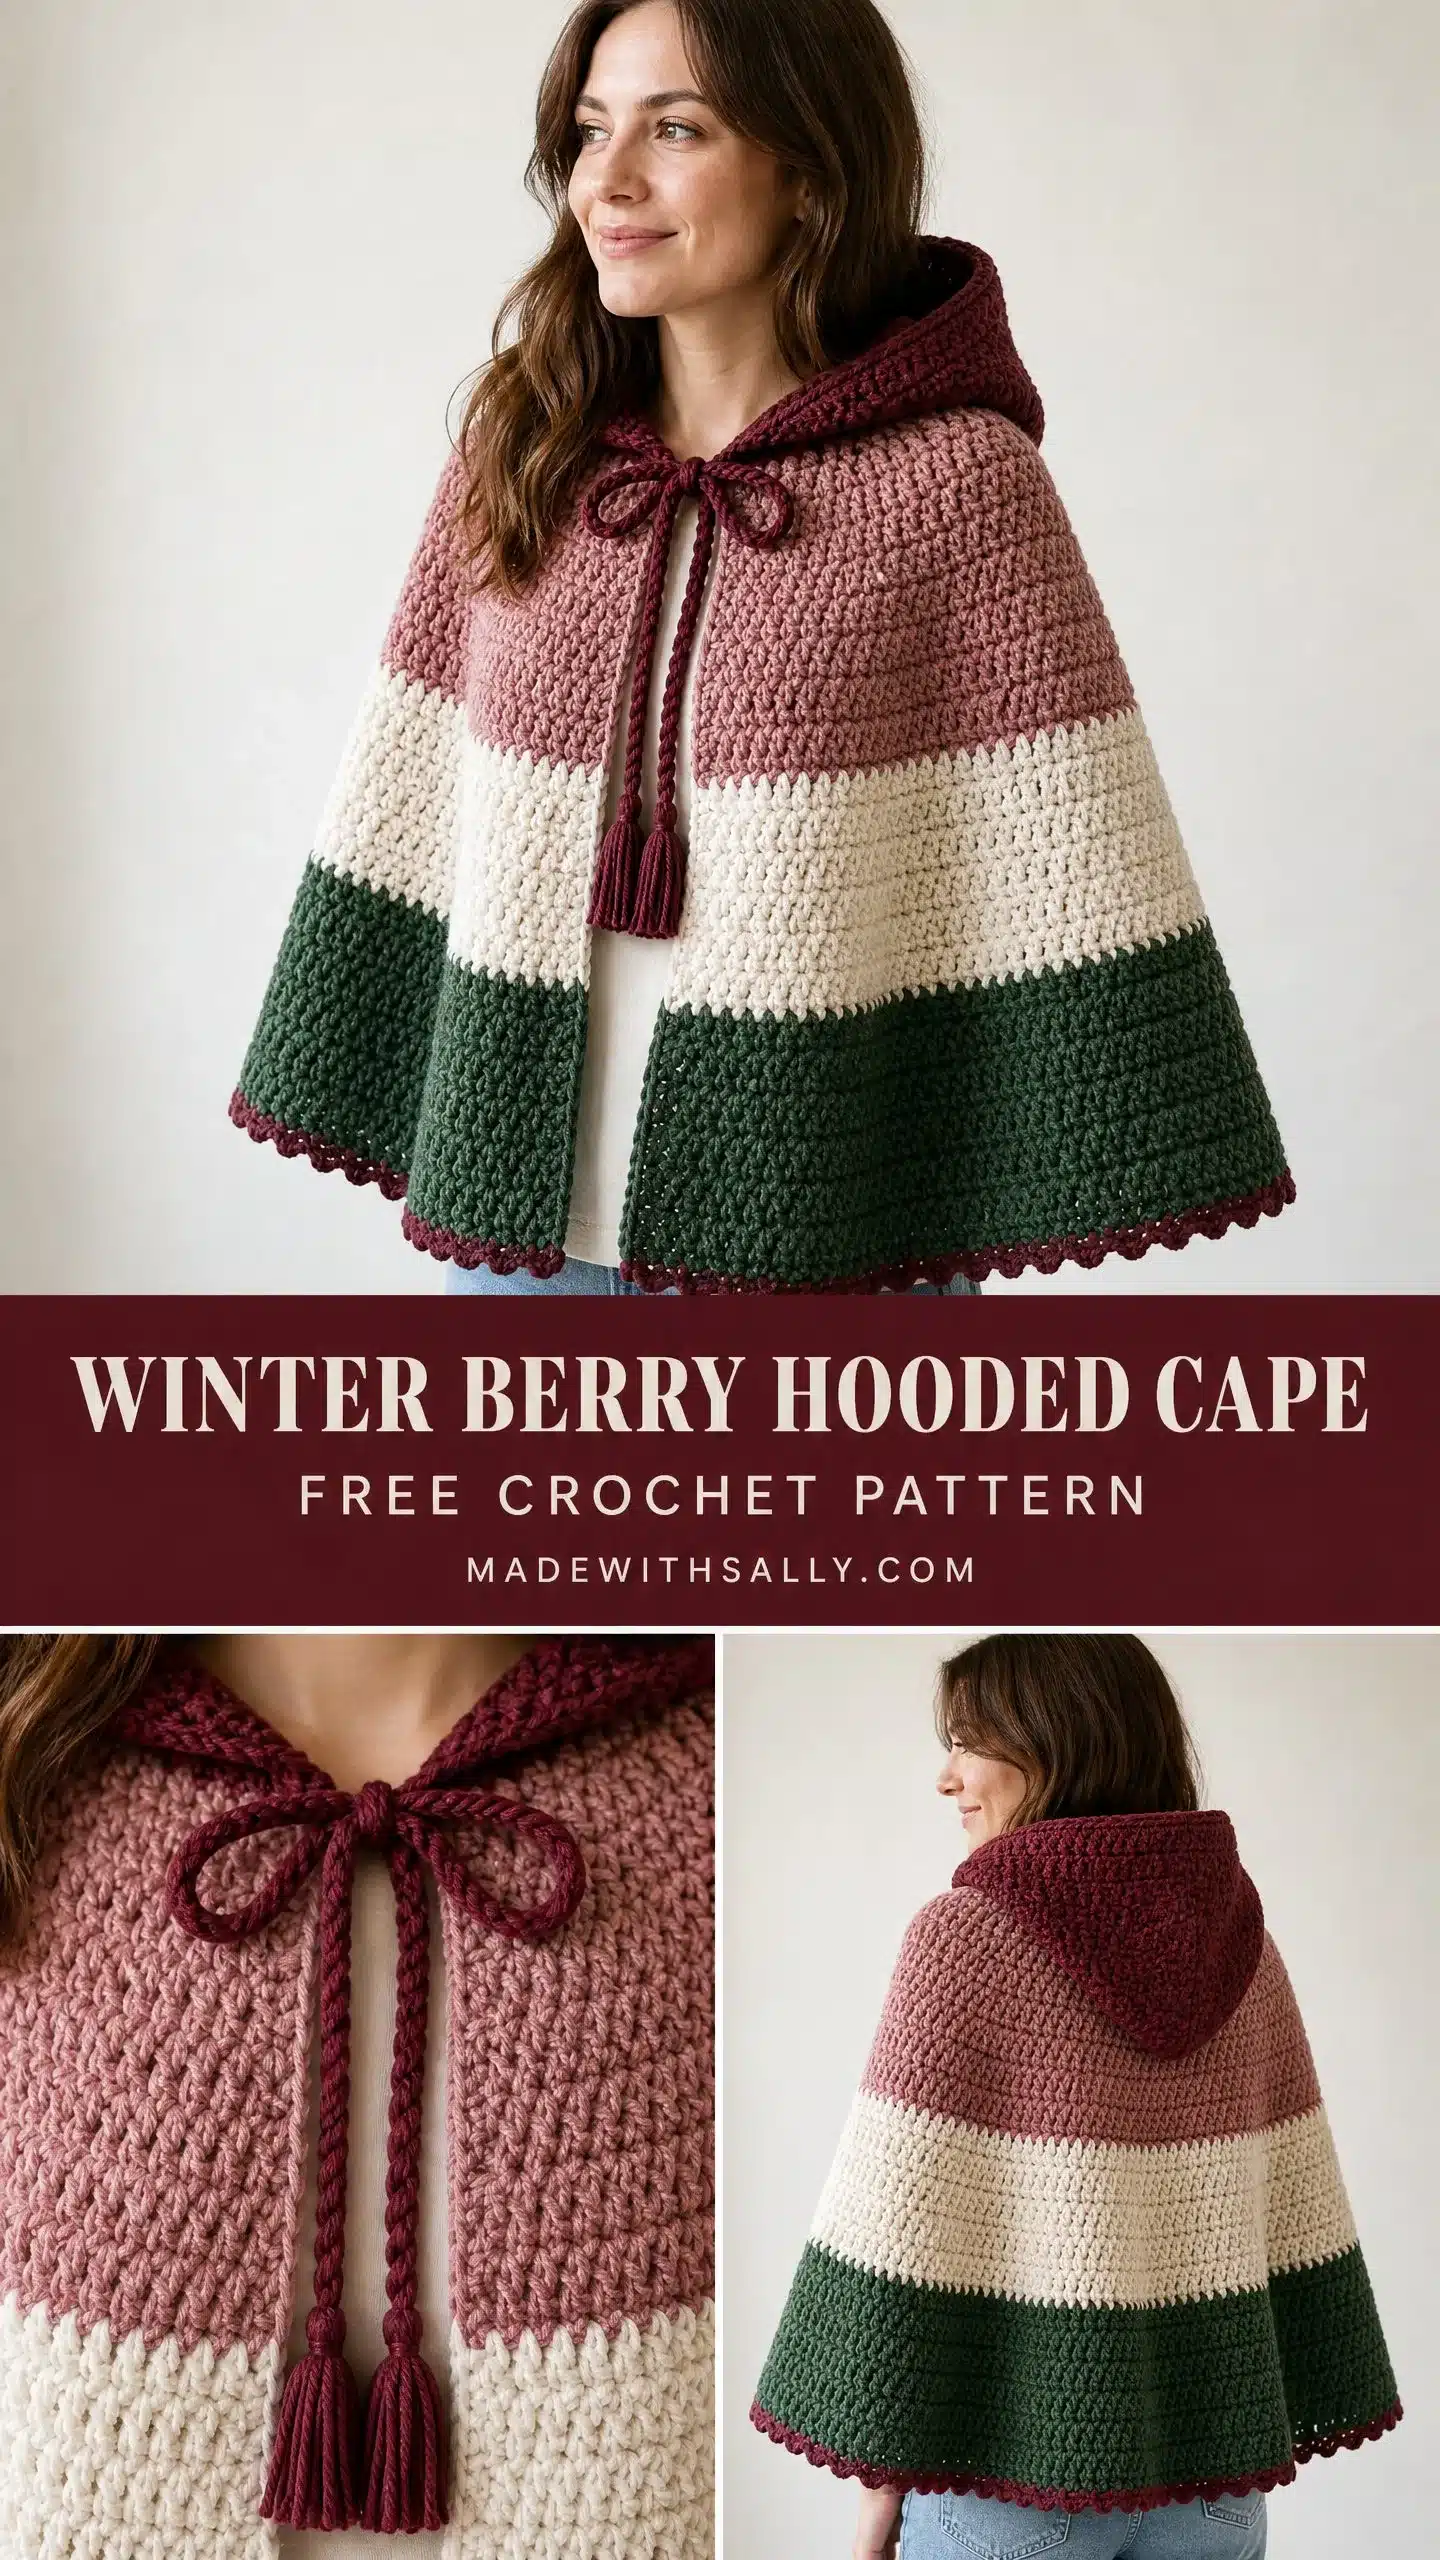
This hooded cape is worked from the top down in joined rounds, expanding outward to create a beautiful A-line silhouette. The construction is straightforward: the body is worked in simple half double crochet increases, while the hood is made separately as a flat rectangle, folded, and seamed. The pattern is designed for children ages 4 to 8 but includes customization tips for smaller and larger sizes.
Materials
- Yarn: Worsted weight (size 4) yarn.
- Color A (Burgundy): 220 yards / 201 m
- Color B (Dusty Rose): 280 yards / 256 m
- Color C (Cream/Off-White): 220 yards / 201 m
- Color D (Forest Green): 280 yards / 256 m
- Total yardage: approximately 1000 yards / 914 m
- Hook: US size J / 6.0 mm crochet hook
- Notions:
- Stitch markers (at least 4)
- Yarn needle for seaming and weaving in ends
- Scissors
- Blocking mat and pins (optional but recommended)
Gauge and Finished Size
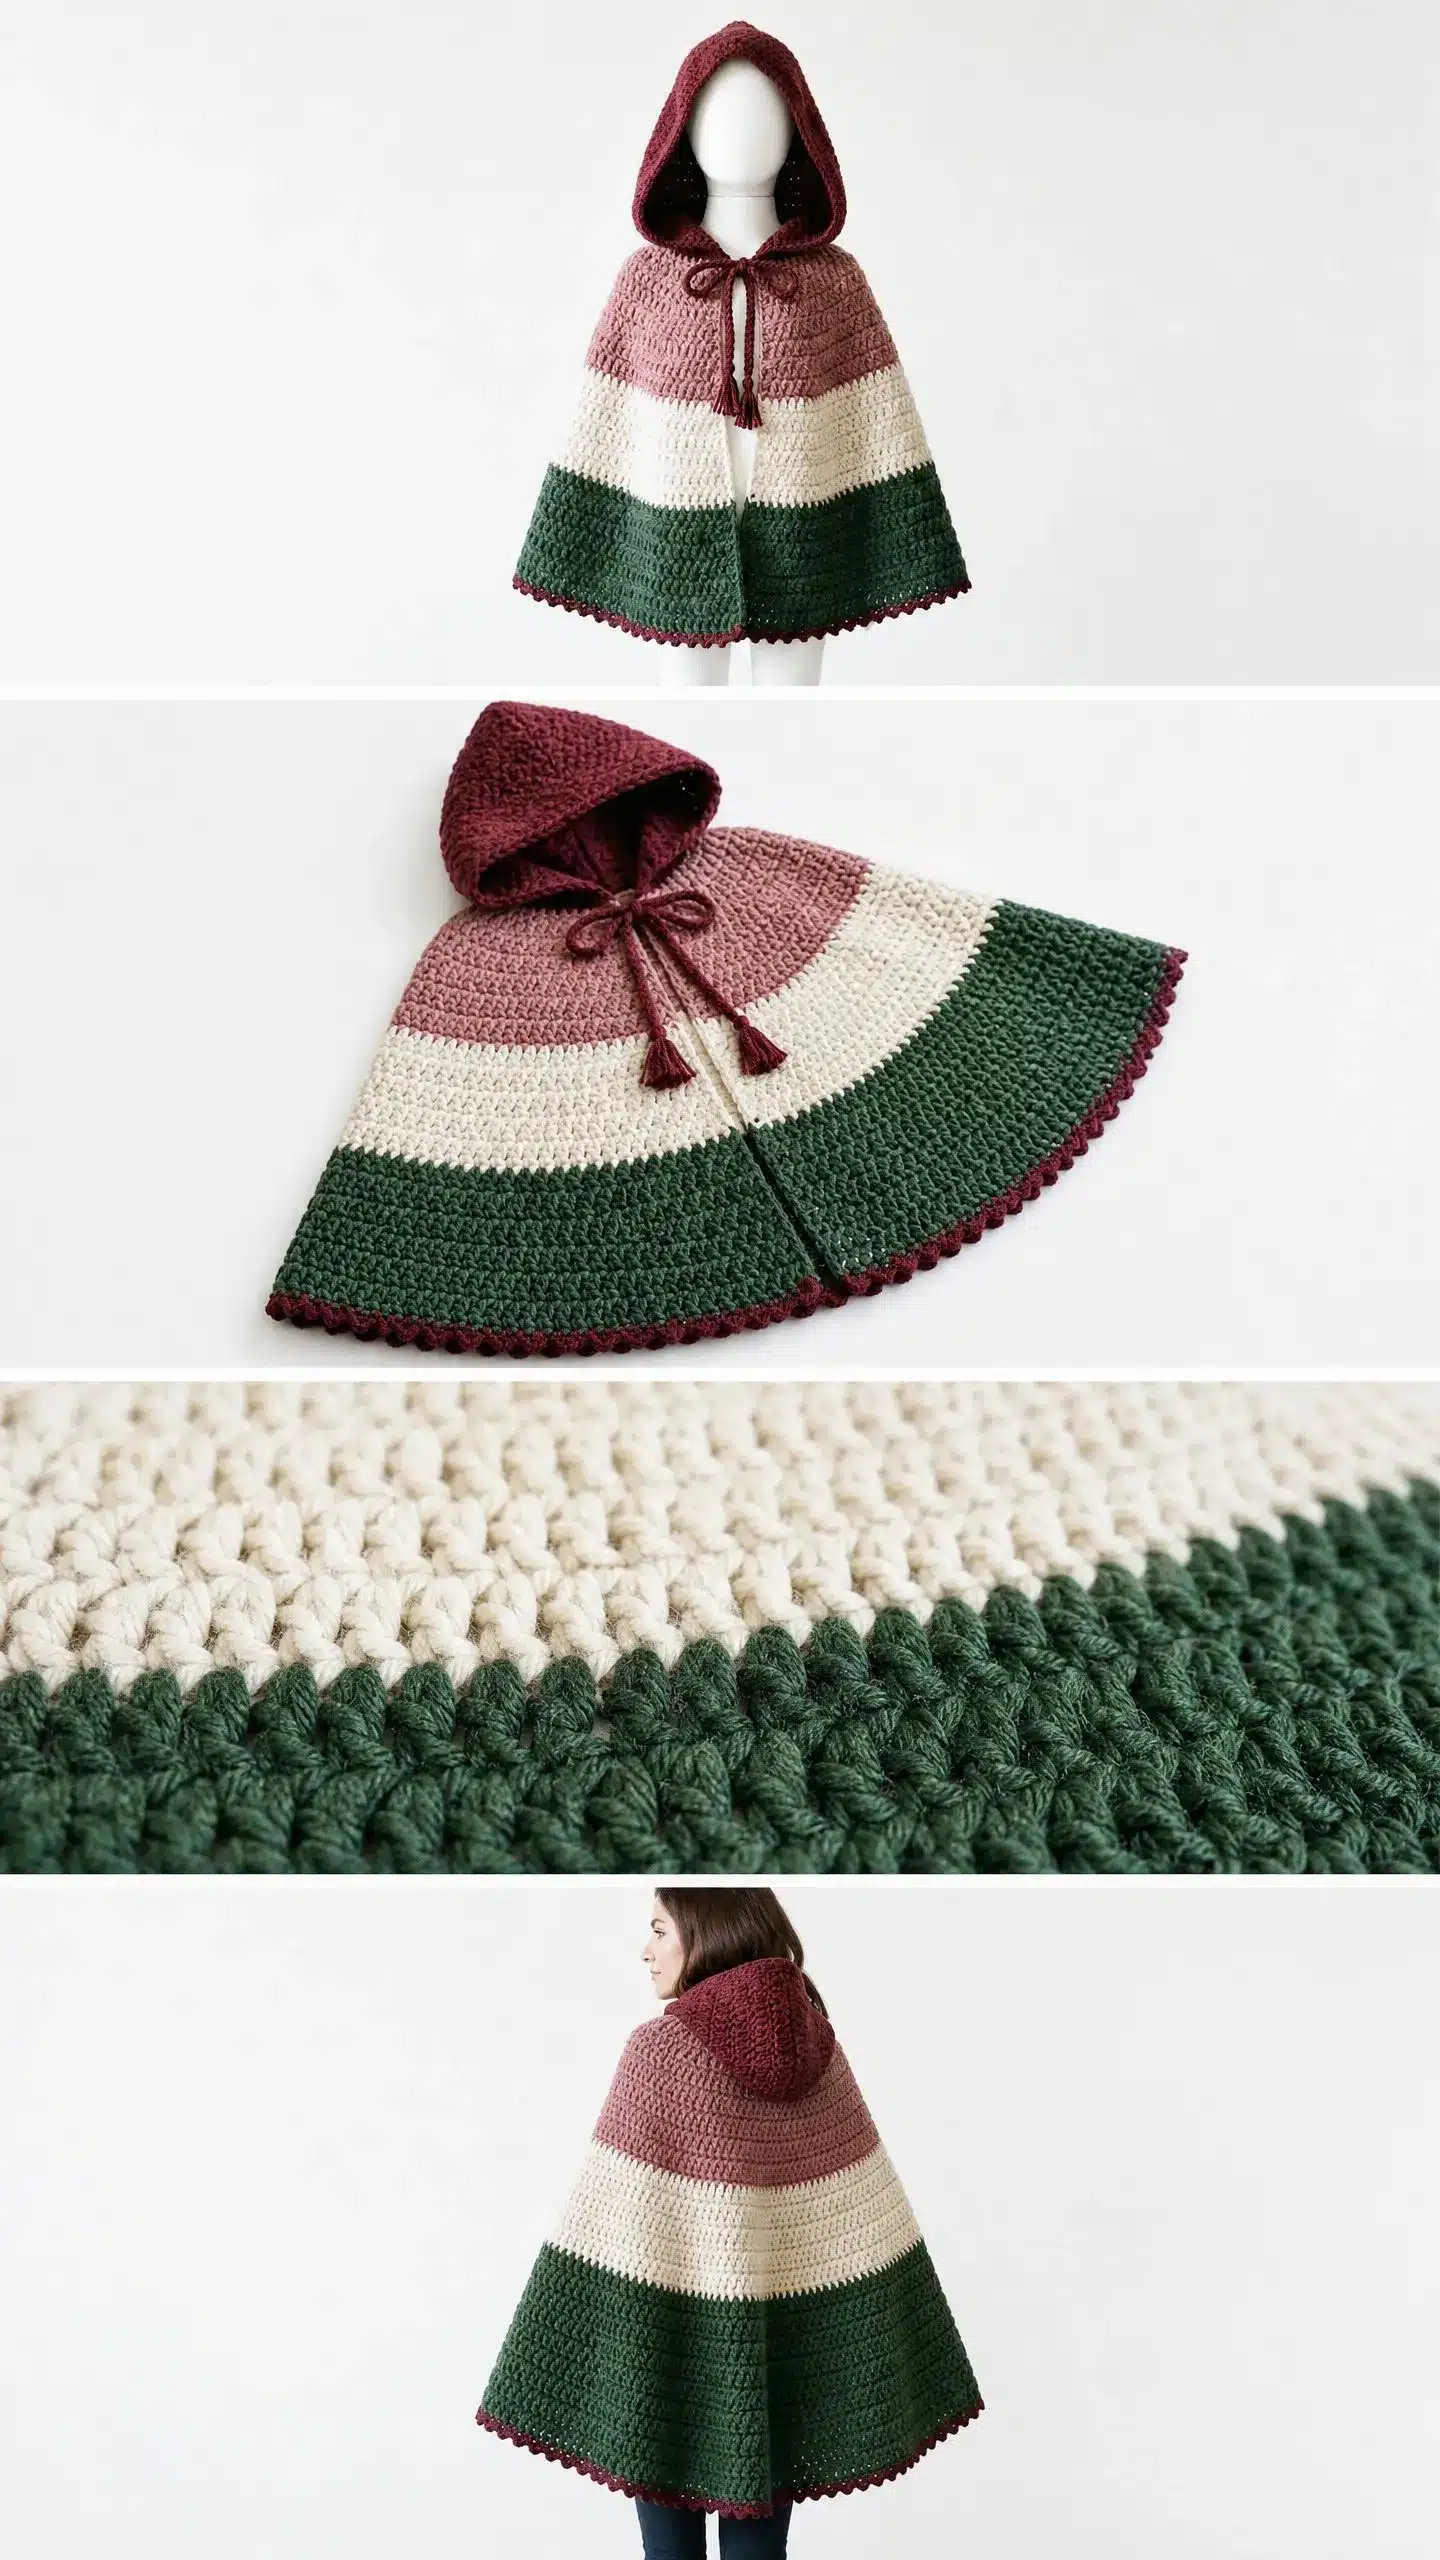
Finished Measurements
- Neckline circumference: 22 inches / 56 cm
- Cape length (shoulder to hem at center back): 18 inches / 46 cm
- Hood height: 10 inches / 25.5 cm
- Hood depth (front to back): 9 inches / 23 cm
- Hem circumference: approximately 62 inches / 157.5 cm
Gauge
14 hdc x 10 rows = 4 inches / 10 cm, worked in rows with a J/6.0 mm hook, blocked.
Note: Gauge matters for this pattern. If your gauge is off, the neckline might be too small to fit over a child’s head or too large to sit properly on the shoulders. Take time to swatch before you begin.
Abbreviations
- ch = chain: wrap yarn over hook, pull through loop on hook
- sl st = slip stitch: insert hook, yarn over, pull through stitch and loop on hook in one motion
- sc = single crochet: insert hook, yarn over, pull up loop (2 loops on hook), yarn over, pull through both loops
- hdc = half double crochet: yarn over, insert hook, yarn over, pull up loop (3 loops on hook), yarn over, pull through all 3 loops
- hdc2tog = half double crochet 2 together (decrease): insert hook into next stitch, yarn over, pull up a loop (3 loops on hook), insert hook into following stitch, yarn over, pull up a loop (5 loops on hook), yarn over, draw through all 5 loops
- st(s) = stitch(es)
- rnd = round
- RS = right side
- WS = wrong side
- t-ch = turning chain
- pm = place marker
Pattern Notes
- The cape body is worked in joined rounds from the top down. The right side faces out throughout.
- The hood is worked separately in flat rows, then folded and seamed at the top, and attached to the neckline after the cape body is complete.
- All color changes are made on the last yarn over of the final stitch of a round before the new color is needed. Cut and join colors cleanly.
- The ch-2 at the start of each round counts as the first hdc. The last stitch of each round is worked into the top of the ch-2 from the previous round.
- The cape has a split at the center front, forming two open front panels. The tie closes the cape at the neckline.
- Markers are placed at the 4 increase points. Move markers up each round.
Pattern Instructions
Cape Body Instructions
The cape body begins at the neckline and is worked downward in rounds.
Setup
Using Color A and a J/6.0 mm hook, chain 80. Being careful not to twist the chain, slip stitch into the first chain to form a ring.
Foundation Round: Ch 2 (counts as first hdc). Hdc in each of next 77 ch around. Join with sl st to top of ch-2. (78 hdc)
Place markers at the following positions to mark increase points:
- Marker 1: stitch 1 (left front edge)
- Marker 2: stitch 20 (left side)
- Marker 3: stitch 40 (right side, across back center)
- Marker 4: stitch 59 (right front edge)
Increase Method: On each increase round, work 2 hdc into each marked stitch. This adds 4 stitches per increase round. Move markers into the first of the 2 hdc worked into the old marked stitch each round.
Color A Section (Neckline Band)
Rounds 1 through 3: Work even in hdc, no increases. Join each round with sl st to top of ch-2. (78 hdc each round)
At the end of Round 3, fasten off Color A. The hood will be seamed here after the body is complete. Switch to Color B (Dusty Rose).
Color B Section (Dusty Rose Upper Cape)
Round 4: Join Color B with sl st to top of ch-2 of previous round. Ch 2, work 2 hdc into same st (increase at marker 1 position). Hdc across to marker 2, 2 hdc into marker 2 st. Hdc across to marker 3, 2 hdc into marker 3 st. Hdc across to marker 4, 2 hdc into marker 4 st. Hdc to end of round. Join with sl st to top of ch-2. (82 hdc)
Round 5: Ch 2, hdc into each st around, working 2 hdc into each of the 4 marked sts. Join. (86 hdc)
Round 6: Ch 2, hdc into each st around, working 2 hdc into each of the 4 marked sts. Join. (90 hdc)
Round 7: Ch 2, hdc into each st around, working 2 hdc into each of the 4 marked sts. Join. (94 hdc)
Round 8: Ch 2, hdc into each st around, working 2 hdc into each of the 4 marked sts. Join. (98 hdc)
Round 9: Ch 2, hdc into each st around, working 2 hdc into each of the 4 marked sts. Join. (102 hdc)
Continue increasing in this manner for the remaining color sections (Color C and Color D) as specified in the full pattern, maintaining the four increase points until the desired length is reached.
Hem Picot Edging
This creates the decorative scalloped border along the hem.
- Work 1 sc into the first stitch.
- Chain 3.
- Slip stitch into the first chain made (the one closest to the hook) to form a small picot knot.
- Work 1 sc into each of the next 2 stitches.
- Repeat steps 2 through 4 across the edge.
Hood Instructions
The hood is worked flat in rows, then folded in half and seamed across the top.
Using Color A and J/6.0 mm hook:
Foundation Chain: Chain 64.
Row 1 (RS): Hdc in 3rd ch from hook (the skipped 2 chs count as first hdc), hdc in each ch across. Turn. (63 hdc)
Rows 2 through 25: Ch 2 (counts as first hdc), hdc in each st across to last st, hdc in top of t-ch. Turn. (63 hdc each row)
After Row 25, do not turn. Do not fasten off.
Checkpoint: The hood panel should measure approximately 9 inches / 23 cm wide and 10 inches / 25.5 cm tall at this point.
Hood Top Seam
Fold the hood panel in half with right sides together. Seam across the top edge using slip stitches or single crochet for a flat finish.
Hood Face Opening Edging
Work along the face opening edge with Color A to create a clean border. This is typically worked in single crochet or half double crochet to match the neckline band.
Attaching the Hood to the Cape
With the hood right side out, align the center back seam of the hood with the center back of the cape neckline. Pin or slip stitch the hood to the neckline, distributing the hood stitches evenly across the back section of the cape.
Tie Attachments
Braided Tie: Cut 12 strands of Color A, each 36 inches / 91.5 cm long. Divide into 3 groups of 4 strands. Align all ends evenly and tie an overhand knot at the top, leaving a 1 inch / 2.5 cm tail above the knot. Braid the three groups together firmly for approximately 10 inches / 25.5 cm. Tie an overhand knot at the end of the braid to secure. Trim the tail ends below the bottom knot to 2.5 inches / 6.5 cm to form a tassel. Separate and fluff the tassel strands. Make 2 identical braided ties.
Attach the ties to the front edges of the cape near the neckline.
Cape Front Edge Finishing
Working along each front edge of the cape with Color A, work 1 row of sc evenly down each front edge from neckline to hem. Work approximately 1 sc per row end. Fasten off.
Assembly
- Weave in all ends securely, hiding color-change tails on the WS.
- For wet blocking, submerge the finished cape in lukewarm water with a small amount of wool wash. Gently squeeze out excess water without wringing. Roll in a clean towel to remove moisture.
- Lay flat on a blocking mat. Shape the neckline into a smooth circle and pin lightly. Stretch the hem gently outward to encourage the A-line flare. Shape the hood over a rounded form like a balloon or large ball. Allow to dry completely before removing pins.
Tips
- For a smaller size (ages 2 to 4): Begin with a foundation chain of 68 (67 hdc at neckline). Work the same increase schedule, but stop the body at Round 32 instead of Round 37. Reduce the hood foundation chain to 56 and work only 20 rows. Adjust yarn quantities down by approximately 15 percent.
- For a larger size (ages 8 to 12): Begin with a foundation chain of 92 (91 hdc at neckline). Work the same increase schedule, adding an additional 6 increase rounds in the green section through Round 43. Increase the hood foundation chain to 72 and work 28 rows. Adjust yarn quantities up by approximately 20 percent.
- For adult sizing: Begin with a foundation chain of 120 (119 hdc at neckline). Work increases through approximately Round 55 for a hip-length capelet. Hood foundation chain should be 90 stitches worked for 34 rows. Yarn quantities will approximately double.
FAQs
What type of yarn is best for this cape?
Worsted weight (size 4) yarn is required. Lion Brand Pound of Love, Cascade 220 Superwash, or Paintbox Yarns Simply DK work beautifully. Avoid yarns with a strong halo like mohair blends, as they will obscure the texture of the half double crochet stitches.
Is this pattern suitable for beginners?
This is an intermediate pattern. You should be comfortable with working in joined rounds, making clean color changes, and basic seaming. True beginners might find the construction order challenging, but everything is explained step by step.
How do I adjust the size?
The pattern includes specific instructions for smaller (ages 2-4), larger (ages 8-12), and adult sizes. These adjustments involve changing the foundation chain length, the number of increase rounds, and the hood dimensions.
How do I care for the finished cape?
If using acrylic yarn, machine wash cold, gentle cycle, and tumble dry low or lay flat to dry. If using superwash wool, hand wash in cool water with gentle soap and lay flat to dry. Always check your specific yarn label for care guidance.
Why is gauge important for this project?
Gauge is critical because the neckline must fit over a child’s head, and the shoulders must sit properly. If your gauge is too tight, the cape will be too small; if it is too loose, it may slip off the shoulders.
Pin This Crochet Pattern!