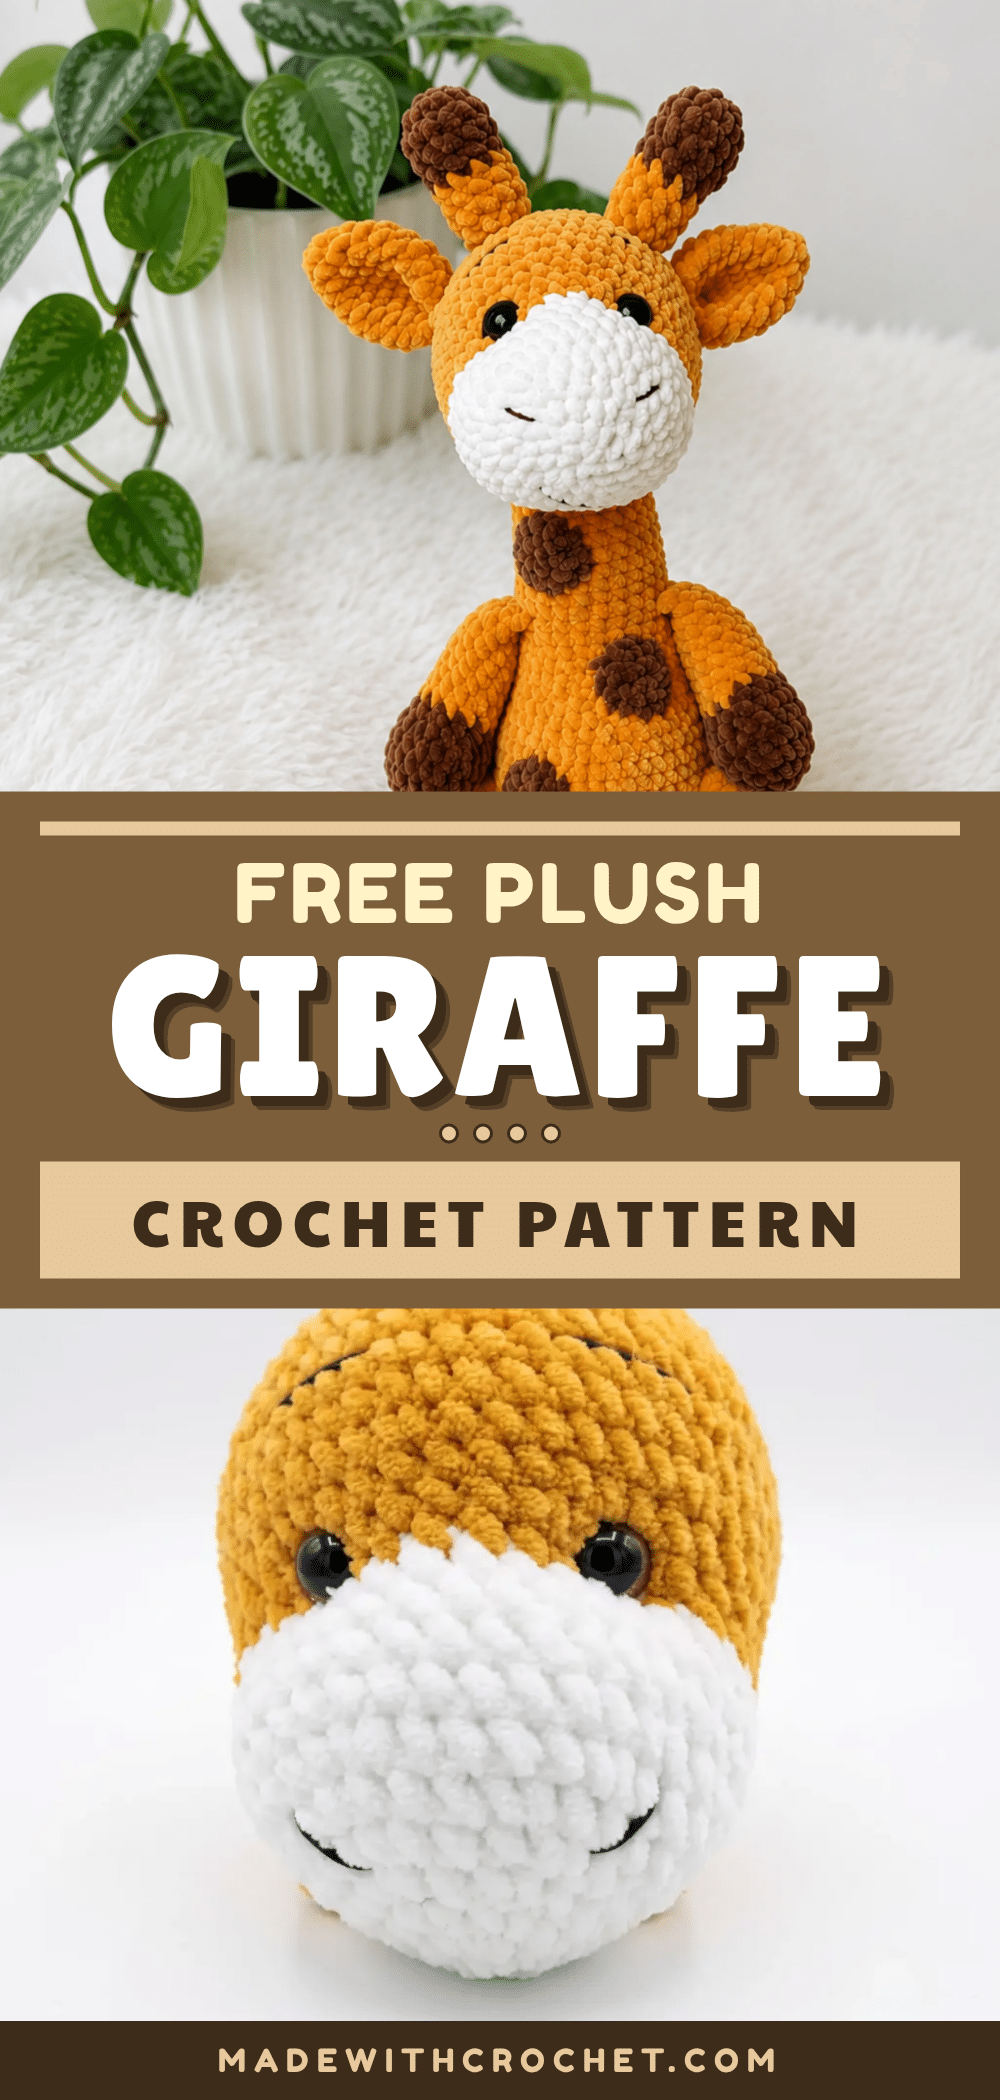
This plush giraffe amigurumi makes a wonderful handmade gift for little ones, a charming nursery decoration, or a standout item for your next craft market. Its soft, velvety texture and gentle expression are sure to bring smiles.
Our Touch: Gift and Use Ideas
This giraffe’s neutral yellow and brown palette fits beautifully into any nursery or child’s room. Consider making one as a baby shower gift, a first birthday present, or a comforting buddy for a toddler. The sturdy construction and safety eyes also make it a great choice for a market-table bestseller. You can easily personalize it by choosing a different spot color or adding a small ribbon bow.
Project Overview
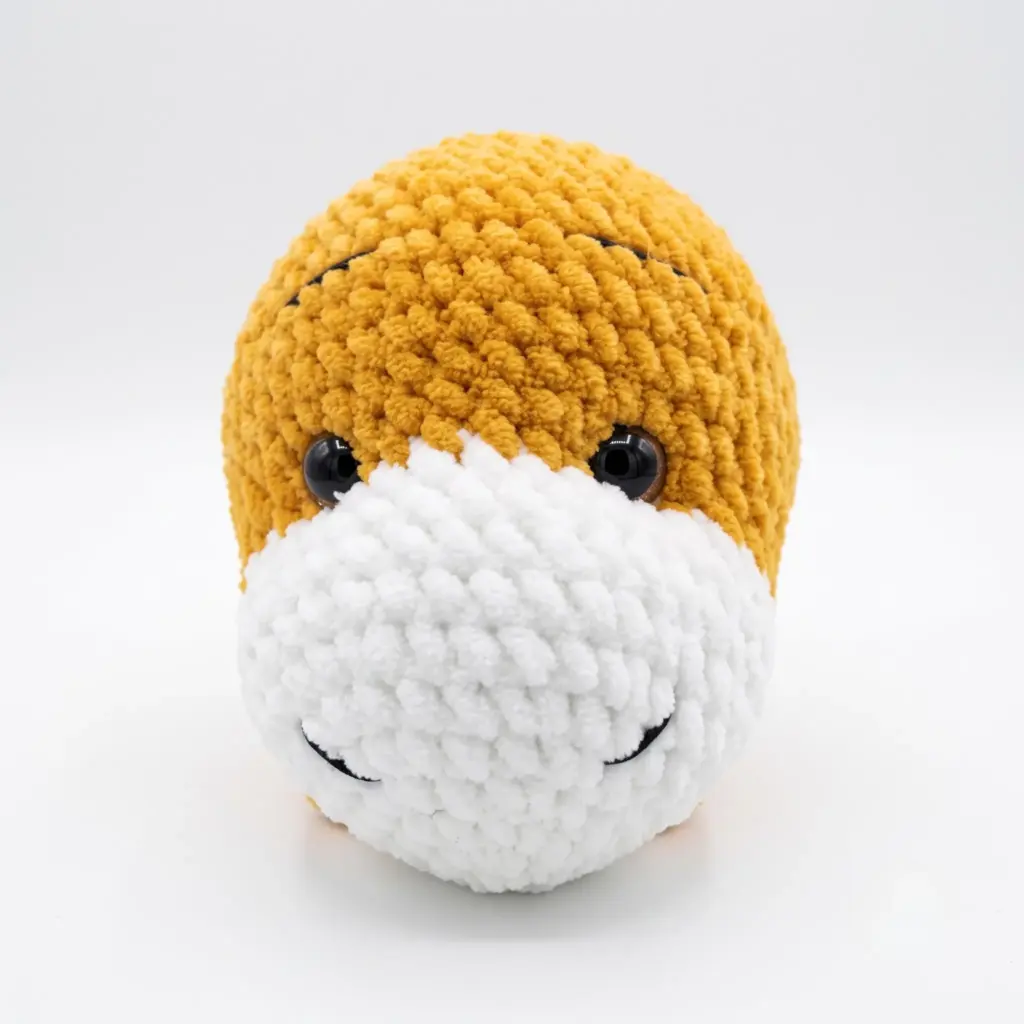
This Timi Giraffe pattern is built for confident beginners and intermediate crocheters who want to practice shaping a 3D head, sewing on limbs mid-round, and finishing with soft safety eyes and a sleepy embroidered smile. The finished giraffe stands about 38 cm (15 in) tall, including the horns, and works up in soft plush yarn that gives it a velvety, huggable texture.
Materials
- Yarn: Bulky-weight plush/velvet yarn in Yellow (main color), Brown (muzzle, hooves, spots, horns), and White (muzzle center)
- Hook: US size E-4 (3.5 mm), or the size that gives you a tight, gap-free fabric
- Safety eyes: 10–12 mm, black, 1 pair
- Polyester fiberfill stuffing
- Stitch markers
- Yarn/tapestry needle
- Scissors
- Small amount of dark embroidery thread or yarn for the mouth
Abbreviations Used
- ch — Chain
- dec — Decrease (invisible decrease recommended)
- inc — Increase (2 sc in same stitch)
- MR — Magic Ring
- sc — Single Crochet
- sl st — Slip Stitch
- st(s) — Stitch(es)
Pattern Notes
This pattern is written in US crochet terminology. All pieces are worked in continuous spiral rounds — do not join or chain up unless a step tells you to. Gauge is not critical for this toy; work at a tension tight enough that stuffing doesn’t peek through the stitches. Stitch count is given at the end of each round in parentheses, like this: (12). Safety eyes are inserted between specific rounds of the head — place them before you close up or stuff that section. Stuff the neck very firmly so the head sits securely and doesn’t wobble once attached.
Pattern Instructions
Head
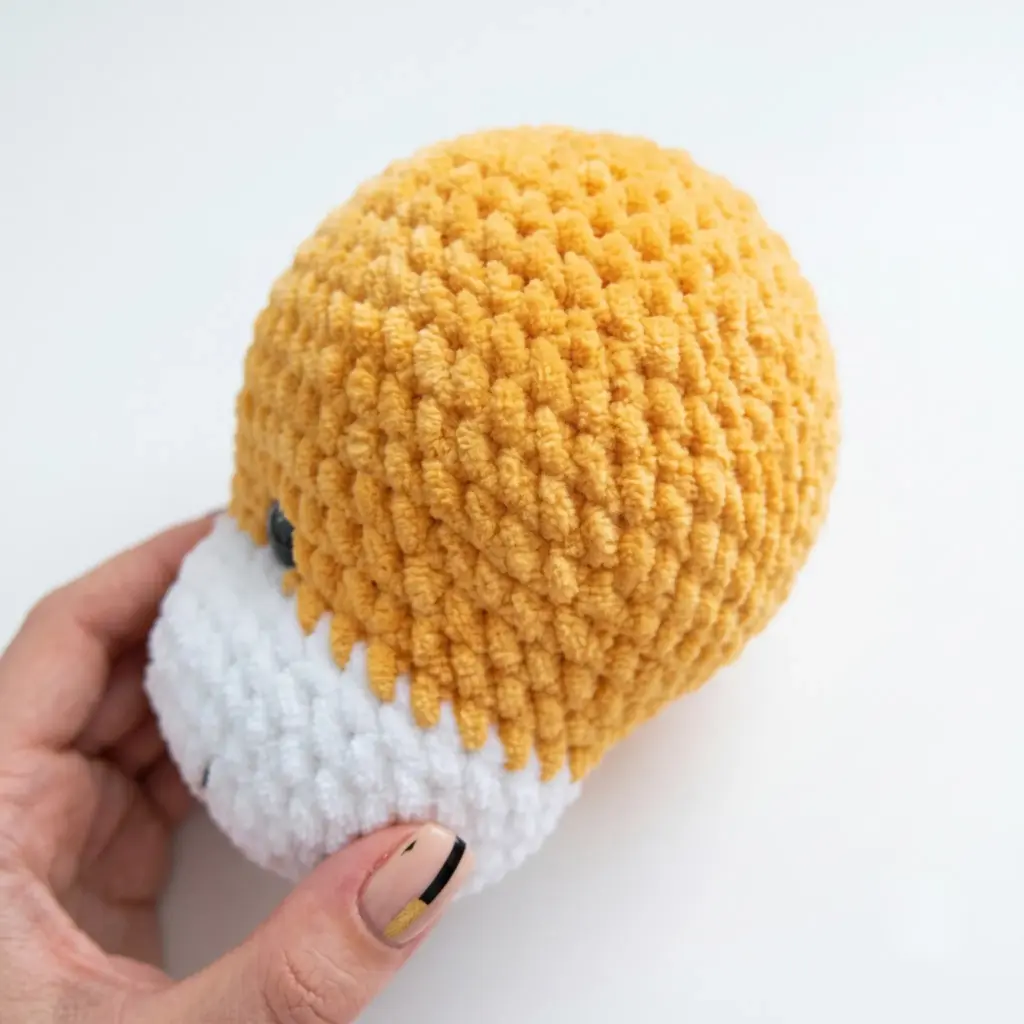
Worked first in Brown, then switching to Yellow.
Rnd 1: 6 sc in MR. (6)
Rnd 2: inc in each st around. (12)
Rnd 3: sc, inc repeat around. (18)
Rnd 4: 2 sc, inc repeat around. (24)
Rnd 5: 3 sc, inc repeat around. (30)
Rnd 6: 4 sc, inc repeat around. (36)
Rnds 7–10: sc in each st around. (36)
Switch to Yellow for the remaining rounds.
Rnd 11: sc in each st around. (36)
Insert safety eyes now, spacing them 7–8 stitches apart.
Rnd 12: 5 sc, inc repeat around. (42)
Rnd 13: sc in each st around. (42)
Rnd 14: 6 sc, inc repeat around. (48)
Rnd 15: sc in each st around. (48)
Rnd 16: 7 sc, inc repeat around. (54)
Rnd 17: sc in each st around. (54)
Rnd 18: 7 sc, dec repeat around. (48)
Rnd 19: sc in each st around. (48)
Rnd 20: 6 sc, dec repeat around. (42)
Rnd 21: sc in each st around. (42)
Rnd 22: 5 sc, dec repeat around. (36)
Rnd 23: sc in each st around. (36)
Rnd 24: 4 sc, dec repeat around. (30)
Rnd 25: 3 sc, dec repeat around. (24)
Rnd 26: 2 sc, dec repeat around. (18)
Rnd 27: 1 sc, dec repeat around. (12)
Rnd 28: dec around. (6)
Stuff firmly before closing. Fasten off, leaving a long tail for sewing to the body. Embroider a soft smile onto the white muzzle before attaching.
Ears (make 2)
Worked in Yellow throughout.
Rnd 1: 6 sc in MR. (6)
Rnd 2: 1 sc, inc repeat around. (9)
Rnd 3: 2 sc, inc repeat around. (12)
Rnd 4: 3 sc, inc repeat around. (15)
Rnd 5: 4 sc, inc repeat around. (18)
Rnds 6–8: sc in each st around. (18)
Rnd 9: 4 sc, dec repeat 3 times. (15)
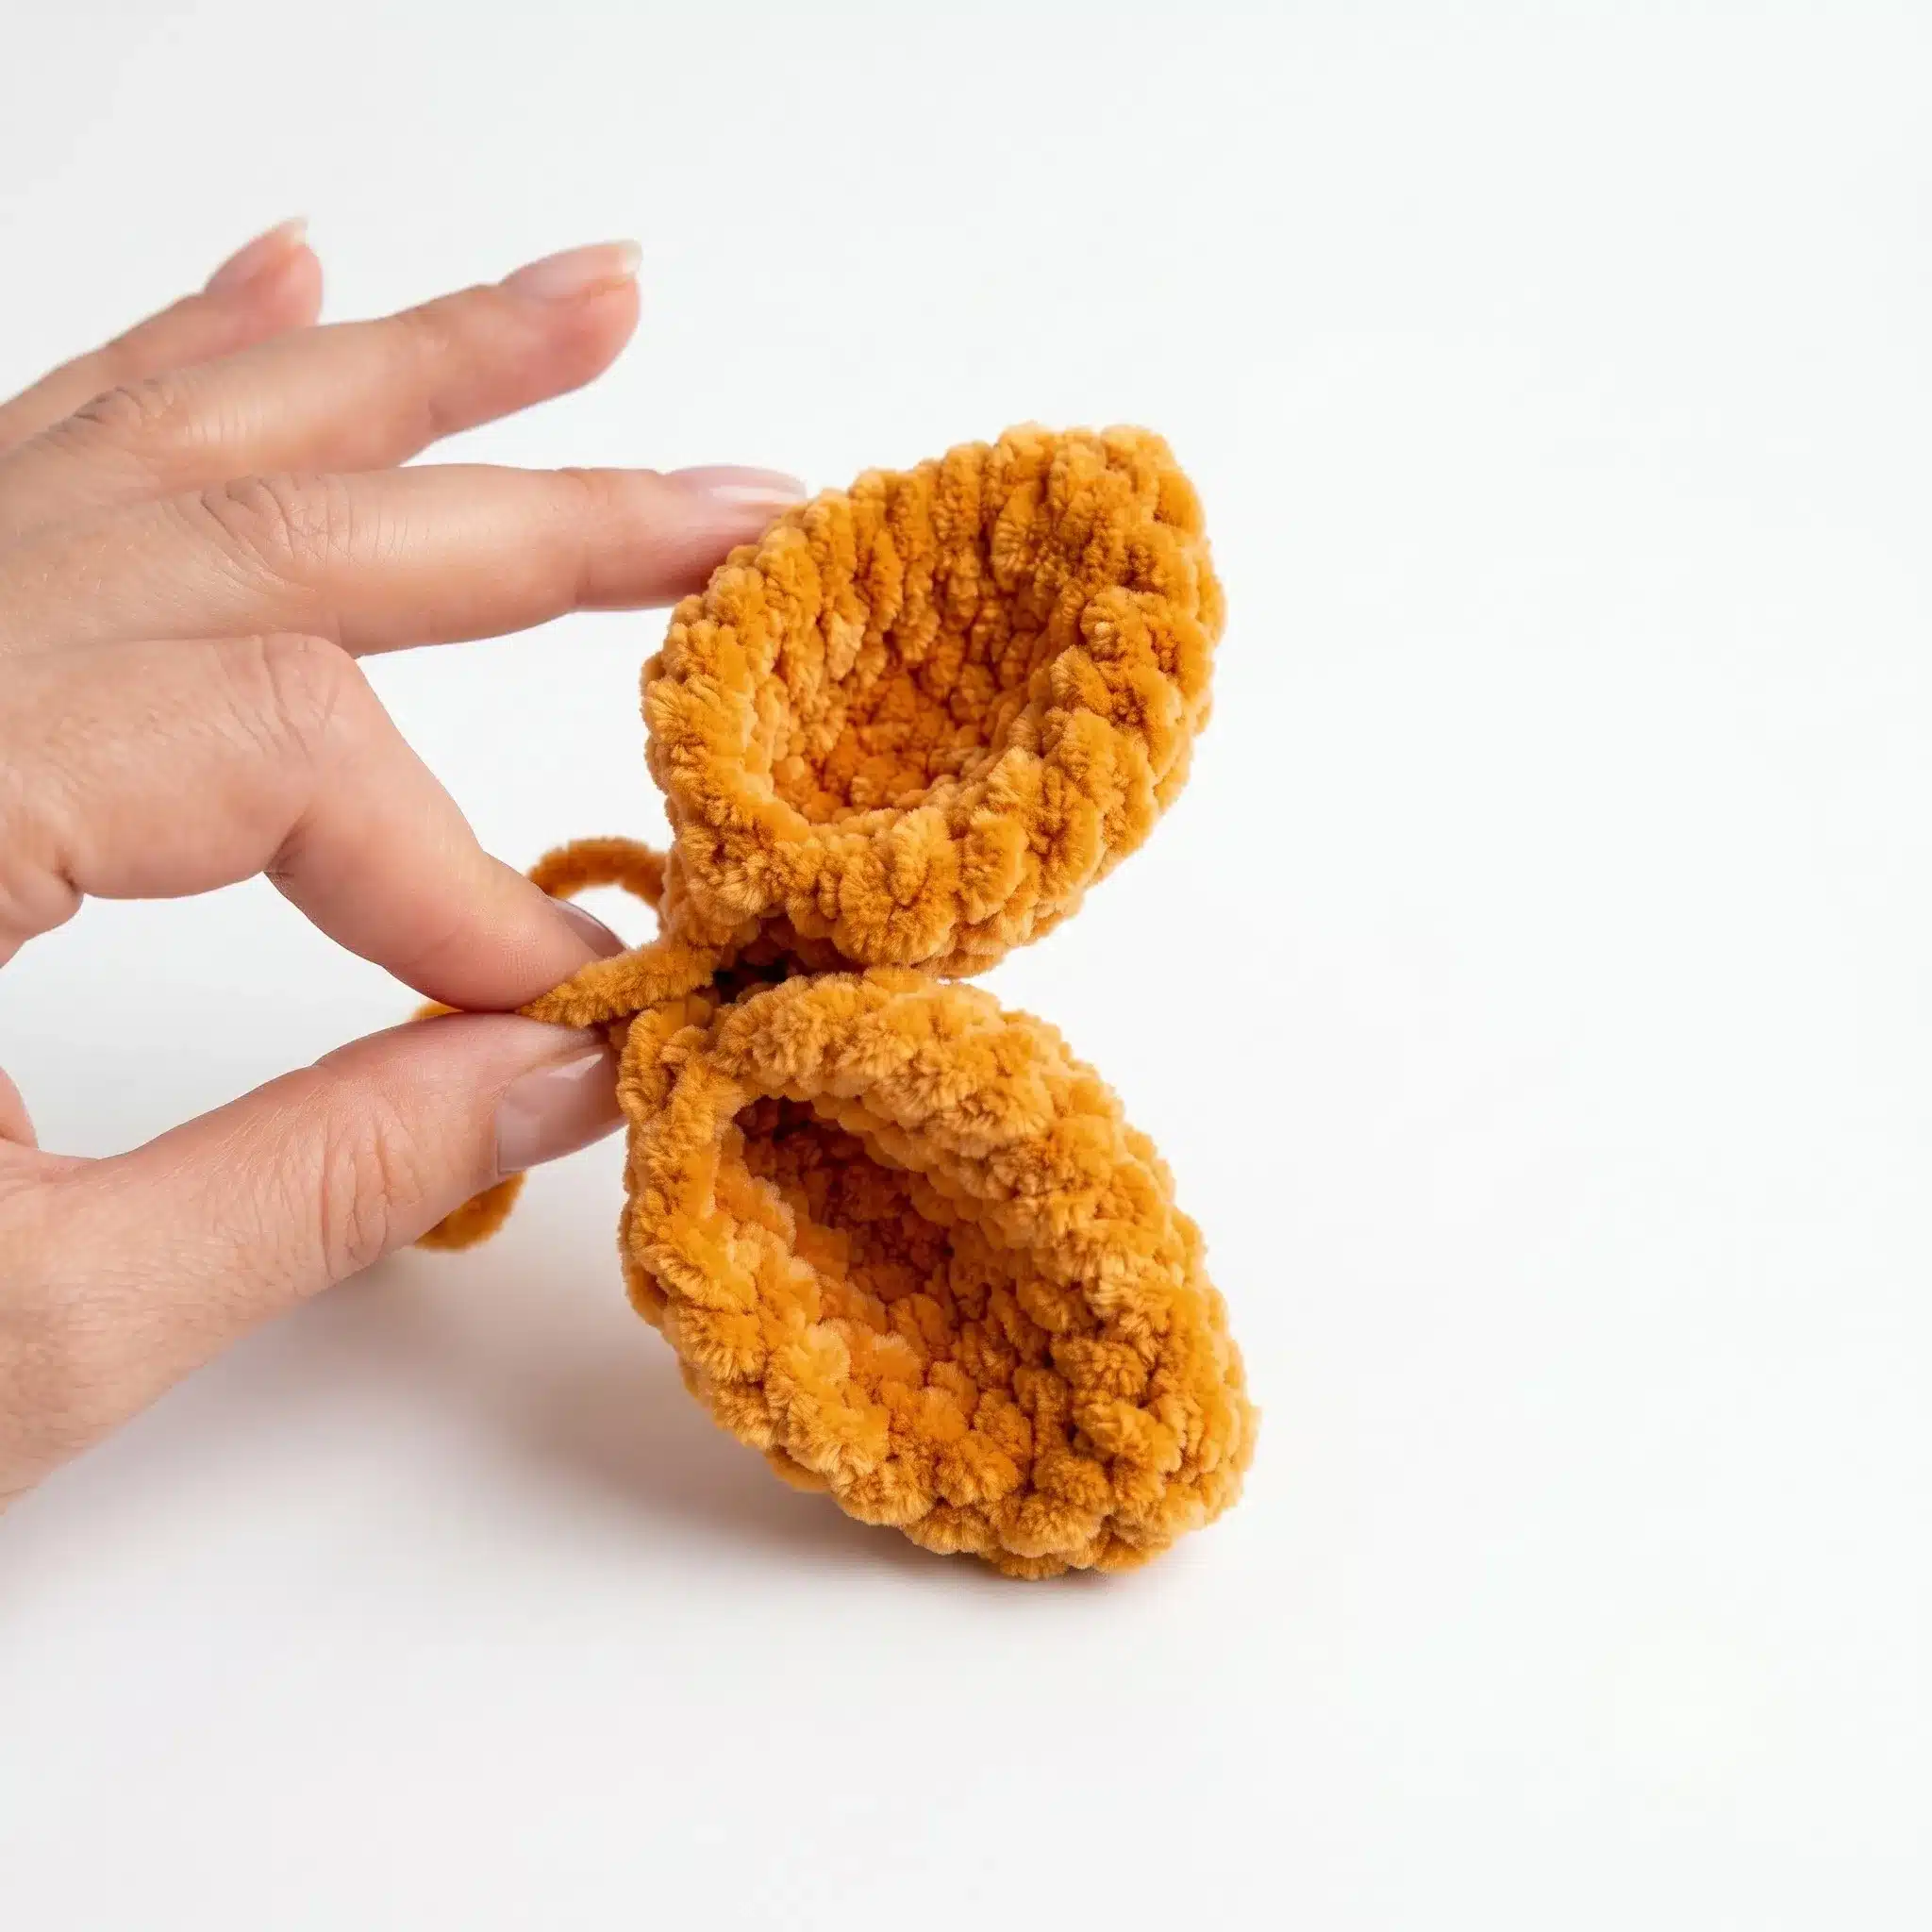
Fold flat and sew closed through both layers. Fold the finished ear in half once more, then sew it to the head between Rnds 18 and 21.
Horns/Ossicones (make 2)
Worked first in Brown, then switching to Yellow.
Rnd 1: 6 sc in MR. (6)
Rnd 2: inc in each st around. (12)
Rnd 3: 1 sc, inc repeat around. (18)
Rnds 4–5: sc in each st around. (18)
Rnd 6: 1 sc, dec repeat around. (12)
Rnd 7: sc in each st around. (12)
Switch to Yellow.
Rnds 8–16: sc in each st around. (12)
Fold flat and sew closed through both layers.
Arms (make 2)
Worked first in Brown, then switching to Yellow.
Rnd 1: 6 sc in MR. (6)
Rnd 2: inc in each st around. (12)
Rnd 3: 1 sc, inc repeat around. (18)
Rnds 4–5: sc in each st around. (18)
Rnd 6: 1 sc, dec repeat around. (12)
Rnd 7: sc in each st around. (12)
Switch to Yellow.
Rnds 8–16: sc in each st around. (12)
Fold flat and sew closed through both layers.
Legs (make 2)
Worked first in Brown, then switching to Yellow.
Rnd 1: 6 sc in MR. (6)
Rnd 2: inc in each st around. (12)
Rnd 3: 1 sc, inc repeat around. (18)
Rnd 4: 2 sc, inc repeat around. (24)
Rnds 5–6: sc in each st around. (24)
Rnd 7: 2 sc, dec repeat around. (18)
Rnd 8: 7 sc, dec repeat twice. (16)
Switch to Yellow.
Rnds 9–16: sc in each st around. (16)
Rnd 17: 2 sc, dec repeat 4 times. (12)
Rnds 18–21: sc in each st around. (12)
Fold flat and sew closed through both layers.
Spots (make 6)
Worked in Brown.
Rnd 1: 6 sc in MR. (6)
Rnd 2: inc in each st around. (12)
Fasten off, leaving a tail for sewing directly onto the body.
Body
Worked in Yellow, with legs and arms joined mid-round.
Rnd 1: 6 sc in MR. (6)
Rnd 2: inc in each st around. (12)
Rnd 3: 1 sc, inc repeat around. (18)
Rnd 4: 2 sc, inc repeat around. (24)
Rnd 5: 3 sc, inc repeat around. (30)
Rnd 6: 4 sc, inc repeat around. (36)
Rnds 7–8: sc in each st around. (36)
Rnd 9: 5 sc, inc repeat around. (42)
Rnd 10: 7 sc, sc across first leg joining it to the body with 6 sc, 15 sc, sc across second leg joining it with 6 sc, 8 sc. (42) This is where you attach both legs — hold each leg against the body opening and sc through both layers.
Rnds 11–13: sc in each st around. (42)
Rnd 14: 10 sc, dec, 2 sc, dec repeat 5 times, 10 sc. (36) This forms the belly shaping — keep the decreases centered between the legs.
Rnd 15: sc in each st around. (36)
Rnd 16: 10 sc, dec, 1 sc, dec repeat 5 times, 9 sc. (30)
Rnds 17–18: sc in each st around. (30)
Rnd 19: 8 sc, dec repeat 3 times. (27)
Rnd 20: sc in each st around. (27)
Rnd 21: 7 sc, dec repeat 3 times. (24)
Rnd 22: 4 sc, sc across first arm joining it with 6 sc, 5 sc, sc across second arm joining it with 6 sc, 3 sc. (24) Attach both arms the same way you attached the legs.
Rnds 23–28: sc in each st around. (24)
Fasten off, leaving a long tail for sewing on the head. Stuff the neck very firmly so the head sits securely once sewn on.
Tail
Worked in Yellow, finished with a small brown tuft.
Rnd 1: 4 sc in MR. (4)
Rnds 2–11: sc in each st around. (4)
Fasten off, leaving a tail for attaching to the body. Add a small tuft of brown yarn to the tip for the tail’s brush.
Assembly
Stuff the Head firmly and set it aside — the eyes and smile should already be in place. Sew the Body’s legs and arms in place if you haven’t already joined them during Rnds 10 and 22. Attach the Head to the top of the Body using the long yarn tail, working a whipstitch around the neck opening and adding extra stuffing to the neck as you close the gap. Sew the Ears between Rnds 18 and 21 of the Head, and the Horns between Rnds 17 and 20, spacing horns about 4 stitches apart. Sew the six Spots onto the Body and legs in a pleasing scattered pattern. Attach the Tail to the lower back of the Body. Weave in all remaining yarn ends.
Tips & Tricks
Plush yarn hides stitch definition beautifully, but it also hides mistakes in your decrease placement — so use a stitch marker at the start of every round, especially through the shaping-heavy rounds of the Head and Body. When you hit a decrease round, work it as an invisible decrease by inserting your hook through the front loops of the next two stitches only; this keeps the surface smooth instead of leaving a visible ridge.
Stuff the neck of the Body far more firmly than you think you need to — a soft neck is the number one reason amigurumi heads flop forward. When sewing the Head on, pin it in place first and turn the whole giraffe in your hands to check the eyes are level before you commit to stitching.
If you want to substitute a different yarn, stick to a bulky-weight yarn with some body to it; thin or slippery yarns will show gaps between stitches that plush yarn naturally conceals.
Frequently Asked Questions
What size hook should I use for plush yarn?
The pattern calls for a US size E-4 (3.5 mm) hook. This smaller hook size helps create a tight, gap-free fabric that prevents the stuffing from showing through.
Can I use a different yarn weight?
Yes, but stick to a bulky-weight yarn with some body. Thinner or slippery yarns may not hide gaps between stitches as well as plush yarn does.
How do I prevent the head from wobbling?
Stuff the neck of the body very firmly. When sewing the head on, add extra stuffing to the neck area as you close the gap.
What size safety eyes are best?
10–12 mm black safety eyes are recommended. Insert them between Rounds 11 and 12 of the head, spacing them 7–8 stitches apart.
How do I make the decreases invisible?
Use an invisible decrease: insert your hook through the front loops only of the next two stitches, then yarn over and pull through both loops, and complete the single crochet as usual.
How many spots do I need to make?
You will need to make 6 spots. Sew them onto the body and legs in a scattered pattern.
Pin This Crochet Pattern!