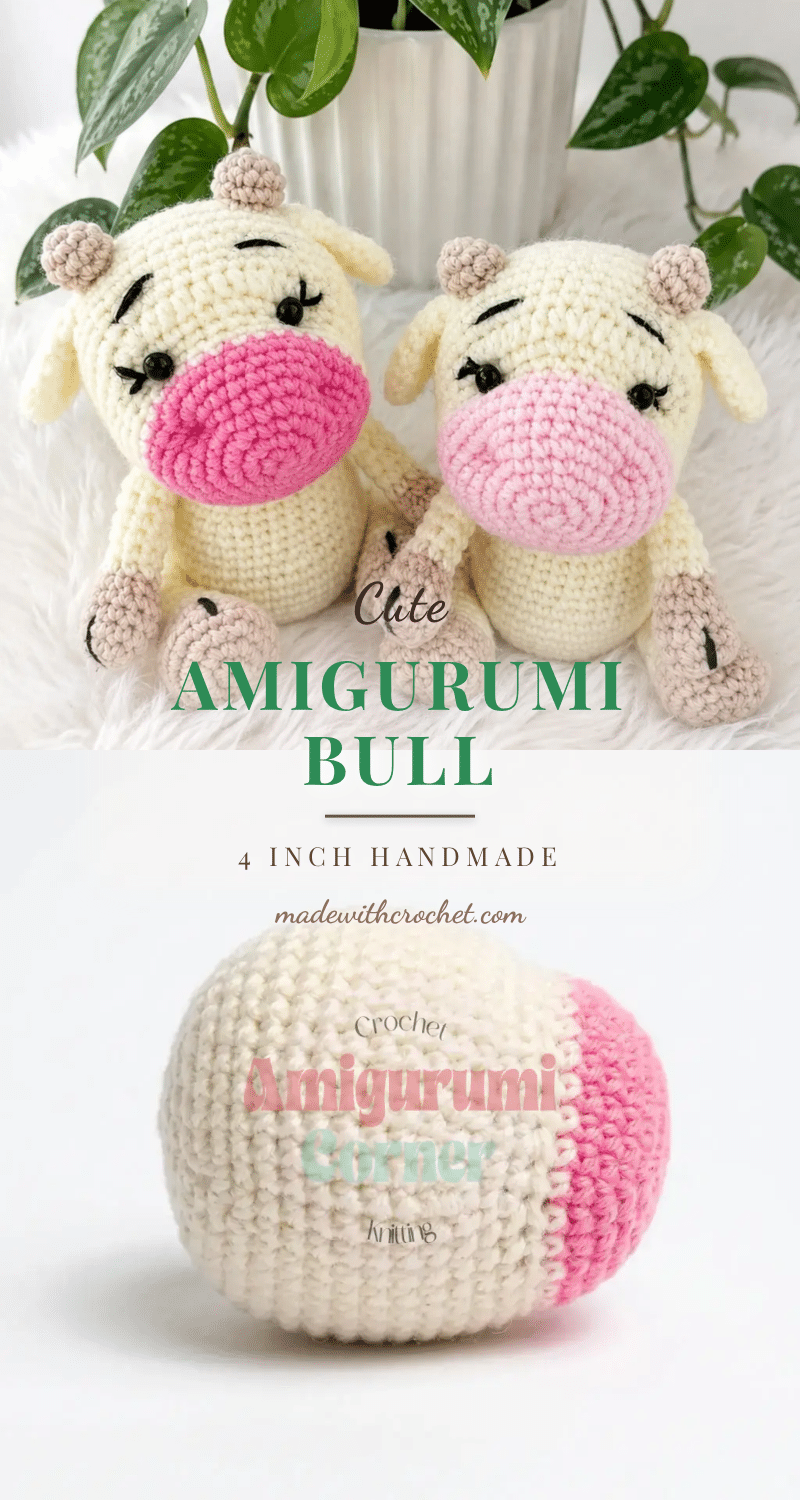
There is something undeniably charming about a tiny, chubby amigurumi animal that seems to stare back at you with wide, innocent eyes. This little bull is the perfect example of that magic, packing a surprising amount of personality into a compact four-inch frame. With his blush-pink muzzle, tiny worried eyebrows, and sturdy little legs, he is the kind of project that brings a smile to your face the moment you finish the final stitch. He is sturdy enough to sit on a shelf, cuddly enough for a lap, and small enough to be a delightful gift for a child or a fellow crocheter. This pattern is designed to be approachable, using basic shaping techniques that make it a satisfying project for anyone looking to add a touch of farmyard charm to their collection.
Why the Finished Piece Stands Out
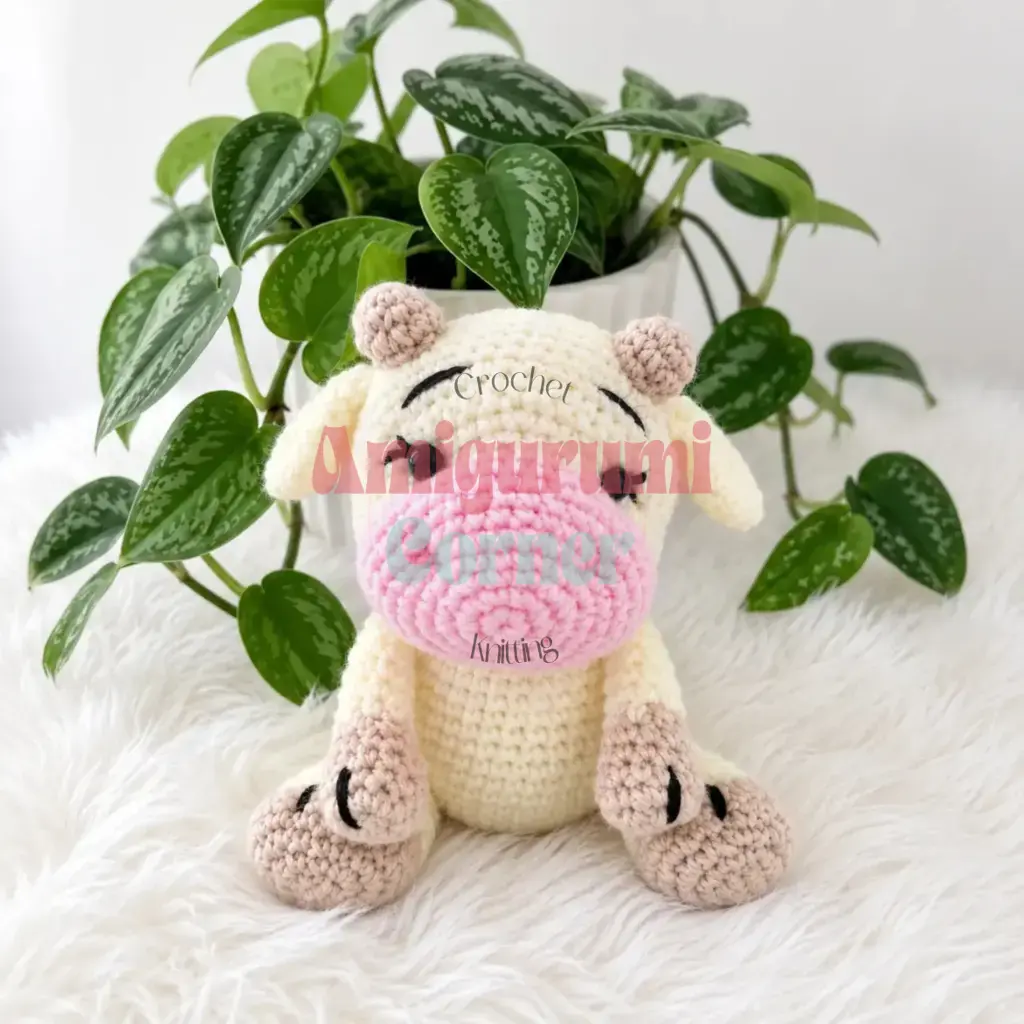
What truly makes this bull special is the interplay between his soft, creamy body and the distinct, sculpted features that give him character. Unlike many amigurumi that rely solely on safety eyes, this design uses needle-sculpting to create indents around the eyes and nostrils, resulting in a sweet, sleepy expression that feels almost human. The decision to use a two-part leg system—upper and lower legs—adds a unique structural element, giving the bull a slightly jointed look that allows him to sit upright with stability. The contrast of the beige hooves against the cream yarn, combined with the delicate black embroidery for eyelashes and eyebrows, elevates this from a simple toy to a piece of textile art. It is a project that rewards patience with a high-end finish, proving that small details make a big difference in amigurumi design.
Project Overview
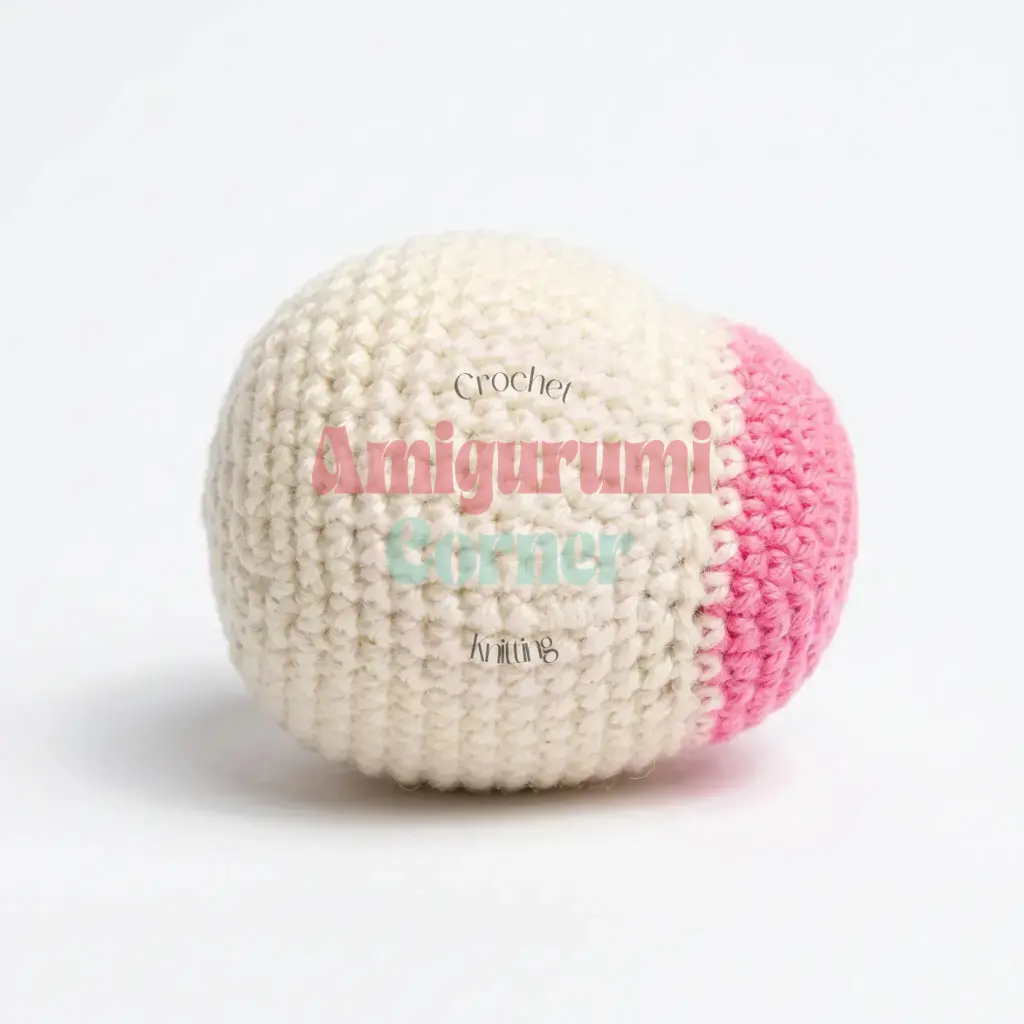
This pattern creates a 4-inch tall amigurumi bull worked in continuous spiral rounds using single crochet. The project is written in US crochet terminology and is suitable for crocheters who are comfortable with basic amigurumi shaping. The bull is constructed from several distinct pieces—the head, body, ears, horns, legs, and tail—which are assembled at the end. The design features a unique muzzle created in pink yarn, a main body in cream/champagne, and beige accents for the hooves and horns.
Materials
- Yarn: Sport/DK weight (CYCA #2–3) acrylic baby yarn in cream/champagne (main color).
- Accent Yarns: Small amounts of the same weight yarn in pink (muzzle), beige (horns and hooves), and black (facial embroidery).
- Hook: 2.0 mm crochet hook (Note: The closest US letter match is a B-1/2.25 mm hook; size down if your gauge runs loose).
- Eyes: 2 small black half-round beads or 6mm safety eyes.
- Stuffing: Polyester fiberfill stuffing.
- Notions: Stitch marker, yarn/tapestry needle, scissors.
Gauge and Finished Size
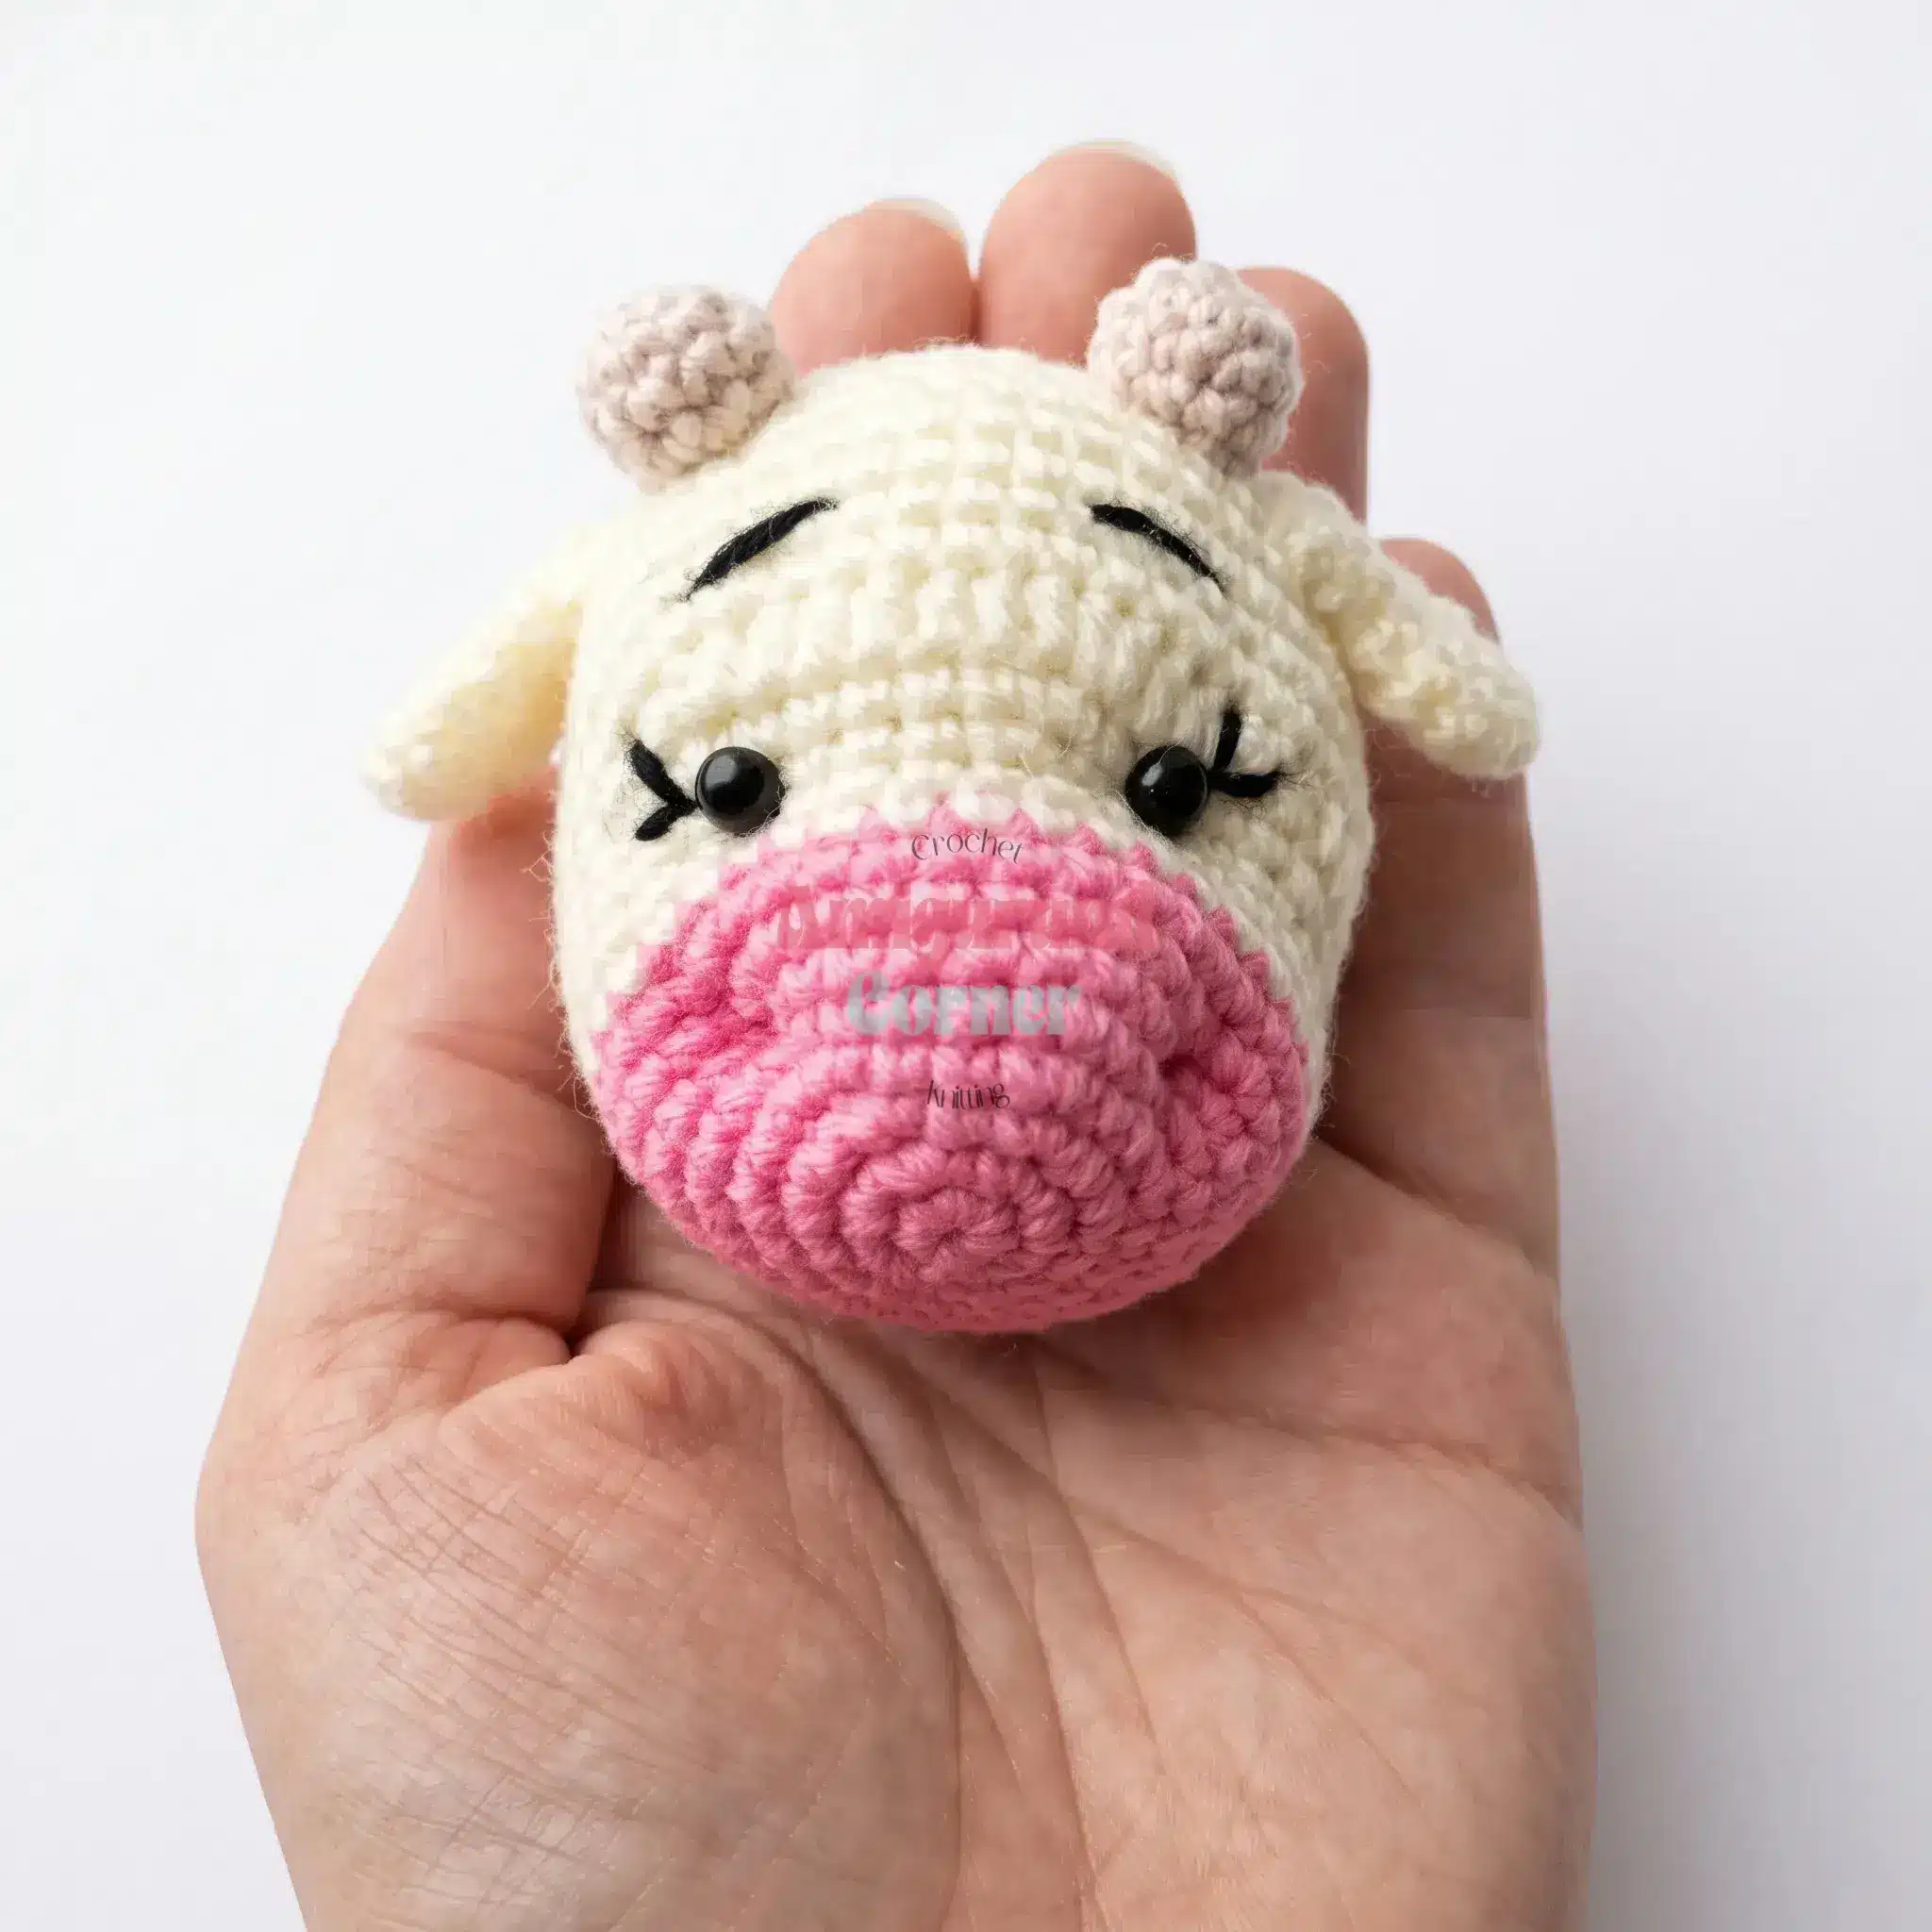
Finished Size: The finished bull stands about 4 inches (10 cm) tall when worked at this gauge with sport-weight yarn.
Gauge: Gauge isn’t critical here; just work to a tension tight enough that stuffing doesn’t peek through your stitches. Tighter stitches are preferred to keep the shaping crisp on such a small piece.
Abbreviations
- MR — Magic Ring
- sc — Single Crochet
- hdc — Half Double Crochet
- inc — Increase (2 sc in same stitch)
- dec — Decrease (invisible decrease)
- BLO — Back Loop Only
- sl st — Slip Stitch
- st(s) — Stitch(es)
Pattern Notes
- This pattern is written in US crochet terminology.
- All pieces are worked in continuous spiral rounds; do not join or turn unless a step tells you otherwise.
- Stitch counts are given at the end of every round in parentheses, like (18), so you can check your work as you go.
- Stuff firmly where noted, and leave long tails on the head, body, and limbs — you’ll use them to sew the pieces together during assembly.
Pattern Instructions
Head
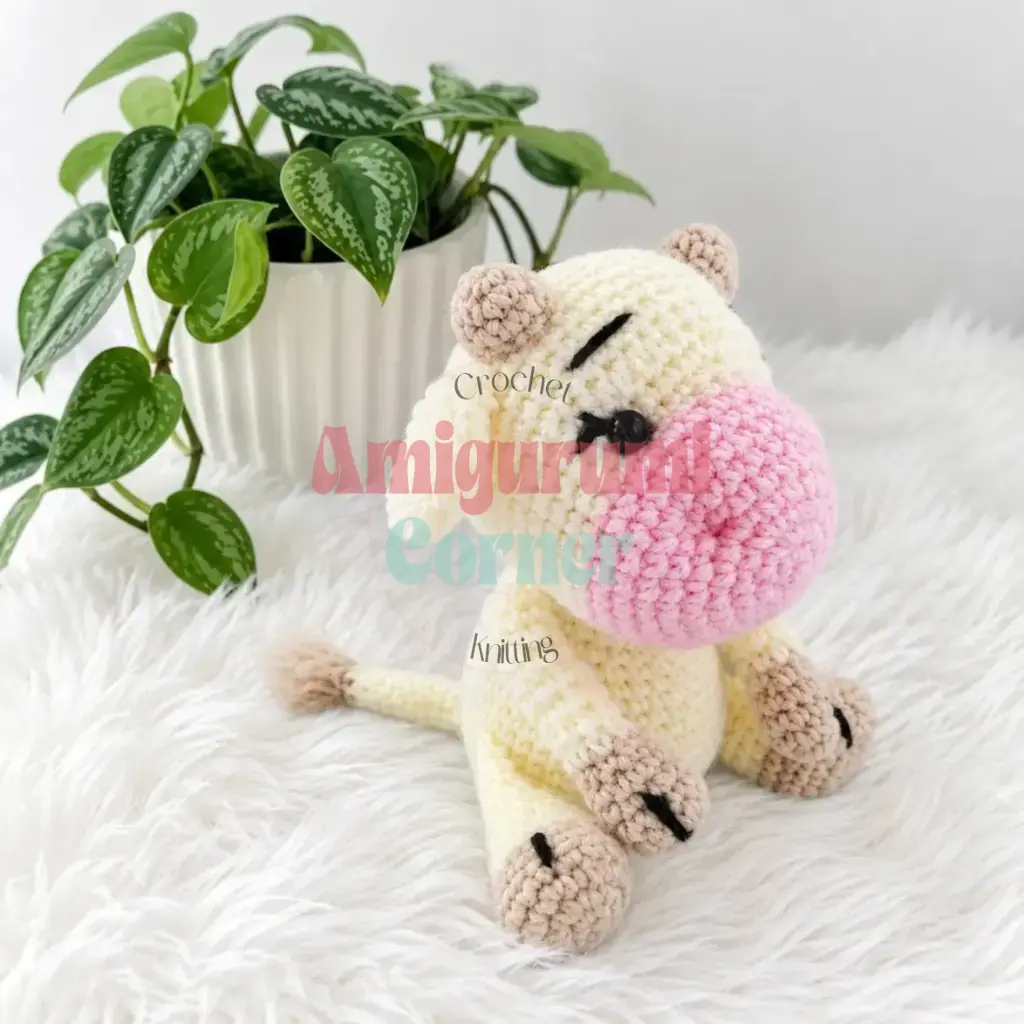
Begin with the muzzle in pink.
Rnd 1: 6 sc in MR. (6)
Rnd 2: inc in each st around. (12)
Rnd 3: sc, inc repeat 6 times around. (18)
Rnd 4: 2 sc, inc repeat 6 times around. (24)
Rnd 5: 3 sc, inc repeat 6 times around. (30)
Rnd 6: 9 sc, inc repeat 3 times around. (33)
Rnd 7: 10 sc, inc repeat 3 times around. (36)
Rnd 8: sc in each st around. Change to main color at the end of this round. (36)
Rnds 9–10: sc in each st around. (36)
Rnd 11: 13 sc, inc, 4 sc, inc, 4 sc, inc, 12 sc. (39)
Rnd 12: 13 sc, inc, 5 sc, inc, 5 sc, inc, 13 sc. (42)
Rnd 13: 13 sc, 2 hdc in next st, 6 hdc, 2 hdc in next st, 6 hdc, 2 hdc in next st, 14 sc. (45)
Rnd 14: 14 sc, inc repeat 3 times around. (48)
Rnds 15–20: sc in each st around. (48)
Rnd 21: 10 sc, dec repeat 4 times around. (44)
Rnd 22: 9 sc, dec repeat 4 times around. (40)
Rnd 23: 8 sc, dec repeat 4 times around. (36)
Rnd 24: 4 sc, dec repeat 6 times around. (30)
Rnd 25: 3 sc, dec repeat 6 times around. (24)
Rnd 26: 2 sc, dec repeat 6 times around. (18) Stuff firmly at this point.
Rnd 27: sc, dec repeat 6 times around. (12)
Rnd 28: dec around, sl st to close. (6) Fasten off, leaving a tail to close the opening with a yarn needle.
Finishing the Head: Next, thread a yarn needle and pull it through the head at the eye and nostril points, pulling gently as you go to create small indents — this needle-sculpts the muzzle and gives the bull his sweet, sleepy expression.
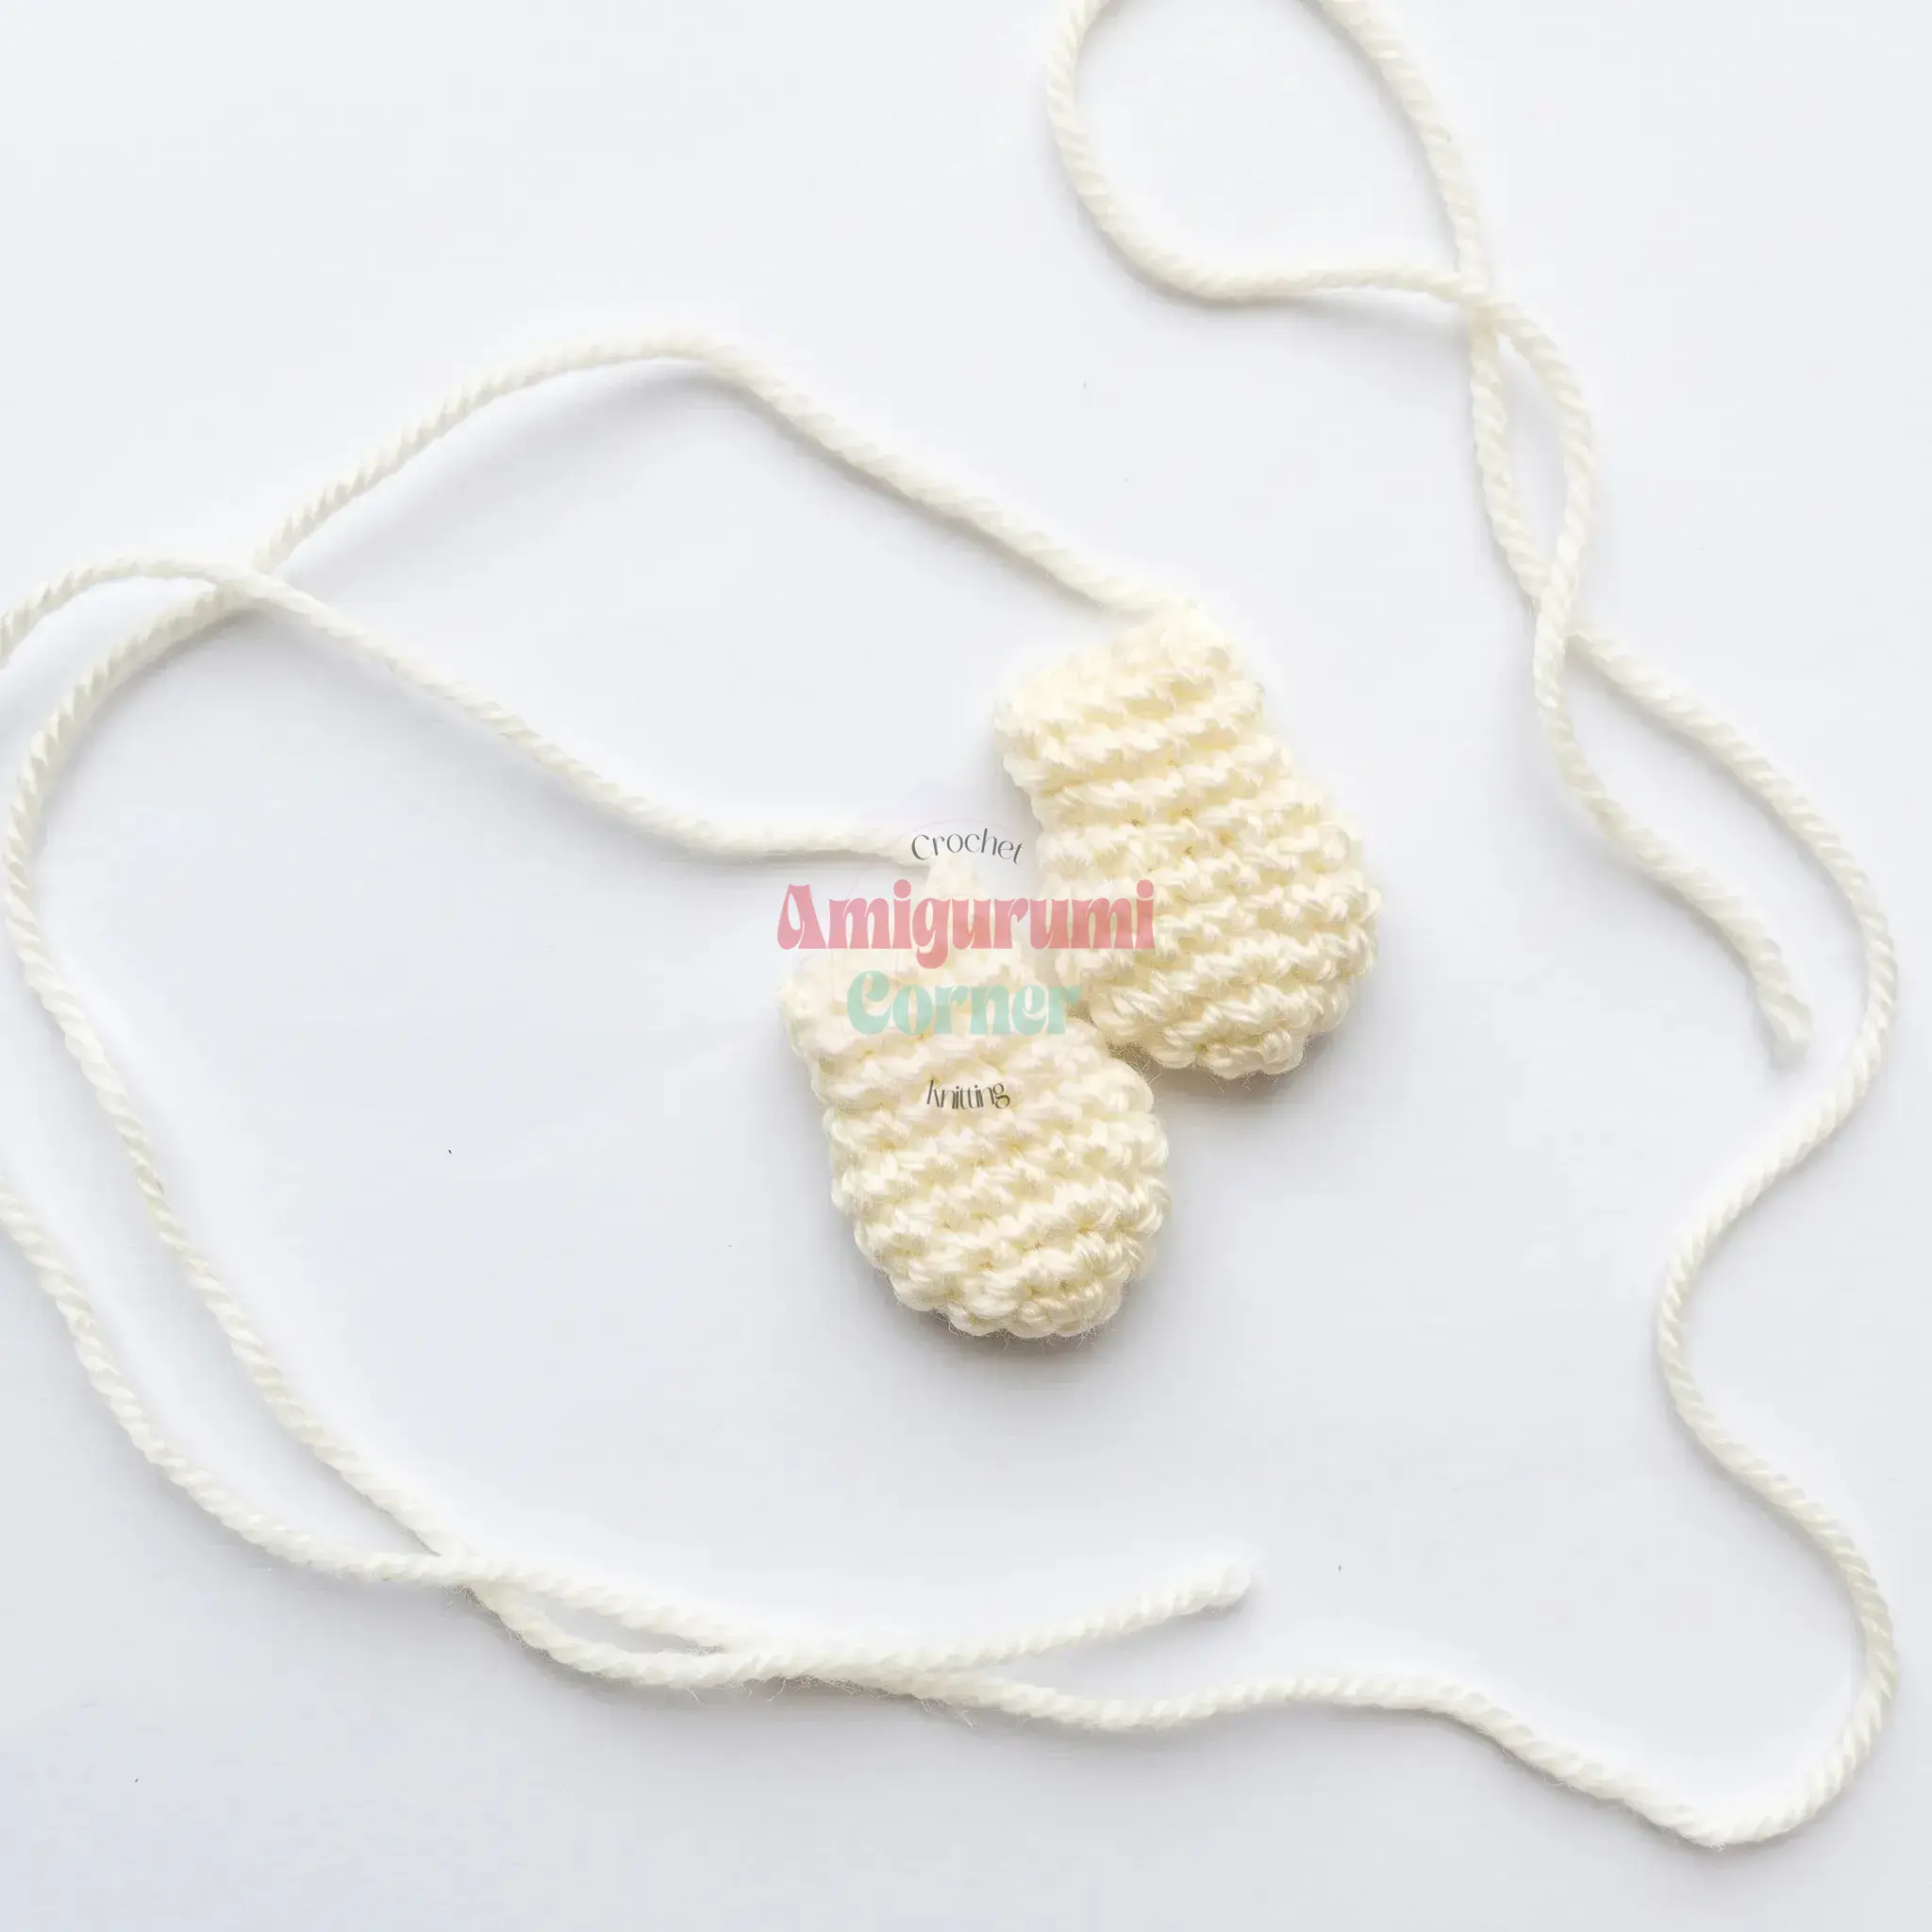
Ear (make 2)
Work in main color.
Rnd 1: 5 sc in MR. (5)
Rnd 2: inc in each st around. (10)
Rnd 3: sc, inc repeat 5 times around. (15)
Rnds 4–5: sc in each st around. (15)
Rnd 6: sc, dec repeat 5 times around. (10)
Rnds 7–8: sc in each st around. (10)
Fold the ear flat and sc through both layers together across 5 sts to close it. Fasten off, leaving a tail for sewing.
Horn (make 2)
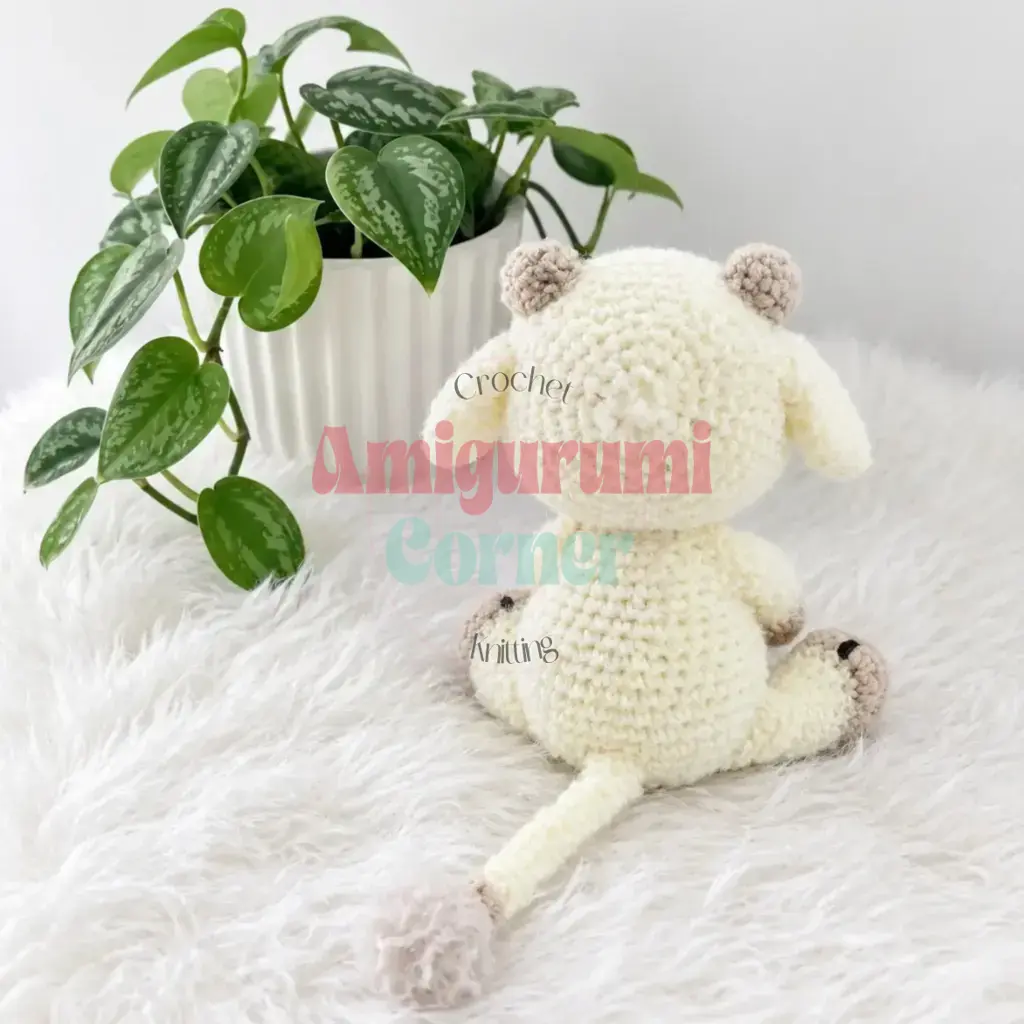
Work in beige.
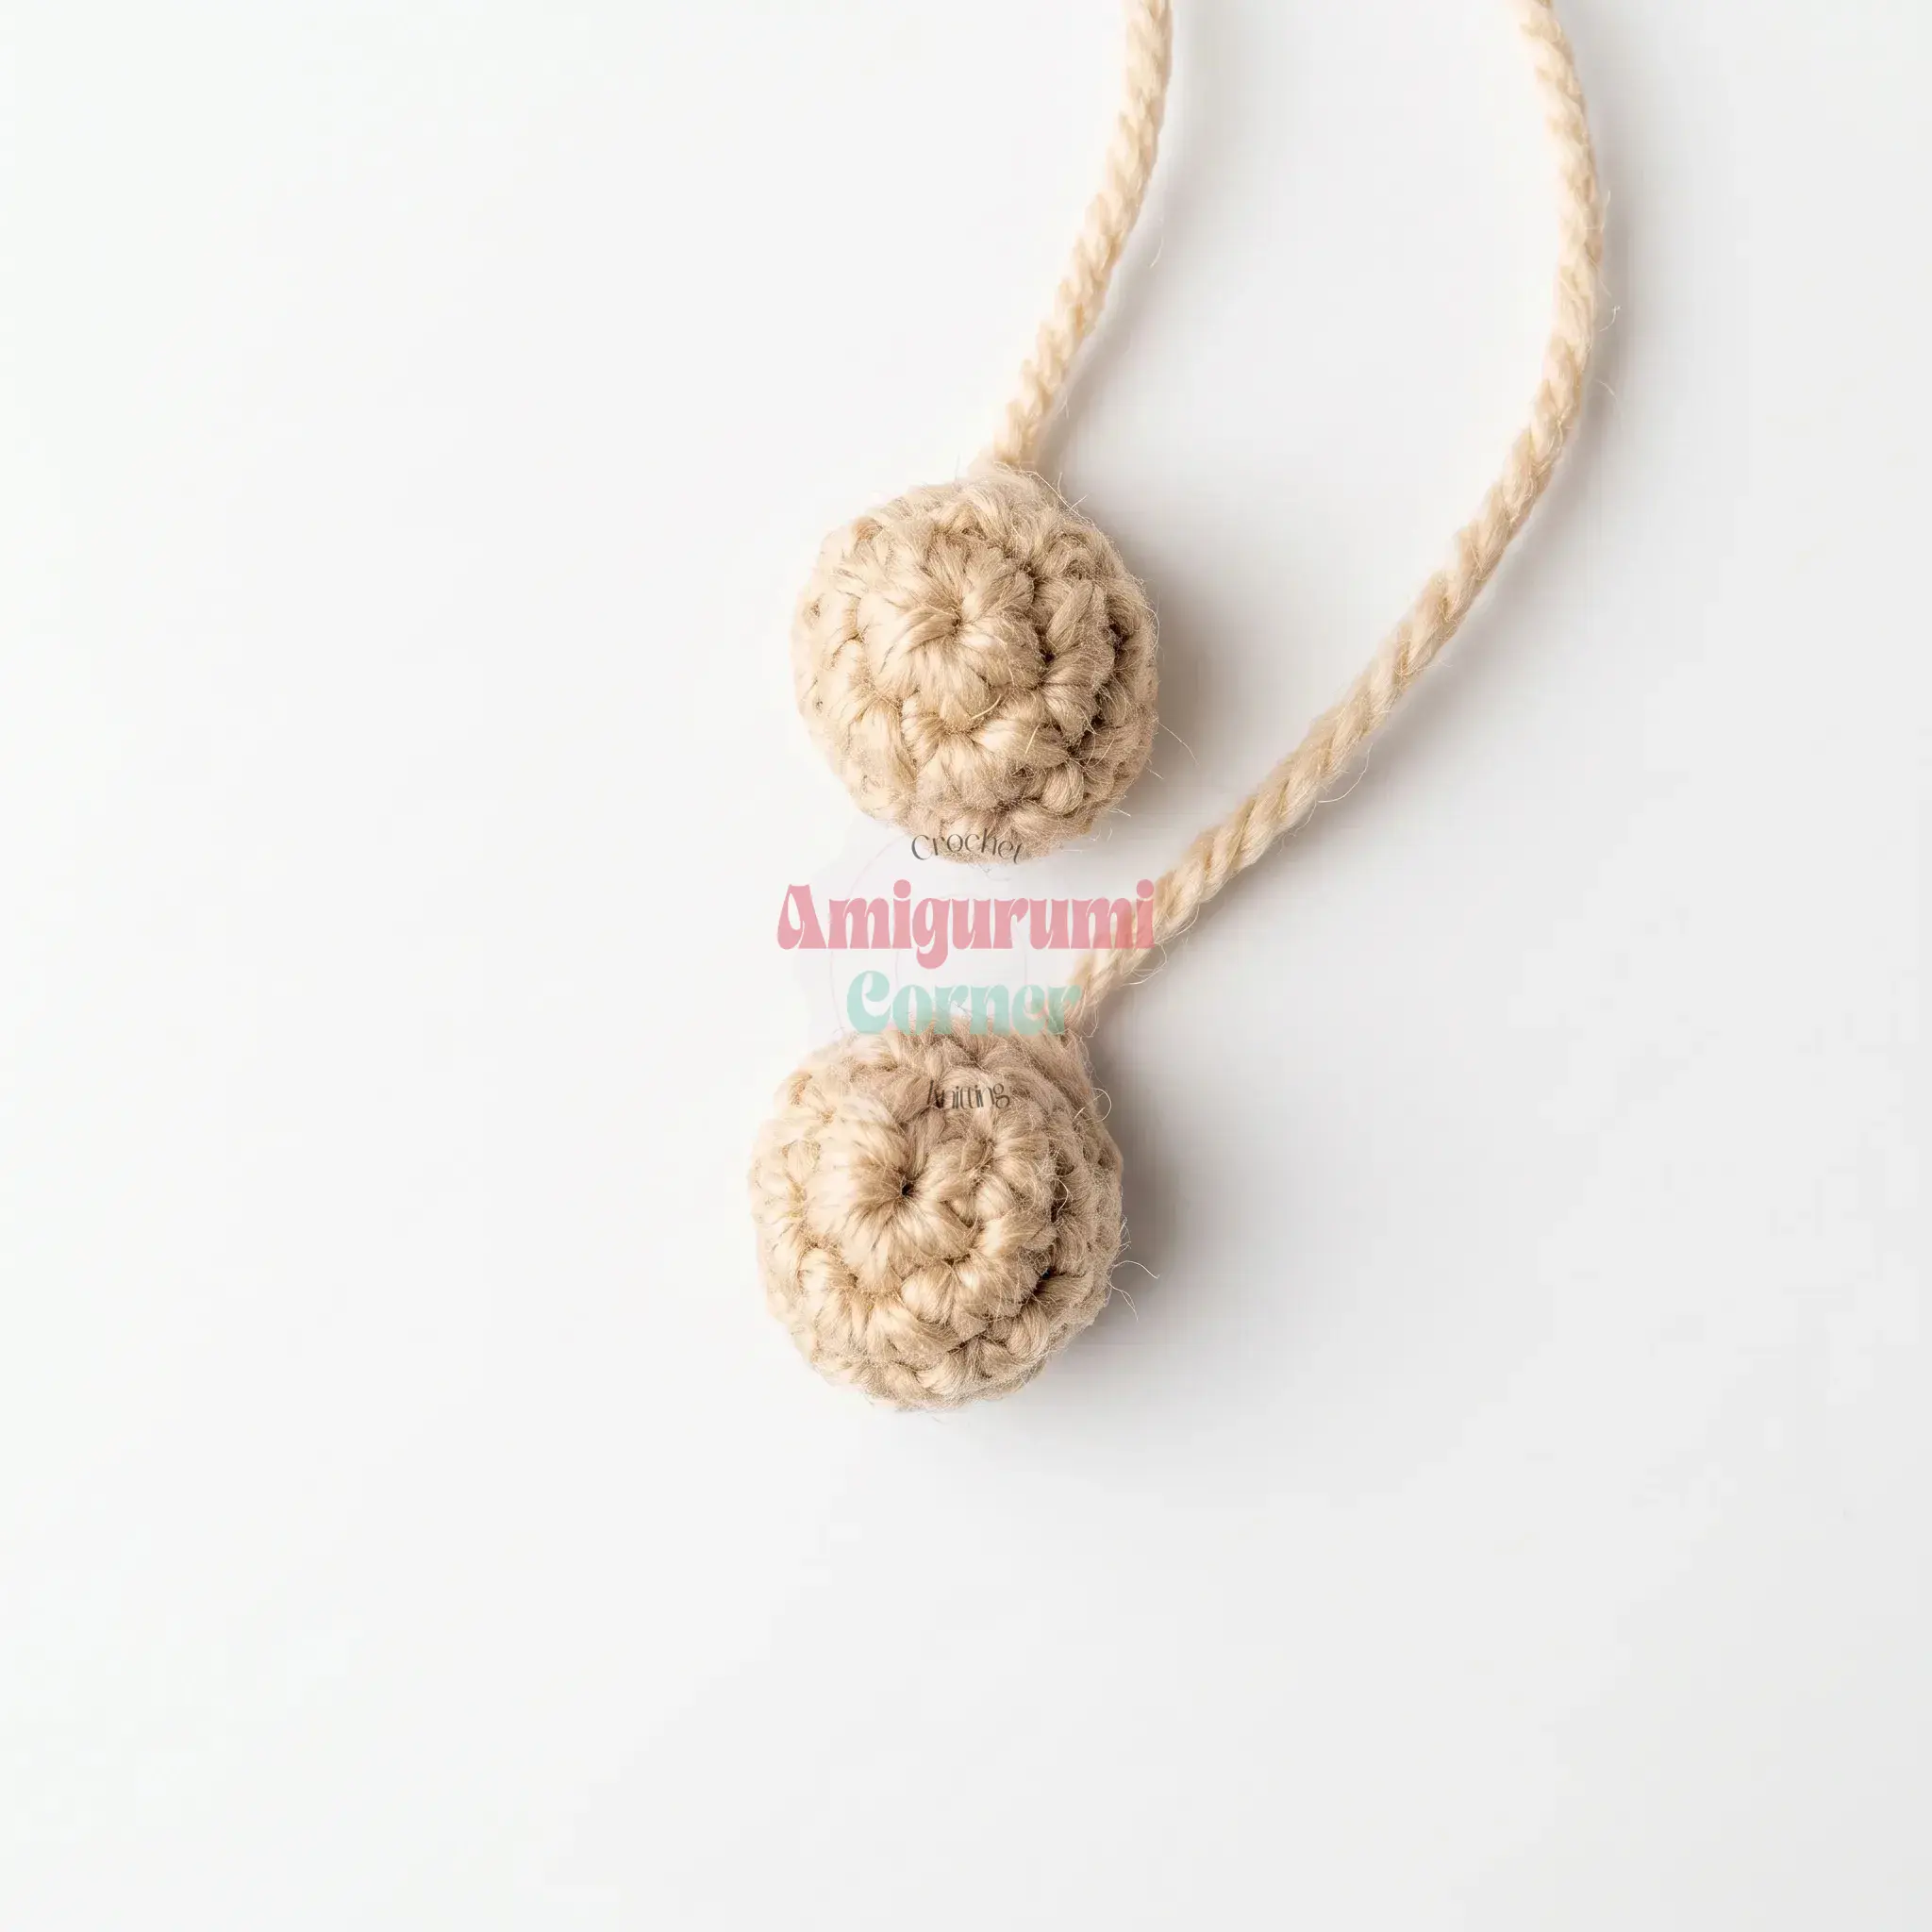
Rnd 1: 5 sc in MR. (5)
Rnd 2: inc in each st around. (10)
Rnds 3–4: sc in each st around. (10)
Fasten off, leaving a tail for sewing. Stuff each horn lightly as you sew it to the head.
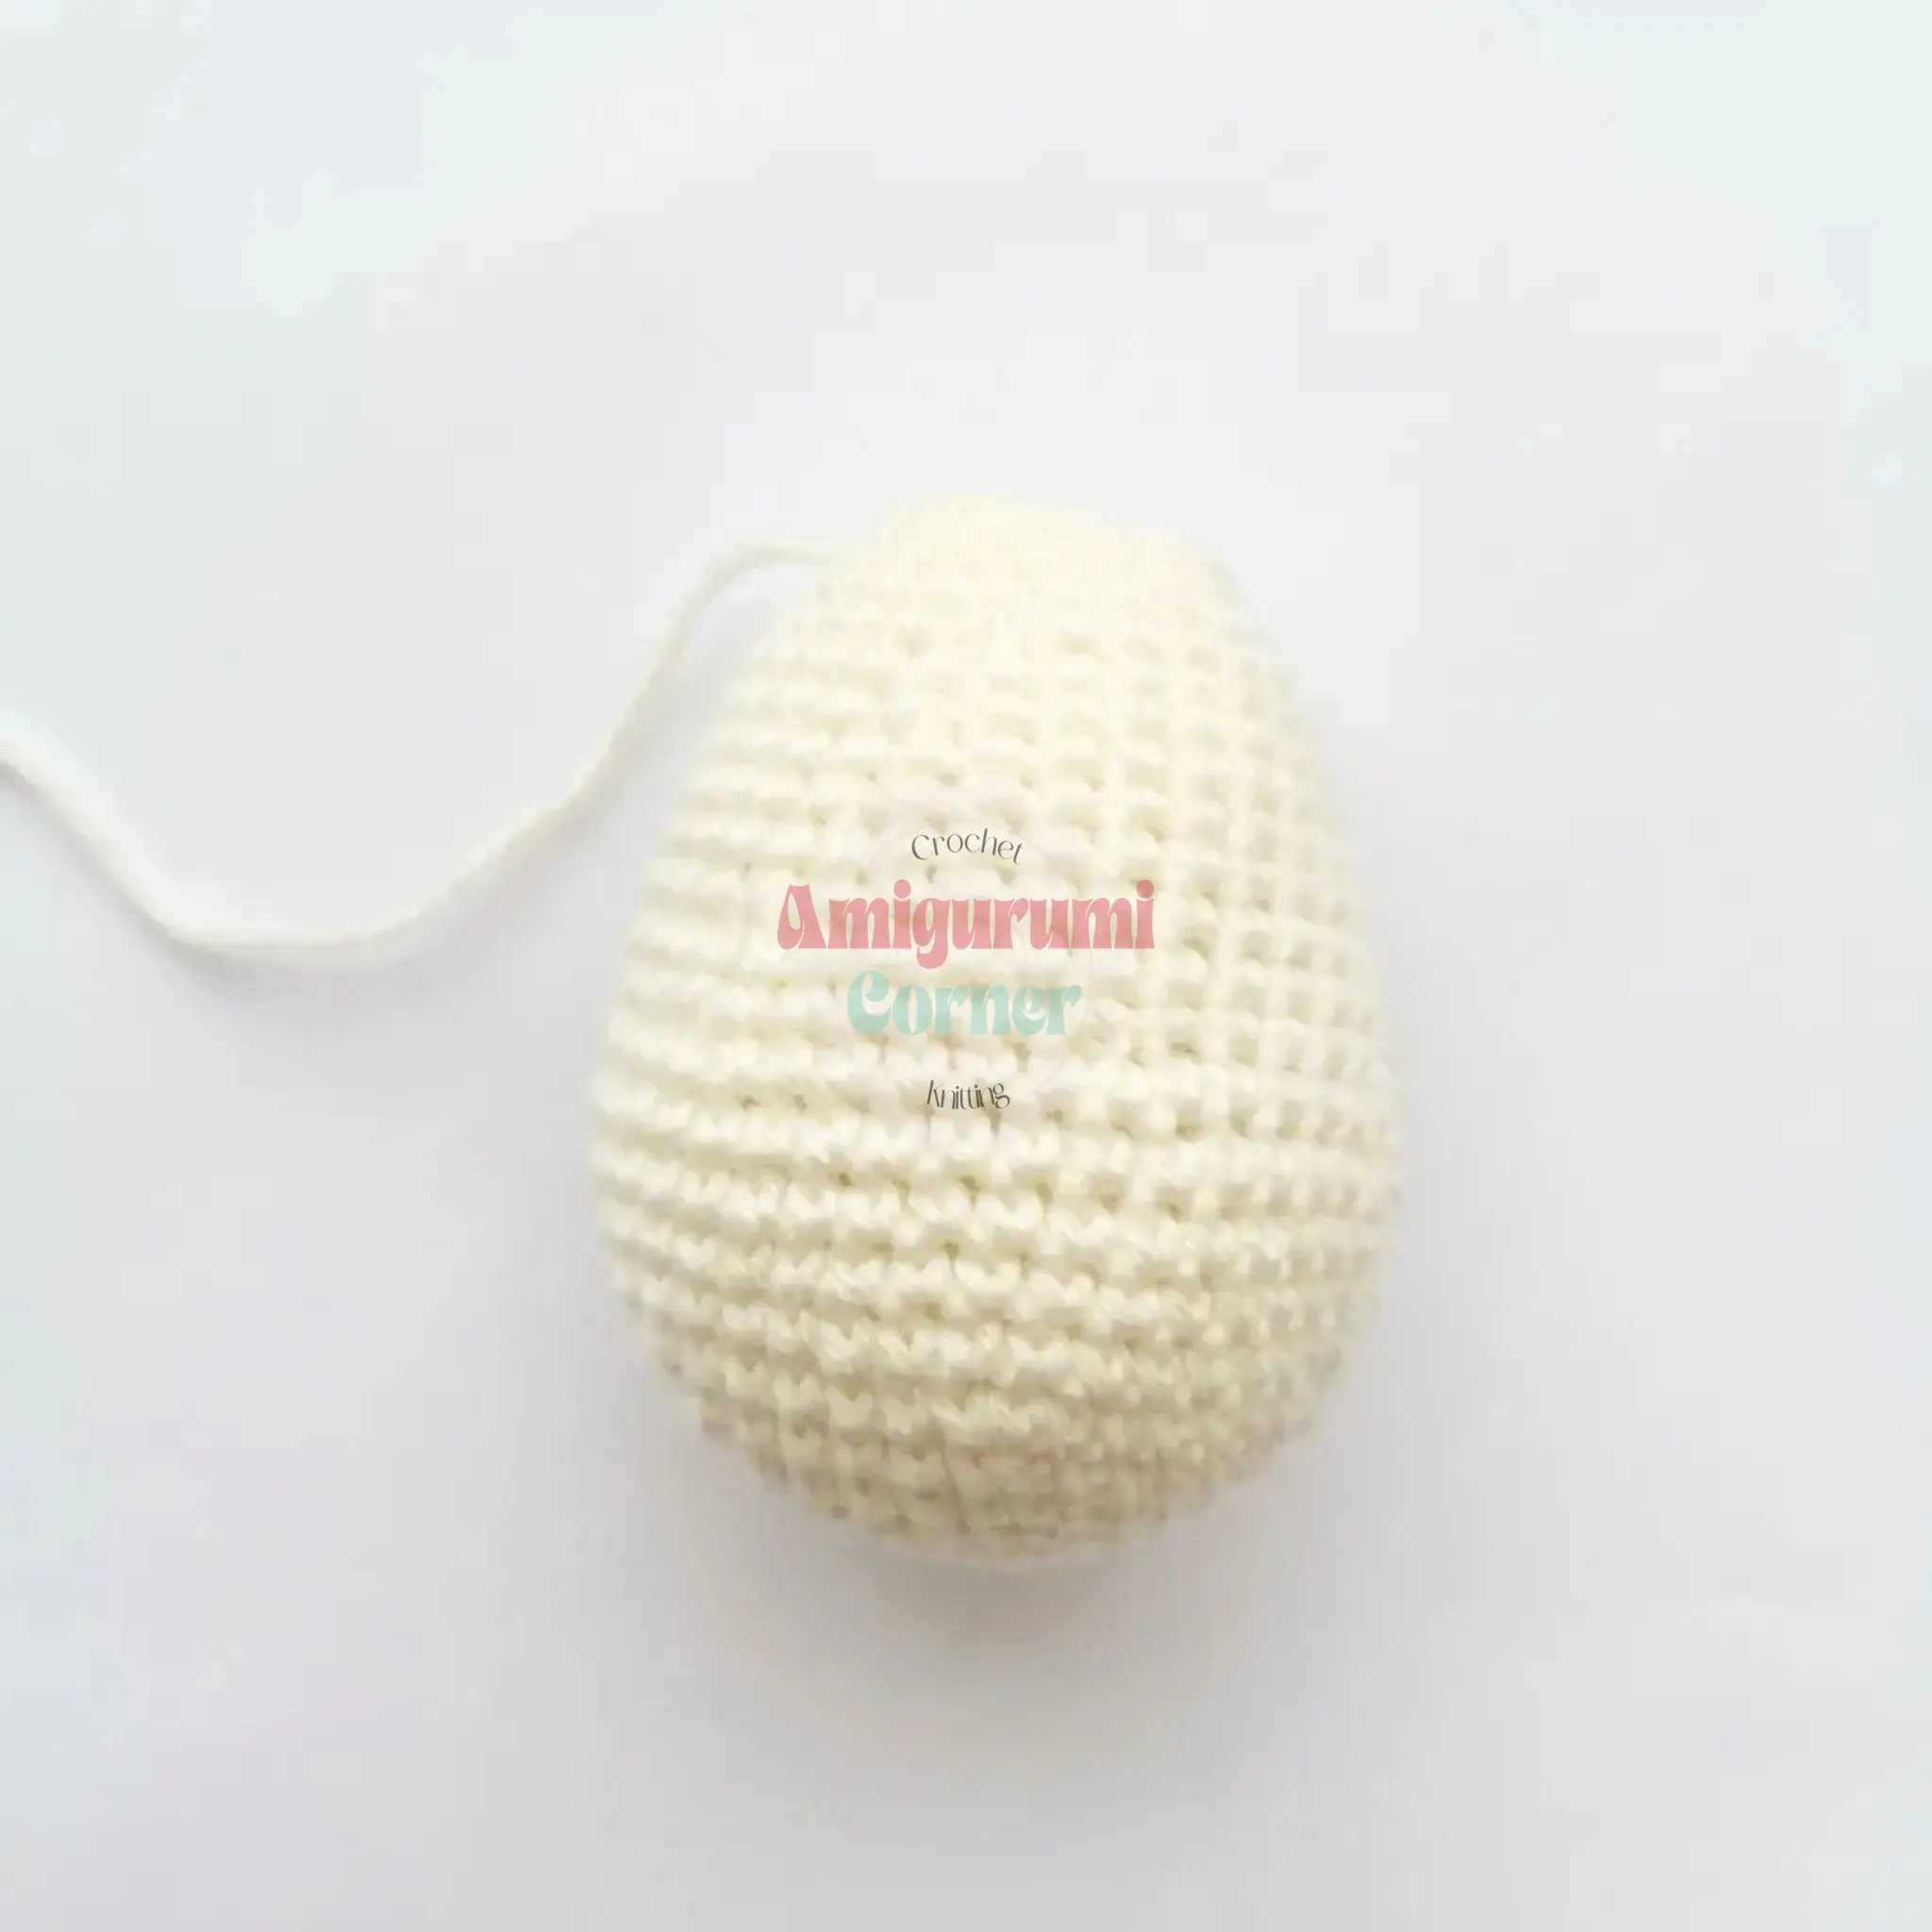
Body
Work in main color.
Rnd 1: 6 sc in MR. (6)
Rnd 2: inc in each st around. (12)
Rnd 3: sc, inc repeat 6 times around. (18)
Rnd 4: 2 sc, inc repeat 6 times around. (24)
Rnd 5: 3 sc, inc repeat 6 times around. (30)
Rnd 6: 4 sc, inc repeat 6 times around. (36)
Rnd 7: 5 sc, inc repeat 6 times around. (42)
Rnds 8–12: sc in each st around. (42)
Rnd 13: 5 sc, dec repeat 6 times around. (36)
Rnd 14: sc in each st around. (36)
Rnd 15: 10 sc, dec repeat 3 times around. (33)
Rnd 16: sc in each st around. (33)
Rnd 17: 9 sc, dec repeat 3 times around. (30)
Rnd 18: sc in each st around. (30)
Rnd 19: 8 sc, dec repeat 3 times around. (27)
Rnd 20: sc in each st around. (27)
Rnd 21: 7 sc, dec repeat 3 times around. (24)
Rnd 22: sc in each st around. (24)
Rnd 23: 2 sc, dec repeat 6 times around. (18) Stuff firmly at this point.
Rnd 24: sc in each st around. (18) Fasten off, leaving a long tail for sewing the head to the body.
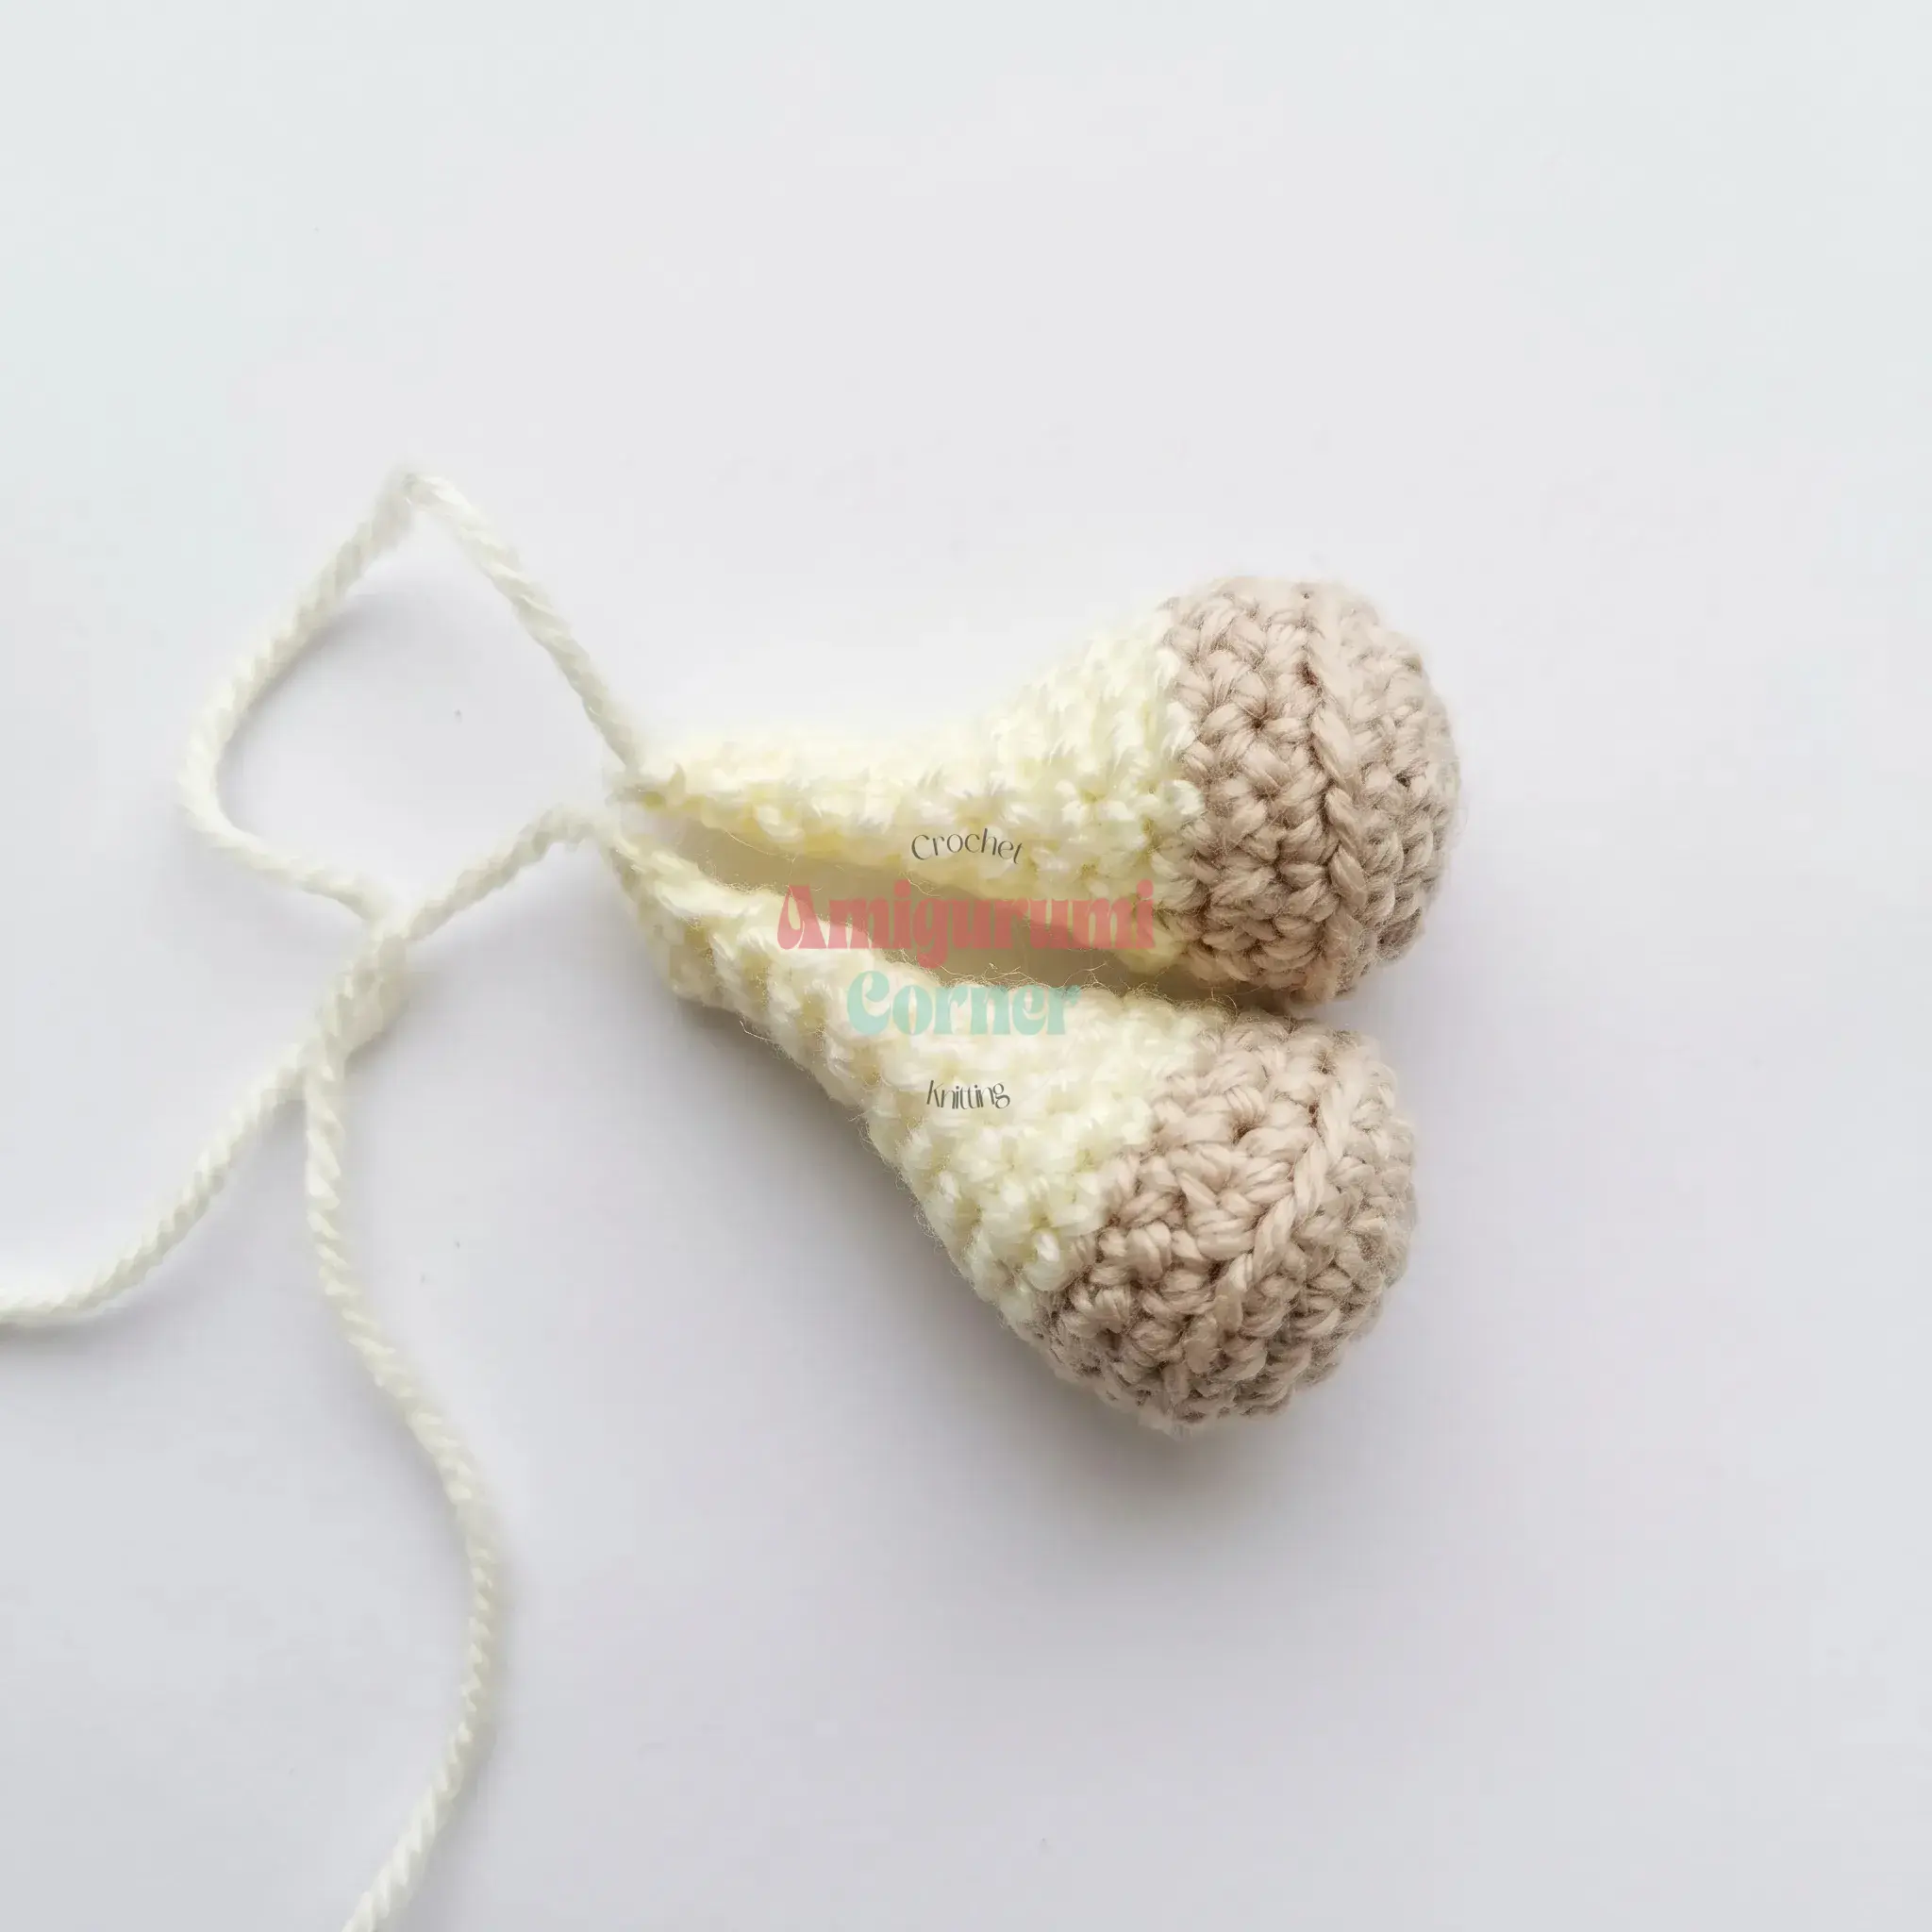
Upper Leg (make 2)
Begin with the hoof in beige.
Rnd 1: 6 sc in MR. (6)
Rnd 2: inc in each st around. (12)
Rnds 3–5: sc in each st around. (12)
Rnd 6: sc, dec repeat 4 times around. (8) Change to main color at the end of this round.
Rnds 7–16: sc in each st around. (8)
Stuff the hoof end more firmly than the top of the leg. Fold the leg flat and sc through both layers together across 4 sts to close. Fasten off, leaving a tail.
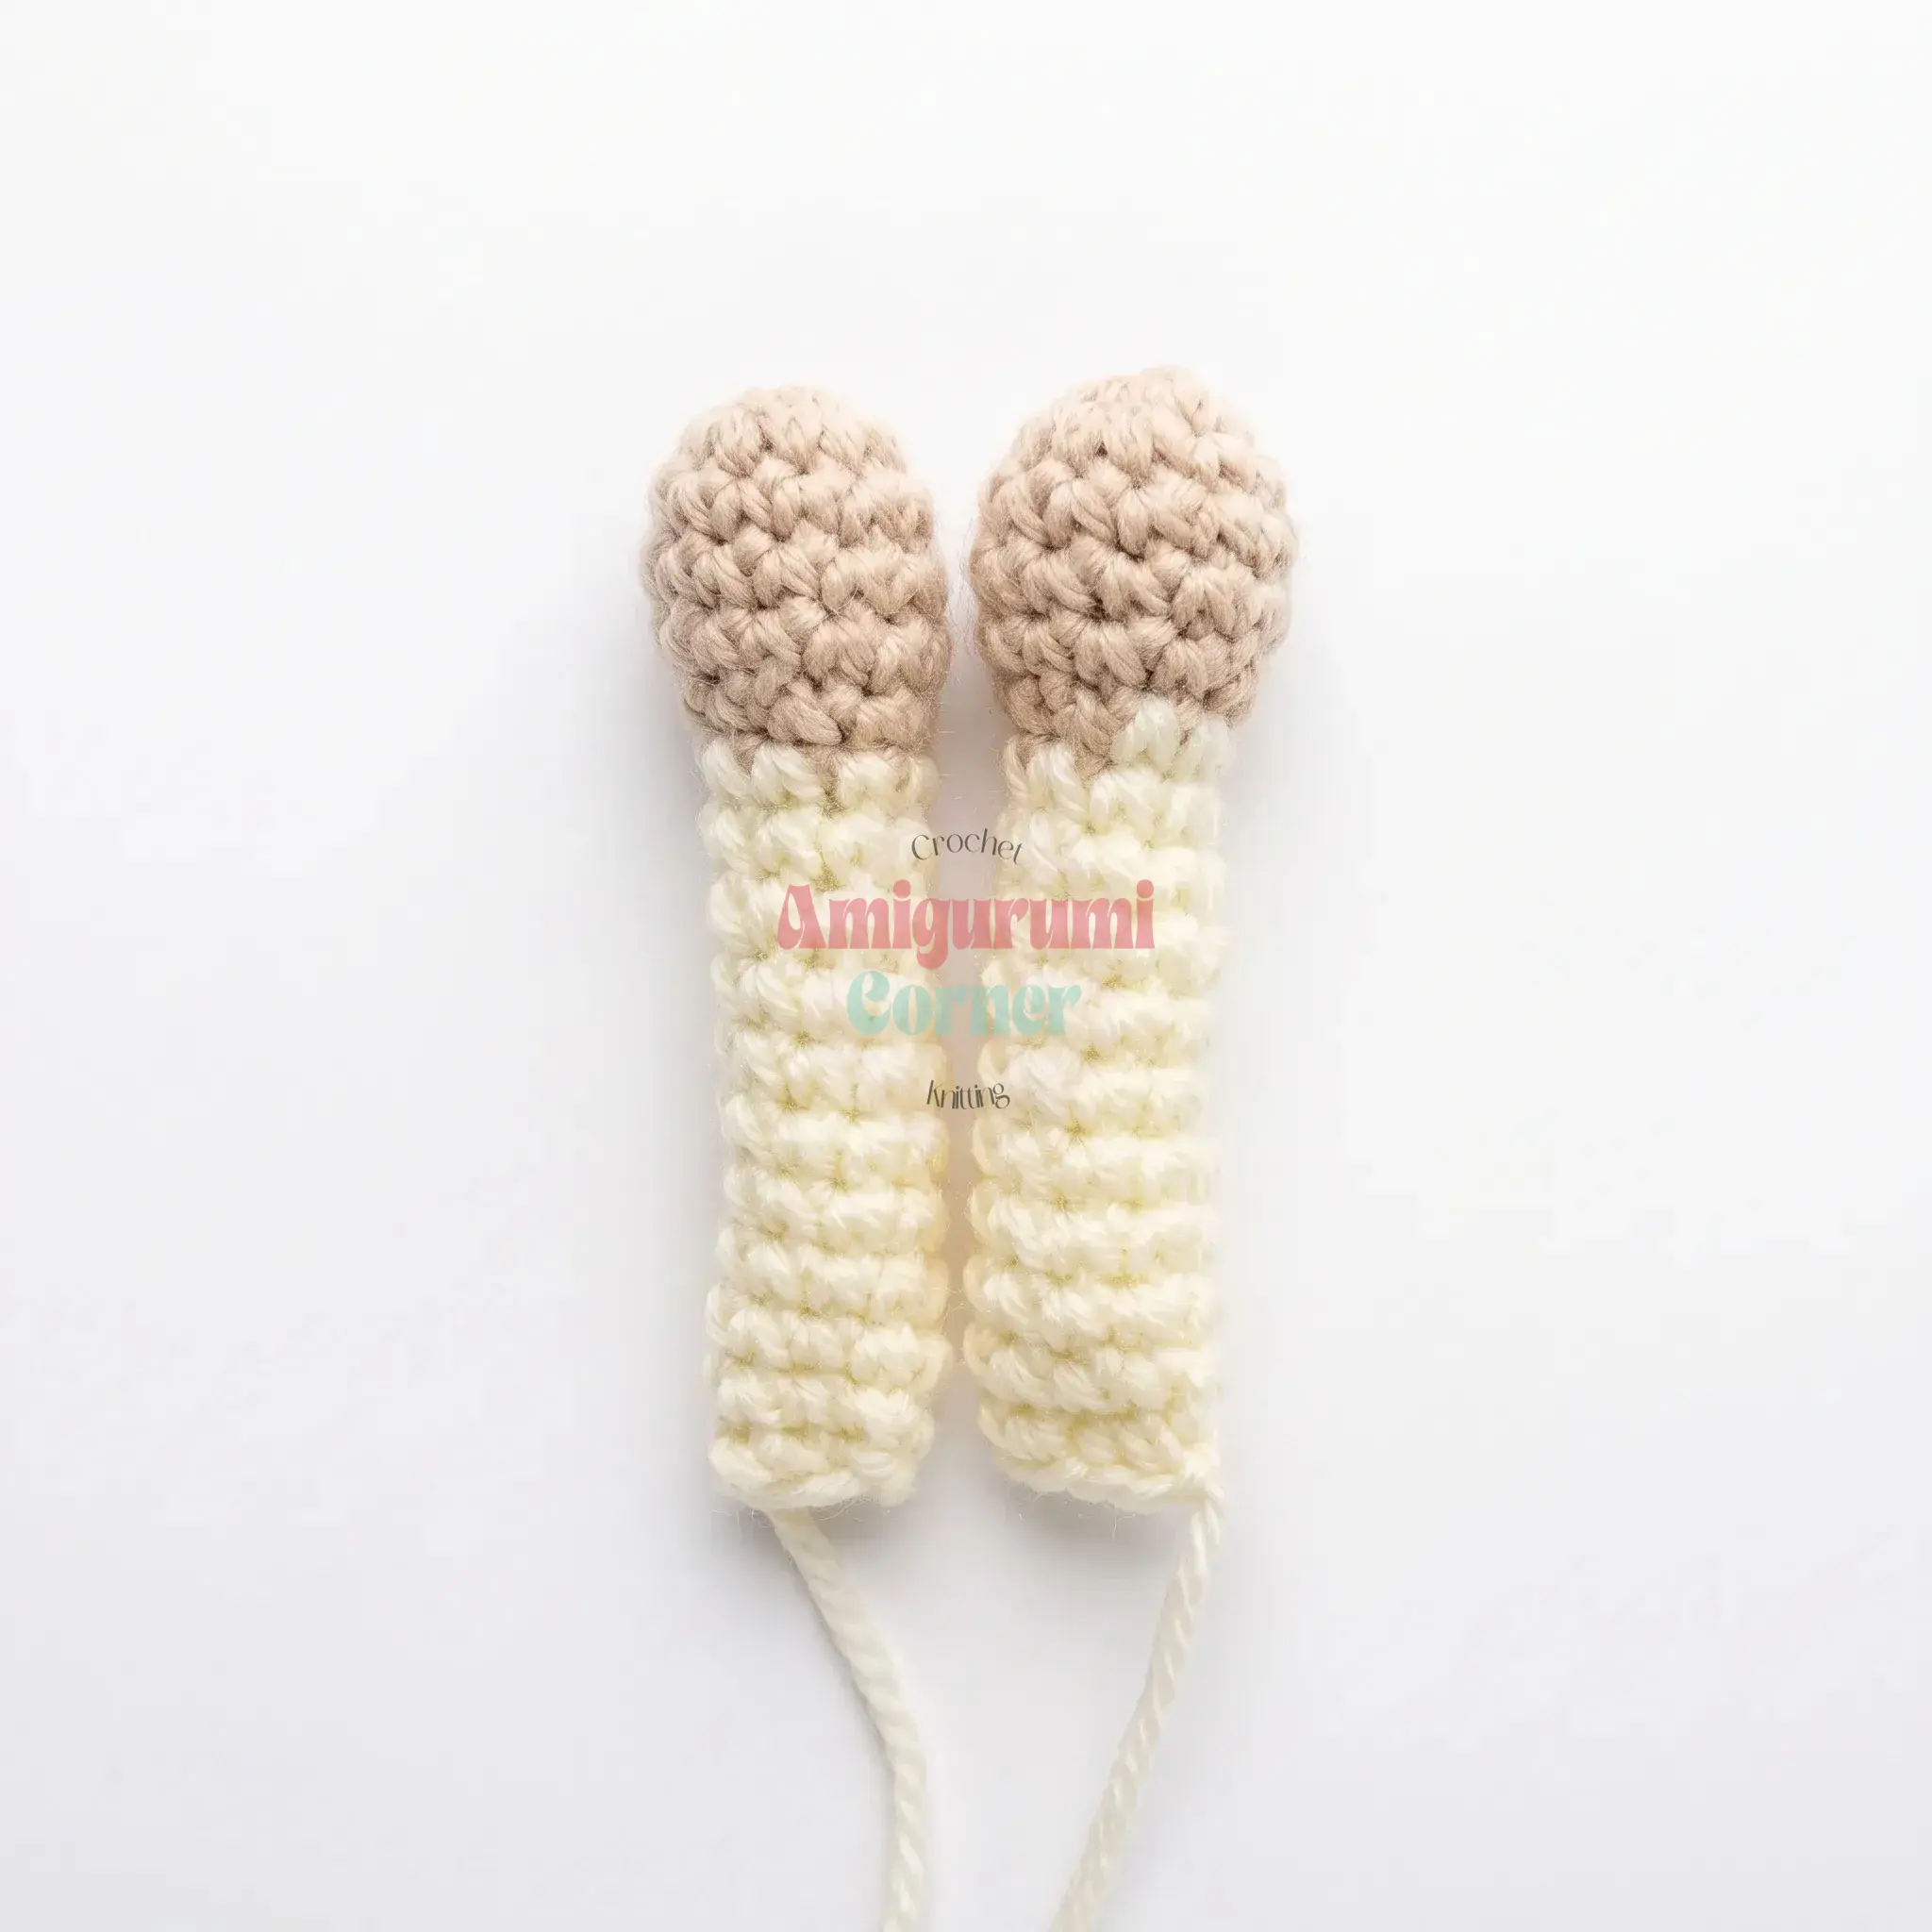
Lower Leg (make 2)
Begin with the hoof in beige.
Rnd 1: 6 sc in MR. (6)
Rnd 2: inc in each st around. (12)
Rnd 3: sc, inc repeat 6 times around. (18)
Rnd 4: 8 sc, inc repeat 2 times around. (20)
Rnd 5: Working in BLO, sc in each st around. (20)
Rnd 6: 8 sc, dec repeat 2 times around. (18) Change to main color at the end of this round.
Rnd 7: 7 sc, dec repeat 2 times around. (16)
Rnd 8: 6 sc, dec repeat 2 times around. (14)
Rnd 9: sc in each st around. (14)
Rnd 10: 5 sc, dec repeat 2 times around. (12)
Rnd 11: sc in each st around. (12)
Rnd 12: 4 sc, dec repeat 2 times around. (10)
Rnd 13: sc in each st around. (10) Stuff only the hoof area of the leg.
Rnd 14: 3 sc, dec repeat 2 times around. (8) Sc 2–3 more stitches, then fold the leg flat and sc through both layers together across 4 sts to close. Fasten off, leaving a tail.
Tail
Work in main color.
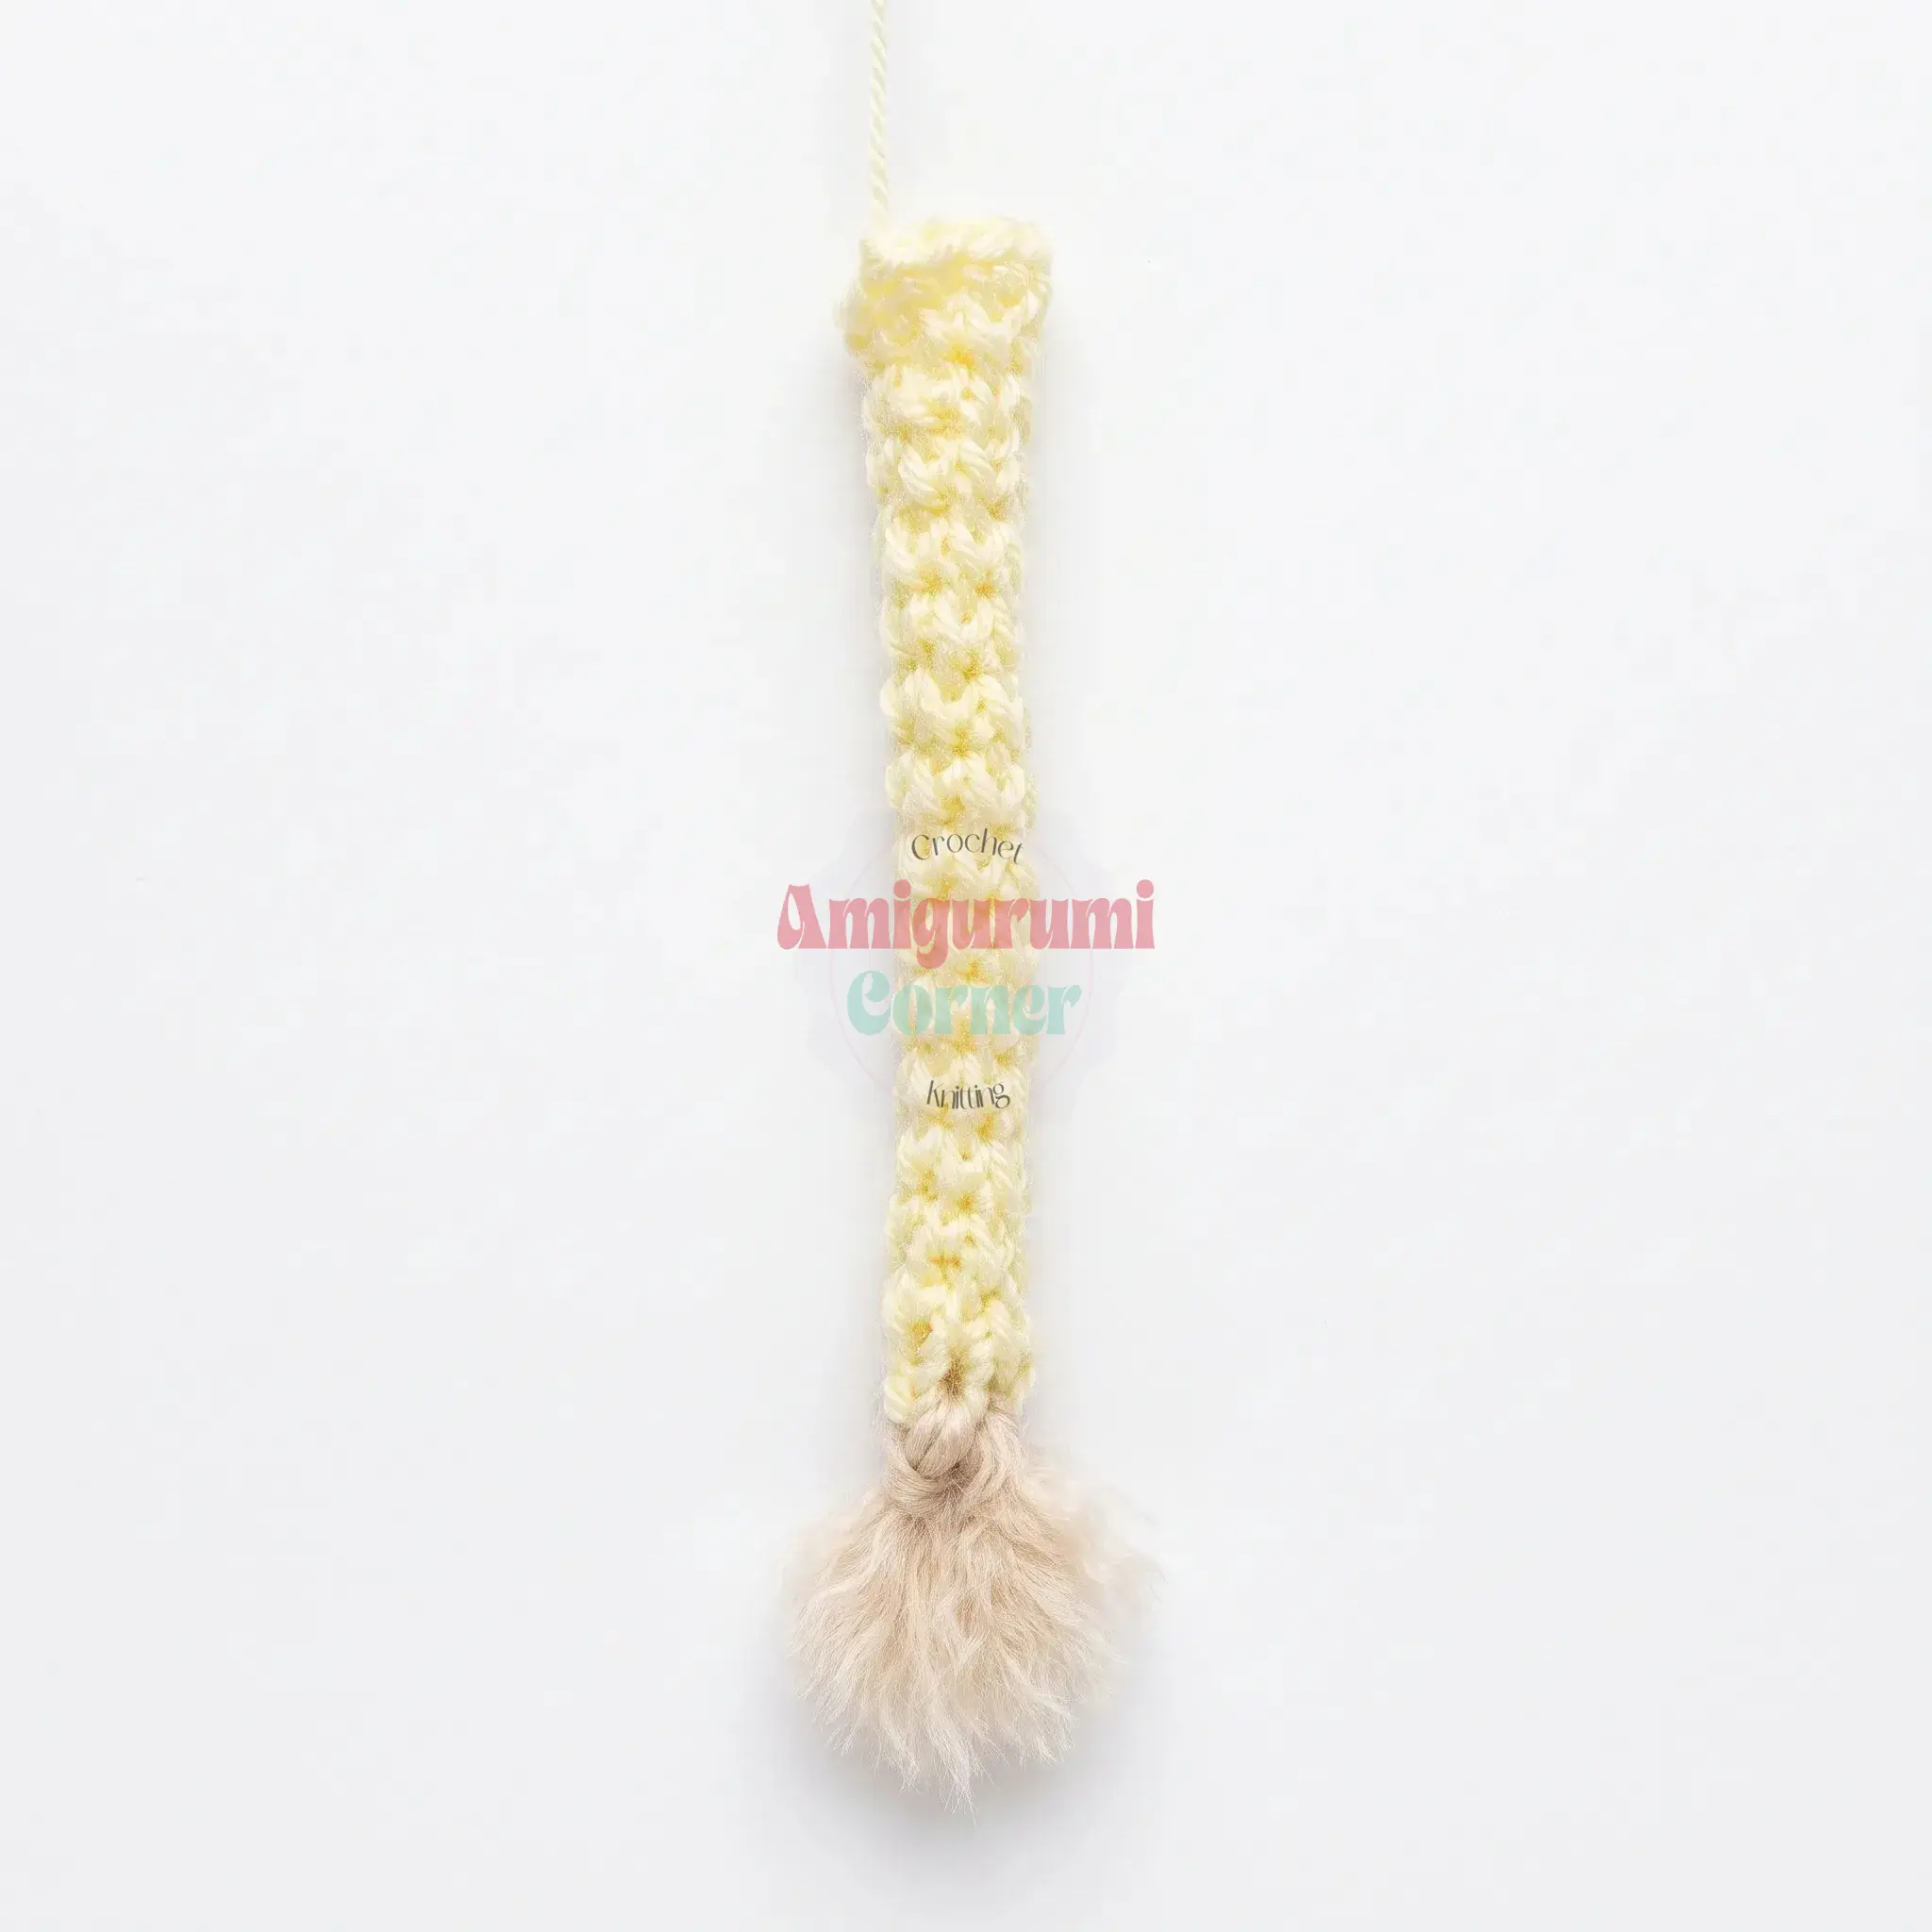
Rnd 1: 6 sc in MR. (6)
Rnds 2–13: sc in each st around. (6)
Rnd 14: sc, inc repeat 3 times around. (9)
Rnd 15: 2 sc, inc repeat 3 times around. (12)
Fasten off, leaving a tail. Do not stuff the tail. Attach a small tassel made from beige yarn to the tip.
Assembly
Putting Your Bull Together:
- Sew the ears and horns to the head using the tails left on each piece, positioning them per your reference photos.
- Glue or sew the black half-round beads (or safety eyes) in place on the muzzle.
- Using black yarn, embroider the eyebrows and eyelashes directly onto the head.
- Sew the head to the body using the long tail left at the top of the body.
- Embroider the hoof lines on all four legs using black yarn.
- Sew the upper and lower legs to the body, positioning them so the bull can sit upright.
- Sew the tail to the back of the body.
- Weave in all remaining ends.
Tips
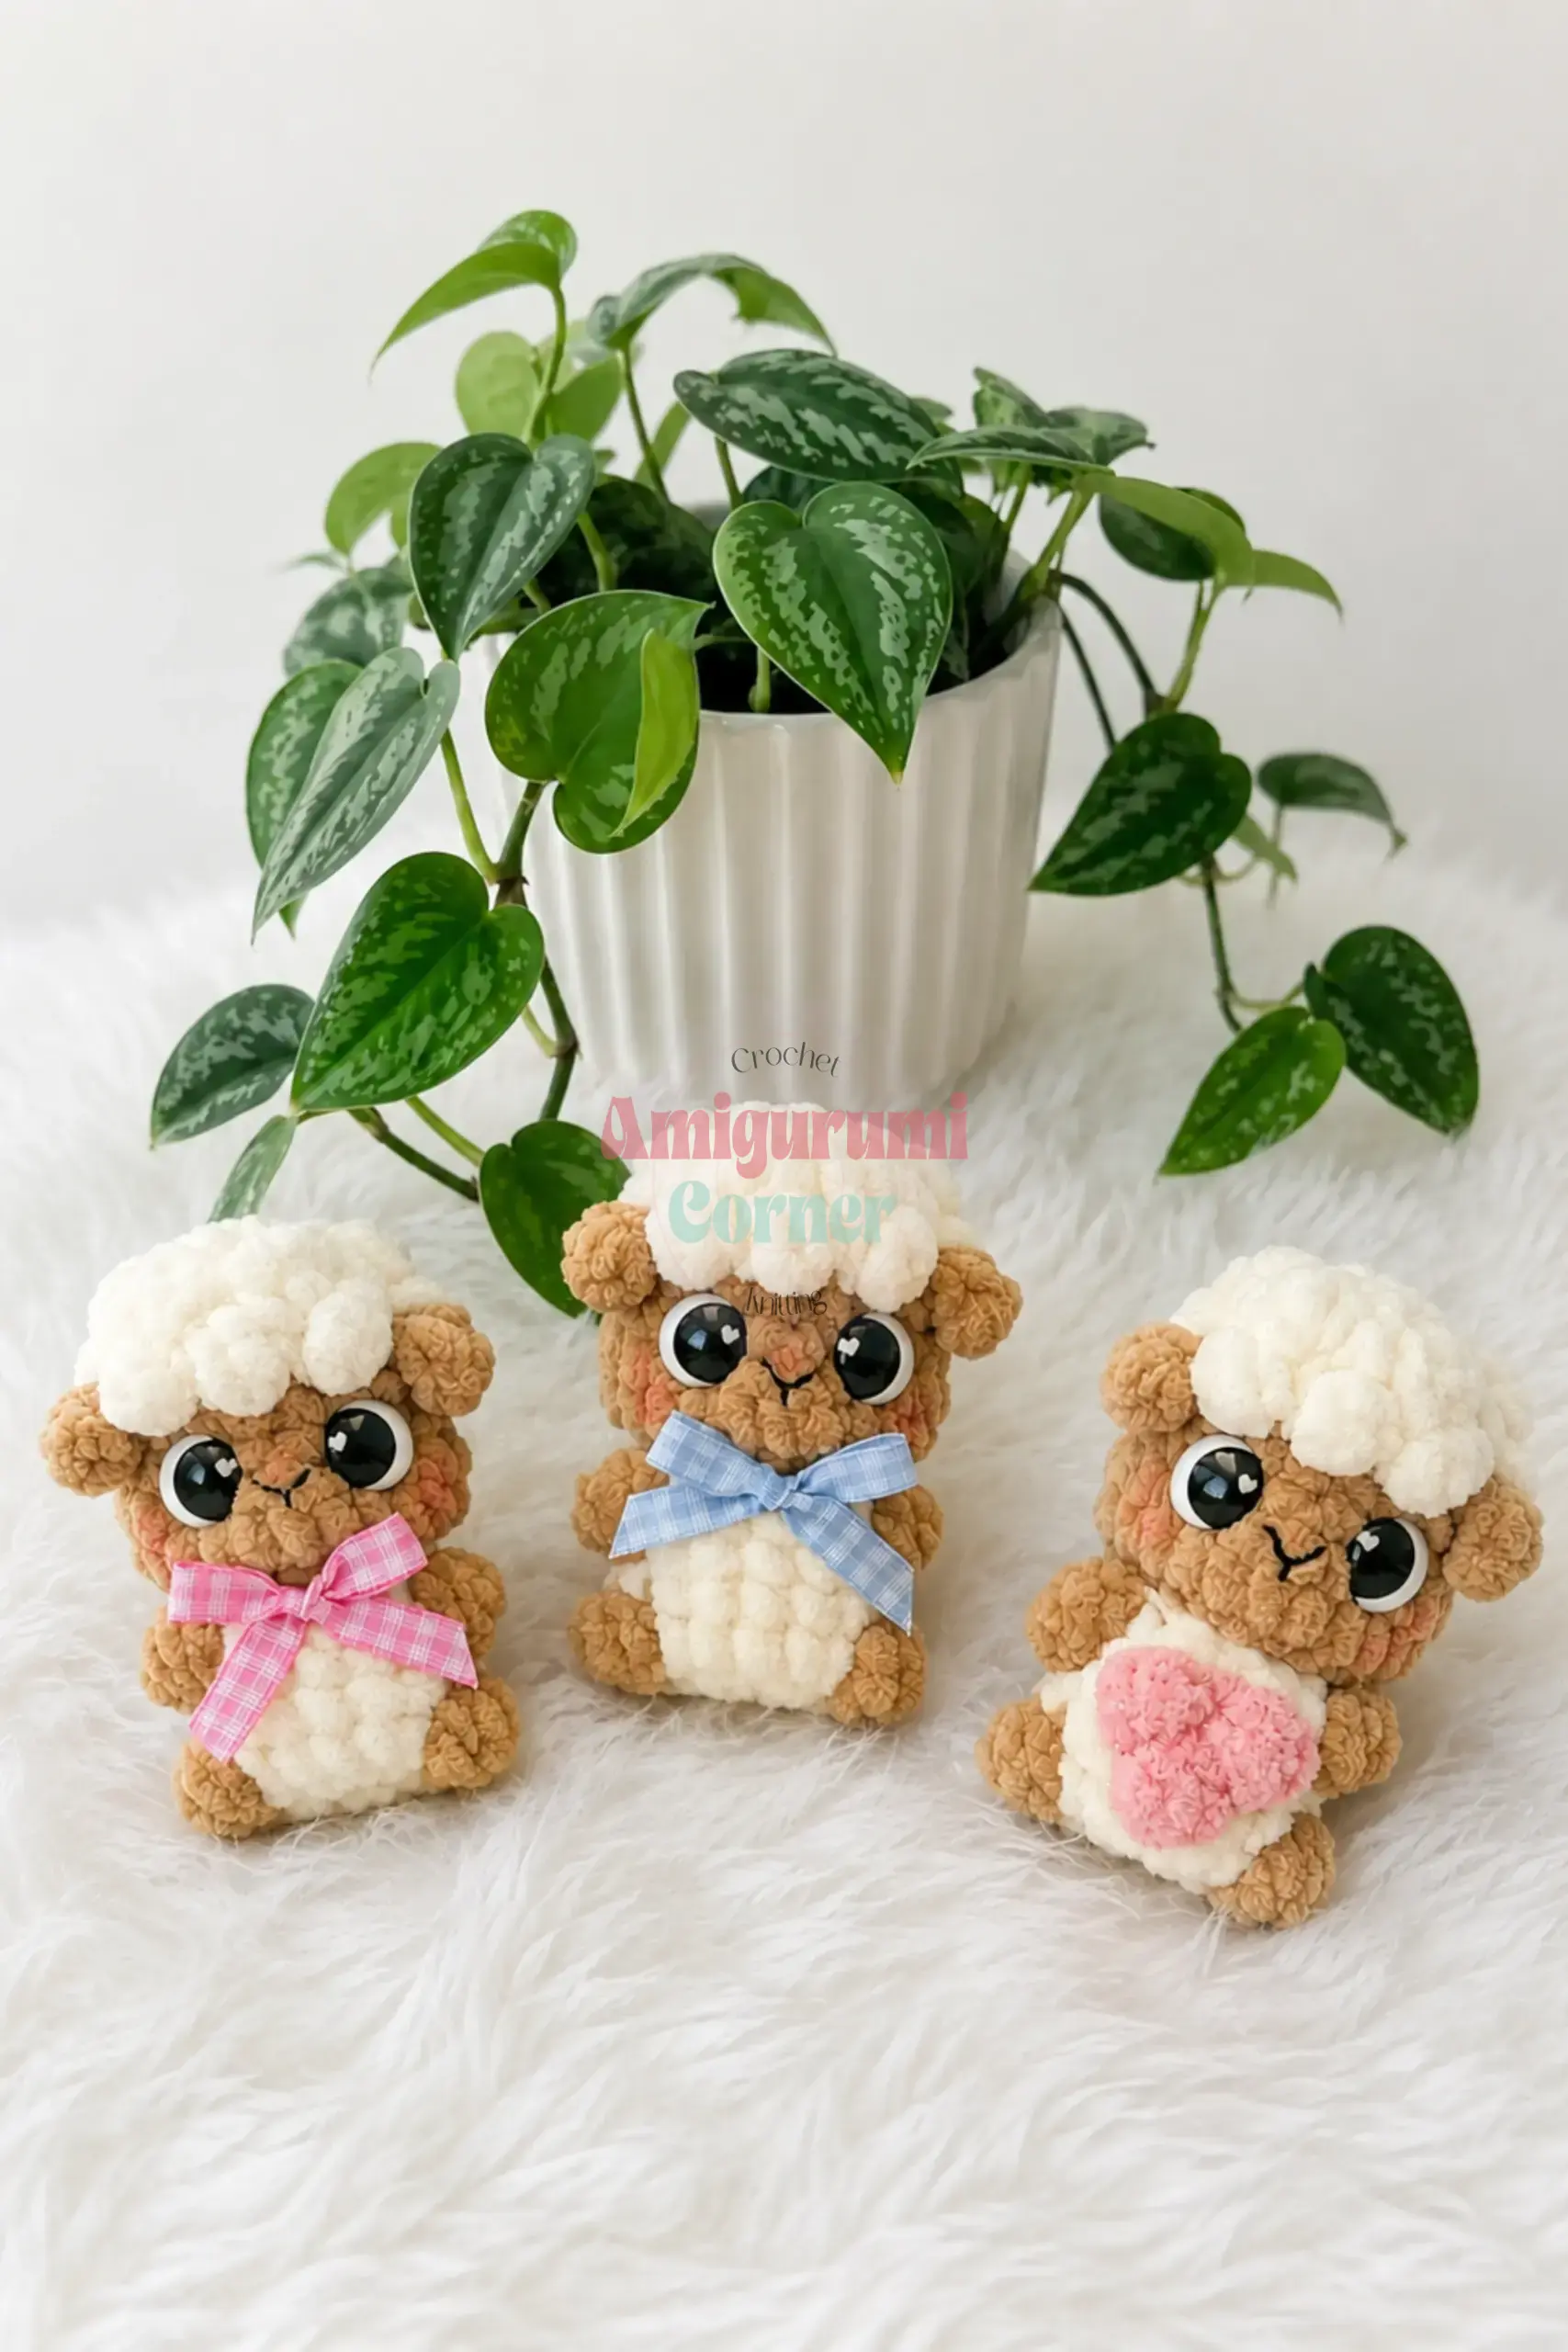
- Keep stitches snug: Amigurumi worked with acrylic sport-weight yarn and a small hook like this one should feel tight enough that no stuffing shows between stitches, which keeps the shaping crisp on a piece this small.
- Use invisible decreases: When you hit a decrease round, use an invisible decrease rather than a standard one. It pulls the front loops of two stitches together instead of working through both loops of each, which avoids the little “gap” that regular decreases can leave and keeps color changes and shaping looking clean on such a compact head.
- Stuff gradually: Don’t rush the stuffing. Add it in small pinches as you work the final rounds of the head and body rather than stuffing everything in at the end — this gives you even, rounded shaping instead of lumps, and makes it much easier to reach tight spots like the muzzle.
- Needle-sculpting: The needle-sculpting step on the head is what gives this bull his expression, so take your time with it. Pull the yarn through slowly and check the face from the front after each pass — small adjustments here make a big difference to how “sleepy” or “surprised” he ends up looking.
- Assembly stitching: When sewing legs and horns on, work from the inside of the seam outward and keep your stitches close together. A whipstitch worked through just the outer loops on both pieces will nearly disappear into the surrounding stitches once you’re done.
FAQs
What hook size should I use?
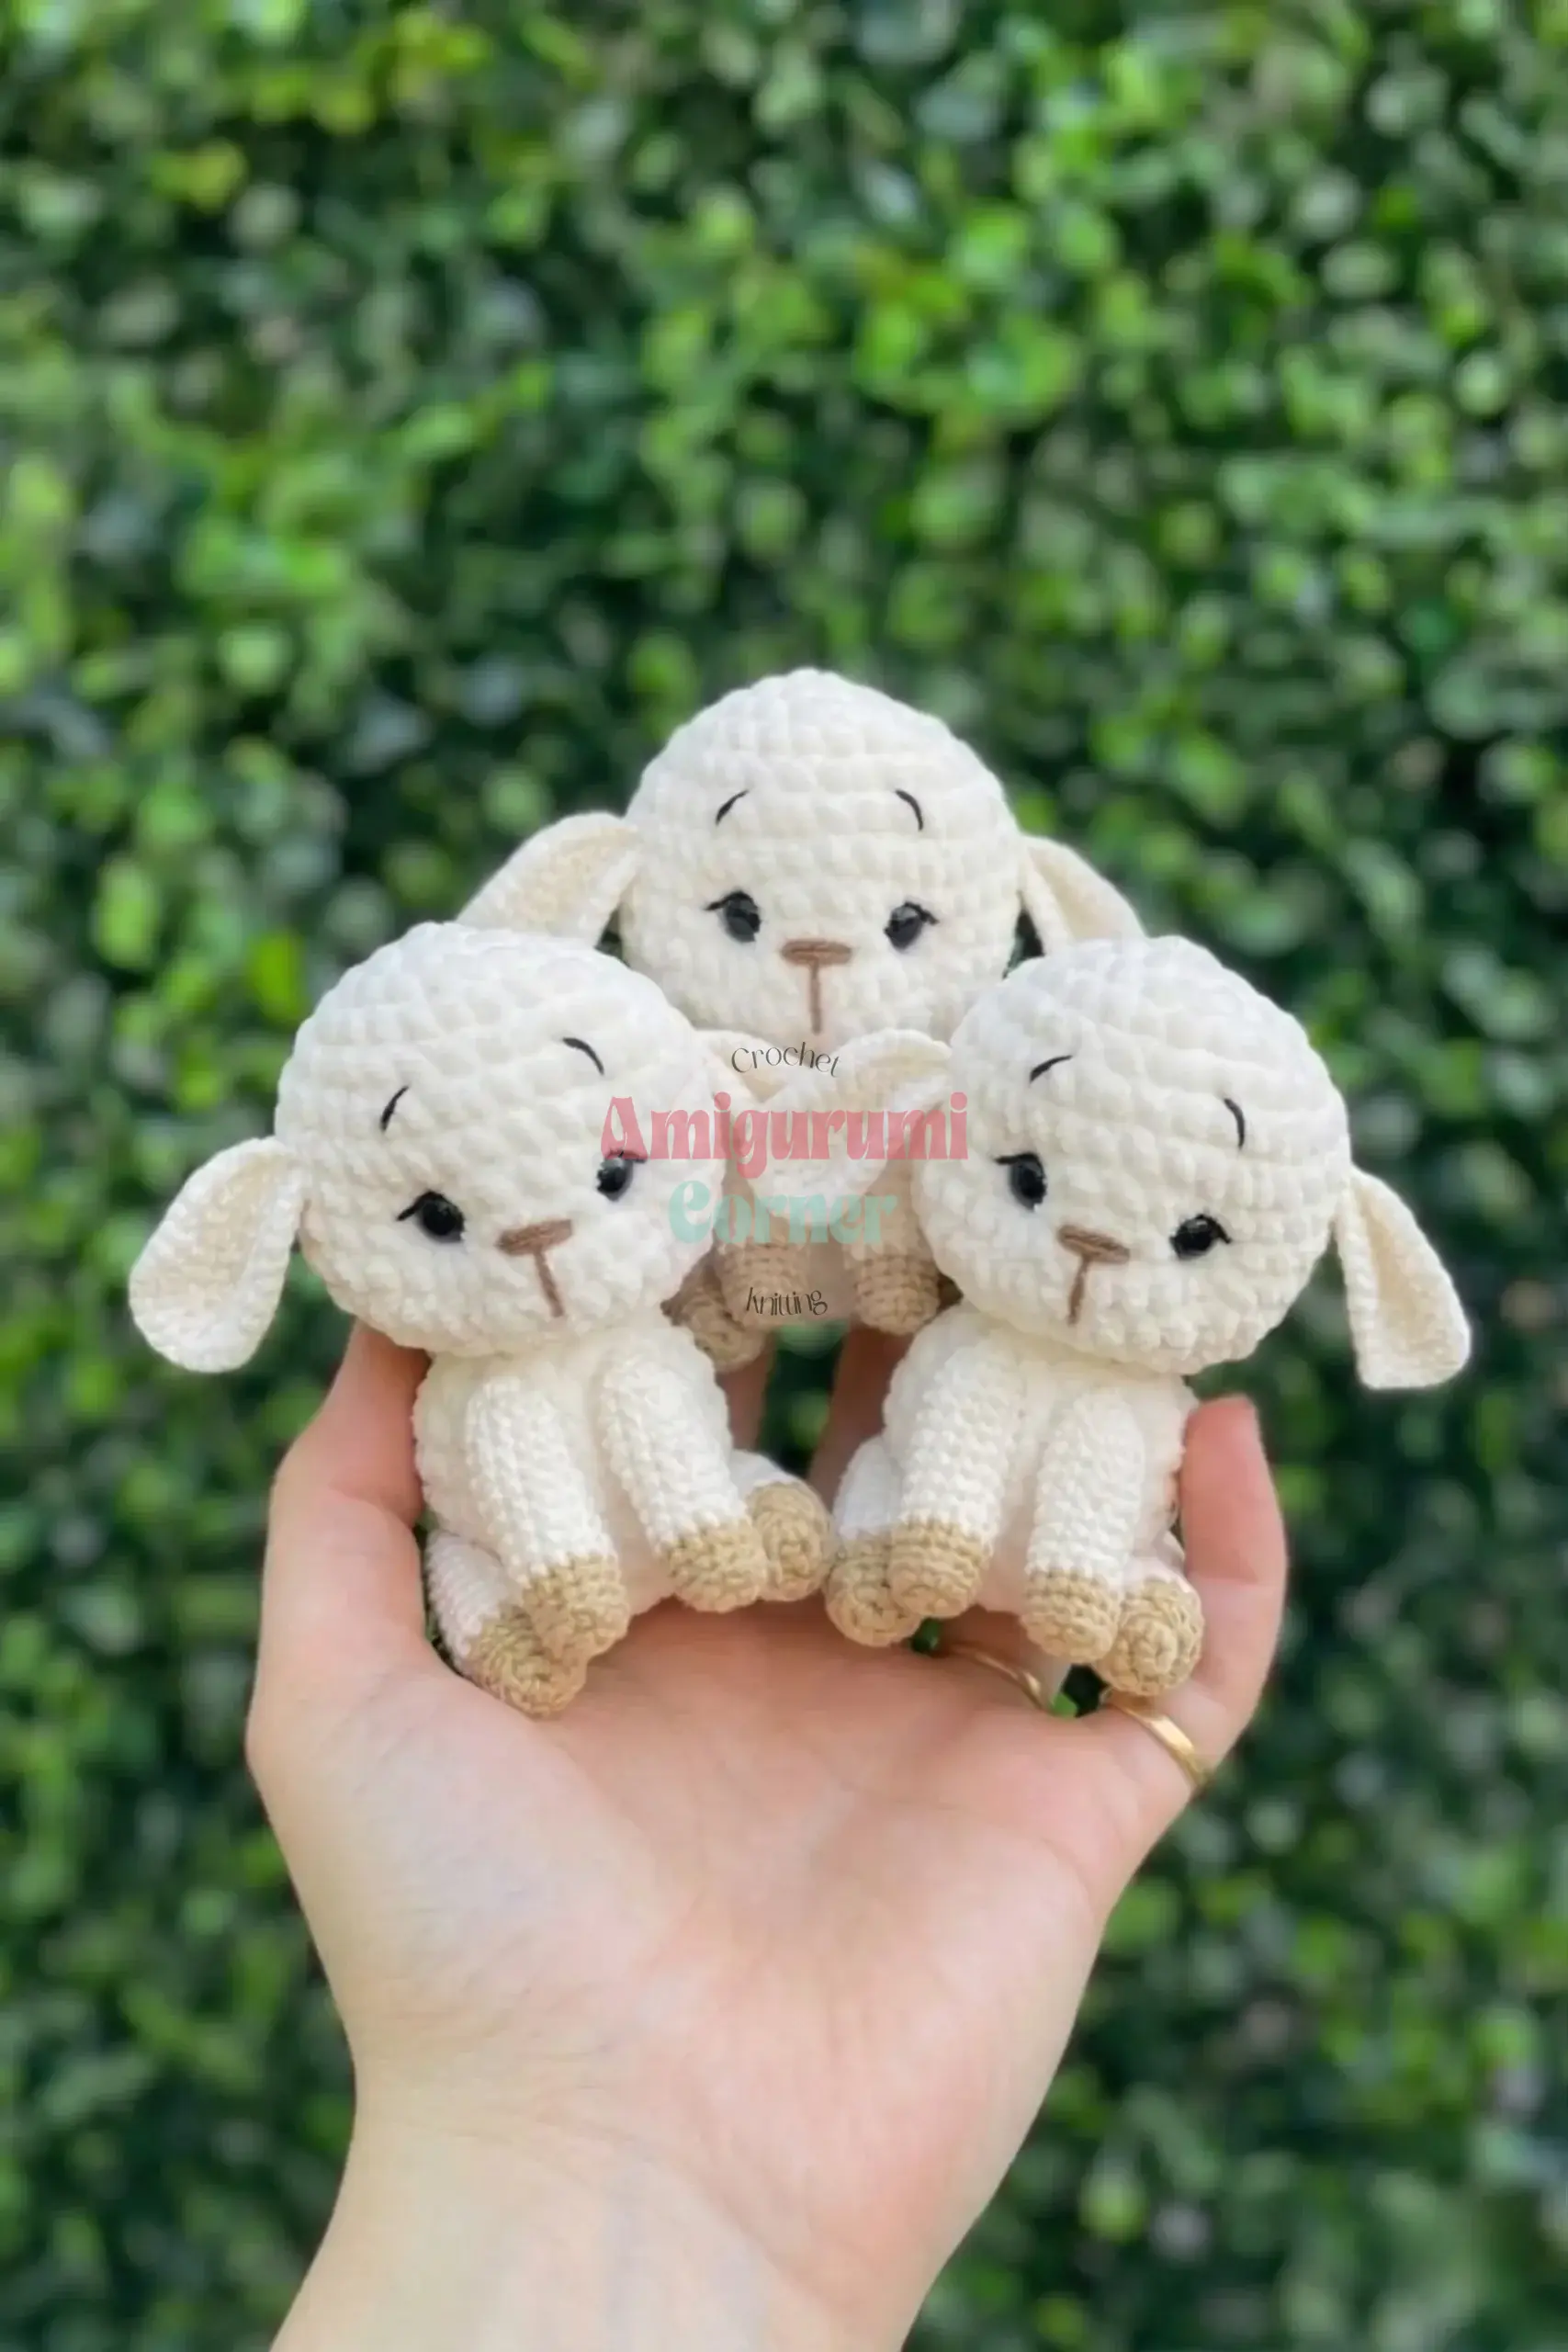
The pattern calls for a 2.0 mm hook. Since there is no exact US letter match, the closest is a B-1/2.25 mm hook. It is recommended to size down if your gauge runs loose to ensure tight stitches.
Can I use safety eyes instead of beads?
Yes, the pattern suggests using either 2 small black half-round beads or 6mm safety eyes. If you use safety eyes, ensure they are secured properly on the inside of the head.
How do I make the bull sit upright?
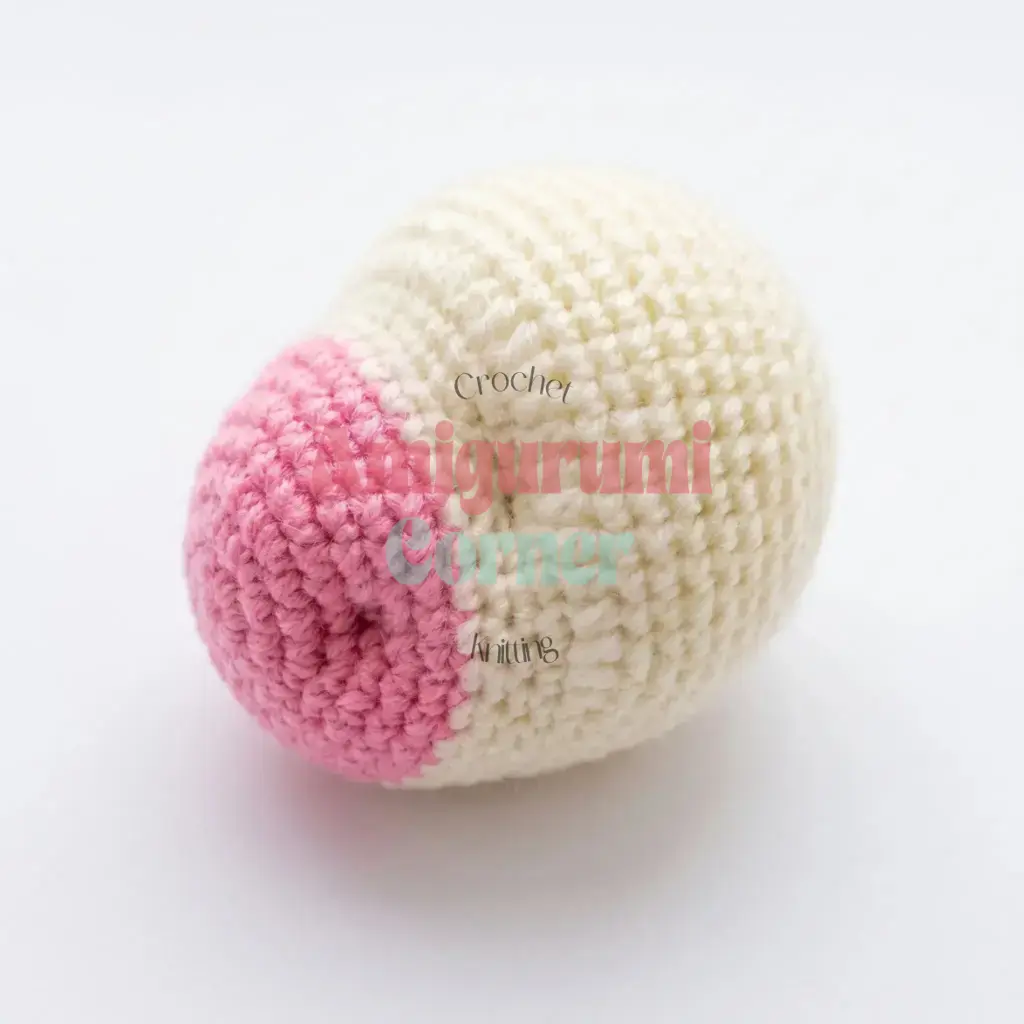
The bull is designed to sit upright due to the positioning of the upper and lower legs during assembly. Ensure you sew the legs to the body in a way that supports his weight, and stuff the hoof areas firmly for stability.
Do I need to join rounds?
No, all pieces are worked in continuous spiral rounds. Do not join or turn unless a specific step instructs you to do so.
What kind of yarn is best for this pattern?
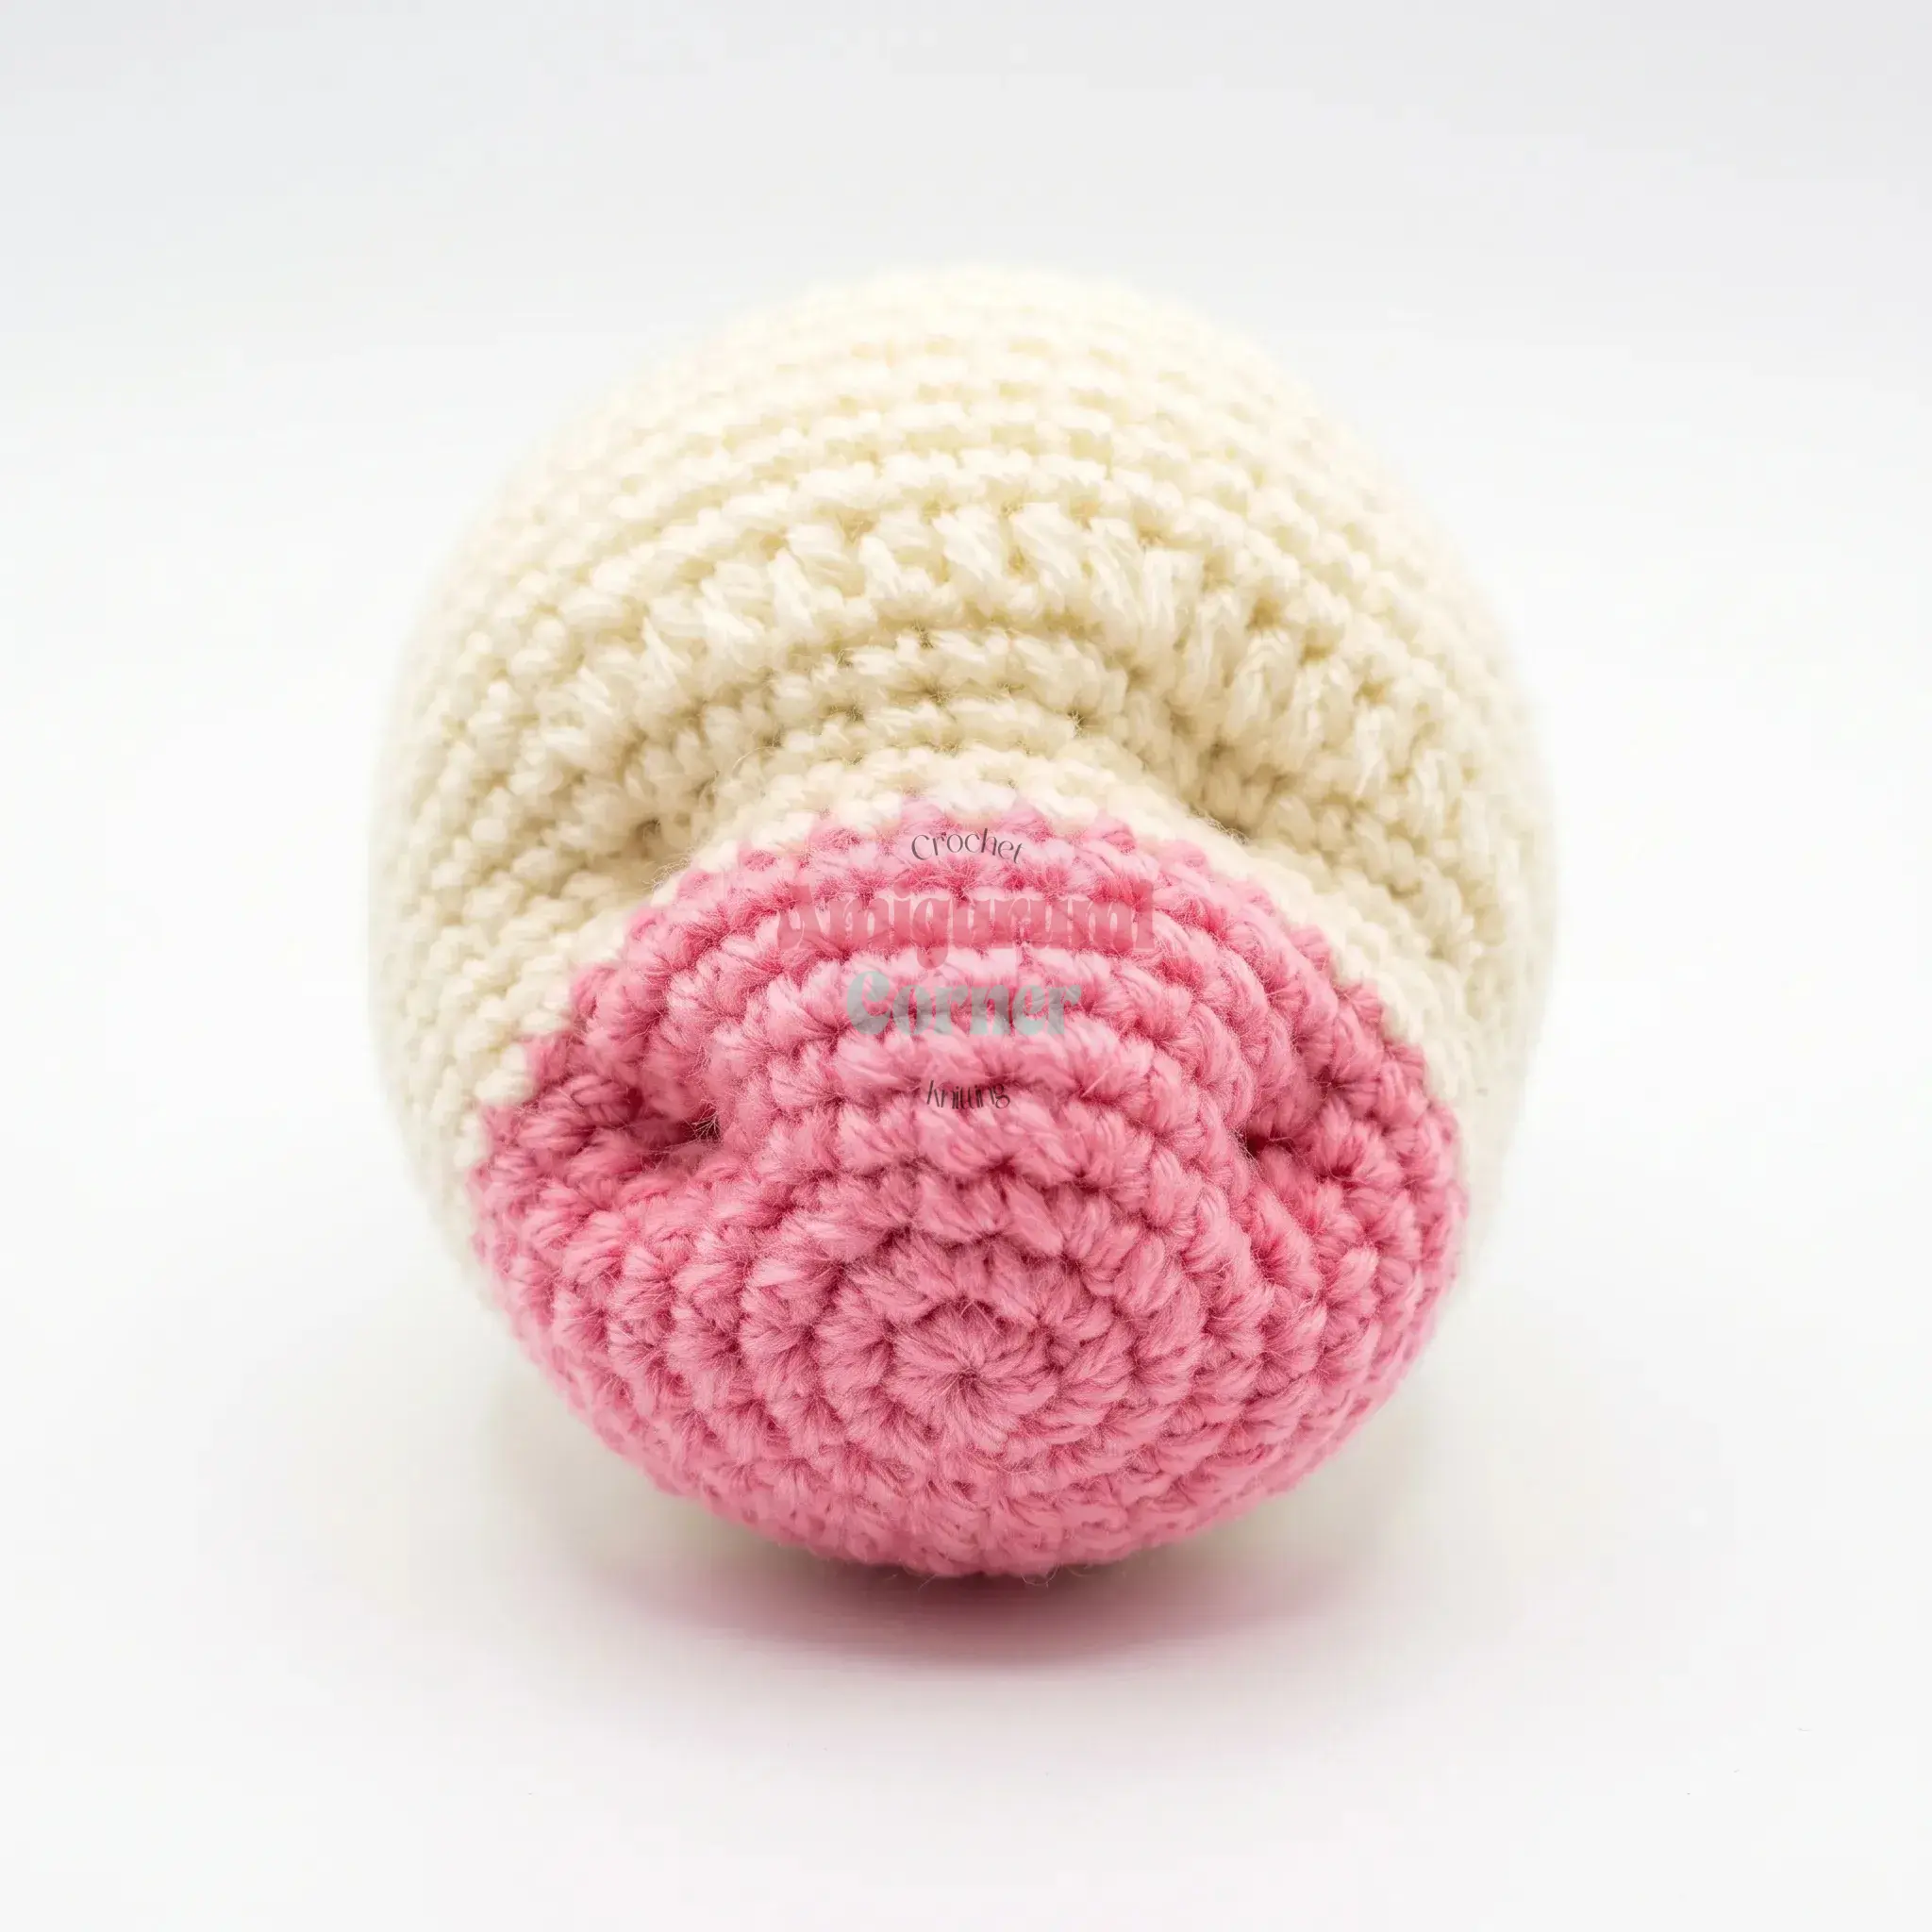
Sport/DK weight (CYCA #2–3) acrylic baby yarn is recommended. The acrylic content helps the bull hold its shape well, and the sport weight allows for fine detail work with the small hook.
Why is the muzzle shaped differently than the rest of the head?
The muzzle is worked with specific increases and decreases (including hdc stitches) to create a protruding snout shape. The needle-sculpting step after finishing the head further refines this shape to create the eyes and nostril indents.
Pin This Crochet Pattern!