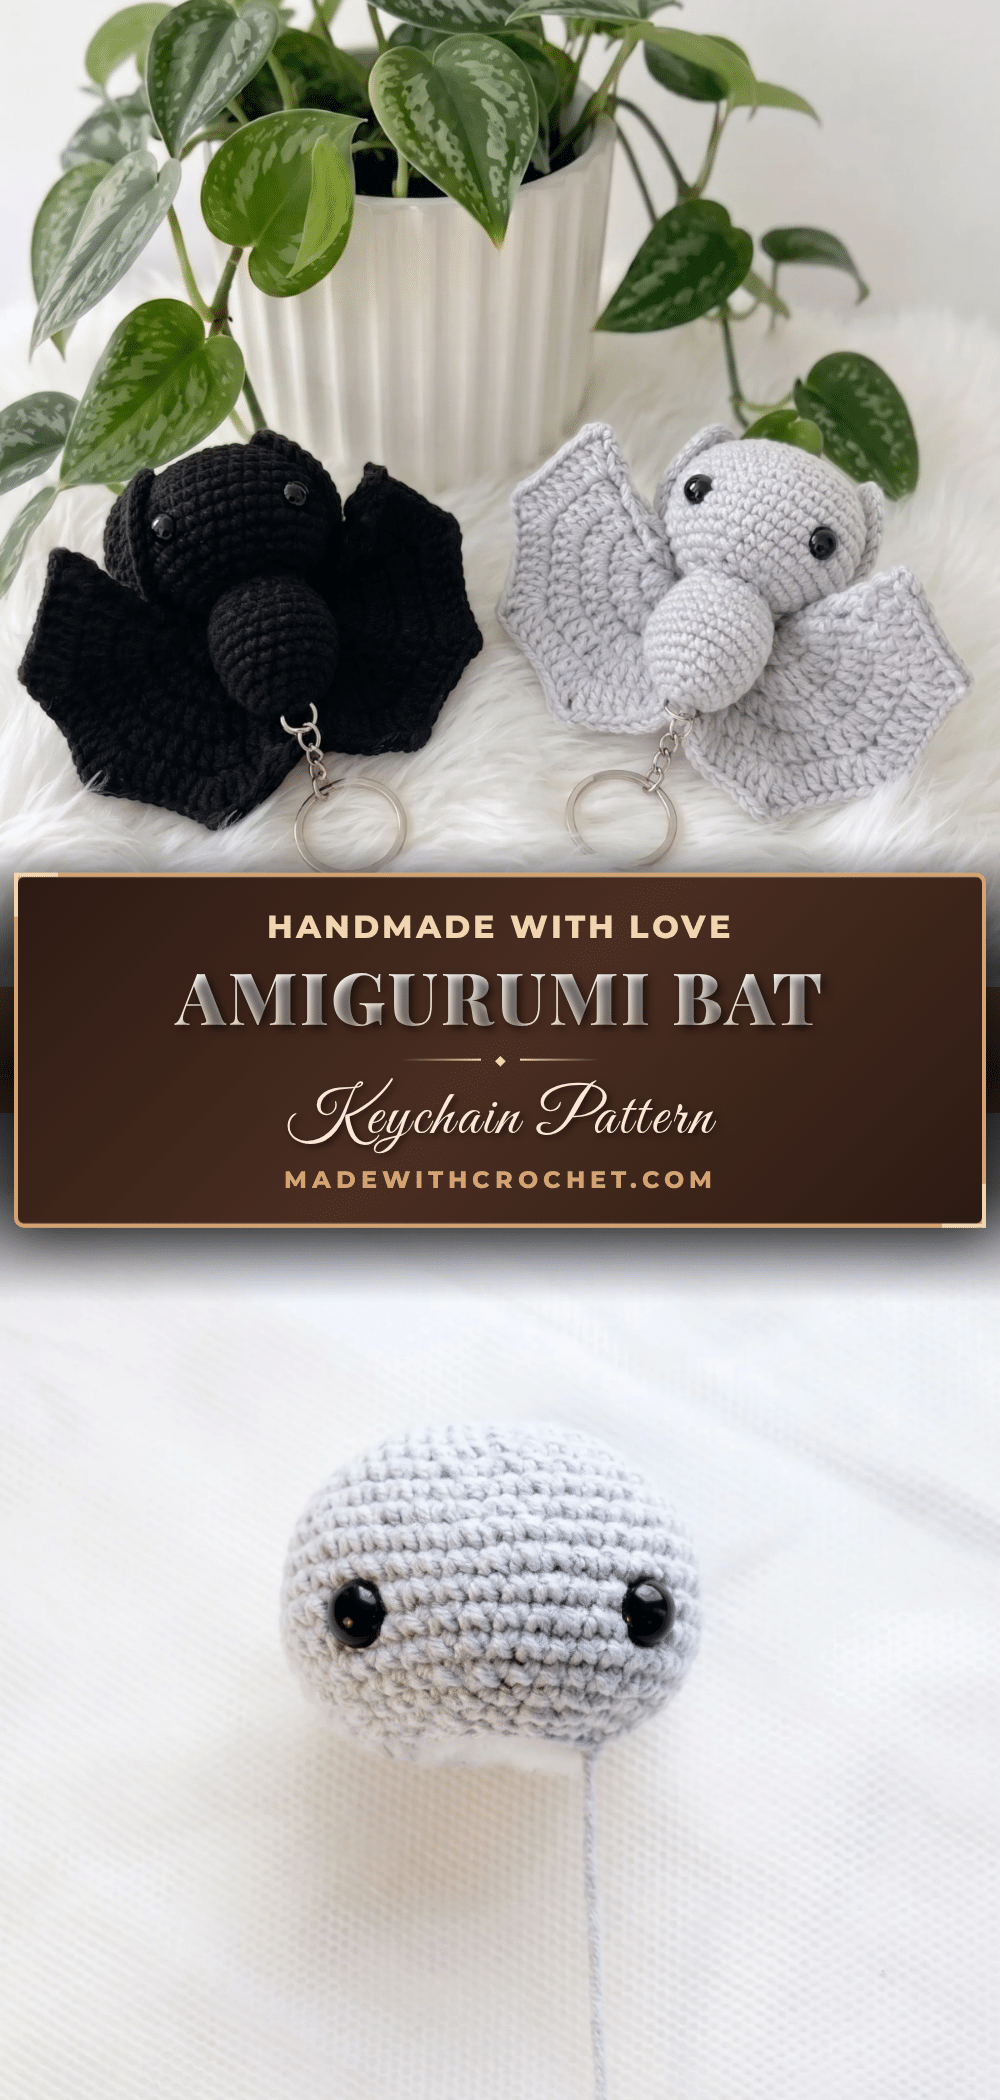
As the air turns crisp and Halloween approaches, there’s no better time to stitch up a little spooky companion. This amigurumi bat keychain pattern is the perfect seasonal craft, transforming a small ball of yarn into a charming accessory for your keys, backpack, or gift tags. Whether you’re preparing for a craft fair or just want a quick, cozy project, this tiny bat with its fanned wings is ready to take flight.
Seasonal Styling Ideas
While the pattern calls for classic black or gray, this little bat is wonderfully versatile. For a Halloween-specific look, use a deep orange or purple yarn and add a tiny embroidered pumpkin face. If you prefer a year-round friend, a soft charcoal or warm taupe works beautifully. You could also stitch a small loop of orange or green yarn to the keyring for a festive touch. The crisp double crochet stitches of the wings make them perfect for showing off a subtle variegated or metallic yarn for a bit of sparkle.
Project Overview
This amigurumi bat keychain is an easy-to-intermediate project, ideal for crafters who have mastered basic amigurumi techniques and want to try shaping fanned wings with double crochet increases. The finished bat is a small, stuffed accessory that works up quickly, making it a great last-minute gift or market item.
Materials
- Yarn: DK weight cotton-blend yarn (such as a mercerized cotton/acrylic blend), in black or gray
- Hook: US B/1 (2 mm)
- Safety eyes: 8 mm, 1 pair
- Fiberfill stuffing
- Fabric-safe marker (for optional face details)
- Yarn needle
- Scissors
- Keyring hardware (for attaching the finished bat as a keychain)
Abbreviations
- ch — Chain
- dc — Double Crochet
- dec — Decrease (invisible decrease)
- inc — Increase (2 sc in same stitch)
- MR — Magic Ring
- sc — Single Crochet
- sl st — Slip Stitch
- st(s) — Stitch(es)
Pattern Notes
- This pattern is written in US crochet terminology.
- The Head, Body, and Ears are worked in a continuous spiral with no joining — use a stitch marker to track the start of each round.
- The Wings are worked in joined rounds (chain 3 counts as first dc, joined with a slip stitch at the end of each round).
- Gauge is not critical for this project since it’s a small stuffed accessory, but a tighter gauge than usual is recommended to keep stuffing from showing through the stitches.
- Stitch counts are given at the end of each round in parentheses: (##)
- Stuff each piece firmly but evenly as you go, rather than waiting until the round is closed.
- Safety eyes are placed between specific rounds on the Head — insert them before continuing to crochet, since they can’t be added after the opening closes up.
Pattern Instructions
Head
- Rnd 1: 6 sc in MR. (6)
- Rnd 2: inc in each st around. (12)
- Rnd 3: 1 sc, inc repeat around. (18)
- Rnd 4: 2 sc, inc repeat around. (24)
- Rnd 5: 3 sc, inc repeat around. (30)
- Rnd 6: 4 sc, inc repeat around. (36)
- Rnds 7–8: sc in each st around, 2 rounds. (36)
- Rnd 9: 5 sc, inc repeat around. (42)
- Rnds 10–13: sc in each st around, 4 rounds. (42)
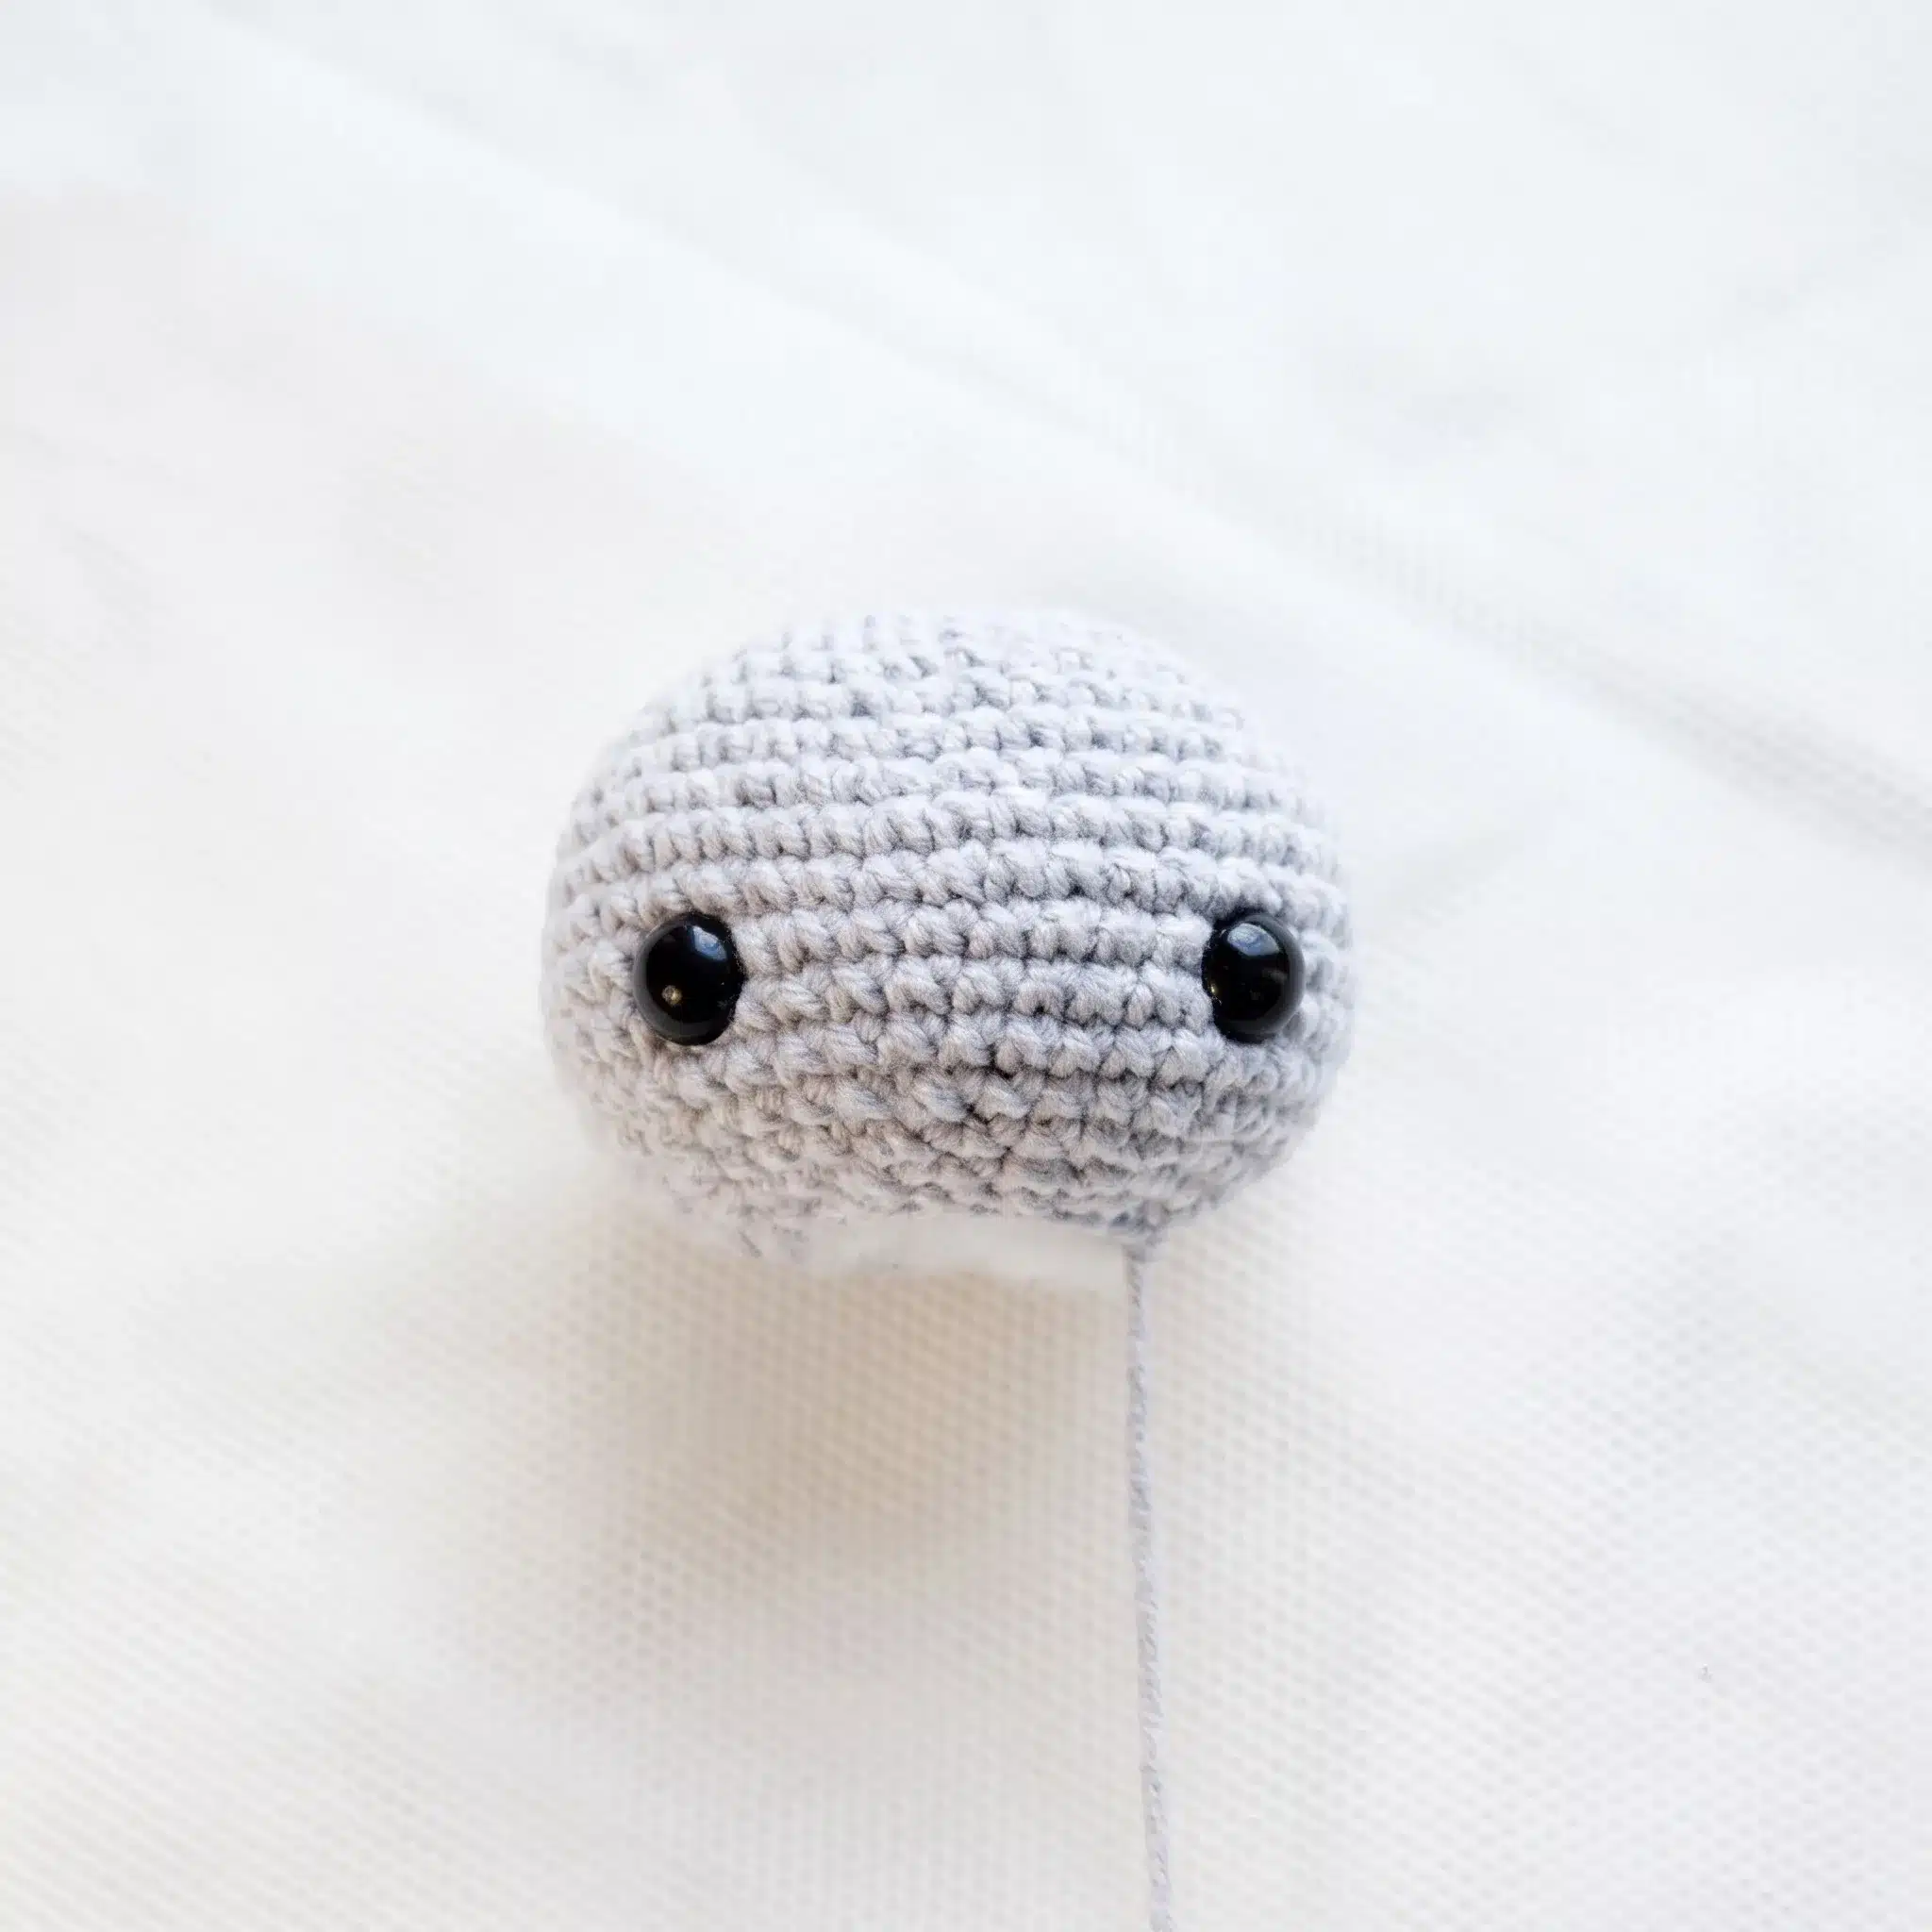
- Insert safety eyes now, between Rounds 11 and 12, spacing them 10 stitches apart.
- Rnd 14: 4 sc, dec repeat around. (35)
- Rnd 15: 3 sc, dec repeat around. (28)
- Rnd 16: 2 sc, dec repeat around. (21)
- Rnd 17: 1 sc, dec repeat around. (14)
- Fasten off, leaving a long tail for sewing. Stuff the head firmly, shaping it into an oval rather than a perfect sphere.
Body
- Rnd 1: 6 sc in MR. (6)
- Rnd 2: inc, 1 sc repeat around. (9)
- Rnd 3: inc, 2 sc repeat around. (12)
- Rnd 4: inc, 3 sc repeat around. (15)
- Rnd 5: inc, 4 sc repeat around. (18)
- Rnd 6: inc, 2 sc repeat around. (24)
- Rnds 7–9: sc in each st around, 3 rounds. (24)
- Rnd 10: dec, 6 sc repeat around. (21)
- Rnd 11: sc in each st around. (21)
- Rnd 12: dec, 5 sc repeat around. (18)
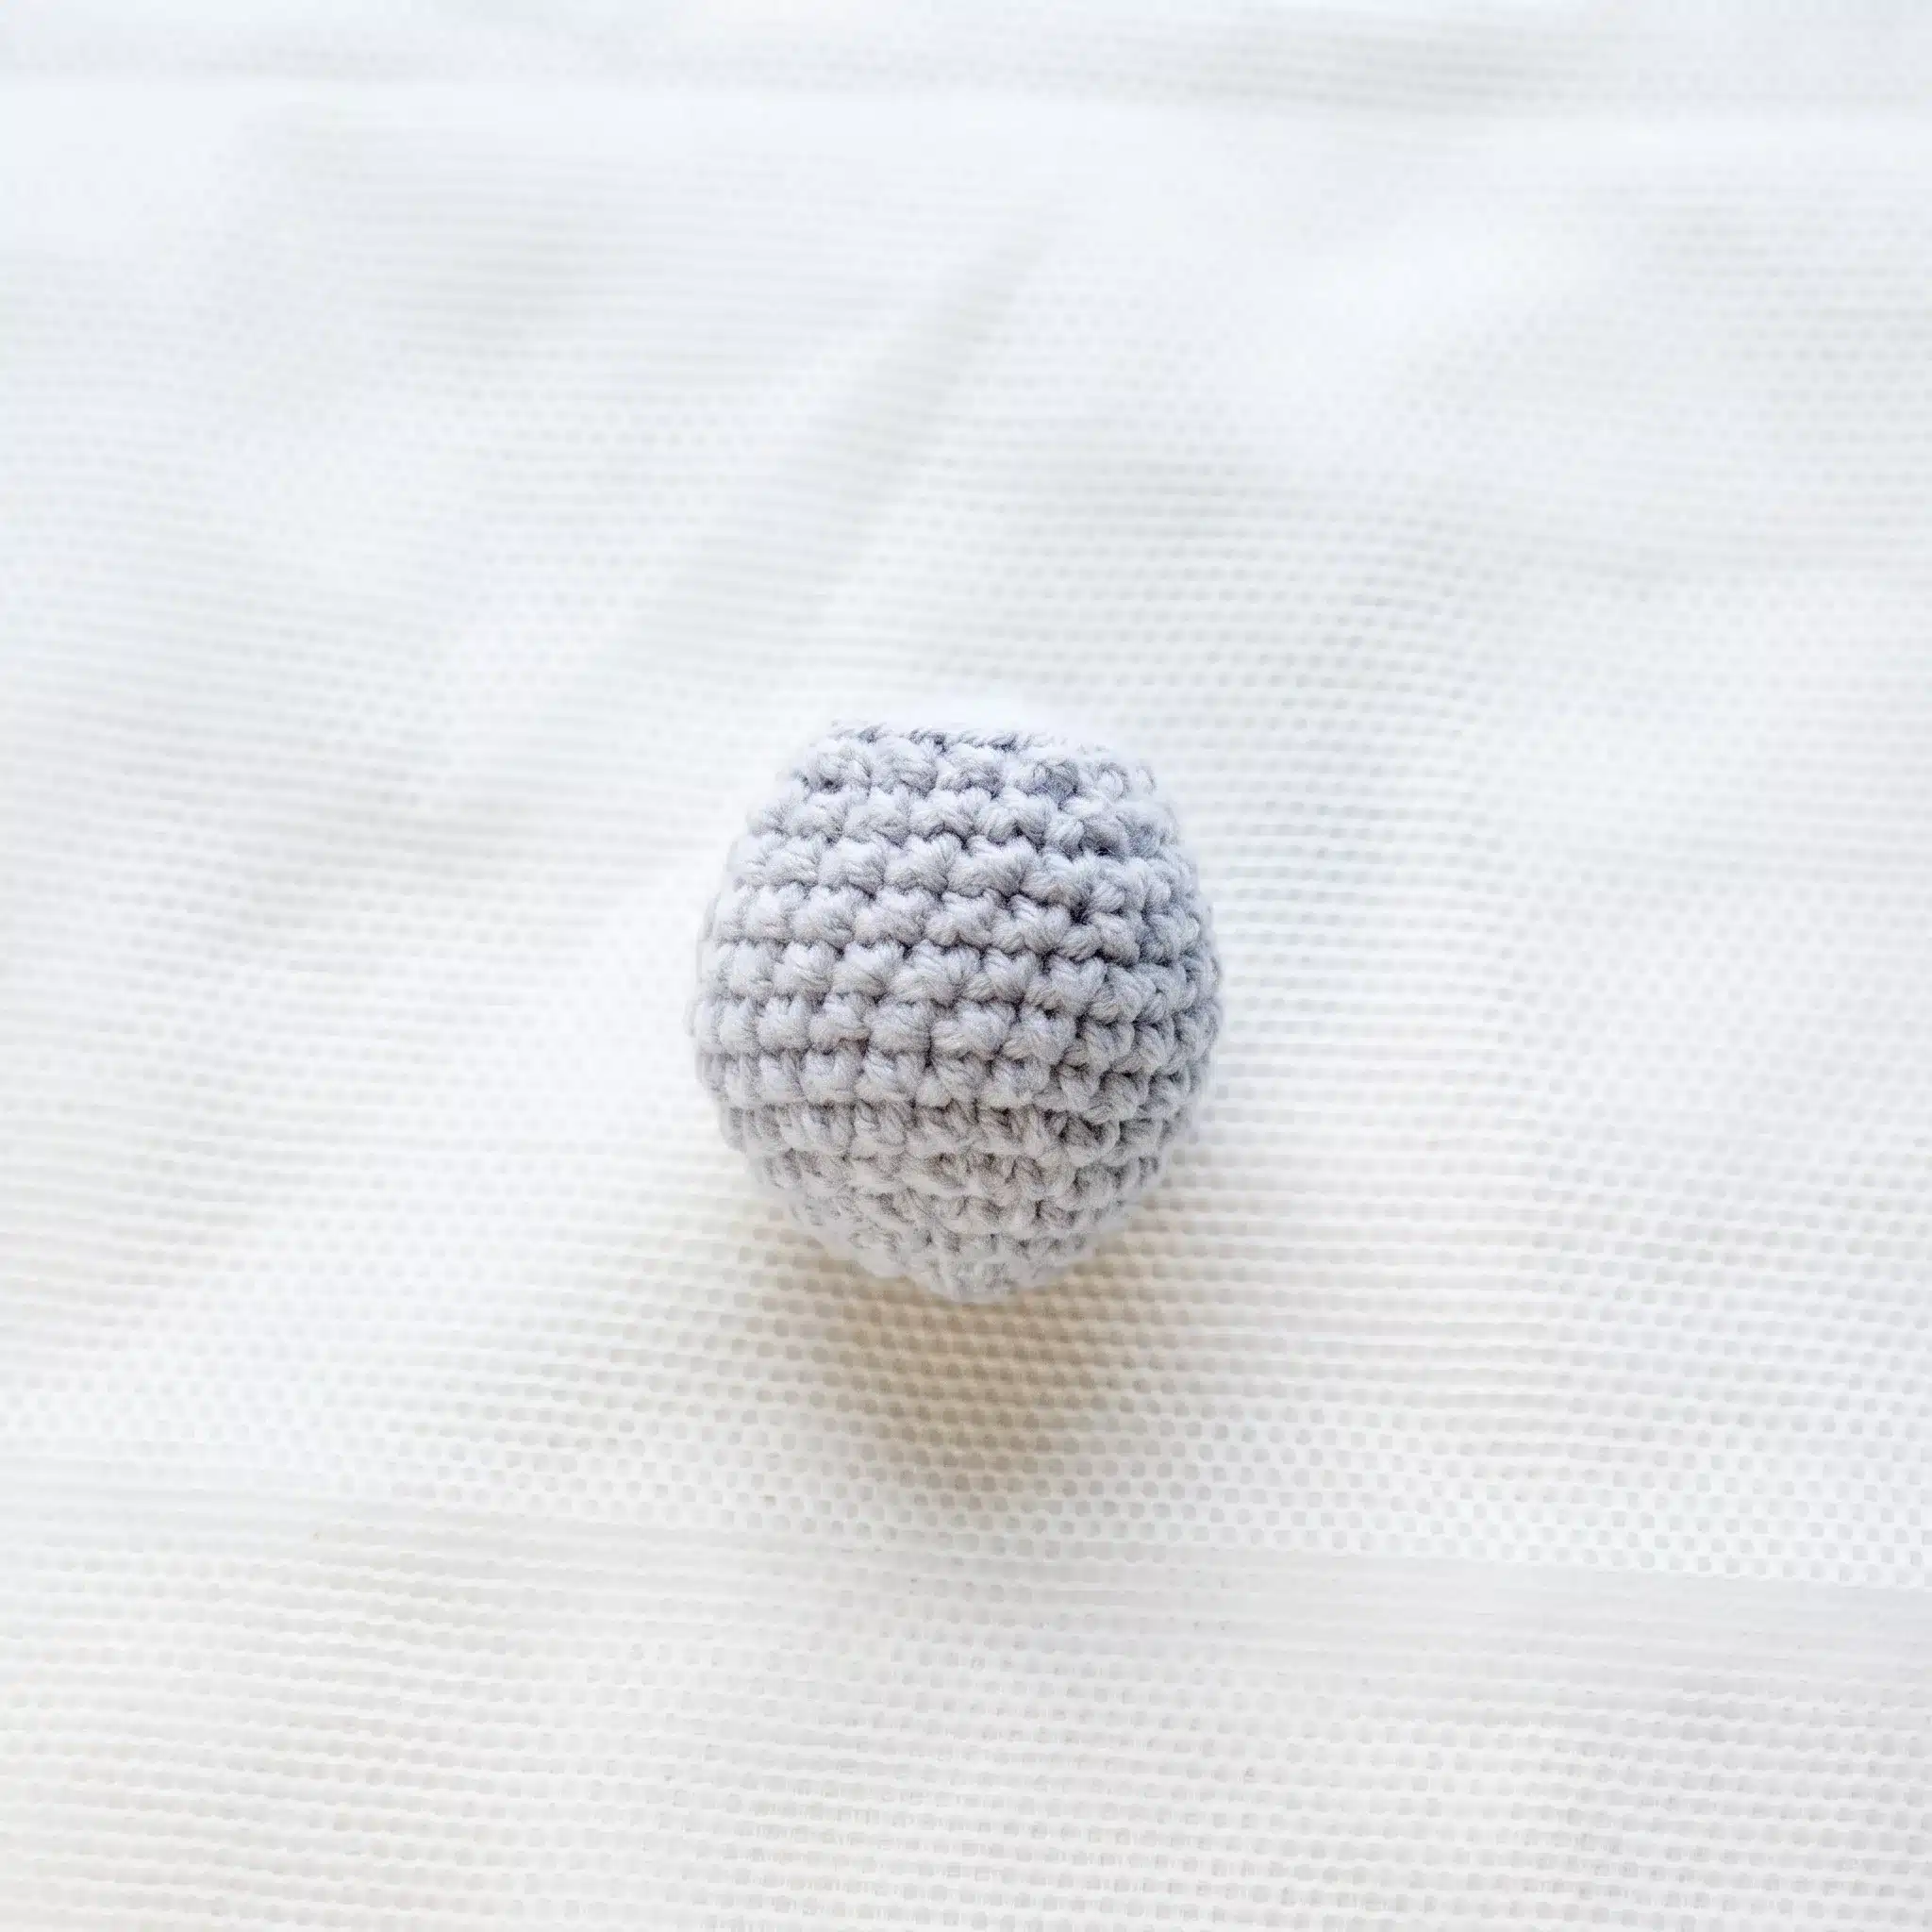
- Rnd 13: 3 sc, dec, 2 sc, dec repeat twice. (14)
- Fasten off and cut the yarn. Stuff the body firmly, then sew the Head on top of it.
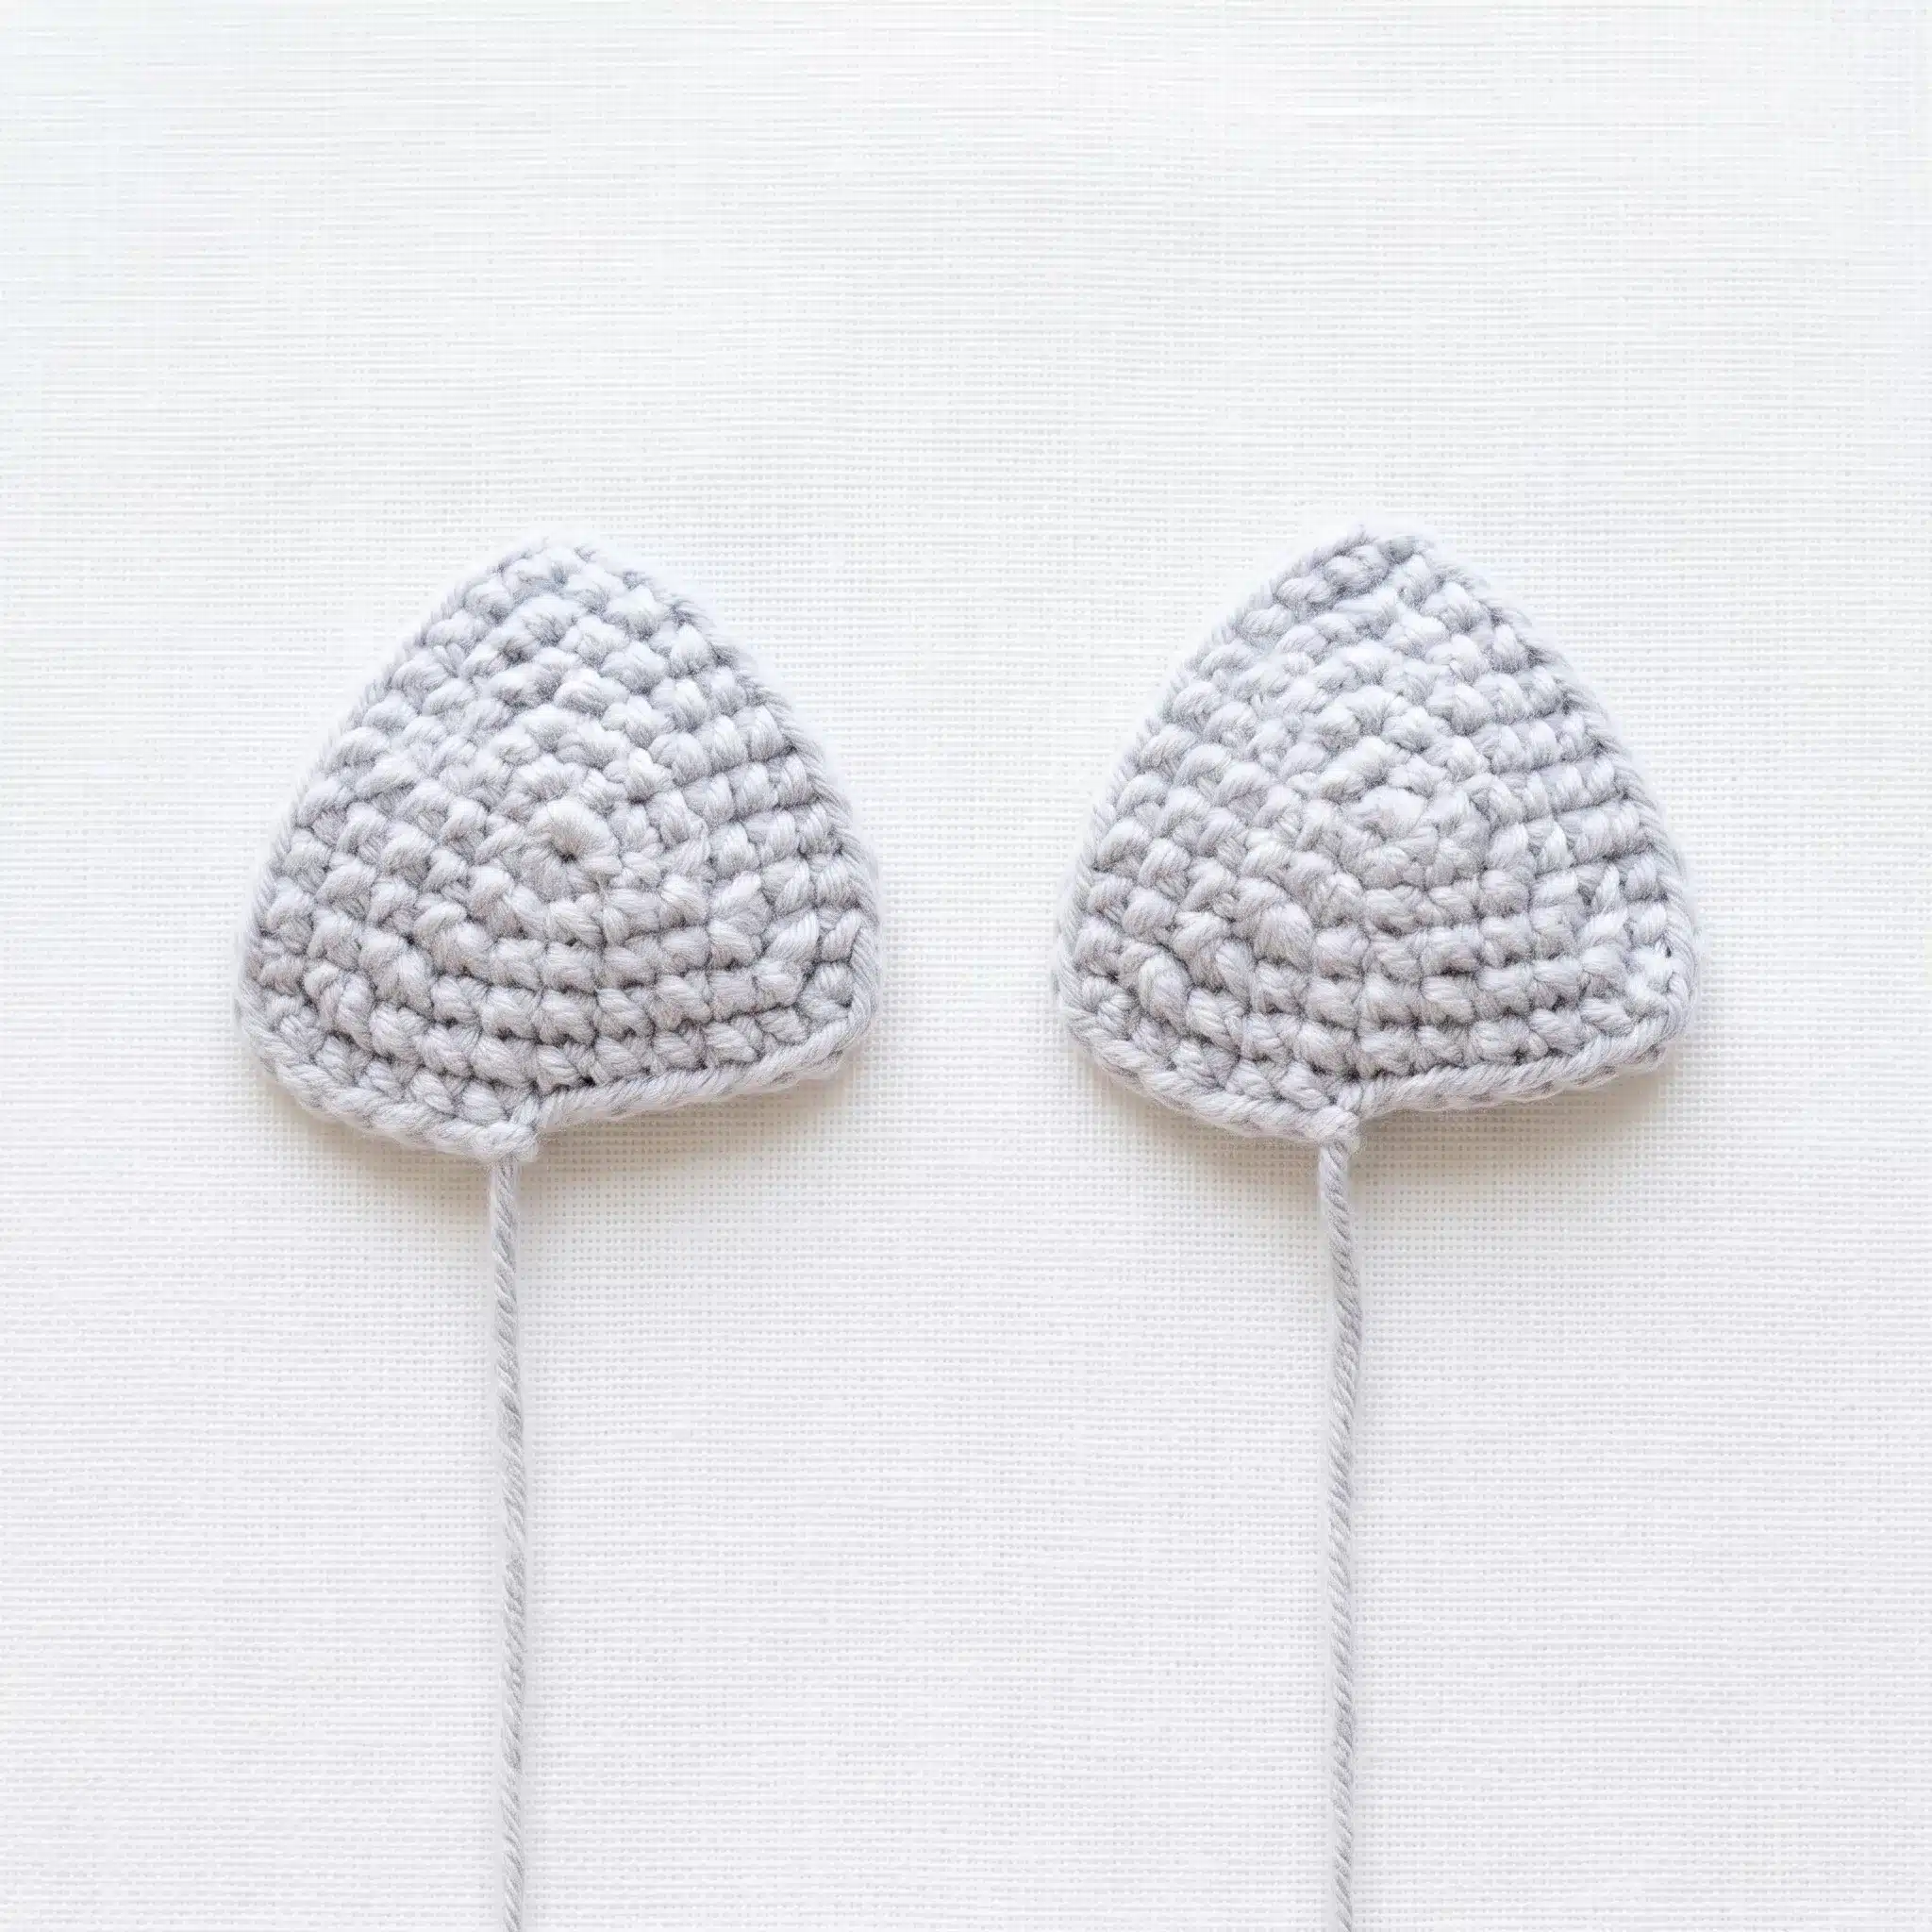
Ear (make 2)
- Rnd 1: 6 sc in MR. (6)
- Rnd 2: 3 sc in same st, 1 sc repeat around. (12)
- Rnd 3: 1 sc, 3 sc in same st, 3 sc repeat twice, 3 sc in same st, 2 sc. (18)
- Rnd 4: 2 sc, 3 sc in same st, 5 sc repeat twice, 3 sc in same st, 3 sc. (24)
- Rnd 5: 3 sc, 3 sc in same st, 7 sc repeat twice, 3 sc in same st, 4 sc. (30)
- Rnd 6: 4 sc, 2 sc in same st, 9 sc repeat twice, 2 sc in same st, 4 sc. (33)
- Join with a slip stitch. Fasten off, leaving a long tail for sewing. Do not stuff the ears — they’re sewn on flat. Repeat for the second ear.
Wing (make 2)
- Row 1: Into MR, ch 3, work 15 dc, join with sl st to top of ch-3. (16)
- Row 2: Ch 3, 1 dc, 1 dc, inc repeat 7 times, 1 dc, join with sl st to top of ch-3. (24)
- Row 3: Ch 3, 1 dc, 2 dc, inc repeat 7 times, 2 dc, join with sl st to top of ch-3. (32)
- Row 4: Ch 3, 1 dc, 3 dc, inc repeat 7 times, 3 dc, join with sl st to top of ch-3. (40)
- Row 5: Ch 3, work [1 dc, ch 2, 2 dc] in same st, 4 dc, [2 dc, ch 2, 2 dc] in same st repeat 7 times, 4 dc, join with sl st to top of ch-3. (80)
- Fasten off, leaving a long tail. Fold the piece in half so the fanned edges meet, then sew the folded edge closed to form the wing shape. Repeat to make the second wing.
Assembly
- Stuff the Body firmly and sew the Head securely on top of it, keeping the safety eyes facing forward.
- Position the two Ears on top of the Head, spaced evenly apart, and whipstitch them in place using their yarn tails.
- Fold and sew each Wing as described in the pattern, then position them on either side of the Body so they fan outward like open bat wings. Sew each one in place along its straight edge.
- Attach a keyring finding to the top of the Head or between the wings, securing it firmly with a few extra stitches of yarn.
- Weave in all remaining yarn ends and trim any excess.
Tips
- Keep your tension slightly tighter than you might for a garment — amigurumi pieces need close stitches so stuffing doesn’t peek through, especially on a small piece like this bat where every gap shows.
- When you reach the decrease rounds on the Head, use an invisible decrease rather than a standard one; it keeps the shaping smooth instead of leaving little bumps along the top and bottom of the oval.
- Stuff as you go rather than all at once at the end — add small amounts after every couple of rounds so the fill stays even and you avoid lumps or a lopsided head shape.
- If you want to substitute yarn, stick to a similar DK-weight cotton blend; a fuzzier or thicker yarn will obscure the fanned detail in the wings, which depends on crisp, well-defined double crochet stitches.
- When sewing the Head to the Body, work your stitches just under the surface loops and pull gently as you go so the seam disappears into the join rather than sitting as a visible ridge.
Frequently Asked Questions
What size safety eyes does this bat keychain pattern use?
This pattern calls for 8 mm safety eyes, and you’ll need one pair. Insert them between Rounds 11 and 12 of the Head, spacing them 10 stitches apart, before you continue crocheting the remaining rounds.
Do I need to stuff the ears and wings?
No, the ears and wings are left unstuffed. The ears are sewn on flat, and the wings are folded in half and sewn along the edge to hold their fanned shape without any filling.
What hook size and yarn weight should I use for this amigurumi bat?
Use a US B/1 (2 mm) crochet hook with a DK weight cotton-blend yarn. This combination keeps the stitches tight enough to hide the stuffing, which matters on a small piece like this.
Are the rounds worked in a continuous spiral or joined?
The Head, Body, and Ears are worked in a continuous spiral with no joining, so use a stitch marker to track your round starts. The Wings are worked differently, in joined rounds using a chain-3 and slip stitch at the end of each row.
Can I use a different type of yarn?
It’s best to stick with a DK weight cotton-blend yarn. A fuzzier or thicker yarn will obscure the fanned detail in the wings, which depends on crisp, well-defined double crochet stitches.
How do I attach the keyring?
Attach a keyring finding to the top of the Head or between the wings, securing it firmly with a few extra stitches of yarn. Make sure it’s well-anchored so the bat stays on your keys.
Pin This Crochet Pattern!