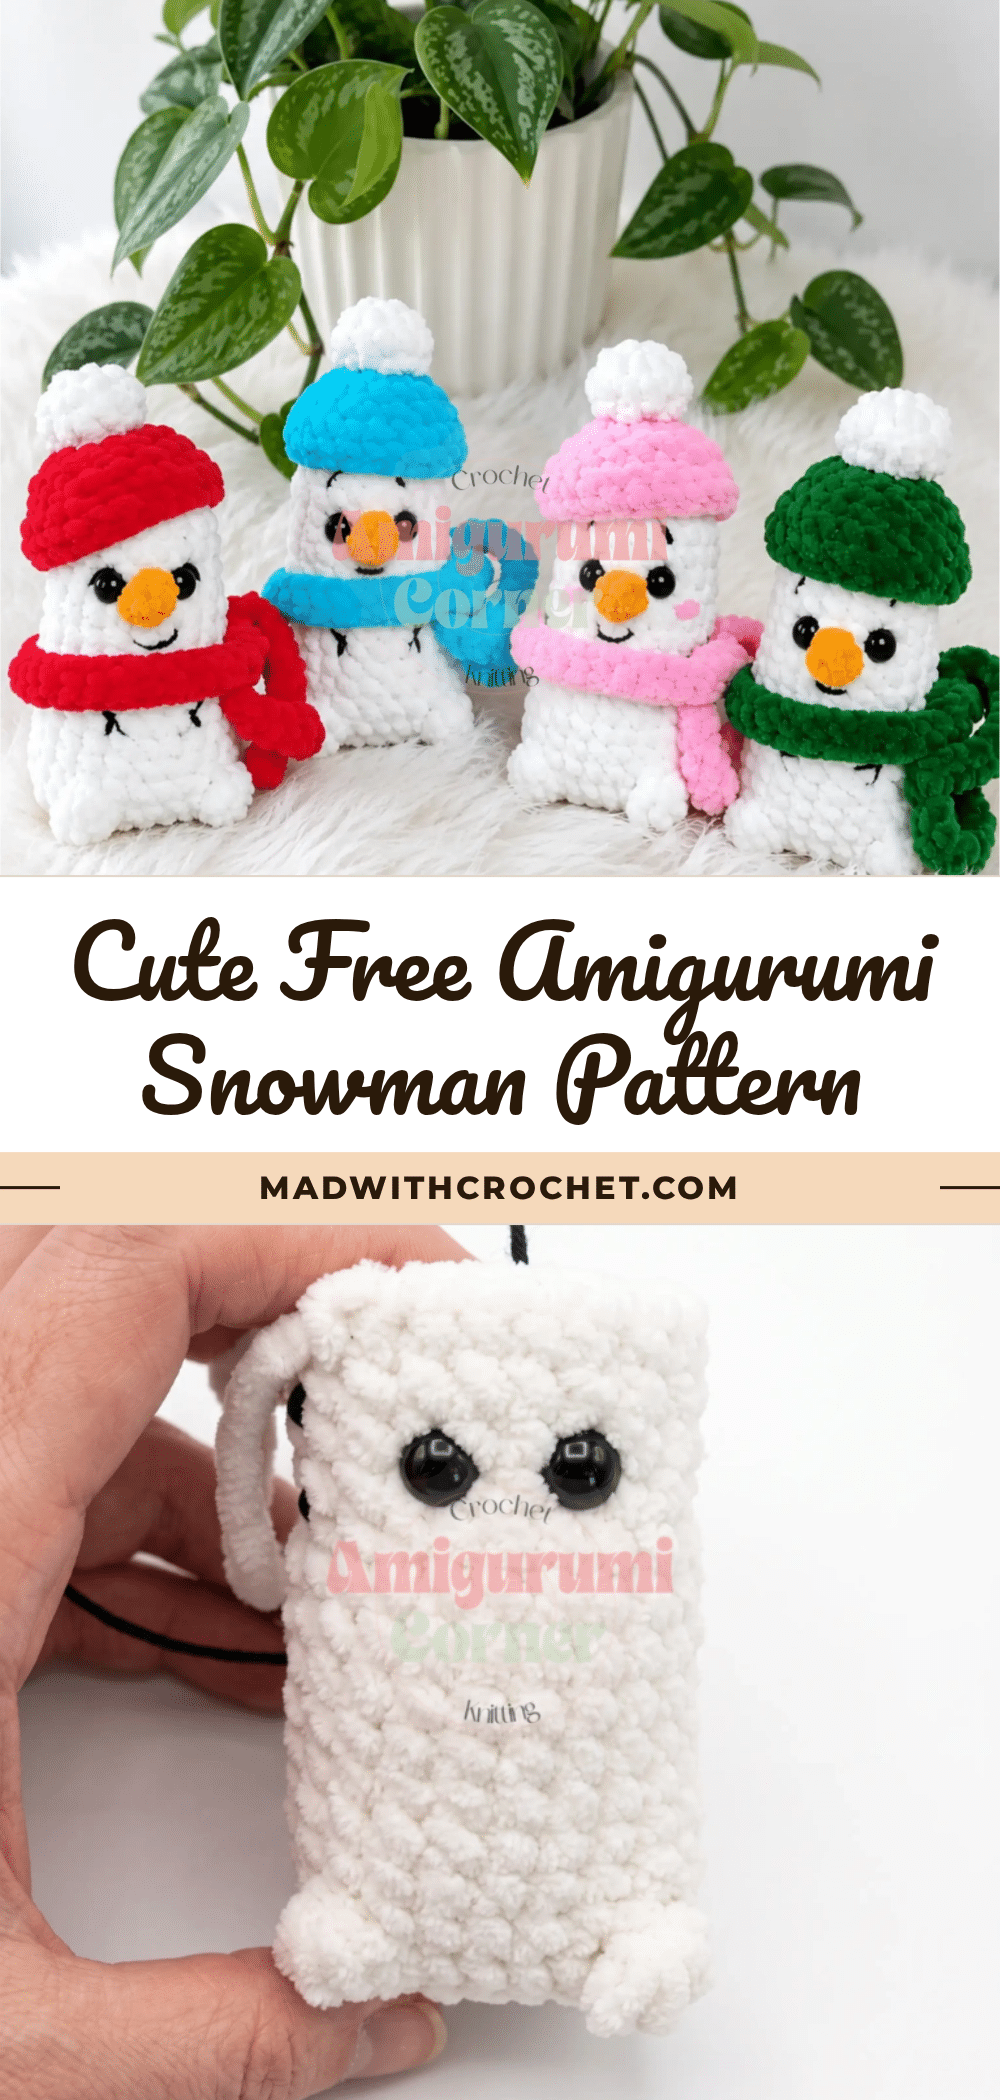
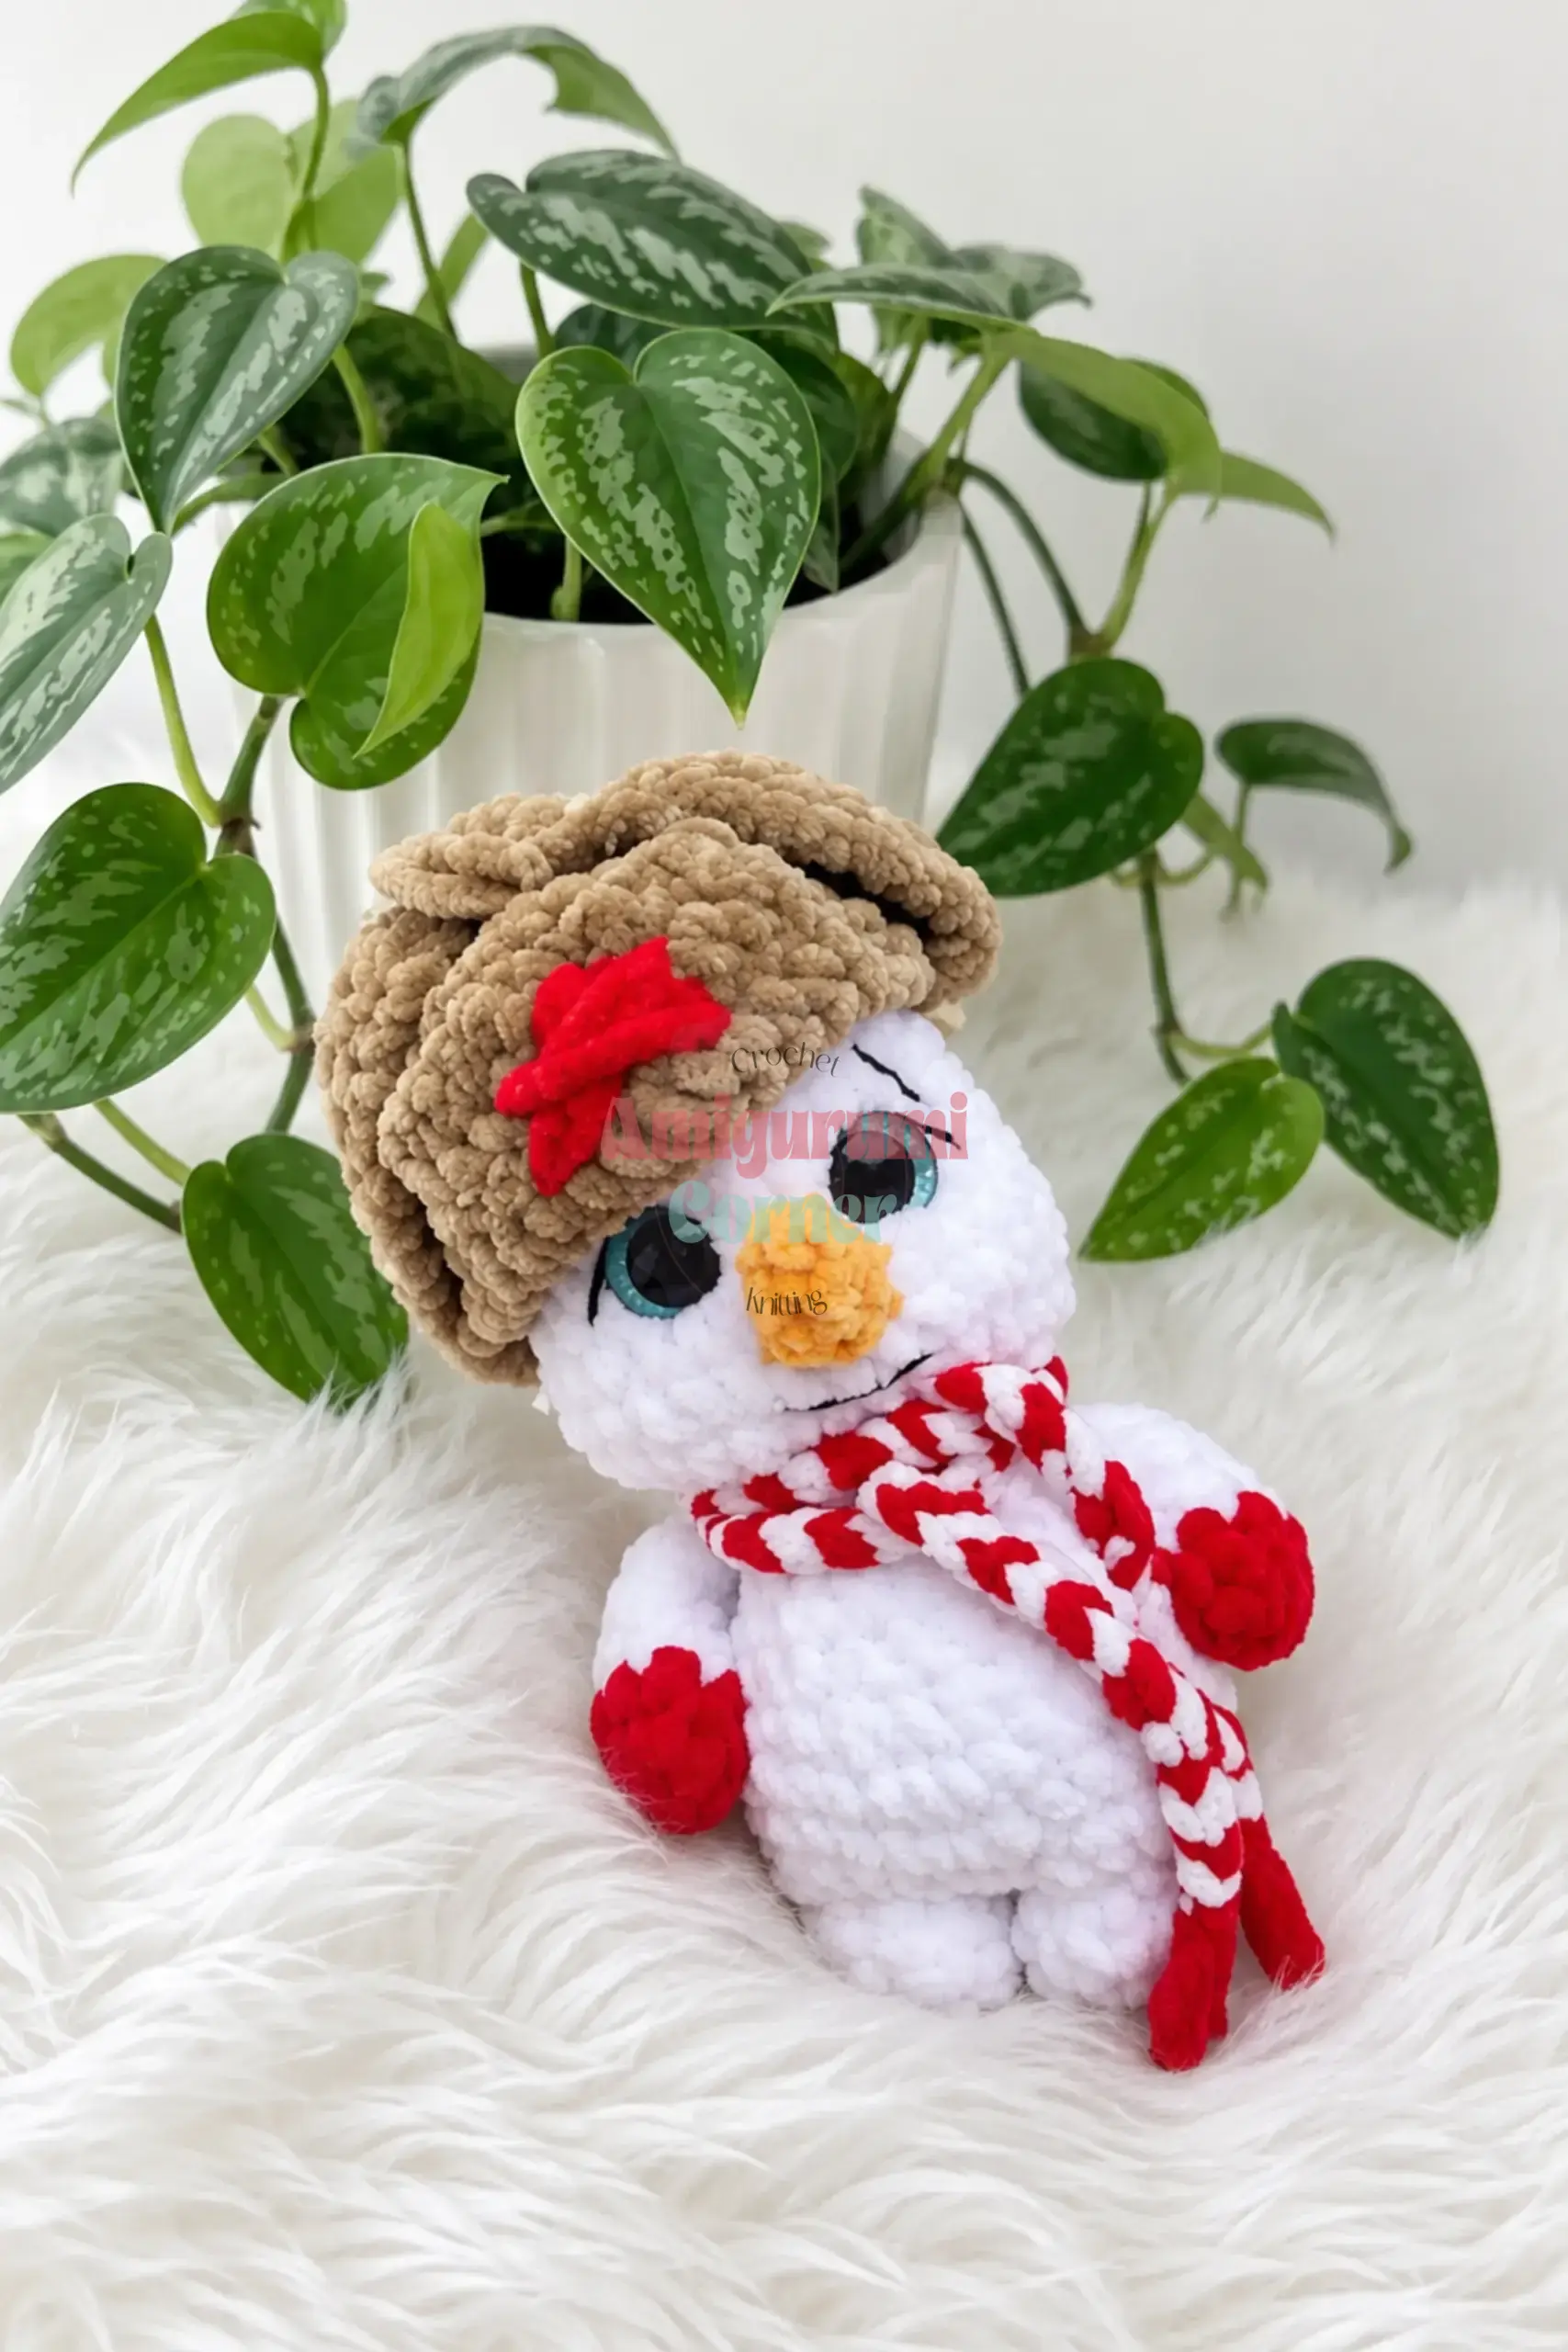
There is something undeniably cozy about opening a stash bin and finding a skein of plush, velvety yarn that begs to be touched. This amigurumi snowman pattern was born from that exact feeling—the desire to create a project that feels as soft as it looks. Using a worsted-to-bulky weight chenille or velour yarn gives this little guy a snow-like texture that is incredibly satisfying to work with, yet structured enough to hold its shape. Whether you are looking for a quick evening project or a charming gift for a winter-loving friend, this design captures the magic of the season in a compact, huggable package.
Yarn and Color Notes
The choice of yarn here is what transforms a standard amigurumi into a tactile delight. The recommended velour-style yarn provides a dense, plush finish that hides stitch definition slightly, resulting in a smooth, rounded appearance perfect for a snowman’s body. For the color palette, the body is worked in white to mimic snow, but the accessories offer a chance to play with contrast. The hat, scarf, and pom-pom can be made in blue, red, green, or pink, allowing you to customize the snowman’s personality. The tiny orange nose adds a classic pop of color, while the optional facial details can be kept minimal or enhanced with embroidery floss for a more expressive face.
Project Overview
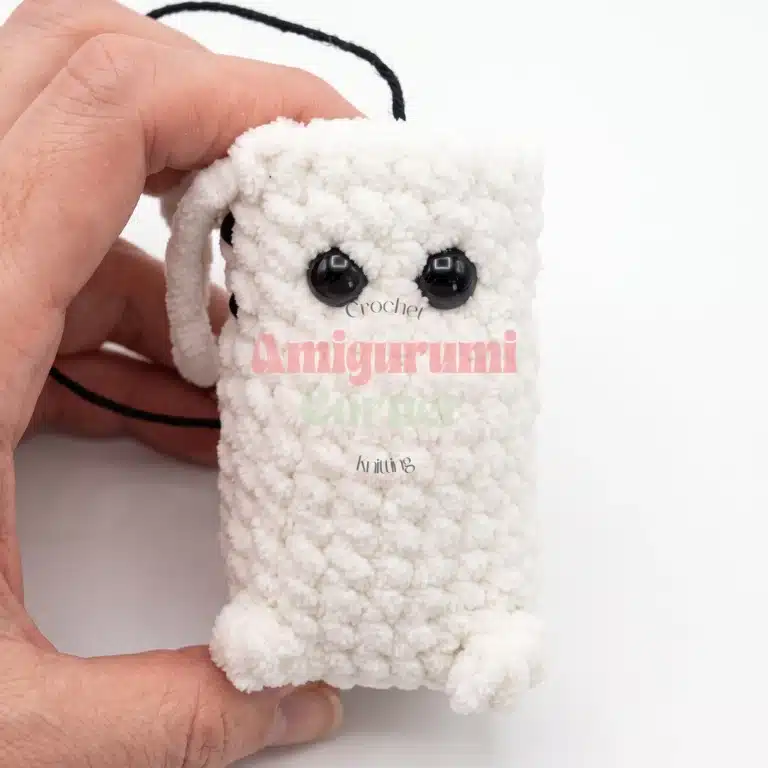
This beginner-friendly amigurumi snowman stands approximately three and a half inches tall. It is designed to be worked almost entirely in single crochet, making it an accessible project for those new to amigurumi. The snowman features a continuous spiral body and head, distinct wire-free legs formed by puff stitches, and a chunky knit-look hat and scarf. The plush texture of the recommended yarn ensures the finished piece is soft and durable, perfect for sitting on a windowsill, tucking into a stocking, or attaching to a keychain.
Materials
- Worsted-to-bulky weight chenille/velvet yarn (such as a “velour” style yarn) in white, for the body
- A small amount of the same yarn in a contrast color (blue, red, green, or pink) for the hat, scarf, and pom-pom
- A small scrap of orange yarn for the nose
- 3.5mm (US E-4) crochet hook
- 8mm safety eyes (1 pair)
- Polyester fiberfill stuffing
- Stitch marker
- Yarn/tapestry needle
- Fabric marker or fine black yarn, for optional facial details
- Scissors
Gauge and Finished Size
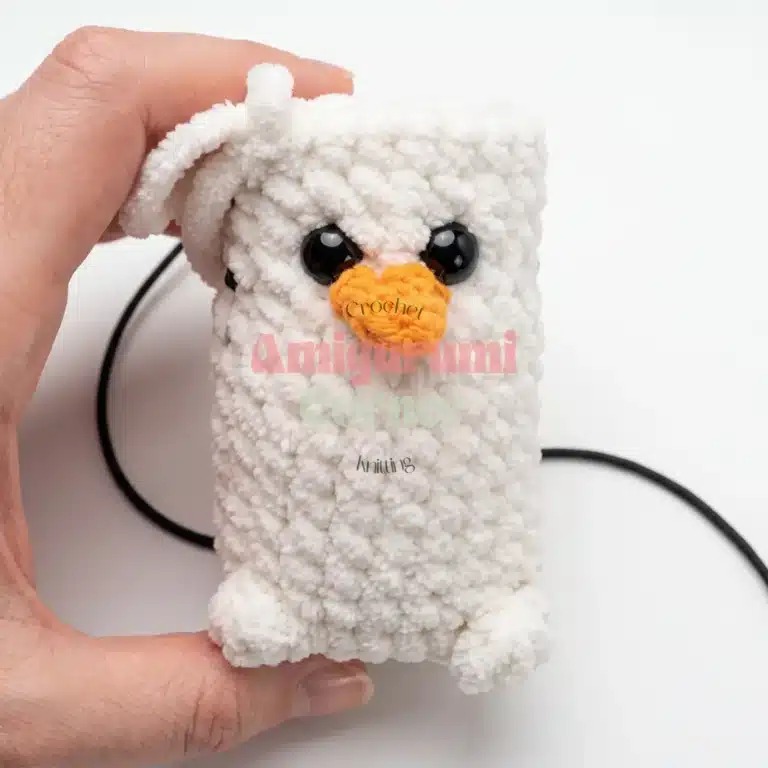
Gauge isn’t critical here; it will simply affect the finished size of the snowman. This little guy stands just about three and a half inches tall.
Abbreviations
- ch — Chain
- dc — Double Crochet
- dec — Decrease
- inc — Increase
- MR — Magic Ring
- sc — Single Crochet
- sl st — Slip Stitch
- st(s) — Stitch(es)
Pattern Notes
This pattern is written in US crochet terminology. The body and head are worked in a continuous spiral — do not join or turn unless noted. The hat and pom-pom are worked in joined rounds, starting each round with a chain and slip stitch to close. Stitch count is given at the end of each round in parentheses, like this: (14). Stuff the body firmly as you go, especially the lower half, so it sits flat rather than bulging. The nose is a tiny crocheted piece, not an appliqué — you’ll make it separately and tie it into place.
Pattern Instructions
Body & Head
Ch 6, work into the 2nd ch from hook.
Rnd 1: inc, 3 sc, 4 sc in next st, 3 sc, inc. (14)
Rnd 2: 2 inc, 3 sc, 4 inc, 3 sc, 2 inc. (22)
Rnd 3: 13 sc, leg (worked as a puff stitch — 4 dc closed together as one st), 5 sc, leg (repeat), 2 sc. (22)
This round forms the two legs — work each leg directly into the stitch as you reach it.
Rnds 4–12: sc in each st around. (22) — 9 rounds total
Rnd 13: dec, 10 sc, dec, 8 sc. (20)
Position the two decreases on opposite sides of the body so they sit at the “hips.”
Rnds 14–16: sc in each st around. (20) — 3 rounds total
Attach the safety eyes now, placing them between Rnds 13 and 14, spaced 3 sts apart. Work the Nose (Carrot) piece below and tie it in place just underneath the eyes before continuing.
Rnd 17: 3 sc, dec repeat 4 times around. (16)
Rnd 18: 8 dec around. (8)
You can fasten off and close the head here, or work two additional decrease rounds first for a smaller opening. Add more stuffing if needed to fill the head firmly, then fasten off and close the opening. Use a yarn needle to gently tug a bit of stuffing up toward the top of the head for a smooth, rounded shape.
Nose (Carrot)
Ch 3, sl st in 2nd ch from hook, 1 sc. Fasten off, leaving a long tail. Tie the nose in place directly beneath the eyes, securing the yarn tails together on the wrong side of the head.
Hat
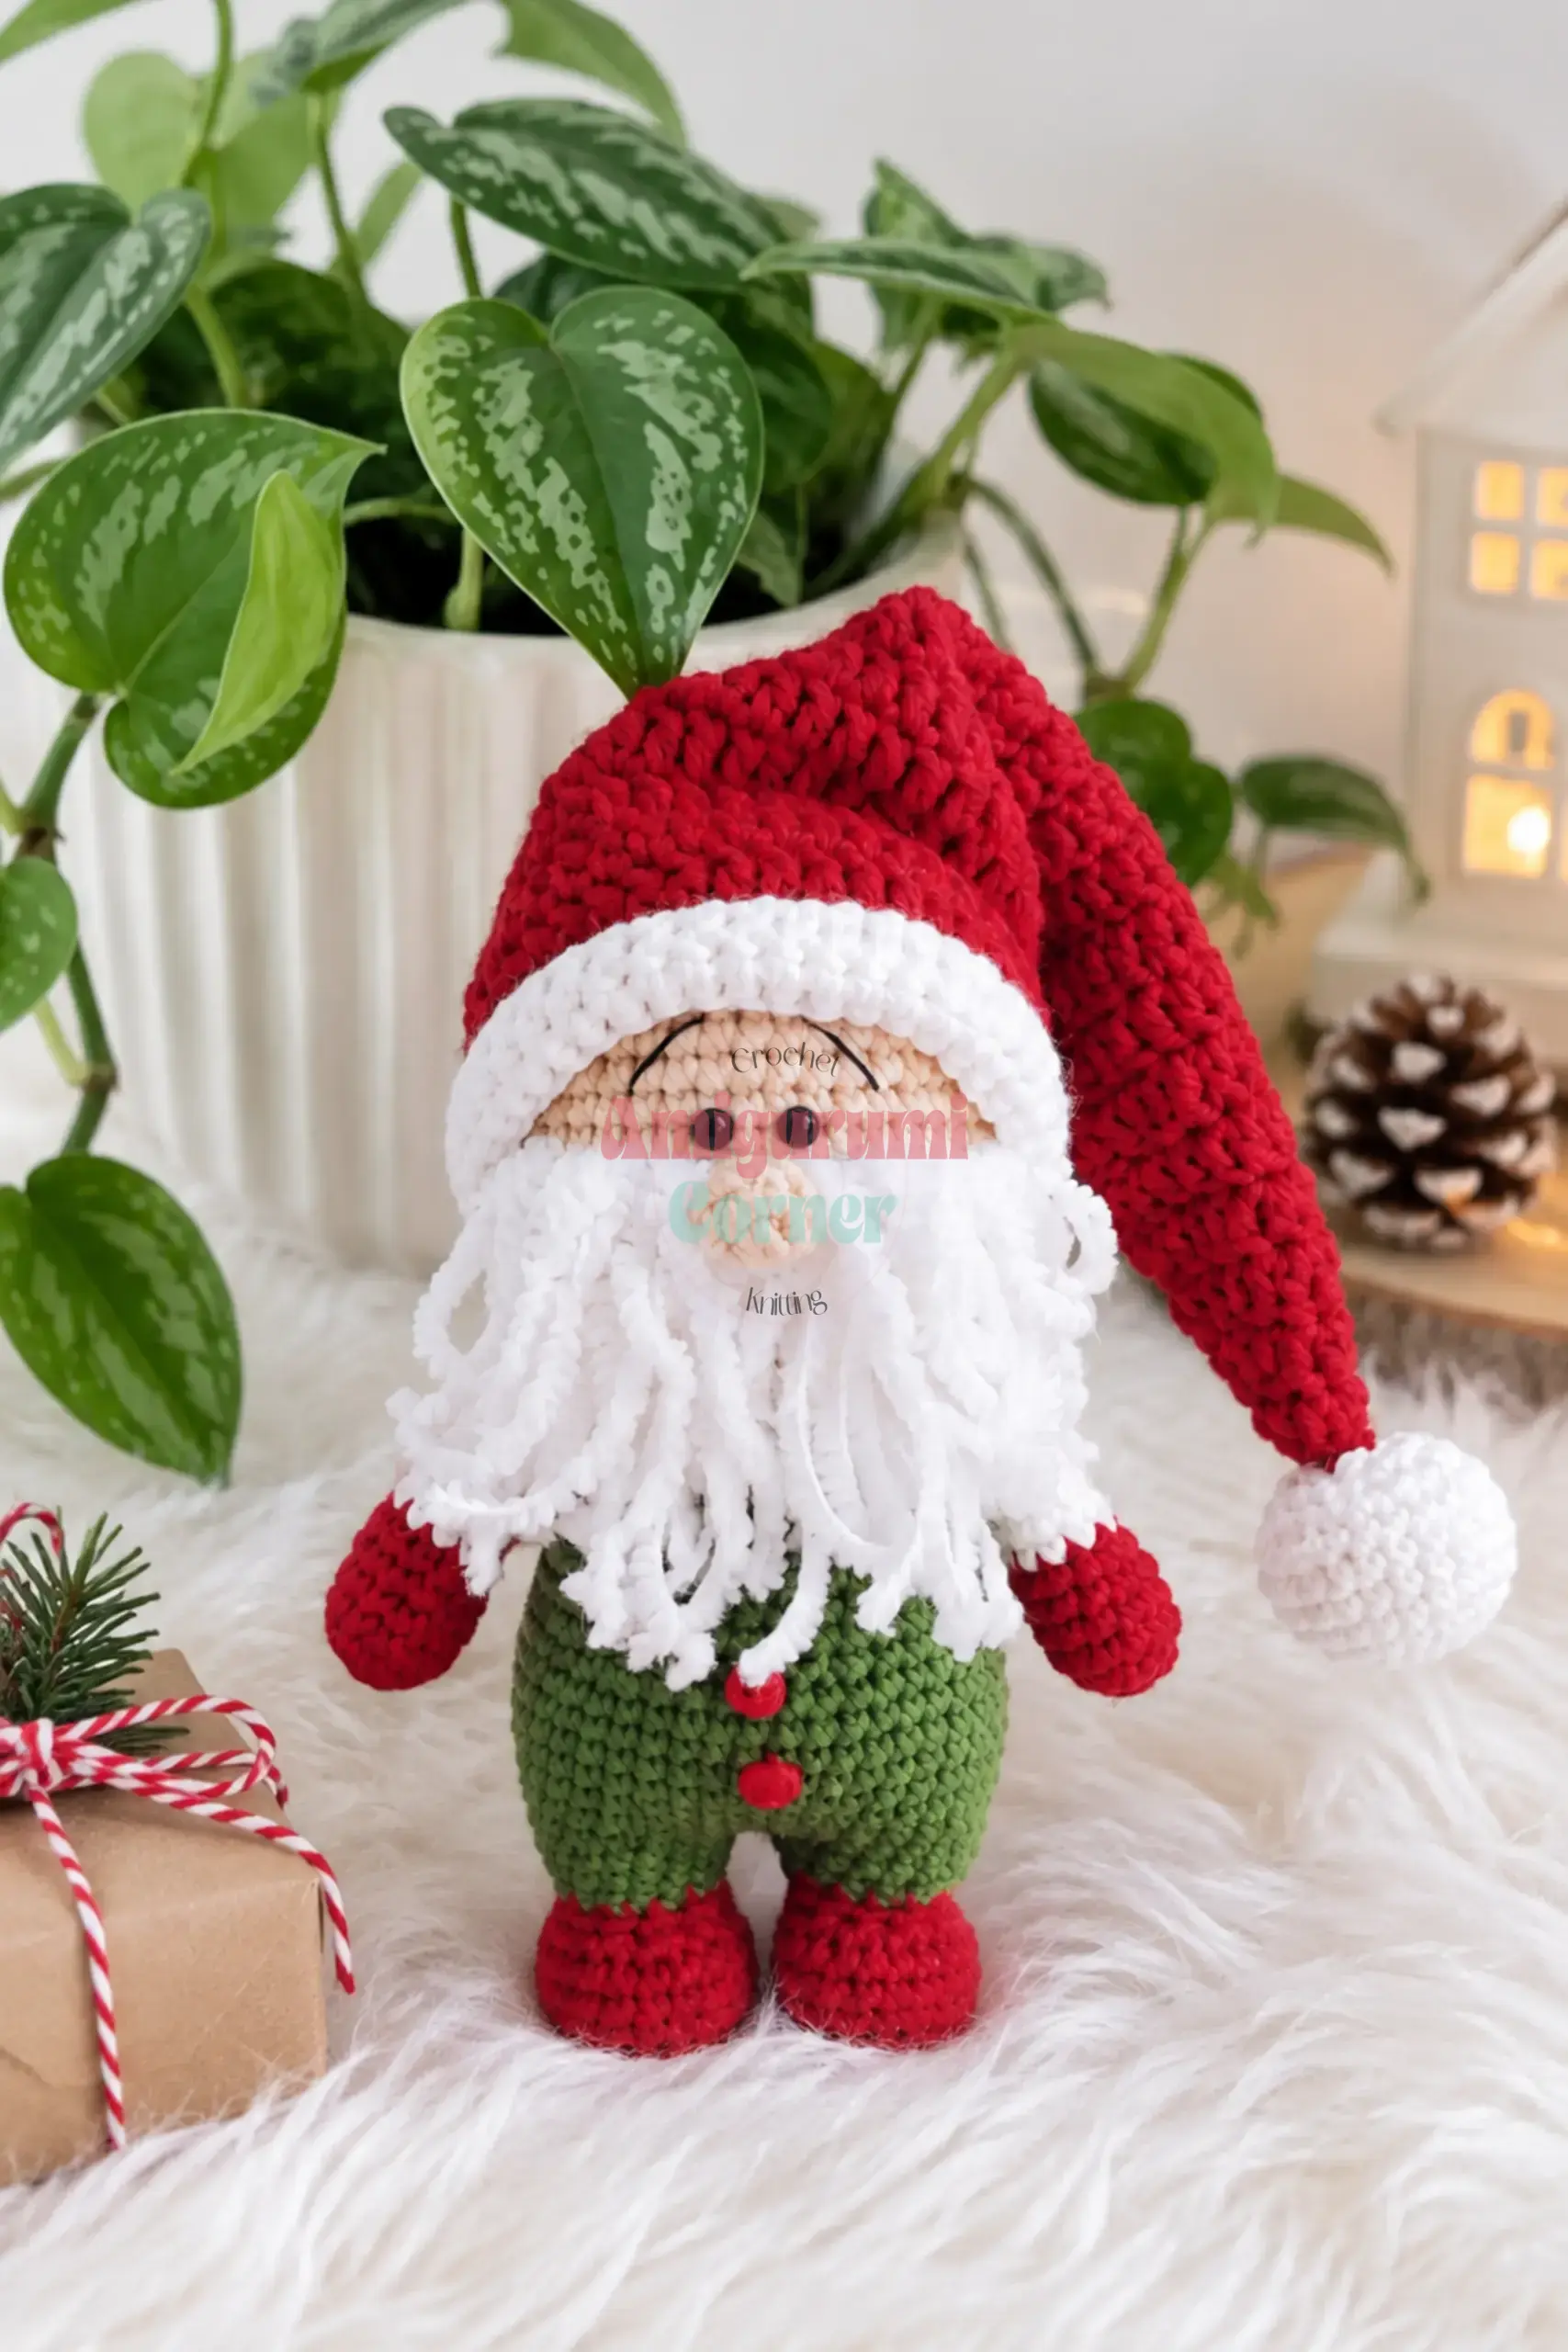
Rnd 1: Ch 24, join with a sl st to form a ring.
Rnds 2–3: sc in each st around. (24) — 2 rounds total
Rnd 4: 2 sc, dec repeat 6 times around. (18)
Rnd 5: sc in each st around. (18)
Rnd 6: 1 sc, dec repeat 6 times around. (12)
Rnd 7: dec in each st around. (6)
Fasten off, leaving a tail, and cinch the top opening closed.
Pom-Pom
Rnd 1: 6 sc in MR. (6)
Rnd 2: inc in each st around. (12)
Rnd 3: sc in each st around. (12)
Rnd 4: dec in each st around. (6)
Fasten off, stuff lightly, cinch the opening closed, and set aside to sew onto the hat.
Scarf
Ch 61, sc in the 2nd ch from hook and in each ch across. (60 sc)
Fasten off and weave in the ends. The scarf is intentionally long for wrapping and draping — shorten the starting chain if you’d like a shorter scarf.
Assembly
Weave in any loose ends on the Body & Head before adding accessories.
Sew the Pom-Pom to the top center of the Hat using its yarn tail and a whipstitch.
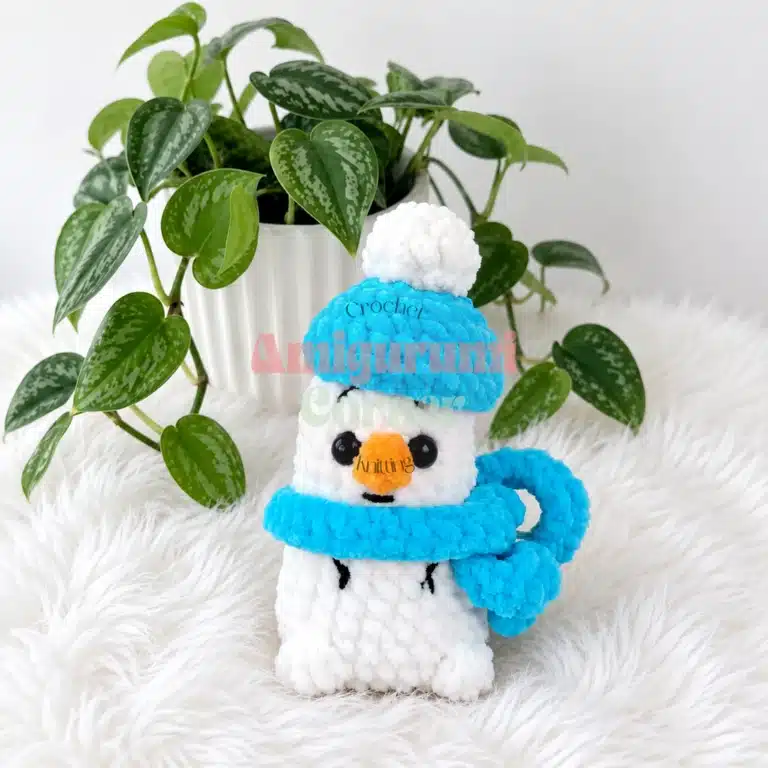
Place the Hat on the snowman’s head at your preferred angle and sew it in place around the base, using the Hat’s starting tail or a fresh length of matching yarn.
Wrap the Scarf around the neck, crossing or draping it as shown in your reference photo, and tack it in place with a few small stitches so it doesn’t slip.
Add any facial details eyebrows, a mouth, or blush marks with a fabric marker or a few strands of embroidery floss.
Weave in all remaining ends and trim closely.
Tips
Keep your tension tight. Amigurumi stitches should be snug enough that stuffing doesn’t peek through between them — this matters even more with a plush chenille-style yarn, since loose stitches can hide inside the fuzz until you notice gaps later.
Work a clean decrease. An invisible decrease (inserting your hook into the front loops only of the next two stitches before pulling up a loop) keeps the color changes and shaping at the hips and top of the head looking smooth rather than bumpy.
Don’t overstuff or understuff. Add fiberfill in small amounts as you close each section rather than all at once at the end — this gives you an even shape and keeps the bottom of the body flat enough for the snowman to stand.
Substituting yarn works, but watch your weight. A smooth worsted-weight cotton or acrylic will substitute fine for the velvety yarn used here; just expect a slightly different texture and a finished size that may run a touch smaller, since velvet-style yarns tend to be a bit thicker per stitch.
The leg puff stitches are the trickiest part. Work all 4 double crochets into the same stitch, then pull your hook through all the loops on your hook at once to close them together — go slowly here, since a loose puff stitch is the most common spot for the legs to look uneven.
FAQs
Can I use a different yarn weight?
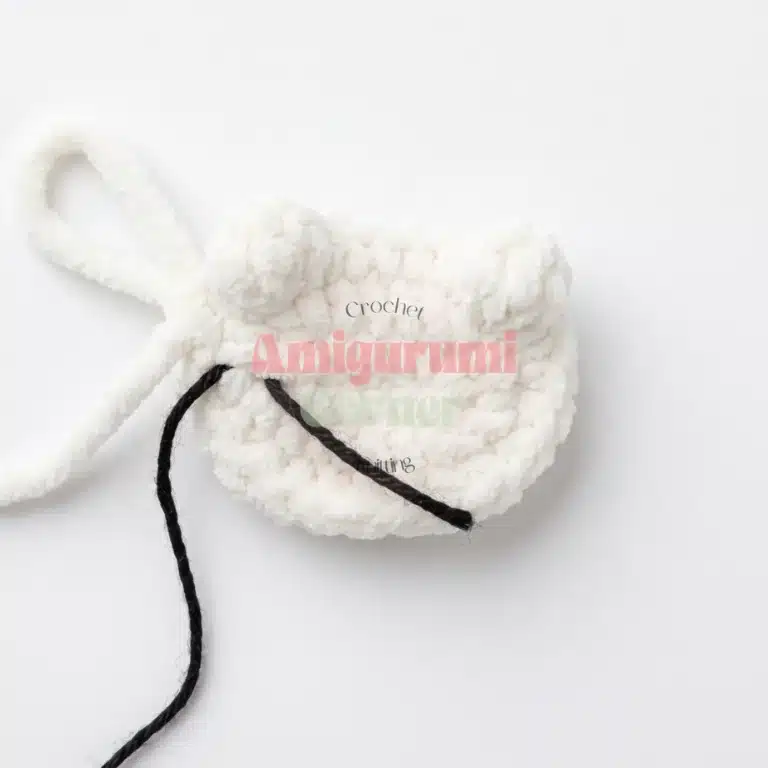
Yes, you can substitute the velvety yarn with a smooth worsted-weight cotton or acrylic. However, keep in mind that the finished size may run slightly smaller, and the texture will be different.
How do I make the snowman stand flat?
Stuff the body firmly as you work, especially focusing on the lower half. This ensures the base is dense and flat, preventing the snowman from bulging or tipping over.
What if I don’t have a 3.5mm hook?
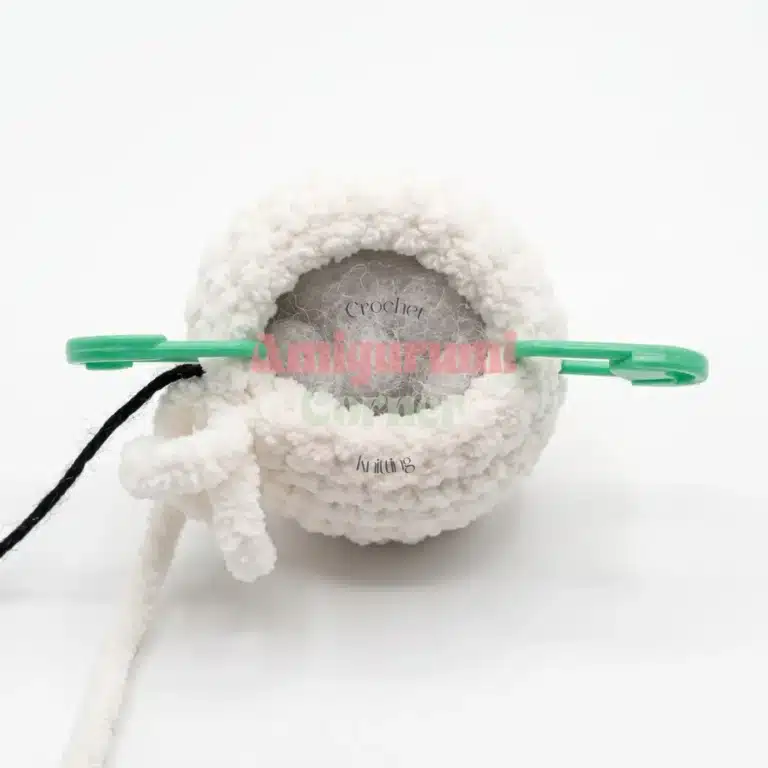
You can use a hook size that gives you a similar gauge, but be aware that a larger hook may result in a looser stitch and a larger snowman, while a smaller hook will create a tighter, denser fabric.
How do I attach the safety eyes securely?
Ensure the safety eyes are placed between Rnds 13 and 14, spaced 3 sts apart. Secure them firmly on the inside of the head with the provided washer or nut.
Can I make the scarf shorter?
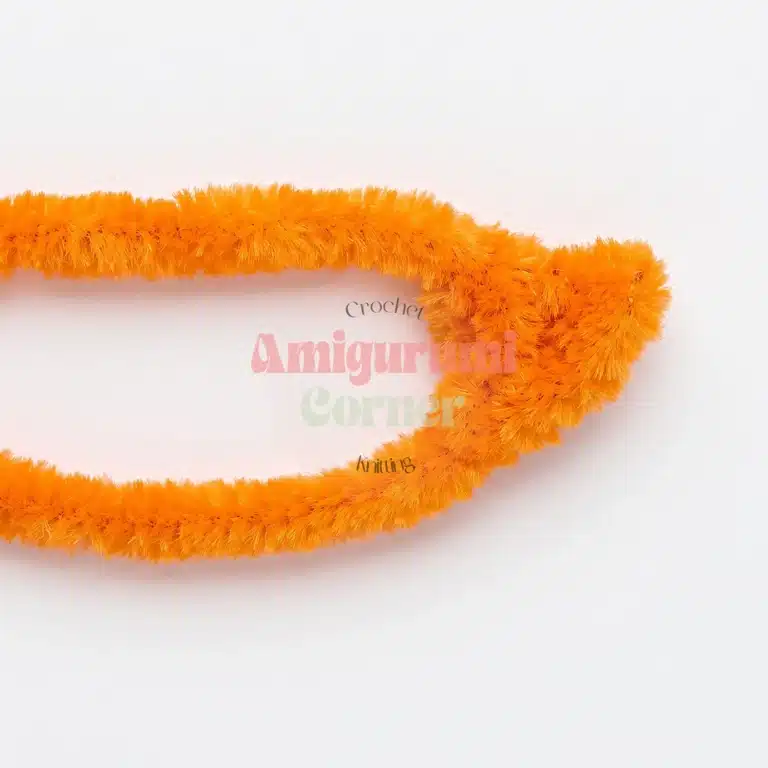
Absolutely. The pattern calls for a chain of 61 for a long, draping scarf, but you can shorten the starting chain to create a shorter scarf that fits your preference.
Pin This Crochet Pattern!