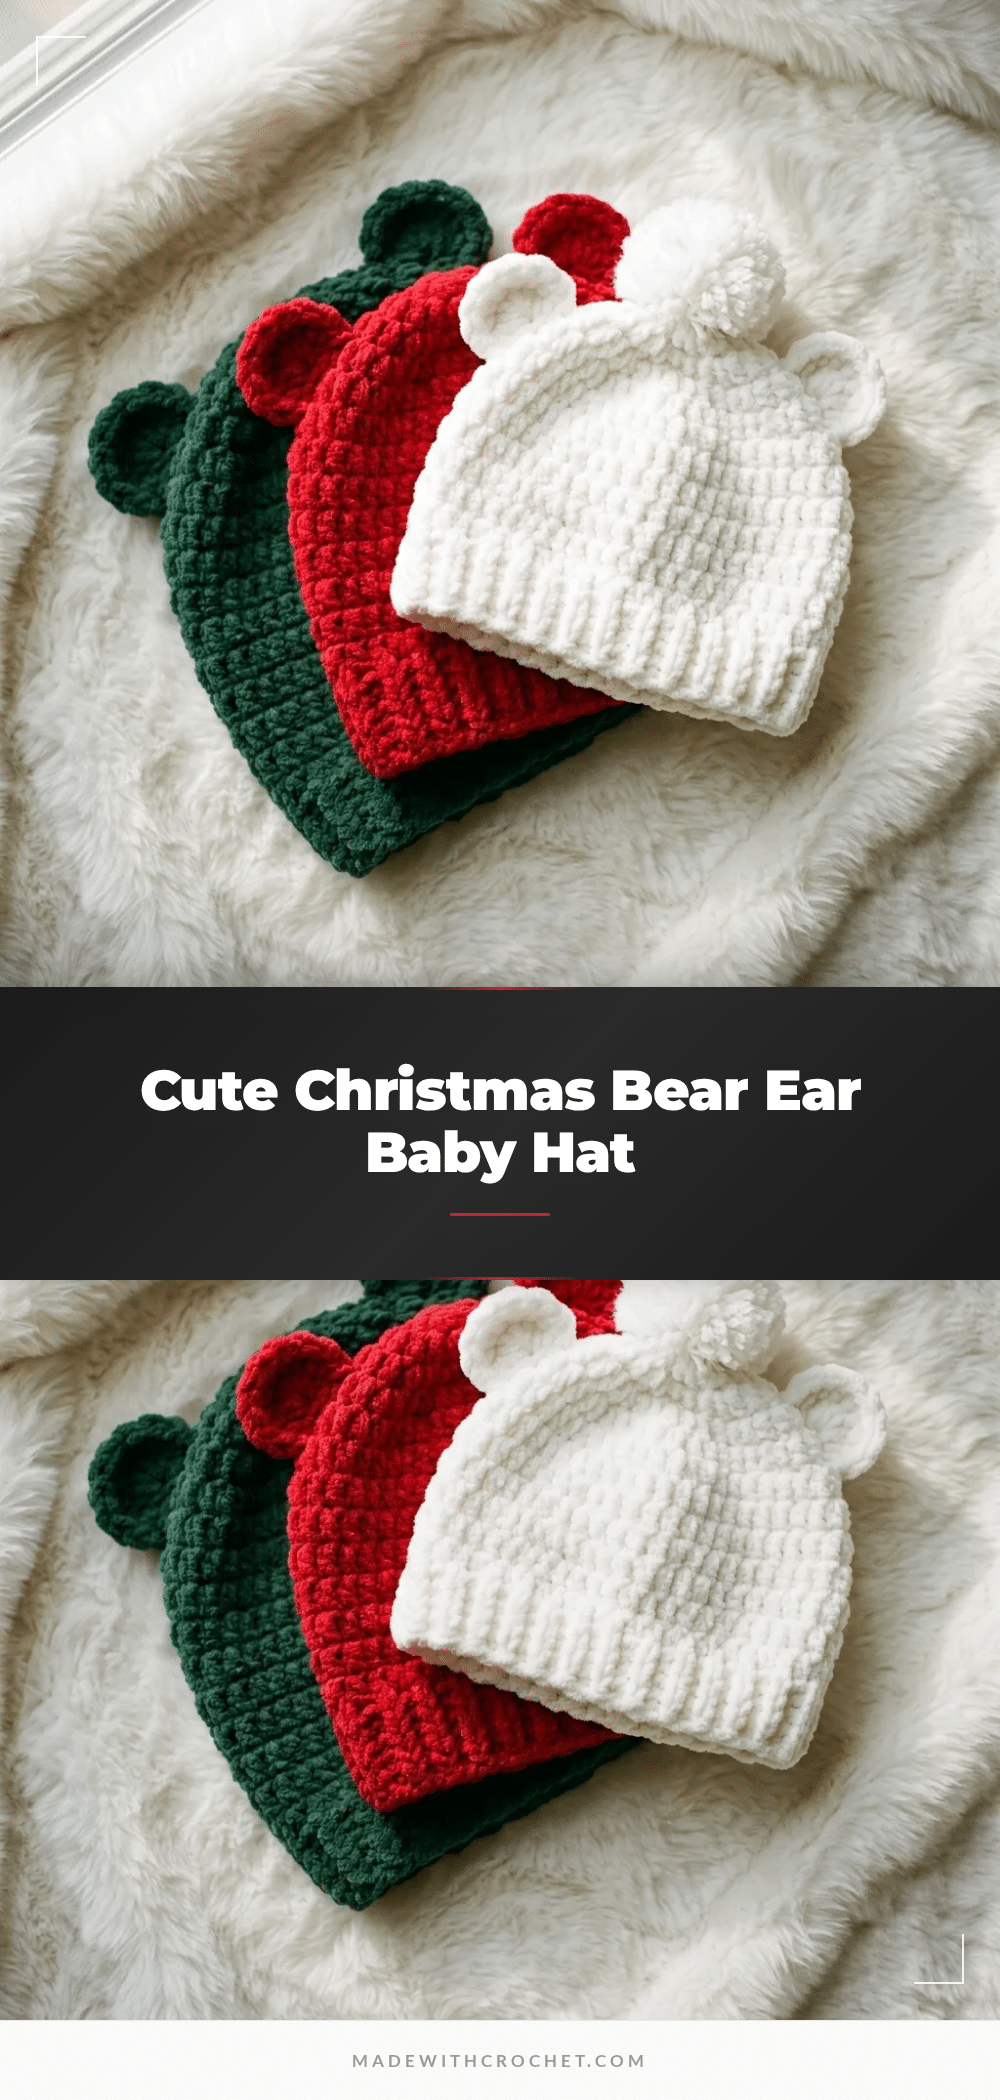
There is something undeniably magical about the moment you pull a skein of plush, velvet-style yarn from your stash and realize it is the perfect shade of holiday red or forest green. This Christmas Bear Ear Baby Hat starts with that feeling of intentionality—a decision to use a bulky, chenille-like fiber that promises a soft, huggable finish. The texture of the yarn does half the work here, creating a luxurious look that feels as good as it looks against a baby’s delicate skin. It is a project that balances the cozy comfort of a winter essential with the playful charm of bear ears, resulting in a keepsake that is as practical as it is adorable.
Yarn and Color Notes
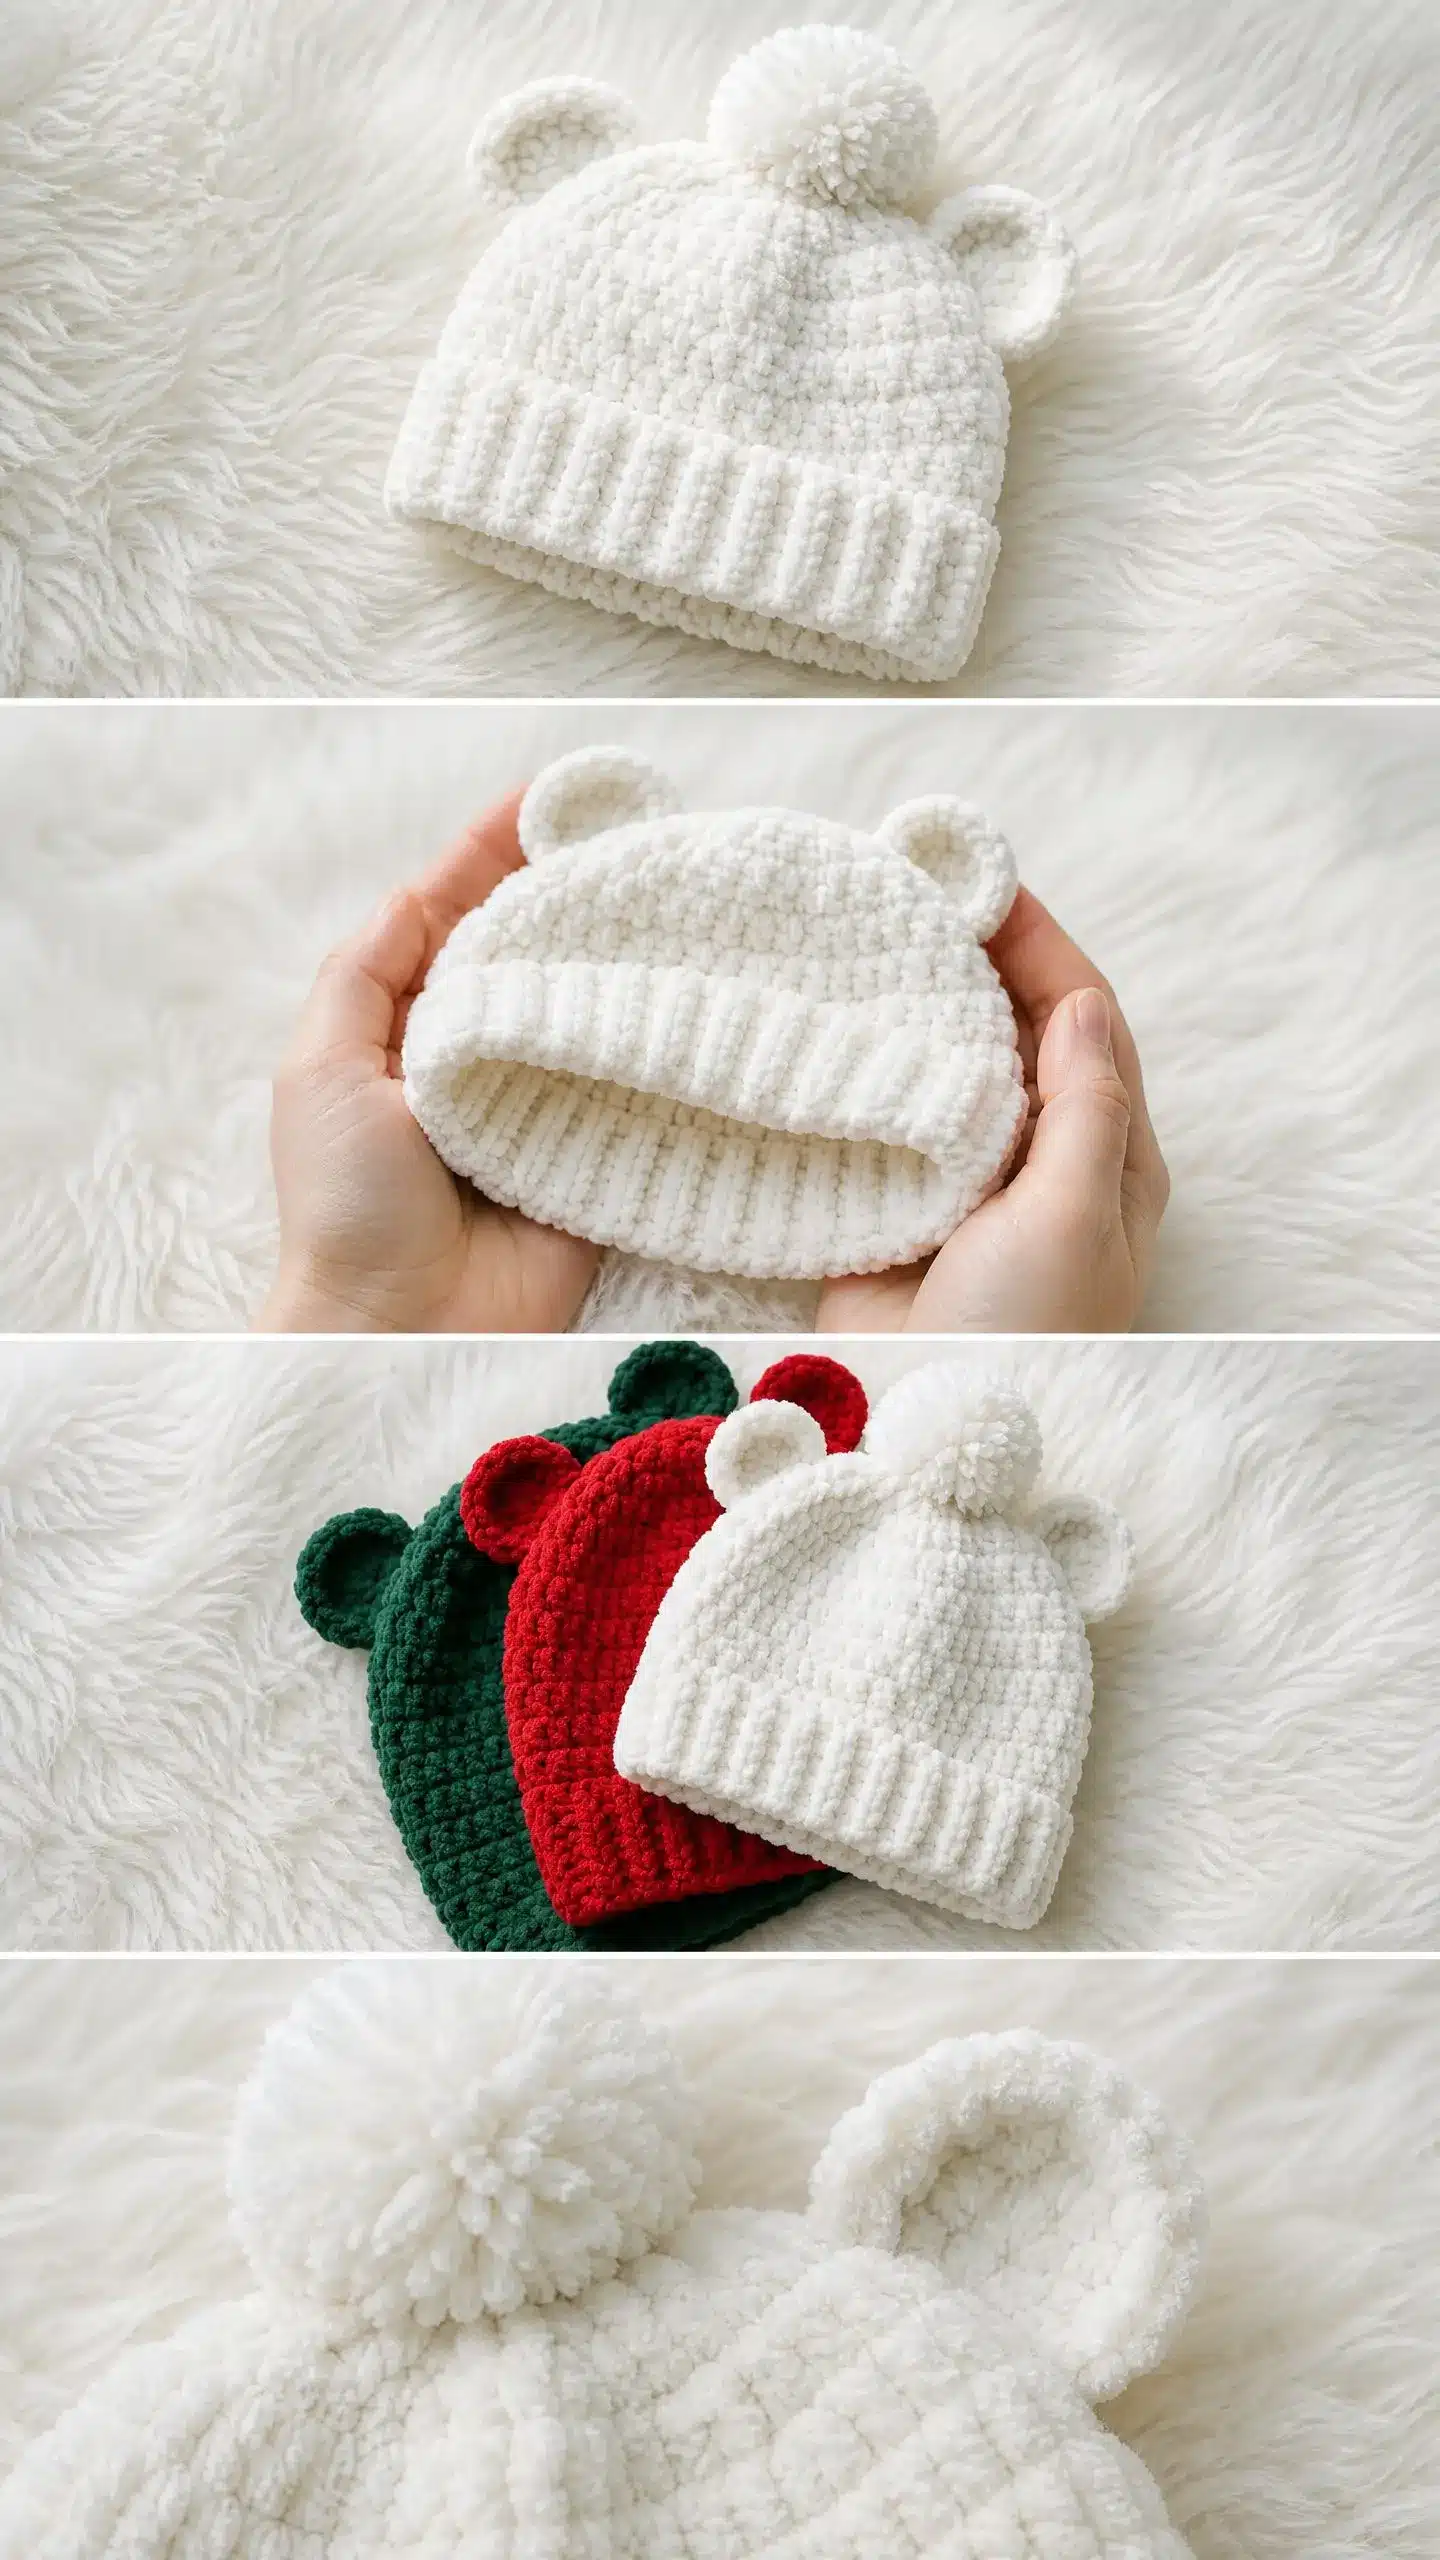
Choosing the right yarn is the secret to making this hat pop. While any bulky weight yarn will technically work, chenille or velvet-style yarns are the superior choice for this specific design. Their brushed texture enhances the waffle stitch pattern, giving the hat a plush, high-end appearance that mimics expensive boutique baby wear. The “fuzz” of the yarn also helps hide minor stitch inconsistencies, making this a forgiving project for crocheters of varying skill levels.
For the classic Christmas aesthetic, consider these three colorways:
- Cream or Ivory: Soft, neutral, and perfect for any nursery. It highlights the texture of the waffle stitch beautifully.
- Cranberry Red: A rich, traditional holiday color that looks festive in photos and pairs well with white trim.
- Forest Green: A sophisticated alternative to red that feels modern and fresh.
If you are making a set for a baby shower, creating one of each color creates a charming “holiday trio” gift. The yarn choice also dictates care; chenille and acrylic blends are generally machine washable, which is a non-negotiable feature for baby gear.
Project Overview
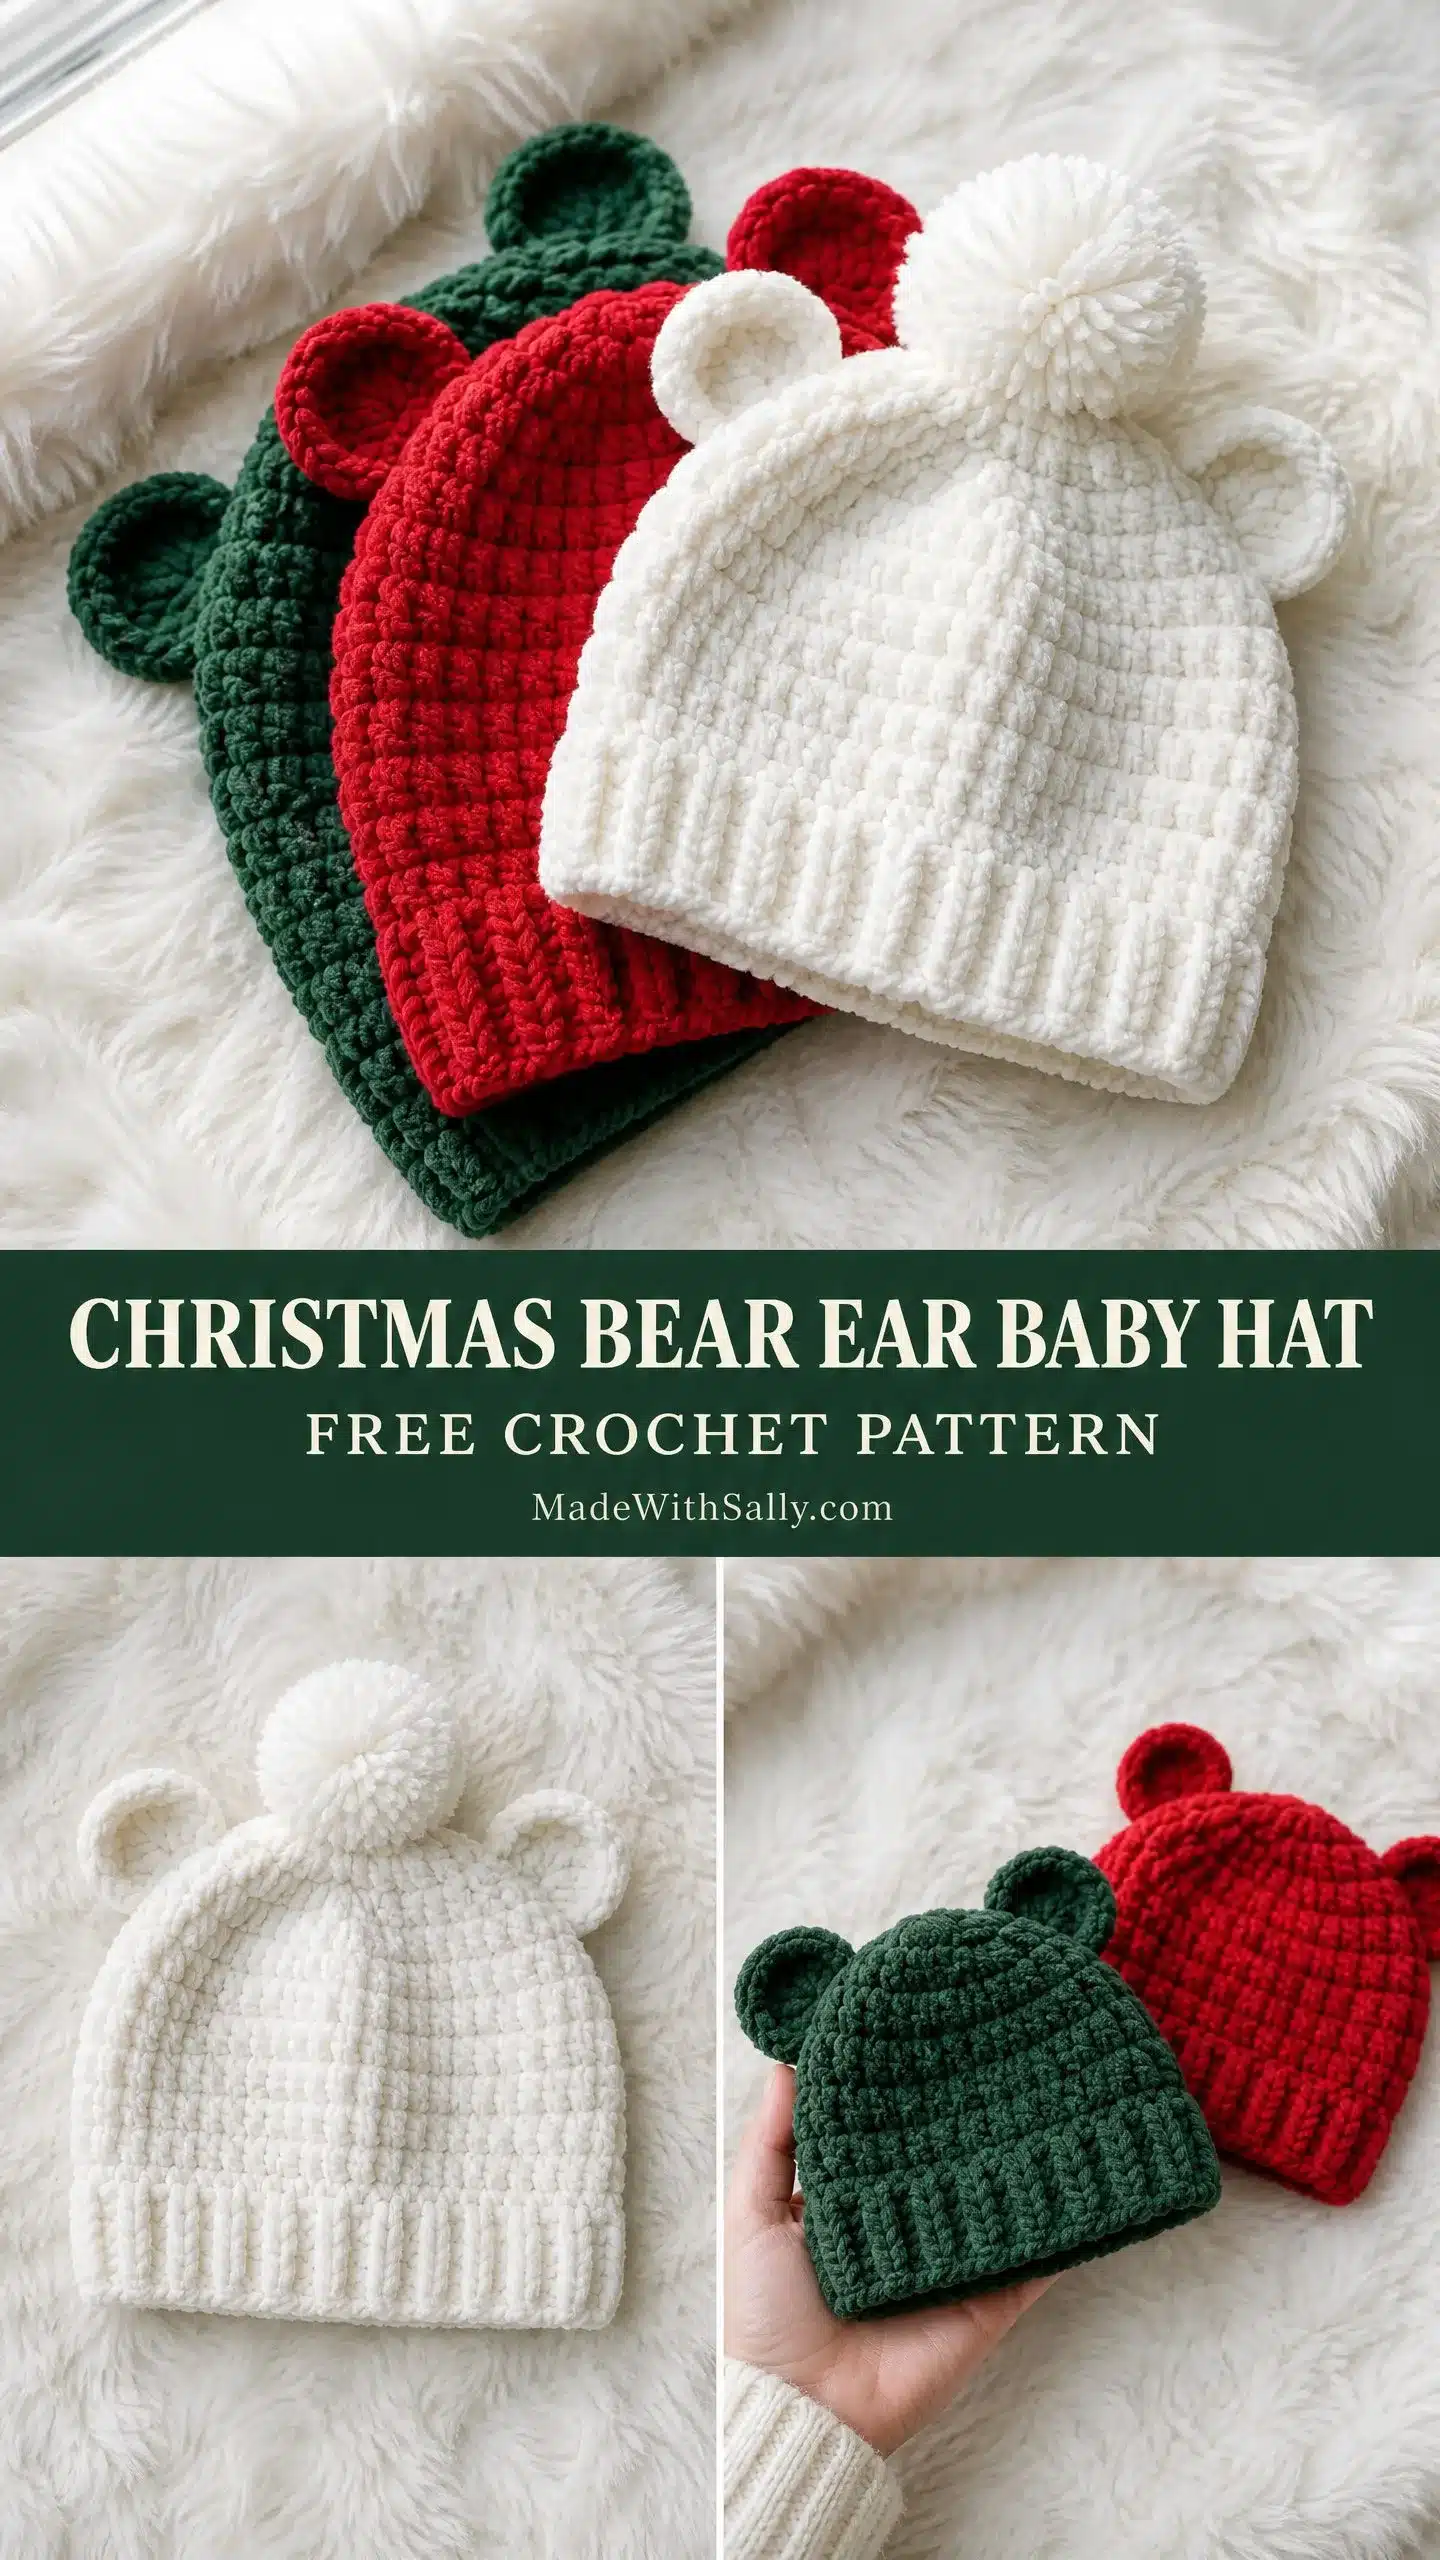
This cozy baby beanie brings together everything you want in a holiday project. It is quick enough to finish in an afternoon or two, impressive enough to gift with pride, and soft enough for the most sensitive baby skin. The construction is smart and logical, moving from the bottom brim upward, closing at the crown, then adding the ears and pompom as separate pieces.
The waffle stitch pattern creates that gorgeous textured grid you see on the hat body. It looks intricate, but it is really just alternating between two types of stitches worked around the posts of the row below. Once you get the rhythm, your hands will do the work while your brain relaxes. Available in three classic holiday colorways, this pattern works beautifully in cream, cranberry red, or forest green.
Materials
Before you start crocheting, gather these supplies:
- Yarn: Bulky weight yarn, weight category 5 or 6. Chenille or velvet-style yarn works best for achieving that soft, plush texture. You’ll need approximately 80 to 100 yards (73 to 91 meters) per hat.
- Hook: US Size J-10 / 6.0 mm crochet hook, or whatever size you need to match the gauge.
- Notions:
- At least 2 stitch markers
- Yarn needle for weaving ends and attaching ears
- Scissors
- Pompom maker or two cardboard circles (approximately 2 inches / 5 cm diameter)
- Pins for positioning ears before sewing
Gauge and Finished Size
Gauge
13 stitches and 10 rows = 4 inches (10 cm) in waffle stitch pattern, worked in joined rounds with a US J-10 / 6.0 mm hook, unblocked.
I know checking gauge feels tedious, but for a fitted baby hat, it really matters. A hat that’s too small won’t fit over baby’s head. A hat that’s too big will slip down over their eyes. Take ten minutes to swatch and save yourself the heartbreak of a hat that doesn’t fit.
Finished Size
- Newborn to 3 months: Circumference approximately 13 inches (33 cm), height approximately 5.5 inches (14 cm) excluding pompom.
- 3 to 6 months: Circumference approximately 14.5 inches (37 cm), height approximately 6 inches (15.25 cm) excluding pompom.
The pattern is written for the newborn to 3 months size, with the 3 to 6 months adjustments noted in parentheses throughout.
Abbreviations
Let me break down every abbreviation you’ll encounter in this pattern. If you’re newer to crochet, bookmark this section for quick reference.
- blo = back loop only (insert your hook into only the back loop of the stitch, the one farthest from you)
- BPdc = back post double crochet (a double crochet worked around the post of the stitch below, inserting your hook from back to front to back)
- ch = chain
- dc = double crochet
- FPdc = front post double crochet (a double crochet worked around the post of the stitch below, inserting your hook from front to back to front)
- hdc = half double crochet
- pm = place marker
- rnd = round
- sc = single crochet
- sc2tog = single crochet two together (a decrease stitch that turns two stitches into one)
- sk = skip
- sl st = slip stitch
- st(s) = stitch(es)
- yo = yarn over
Pattern Notes
This hat is worked in joined rounds, meaning you’ll slip stitch to join at the end of each round rather than working in a continuous spiral. This keeps your stitch pattern aligned properly.
The brim uses back loop only single crochet to create that stretchy, ribbed texture. It looks more complicated than it is.
For the waffle stitch body, always work your FPdc over the FPdc from the previous round, and your BPdc over the BPdc from the previous round. This maintains those beautiful vertical columns.
The turning chain at the start of each double crochet round counts as a stitch throughout the pattern.
Both ears are identical. You’ll make them flat, fold them in half, and sew them onto the finished hat.
Pattern Instructions
The Brim
Foundation: Ch 43 (49 for larger size). Being careful not to twist your chain, sl st to first ch to form a ring.
Rnd 1: Ch 1, sc in same st as joining and in each ch around. Sl st to first sc to join. (42 sc) (48 sc for larger size)
Rnd 2: Ch 1, blo sc in same st and in each st around. Sl st to first blo sc to join. (42 sc) (48 sc)
Rnd 3: Rep Rnd 2. (42 sc) (48 sc)
Rnd 4: Rep Rnd 2. (42 sc) (48 sc)
Rnd 5: Rep Rnd 2. (42 sc) (48 sc)
Rnd 6: Rep Rnd 2. (42 sc) (48 sc)
Checkpoint: After Rnd 6, your brim should measure approximately 1.25 inches (3 cm) in height and stretch comfortably around a measuring tape set to 13 inches (14.5 inches for larger size).
The Hat Body
Now we transition from the ribbed brim to the textured waffle stitch body. Don’t worry, I’ll walk you through exactly how to set up the pattern.
Rnd 7 (Transition round): Ch 2 (counts as first dc), dc in each rem st around. Sl st to top of beginning ch-2 to join. (42 dc) (48 dc)
This round establishes the posts you’ll work around in the following rounds.
Rnd 8 (Waffle round 1, set-up): Ch 2 (counts as first dc, treated as a BPdc column for alignment). Working in stitches of Rnd 7: FPdc in next st, BPdc in next st. Rep (FPdc in next st, BPdc in next st) around until 1 st remains before the beginning ch-2. FPdc in last st. Sl st to top of beginning ch-2. (42 sts) (48 sts)
Rnd 9 (Waffle round 2): Ch 2 (BPdc column). FPdc around the post of the FPdc below. BPdc around the post of the BPdc below. Rep (FPdc, BPdc) to maintain column alignment to end of round. Sl st to top of ch-2. (42 sts) (48 sts)
Rnd 10: Rep Rnd 9. (42 sts) (48 sts)
Rnd 11: Rep Rnd 9. (42 sts) (48 sts)
Rnd 12: Rep Rnd 9. (42 sts) (48 sts)
Rnd 13: Rep Rnd 9. (42 sts) (48 sts)
Rnd 14: Rep Rnd 9. (42 sts) (48 sts)
For 3 to 6 months size only: Work one additional repeat of Rnd 9 here (Rnd 14a) to add height before crown shaping. (48 sts)
Checkpoint: After the final body round, your hat body (brim plus waffle section) should measure approximately 4 inches (10 cm) in total height (4.5 inches / 11.5 cm for 3 to 6 months). Those waffle columns should be crisp and aligned.
Crown Shaping
Note: The source text provided does not include the specific instructions for the crown decrease rounds. Typically, this involves decreasing stitches evenly around the final rounds to close the top of the hat. Please refer to the original source for the specific decrease sequence if not provided in your full pattern copy.
Bear Ears (Make 2)
Each ear starts as a small flat circle, then gets folded and sewn onto the hat. They’re quick and satisfying to make.
Foundation ring: Ch 2.
Rnd 1: Work 6 sc in second ch from hook. Sl st to first sc to join. (6 sc)
Rnd 2: Ch 1, 2 sc in each st around. Sl st to first sc to join. (12 sc)
Rnd 3: Ch 1, (sc in next st, 2 sc in next st) 6 times. Sl st to first sc to join. (18 sc)
Fasten off, leaving a long tail of approximately 12 inches (30.5 cm) for sewing.
Pompom
Note: The source text mentions using a pompom maker or cardboard circles in the materials list, but does not provide the specific steps for creating the pompom. Standard practice involves wrapping yarn around the cardboard circles, cutting through the outer edge, and tying a separate strand tightly around the center to secure the pompom before attaching it to the crown.
Assembly
Ear Assembly: Fold your circle in half with wrong sides together to form a half-moon shape. The curved edge will face upward once attached.
Ear Placement: Position both ears on the front upper portion of the hat, approximately 0.5 to 1 inch (1.25 to 2.5 cm) down from the crown gather. Space them approximately 1 to 1.5 inches (2.5 to 4 cm) apart from each other, centered front to back. Pin in place before sewing. Using your long yarn tail, sew around the flat base edge of each ear firmly to the hat surface. Knot securely and weave in all ends on the wrong side.
Pompom Attachment: Secure the pompom to the top center of the hat using the long tail left for this purpose. Weave in ends securely on the inside.
Tips
- Want to make this hat larger? For a 6 to 12 month baby, increase your foundation chain by 6 stitches (to 55 ch, giving 54 working stitches). Add one additional waffle stitch round in the body. Adjust your first decrease round to (sc in next 6 sts, sc2tog) 6 times.
- For a toddler size: Increase the foundation chain by 12 stitches (to 61 ch, giving 60 working stitches) and add 2 additional waffle rounds.
- To adjust brim depth: Each additional blo sc round adds approximately 0.25 inch (0.6 cm). Work as many rounds as you like before transitioning to the body.
Care Instructions
For acrylic and chenille yarns, machine wash on gentle cycle in cold water and tumble dry on low heat. Do not iron or dry clean.
Store your finished hat folded flat or lightly stuffed with tissue to maintain the ear shape.
FAQs
Can I use a different weight of yarn?
While bulky weight (5 or 6) is recommended for the correct gauge and plush look, you can use a lighter weight yarn. However, you will need to adjust your hook size and stitch count accordingly, and the hat will take longer to complete.
Why is my waffle stitch looking uneven?
Ensure you are working in joined rounds rather than a continuous spiral. Also, make sure you are always working your FPdc over the FPdc from the previous round and your BPdc over the BPdc. This alignment is crucial for the vertical columns.
How do I keep the ears from flopping over?
The ears are designed to be folded. Ensure you are folding them with the wrong sides together and sewing the base edge firmly. If they still flop, you can add a small piece of stiff interfacing inside the ear before sewing the base.
Is this hat warm enough for winter?
Yes, especially if you use a chenille or acrylic bulky yarn. The waffle stitch creates air pockets that provide extra insulation, and the ribbed brim ensures a snug fit that keeps cold air out.
Can I make this without the ears?
Absolutely. You can skip the ear instructions and simply finish the hat with a pompom for a classic beanie look, or leave it plain for a minimalist style.
Pin This Crochet Pattern!