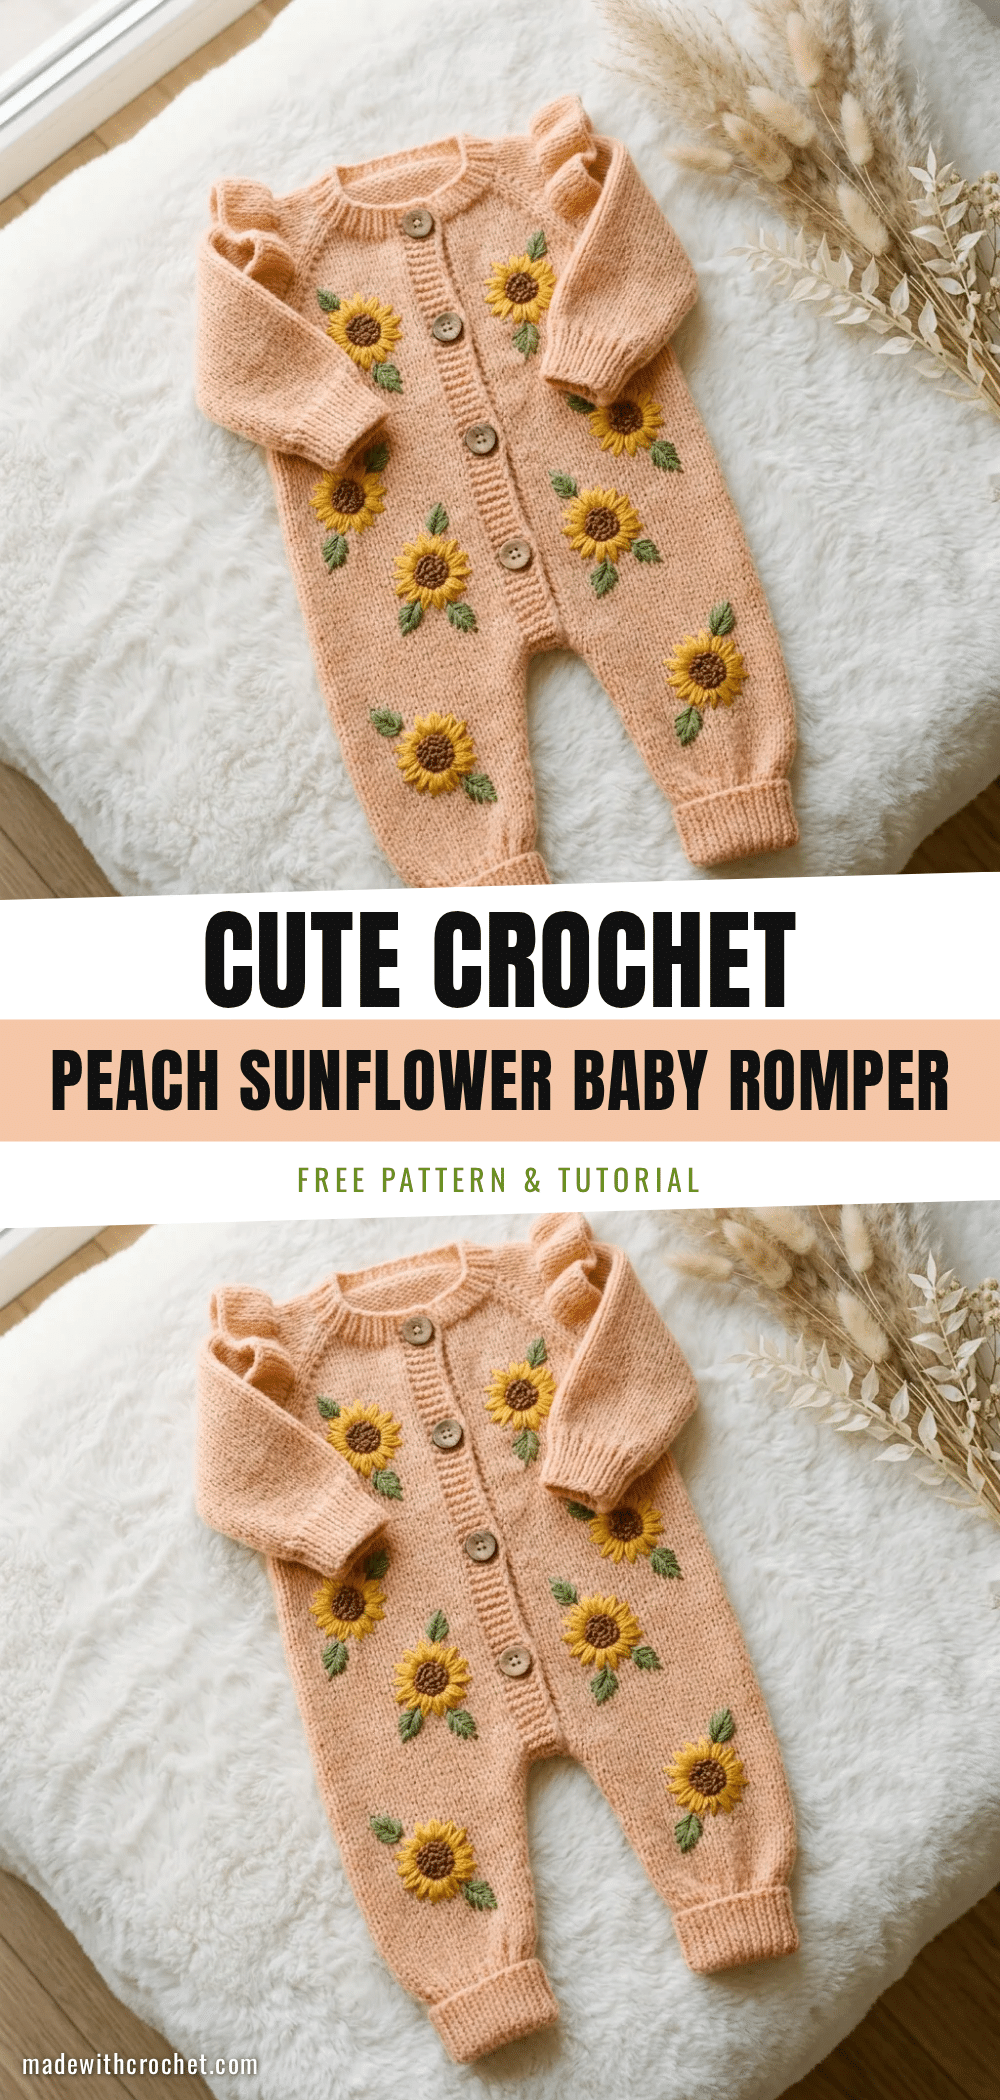
There is a quiet magic in the rhythm of crochet, especially when the project is as tender as a baby garment. Picture a quiet evening, a small batch of soft peach yarn, and the gentle click of hooks counting stitches. As you settle into the relaxing repeat of the moss stitch, the tension of the day melts away, replaced by the meditative flow of creating something meant to hold and warm a tiny human. This Peach Sunflower Baby Romper is more than just a pattern; it is a labor of love, designed with the intention of providing that handmade warmth you simply cannot find in stores. It is a project that invites you to slow down, breathe, and craft a memory that will last long after the baby outgrows the romper.
Small Details That Make It Better
What truly elevates this romper is the thoughtful balance between structure and softness. The moss stitch (also known as linen or granite stitch) is chosen not just for its beautiful, dense texture that mimics knitwear, but because it creates a sturdy fabric that holds its shape while remaining gentle against delicate baby skin. The decision to keep the back plain is a subtle but practical detail; it ensures comfort when the baby is lying down, preventing bulk or irritation. The cheerful sunflower appliques scattered across the peach fabric add a touch of whimsy, evoking a tiny garden ready to bloom. These small details—the ribbed cuffs that stay in place, the natural wooden buttons, and the sweet ruffle trim—transform a simple garment into a keepsake piece that feels both timeless and modern.
Project Overview
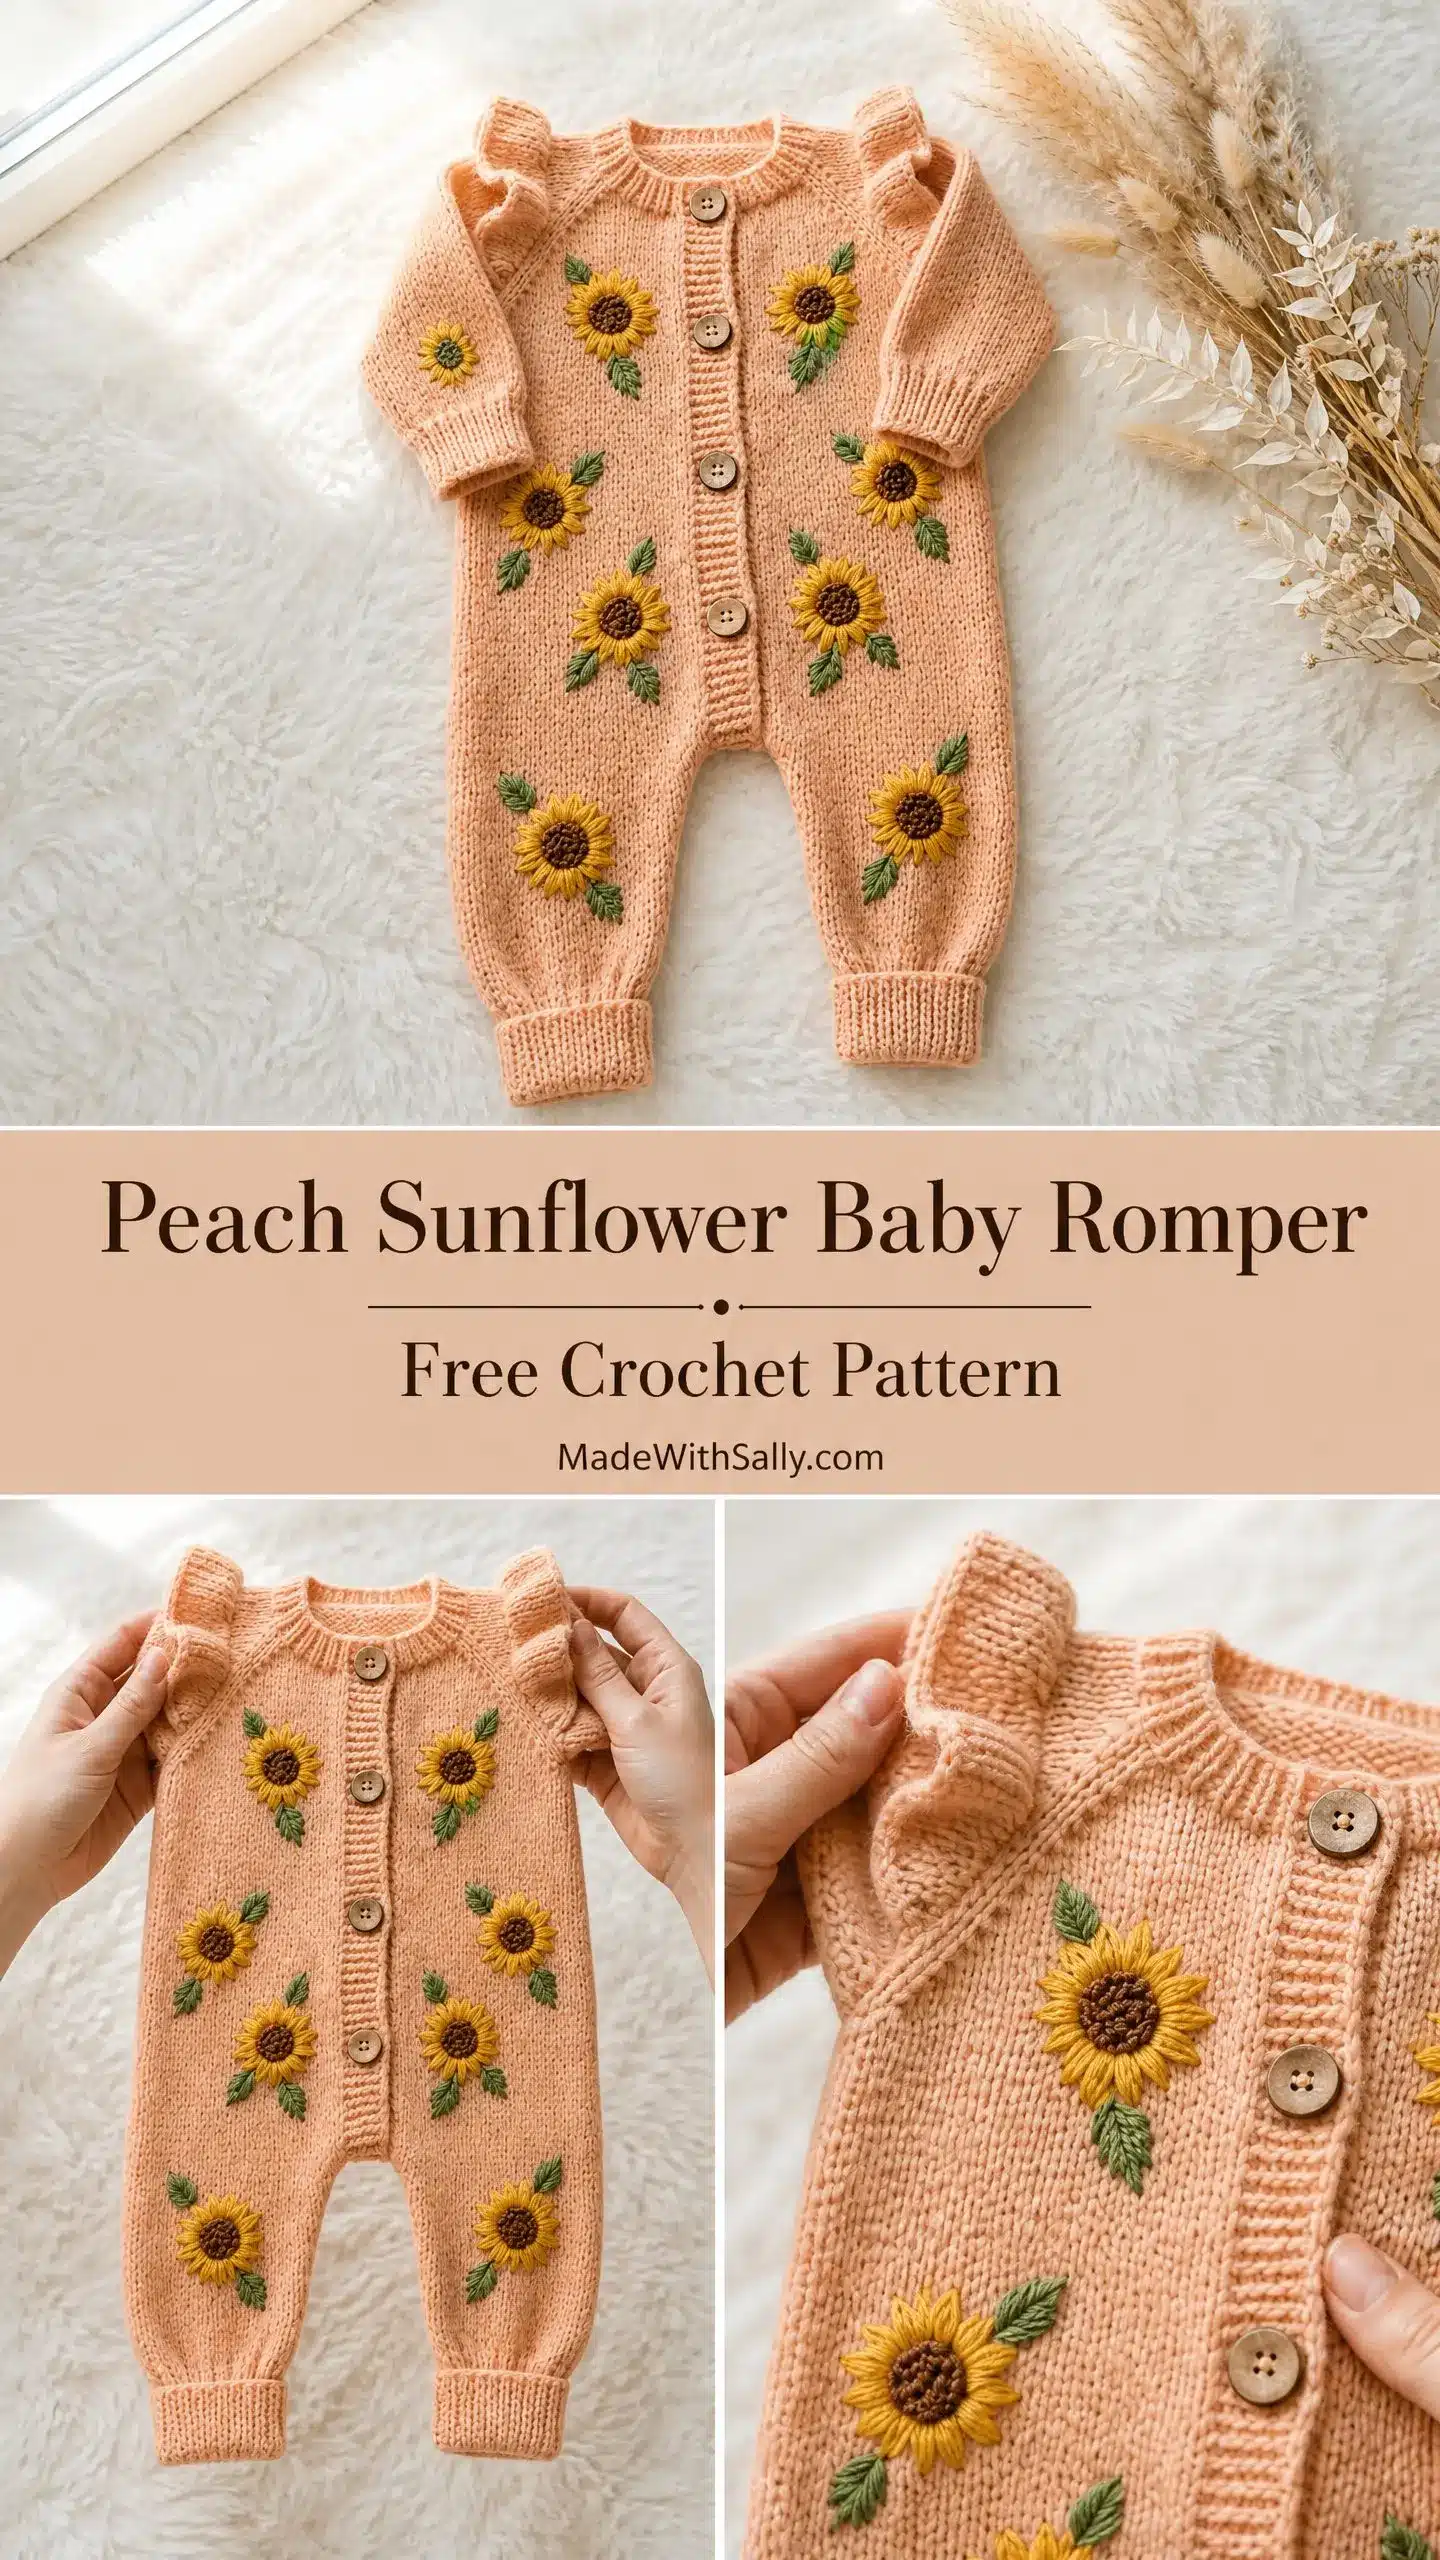
This cozy romper is worked in moss stitch, creating a beautiful, dense, knit-look texture. The construction is designed to be manageable section by section, starting at the neckline and working down to the toes. The front features a button band with six natural wooden buttons, ruffle trim at the shoulders and neckline, ribbed cuffs, and sunflower appliques. The back remains plain for comfort. This pattern is rated as intermediate, suitable for crocheters comfortable with joined rounds, flat rows, consistent tension, seaming, and assembling appliques.
Materials
Yarn
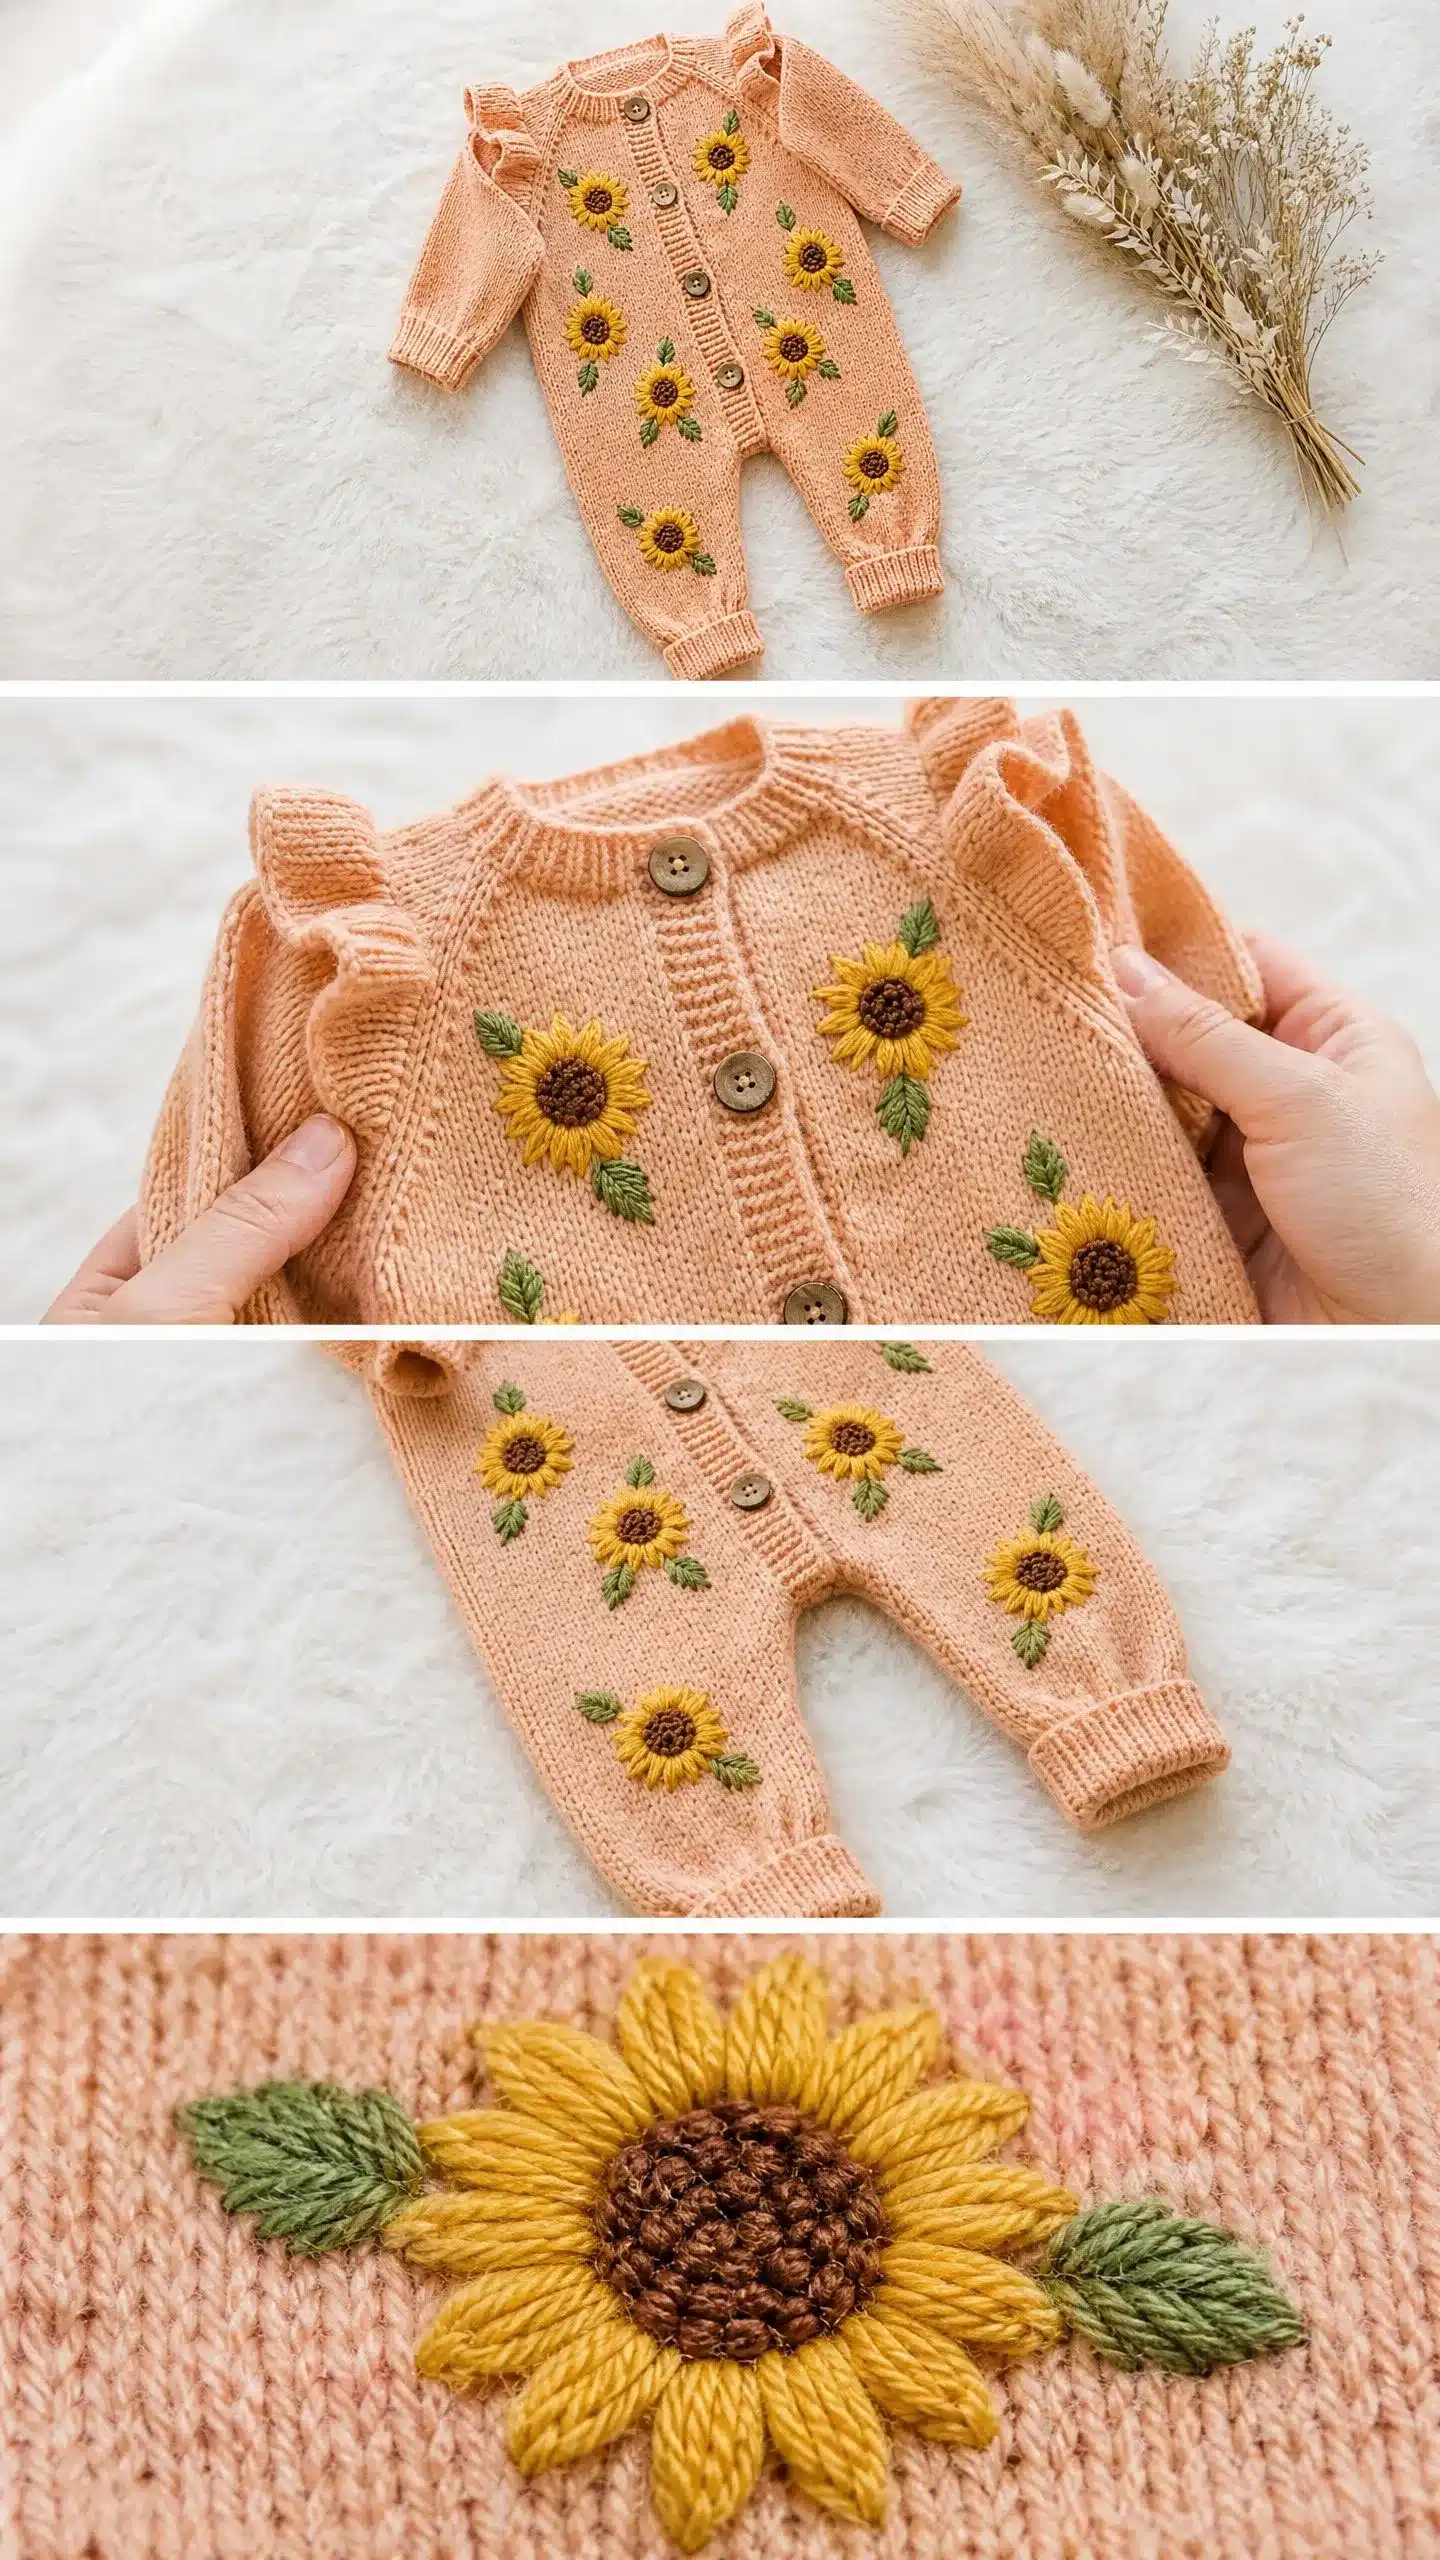
- Main Color (Peach): DK weight (CYCA 3). Approximately 550 (625, 710) yards / 503 (572, 649) meters.
- Applique Colors: Small amounts of golden yellow, dark brown, and medium green.
- Yarn Suggestions:
- Paintbox Yarns Simply DK (100% acrylic) in Peach Sorbet (4 [5, 6] skeins).
- Drops Safran (100% cotton) in Powder (4 [4, 5] skeins).
- Lion Brand Feels Like Butta DK (100% polyester) in Peach.
Hooks & Notions
- Hooks: US size G-6 / 4.0 mm for main body; US size F-5 / 3.75 mm for ribbing, cuffs, and button band.
- Notions: 6 wooden buttons (approx. 15 mm diameter), yarn needle for seaming, stitch markers (at least 6), locking stitch markers or removable clips, scissors.
Gauge and Finished Size
Gauge
With G-6 / 4.0 mm hook in moss stitch:
18 stitches and 20 rows = 4 in / 10 cm, blocked.
Note: Gauge swatches are mandatory for this wearable garment. A difference of even one stitch per inch will change the chest measurement by over an inch. Make a swatch of at least 24 stitches and 24 rows, wash and block it as you would the finished garment, and measure before proceeding.
Finished Size
Instructions for 3-6 months and 6-12 months appear in parentheses in that order.
- 0-3 months: Chest 16 in / 40.5 cm, length neck to ankle 20 in / 51 cm, sleeve length 7 in / 18 cm.
- 3-6 months: Chest 17.5 in / 44.5 cm, length neck to ankle 22 in / 56 cm, sleeve length 7.75 in / 19.5 cm.
- 6-12 months: Chest 19 in / 48.5 cm, length neck to ankle 24 in / 61 cm, sleeve length 8.5 in / 21.5 cm.
Abbreviations
- beg = beginning
- ch = chain
- ch-sp = chain space
- dc = double crochet (yarn over, insert hook, pull up loop, yarn over and pull through 2 loops twice)
- dec = decrease
- hdc = half double crochet (yarn over, insert hook, pull up loop, yarn over and pull through all 3 loops)
- inc = increase (2 sc in same stitch)
- MS = moss stitch (see Special Stitches)
- pm = place marker
- rem = remaining
- rep = repeat
- rnd = round
- RS = right side
- sc = single crochet (insert hook, pull up loop, yarn over and pull through both loops)
- sk = skip
- sl st = slip stitch
- sm = slip marker
- sp = space
- st(s) = stitch(es)
- tch = turning chain
- WS = wrong side
- yo = yarn over
Pattern Notes
- The romper is constructed in this order: neckline ribbing, yoke, front and back bodice pieces, torso, leg tubes, sleeves, button band, neckline ruffle, shoulder ruffle, and sunflower appliques.
- The pattern is worked with RS facing unless stated otherwise.
- The front is split down the center for the button band.
- All increases and decreases are worked at least one stitch in from the edge for a clean selvedge.
- Chain-1 turning chains in moss stitch do NOT count as a stitch.
- When counting stitches in moss stitch, the stitch count refers to the number of sc plus the number of ch-1 spaces, treated as pairs. A row described as 36 MS sts contains 18 sc and 18 ch-1 spaces, for a working count of 36 positions total.
Special Stitches
Moss Stitch (MS) Worked Flat
The moss stitch creates a dense, grid-like texture by alternating single crochet stitches and chain-1 spaces. On each row, the single crochets fall over the chain spaces of the previous row.
- Row 1 (foundation): Ch an even number. Sc in second ch from hook, ch 1, sk 1 ch, (sc in next ch, ch 1, sk 1 ch) across, sc in last ch. Turn.
- Row 2: Ch 1, sc in first ch-sp, ch 1, (sc in next ch-sp, ch 1) across, sc in last st. Turn.
- Row 3: Ch 1, sc in first ch-sp, ch 1, (sc in next ch-sp, ch 1) across, sc in last st. Turn.
- Repeat Row 2 and Row 3 for pattern.
Moss Stitch Worked in the Round
- Rnd 1: Ch 1, sc in first st, ch 1, sk 1, (sc in next st, ch 1, sk 1) around, sl st to first sc to join.
- Rnd 2: Ch 1, sc in first ch-sp, ch 1, (sc in next ch-sp, ch 1) around, sl st to first sc to join.
- Repeat Rnd 2 for pattern in the round.
Moss Stitch Increase
Work (sc, ch 1, sc) in the same stitch or space. This adds one sc-ch pair, increasing the stitch count by 2 positions.
Moss Stitch Decrease
Work sc2tog over the next two sc (inserting hook into each sc and skipping the ch-sp between them), ch 1. This reduces the stitch count by 2 positions.
Ribbing (Worked Flat)
- Row 1: Ch 6 (or as instructed). Sc in second ch from hook and each ch across. Turn. (5 sc)
- Row 2: Ch 1, sc in back loop only (BLO) of each sc across. Turn. (5 sc)
- Repeat Row 2 for ribbing pattern.
Pattern Instructions
Section 1: Neckline Ribbing
With F-5 / 3.75 mm hook and peach yarn, ch 6. [Pattern continues with yoke construction as per source structure, working from neckline down.]
Section 2: Yoke
Work the yoke section, incorporating raglan increases as needed to shape the shoulders and neck.
Section 3: Separate Bodice Pieces
Separate the front and back bodice pieces to begin working the torso.
Section 4: Torso (In the Round)
Work the torso in the round using moss stitch. To lengthen the torso, add rounds here before beginning the crotch shaping. Each additional 2 rounds adds approximately 0.4 in / 1 cm.
Section 5: Crotch Shaping
Shape the crotch to separate the legs. Split the 88 (96, 108) MS positions into two equal halves: 44 (48, 54) MS positions for each leg.
Section 6: Leg Tubes
Right Leg: Join yarn at the inner leg edge. Work 44 (48, 54) MS positions for the first leg, sl st to join into a round. Work even in MS in the round for 22 (26, 30) rnds.
Calf Taper (Optional): Work 2 decrease rnds spaced 6 rnds apart, each removing 2 MS positions total (1 at each side): 40 (44, 50) MS positions after both decreases.
Ankle Ribbing: Switch to F-5 / 3.75 mm hook. Ch 1, work 40 (44, 50) sc evenly around (collapsing the MS pairs into single sc). Join to work ribbing in the round in BLO for 6 rnds. Fasten off and weave in end.
Checkpoint: Each leg tube from crotch split to ankle ribbing edge should measure approximately 5.5 in / 14 cm (6.5 in / 16.5 cm, 7.5 in / 19 cm).
To lengthen the legs, add rounds in this section before the ankle ribbing.
Repeat all leg instructions for the left leg using the remaining 44 (48, 54) MS positions.
Section 7: Sleeves
Work the sleeves separately. To widen the sleeves, pick up 2 additional MS positions at the underarm bridge.
Section 8: Button Band and Neckline Finish
Create the front button band and finish the neckline edges.
Section 9: Neckline Ruffle
Add the ruffle trim to the neckline for a sweet finishing touch.
Section 10: Shoulder Ruffle
Add the ruffle trim to the shoulders.
Sunflower Appliques
Make sunflower appliques using golden yellow, dark brown, and medium green yarns.
- Center Disc: Crochet the center of the sunflower.
- Petal Ring: Crochet the petals surrounding the center.
- Leaf (Make 2 Per Flower): Crochet the accompanying leaves.
Arrangement and Attachment: Arrange the sunflowers across the front of the romper as desired and attach securely.
Assembly
- Weave in all remaining ends on the WS, being thorough at the underarm joins and raglan seams.
- Block the completed romper by soaking in cool water with a small amount of wool wash or gentle soap. Even if using acrylic, a light wet block will help even out moss stitch tension. Gently press out excess water in a towel. Lay flat on a blocking mat and pin to the finished measurements. Allow to dry completely.
- After blocking, double check that your buttons are sewn on securely using strong thread or doubled yarn, positioned exactly opposite the 6 buttonholes.
Tips
- To lengthen the torso: Add rounds in Section 4 before beginning the crotch shaping. Each additional 2 rounds adds approximately 0.4 in / 1 cm.
- To lengthen the legs: Add rounds in Section 6 before the ankle ribbing.
- To adjust the chest: Change the number of MS positions in the body by multiples of 4 to maintain the stitch pattern repeat. Each additional 4 MS positions adds approximately 0.9 in / 2.2 cm to the chest circumference.
- To widen the sleeves: Pick up 2 additional MS positions at the underarm bridge.
- Always re-check your math after any changes. Stitch counts must remain even for the moss stitch repeat to work correctly.
Care Instructions
Machine wash cold on a gentle cycle inside a mesh laundry bag. Lay flat to dry. Do not tumble dry, iron, or dry clean. If using a cotton or natural fiber yarn, reshape while damp and dry flat to maintain fit. Store folded, not hung, to prevent stretching.
FAQs
Is this pattern suitable for beginners?
This pattern is rated as intermediate. It requires comfort with working in joined rounds, flat rows, maintaining consistent moss stitch tension, seaming, and assembling appliques. If this is your first wearable project, it may be helpful to practice on something simpler first.
Can I substitute the yarn?
You can substitute any DK weight yarn that achieves the stated gauge. However, avoid slippery or stiff yarns. Baby-safe and machine-washable fibers are strongly recommended. If using a plant-based fiber like cotton, purchase one additional skein as a buffer due to less elasticity.
How do I adjust the size?
The pattern is written for 0-3, 3-6, and 6-12 months. To customize the chest size, change the number of MS positions in the body by multiples of 4. To adjust length, add rounds in the torso or leg sections as noted in the tips.
Why is the back of the romper plain?
The back is kept plain to ensure maximum comfort for the baby, especially when lying down. This prevents bulk or irritation from seams and appliques in that area.
Do I need to block the romper?
Yes, blocking is highly recommended. It helps even out the moss stitch tension and ensures the romper fits the finished measurements accurately. Even if using acrylic, a light wet block improves the final look.
Pin This Crochet Pattern!