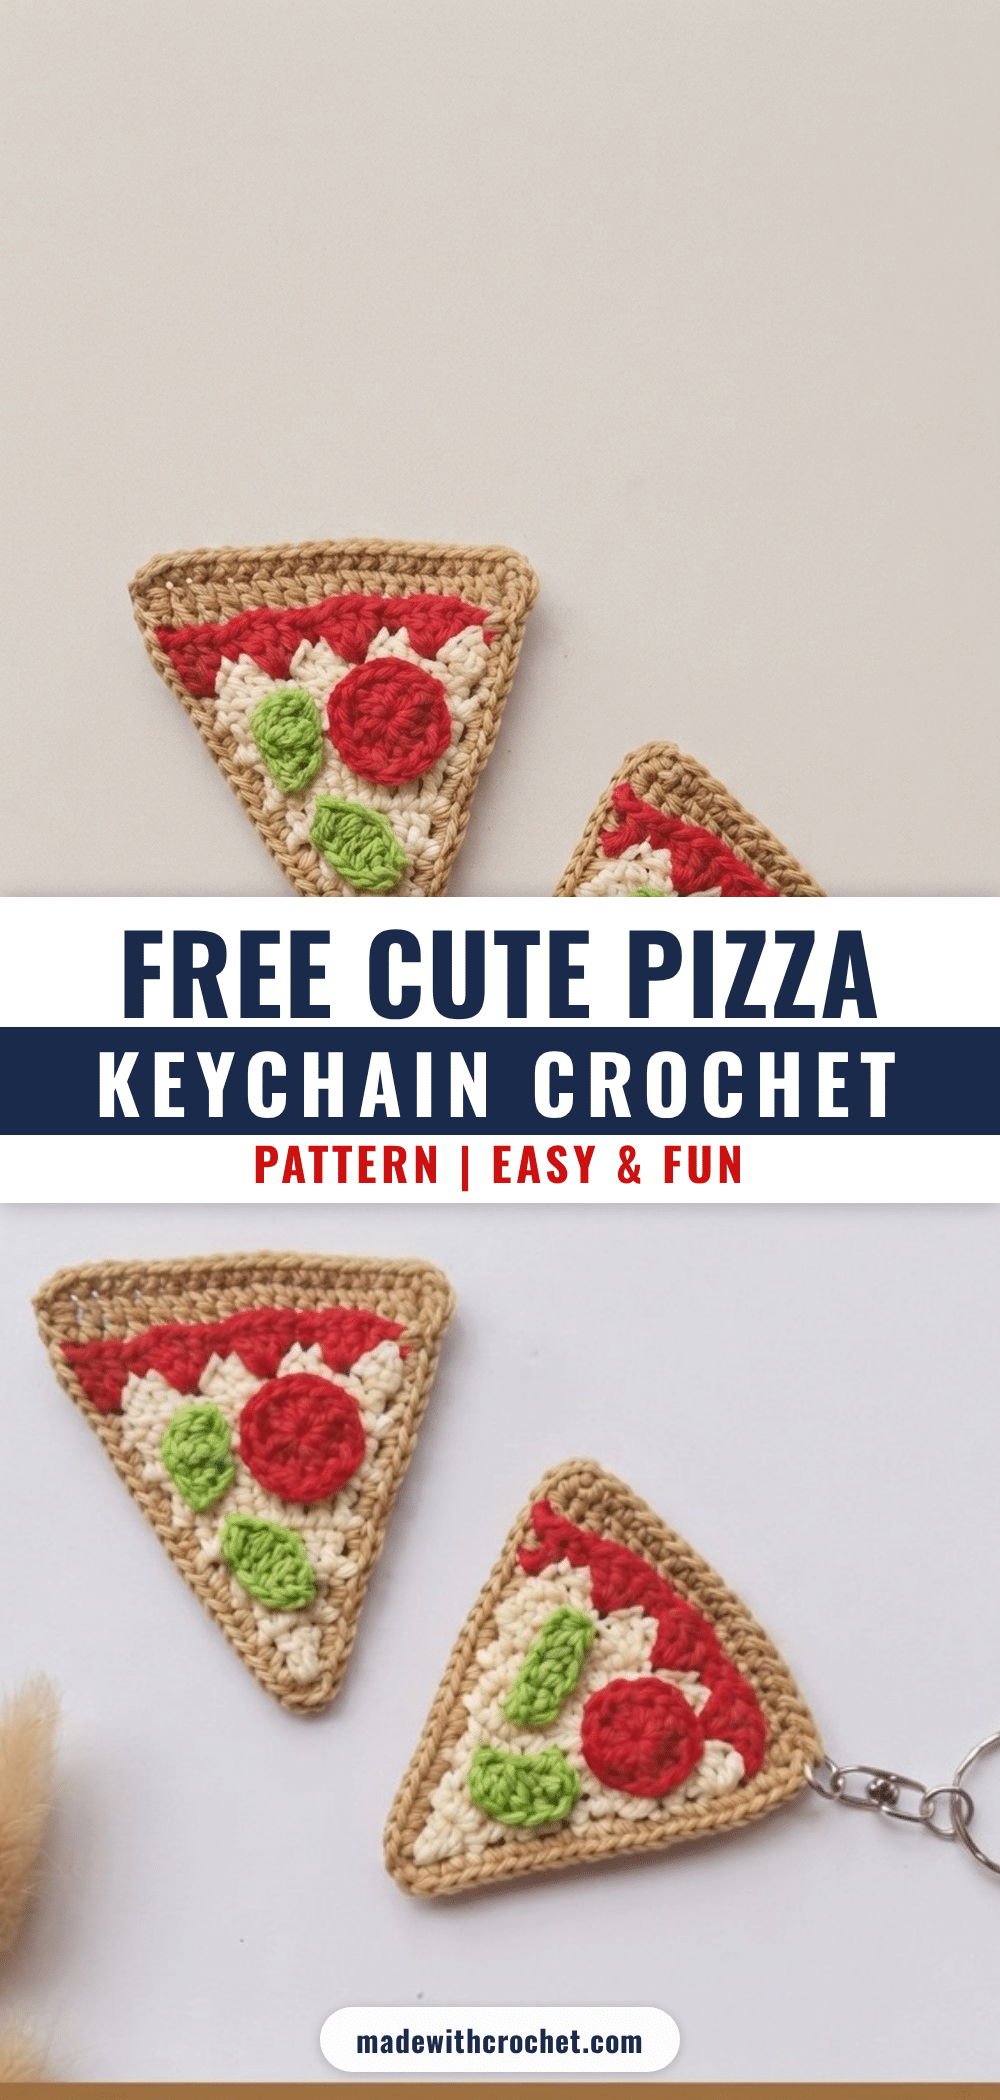
Looking for a quick, fun, and practical crochet project? This cute crochet pizza keychain pattern is the perfect small project to use up yarn scraps and create a unique handmade gift. Shaped like a charming triangular pizza slice, this playful accessory is a fantastic conversation starter and a delightful addition to keys, bags, or backpacks. It’s an ideal project for craft fairs, a thoughtful surprise for a friend who loves quirky items, or simply a joyful way to add a little handmade whimsy to your everyday essentials.
Gift and Use Ideas
This pizza keychain is incredibly versatile. It makes a fantastic last-minute gift for pizza lovers, teachers, or coworkers. Attach it to a lunch bag, a pencil case, or use it as a unique zipper pull. Because it’s small and works up quickly, it’s a great project for selling at markets or including as a little extra with a larger gift. You can even customize the “toppings” to match someone’s favorite pizza order!
Project Overview
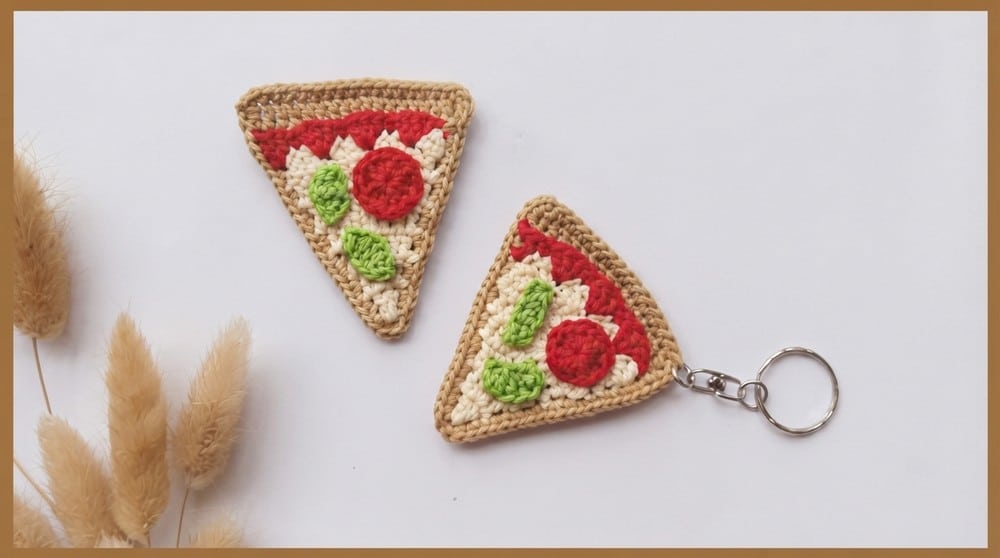
This pattern guides you through creating a whimsical pizza keychain using four colors of yarn. The project is made in distinct sections: the cheese triangle, the crust, and the toppings. These pieces are then sewn together and finished with keychain hardware. The pattern uses simple stitches and increases to create the classic pizza slice shape.
Materials
- 4 colors of Poly Cherry polyester yarn: yellow (cheese), red (sauce & pepperoni), green (veggie), mocha (crust)
- 3 mm crochet hook
- Scissors
- Tapestry needle
- Keychain hardware
Gauge and Finished Size
- Gauge: Not critical for this small accessory.
- Finished Size: Finished pizza slice is approx. 7–9 cm (depends on yarn tension and hook).
Skill Level
Beginner – Advanced Beginner
Abbreviations
- ch: chain
- sl st: slip stitch
- sc: single crochet
- hdc: half double crochet
- dc: double crochet
- MR: magic ring
- st(s): stitch(es)
Pattern Notes
- Turning chains count as the first double crochet unless otherwise stated.
- Keep stitch count per row for an even triangle shape.
- Toppings (pepperoni/sausage and veggie) are made separately and sewn on.
- The border and assembly use single crochet through two layers.
Pattern Instructions
Part 1: The Cheese (Yellow Yarn)
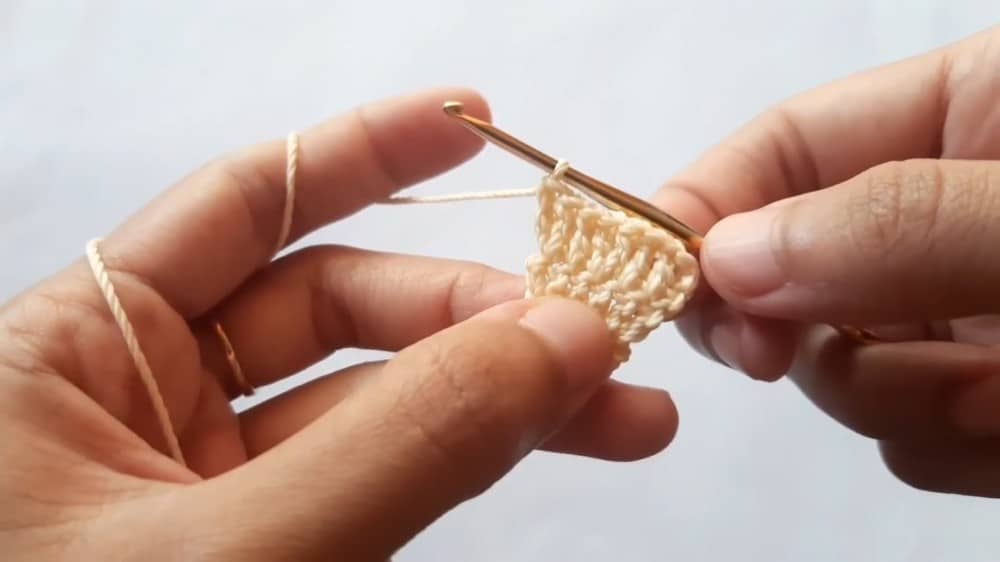
Round 1: Make a Magic Ring. Ch 3 (counts as dc), 3 dc into ring. Pull ring tight. (Do not join—the piece is worked in rows.)
Round 2: Ch 3, turn. 1 dc in first st, 2 dc in each of next two sts. (6 sts)
Round 3: Ch 3, turn. 1 dc in next, 1 dc in next, 2 dc in next, 1 dc in next, 2 dc in last st. (8 sts)
Round 4: Ch 3, turn. 1 dc in each of first 3 sts, 2 dc in next st, 1 dc in next 2 sts, 2 dc in last st. (10 sts)
Round 5: Ch 3, turn. 1 dc in each of next 4 sts, 2 dc in next st, 1 dc in next 3 sts, 2 dc in last st. (12 sts)
Round 6: Ch 3, turn. 1 dc in next 5 sts, 2 dc in next st, 1 dc in next 4 sts, 2 dc in last st. (14 sts)
Border: Ch 2, 2 dc in first hole, Skip 2, sc in next (3rd) chain, Ch 2, 2 dc in same hole. Repeat from * to * 3 times in total along the border. Finish with 1 sc, fasten off and weave ends.
Part 2: Sauce & Toppings (Red & Green Yarn)
Sauce: Attach red yarn to top edge. (3 dc into the sc of the previous row, 1 sc into the next dc) Repeat this combo 3 times across the top.
Sausage/Pepperoni (Red): MR, Ch 3, 11 dc inside ring. Sl st to join. Fasten off. Make as many as desired.
Veggie Topping (Green): Ch 6. Sc in 2nd ch from hook. Dc in next 3 chains. In last chain, work: 1 hdc, 1 sc. Fasten off.
Part 3: The Crust (Mocha Yarn)
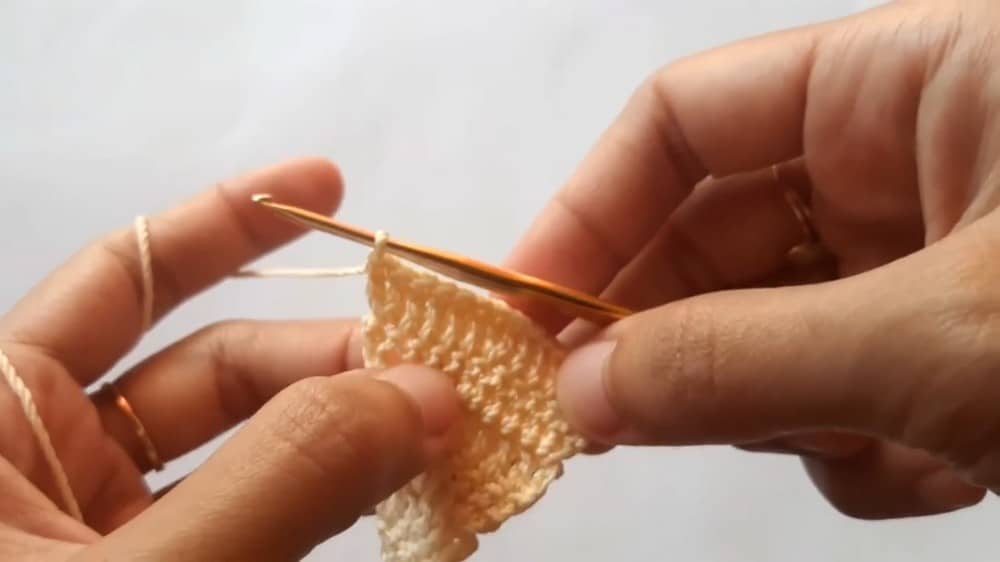
Rows 1–6: Repeat the exact steps and stitch count as the Cheese (above).
Row 7: Ch 3, turn. 1 dc in each of next 6 sts, 2 dc in next st, 1 dc in next 6 sts, 2 dc in last st. (16 sts)
Row 8: Ch 3, turn. 1 dc in each of next 7 sts, 2 dc in next st, 1 dc in next 7 sts, 2 dc in last st. (18 sts)
Assembly
Lay the cheese and crust triangles wrong sides together. Ch 1 to begin joining. Single crochet through both layers: Along the sides, place 2 sc in every dc stitch through both layers. 3 sc in each corner to turn the work neatly at the triangle points. Sc along the top edge through both layers. Sl st to join at end. Fasten off and weave in all ends.
Attach toppings: Sew the sausage/pepperoni and veggie pieces to the ‘cheese’ side as you like.
Attach keychain hardware to the pizza edge or corner.
Tips
- For a neater finish, use a smooth cotton or cotton-blend yarn to highlight stitch definition.
- Weave in ends securely, as this is a small accessory that will be handled frequently.
- Experiment with different colored yarns for the crust or toppings to create your own unique pizza slice.
FAQs
Can I use a different yarn weight?
Yes, you can use different yarn weights and adjust your hook size accordingly. Keep in mind that this will change the finished size of your keychain.
How do I make the keychain more durable?
Using a smooth, non-fluffy yarn like cotton will help the keychain maintain its shape. Also, be sure to weave in all ends very securely.
Can I add more toppings?
Absolutely! You can create additional pepperoni rounds or veggie pieces in different colors to customize your pizza slice.
What if I don’t have a magic ring?
You can start with a chain 2 and work your first round of stitches into the second chain from the hook, then pull the tail to close the gap.
How do I attach the keychain hardware?
You can sew a small jump ring onto the edge or corner of the pizza slice, or you can crochet a small loop of chain stitches to thread the keychain ring through.
Pin This Crochet Pattern!