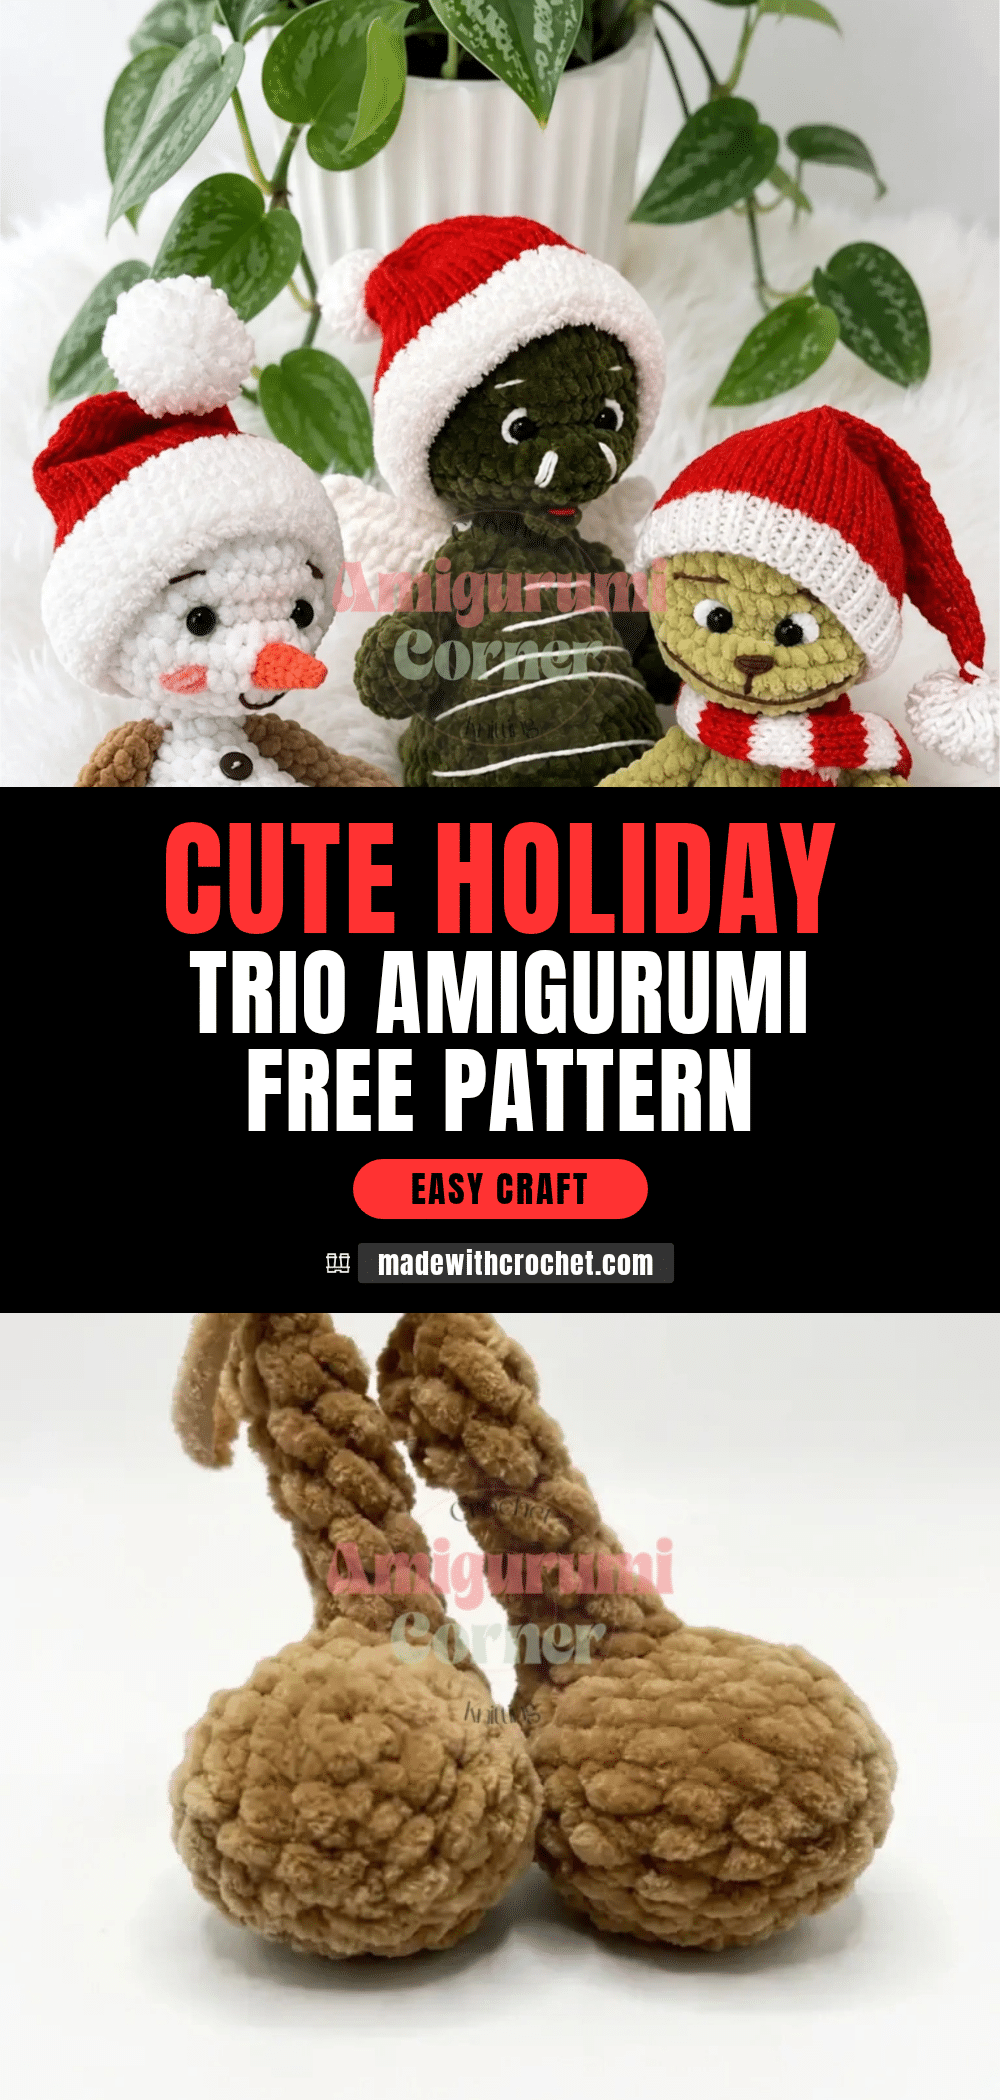
Yarn is draped across the table, the hook is already in your hand, and the magic ring is just about to tighten. There is a specific kind of calm that settles in when you are working on amigurumi—especially when you are building a whole crew. This Holiday Trio pattern is perfect for that moment. It gives you one solid foundation to master, and then three distinct personalities to bring to life. Whether you are drawn to the grumpy green face, the huggable baby dragon, or the classic snowman, you are starting with the same base, which makes learning the rhythm of the stitches incredibly efficient.
Why This Project Works
What makes this trio so appealing is the shared architecture. You are not starting from scratch three separate times; you are building a versatile skeleton that transforms based on the accessories you add. The chenille-style yarn, like Himalaya Dolphin Baby, adds a plush, high-end look that hides minor tension inconsistencies, making it forgiving for confident beginners. The ability to knit the Grinch’s hat and scarf adds a nice textural contrast to the crochet body, while the dragon’s felt tongue and the snowman’s buttons offer simple, satisfying finishing details. It is a project that rewards patience with a result that looks like a professional designer piece.
Project Overview
This three-in-one amigurumi pattern is written for confident beginners and intermediate crocheters who are comfortable working in continuous spiral rounds and reading a basic increase/decrease sequence. Each finished character comes out to about 12 inches tall. You can crochet all three to create a display set or pick just your favorite. The pattern is written in US crochet terminology.
Materials
Shared Body Pieces (All Three Characters)
- Light worsted weight chenille-style yarn (such as Himalaya Dolphin Baby), 1 skein in your chosen body color: green for the Grinch and Dragon, white for the Snowman
- 3.0 mm crochet hook (US D/3)
- Polyester fiberfill stuffing
- Yarn needle with a large eye
- Scissors
- Stitch marker
Grinch Add-Ons
- Small amount of white chenille-style yarn, for eye detailing
- Worsted weight yarn (such as YarnArt Jeans) in brown, for face detailing
- 8 mm safety eyes, 1 pair
- Fine or fingering weight yarn (such as Alize My Baby or Alize Softy) in white and red, for the knit hat and scarf
- 3.0 mm knitting needles
Dragon Add-Ons
- Small amount of white chenille-style yarn
- Worsted weight yarn (such as YarnArt Jeans) in white, for detail stitching
- 8 mm safety eyes, 1 pair
- Small scrap of red felt, for the tongue
Snowman Add-Ons
- Chenille-style yarn in brown and blue
- Worsted weight yarn (such as YarnArt Jeans) in orange and brown
- 8 mm safety eyes, 1 pair
- 3 small buttons
Gauge and Finished Size
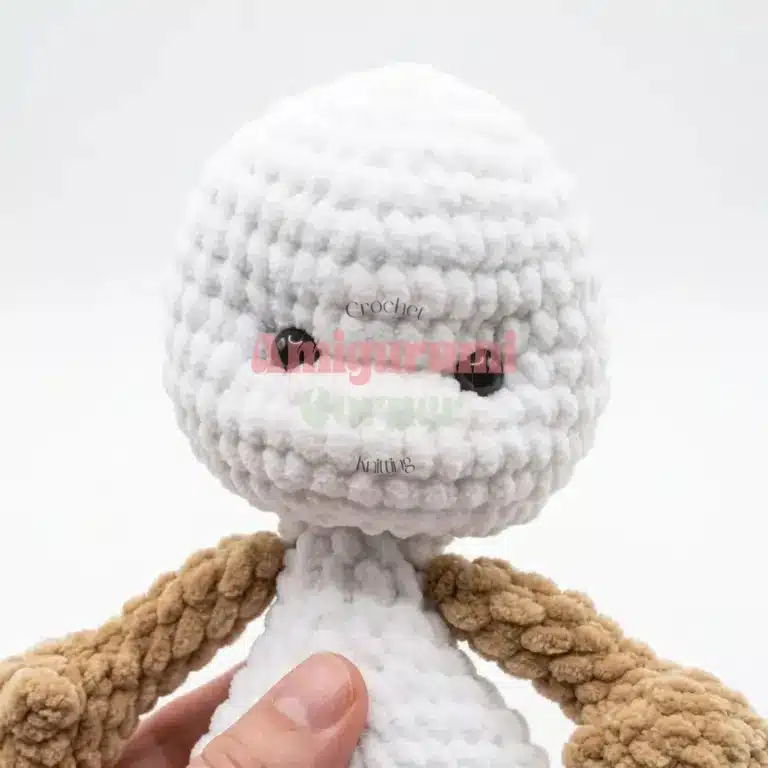
Gauge isn’t critical here — your finished character will simply run slightly larger or smaller depending on your tension and hook size. Each finished character comes out to about 12 inches tall.
Abbreviations
- BLO — Back Loop Only
- ch — Chain
- dec — Decrease (invisible decrease)
- inc — Increase (2 sc in same stitch)
- MR — Magic Ring
- rnd — Round
- row — Row
- sc — Single Crochet
- st(s) — Stitch(es)
Pattern Notes
- The body, arms, and legs are worked in continuous spiral rounds — do not join or chain up at the end of a round unless a step tells you to.
- The Dragon’s wings and ears, and the Grinch’s hat and scarf, are worked in turned rows instead of rounds.
- Stitch counts appear at the end of every round or row in parentheses, like this: (12).
- The Grinch’s hat and scarf are the only pieces worked with knitting needles rather than a crochet hook — keep both sets of tools handy if you’re making him.
- Stuff each piece firmly but not overstuffed, and always place safety eyes before you finish closing up the head.
Pattern Instructions
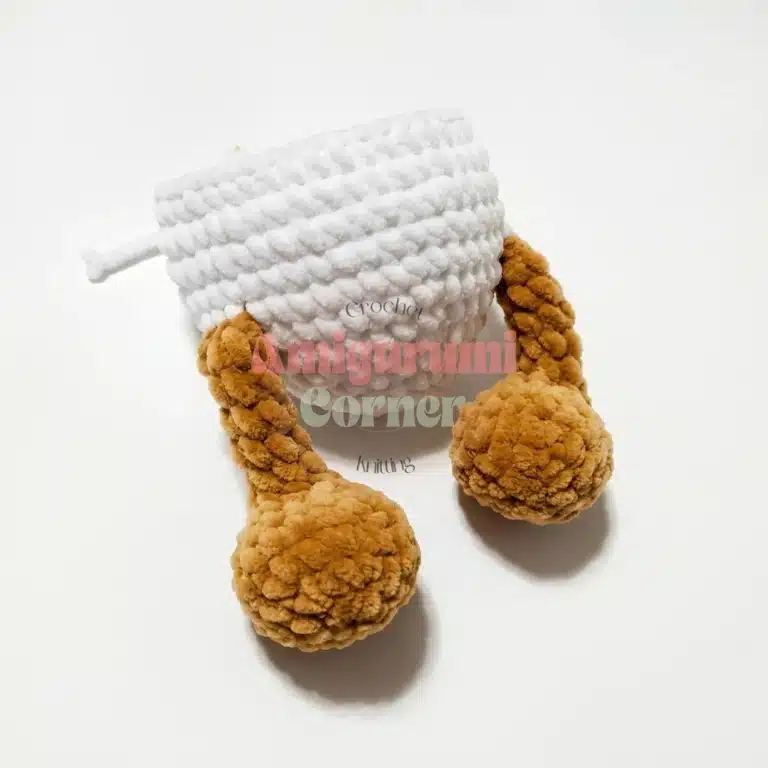
Legs (Make 2)
Rnd 1: 6 sc in MR. (6)
Rnd 2: inc in each st around. (12)
Rnd 3: sc, inc repeat 6 times around. (18)
Rnds 4–5: sc in each st around. (18)
Rnd 6: sc, dec repeat 6 times around. (12)
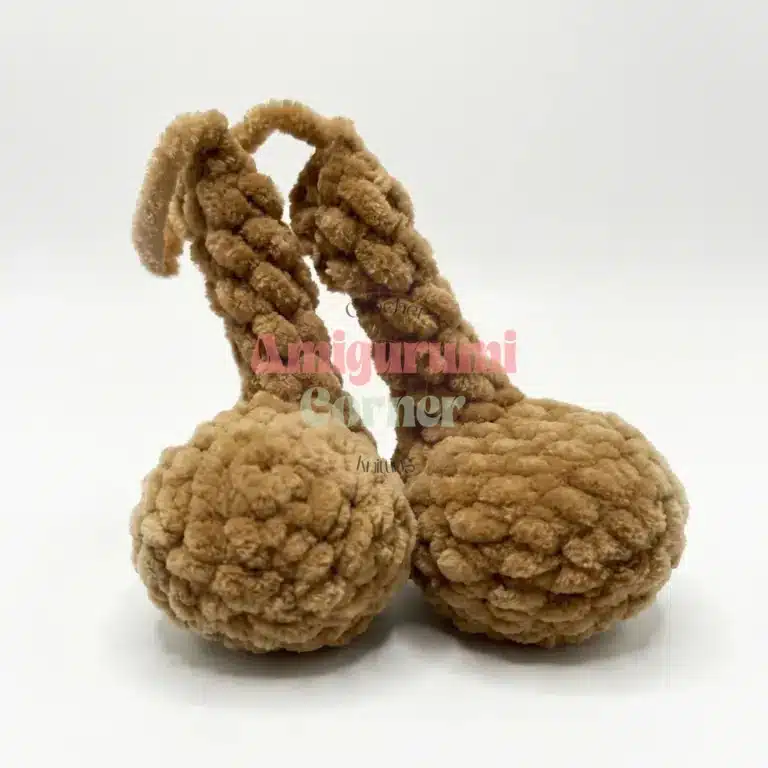
Rnd 7: 3 sc, ch 3, skip next 3 sts, sc in each remaining st around. (12)
Rnd 8: dec around. (6)
Fasten off and weave in the end.
For the foot, join your yarn at round 7 and work as follows:
Row 1: 3 sc along the foot opening, sc in each of the 3 chain sts across. (6)
Rows 2–6: sc in each st around. (6)
Fold the foot flat and sc through both layers together to close, working 3 sts total. Fasten off and weave in the end.
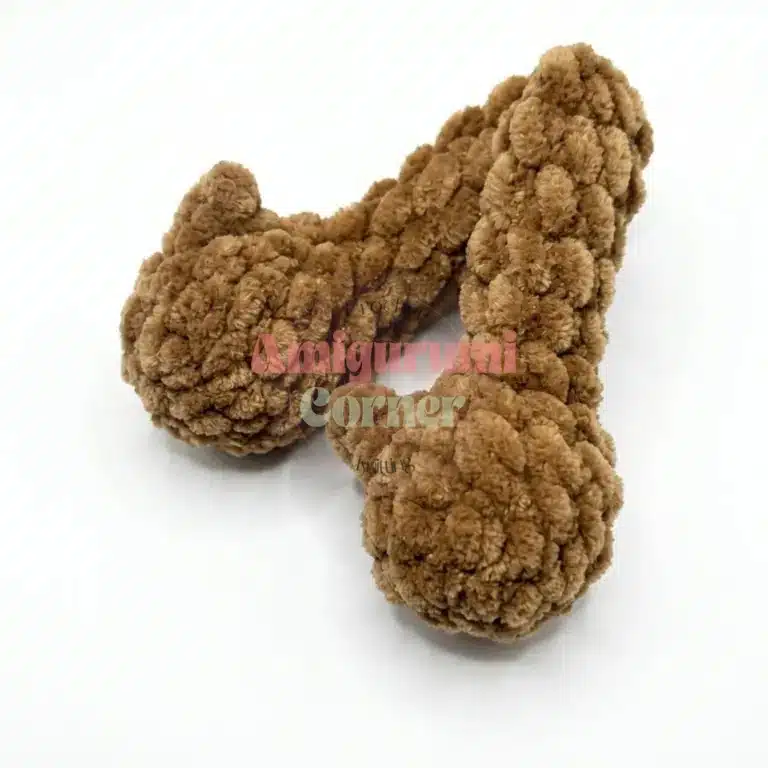
Arms (Make 2)
Rnd 1: 6 sc in MR. (6)
Rnd 2: inc in each st around. (12)
Rnd 3: sc in each st around. (12)
Rnd 4: 5 sc, sc in next st, ch 3, sc in that same st again, sc in each remaining st around.
Rnd 5: 2 sc, dec, sc, dec, sc, dec, 2 sc. (9)
Rnd 6: 2 sc, dec, sc, dec, 2 sc. (7)
Rnds 7–11: sc in each st around. (7)
If needed, work one extra sc to reach the halfway point before folding. Fold the arm flat and sc through both layers together to close, working 3 sts total. Fasten off and weave in the end.
Body and Head
Rnd 1: 6 sc in MR. (6)
Rnd 2: inc in each st around. (12)
Rnd 3: sc, inc repeat 6 times around. (18)
Rnd 4: 2 sc, inc repeat 6 times around. (24)
Rnd 5: 3 sc, inc repeat 6 times around. (30)
Rnd 6: 4 sc, inc repeat 6 times around. (36)
Rnd 7: 5 sc, inc repeat 6 times around. (42)
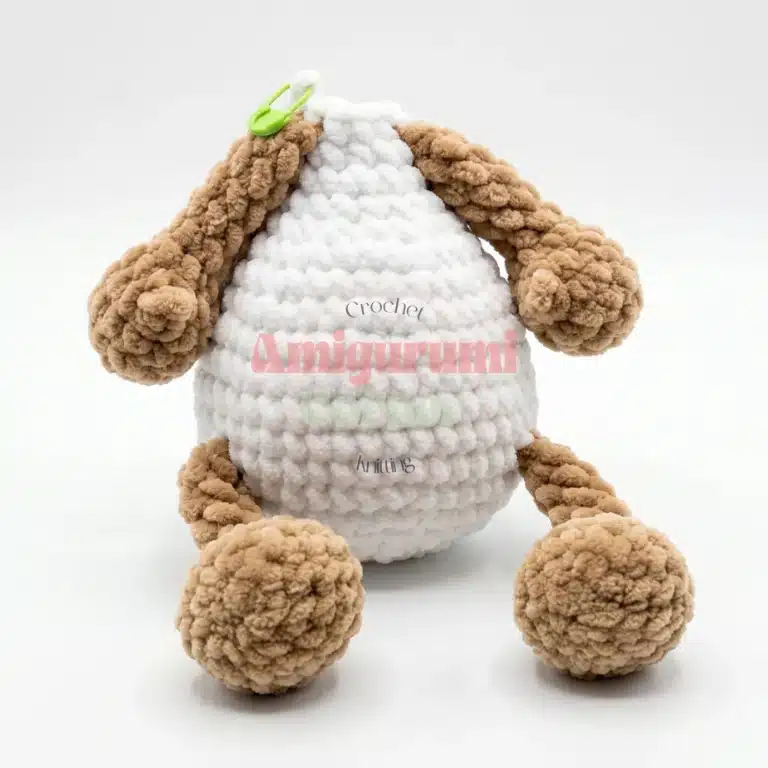
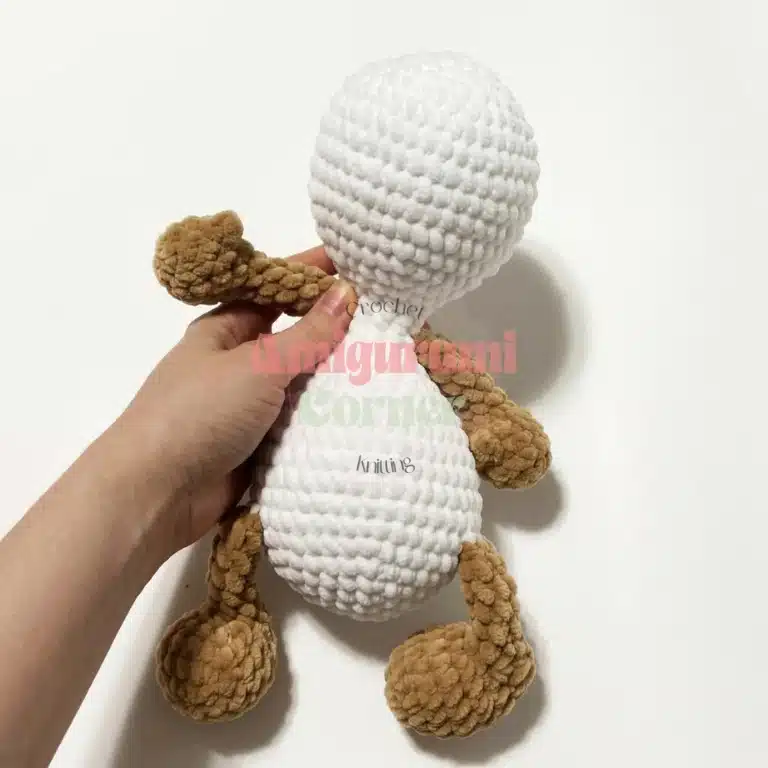
Rnd 8: Attach the legs here. 9 sc, sc 3 sts through one leg and the body together, 18 sc, sc 3 sts through the second leg and the body together, 9 sc. (42)
Rnds 9–12: sc in each st around. (42)
Rnd 13: 5 sc, dec repeat 6 times around. (36)
Rnd 14: 4 sc, dec repeat 6 times around. (30)
Rnd 15: 3 sc, dec repeat 6 times around. (24)
Rnd 16: 2 sc, dec repeat 6 times around. (18)
Rnd 17: sc in each st around. (18)
Rnd 18: sc, dec repeat 6 times around. (12)
Rnd 19: Attach the arms here. 3 sc, sc 3 sts through one arm and the body together, 3 sc, sc 3 sts through the second arm and the body together. (12)
Rnds 20–21: sc in each st around. (12)
Rnd 22: sc, inc repeat 6 times around. (18)
Rnd 23: 2 sc, inc repeat 6 times around. (24)
Rnd 24: 3 sc, inc repeat 6 times around. (30)
Rnd 25: 4 sc, inc repeat 6 times around. (36)
Rnd 26: 5 sc, inc repeat 6 times around. (42)
Rnds 27–31: sc in each st around. (42)
Rnd 32: 5 sc, dec repeat 6 times around. (36)
Rnd 33: 4 sc, dec repeat 6 times around. (30)
Rnd 34: 3 sc, dec repeat 6 times around. (24)
Rnd 35: 2 sc, dec repeat 6 times around. (18)
Rnd 36: sc, dec repeat 6 times around. (12)
Rnd 37: dec around. (6)
Stuff the body and head firmly before closing. Fasten off, cinch the opening closed, and weave in the end.
Shaping the Face
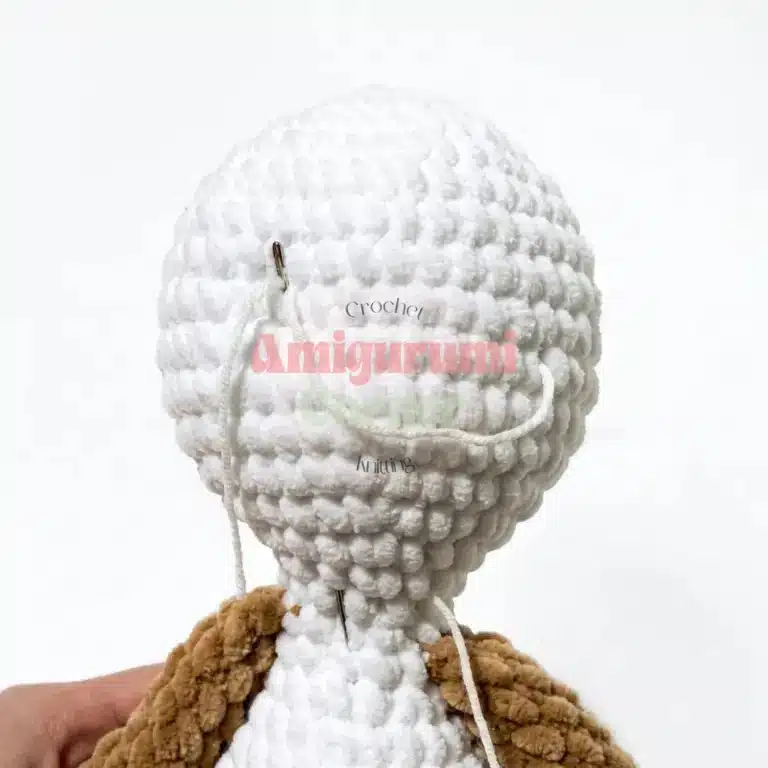
Thread a yarn needle and insert it between rounds 21 and 22 of the head, then bring it out between rounds 28 and 29. Measuring 8 stitches over from that point, insert the needle back into the same round and bring it out again between rounds 21 and 22. Pull the yarn firmly to create a slight indent across the face, then secure the tail and trim or weave it in.
Insert your safety eyes into the small indents this shaping creates, then secure them from inside the head before you finish stuffing.
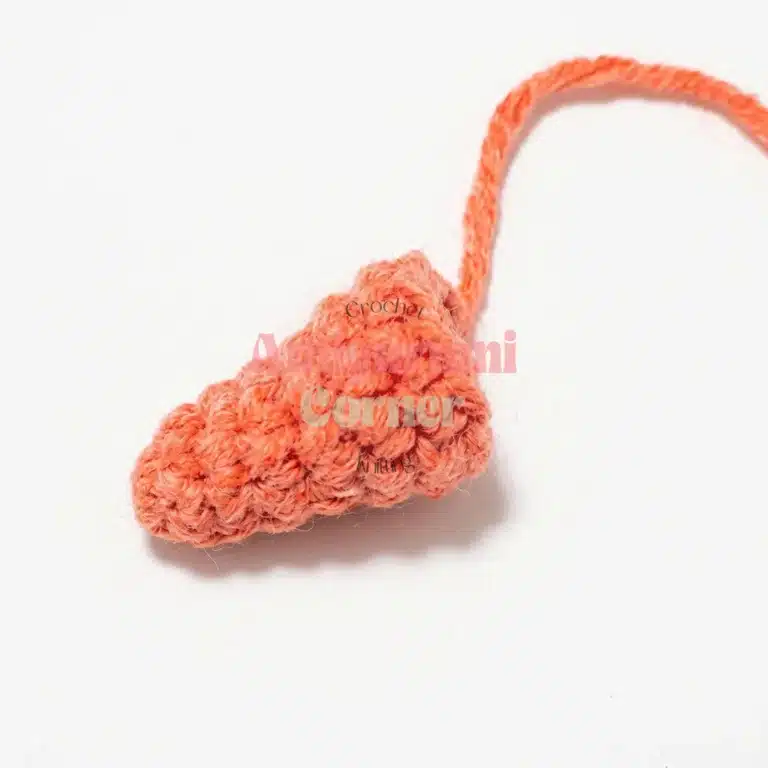
Snowman: Carrot Nose
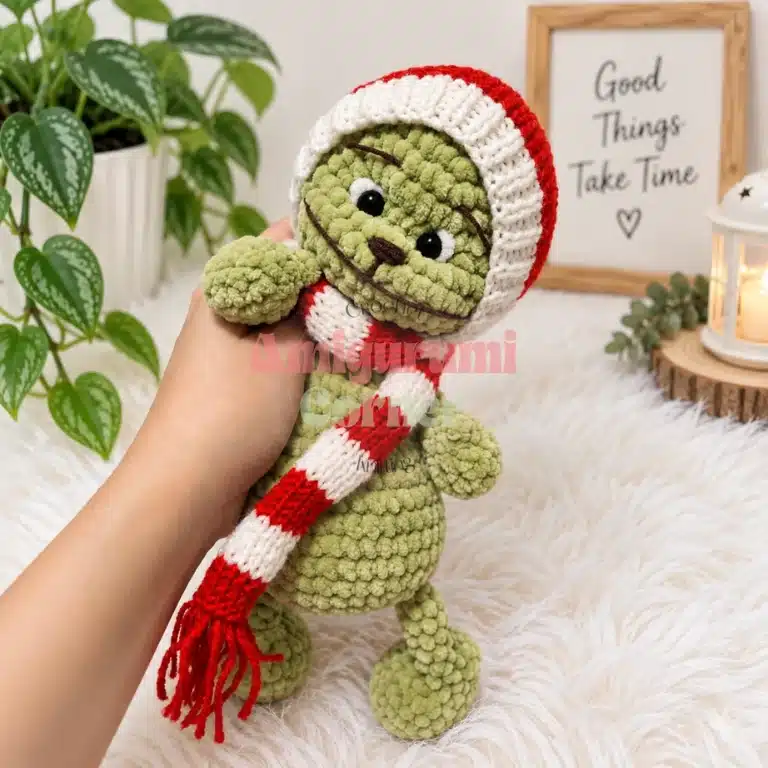
Rnd 1: 6 sc in MR. (6)
Rnd 2: 2 sc, inc, 2 sc, inc. (8)
Rnd 3: sc in each st around. (8)
Rnd 4: 3 sc, inc, 3 sc, inc. (10)
Rnds 5–6: sc in each st around. (10)
Fasten off, leaving a long tail for sewing.
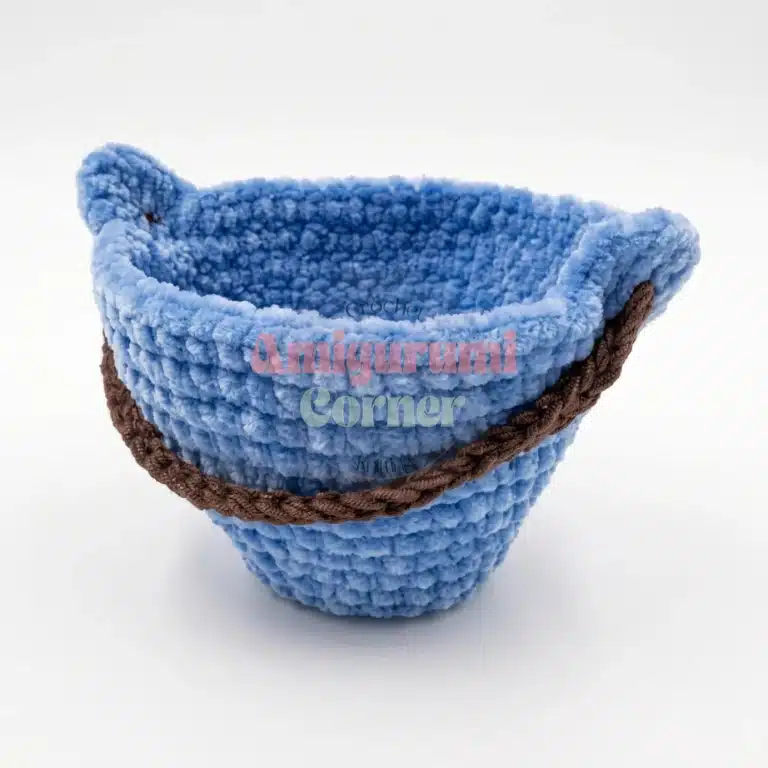
Snowman: Bucket Hat
Rnd 1: 6 sc in MR. (6)
Rnd 2: inc in each st around. (12)
Rnd 3: sc, inc repeat 6 times around. (18)
Rnd 4: 2 sc, inc repeat 6 times around. (24)
Rnd 5: working in the back loop only (BLO), sc in each st around. (24)
Rnd 6: 3 sc, inc repeat 6 times around. (30)
Rnd 7: sc in each st around. (30)
Rnd 8: 4 sc, inc repeat 6 times around. (36)
Rnd 9: sc in each st around. (36)
Rnd 10: 5 sc, inc repeat 6 times around. (42)
Rnd 11: sc in each st around. (42)
Rnd 12: 6 sc, inc repeat 6 times around. (48)
Rnds 13–14: sc in each st around. (48)
Rnd 15: 12 sc, ch 2, sc in 2nd ch from hook, 6 sc into a new MR, sc once more into that same st, 24 sc, ch 2, sc in 2nd ch from hook, 6 sc into a new MR, sc once more into that same st, 12 sc.
Rnd 16: 12 sc, 7 sc around the first small MR loop, 24 sc, 7 sc around the second MR loop, 12 sc, remove your stitch marker, then sc 12 more sts to reach your starting point.
Fasten off and weave in the end.
Snowman: Bucket Handle
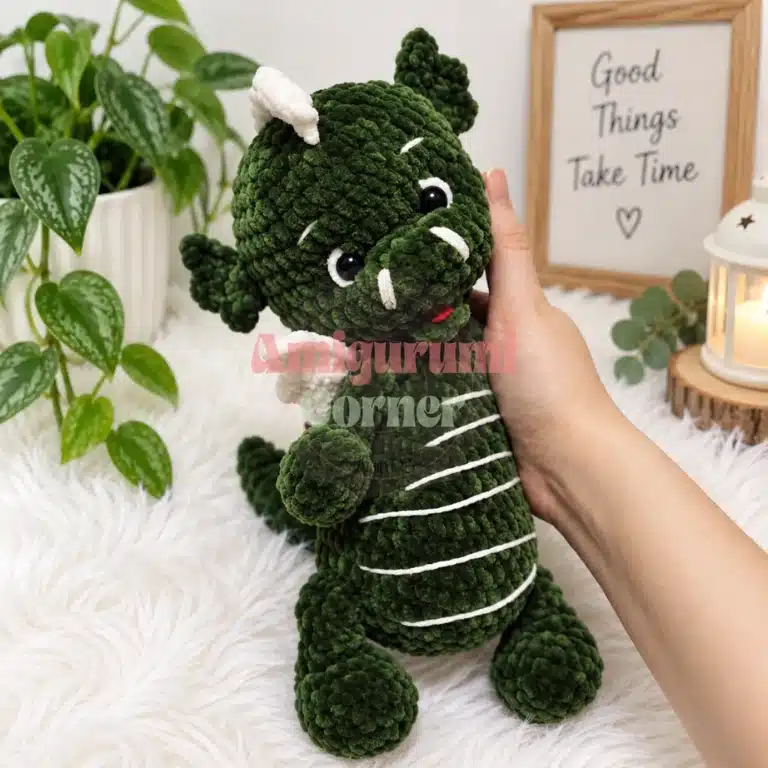
Cut approximately 150 inches (380 cm) of yarn and fold it in half, giving you a doubled strand about 75 inches (190 cm) long. Divide the doubled strand into two sections — one about 31 inches (80 cm) and one about 43 inches (110 cm) — and chain 1 where they meet. Twist the shorter section as if working a yarn over, then draw the longer section through that chain and twist to form a firm cord. Continue twisting until the finished cord measures about 30 chain-lengths long, secure the ends, and sew the handle onto the ring at the top of the bucket.
Dragon: Tail
Rnd 1: 6 sc in MR. (6)
Rnd 2: 2 sc, inc, 2 sc, inc. (8)
Rnd 3: sc in each st around. (8)
Rnd 4: 3 sc, inc, 3 sc, inc. (10)
Rnd 5: sc in each st around. (10)
Rnd 6: 4 sc, inc, 4 sc, inc. (12)
Rnd 7: sc in each st around. (12)
Rnd 8: sc, inc repeat 6 times around. (18)
Rnd 9: sc in each st around. (18)
Rnd 10: 2 sc, inc repeat 6 times around. (24)
Rnd 11: sc in each st around. (24)
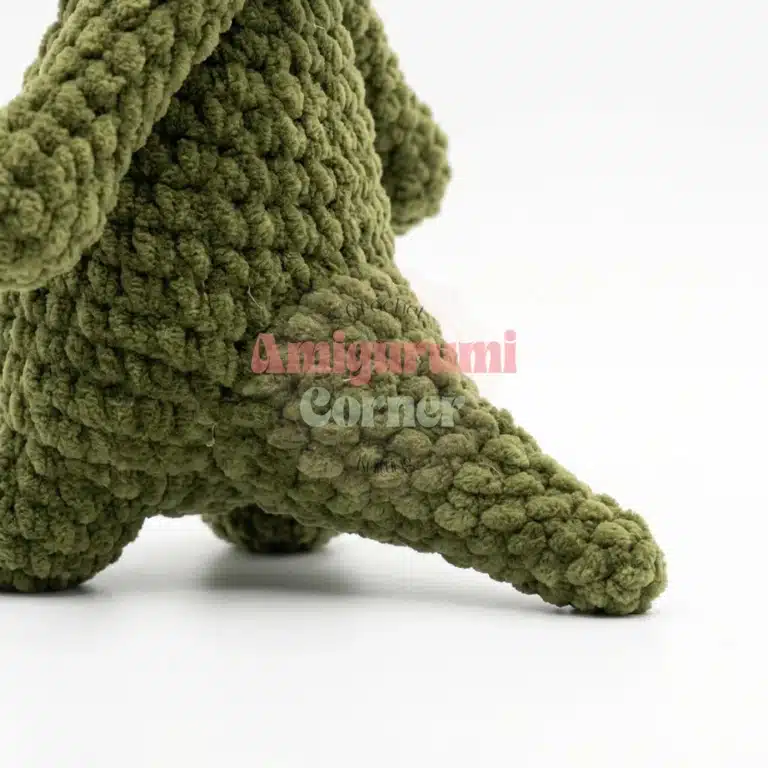
Fasten off, leaving a long tail for sewing. Stuff the tail and sew it to the Dragon’s body.
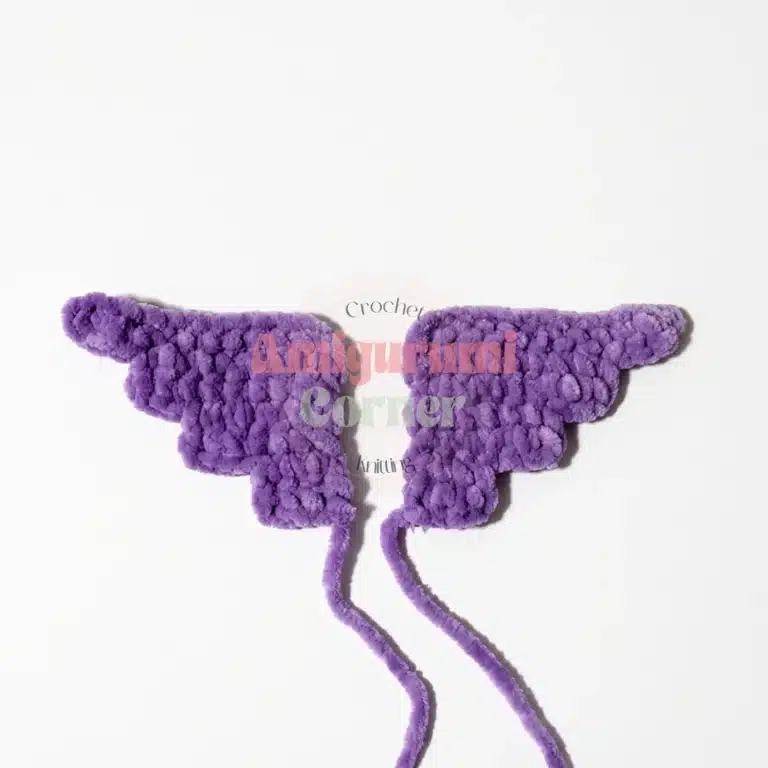
Dragon: Wings (Make 2)
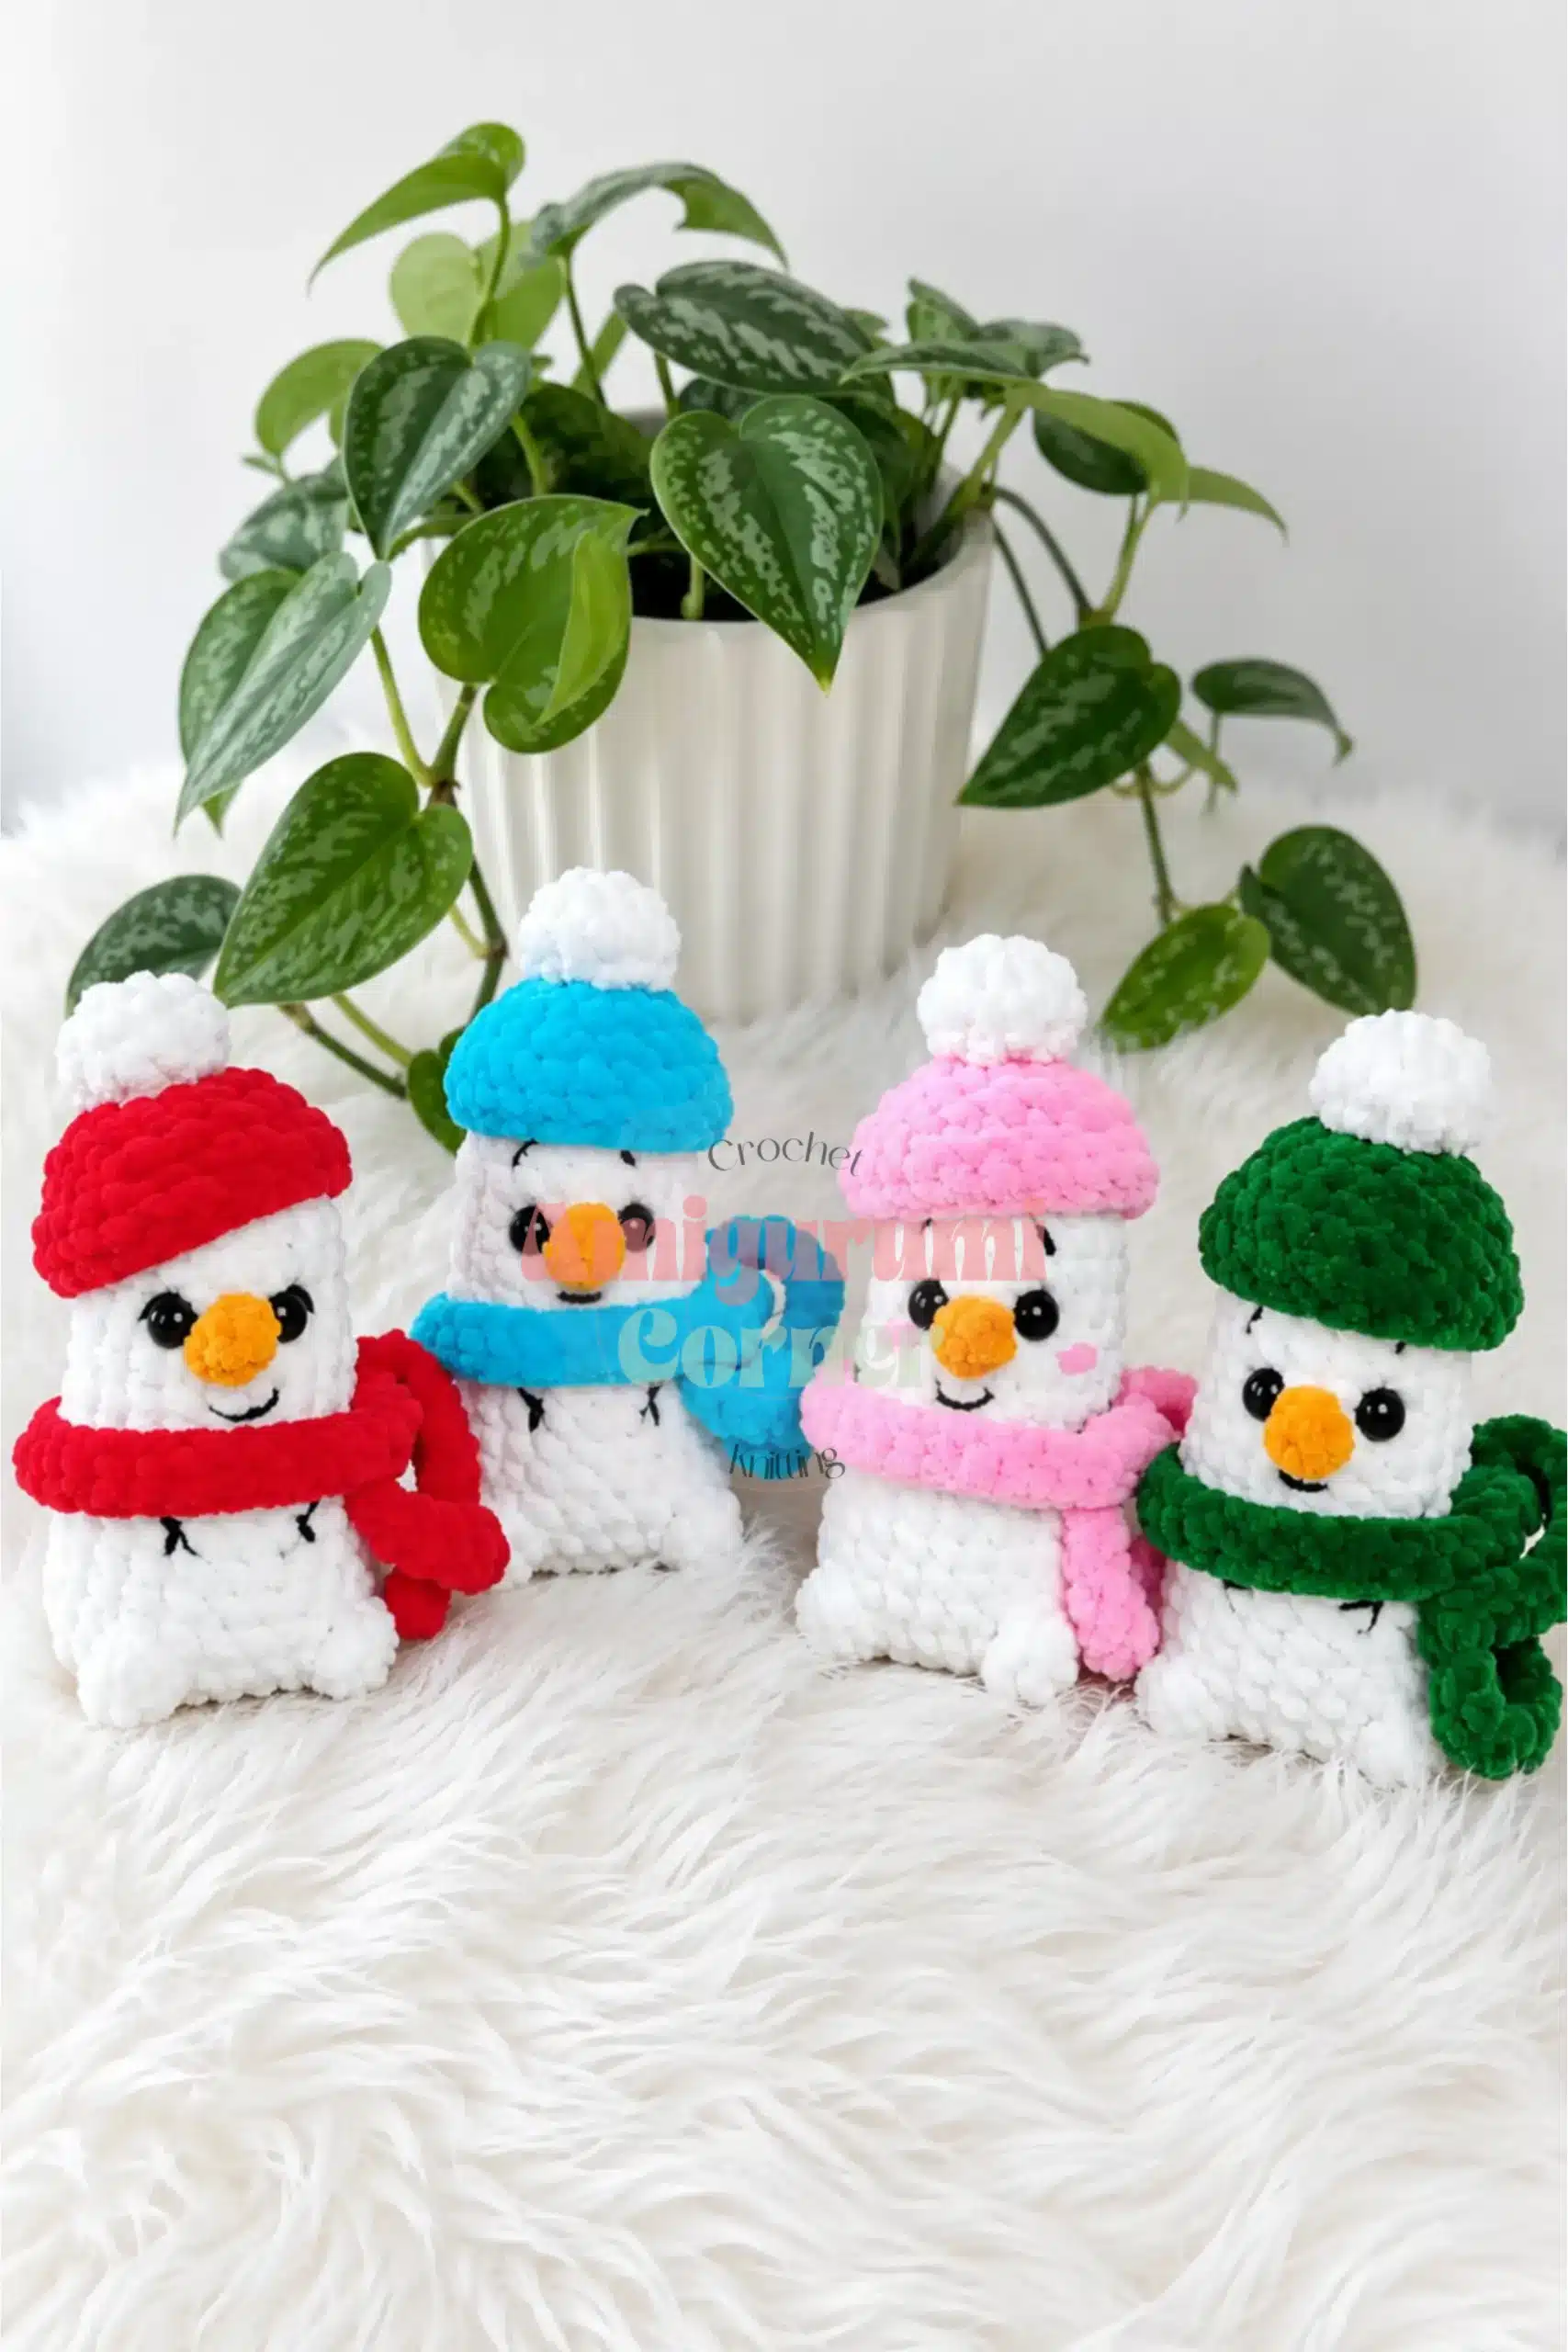
Row 1: Ch 12.
Row 2: Sc in the 2nd ch from the hook and in each ch across, ch 1, turn. (11)
Row 3: Sc in each st across, ch 1, turn. (9)
Row 4: Sc in each st across, ch 1, turn. (9)
Row 5: Sc in each st across, ch 1, turn. (7)
Row 6: Sc in each st across, ch 1, turn. (7)
Row 7: Sc in each st across, ch 1, turn. (5)
Row 8: Sc in each st across. (5)
Fasten off, leaving a long tail for sewing.
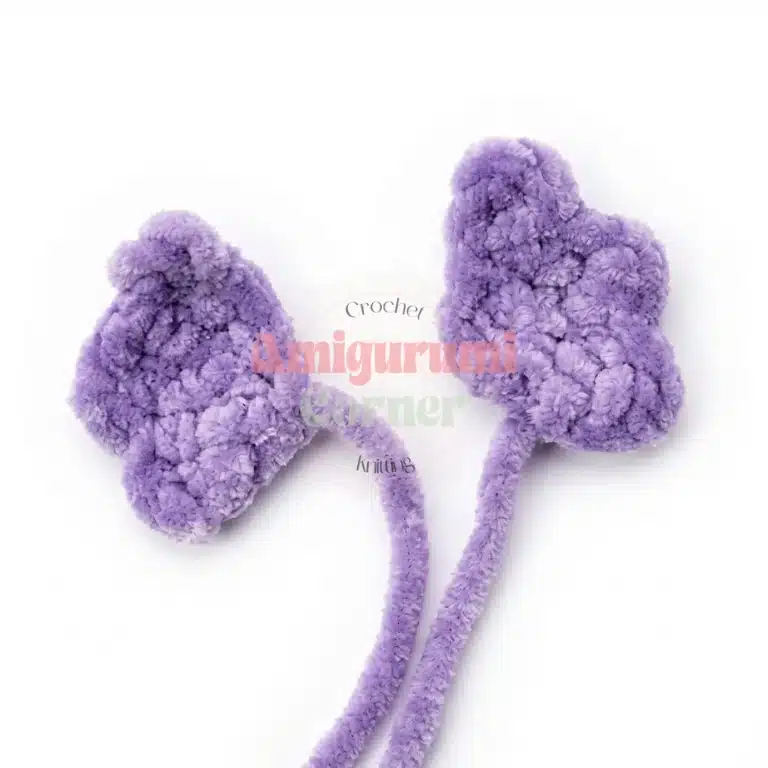
Dragon: Ears (Make 2)
Row 1: Ch 5.
Row 2: Sc in the 2nd ch from the hook and in next 3 chs, ch 1, turn. (4)
Row 3: Sc in each st across, ch 1, turn. (3)
Row 4: Sc in each st across, ch 1, turn. (3)
Row 5: Sc in each st across, ch 1, turn. (2)
Row 6: Sc in each st across. (2)
Fasten off, leaving a long tail for sewing. Weave the needle along the outer edge of the ear and pull gently to curl it before securing.
Grinch: Santa Hat
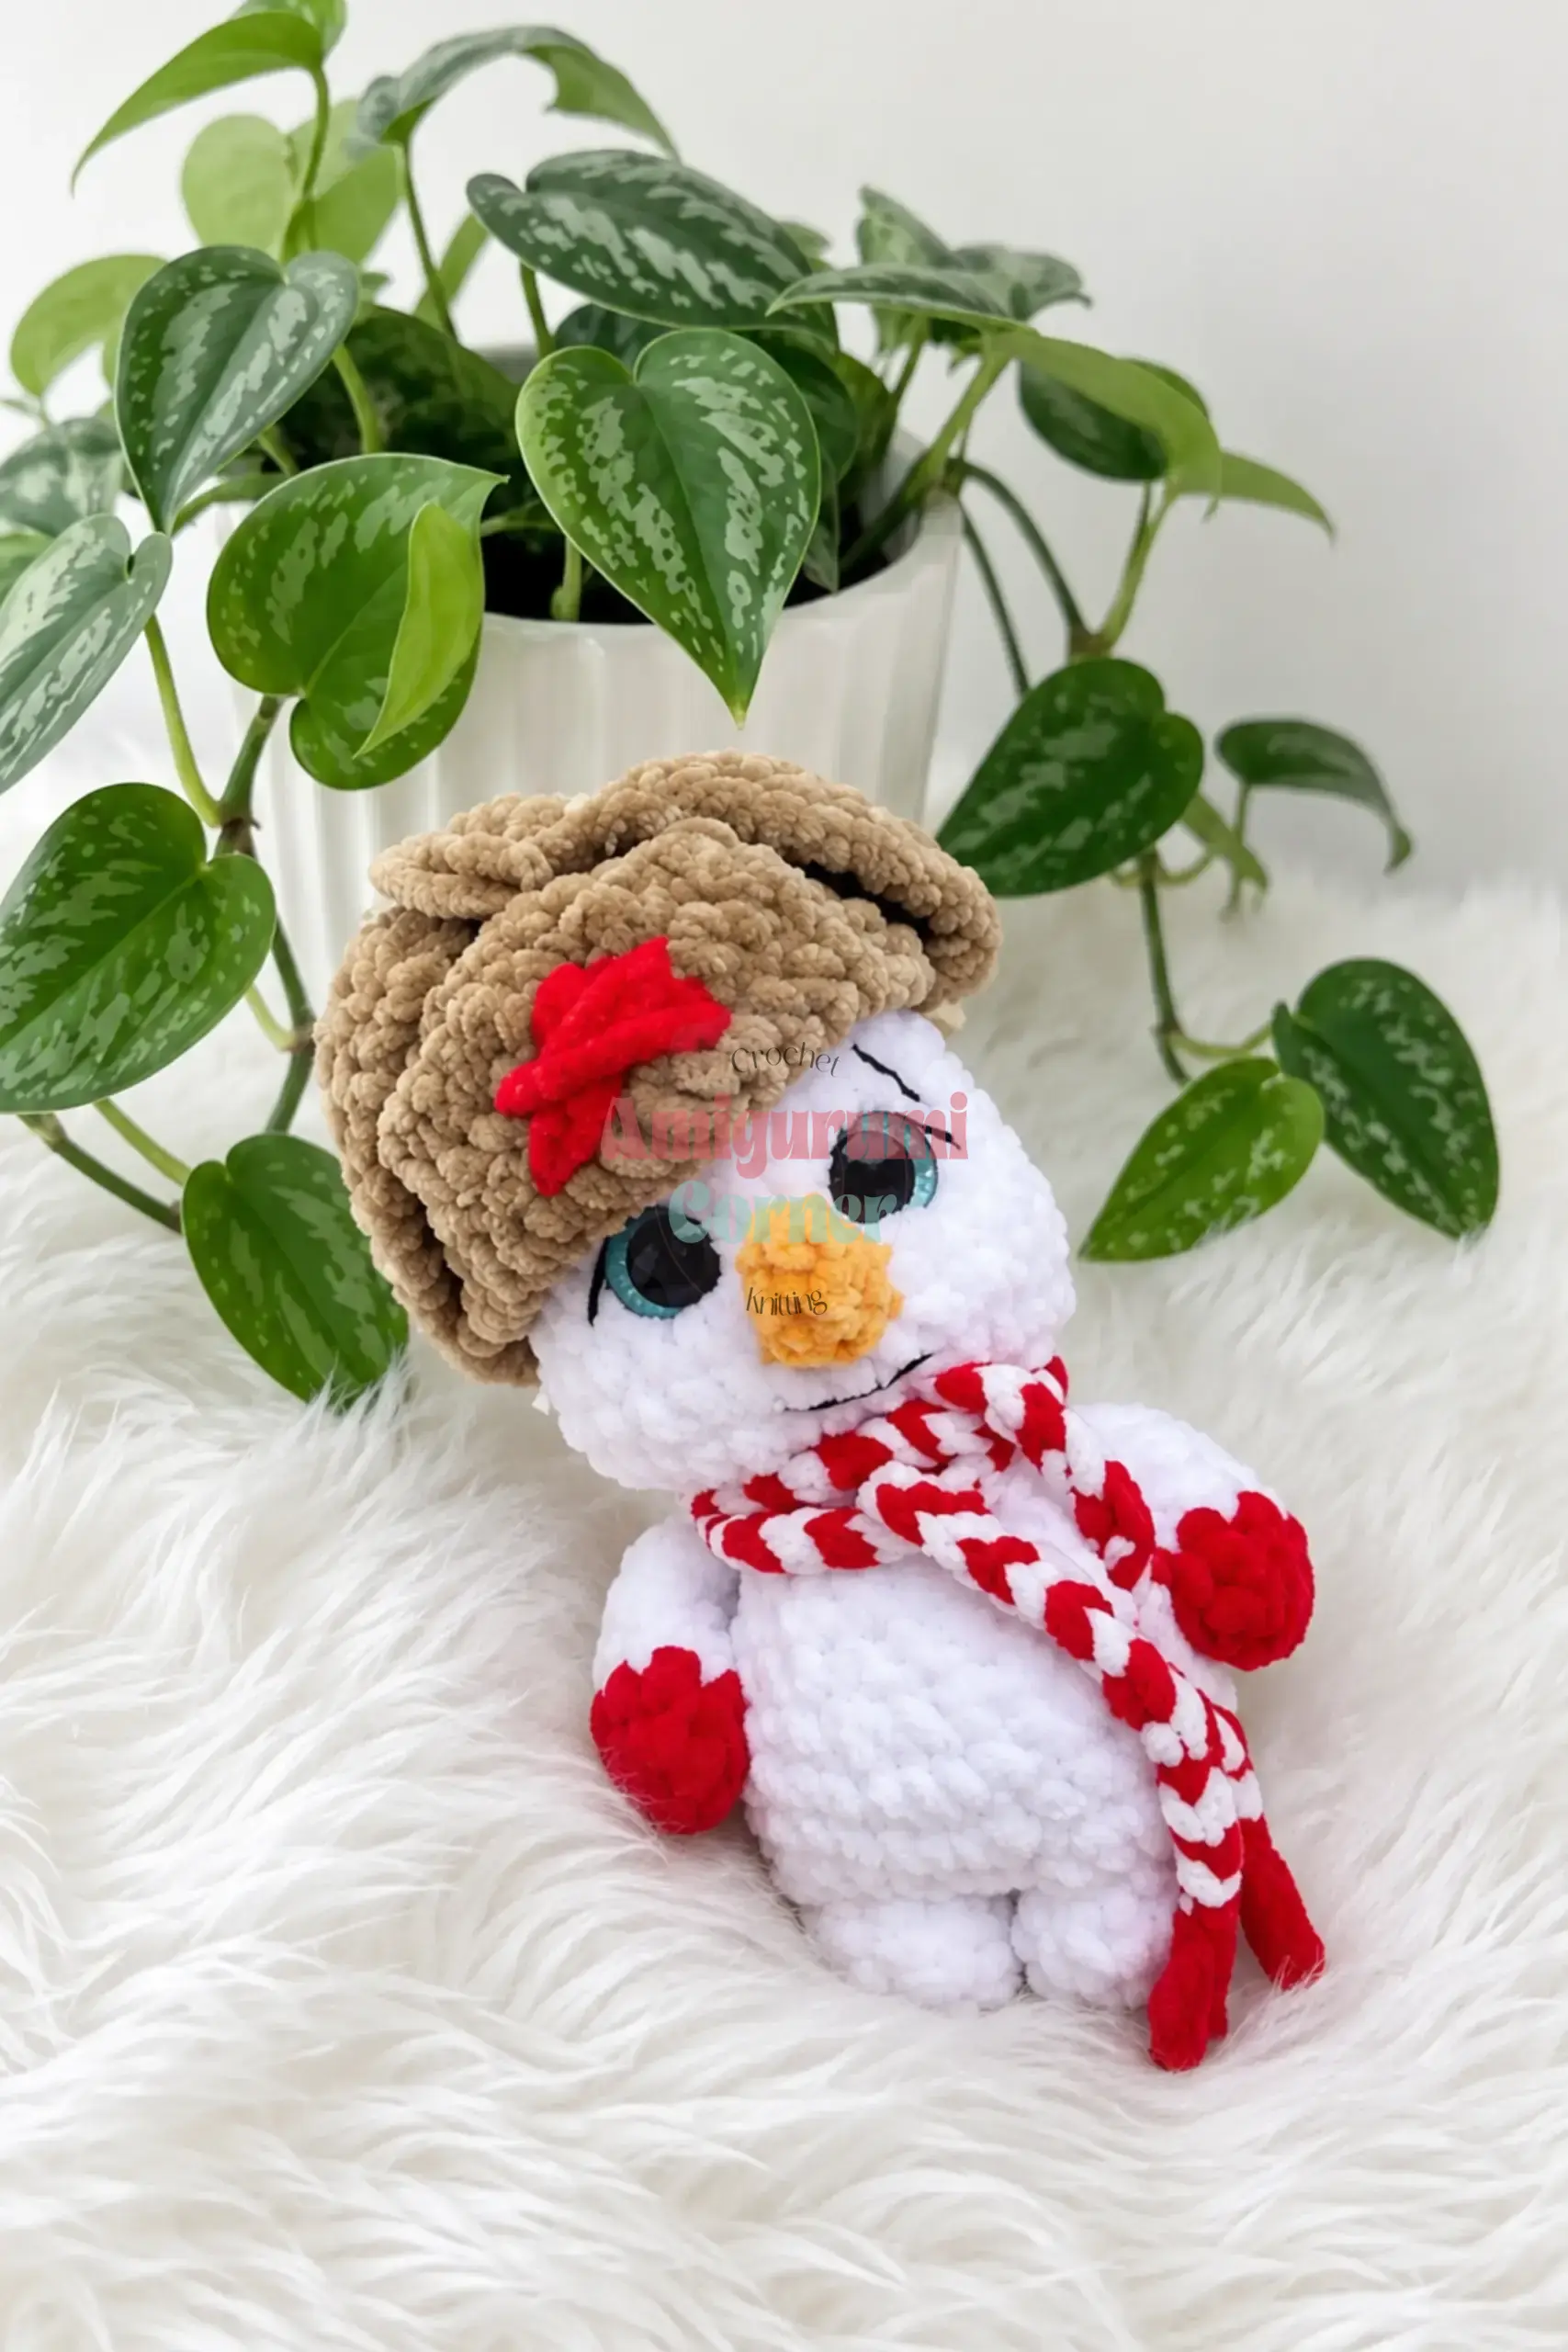
This piece is worked with knitting needles rather than a crochet hook.
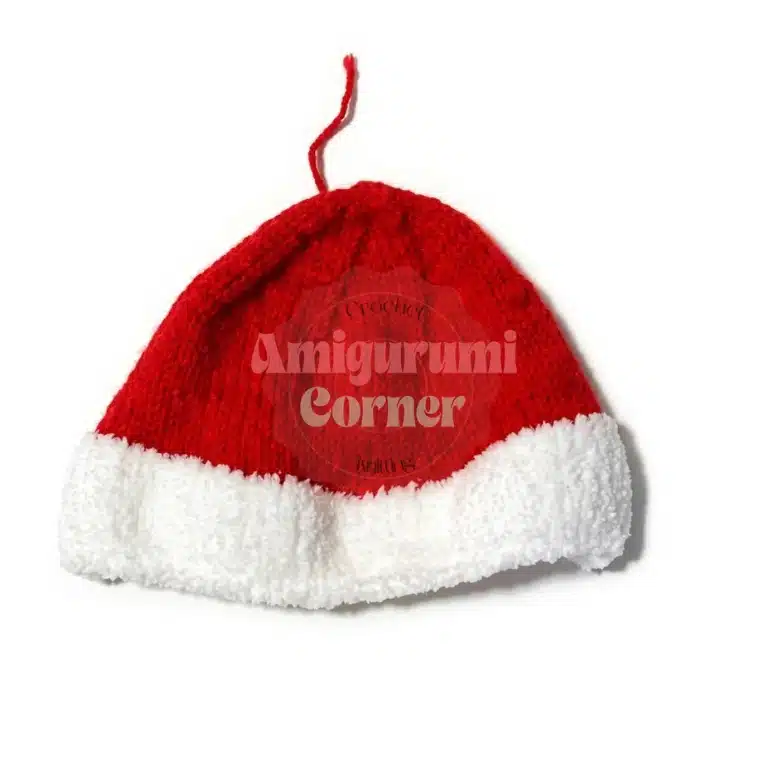
Cast on 62 sts (2 edge sts plus 60 pattern sts). Rows 1–10: Work in 1×1 rib (k1, p1) across. Change to red yarn and switch to stockinette stitch (knit right-side rows, purl wrong-side rows). Rows 11–26: Continue in stockinette stitch. (15 rows)
Row 27 (RS): *K6, k2tog; repeat from * around. (6 decreases this row)
Row 28 (WS): Purl across.
Row 29 (RS): *K5, k2tog; repeat from * around. (6 decreases this row)
Continue decreasing on every right-side row in this manner, working one fewer stitch between decreases each time, until 12 sts remain, including the edge sts.
Cinch the remaining stitches closed and sew the two hat panels together along the side seam. Make a pom-pom using your favorite method and sew it to the top of the hat.
Grinch: Scarf
This piece is also worked with knitting needles.
Cast on 12 sts (2 edge sts plus 10 pattern sts). Work in stockinette stitch, changing to a new color every 6 rows, until the scarf reaches your desired length.
Assembly
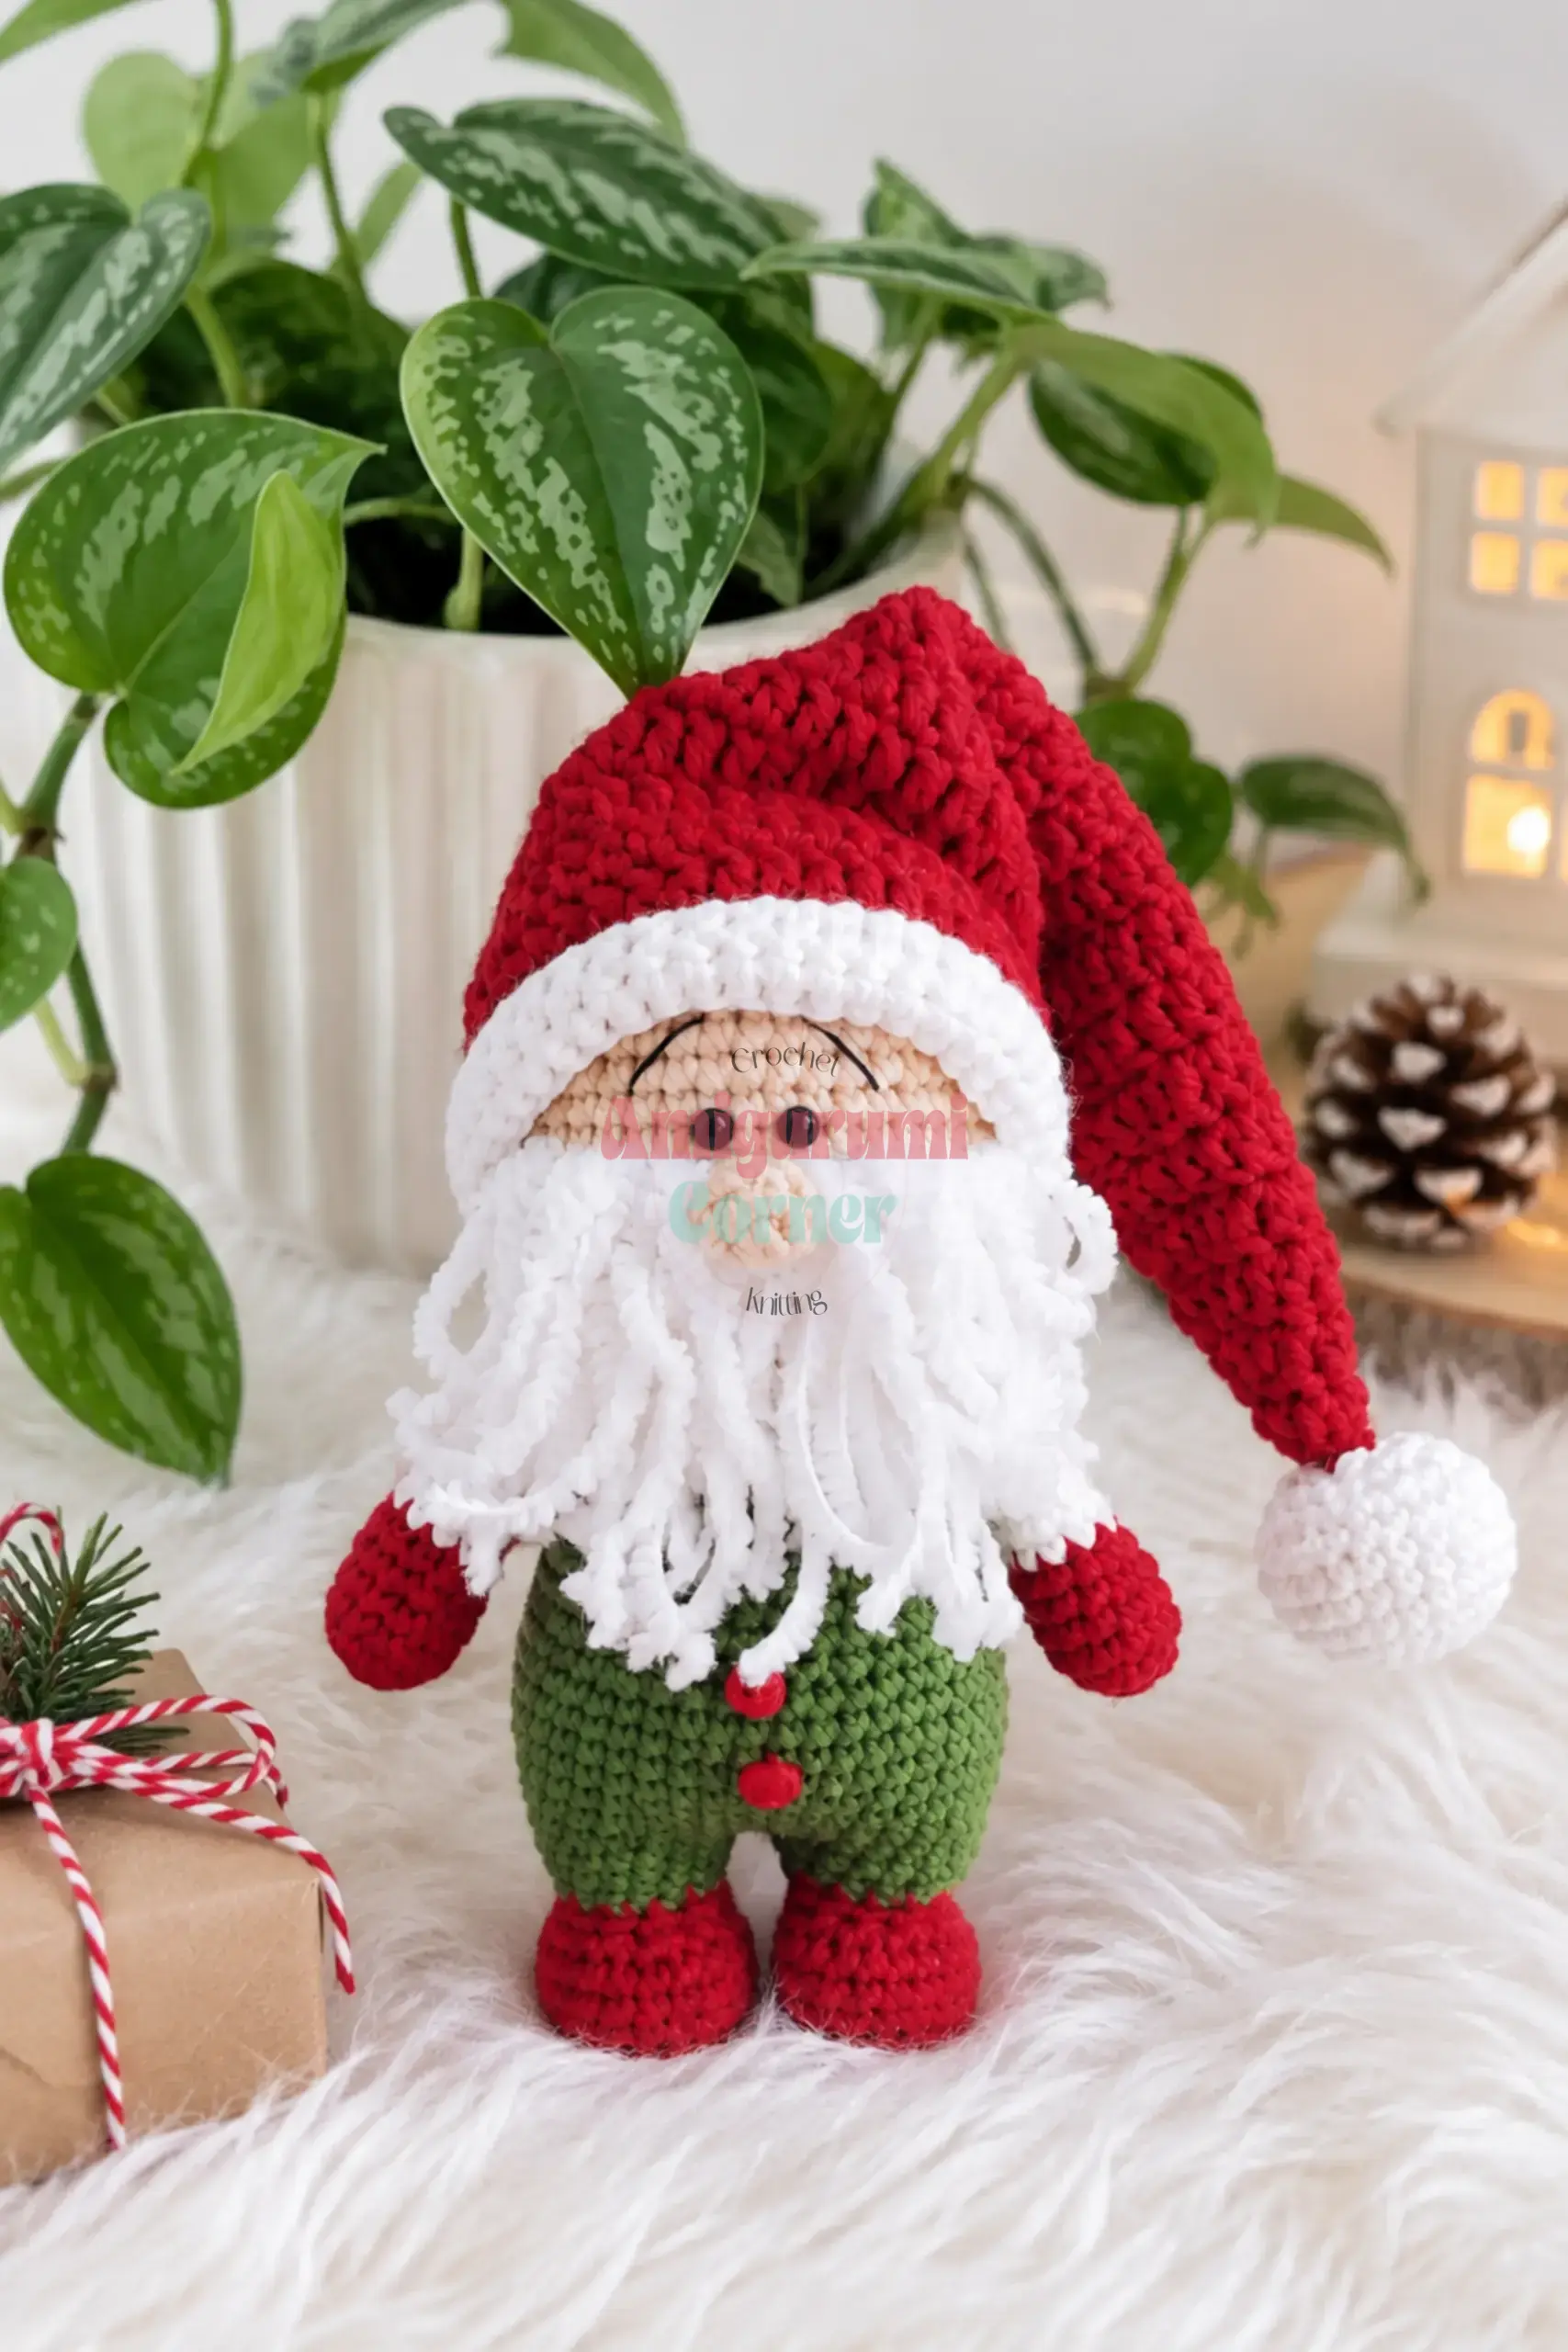
Putting Each Character Together
Stuff the body/head, both arms, and both legs firmly, leaving the top opening of the head open until the face shaping and safety eyes are complete.
Complete the face shaping and place the safety eyes for your chosen character before closing the head opening.
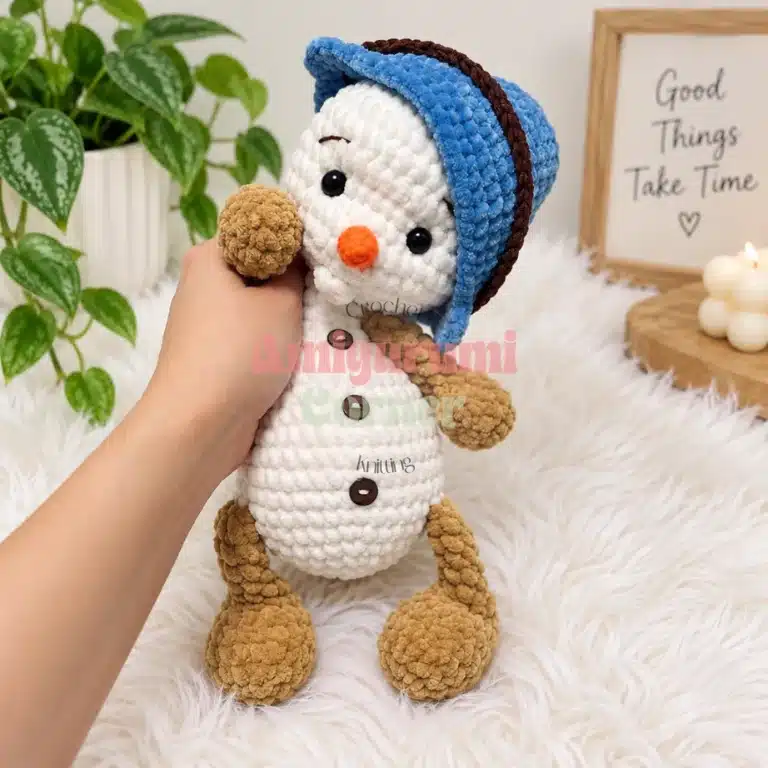
For the Snowman: sew the carrot nose to the center of the face using the long tail left for sewing, then place the finished bucket hat on top of the head and sew the twisted handle to the ring at the front of the bucket. Sew on the buttons down the front of the body.
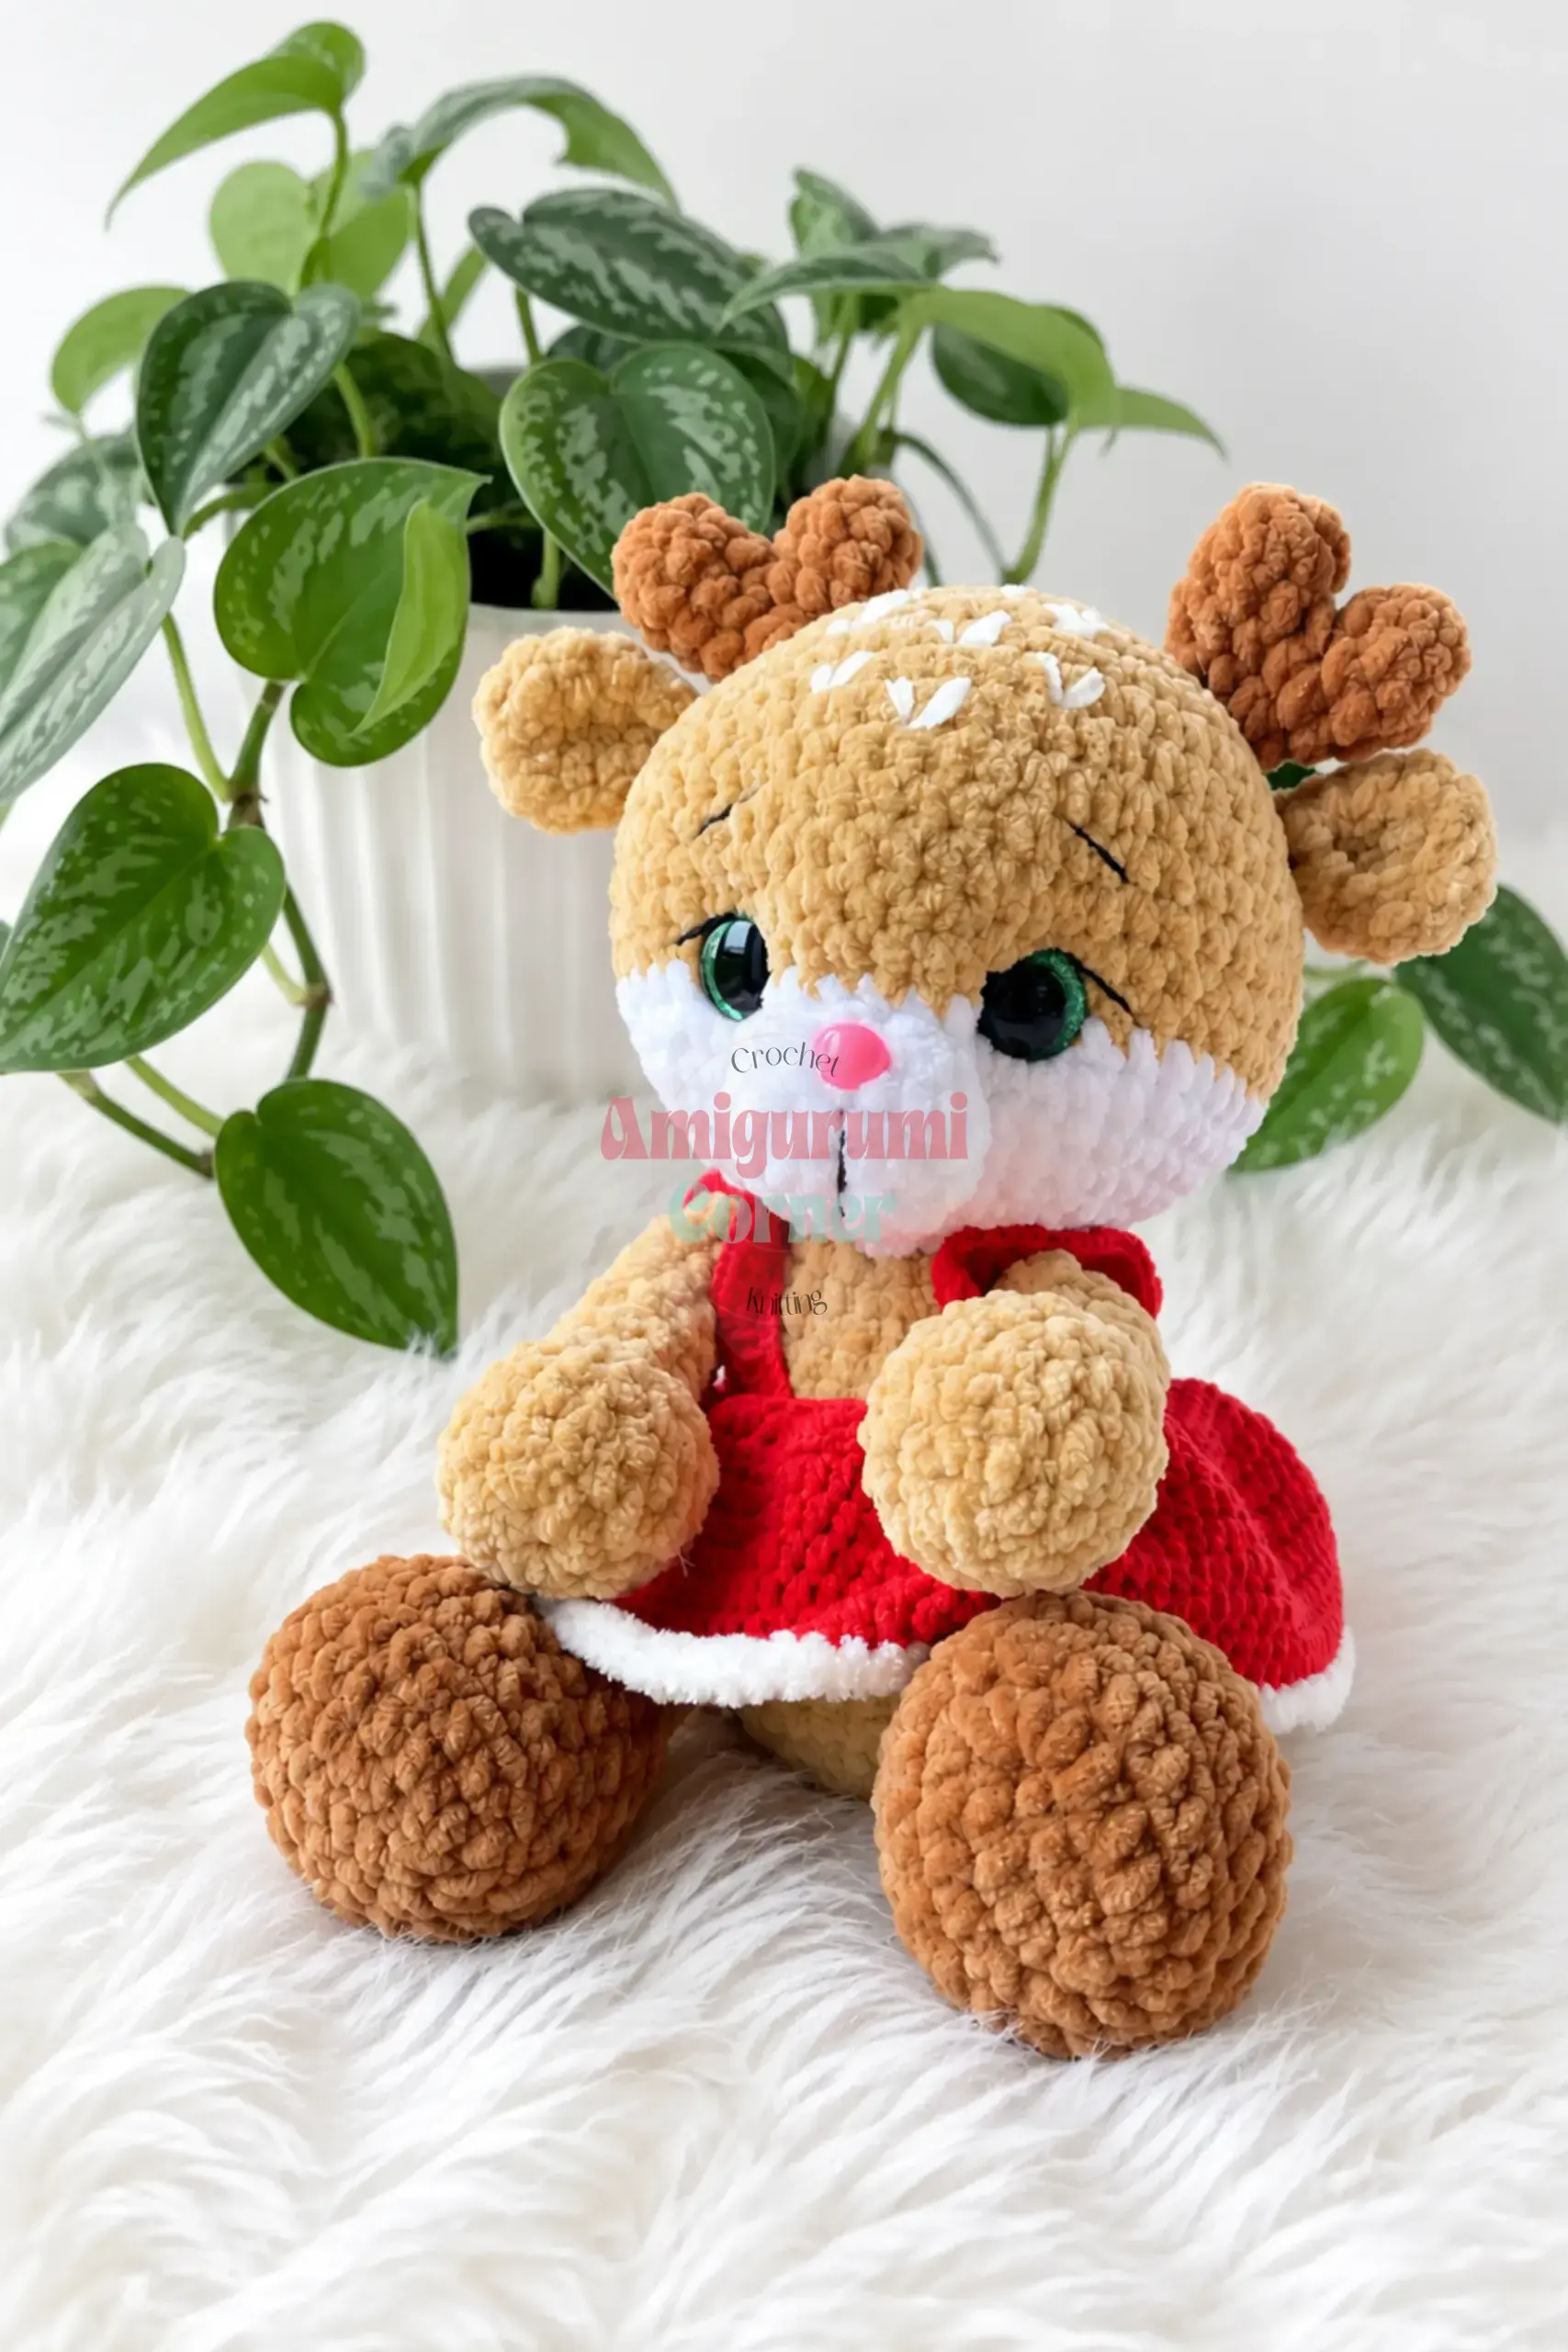
For the Dragon: sew the stuffed tail to the base of the body, then sew both wings to the back and both ears to the top of the head using their long tails. Add a small piece of red felt for the tongue.
For the Grinch: pull the finished Santa hat over the head and tack it in place with a few small stitches, then wrap the knit scarf around the neck and secure it with a few stitches so it stays in place.
Weave in every remaining yarn tail on all pieces before your character is complete.
Tips
- Amigurumi looks its best when your stitches stay snug and even, so work with a hook one size smaller than you’d normally reach for with your chosen yarn this keeps your stuffing from peeking through between stitches. When you reach an invisible decrease, insert your hook into the front loops of the next two stitches only, pull up a loop through both, then complete it as a regular single crochet; this keeps your decrease rounds smooth instead of leaving a visible ridge.
- Stuff each piece a little at a time rather than all at once, working the fiberfill into the curves of the head and body with the end of your yarn needle. Stop adding stuffing once the piece feels firm but still gives slightly when pressed overstuffing can distort your stitch definition and stretch the fabric thin.
- If you substitute a different yarn for the chenille-style body yarn, keep in mind that smoother worsted weight cotton or acrylic will show stitch definition more clearly, while a fuzzier yarn will hide small imperfections but can also obscure fine details like the face shaping. Either works, but your finished texture will change.
- When sewing on pieces like the Dragon’s wings, ears, or the Snowman’s nose, use the long tail left on that piece rather than cutting a new strand this keeps your seam color-matched and gives you a built-in anchor point. Sew through the outer loops only on the body side so your stitches stay hidden rather than sinking into the stuffing.
- Round 8 and round 19 of the Body and Head section where the legs and arms attach are the trickiest part of this whole pattern. Take it slow, make sure your limb is facing the direction you want before you crochet through both layers, and don’t be afraid to unpick and reposition if it looks off before you move on.
FAQs
Can I make just one character from this pattern?
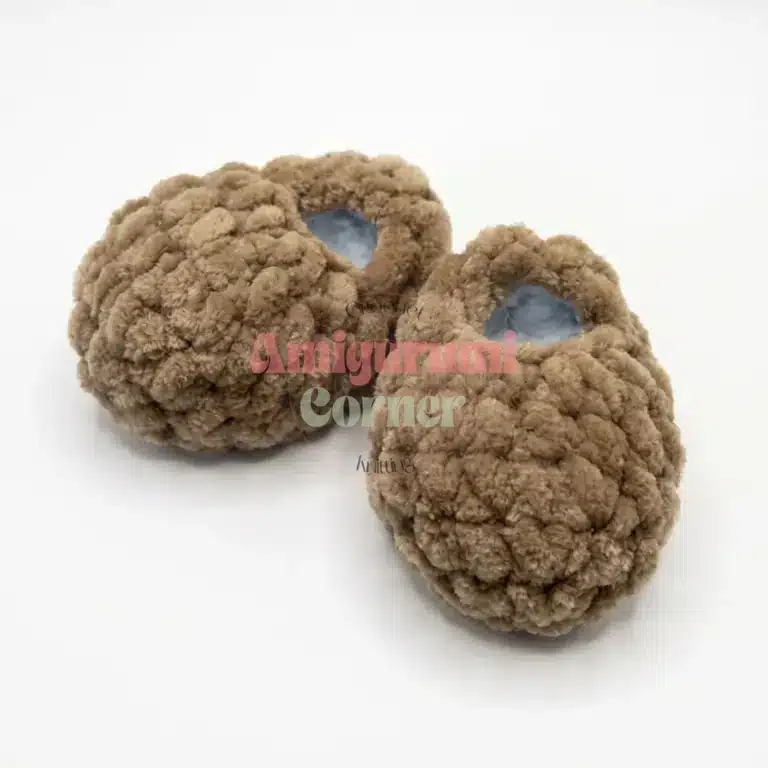
Absolutely. The body, head, arms, and legs are shared across all three characters. You only need to make the specific add-ons (like the hat, scarf, or wings) for the character you choose to finish.
What is the best yarn to use for the body?
The pattern recommends a light worsted weight chenille-style yarn like Himalaya Dolphin Baby. This yarn creates a soft, plush texture that hides stitch definition, which is great for a cute amigurumi look.
Do I need to join rounds when crocheting the body?
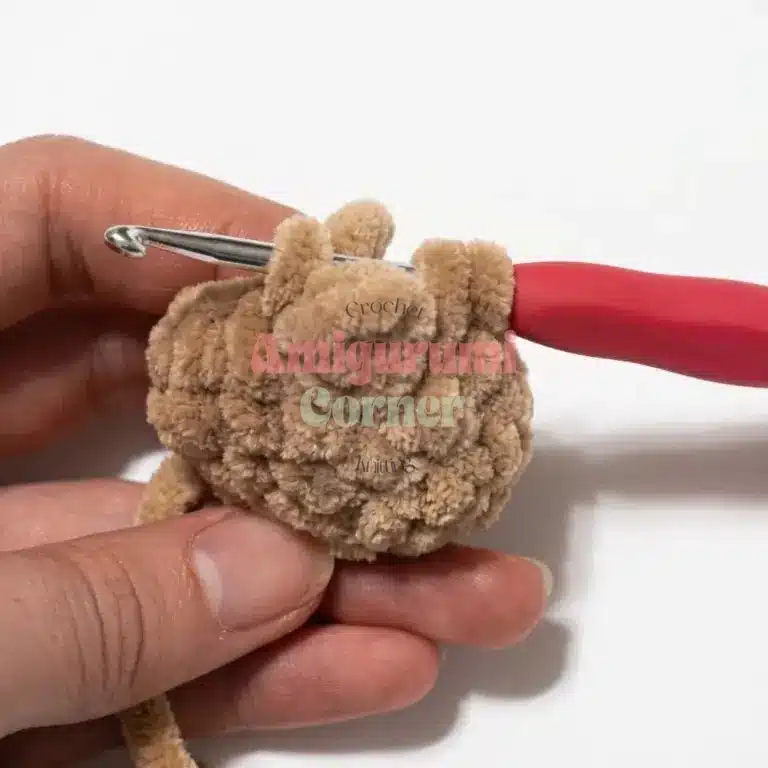
No. The body, arms, and legs are worked in continuous spiral rounds. Do not join or chain up at the end of a round unless a specific step tells you to.
How do I attach the limbs to the body?
The pattern instructs you to attach the legs in Round 8 and the arms in Round 19 of the Body section. You will crochet through the stitches of the limb and the body simultaneously to secure them in place.
Why does the Grinch require knitting needles?
The Grinch’s Santa hat and scarf are worked in turned rows using knitting needles to create a ribbed and stockinette texture that differs from the crochet body. You will need 3.0 mm knitting needles for these specific pieces.
Pin This Crochet Pattern!