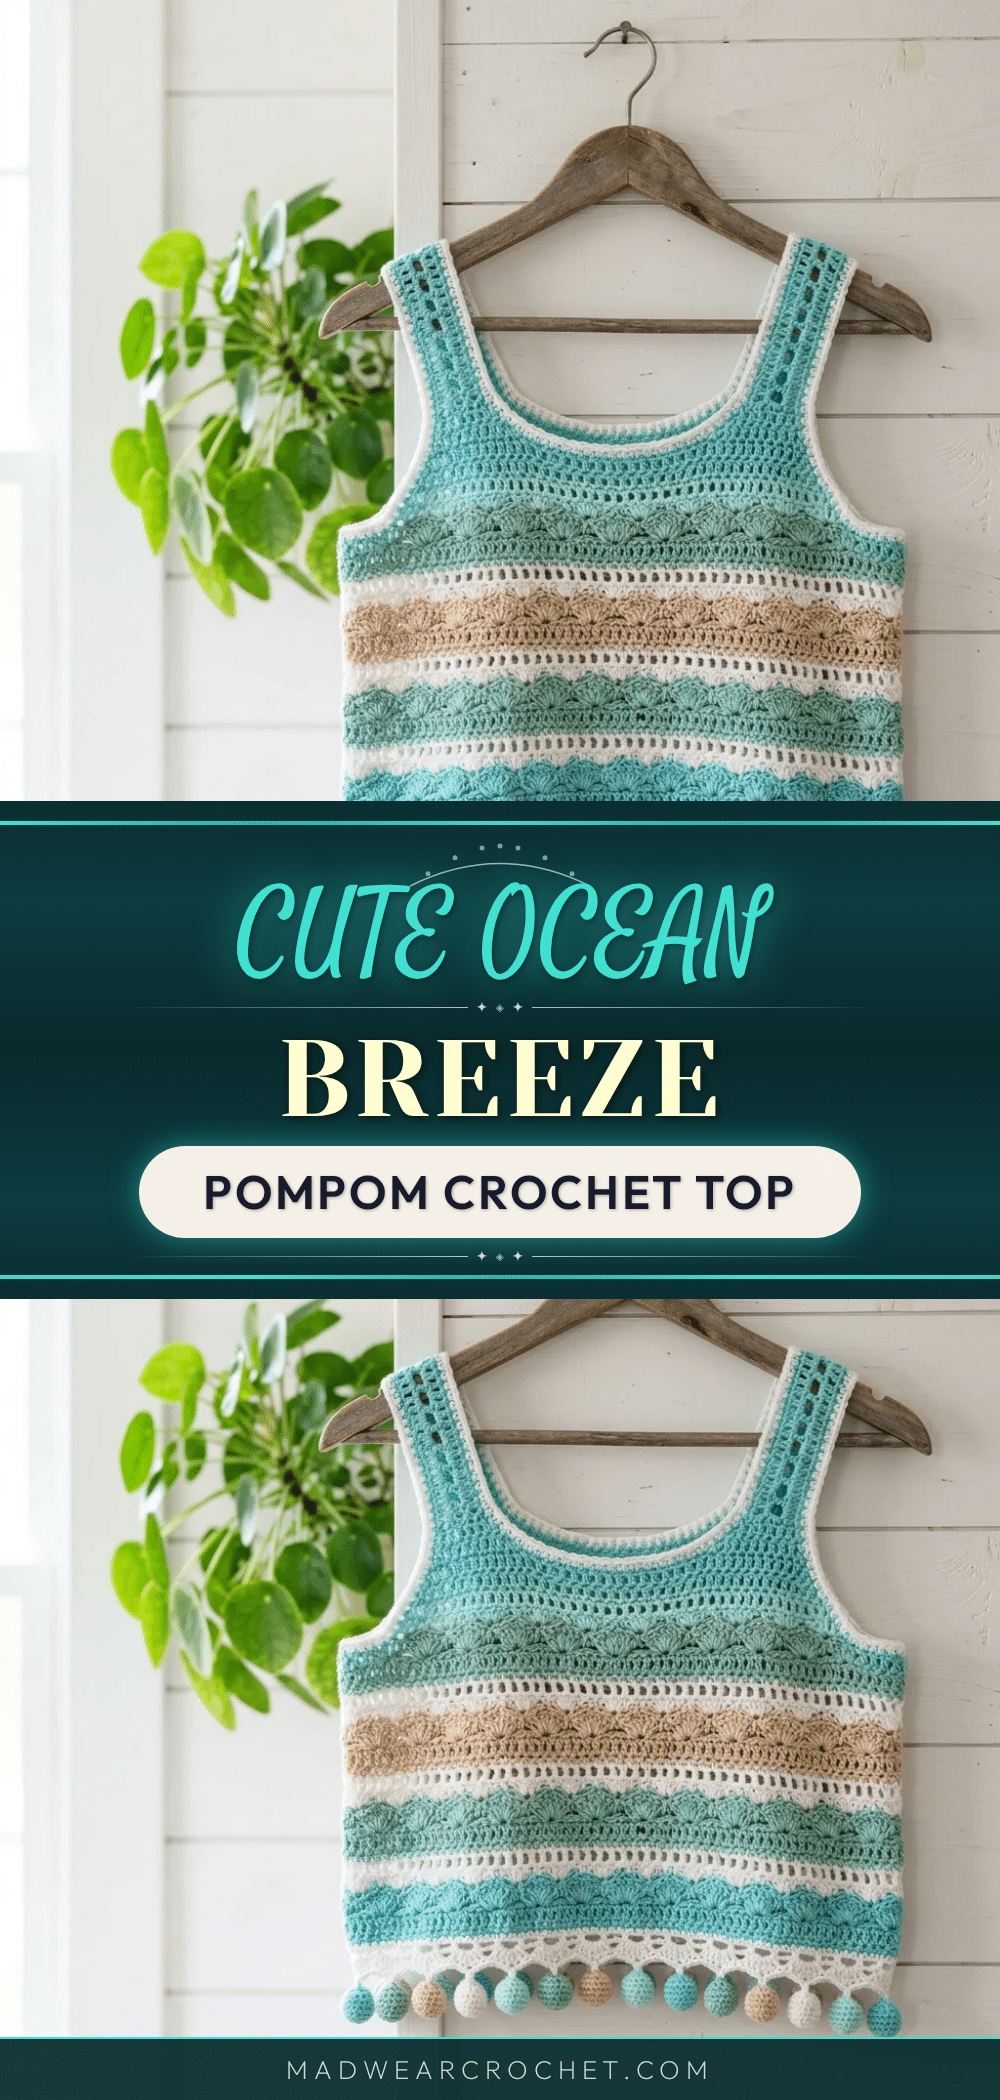
Did you accidentally chain one too many at the start of your foundation chain and now you’re convinced this garment is doomed? Take a deep breath. This is the most common “beginner mistake” in crochet, but with the Ocean Breeze Pompom Top, it is easily fixed. In fact, the pattern instructions are designed with size adjustments in mind, meaning your foundation chain math can be tweaked to fit your exact bust size without altering the beautiful shell stitch pattern. This project is approachable because the shaping is straightforward, the pieces are identical, and the construction is forgiving. You are not just making a top; you are making a summer staple that looks far more complicated than it actually is.
Maker Notes
When I sat down to design this summer tank, I had three goals in mind. First, I wanted those gorgeous shell stitch texture bands that catch the light. Second, I needed a coastal color palette that felt fresh without being predictable. Third, and this was the fun part, I wanted playful pompom trim that would actually stay put after washing. I am SO pleased with how this turned out. The stripe sequence creates visual interest without overwhelming the eye. The lace divider rows give it that breezy summer feel. And those little crocheted pompom balls? They add just the right amount of whimsy. If you have been wanting to try a wearable project but felt intimidated by garment construction, this is your sign. The shaping is straightforward, the pieces are identical, and you will finish with a top that looks far more complicated than it actually is.
Project Overview
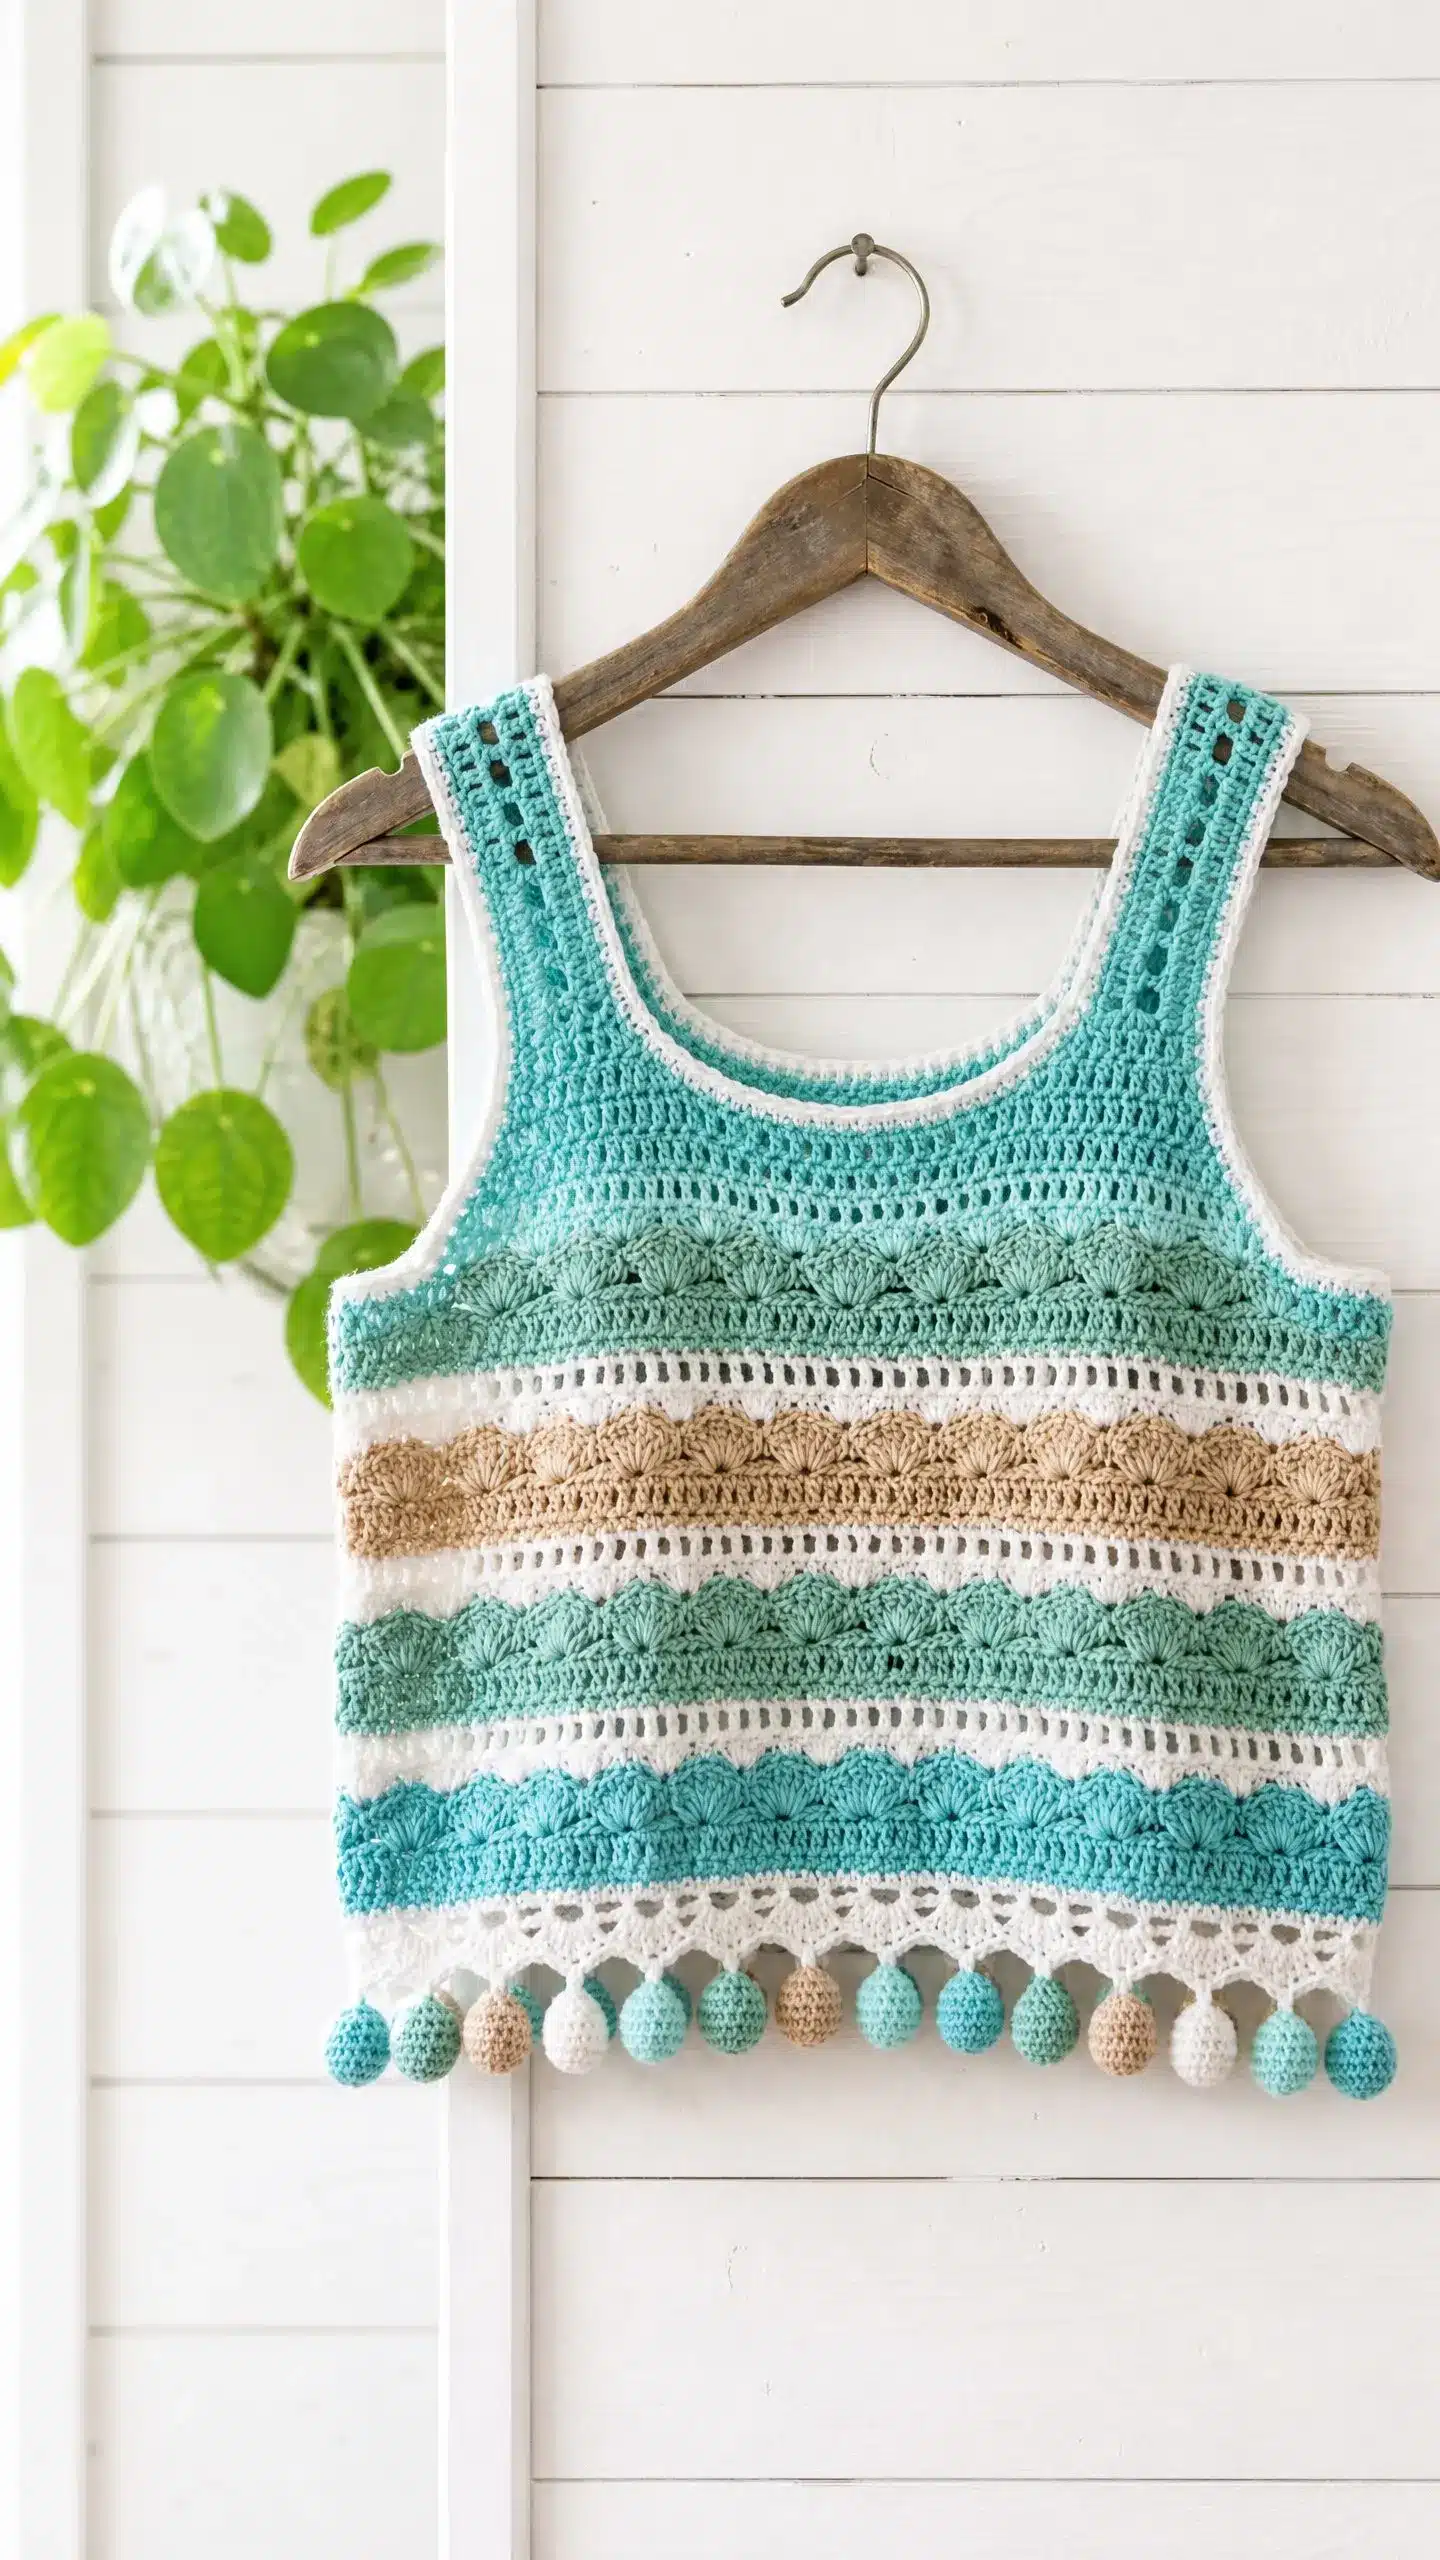
This tank top features alternating shell stitch bands in teal, mint, and sand, separated by delicate white lace rows. The construction is beginner-friendly for anyone comfortable with basic garment shaping. You will work two flat pieces, seam them together, then add the border and pompoms. The finished bust measures 34 to 36 inches for the size Small/Medium as written. I have included notes for adjusting from XS through 2X/3X at the end of the pattern. The length from shoulder to hem sits at approximately 15 inches, not counting those adorable pompom balls dangling below.
Skill Level: Intermediate. You should feel comfortable with shell stitches, working color changes, basic garment shaping, and crocheting small pieces in the round for the pompoms.
Time Estimate: Plan for 20 to 30 hours depending on your experience level. This is a perfect project for a week of evening crochet sessions.
Materials You Will Need
Yarn
Yarn (DK weight, category 3):
- Color A (Teal): 250 yards
- Color B (Mint): 150 yards
- Color C (Sand/Tan): 100 yards
- Color D (White): 150 yards
- Total yardage comes to approximately 650 yards.
Recommended yarn options:
- Paintbox Yarns Simply DK works beautifully here. Try Spearmint Green, Seafoam, Soft Caramel, and Paper White. This acrylic yarn gives excellent stitch definition and washes like a dream.
- Lion Brand 24/7 Cotton offers gorgeous drape for summer wear. Look for Turquoise, Aqua, Tan, and White.
- WeCrochet Dishie in Teal, Sea Foam, Almond, and Bare blocks beautifully and holds that lacework definition crisp.
Quick substitution tip: Any smooth DK weight yarn that achieves gauge will work. Avoid fuzzy or textured yarns since they will obscure your shell and lace stitch detail.
Hooks and Notions
- US size G-6 (4.0 mm) for the main body
- US size F-5 (3.75 mm) for edging and pompom balls
- Tapestry needle
- Scissors
- 4 stitch markers
- Rustproof pins for blocking
- Measuring tape
- Small amount of fiberfill or yarn scraps for stuffing pompoms
Gauge
In shell stitch pattern with G-6 hook, after blocking: 16 stitches and 10 rows = 4 inches.
In single crochet with G-6 hook: 18 stitches and 20 rows = 4 inches.
Please make a 6-inch swatch in the shell stitch pattern before starting. Block it and measure. This step matters for a wearable fit. Go up a hook size if your gauge is too tight. Go down if it is too loose.
Abbreviations and Stitch Definitions
Let me walk you through every abbreviation before we begin. I will define each term in plain English so nothing catches you off guard.
- ch = chain. Wrap yarn over hook and pull through the loop on your hook.
- sl st = slip stitch. Insert hook, yarn over, pull through both the stitch and the loop on hook in one motion.
- sc = single crochet. Insert hook into stitch, yarn over, pull up a loop (two loops on hook), yarn over, pull through both loops.
- dc = double crochet. Yarn over, insert hook into stitch, yarn over, pull up a loop (three loops on hook), yarn over, pull through two loops, yarn over, pull through remaining two loops.
- sc2tog = single crochet two together (a decrease). Insert hook into next stitch, yarn over, pull up a loop. Insert hook into following stitch, yarn over, pull up a loop. You now have three loops on your hook. Yarn over, pull through all three loops. You have decreased by one stitch.
- sk = skip
- st(s) = stitch(es)
- sp = space
- ch-sp = chain space
- t-ch = turning chain
- rep = repeat
- rem = remaining
- RS = right side
- WS = wrong side
- yo = yarn over
Special Stitches
Shell Stitch
Work 5 double crochet stitches all into the same stitch or space. This creates a beautiful fan-shaped cluster. Here is how to do it step by step:
- Identify the stitch or space where you need to place your shell.
- Work one double crochet into that spot.
- Work four more double crochet stitches into the exact same spot.
- You now have 5 dc grouped together forming one shell.
Lace Row
This creates the open mesh between your shell stitch bands.
- Single crochet into the first stitch of the row.
- Chain 5, skip 4 stitches, single crochet into the next stitch.
- Repeat the chain 5, skip 4, single crochet sequence across.
- On the following row, you will work shells or single crochets into those chain-5 spaces.
Crochet Pompom Ball
These adorable stuffed spheres are crocheted in the round. Use your F-5 hook.
- Round 1: Make a magic ring, work 6 sc in ring. (6 sc)
- Round 2: Work 2 sc in each stitch around. (12 sc)
- Round 3: Work (sc in next stitch, 2 sc in next stitch) around. (18 sc)
- Round 4: Work (sc in next 2 stitches, 2 sc in next stitch) around. (24 sc)
- Round 5: Work (sc in next 2 stitches, sc2tog) around. (18 sc)
- Round 6: Work (sc in next stitch, sc2tog) around. (12 sc)
- Stuff lightly with yarn scraps or fiberfill now.
- Round 7: Work sc2tog around. (6 sc)
- Fasten off, leaving a 10-inch tail. Thread tail through remaining 6 stitches, pull tight to close, weave in end inside ball. Leave a separate 12-inch tail at the starting end for attaching to the hem later.
Important Pattern Notes
Before you begin, please read through these notes. They will save you confusion later.
- The top is worked flat in two identical pieces (front and back), then seamed at the sides and shoulders.
- For color changes, complete the last pull-through of the stitch before the new color begins using the new color. This creates a clean color transition.
- Turning chain rules: Chain 1 does NOT count as a stitch. Chain 3 COUNTS as the first double crochet throughout.
- The right side faces you throughout if you turn at the end of each row as directed.
- Foundation chain math: The pattern uses a multiple of 6, plus 2 for selvedge. For size adjustment, add or subtract 6 stitches per size (approximately 1.5 inches per repeat).
Stripe Sequence Overview
Work this sequence once for the front piece and once for the back piece.
- Section 1 (Hem Band): Color A, sc rows, Rows 1-2
- Section 2 (Shell Band 1): Color A, shell stitch, Rows 3-4
- Section 3 (Lace Divider): Color D, lace, Row 5
- Section 4 (Shell Band 2): Color B, shell stitch, Rows 6-7
- Section 5 (Lace Divider): Color D, lace, Row 8
- Section 6 (Shell Band 3): Color C, shell stitch, Rows 9-10
- Section 7 (Lace Divider): Color D, lace, Row 11
- Section 8 (Shell Band 4): Color B, shell stitch, Rows 12-13
- Section 9 (Lace Divider): Color D, lace, Row 14
- Section 10 (Shell Band 5): Color A, shell stitch, Rows 15-16
- Section 11 (Upper Body): Color A, sc rows, Rows 17 to end before shaping
Instructions for Front Piece
Foundation and Hem Band
With G-6 hook and Color A, ch 74.
Row 1 (WS): Sc in 2nd ch from hook and in each ch across. Turn. (73 sc)
Row 2 (RS): Ch 1, sc in each st across. Turn. (73 sc)
Shell Pattern Section with Color A
For the shell pattern, you will use this two-row repeat:
Shell Row A (odd shell rows): Ch 3 (counts as dc), sk 1 st, shell in next st, (sk 2 sts, sc in next st, sk 2 sts, shell in next st) 11 times, sk 1 st, dc in last st. Turn. (12 shells, 11 sc, 2 edge dc; 73 sts consumed)
Shell Row B (even shell rows): Ch 3 (counts as dc), sc in first shell center dc, (shell in next sc, sc in center dc of next shell) 11 times, shell in next sc, dc in top of t-ch. Turn.
Lace Divider with Color D
Work the lace row sequence as defined in the Special Stitches section: Sc in first st, ch 5, sk 4, sc in next. Repeat across.
Shell Band 2 with Color B
Repeat the Shell Row A and Shell Row B sequence using Color B.
Continuing the Stripe Pattern
Continue following the Stripe Sequence Overview, alternating between Color C, Color B, and Color A for the subsequent shell bands, separated by Color D lace rows as indicated.
Upper Body in Single Crochet
Row 17: Ch 1, sc in first dc, sc in each st across, working 1 sc in each dc within shells, 1 sc in each sc between shells, and 1 sc in top of t-ch. Turn. (73 sc)
Row 18: Ch 1, sc in each st across. Turn. (73 sc)
Row 19: Ch 1, sc in each st across. Turn. (73 sc)
Checkpoint: After Row 19, your piece should measure approximately 9 inches from the foundation chain. It should be 18 inches wide laid flat.
Armhole Shaping
Row 20 (Armhole Row): Sl st across first 8 sts (these sts are bound off for the left armhole), ch 1, sc in next st and in each st across until 8 sts remain, leave last 8 sts unworked. Turn. (57 sc)
Upper Chest and Strap Shaping
Row 21: Ch 1, sc2tog, sc in each st across to last 2 sts, sc2tog. Turn. (55 sc)
Row 22: Ch 1, sc2tog, sc in each st across to last 2 sts, sc2tog. Turn. (53 sc)
Row 23: Ch 1, sc2tog, sc in each st across to last 2 sts, sc2tog. Turn. (51 sc)
Row 24: Ch 1, sc in each st across. Turn. (51 sc)
Row 25: Ch 1, sc in each st across. Turn. (51 sc)
Checkpoint: After Row 25, your piece should measure approximately 12 inches from the foundation chain. You should have 51 stitches.
Left Strap
Continue working on the left strap section as shaped in the previous rows until the desired strap length is reached, maintaining the single crochet stitch.
Right Strap
Work the right strap identically to the left strap, ensuring symmetry.
Back Piece
Repeat the entire process for the back piece. The back piece is identical to the front piece in construction and shaping.
Neckline and Armhole Border
With F-5 hook and Color D, work 1 round of single crochet evenly around the entire neckline. Work approximately 1 sc per row along strap sides, 1 sc per stitch along bound-off edges, and 3 sc at each corner. Slip stitch to first sc to join. Fasten off.
Repeat the border process for both armhole openings. Work 1 sc per stitch along bound-off stitches and 1 sc per row along shaped edges. Slip stitch to join. Fasten off.
Assembly
Side Seams
Place front and back pieces right sides together. Seam the sides from the underarm down to the hem using a tapestry needle and yarn. Weave in ends securely.
Shoulder Seams
Seam the shoulders together using the same method. Ensure the straps align perfectly.
Hem Edging and Pompom Attachment
Make your pompom balls as described in the Special Stitches section. Attach the pompoms along the hemline using the 12-inch tails left on each ball. Space them evenly.
Tips
- The foundation chain uses a multiple of 6, plus 1 to even out the shell arrangement.
- Size XS (32 inch bust): Use ch 62 for 61 working stitches. This gives you 10 shell repeats.
- Size S/M (34-36 inch bust): Use ch 74 for 73 working stitches. Pattern as written. 12 shell repeats.
- Size L/XL (38-42 inch bust): Use ch 86 for 85 working stitches. 14 shell repeats. Straps remain 12 stitches. Neckline opening becomes 61 stitches.
- Size 2X/3X (44-48 inch bust): Use ch 98 for 97 working stitches. 16 shell repeats. Straps remain 12 stitches each. Neckline opening becomes 73 stitches.
- For each size increase, add 2 pompoms to the hem, maintaining approximately 1 pompom every 7-8 stitches.
- Length adjustments: Add or subtract plain sc rows in the upper body section (Rows 17-19) before armhole shaping. Each row of sc adds approximately 0.2 inches of length.
Finishing and Blocking
Weave in all remaining ends securely, burying tails at least 2 inches into the work.
Wet blocking method: Submerge the completed top in cool water. Gently squeeze out excess water without wringing. Lay flat on a blocking mat. Pin to finished measurements: 18 inches wide and 15 inches tall (excluding pompoms). Allow straps to dry in their shaped position. Let dry completely before unpinning, at least 24 hours.
Blocking opens the lace rows and shell stitches to their full beauty. Do not skip this step.
Care Instructions
Hand wash in cool water with gentle detergent. Do not wring or twist. Press gently between clean towels to remove excess water. Lay flat to dry. Do not hang wet since this will stretch the garment. Do not machine dry.
If using cotton yarn, you may be able to machine wash on a delicate cycle in a mesh bag. Check your yarn label for specific care recommendations.
Store your finished top folded rather than hung to maintain its shape.
FAQs
Can I use a different weight of yarn?
It is highly recommended to use DK weight (category 3) yarn. Using a different weight will alter the gauge significantly, affecting the fit and the drape of the shell stitches. If you must substitute, ensure it is a smooth yarn to maintain stitch definition.
How do I adjust the length of the top?
You can add or subtract length by adding or subtracting plain single crochet rows in the upper body section (Rows 17-19) before you begin the armhole shaping. Each row adds approximately 0.2 inches.
Why are my shell stitches not lying flat?
This is often due to gauge tension. Ensure you are making a swatch and blocking it before starting. If your gauge is too tight, go up a hook size. If it is too loose, go down a hook size.
How do I keep the pompoms from falling off?
When attaching the pompoms, use the 12-inch tails provided and weave them securely into the hem band. Knotting the tails multiple times before weaving in will also help secure them.
Is this pattern suitable for beginners?
While the construction is straightforward, the pattern is rated Intermediate due to the shell stitches, color changes, and garment shaping. If you are a beginner, consider practicing the shell stitch and pompom balls on a small swatch first.
Pin This Crochet Pattern!