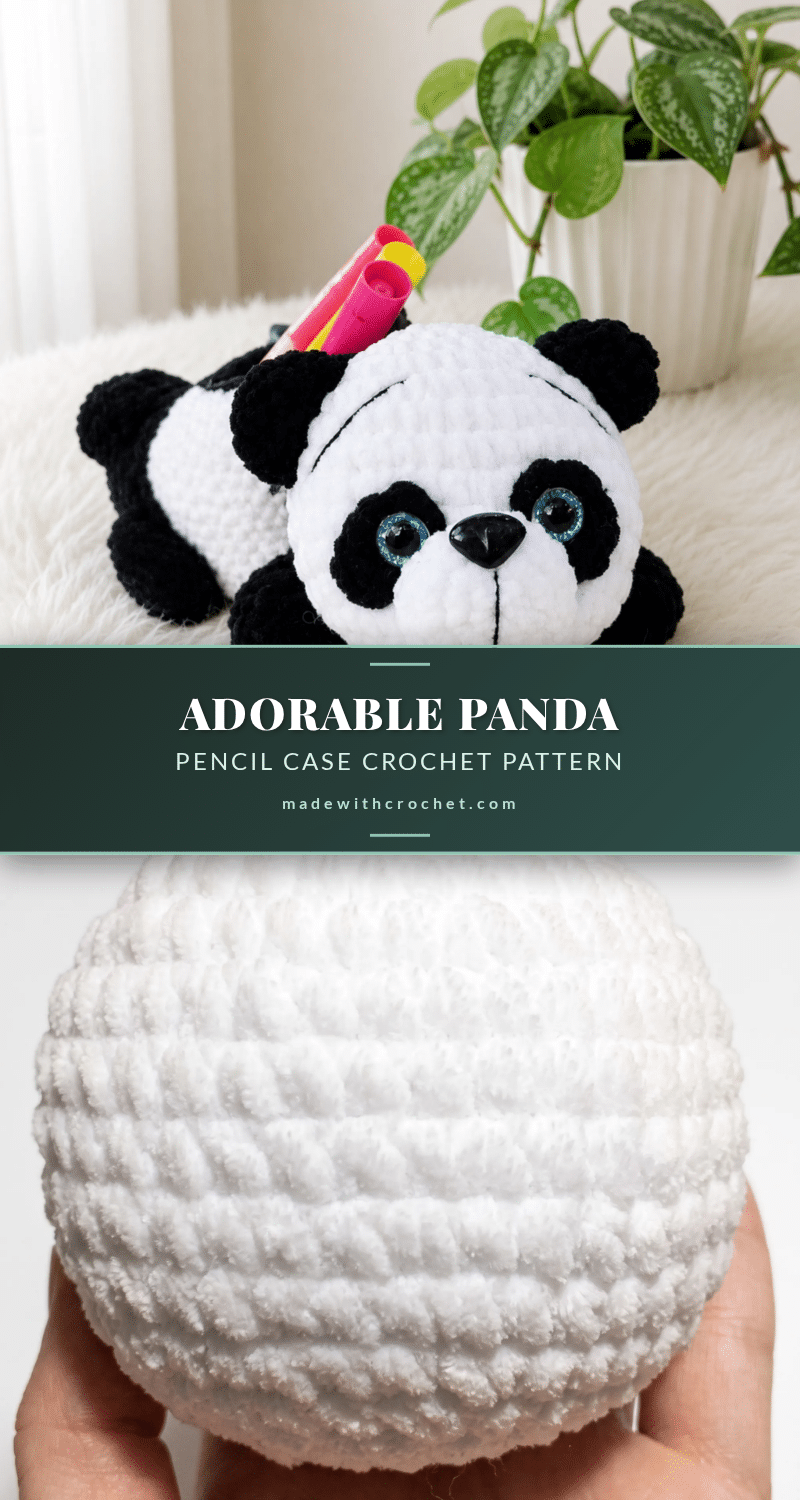
You’ve got your plush yarn on the table, your 3.5 mm hook in hand, and a ball of black and white waiting to become something more than just another amigurumi. This panda pencil case is the project that turns a simple pouch into a playful companion — one that a child will actually want to zip open every day. Let’s start at the magic ring and build this panda from the ground up.
Why This Project Works
This pattern hits a sweet spot between cute and functional. The plush yarn gives it a huggable texture that stands out from typical cotton amigurumi, while the zipper insert turns it into a genuinely useful pencil case. The color-block body is a clever design choice — it creates a stable opening for the zipper without sacrificing the panda’s rounded shape. And because the paws, ears, and tail are worked separately, you get that satisfying “assembly moment” when it all comes together. It’s the kind of project that makes you feel like you’ve made something both decorative and practical.
Project Overview
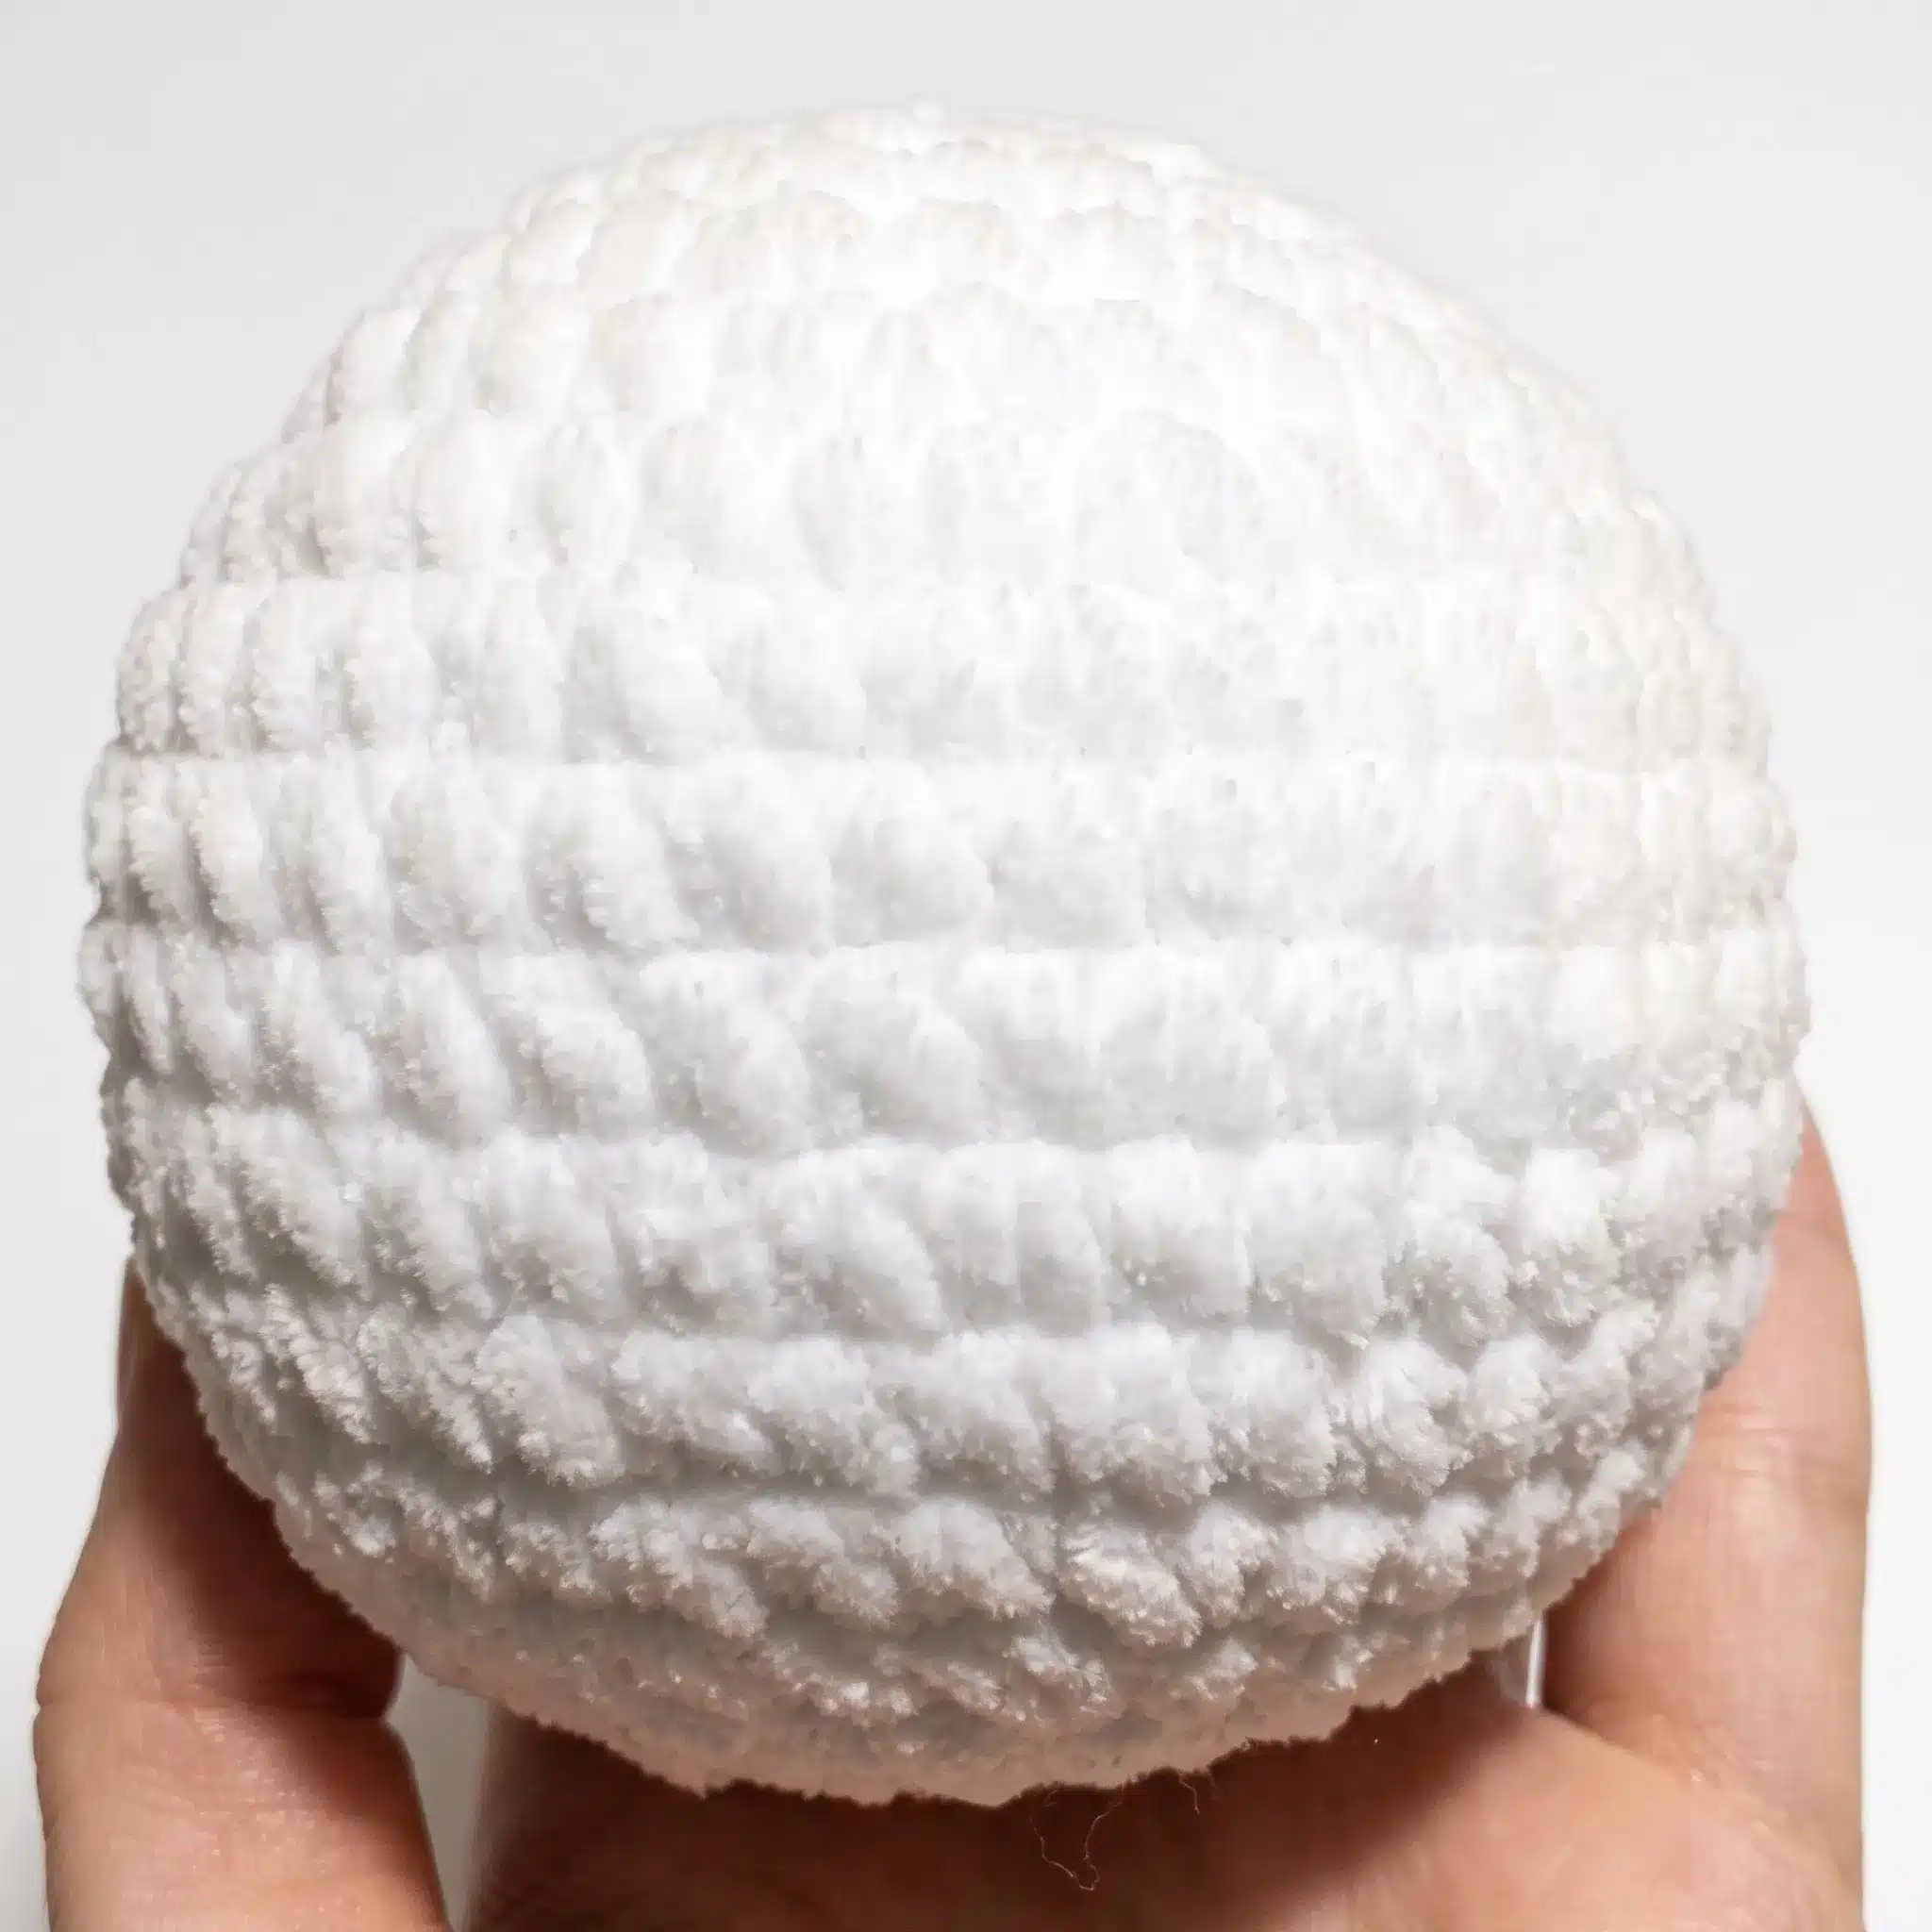
This amigurumi zipper pouch works up quickly using plush yarn, giving it a soft, huggable texture. The pattern is rated intermediate, mainly because of the zipper insertion and the switch between turned rows and continuous rounds on the body. If you’ve made a few amigurumi pieces before and are ready to try a functional design, this is a great next step.
Materials
- Yarn: Plush/chenille-style bulky yarn (such as Himalaya Dolphin), approximately ½ skein black and ½ skein white
- Hook: E-4 (3.5 mm)
- Safety eyes: 12–14mm, 1 pair
- Safety nose: black, 1
- Fiberfill stuffing (small amount)
- Black embroidery thread (such as Iris) for embroidering eyebrows/nose line
- Black zipper, 15cm (a 20cm zipper trimmed to fit also works)
- Yarn needle
- Scissors
- Stitch marker
Abbreviations
- ch — Chain
- dec — Decrease
- inc — Increase
- MR — Magic Ring
- sc — Single Crochet
- sl st — Slip Stitch
- st(s) — Stitch(es)
Pattern Notes
This pattern is written in US crochet terminology. The Head, Muzzle, Ears, Tail, and Paws are worked in continuous spiral rounds — do not join or chain up unless noted. The Body begins in continuous rounds, transitions to turned rows for the color-block section, then returns to continuous rounds for the base shaping — each transition is noted in the instructions. Gauge is not critical for this project; focus on consistent tension so your stitches are tight enough to prevent stuffing from showing through. Stitch count is given at the end of each round or row in parentheses. Insert the safety nose into the Muzzle before sewing it closed, and insert the safety eyes into the Eye Patches before attaching them to the Head. Use black embroidery thread to add a vertical line beneath the nose and any facial detailing you like.
Pattern Instructions
Head (white)
- Rnd 1: 6 sc in MR. (6)
- Rnd 2: inc in each st around. (12)
- Rnd 3: sc, inc repeat around. (18)
- Rnd 4: sc 2, inc repeat around. (24)
- Rnd 5: sc 3, inc repeat around. (30)
- Rnd 6: sc 4, inc repeat around. (36)
- Rnd 7: sc 5, inc repeat around. (42)
- Rnds 8–12: sc in each st around. (42)
- Rnd 13: sc 5, dec repeat around. (36)
- Rnd 14: sc 4, dec repeat around. (30)
- Rnd 15: sc 3, dec repeat around. (24)
- Rnd 16: sc 2, dec repeat around. (18)
- Stuff firmly at this point.
- Rnd 17: sc 1, dec repeat around. (12)
- Rnd 18: dec around. (6)
Muzzle (white)
- Rnd 1: 6 sc in MR. (6)
- Rnd 2: inc in each st around. (12)
- Rnd 3: sc, inc repeat around. (18)
- Rnds 4–5: sc in each st around. (18)
- Insert the safety nose at Round 3 of the Muzzle. Stuff lightly before sewing the Muzzle to the Head, nose facing downward, then embroider a black line running down from the nose.
Eye Patches (black, make 2)
- Ch 5. Starting in the 2nd ch from hook, sc 3. Work 3 sc in the last stitch. Continuing along the opposite side of the foundation chain, work sc 2, inc, sl st.
- Insert a safety eye into each Eye Patch before sewing the patches to the Head.
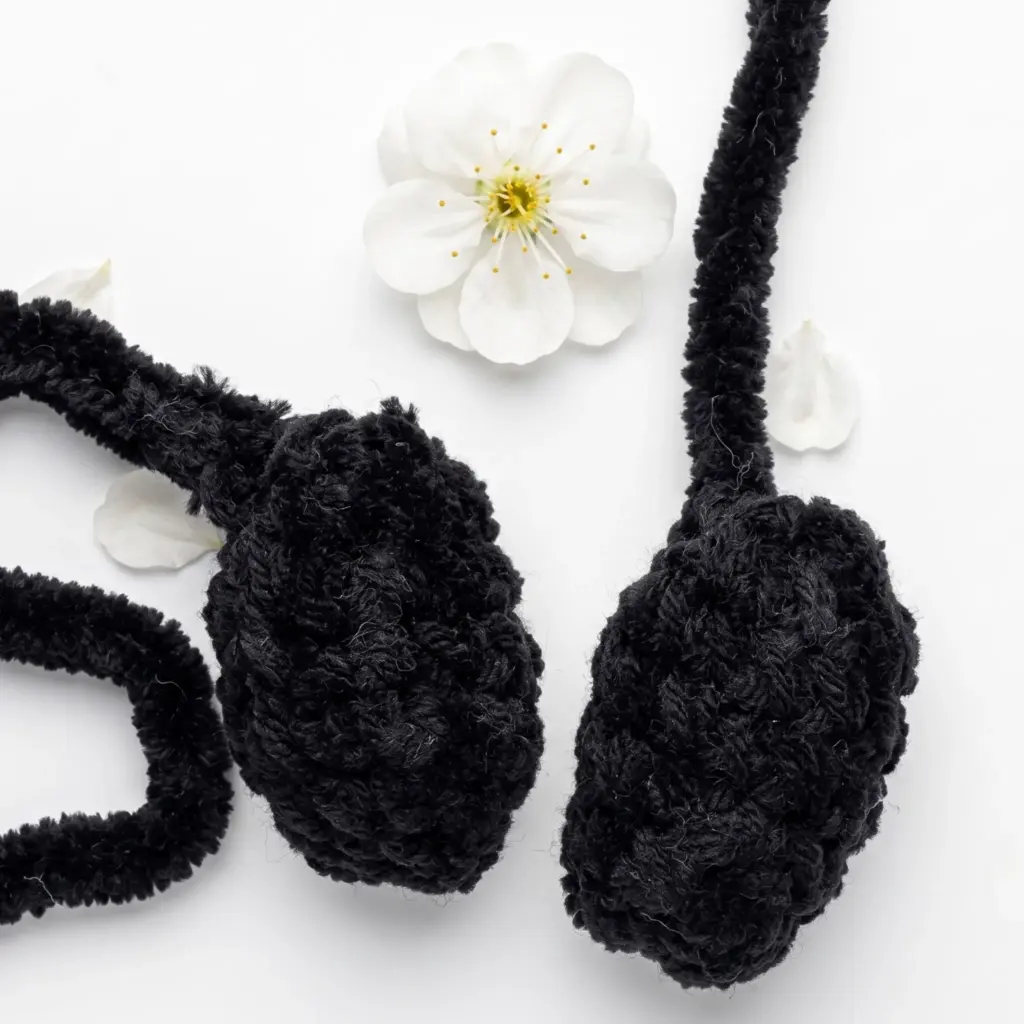
Ears (black, make 2)
- Rnd 1: 6 sc in MR. (6)
- Rnd 2: inc in each st around. (12)
- Rnd 3: sc in each st around. (12)
- Rnd 4: Fold flat and sc through both thicknesses: 5 sc. (5)
Tail (black)
- Rnd 1: 6 sc in MR. (6)
- Rnd 2: inc in each st around. (12)
- Rnd 3: sc, inc repeat around. (18)
- Rnd 4: sc in each st around. (18)
- Rnd 5: Fold flat and sc through both thicknesses: 9 sc. (9)
Paws (black, make 4)
Do not stuff these pieces.
- Rnd 1: 6 sc in MR. (6)
- Rnd 2: inc in each st around. (12)
- Rnds 3–8: sc in each st around. (12)
- Rnd 9: Fold flat and sc through both thicknesses: 6 sc. (6)
Body
Begin in black, working in continuous rounds.
- Rnd 1: 6 sc in MR. (6)
- Rnd 2: inc in each st around. (12)
- Rnd 3: sc, inc repeat around. (18)
- Rnd 4: sc 2, inc repeat around. (24)
- Rnd 5: sc 3, inc repeat around. (30)
- Rnd 6: sc 4, inc repeat around. (36)
- Rnds 7–9: sc in each st around. (36)
From this point, switch to turned rows.
- Rows 10–14: Ch 1, turn, sc 35. (35)
Change to white.
- Rows 15–24: Ch 1, turn, sc 35. (35)
Change back to black.
- Rows 25–30: Ch 1, turn, sc 35. (35)
Resume working in continuous rounds.
- Rnds 31–32: sc in each st around. (36)
- Rnd 33: sc 2, dec repeat around 9 times. (27)
- Rnd 34: sc 1, dec repeat around 9 times. (18)
- Rnd 35: dec around 9 times. (9)
Assembly
Identify the end of the Body where Round 35’s decreases closed the opening — this marks the front. Sew the Head to this point using a whipstitch, matching the center of the Head to the center of the Body. Sew the zipper into the inside opening of the Body, running along the edges of the turned-row section, so the pencil case opens and closes smoothly. Locate the point on the Body where you began crocheting (the Magic Ring center on the base) and sew the Tail there, using its starting yarn tail to anchor it. Position a Paw on each side of the Body, roughly centered along the length, and whipstitch each one in place. Weave in all remaining yarn ends, pulling each one through several stitches before trimming.
Tips
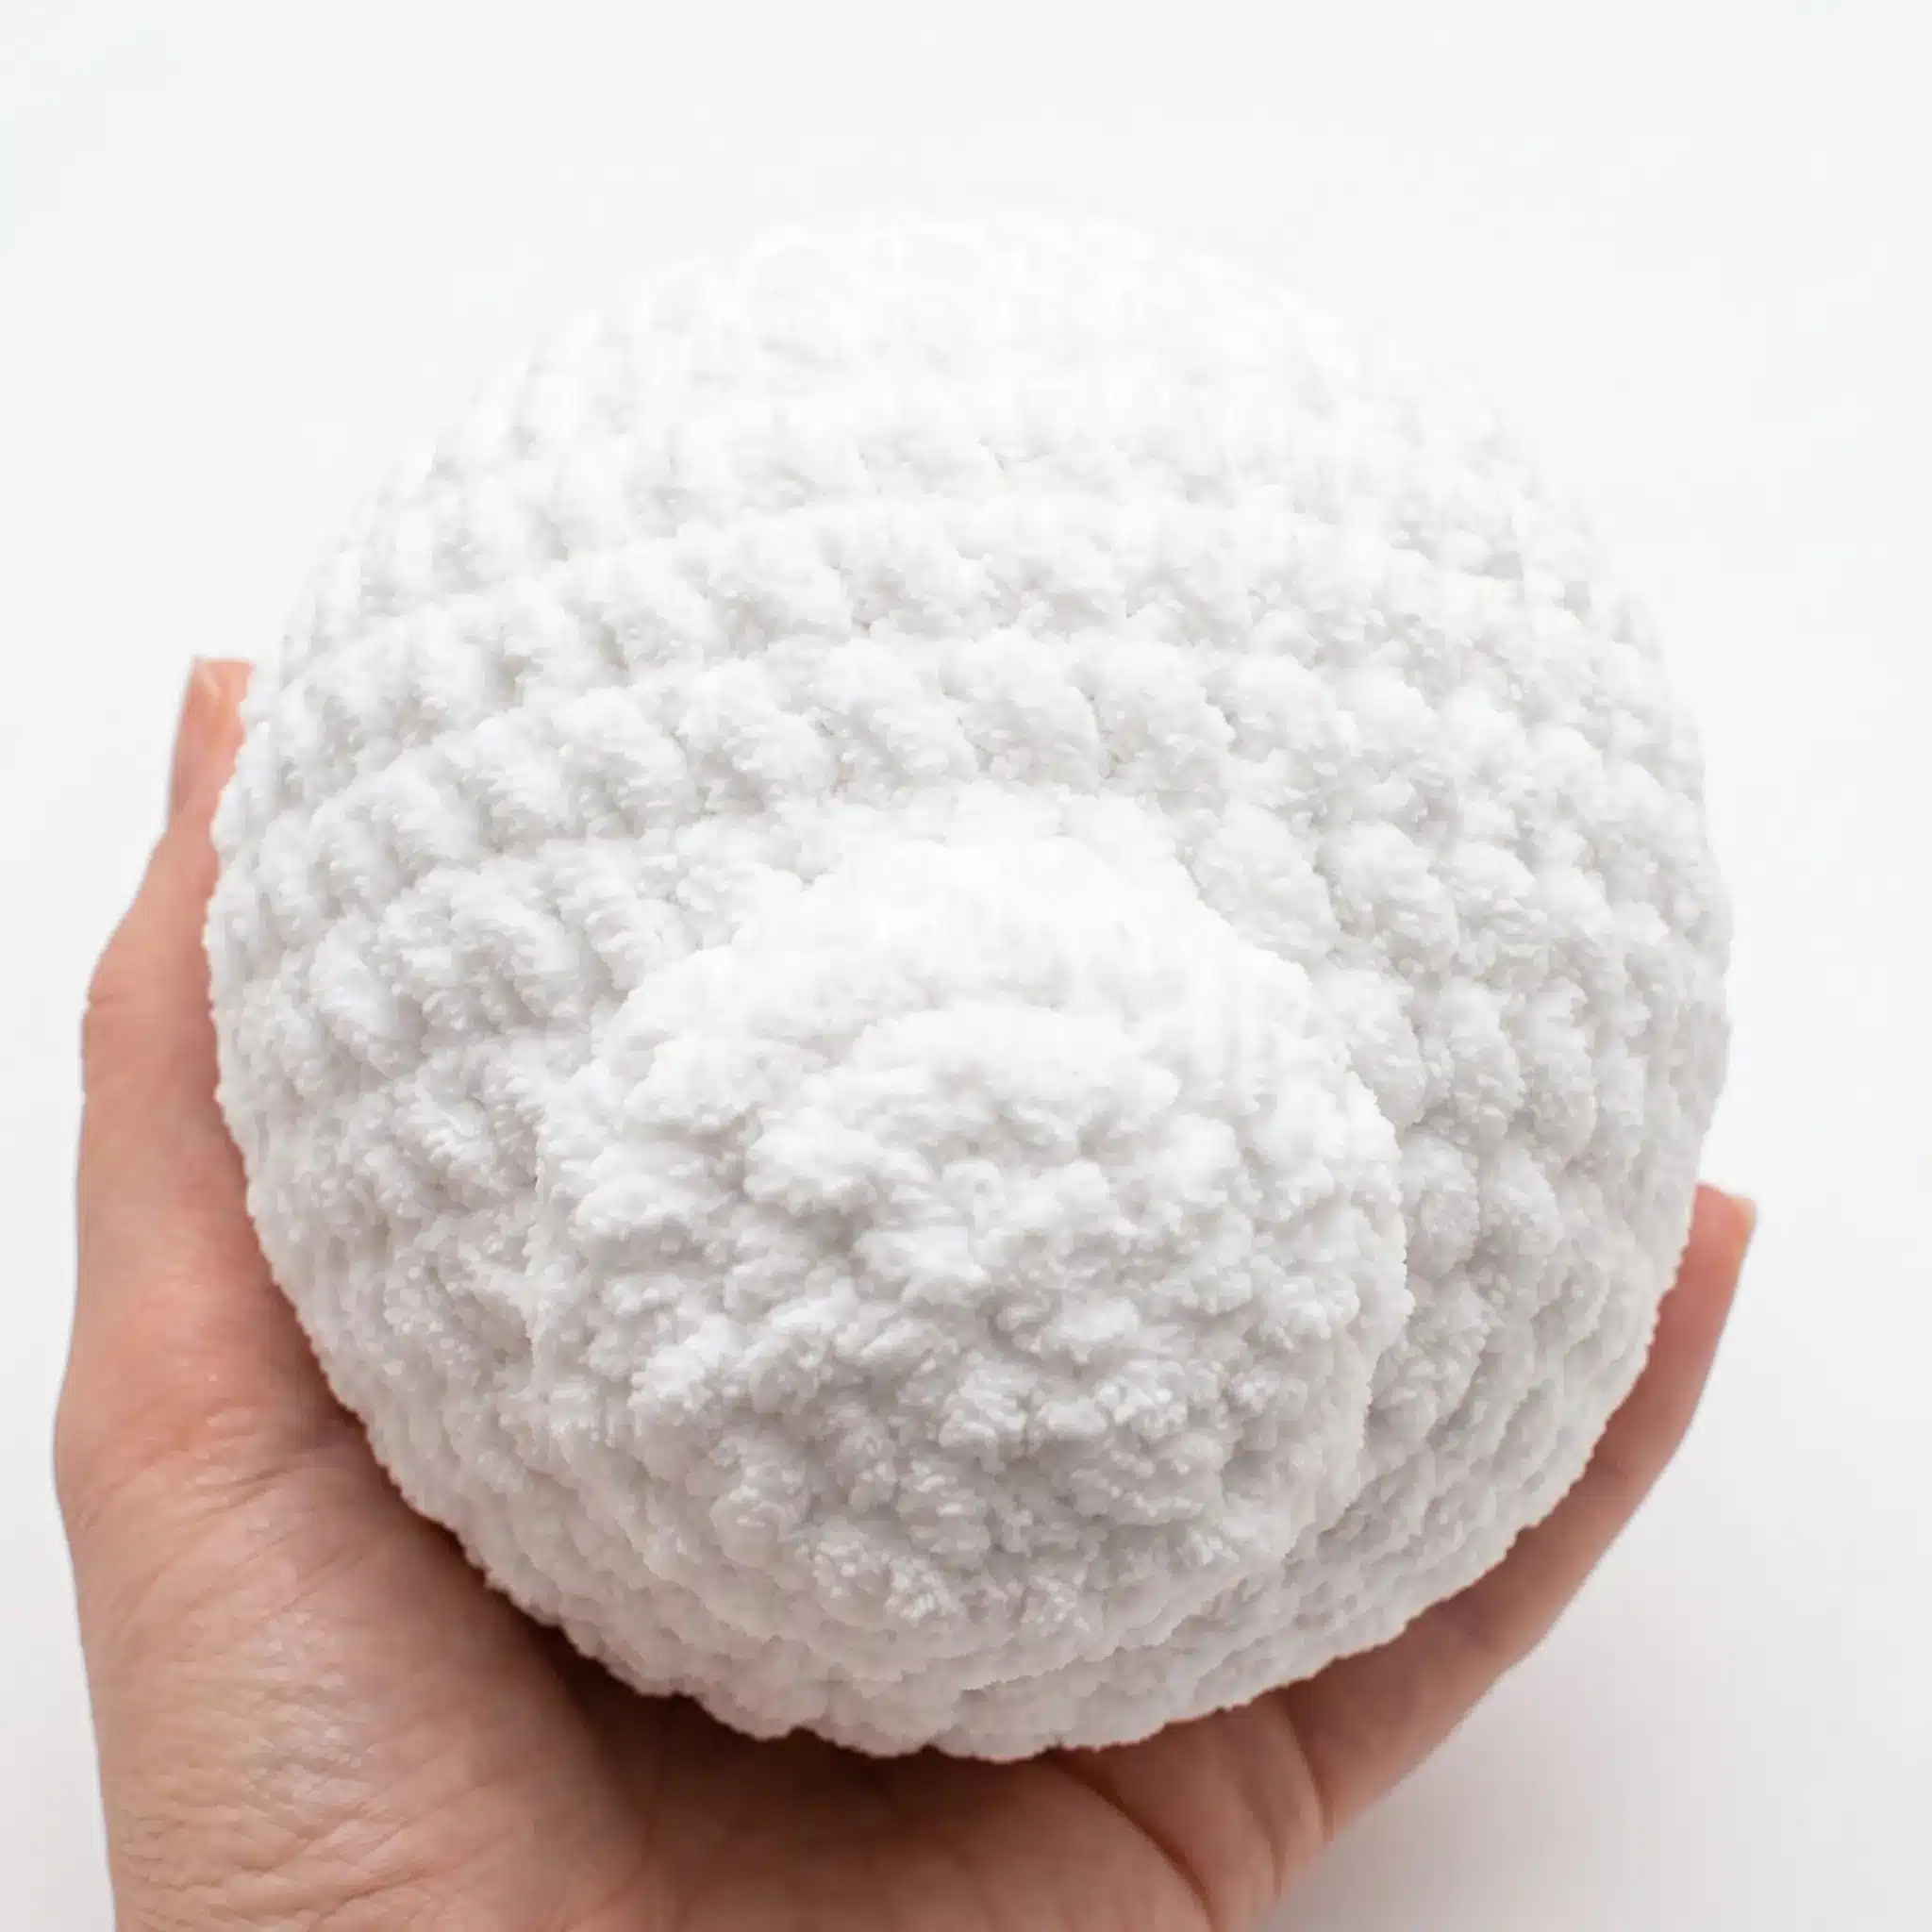
- Keep your tension snug throughout, especially on the Head and Muzzle, since a looser gauge lets stuffing peek through the plush yarn’s fuzzy texture. If your stitches feel loose, consider dropping to a smaller hook rather than fighting the yarn.
- When you reach the decrease rounds on the Head, work slowly and check your stitch count every round. Plush yarn hides individual stitches well, so it’s easy to lose track of where you are — a stitch marker at the start of each round helps you stay oriented.
- Stuff the Head firmly by Round 16, but don’t overstuff it — you want a rounded shape that holds up without straining the seams. The Muzzle only needs a light fill, just enough to give it a gentle dome.
- If you substitute a different yarn, stick with a bulky-weight plush or chenille style for the best results. Thinner yarns will change your gauge significantly and may require you to adjust the safety eye and nose sizing.
- The transition between continuous rounds and turned rows on the Body is the trickiest part of this pattern. Take your time at Row 10, marking clearly where the turned rows begin, and remember to chain 1 and turn at the start of every row in that section — skipping this will throw off your row count and make the zipper opening lopsided.
Frequently Asked Questions
What yarn weight works best for this panda pencil case?
A bulky-weight plush or chenille yarn, like Himalaya Dolphin, gives this pencil case its soft, huggable texture. Using a thinner yarn will change the finished size and may require a smaller hook and different stitch counts. Stick with plush yarn for the fluffiest, most amigurumi-style result.
Why does the body switch between rounds and rows?
The continuous rounds shape the rounded base of the pouch, while the turned rows create the flat, color-blocked panel where the zipper attaches. This combination lets the piece hold its 3D shape while still opening and closing like a functional pencil case. Following each transition carefully keeps your stitch counts accurate.
Do I need to stuff every part of the panda?
No, the Paws are left unstuffed so they lie flat against the sides of the body. The Head and Muzzle should be stuffed firmly for a rounded shape, while the Body itself stays open to function as a pouch. Only the Head and Muzzle need fiberfill.
How do I attach the zipper neatly?
Sew the zipper into the inside opening of the Body, running along the edges of the turned-row section. Use a whipstitch with matching thread or yarn, and take your time to keep the stitches even. A 15cm zipper works perfectly, but you can trim a longer zipper to fit.
Can I adjust the size of this pencil case?
Yes, but it will require recalculating stitch counts. If you use a different yarn weight or hook size, the finished dimensions will change. For best results, stick with the recommended materials and gauge-free approach, focusing on consistent tension instead.
What if my stitches look loose with plush yarn?
Plush yarn can be tricky because the fibers hide individual stitches. If your tension feels loose, try switching to a 3.0 mm hook instead of the recommended 3.5 mm. This will tighten up your stitches without changing the overall look of the project.
Pin This Crochet Pattern!