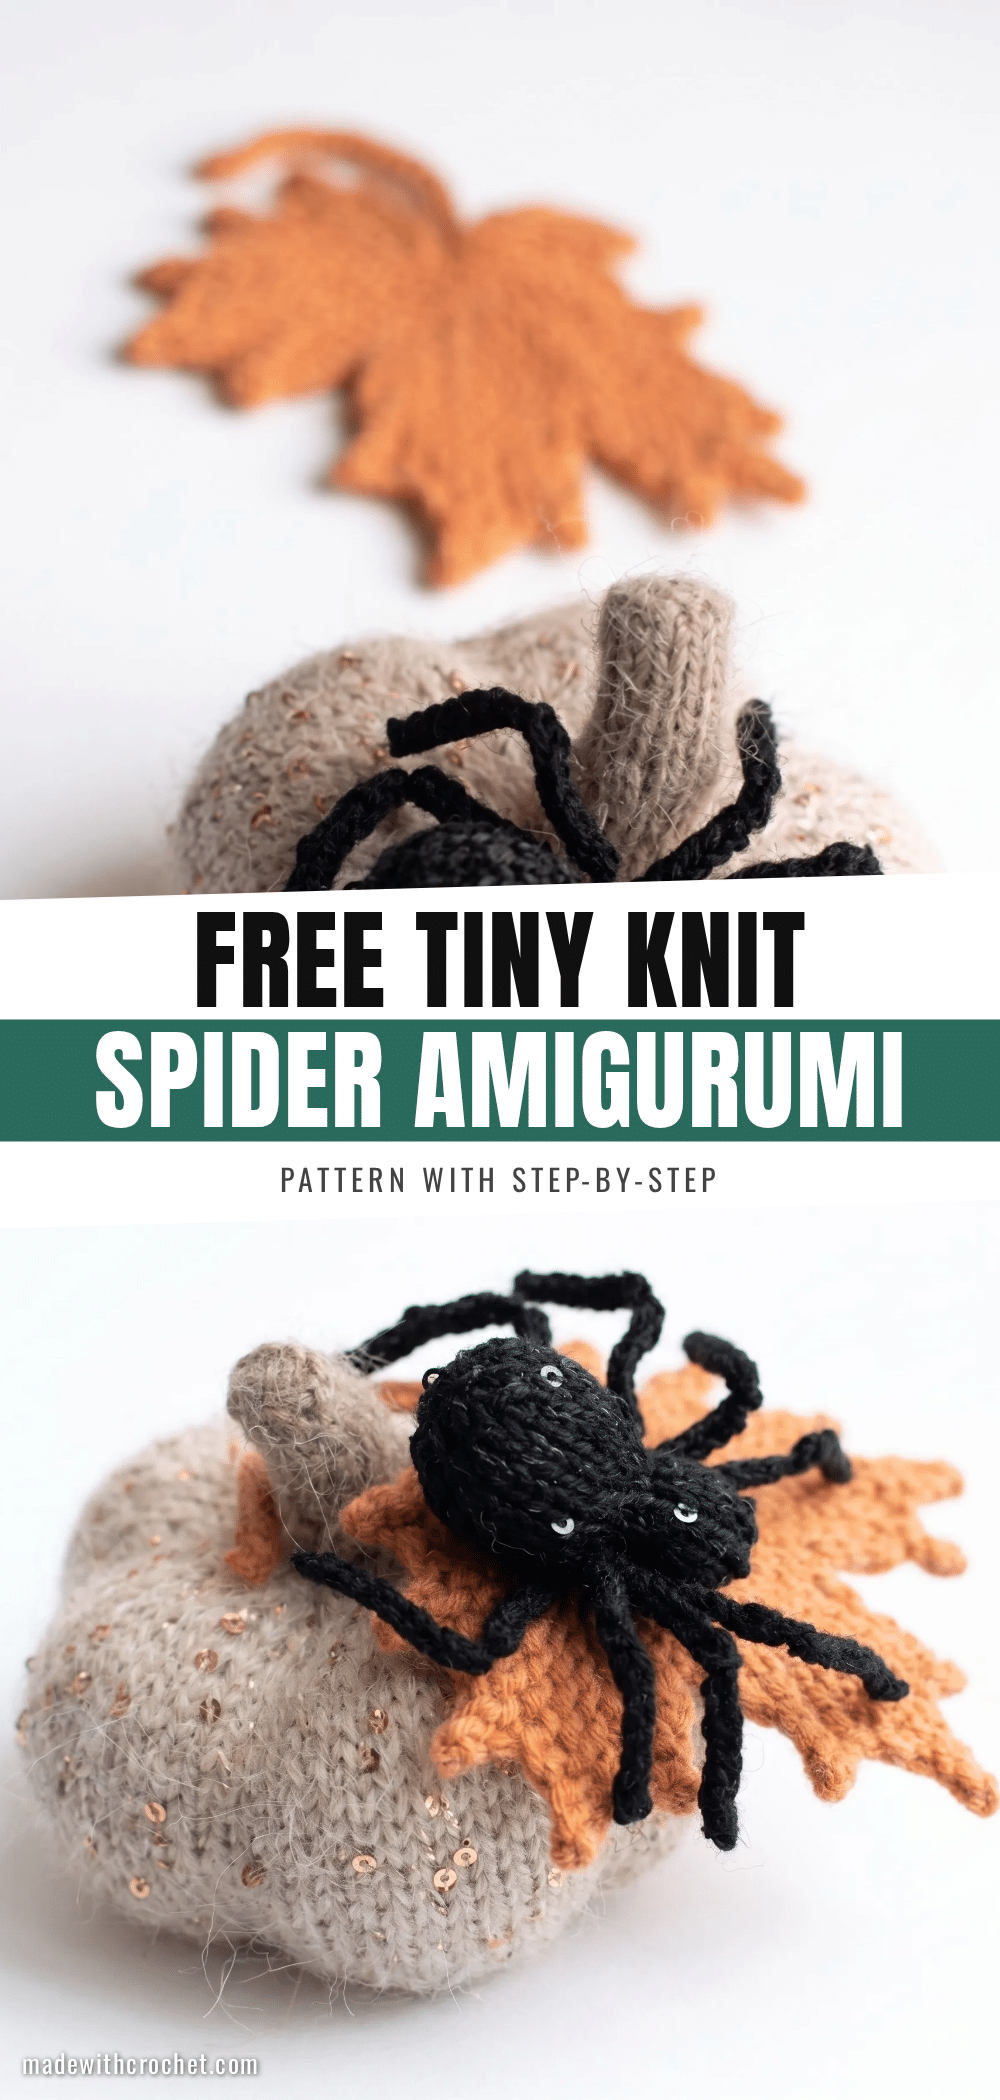
As the air turns crisp and the leaves begin to fall, there’s no better time to craft a tiny companion for the season. This adorable tiny knit spider amigurumi pattern is perfect for adding a touch of whimsy to your Halloween decor, creating unique handmade gifts, or simply enjoying a quick, satisfying knitting project. Its small size and charming character make it an ideal addition to a curiosity shelf or a festive ornament.
Seasonal Styling Ideas
While this little spider is a natural fit for Halloween, its appeal extends far beyond one holiday. Knit it in a soft grey or warm brown for a more natural, year-round look. The subtle shimmer from the sequined yarn makes it a lovely, unexpected gift for arachnid enthusiasts or a quirky addition to a nature-themed nursery mobile. You could even create a small family of spiders in different sizes by varying your yarn weight, making them perfect for a handmade garland or as charming package toppers for fall gifts.
Project Overview
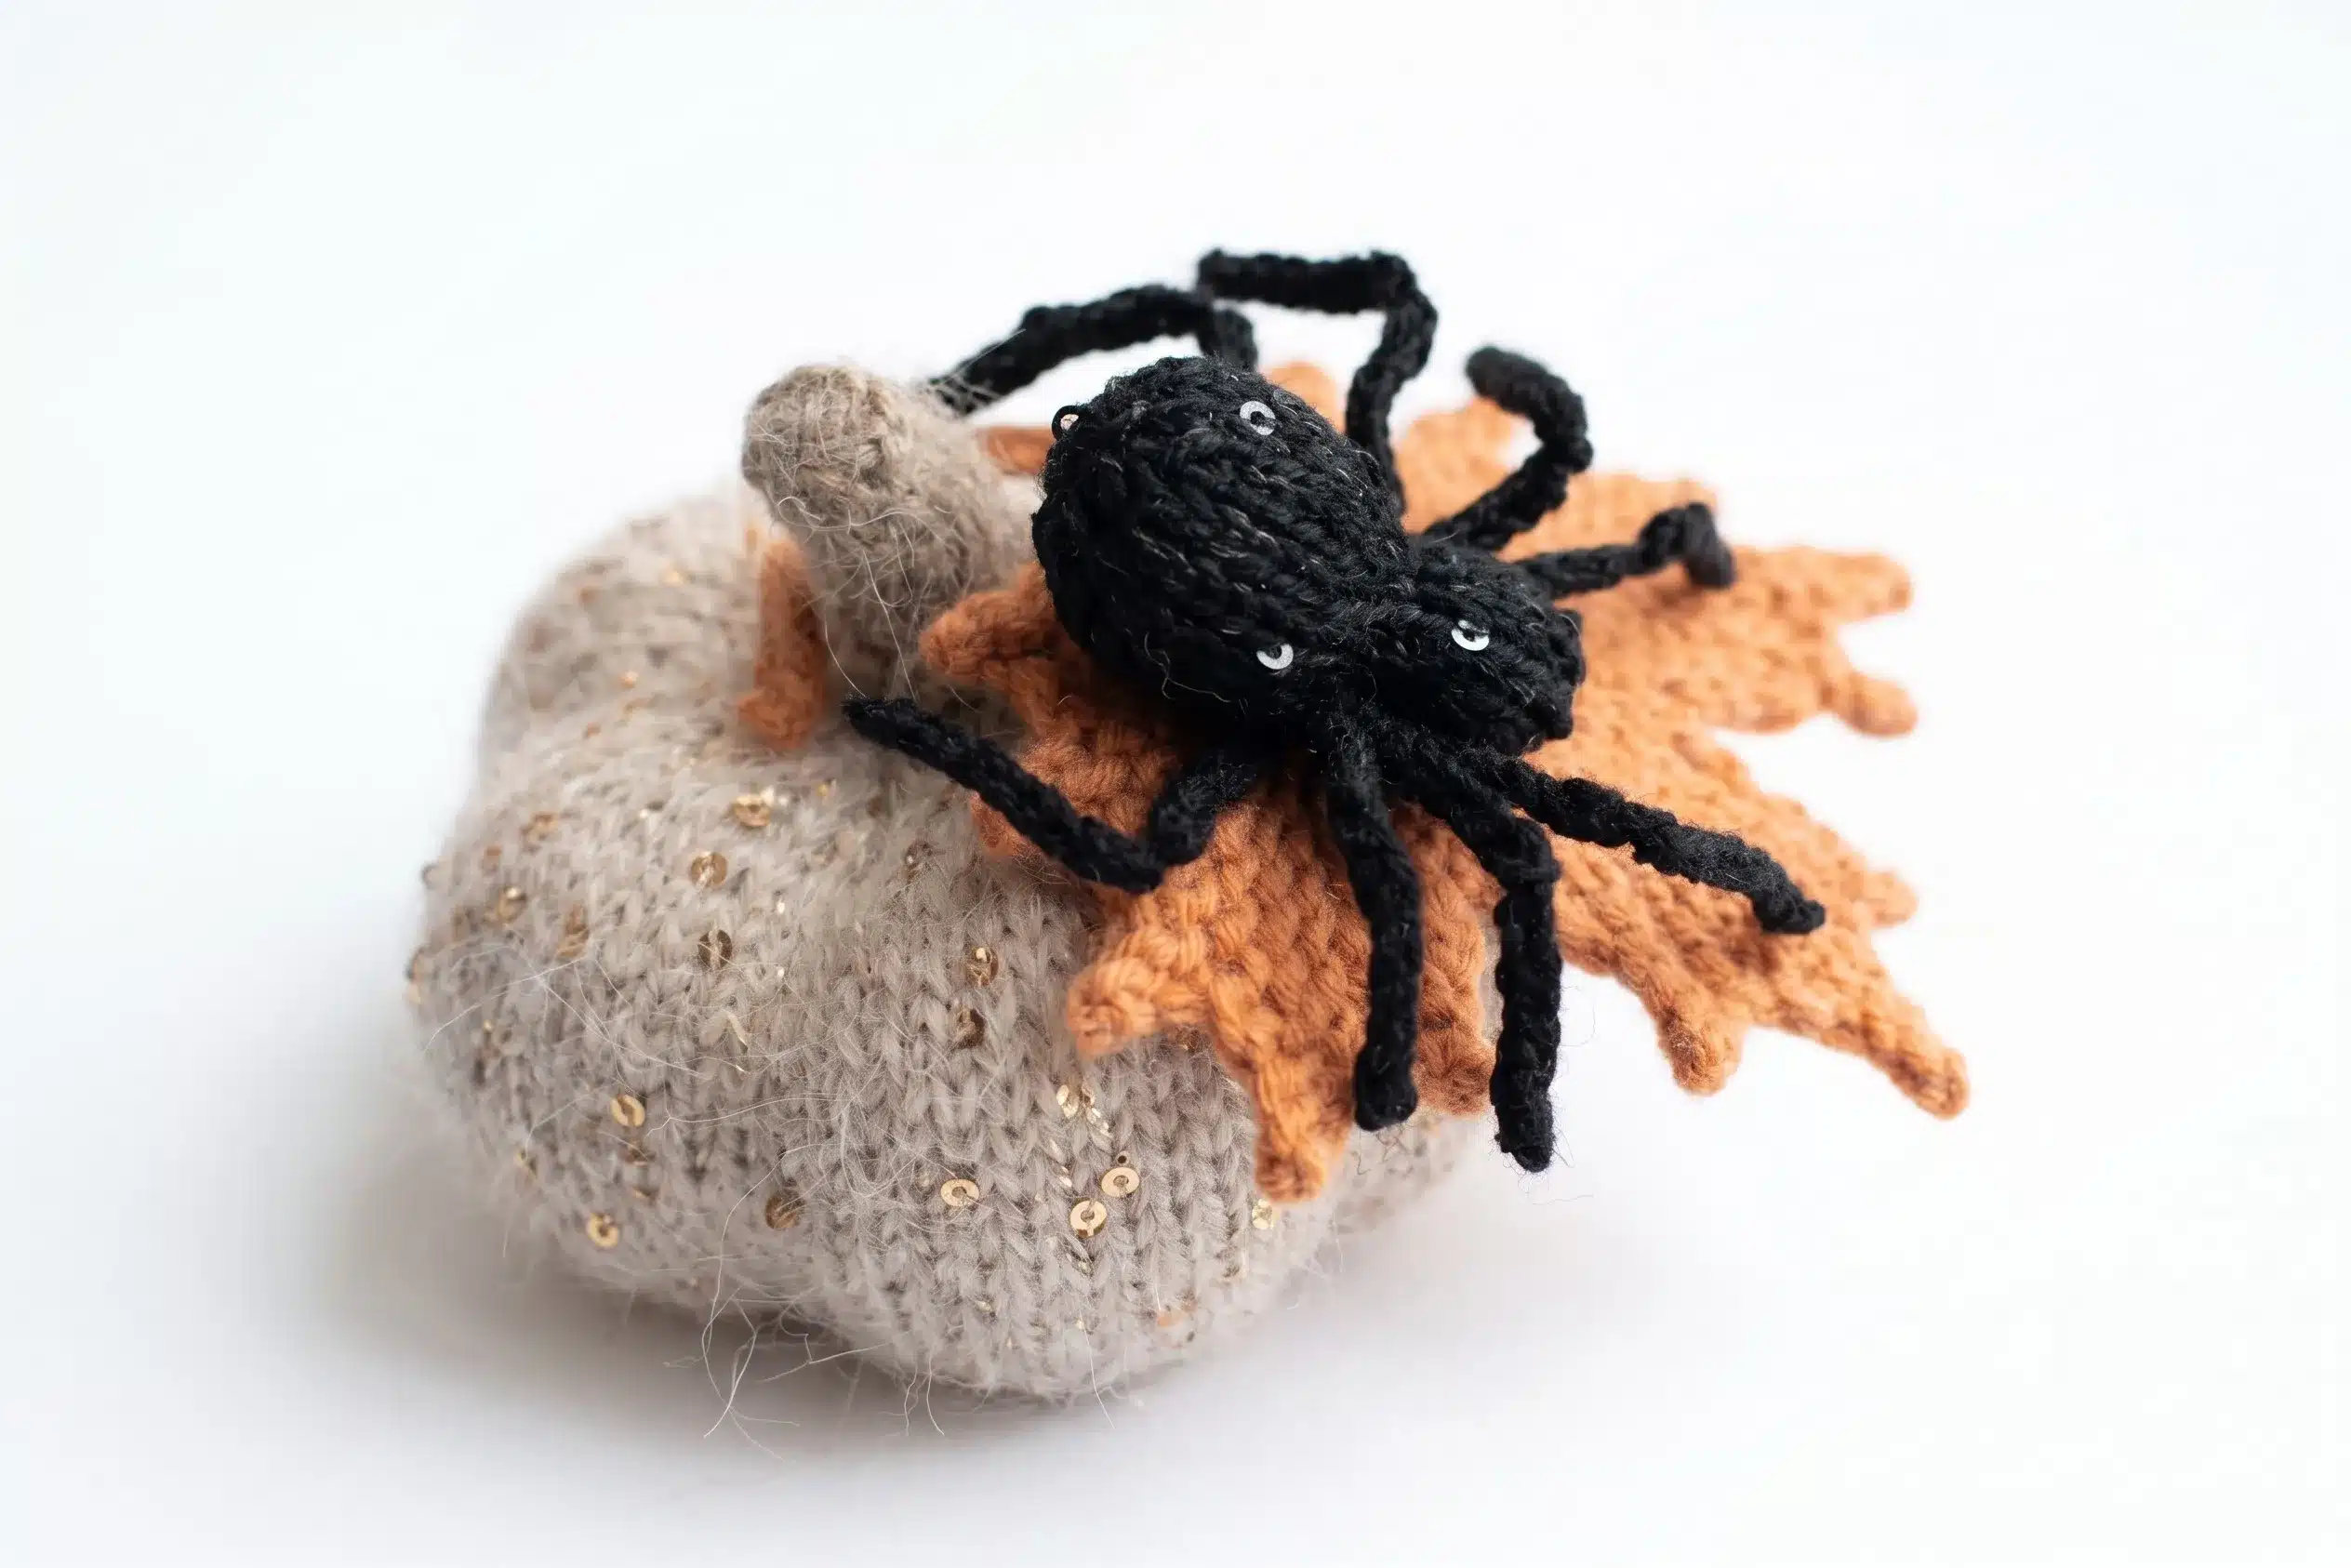
This tiny knit spider amigurumi is a quick, satisfying project for anyone comfortable with double-pointed needles and basic increases and decreases. It works up in two simple pieces — a two-part body and four i-cord legs — making it perfect for a Halloween ornament, a quirky stocking stuffer, or a whimsical addition to a curiosity shelf. The shaping is beginner-friendly, though the small scale rewards a bit of knitting experience.
Materials Needed
- Yarn: Fingering weight yarn, black 100% wool (approximately 150 m / 50 g), plus a small amount of black sequined yarn held together with the wool for the sparkle effect
- Needles: Double-pointed needles (DPNs), US size 0–1 (2–2.5 mm), set of 4–5
- Fiberfill stuffing
- Removable stitch marker
- Tapestry needle (large eye, for seaming and closing stitches)
- Scissors
Abbreviations Used
- BOR — Beginning of Round
- Dec-L — Left-Leaning Decrease (ssk, or k2tog through back loops)
- Dec-R — Right-Leaning Decrease (k2tog through front loops)
- Inc-L — Left-Leaning Raised Increase
- Inc-R — Right-Leaning Raised Increase
- K — Knit
- KFB — Knit Front and Back (increase 1 stitch)
- P — Purl
- st(s) — Stitch(es)
Pattern Notes
This pattern is written in US knitting terminology, worked on double-pointed needles. The body is worked in continuous spiral rounds from the tail end toward the head. The legs are worked flat as 2-stitch i-cord, not in the round. Gauge is not critical for this project — finished size depends on your yarn and needle choice, but expect roughly 2.4 in (6 cm) in length using fingering weight wool on US 0–1 needles. Stitch count is given at the end of each round or row in parentheses: (##). Knit tightly and evenly to keep the small stitches close together and avoid visible gaps once stuffed. Stuff firmly but gradually — add small amounts as you go rather than packing everything in at the very end.
Pattern Instructions
Body (worked in one piece, tail to head)
Cast on 6 stitches using your preferred method (a Turkish or figure-8 cast-on works well for small circular pieces; a crochet chain provisional cast-on is a fine substitute). Distribute stitches across your DPNs and place a marker for the beginning of the round.
- Rnd 1: K all sts. (6)
- Rnd 2: Inc-R in every st around. (12)
- Rnd 3: K all sts. (12)
- Rnd 4: *Inc-R, K1; repeat from * around. (18)
- Rnds 5–10: K all sts. (18)
- Rnd 11: *Dec-R, K1; repeat from * around. (12)
- Rnd 12: Dec-R in every pair around. (6)
- Rnd 13: K all sts. (6)
Stuff the body firmly before continuing to the head.
- Rnd 14: K all sts. (6)
- Rnd 15: Inc-R in every st around. (12)
- Rnds 16–18: K all sts. (12)
- Rnd 19: Dec-R in every pair around. (6)
Stuff the head firmly. Cut yarn, thread through remaining stitches with a tapestry needle, and pull tight to close. Weave in the end.
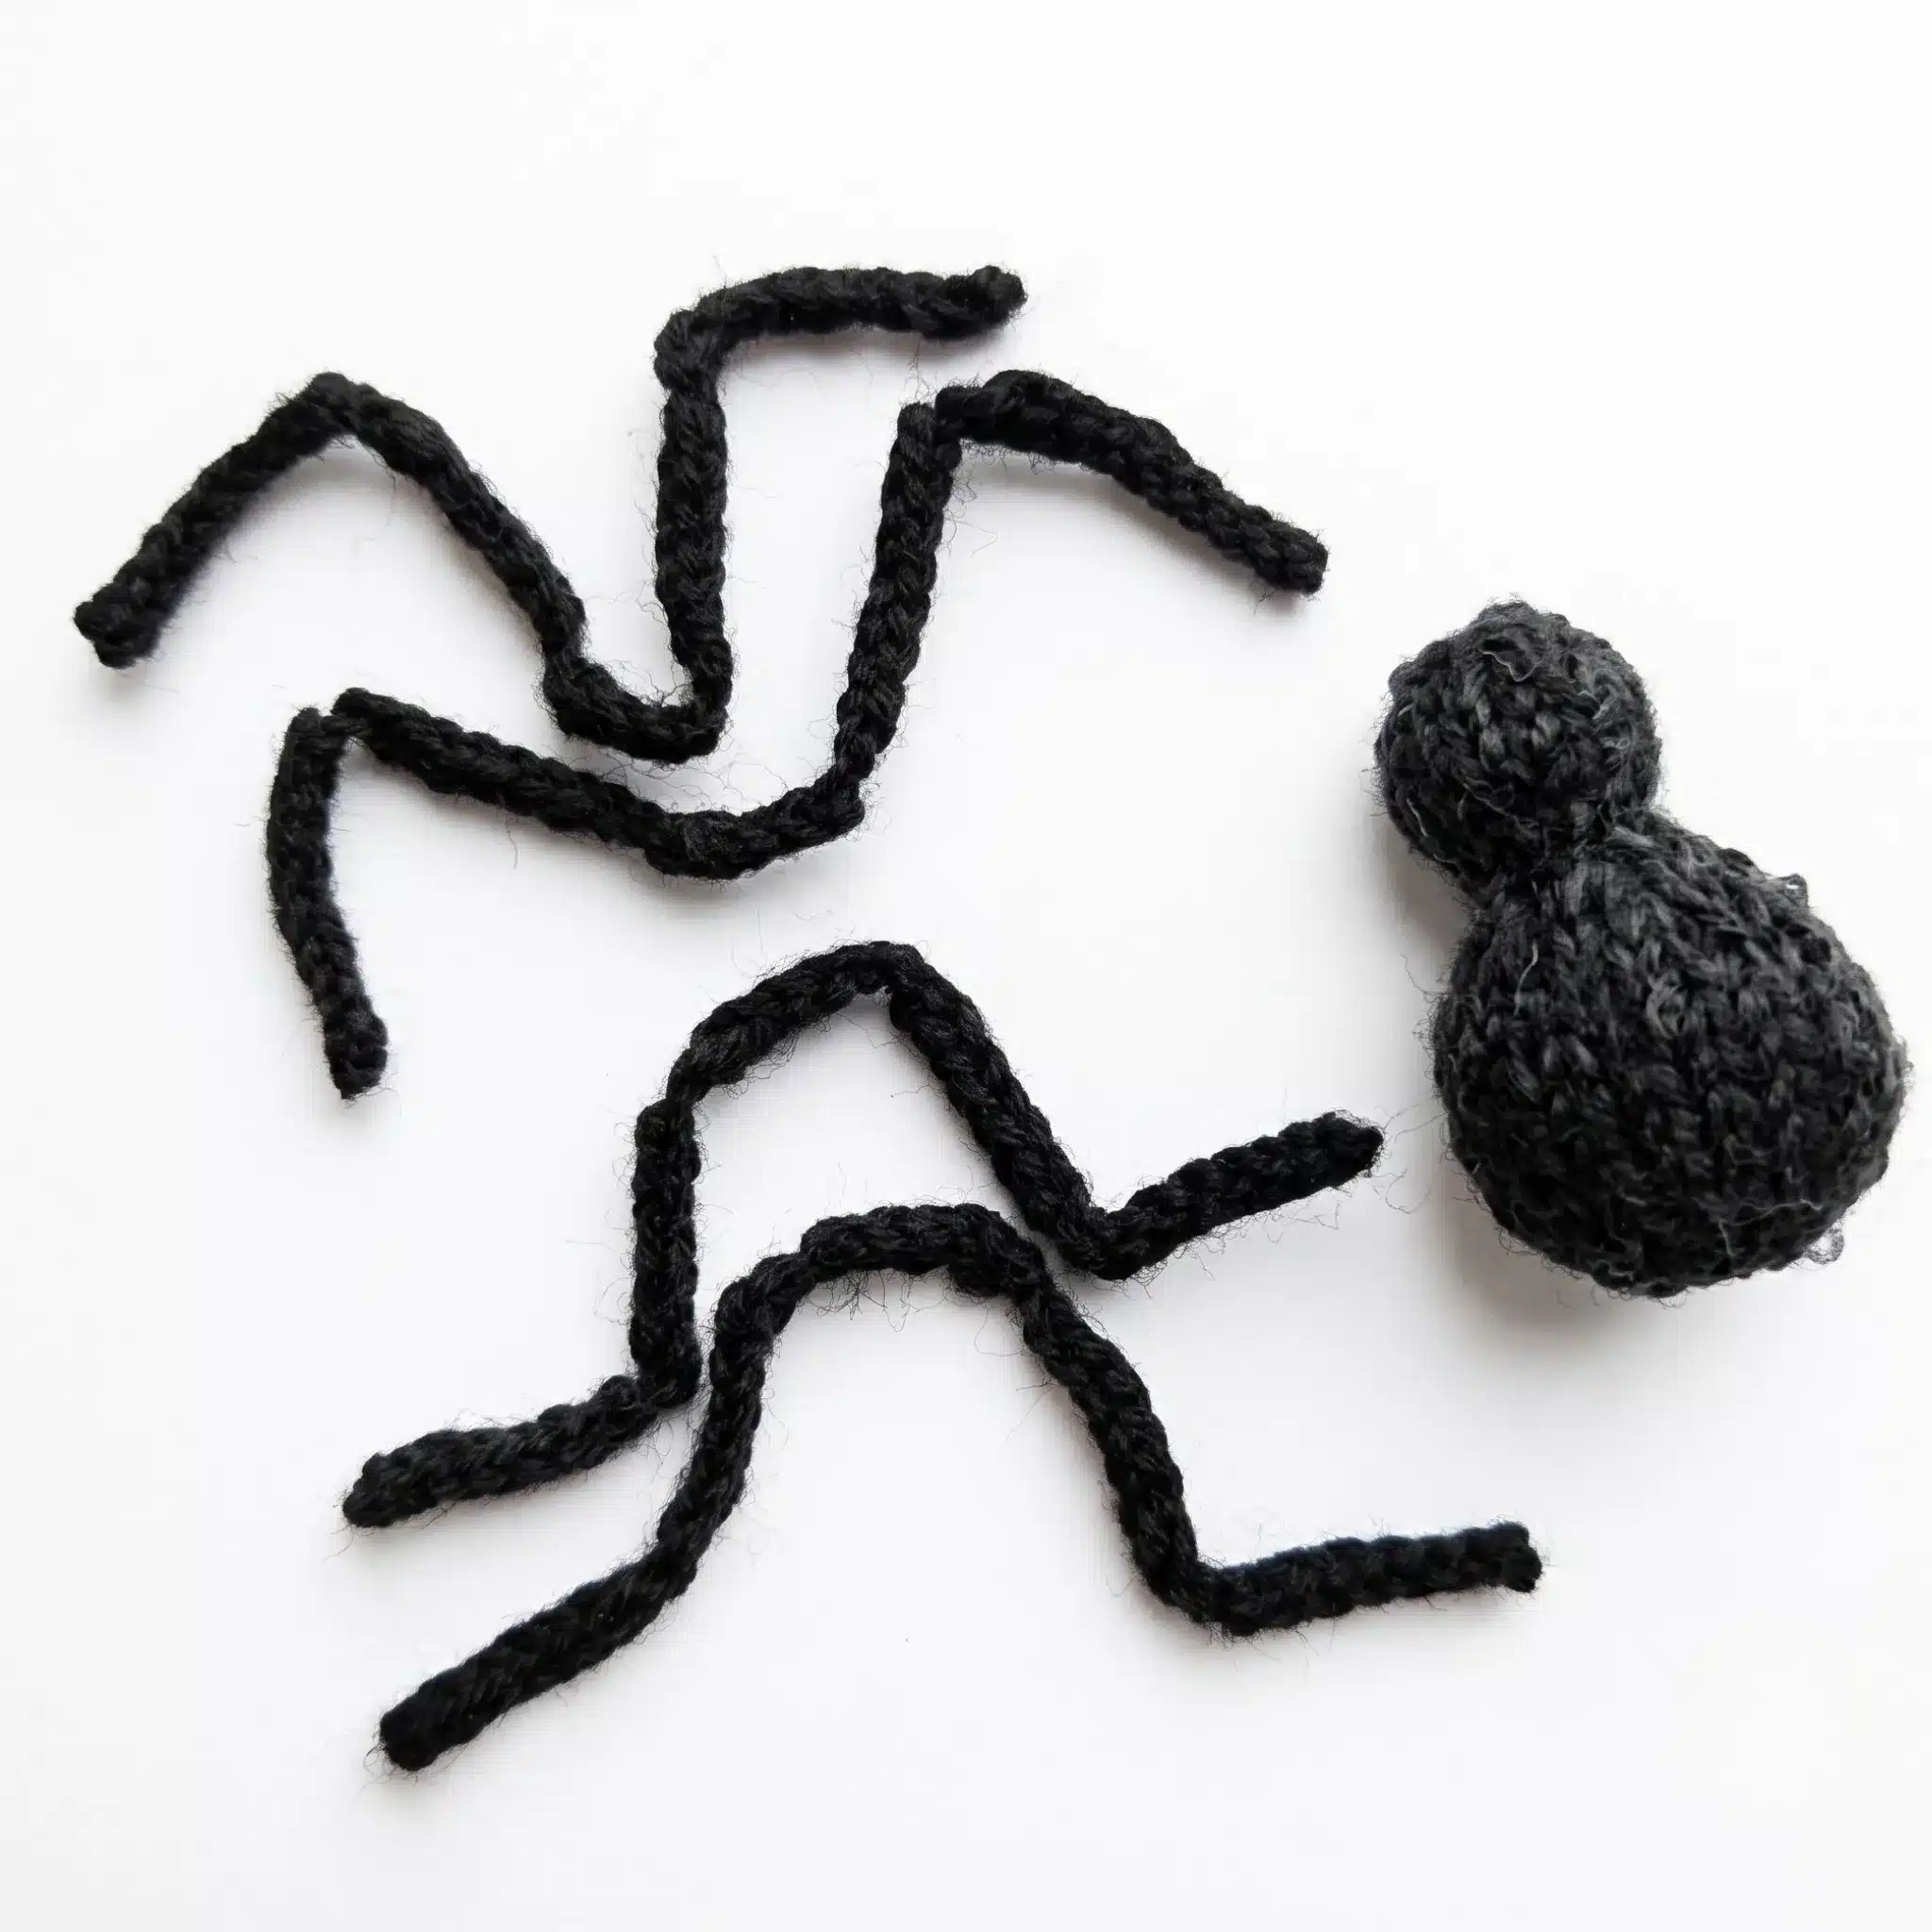
Legs (make 4 — 2 long, 2 short)
Cast on 2 stitches using a standard cast-on. Work as 2-stitch i-cord: knit both stitches, then — without turning — slide the stitches to the opposite end of the double-pointed needle so the working yarn sits on the left. Knit both stitches again and repeat to form a narrow tube.
- Rows 1–9: K all sts. (2)
- Row 10: Dec-R. (1)
- Row 11: KFB. (2)
- Rows 12–17: K all sts. (2)
- Row 18: Dec-R. (1)
- Row 19: KFB. (2)
- Rows 20–23: K all sts. (2) — this middle section is the part that gets sewn to the body or underside of the head.
- Row 24: Dec-R. (1)
- Row 25: KFB. (2)
- Rows 26–31: K all sts. (2)
- Row 32: Dec-R. (1)
- Row 33: KFB. (2)
- Rows 34–42: K all sts. (2)
Cut yarn, thread through the last stitch, and pull to fasten off. Weave in both ends.
For the 2 shorter (middle) legs, work only 7 rows instead of 9 for both the opening section (Rows 1–7) and the closing section (in place of Rows 34–42).
Assembly
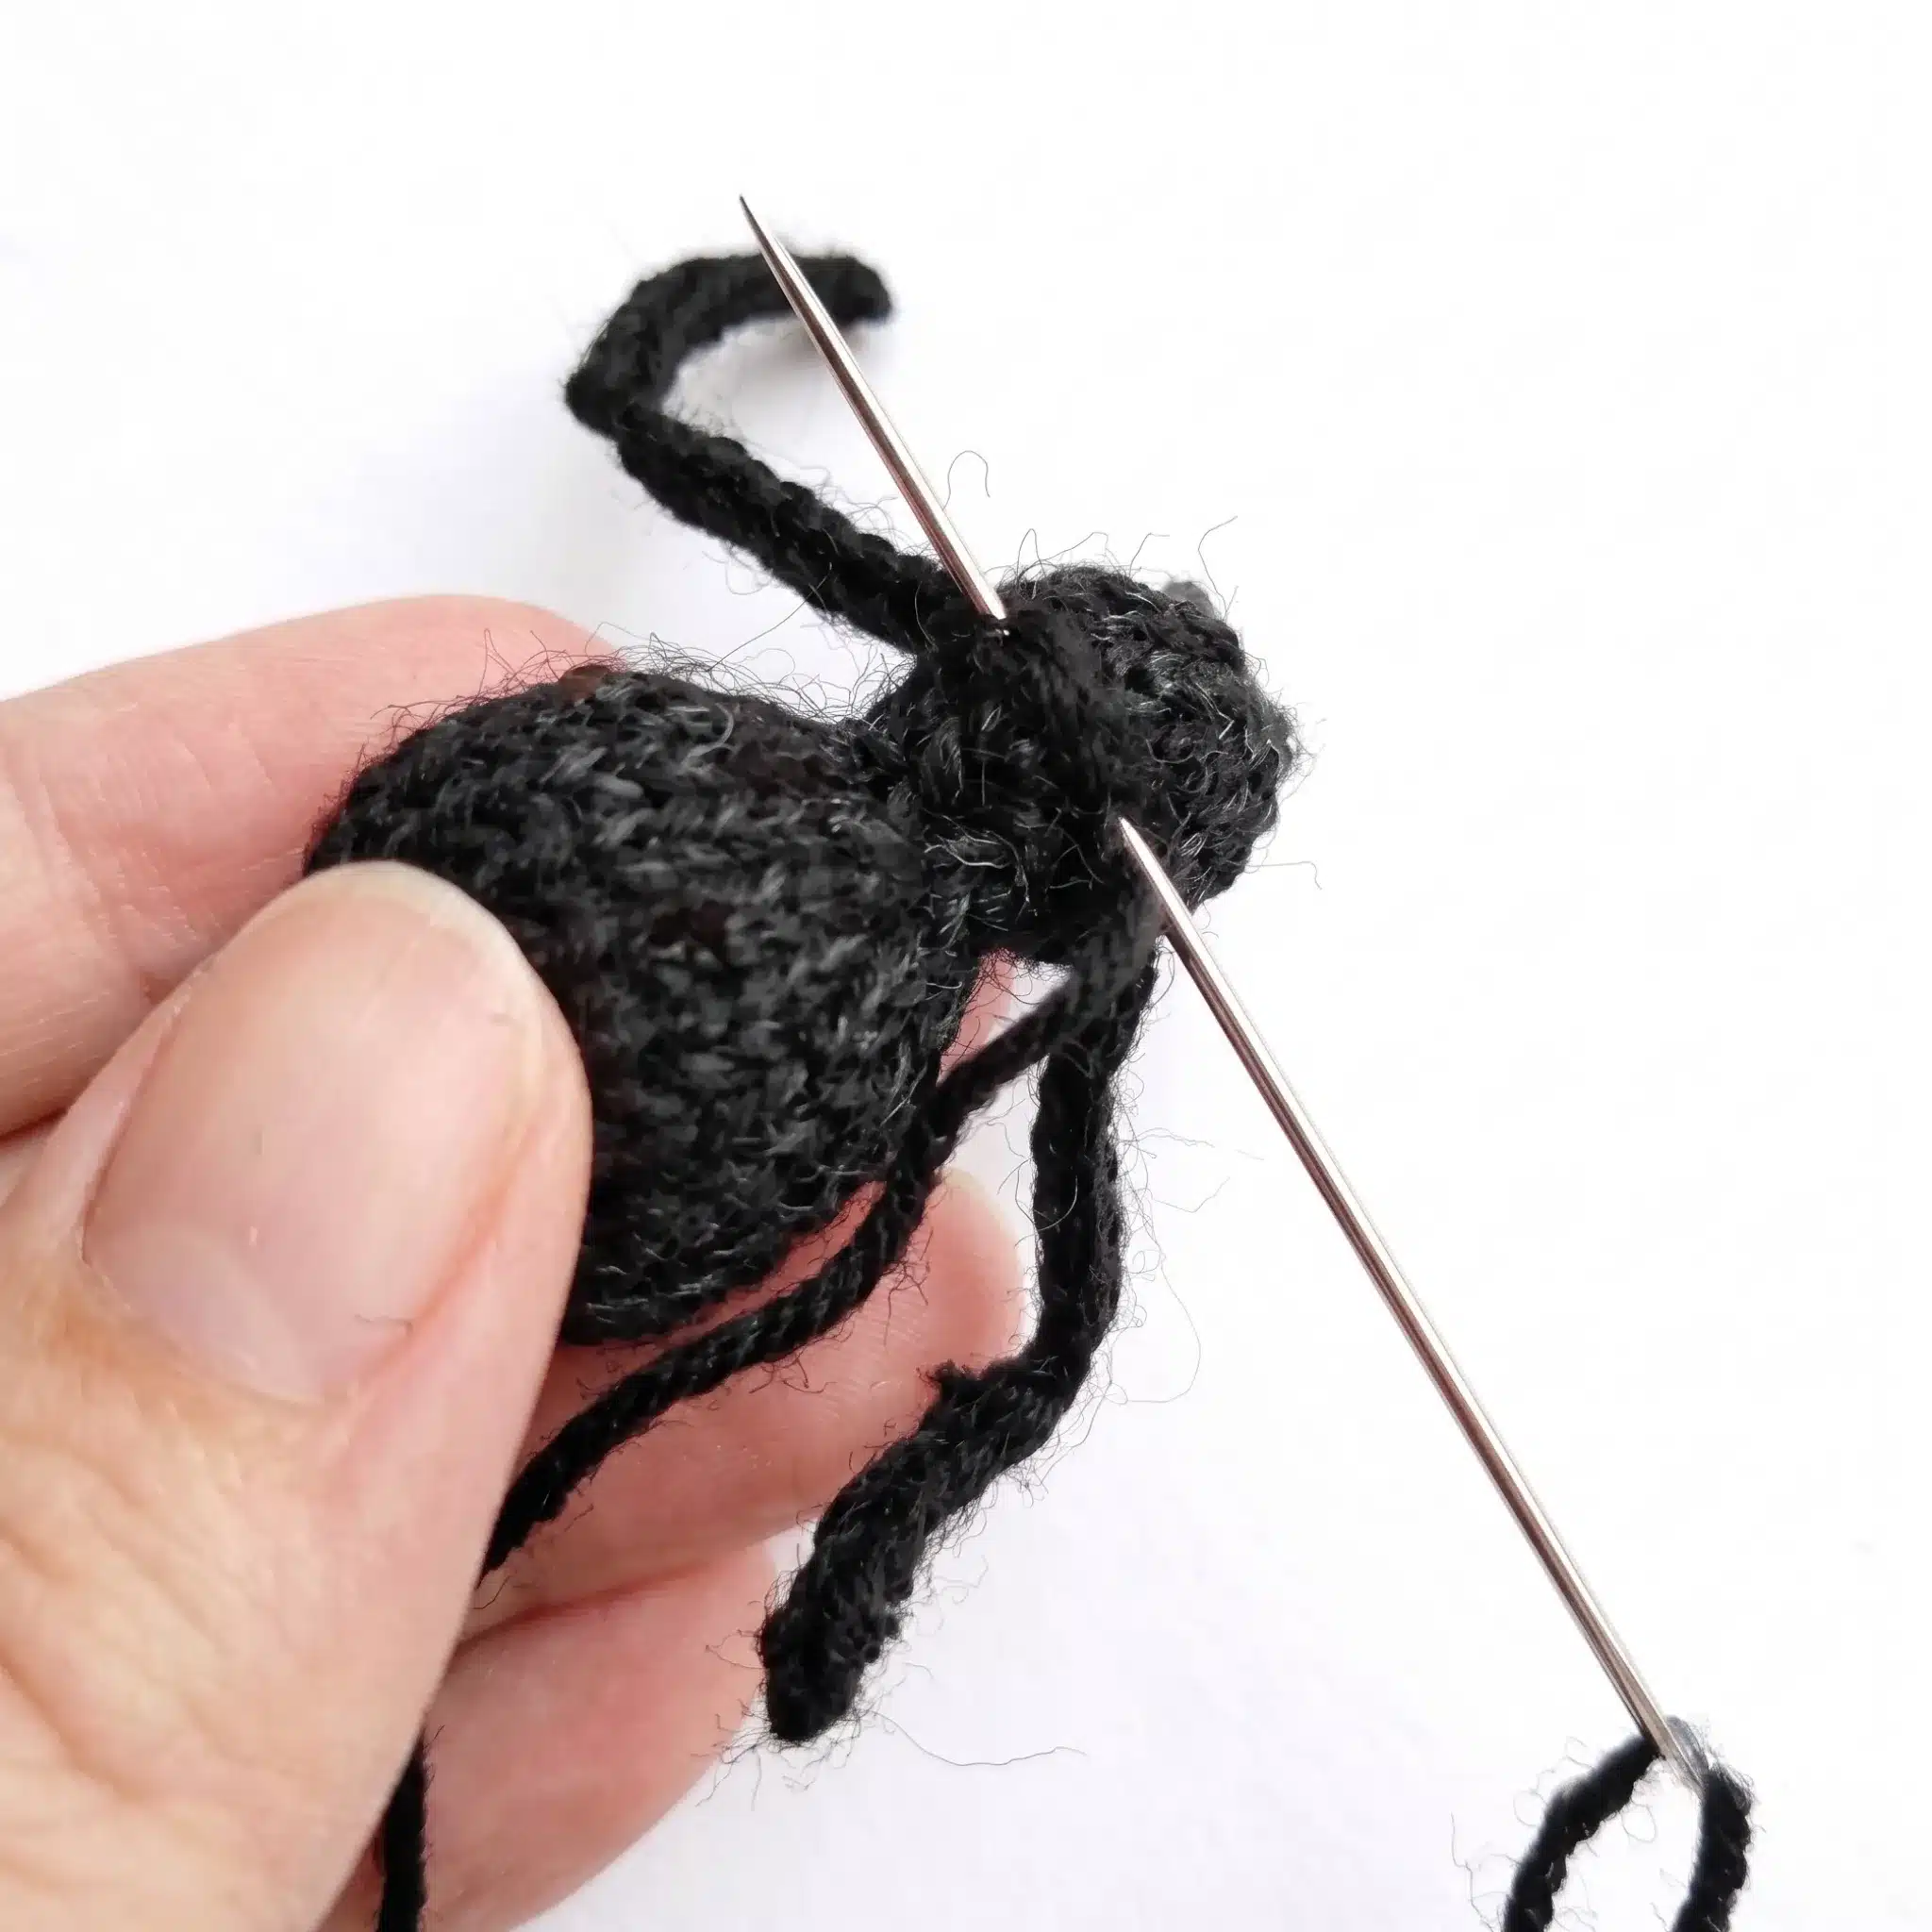
Lay out your 4 finished legs: 2 long and 2 short. Using the yarn tails, sew each leg to the underside of the body by its flat middle section (the segment worked between the second and third shaping sequences). Attach the first long leg near the base of the head. Attach both shorter legs next to it, spaced evenly along the underside. Attach the second long leg near the start of the body, so the four legs sit in a balanced row. Position each leg so its “knee” bend points upward, giving the spider a natural, crouched stance. Weave in any remaining yarn tails through the body to hide them completely. Steam or wet block the finished spider, then gently reshape the legs into your preferred pose as the piece dries.
Tips & Tricks
- Keep your tension tight. At this small scale, loose stitches show as gaps once the piece is stuffed. Knitting slightly tighter than your usual gauge keeps the fabric dense enough to hold fiberfill without peeking through.
- Stuff in stages, not all at once. Add a small pinch of fiberfill, check the shape, then add more. This gives you a rounder, more even body and head instead of lumps or a sagging middle.
- Watch your raised increases and decreases. Inc-R, Inc-L, Dec-R, and Dec-L all lean in specific directions. Working them consistently — always picking up or knitting into the same leg of the stitch — keeps the spider’s shaping smooth and symmetrical instead of twisted.
- Substitute yarn thoughtfully. A fingering weight wool gives you the roughly 2.4-inch finished size described here. Moving to a sport or DK weight will produce a noticeably larger spider and may require a needle size up; a laceweight will shrink it further and demand very tight, careful knitting.
- Take your time on the i-cord legs. Sliding stitches across the needle without turning is the trickiest habit to build if you’re new to i-cord. Go slowly for the first few rows of each leg — once the rhythm clicks, the rest goes quickly.
Frequently Asked Questions
Can I crochet this spider pattern instead of knitting it?
This particular pattern is written for knitting needles and relies on knit, purl, and i-cord techniques rather than crochet stitches. It could be adapted to crochet amigurumi techniques, but the stitch counts and shaping instructions here are specific to knitting.
What size double-pointed needles do I need for this project?
US size 0 to 1 double-pointed needles, or 2 to 2.5 mm, work well with fingering weight wool for this pattern. A set of 4 to 5 needles gives you enough working needles for both the small-circumference body and the 2-stitch i-cord legs.
Why does the pattern use sequined yarn along with the wool?
The sequined yarn is held together with the black wool to give the finished spider a subtle shimmer without changing its texture or size. You can omit it entirely and use wool alone for a matte, more classic look.
How do I keep the i-cord legs from twisting while I work them?
After knitting both stitches on a row, slide them to the opposite end of the double-pointed needle without turning your work, then knit again with the yarn pulled snugly from the back. Keeping consistent tension on that first stitch each row prevents the tube from spiraling unevenly.
Pin This Crochet Pattern!