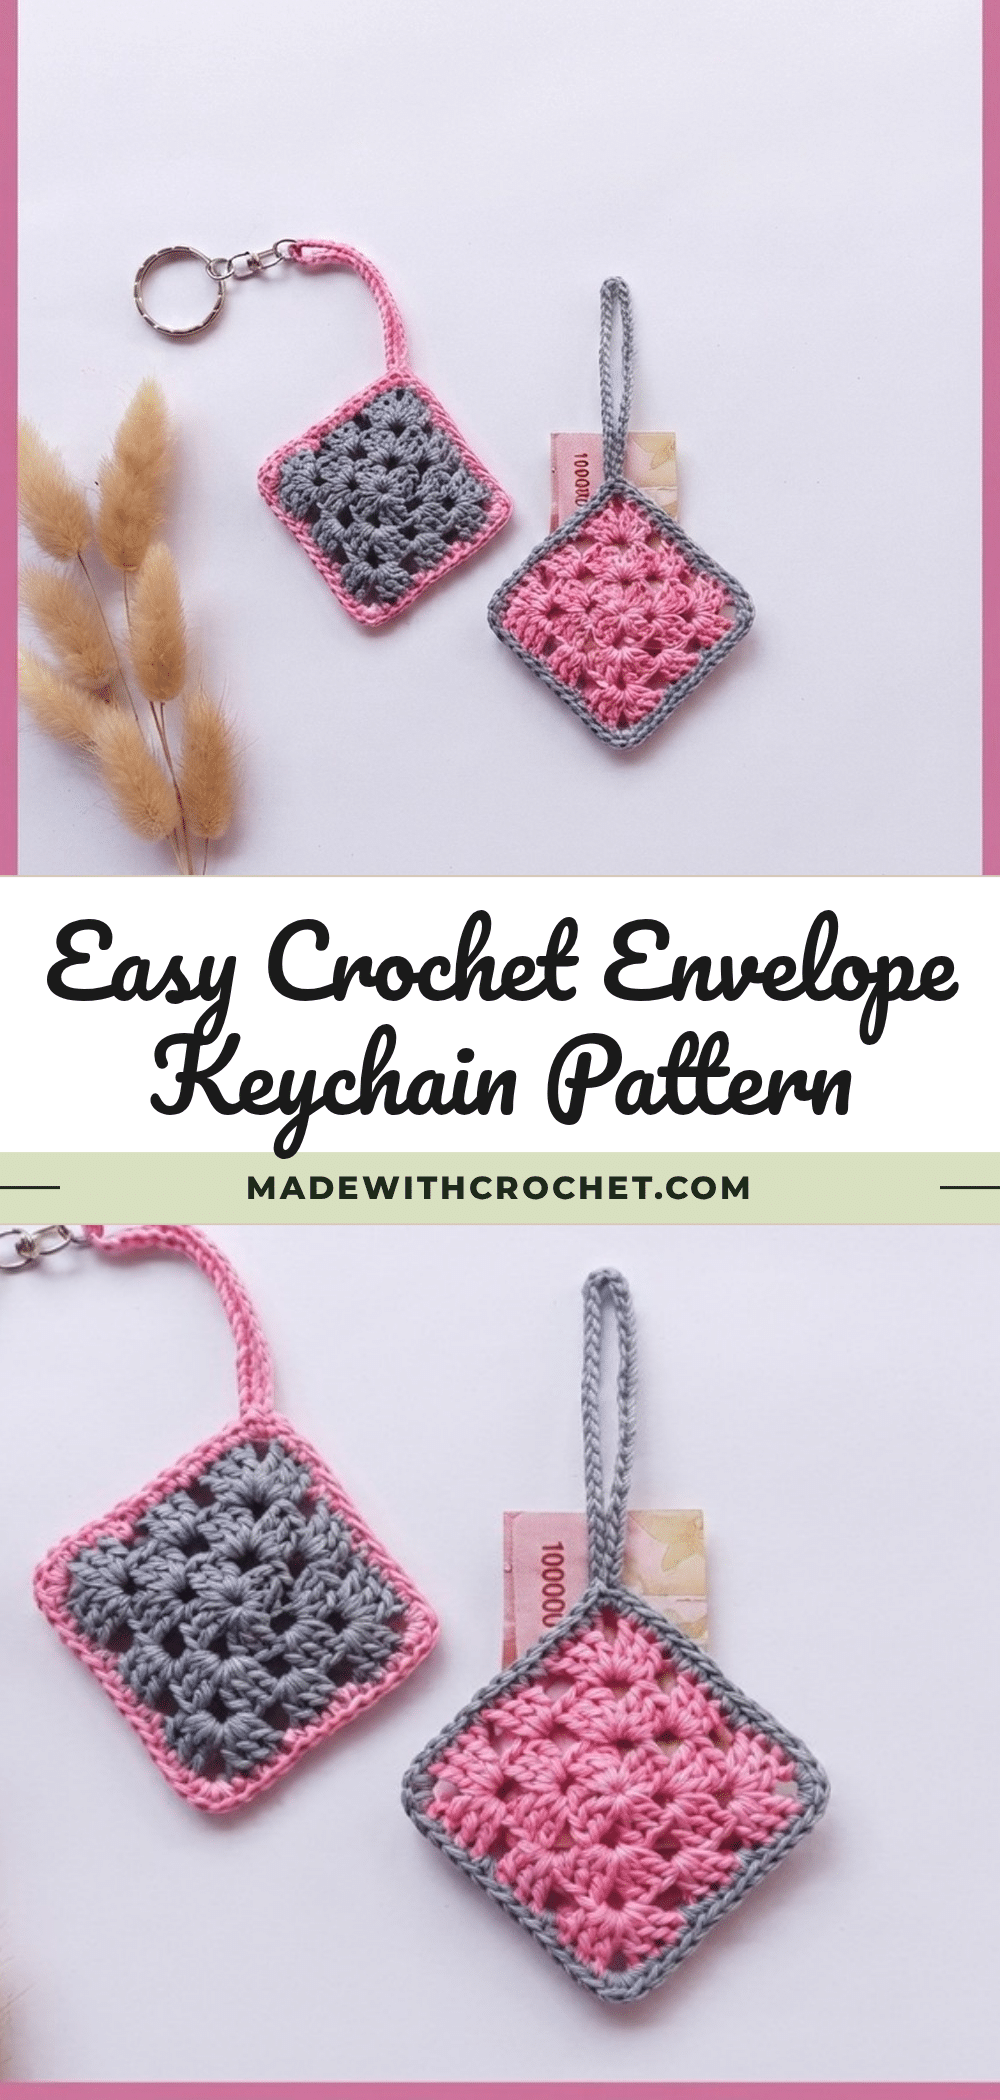
I remember the day I found this little project. I was digging through my stash, looking for something small to use up leftover yarn, and I came across two granny squares I had made months ago. They were a cheerful mix of bright coral and soft cream, and they had been sitting in a bag, waiting for a purpose. I wanted to make something that felt intentional, not just a scrap-buster. That’s when I decided to turn them into a keychain. The contrast of the coral against a deep navy joining yarn gave the piece a polished, almost vintage feel. It was a simple choice, but it made the finished project feel like a tiny work of art.
Yarn and Color Notes
The beauty of this pattern is that it works with almost any yarn and color combination. For a sturdy, structured keychain that holds its shape, a cotton or cotton-blend yarn is ideal. If you want a softer, more flexible feel, a polyester or acrylic yarn works well too. The key is to choose a contrasting color for the joining yarn. This creates a visible seam that highlights the envelope shape and adds a professional touch. You can also use a matching yarn for a more subtle, seamless look. Feel free to experiment with different granny square designs—classic, solid, or even a modern hexagon—as long as both squares are the same size.
Project Overview
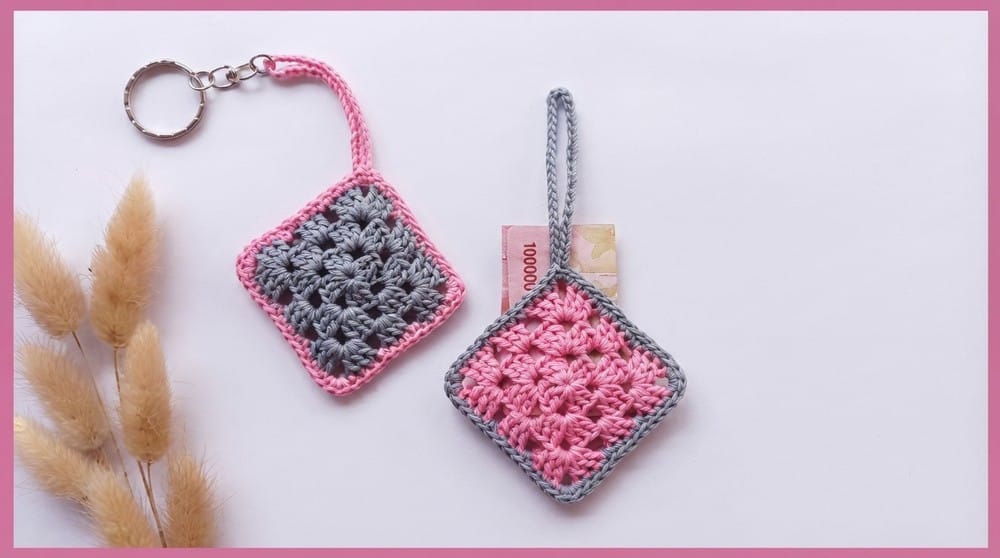
This pattern will guide you through making a charming envelope-style keychain by joining two granny squares and finishing it with a crochet keychain loop. It’s a quick, satisfying project that’s perfect for beginners or anyone looking for a small, portable make.
Materials
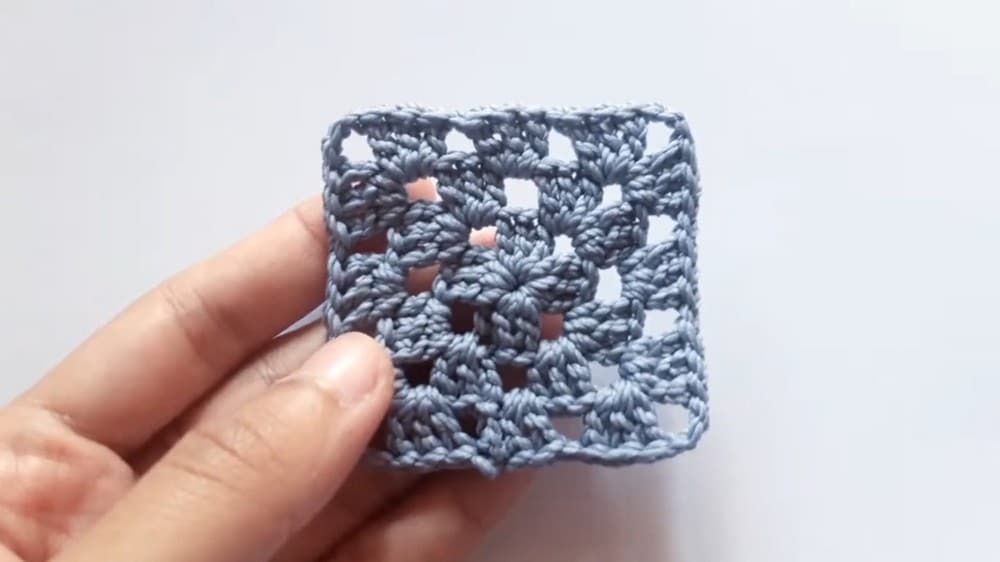
- Two matching granny squares (made in advance; any color or design)
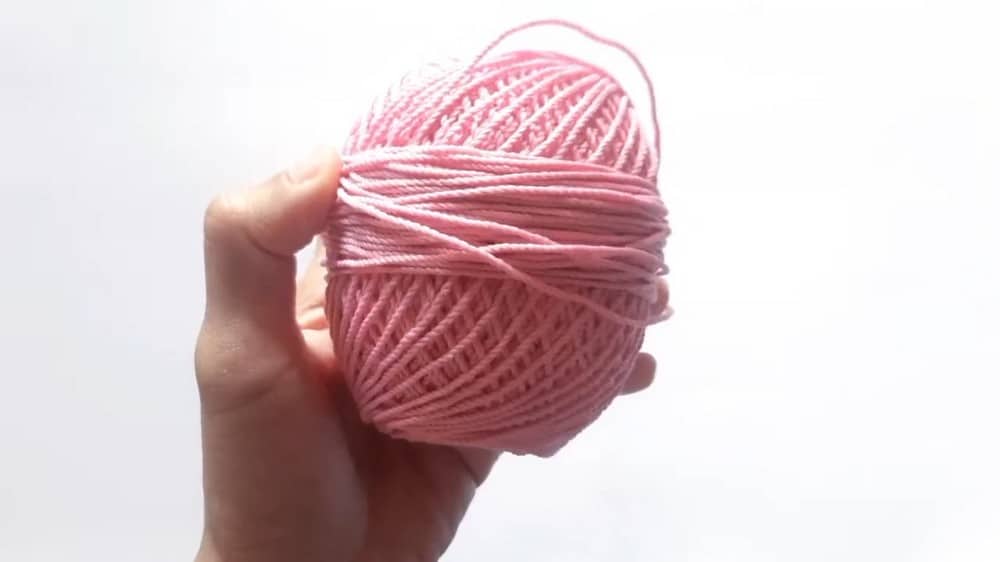
- Polyester yarn (contrasting color recommended for joining)
- Tulip 4/0 crochet hook (2.5mm)
- Scissors
- Yarn needle (for weaving in ends)
- Keychain ring/hardware (optional)
Gauge and Finished Size
- Each granny square: approx. 7–9 cm (2.75–3.5″) per side
- Finished envelope (folded): approx. 7–9 cm wide
- Keychain loop: 40 chains (approx. 10 cm/4″)
- Gauge: Not critical for this project
Skill Level
Beginner to Adventurous Beginner
Abbreviations
- ch – chain
- sc – single crochet
- sl st – slip stitch
- st – stitch
Pattern Notes
- The tutorial uses a contrasting yarn color to join the squares for added visual interest.
- Work carefully at the corners: add extra single crochets to help the work turn smoothly.
- Ensure the loop is firmly attached for durable keychain use.
- Any style of granny square may be used; just keep both the same size.
Pattern Instructions
Preparation
Make or gather two granny squares of the same size. Any classic or modern granny square pattern works. Gather all tools: 4/0 Tulip hook, polyester yarn (contrasting color), scissors, darning needle, and keychain ring.
Joining the Squares
- Slip Knot & Setup: Make a slip knot with the joining yarn. Attach it to the edge of one square, starting on the side where the envelope will open (not along what will become the flap).
- Begin Joining: Ch 1. Hold two squares together, matching edges. Using single crochet (sc), crochet through both squares at once.
- Join Edges: Work 1 sc into each dc stitch and gap along the joining edge (through both layers). When you reach any corner gap, work 3 sc in that corner (this helps the border turn smoothly).
- Continue: Continue single crochet joining around the sides of the squares, working 1 sc into each stitch and space, and 3 sc in every corner gap.
- Leave Top Open: Stop joining when you reach the edge you want left open (the envelope opening). Only the sides and bottom are joined; the top remains open to form the flap.
Finishing the Envelope and Flap
- Top Flap Border: Continue working single crochet only along the top edge of the front granny square to make the flap. 1 sc in each dc and gap.
- Keychain Loop: When you reach the final corner of the flap: Work 2 sc into the corner gap. Chain 40 (creates the keychain loop). Sl st into the last sc worked to secure the loop.
- Border Finish: Continue working 1 sc in each stitch and gap along the remaining top edge.
- Fastening Off: Sl st to finish the round. Cut yarn. Weave in all loose ends using your yarn needle, hiding them on the inside/back of the envelope for a tidy look.
Assembly
Attach keychain ring through the loop. Fold envelope as desired (may fold point down or leave straight). Finished size: 7–9 cm wide plus 10 cm loop.
Tips
- Choose a yarn with good structure, like cotton, to help the squares keep their shape when joined.
- Work slowly at the corners to ensure the extra stitches are evenly placed for a smooth turn.
- If you want a larger keychain, use bigger granny squares or add more squares to the design.
Frequently Asked Questions
Can I use any type of granny square for this pattern?
Yes, any style of granny square works as long as both squares are the same size. Classic, solid, or even modern hexagons can be used.
What is the best yarn for this keychain?
Cotton or a cotton-blend yarn is ideal for a sturdy, structured keychain. Polyester or acrylic yarn will give a softer feel.
How do I make the keychain loop more durable?
Ensure the loop is firmly attached by working the slip stitch securely into the last single crochet. You can also add an extra slip stitch for reinforcement.
Can I add embellishments to the keychain?
Absolutely! You can personalize it by adding buttons, sewing on small decorations, or using different yarn colors to match the recipient’s style.
Is this pattern suitable for a beginner?
Yes, this pattern is rated for Beginner to Adventurous Beginner. It uses basic stitches and simple joining techniques.
How long does it take to complete this project?
This is a quick project that can be completed in an evening, making it ideal for last-minute gifts or crochet fairs.
Pin This Crochet Pattern!