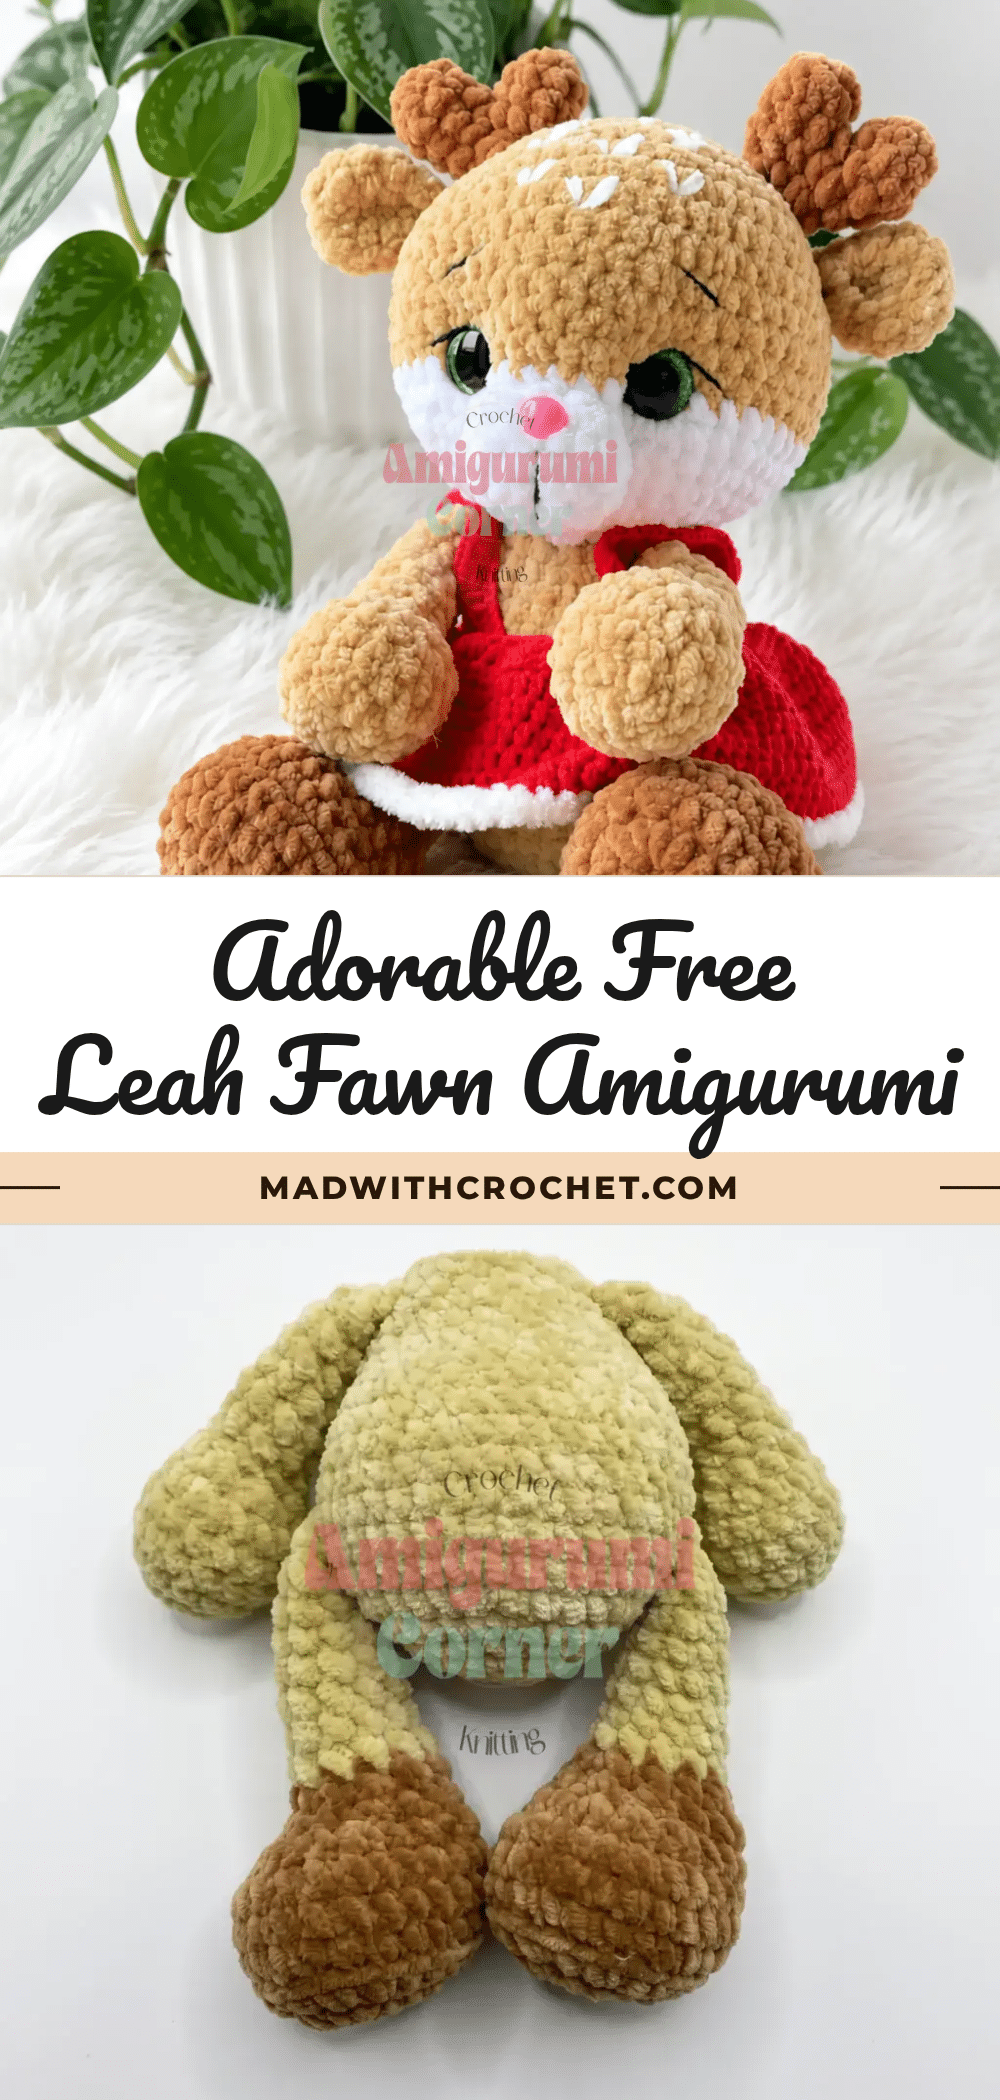
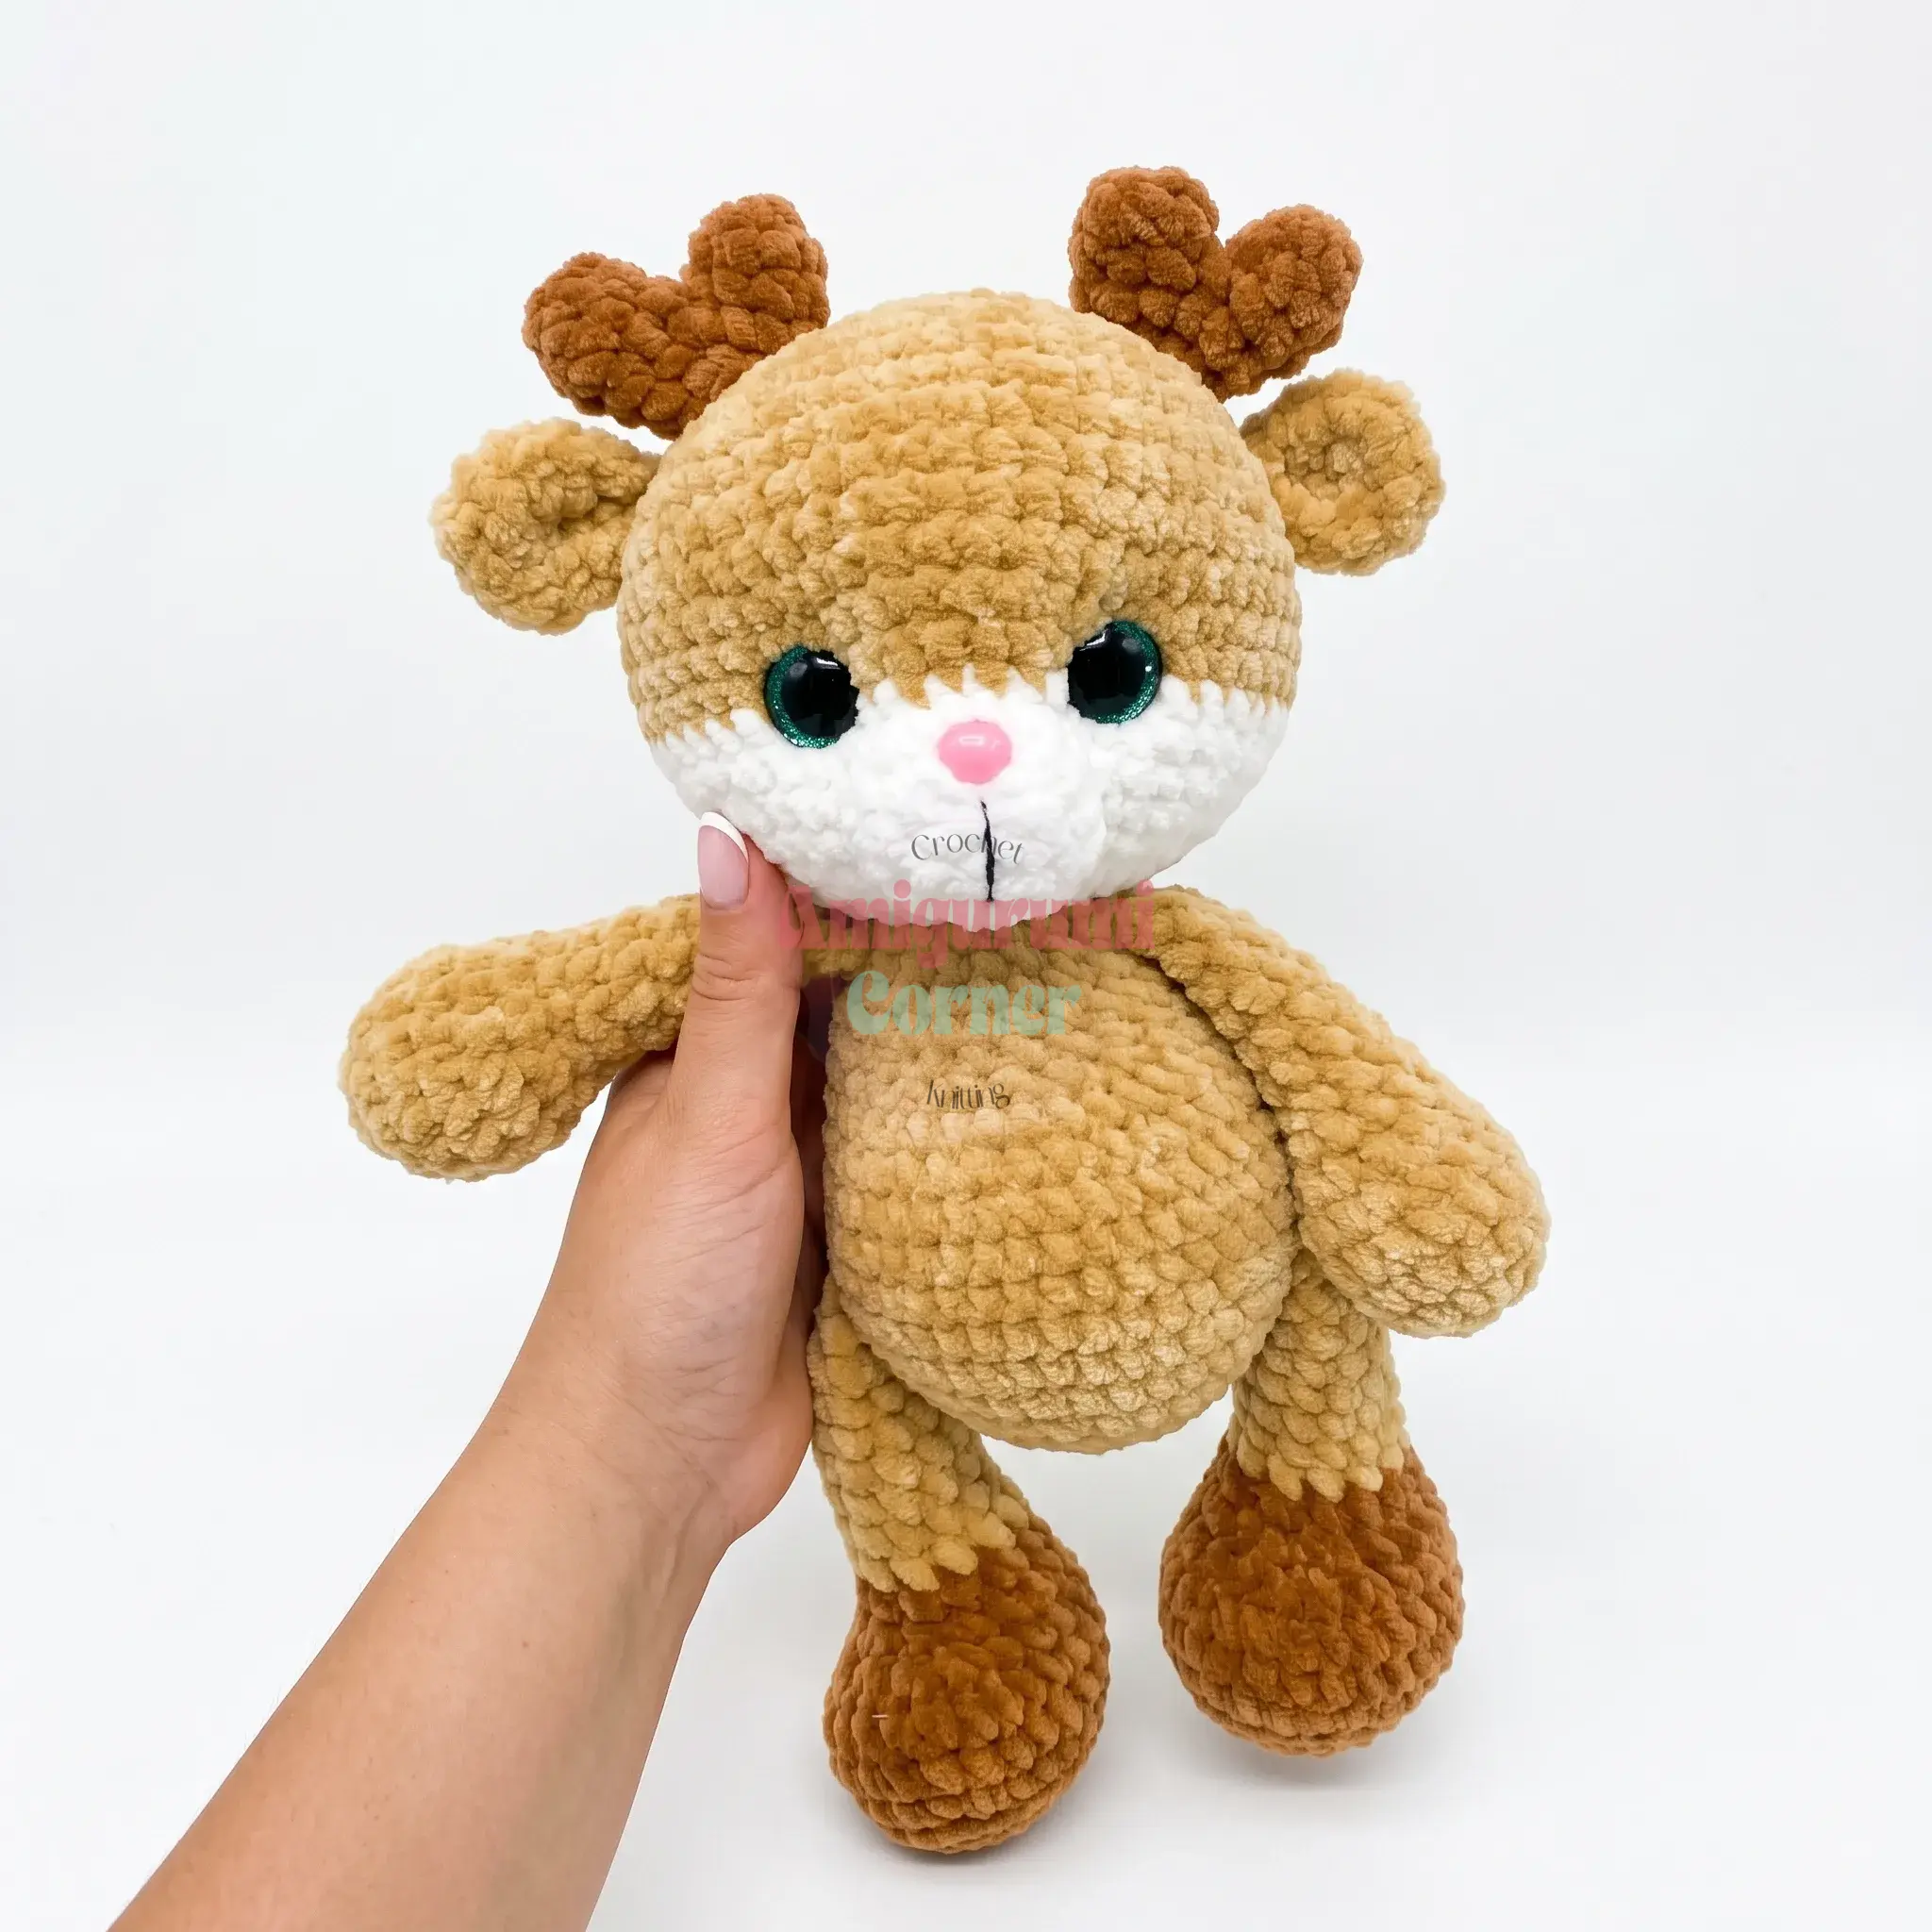
There is a specific kind of magic in the quiet hours of the evening when the house settles down and the only sound is the rhythmic click of a crochet hook. It is a ritual of counting stitches, feeling the plush yarn glide through your fingers, and watching a shape emerge from a simple magic ring. For this project, that ritual transforms into the creation of Leah, a tiny fawn with a heart of gold and a red pinafore. As you work through the familiar rounds of increases and decreases, you are not just making a toy; you are crafting a companion that feels made for a nursery shelf or a first Christmas ornament under someone’s tree. The repetitive nature of the stitches allows your mind to wander while your hands build something tangible and sweet.
Small Details That Make It Better
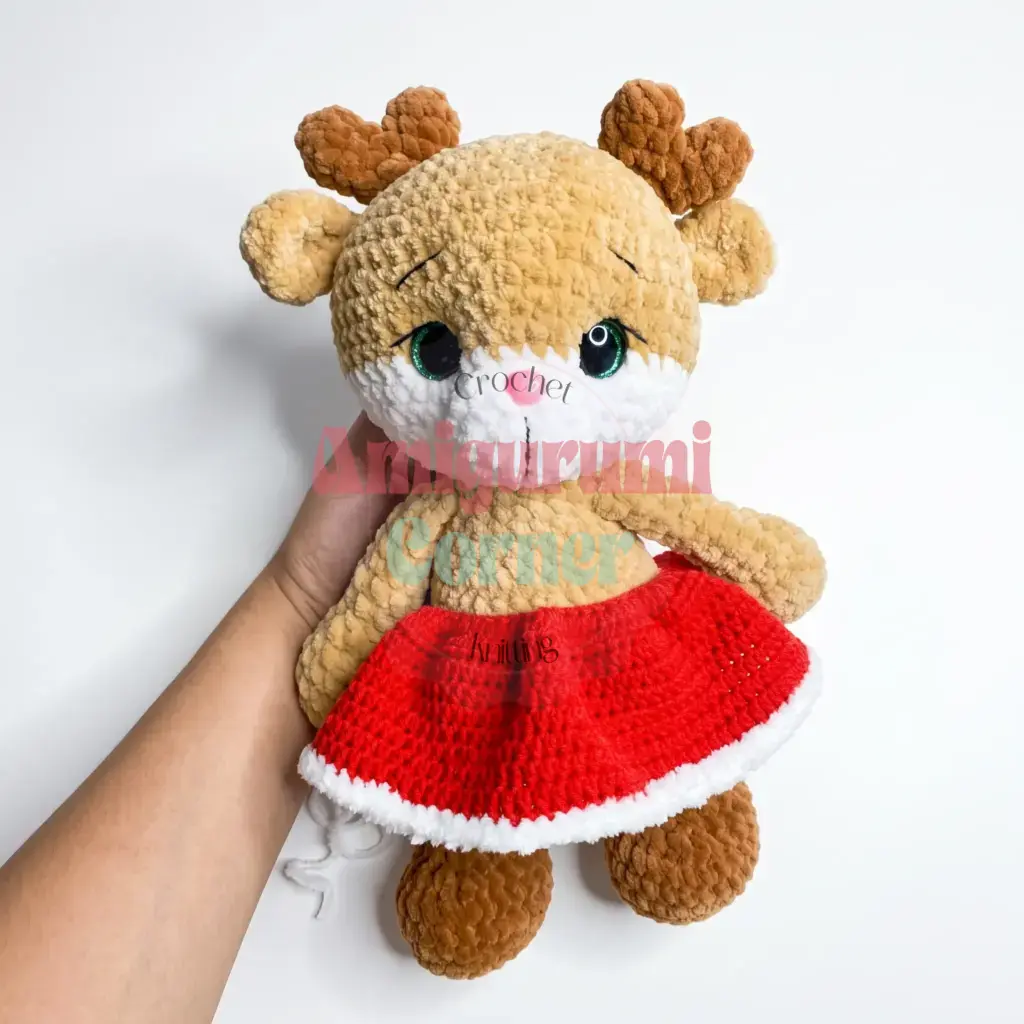
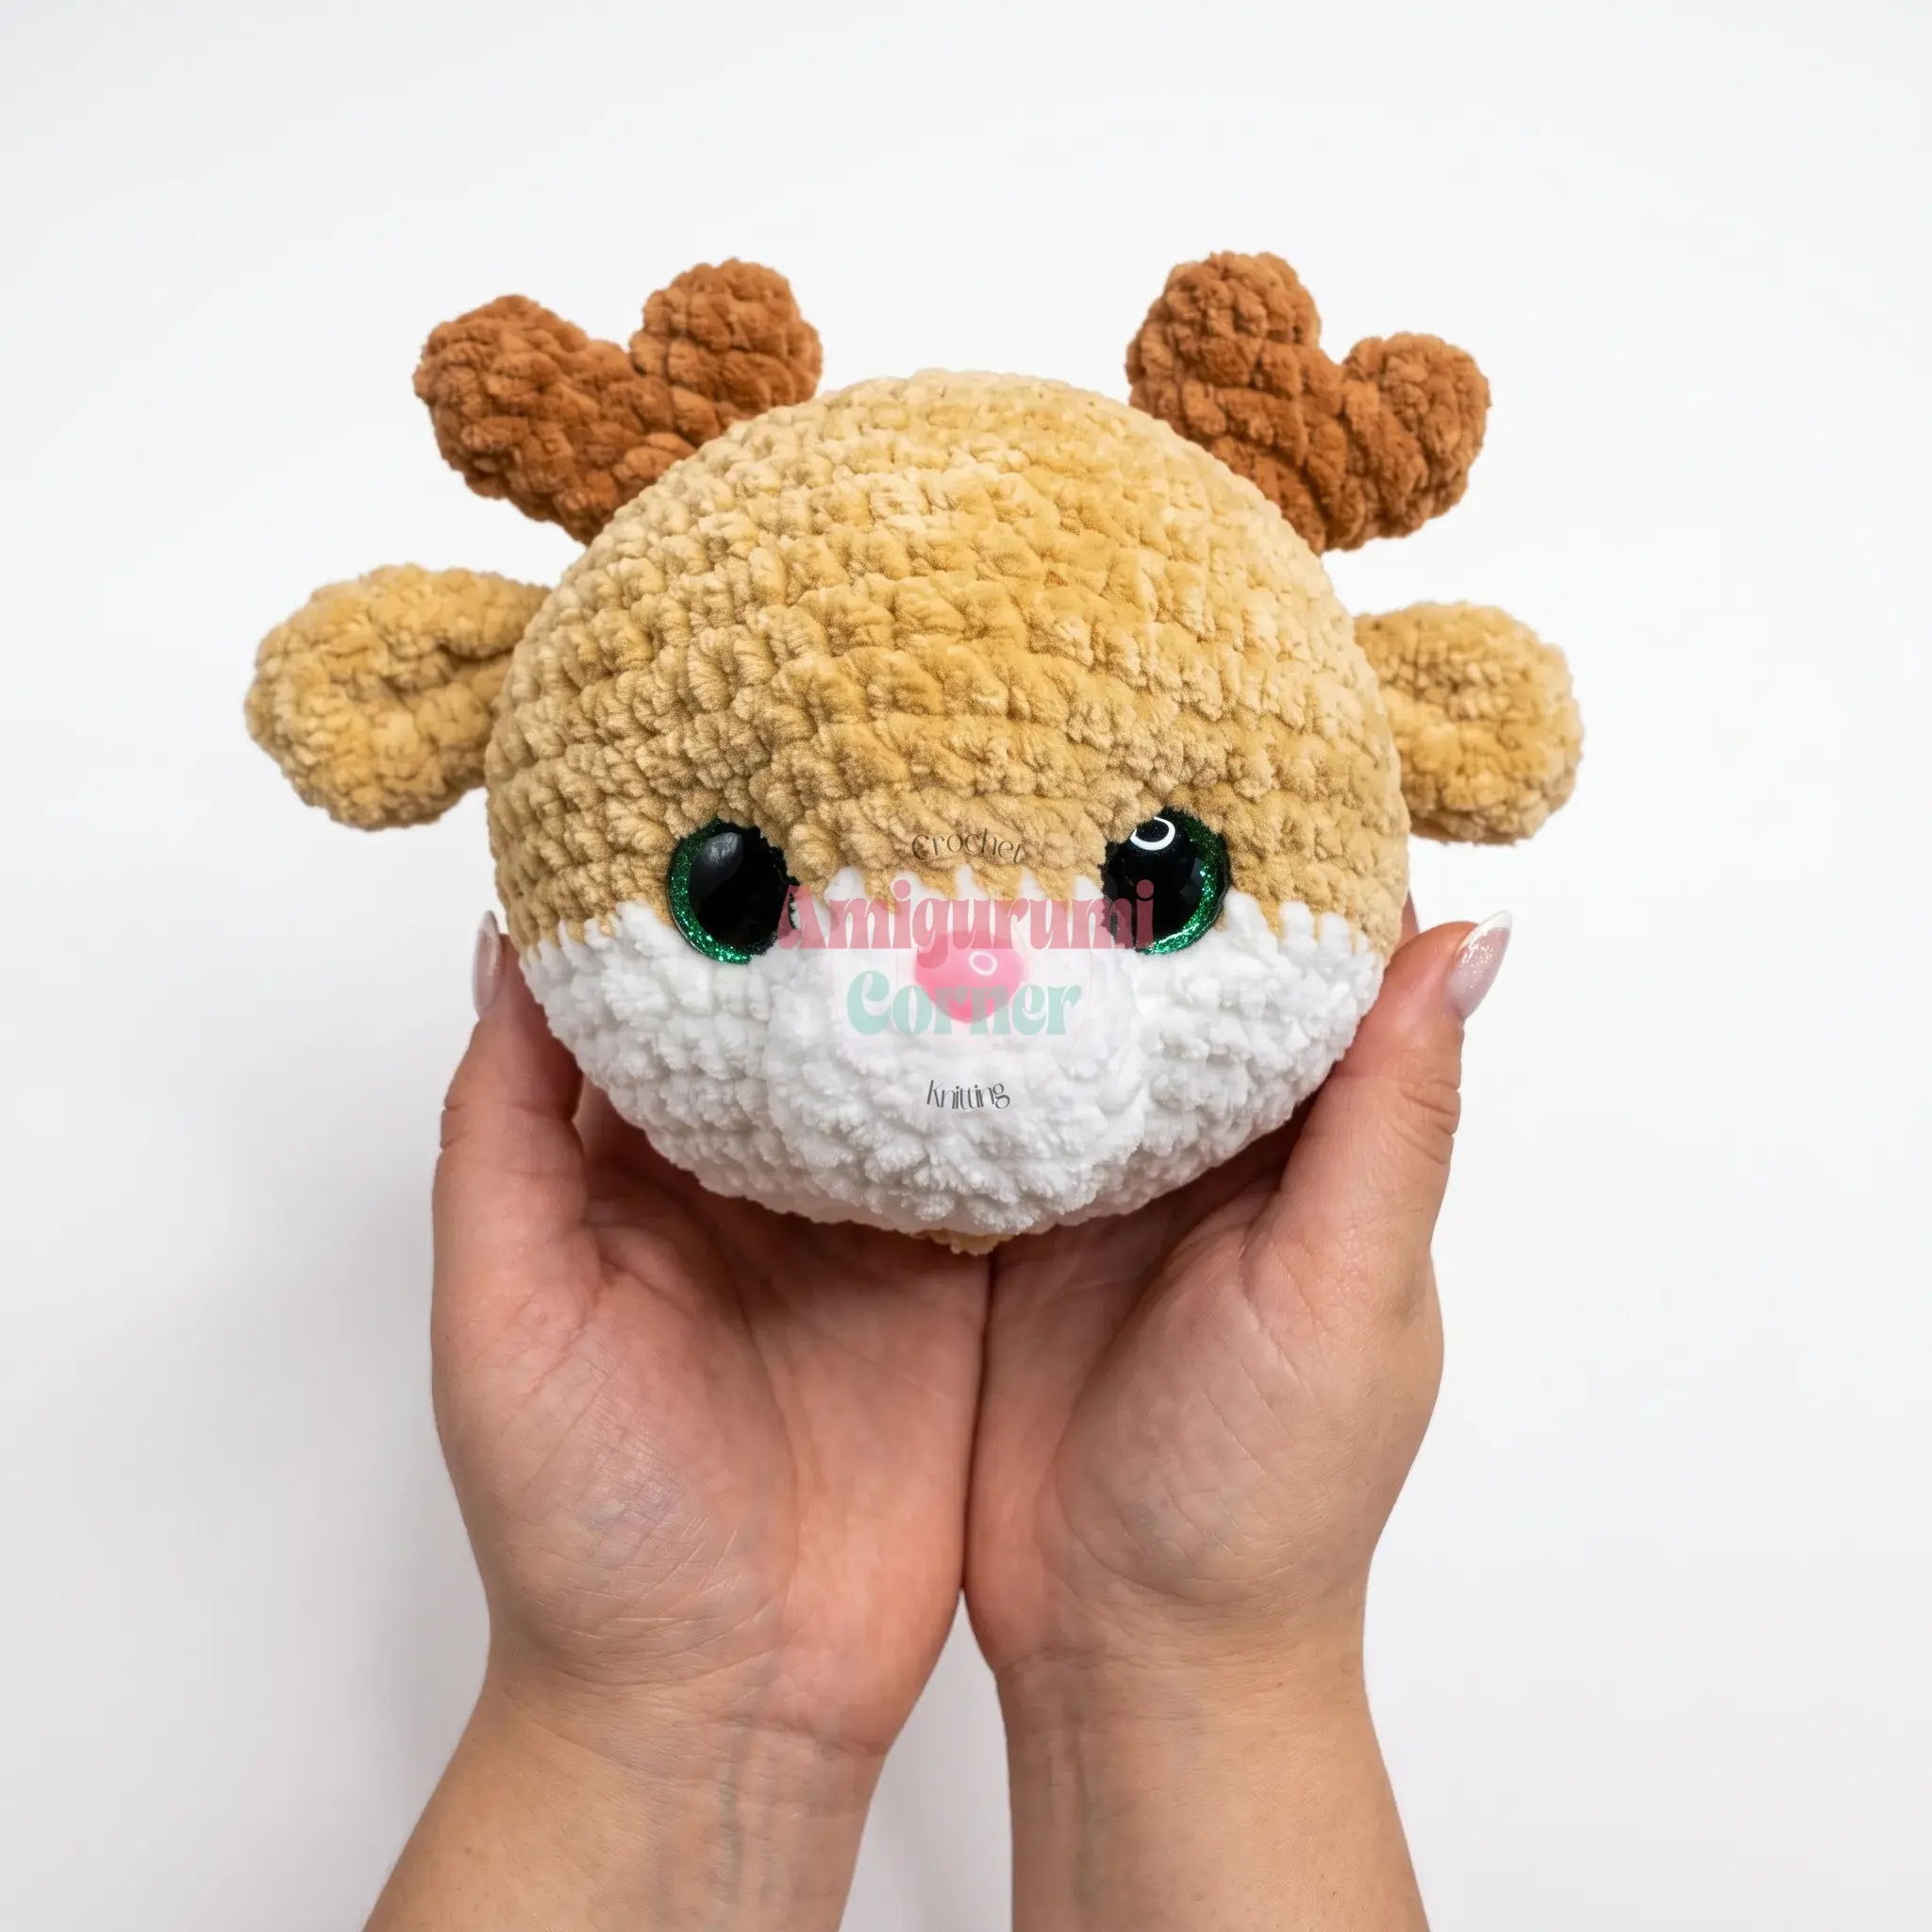
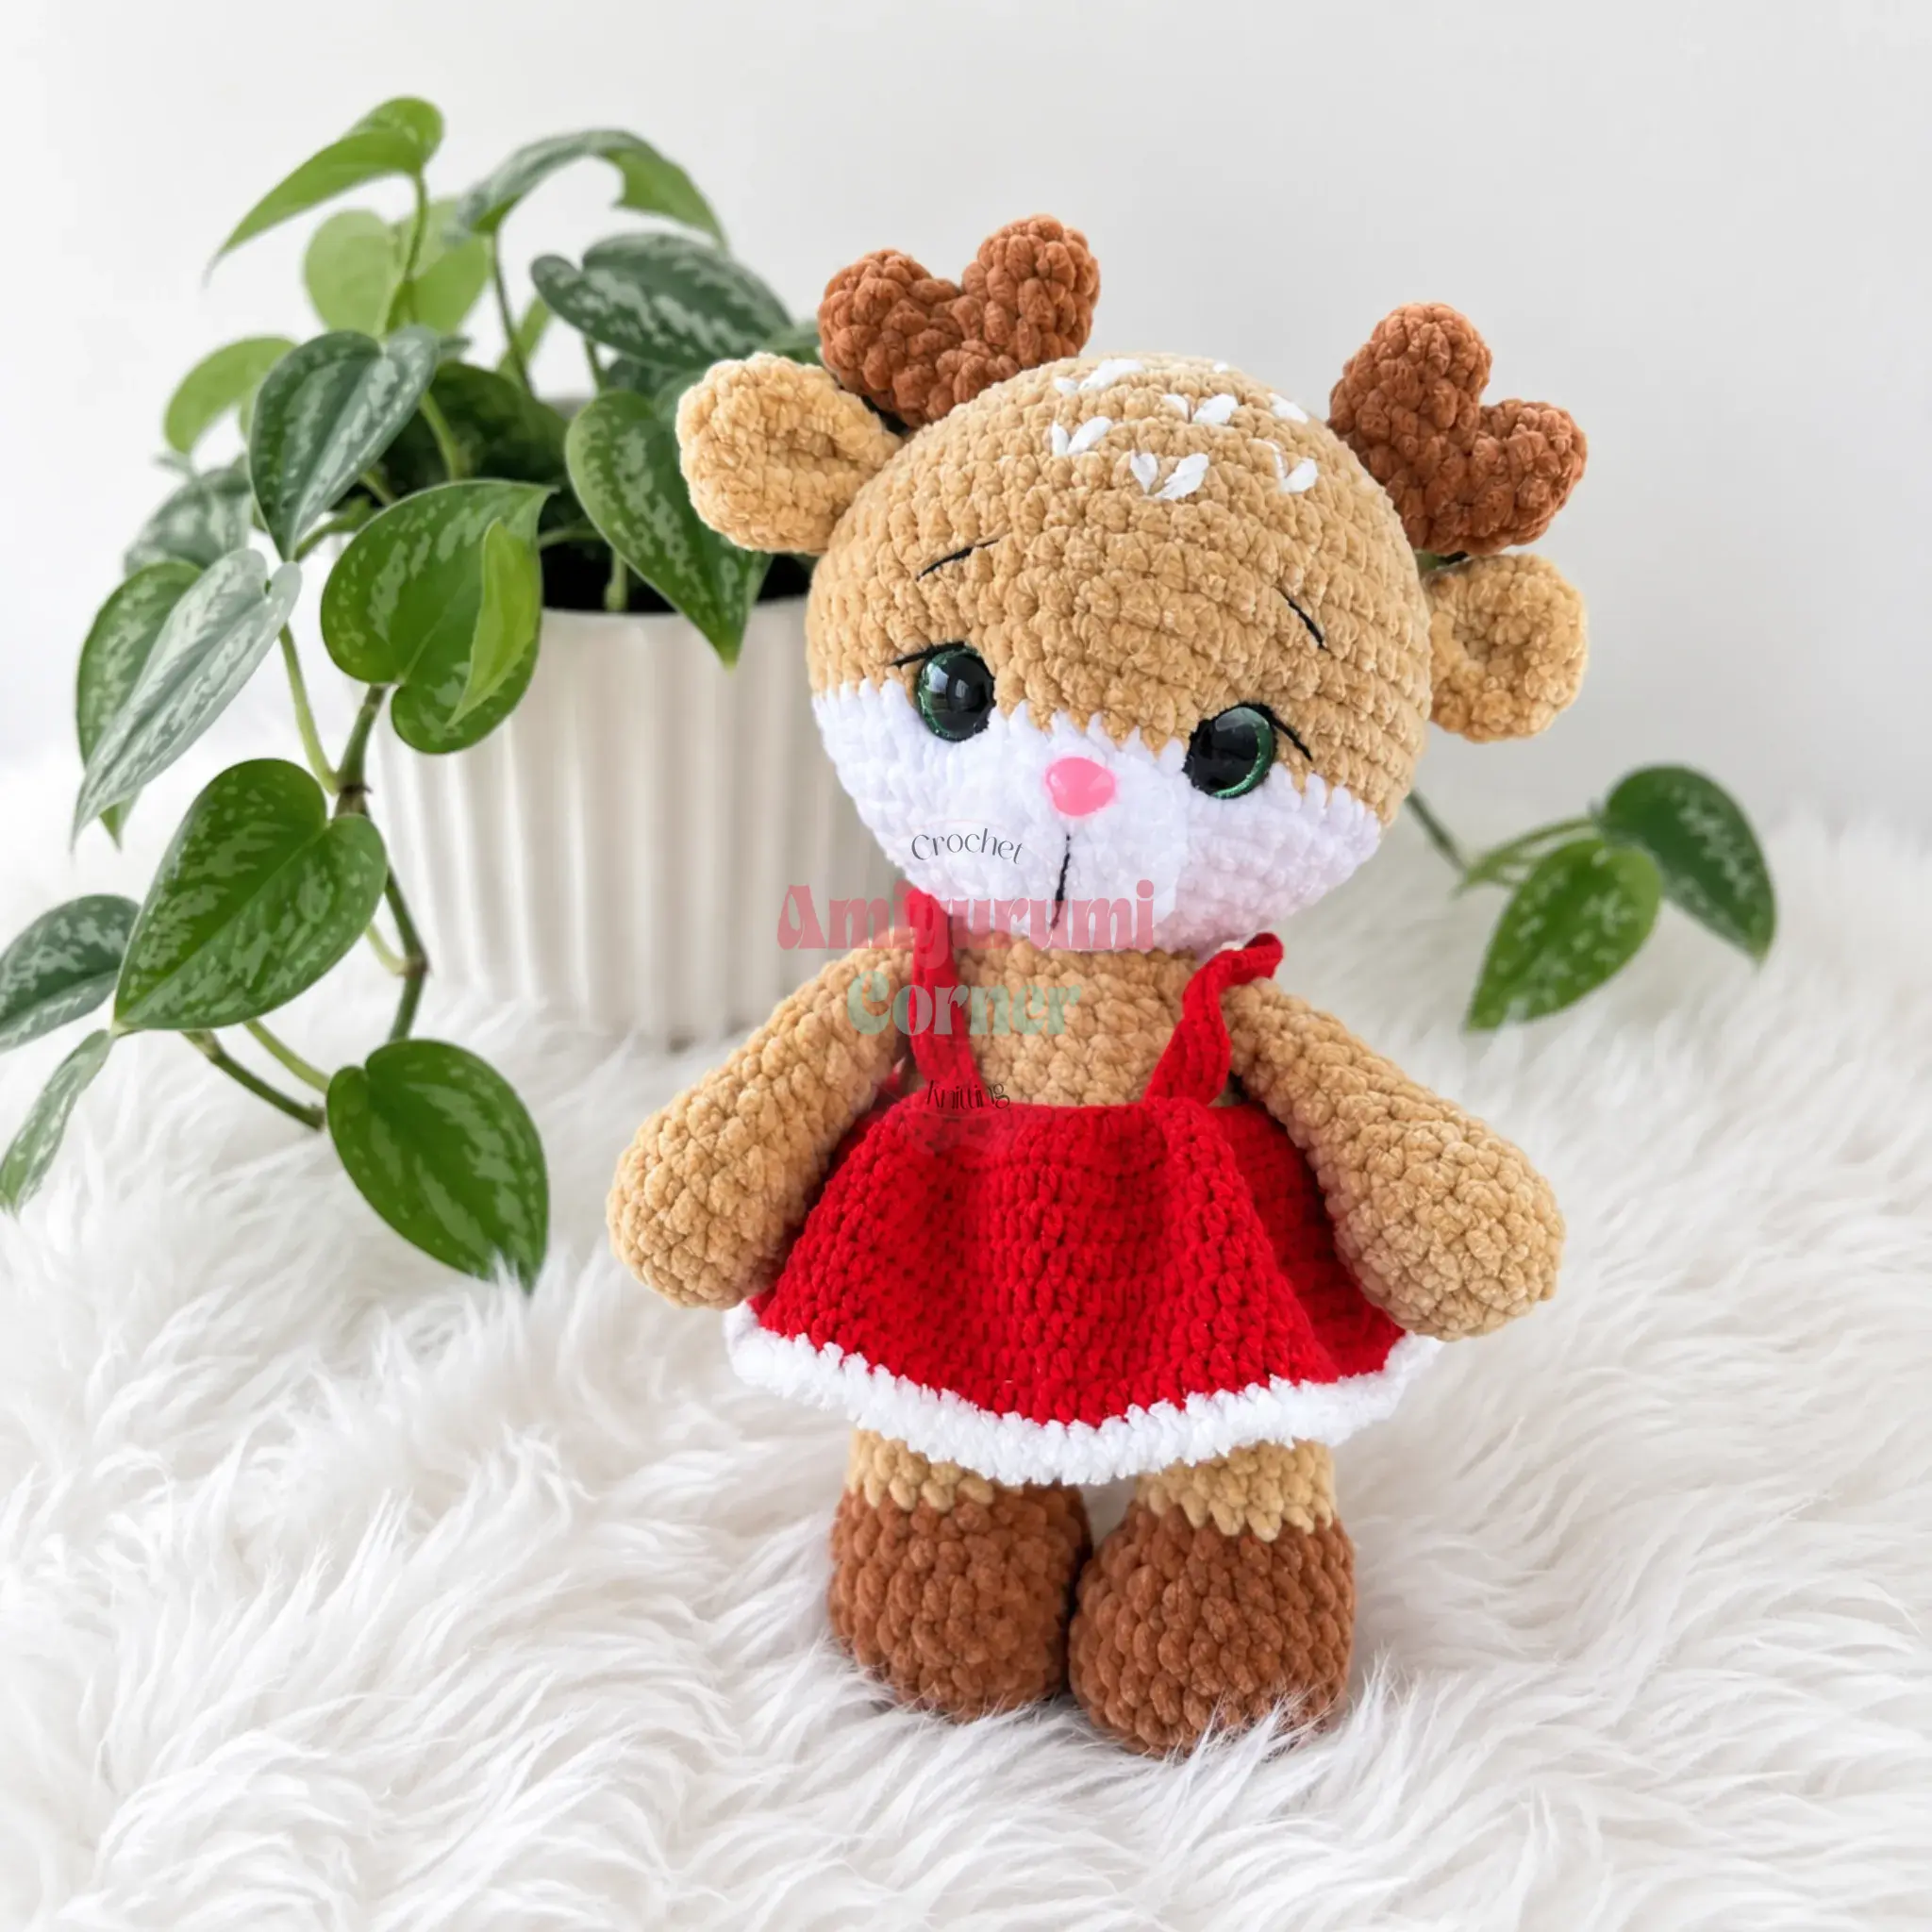
Leah’s charm lies in the juxtaposition of her wild nature and her domestic attire. The choice of plush or chenille yarn is essential here; it mimics the soft, fuzzy texture of a real fawn’s coat, making her incredibly huggable. The red cotton-blend pinafore provides a striking visual pop against the earthy beige and brown tones of her body, grounding the character in a storybook aesthetic. While the pattern is straightforward, the “our touch” moment comes in the finishing: the way the muzzle is centered and the nose glued on creates an expression of gentle curiosity. The heart-shaped antlers, constructed from two joined pieces, add a whimsical detail that elevates the pattern from a simple animal to a character with personality. These small finishing touches—the firm but plush stuffing, the clean white edging on the dress—turn a beginner-friendly project into a polished heirloom piece.
Project Overview
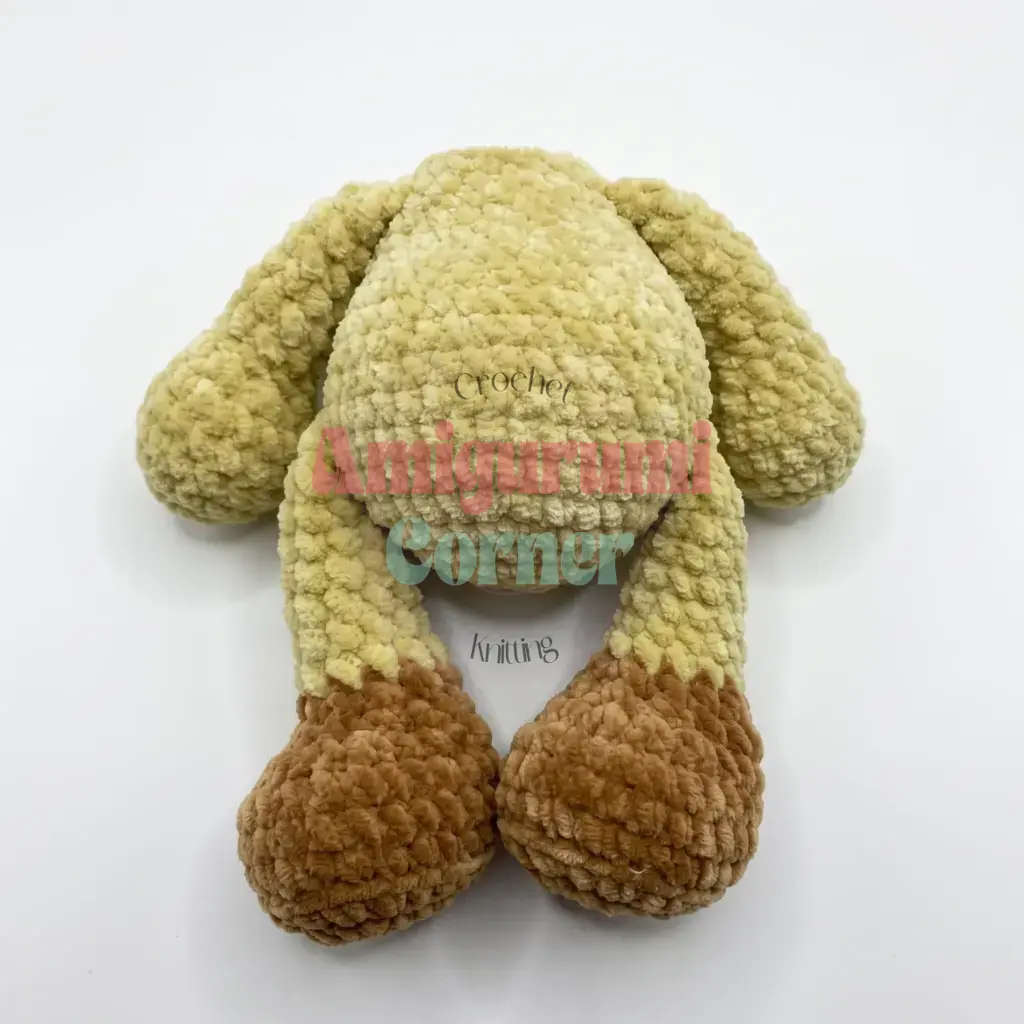
Leah the Fawn is a beginner-friendly amigurumi pattern that builds up in simple, familiar rounds. The construction is straightforward: you will crochet the legs and arms, attach them directly into the body as you work, and then sew on the head, muzzle, ears, and antlers. The pattern concludes with a separate pinafore dress that slips over the finished body. This design is perfect for those who want to practice limb attachment and garment fitting without complex sewing.
Materials
- Yarn:
- Plush or chenille yarn (worsted weight) in three colors:
- Main beige/tan for the body and head
- Brown for the legs and antlers
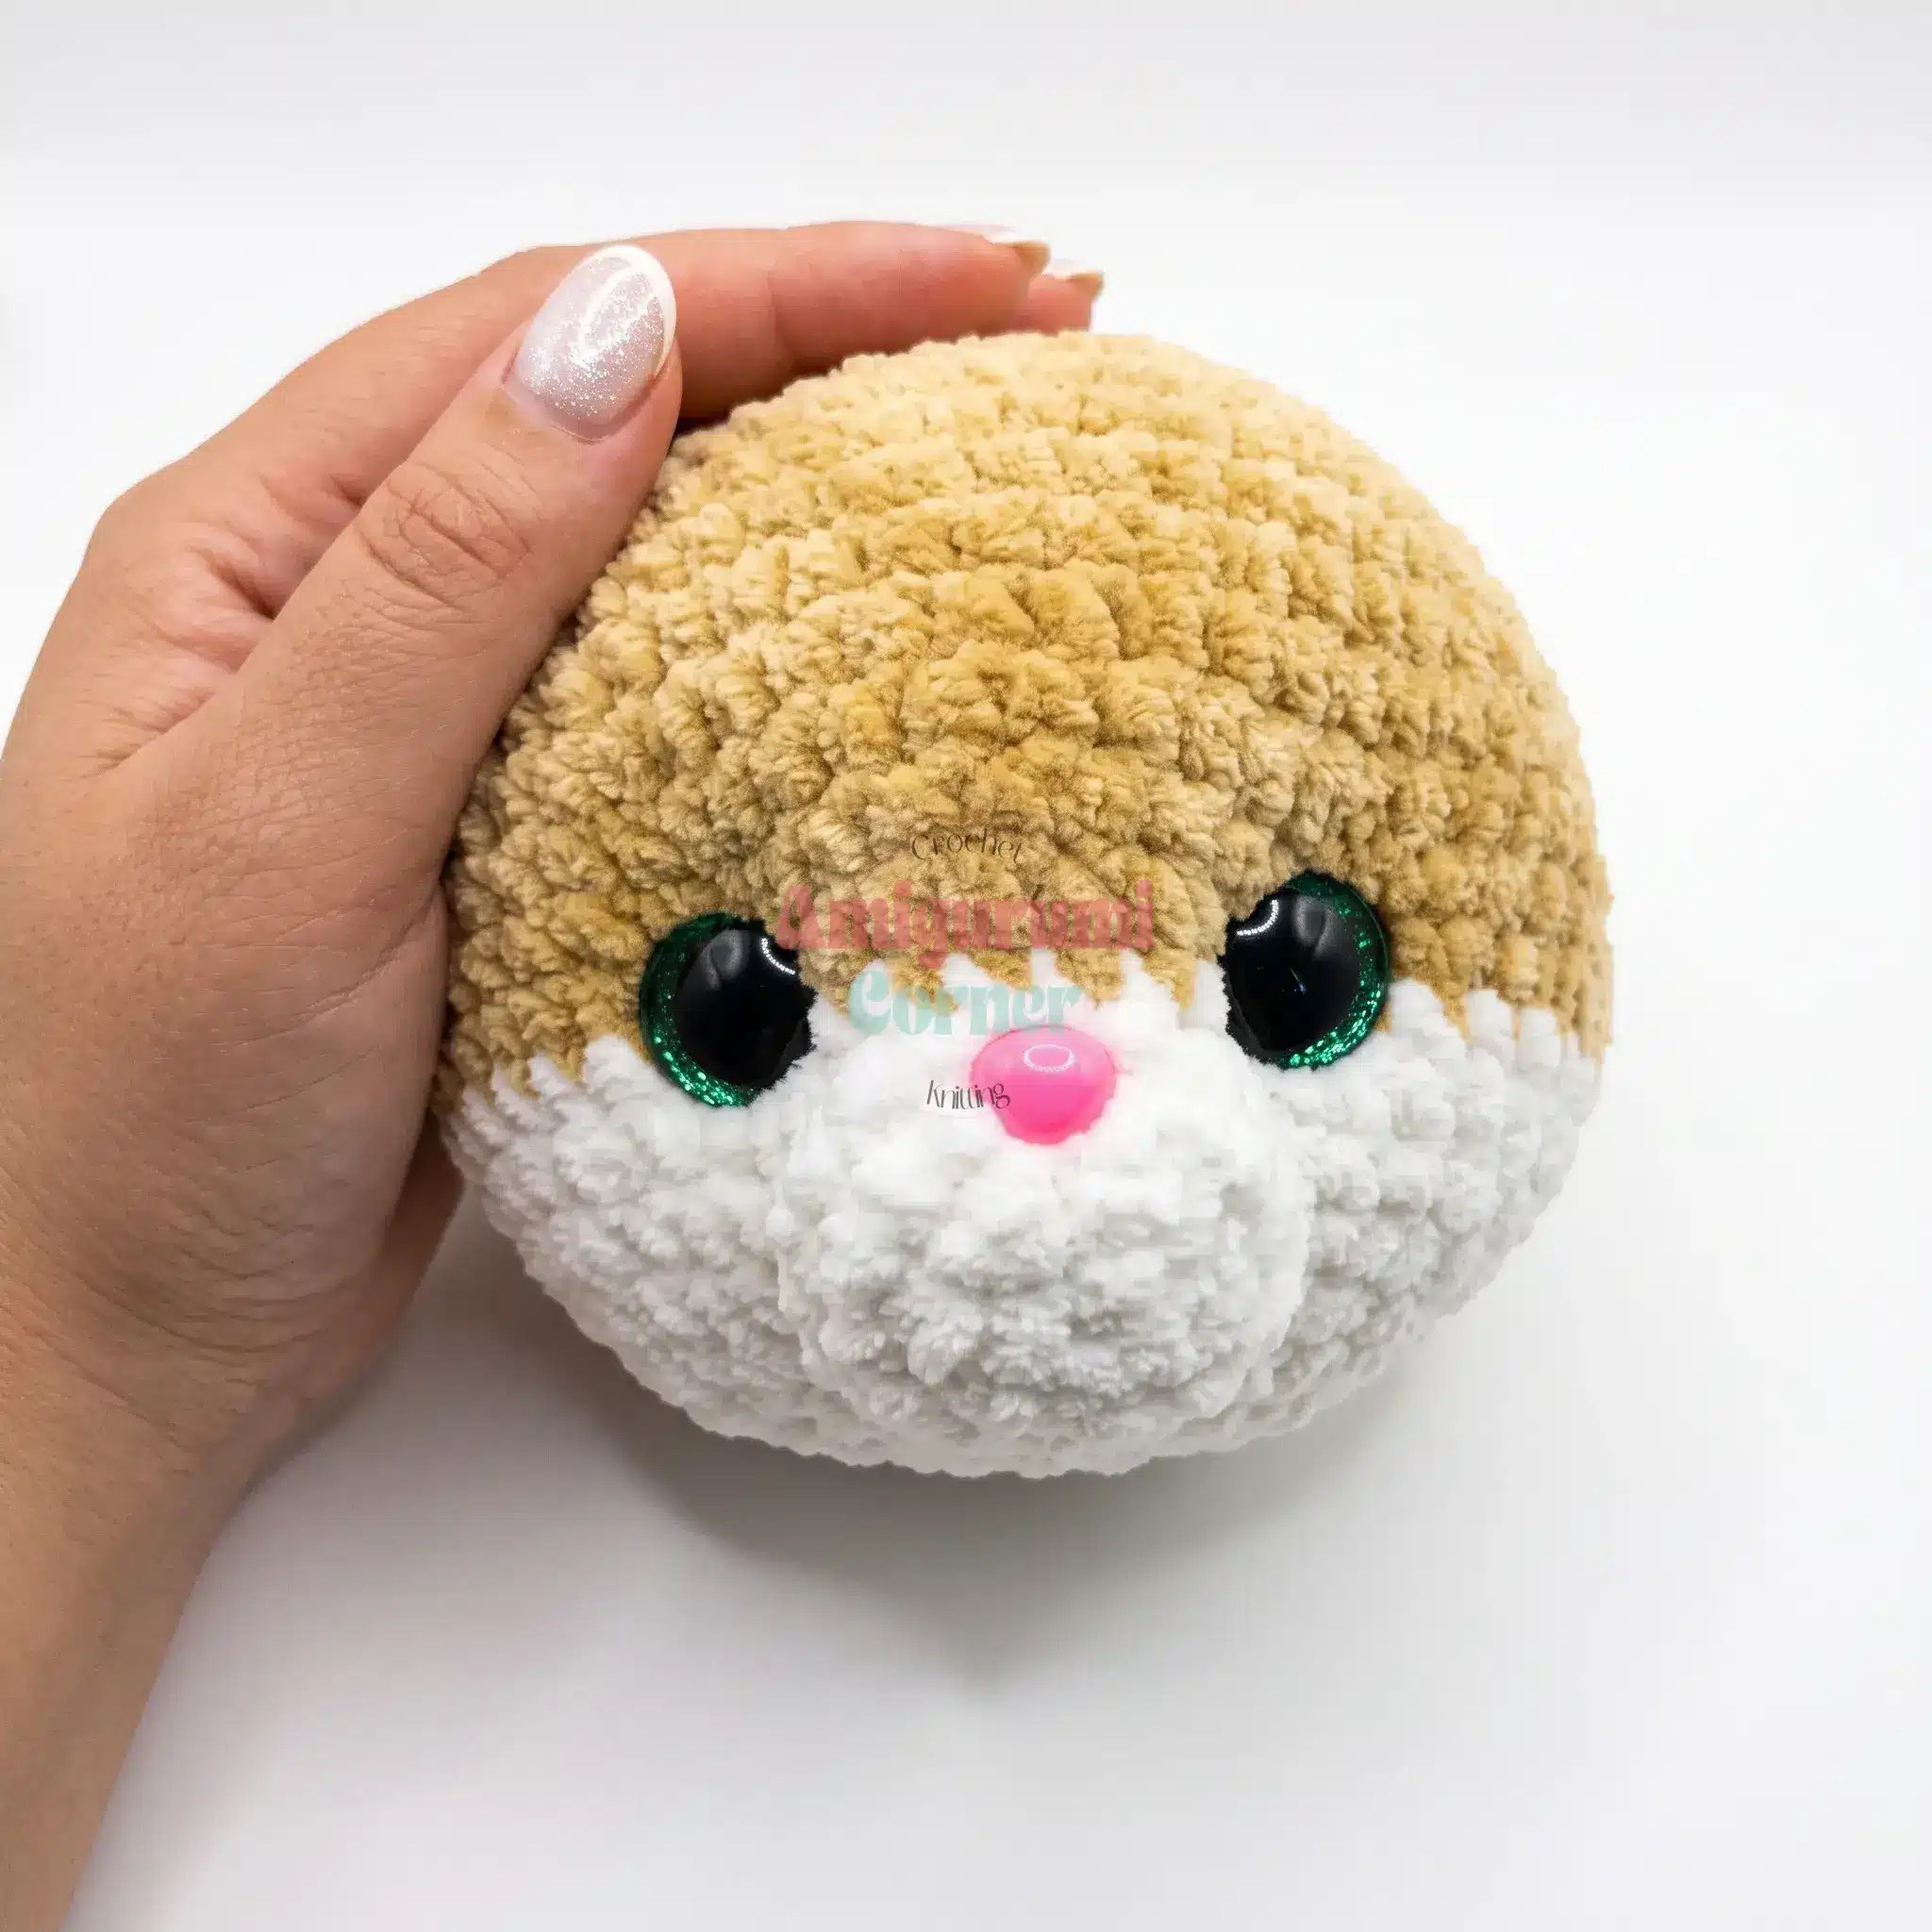
- Cream/off-white for the muzzle and lower face
- Cotton-blend yarn (worsted weight), red, for the pinafore dress
- A small amount of soft cotton-blend yarn, white, for edging the dress
- Plush or chenille yarn (worsted weight) in three colors:
- Hook: 4 mm (US G/6) crochet hook
- Notions:
- Safety eyes, 18 mm (2)
- Adhesive-backed safety nose, 10 x 17 mm (1)
- Polyester fiberfill stuffing
- Stitch marker
- Yarn needle / tapestry needle
- Sewing needle and cotton or cotton-blend thread to match your plush yarn (for attaching pieces)
- Scissors
Gauge and Finished Size
Gauge is not critical for this project. However, using a tighter tension—specifically one hook size down from what the yarn label suggests—will help keep stuffing from peeking through the stitches, ensuring a plush and durable finish.
Abbreviations
This pattern is written in US crochet terminology.
- BLO — Back Loop Only
- ch — Chain
- dec — Decrease (invisible decrease)
- hdc — Half Double Crochet
- inc — Increase (2 sc in same stitch, unless noted)
- MR — Magic Ring
- sc — Single Crochet
- sl st — Slip Stitch
- st(s) — Stitch(es)
Pattern Notes
- Most pieces are worked in continuous spiral rounds. Do not join or chain up between rounds unless a step specifically says to.
- The legs, ears, muzzle, and antlers each begin with a few flat rows before switching to spiral rounds.
- The dress is worked flat, then joined to work in the round.
- Stitch counts are given at the end of each round or row in parentheses, like this: (24).
- Attachment: Legs and arms are attached directly into the body as you crochet; you will not be sewing them on separately.
- Assembly: The head, muzzle, ears, and antlers are worked as separate pieces and sewn on during assembly.
- Stuffing: Stuff firmly but not to the point of stretching your stitches. You want a plush piece that still gives a little when squeezed.
Pattern Instructions
Legs (make 2)
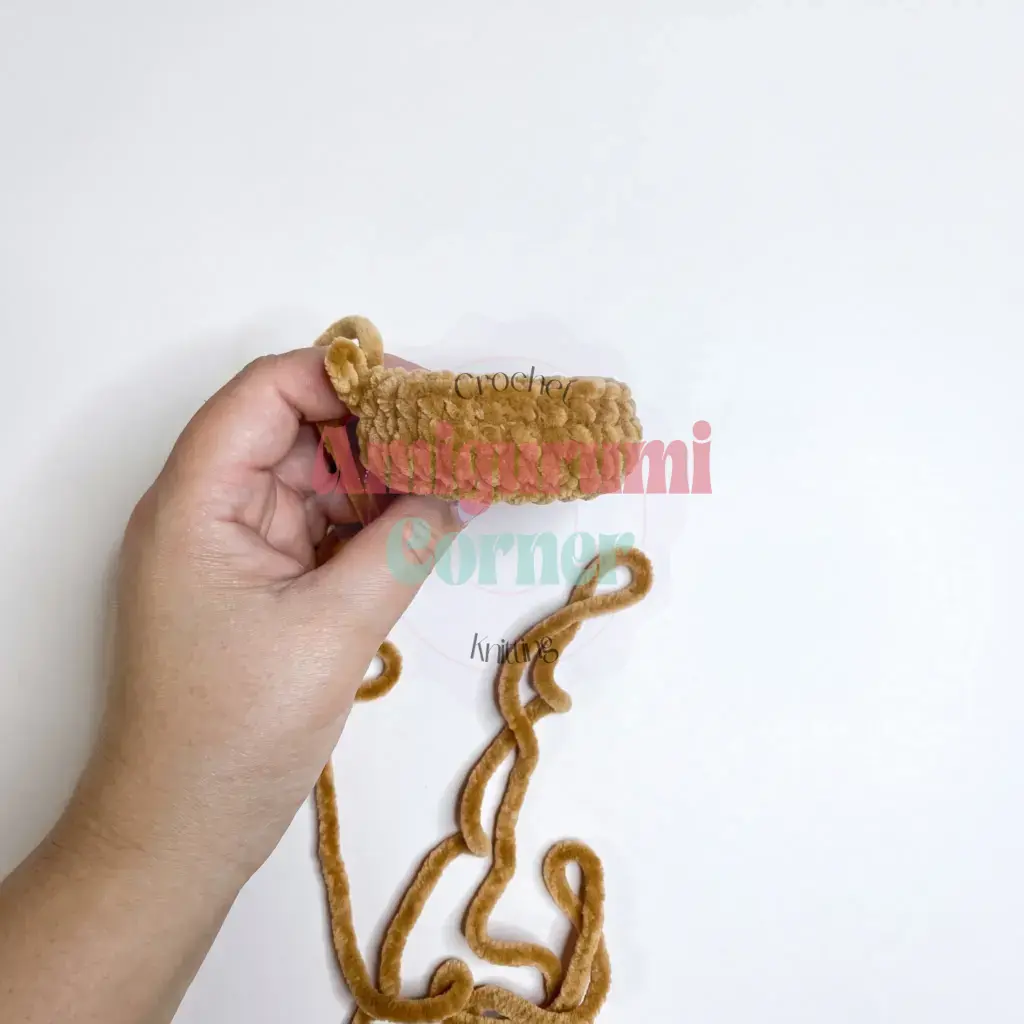
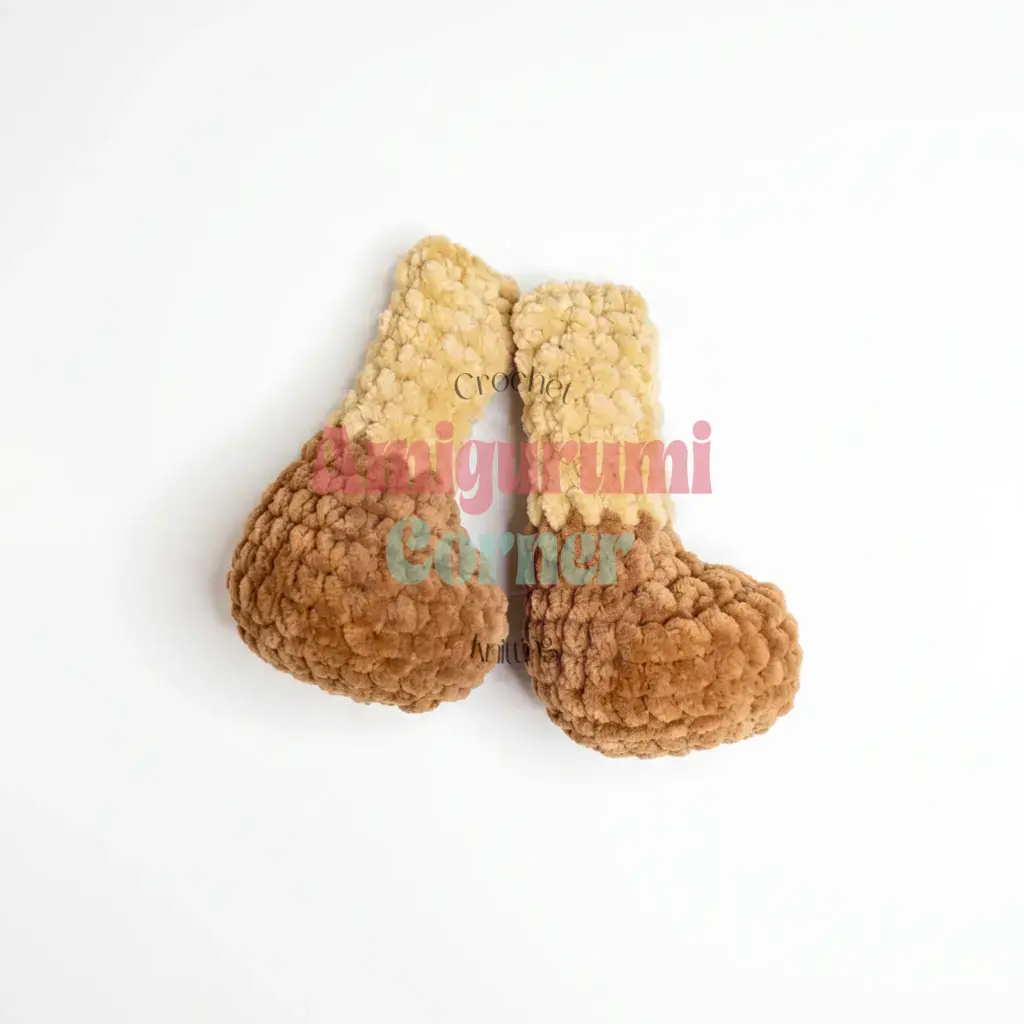
Begin with your brown yarn. Chain 6.
Row 1: Starting in the 2nd ch from the hook, sc 4, 3 sc in the last ch; working on the other side of the foundation chain, sc 3, inc. (12)
Row 2: inc, sc 3, inc repeat 3 times, sc 3, inc repeat 2 times. (18)
Row 3: sc 1, inc, sc 3, sc 1, inc repeat 3 times, sc 3, sc 1, inc repeat 2 times. (24)
Rnd 4: sc in each st around, working in the back loops only (BLO). (24)
Rnds 5–6: sc in each st around. (24)
Rnd 7: sc 6, dec repeat 6 times, sc 6. (18)
Rnd 8: sc 6, dec repeat 3 times, sc 6. (15)
Stuff the foot firmly with fiberfill.
Rnd 9: sc 3, dec repeat 3 times around. (12)
Switch to your beige (main color) yarn.
Rnds 10–21: sc in each st around. (12)
Continue stuffing the leg as you go, filling it up to about round 18.
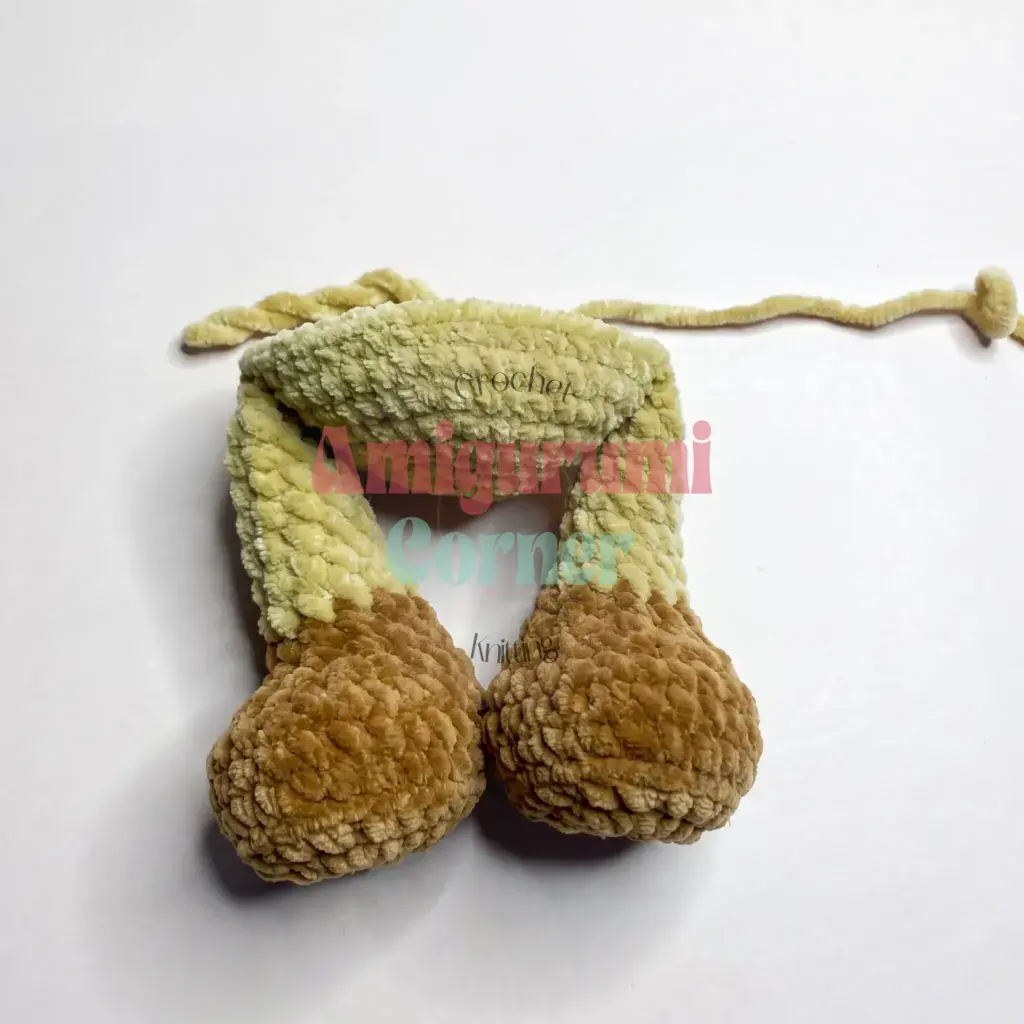
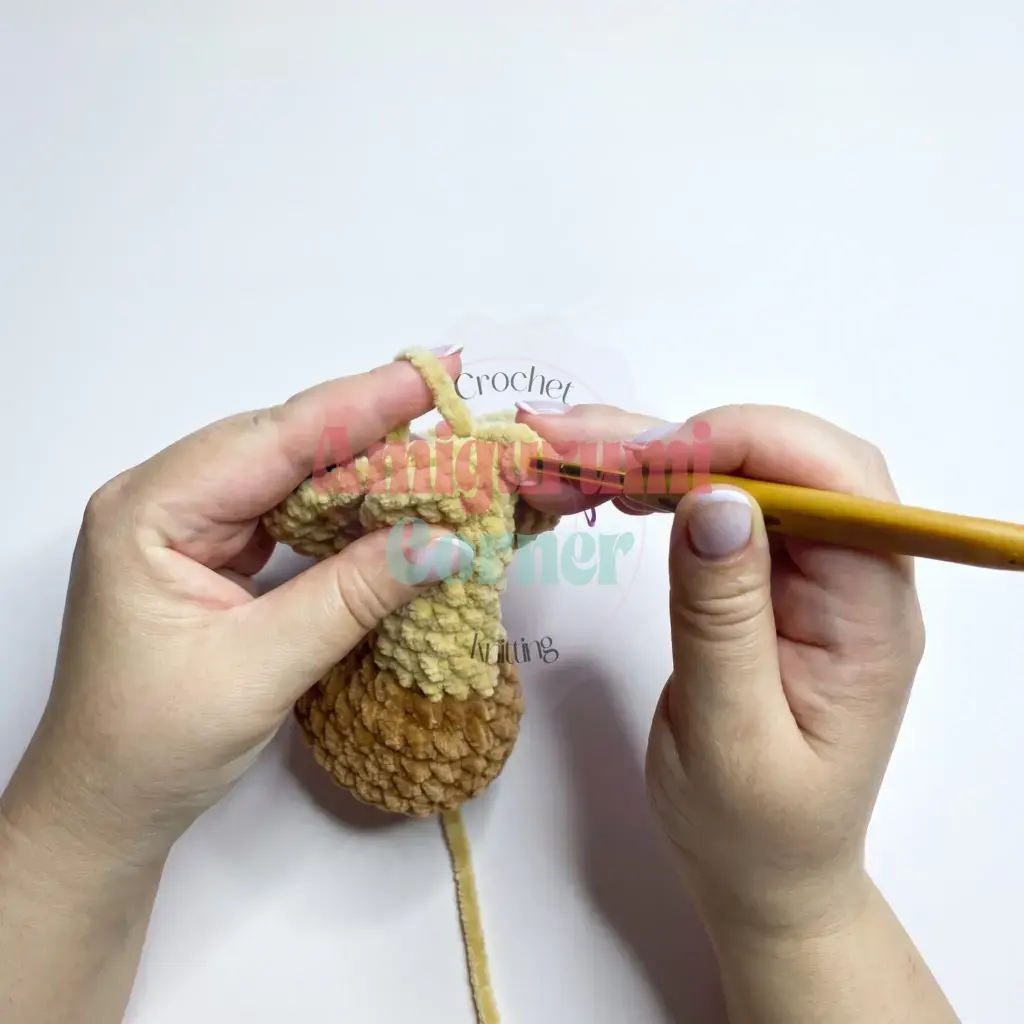
Work one offset stitch, not counted to align the front and back edges, then fold the leg flat and sc 6 through both layers to close it up. Make the second leg the same way.
Arms (make 2)
Rnd 1: 6 sc in MR. (6)
Rnd 2: inc repeat 6 times around. (12)
Rnd 3: sc 3, inc repeat 3 times around. (15)
Rnds 4–5: sc in each st around. (15)
Rnd 6: sc 3, dec repeat 3 times around. (12)
Rnd 7: dec repeat 3 times, sc 6. (9)
Rnds 8–14: sc in each st around. (9)
Stuff the arm about halfway — you want it soft enough to bend into a natural pose. Fold the arm flat and sc 4 through both layers to close.
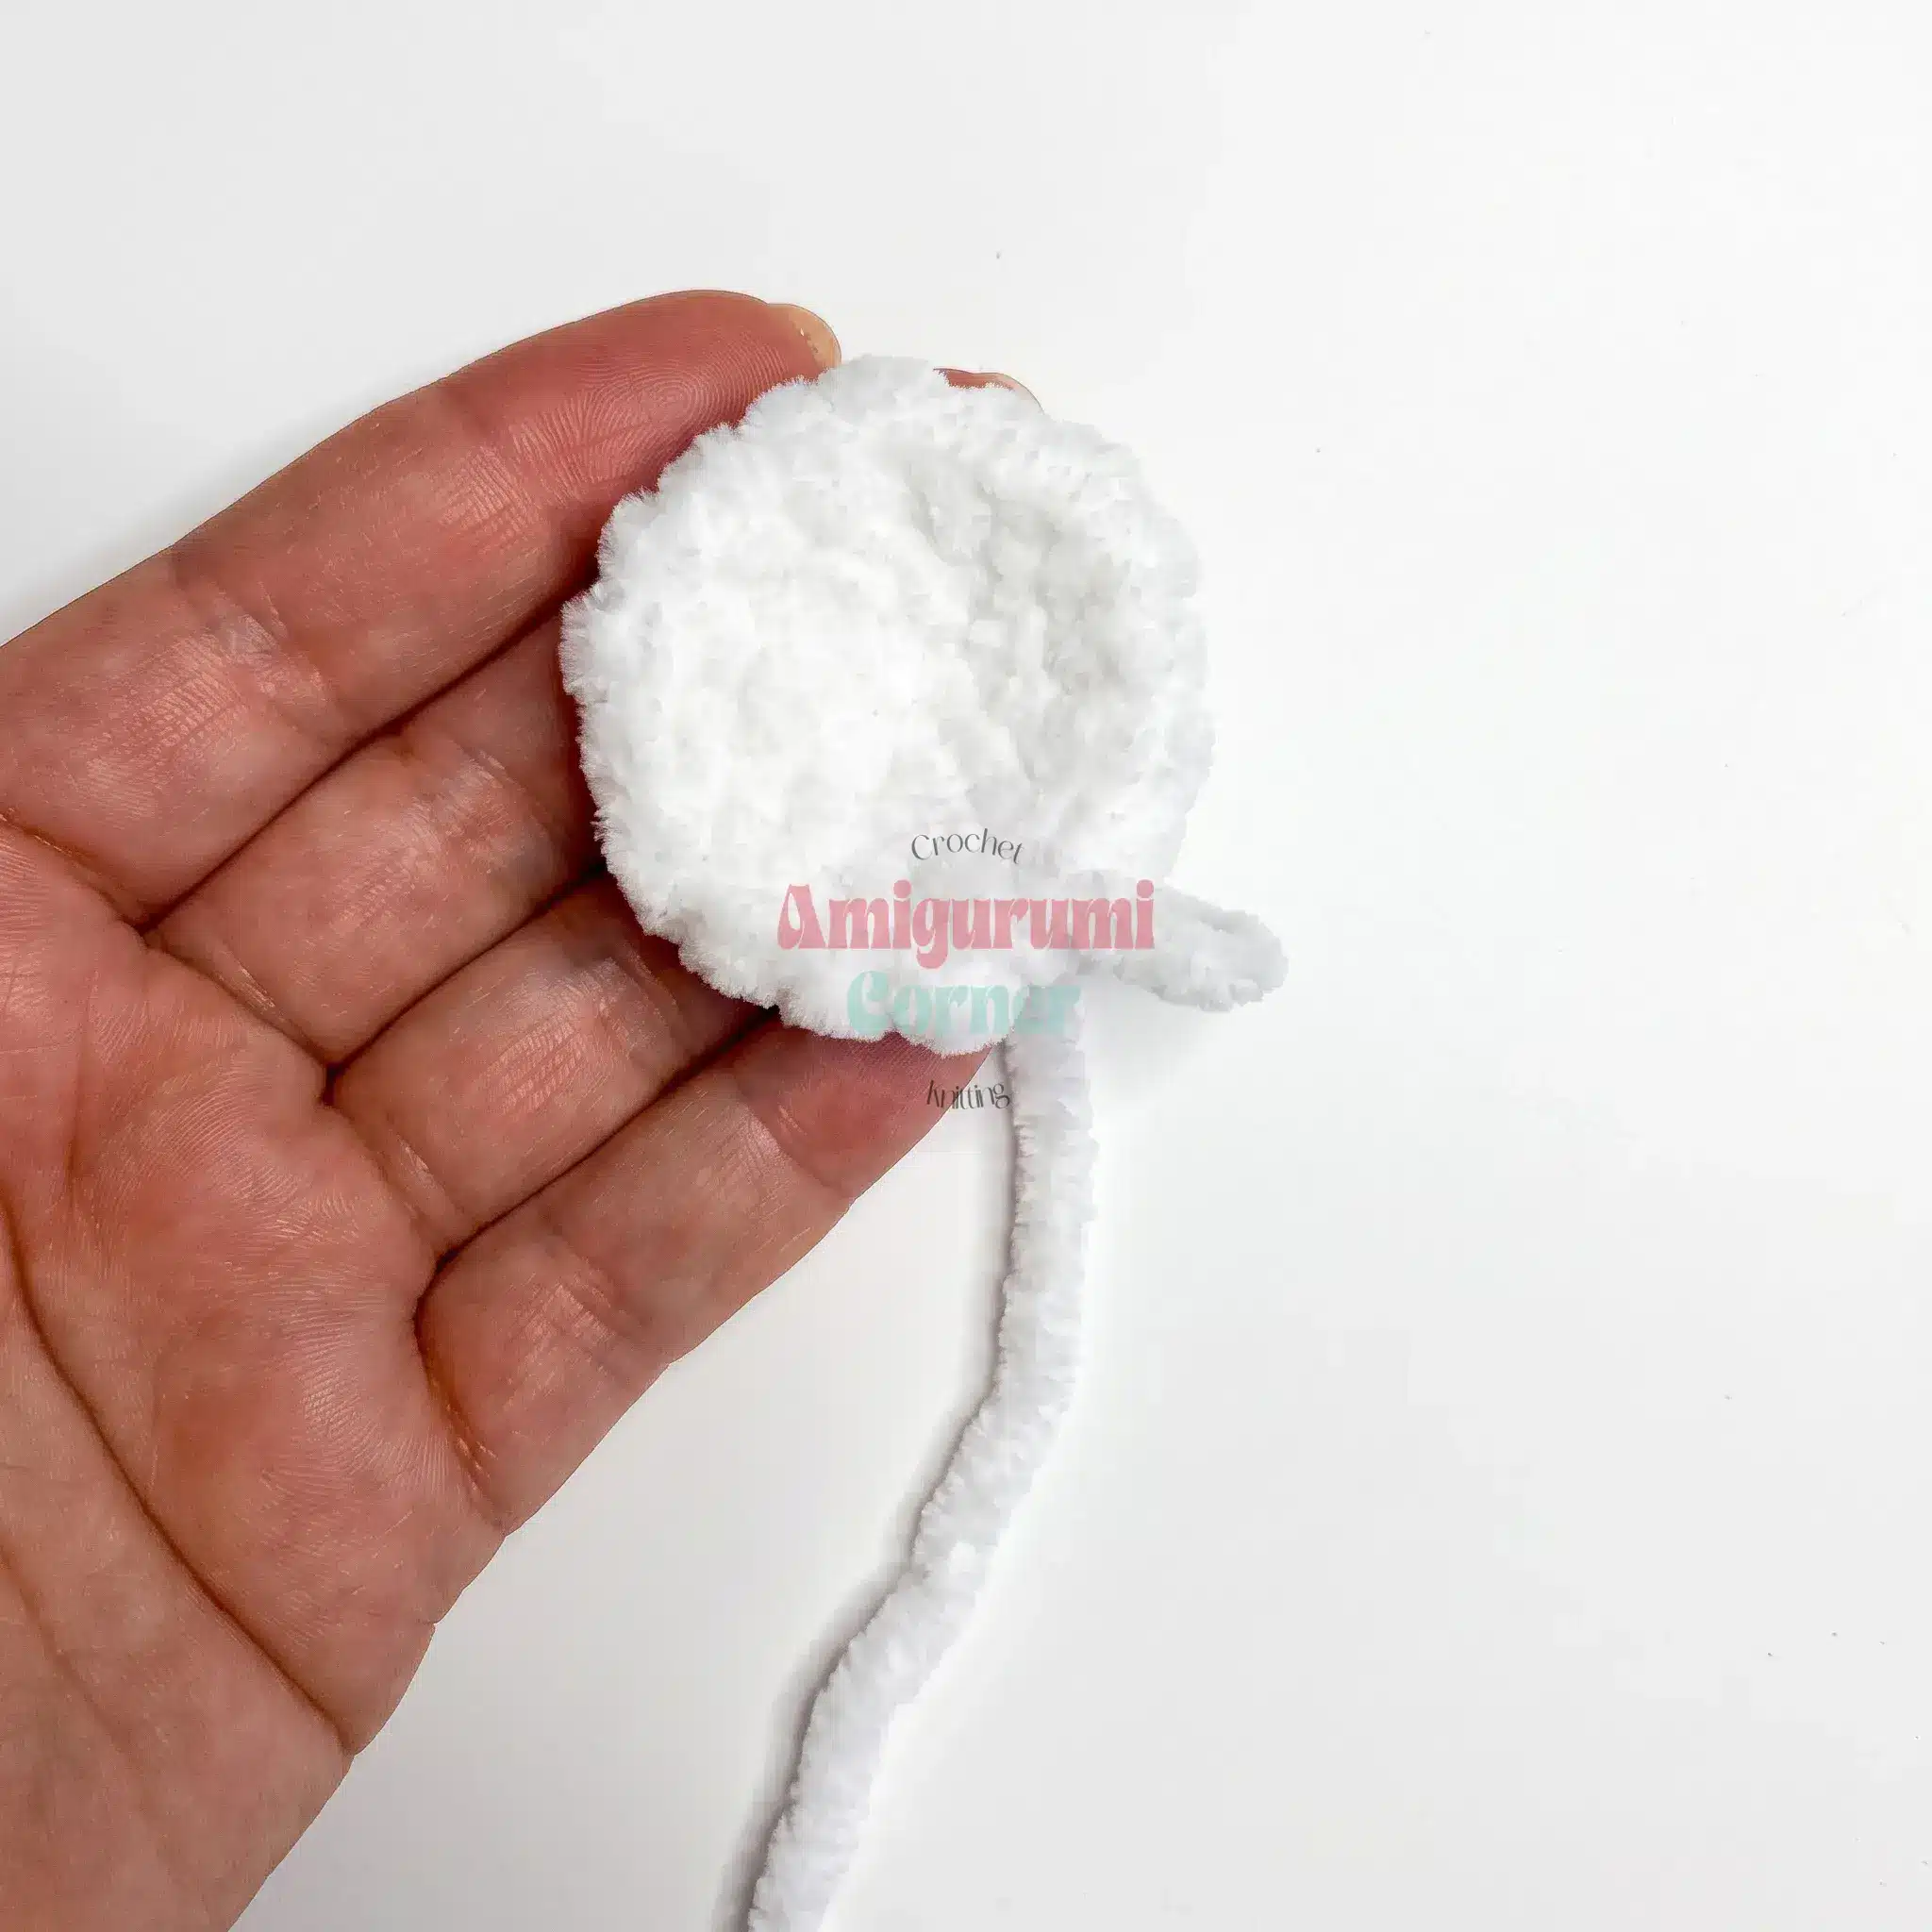
Muzzle
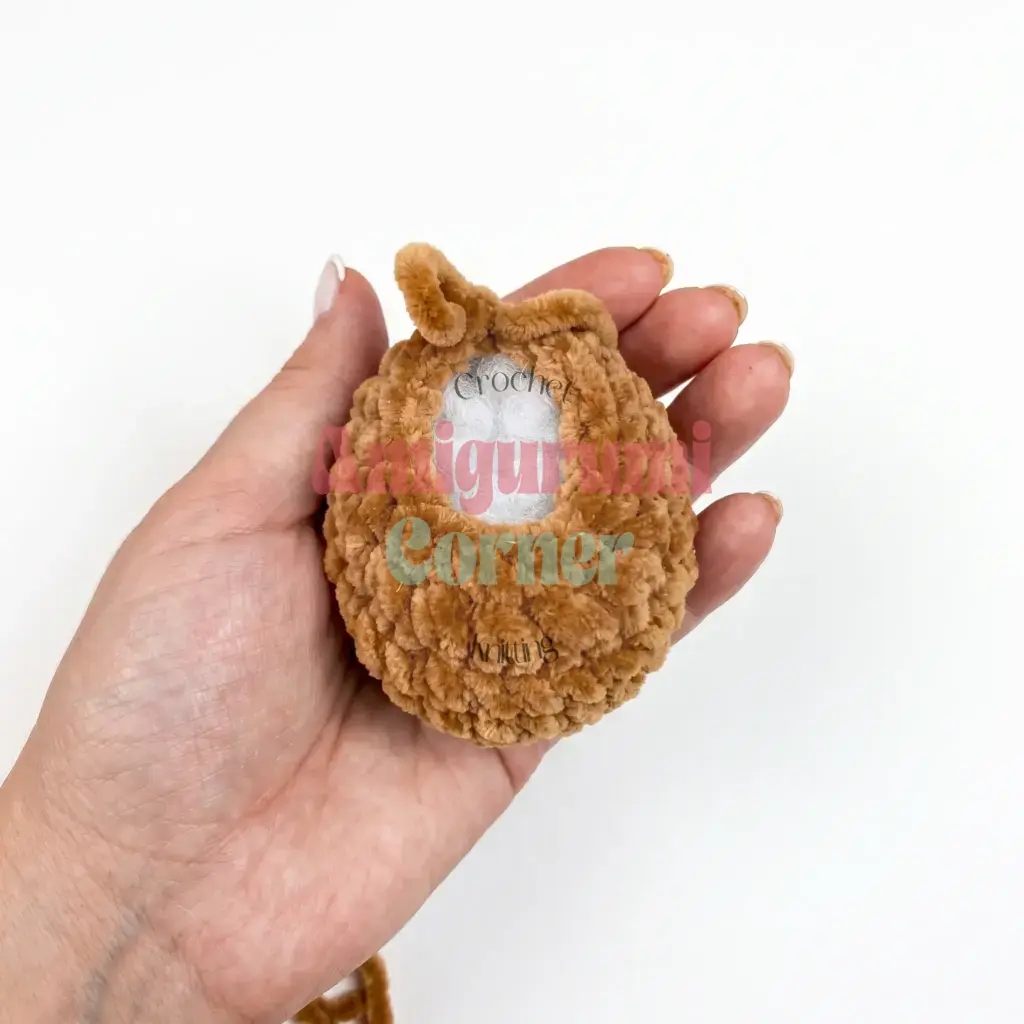
Work this piece in your cream/off-white yarn.
Rnd 1: 6 sc in MR. (6)
Rnd 2: inc repeat 6 times around. (12)
Rnd 3: sc 1, inc repeat 6 times around. (18)
Rnd 4: sc 1, inc, sc 2, inc repeat 5 times, sc 1. (24)
Fasten off, leaving a long tail for sewing.
Body
Rnd 1: 6 sc in MR. (6)
Rnd 2: inc repeat 6 times around. (12)
Rnd 3: sc 1, inc repeat 6 times around. (18)
Rnd 4: sc 1, inc, sc 2, inc repeat 5 times, sc 1. (24)
Rnd 5: sc 3, inc repeat 6 times around. (30)
Rnd 6: sc 2, inc, sc 4, inc repeat 5 times, sc 2. (36)
Rnd 7: sc 5, inc repeat 6 times around. (42)
Rnd 8: sc in each st around. (42)
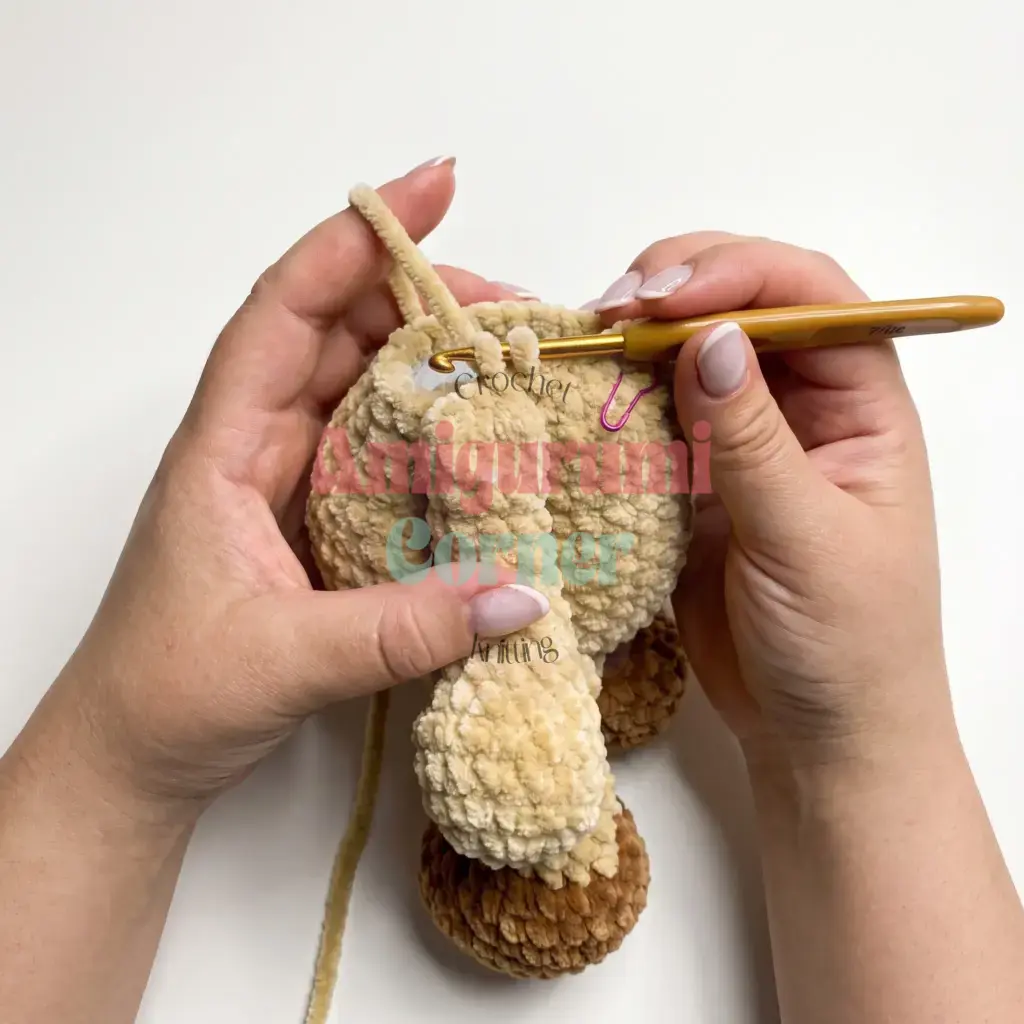
Rnd 9: Attach the legs here: sc 6, sc 6 (working through the stitch and one leg together), sc 17 across the belly, sc 6 (working through the stitch and the other leg together), sc 7. (42)
Rnds 10–12: sc in each st around. (42)
Rnd 13: sc 12, sc 1, dec repeat 6 times, sc 12. (36)
Rnd 14: sc in each st around. (36)
Rnd 15: sc 12, dec repeat 6 times, sc 12. (30)
Rnds 16–17: sc in each st around. (30)
Rnd 18: sc 3, dec repeat 6 times around. (24)
Work an extra offset stitch, not counted, if needed so your stitch marker sits at center back.
Rnd 19: Attach the arms here: sc 4, sc 4 (working through the stitch and one arm together), sc 6 across the front, sc 4 (working through the stitch and the other arm together), sc 6. (24)
Rnd 20: sc in each st around. (24)
Fasten off, leaving a long tail for sewing on the head.
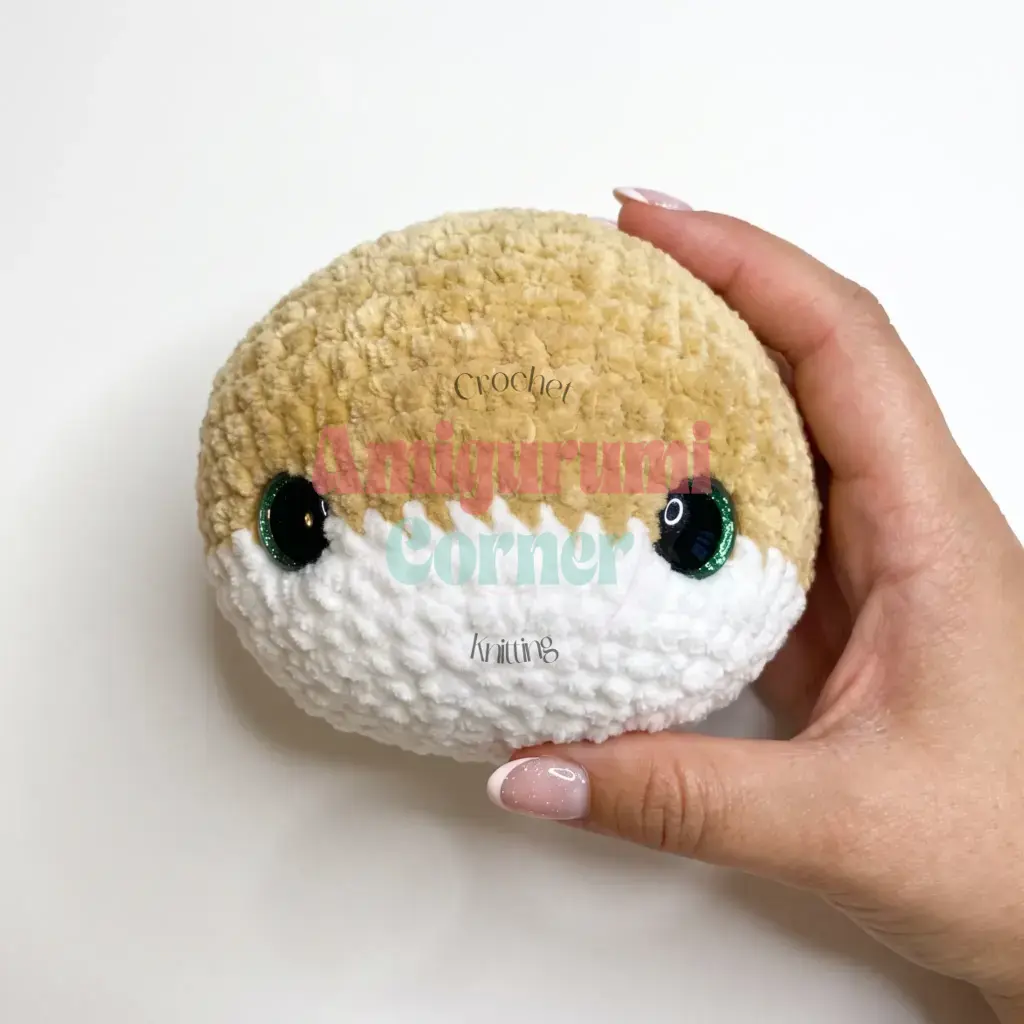
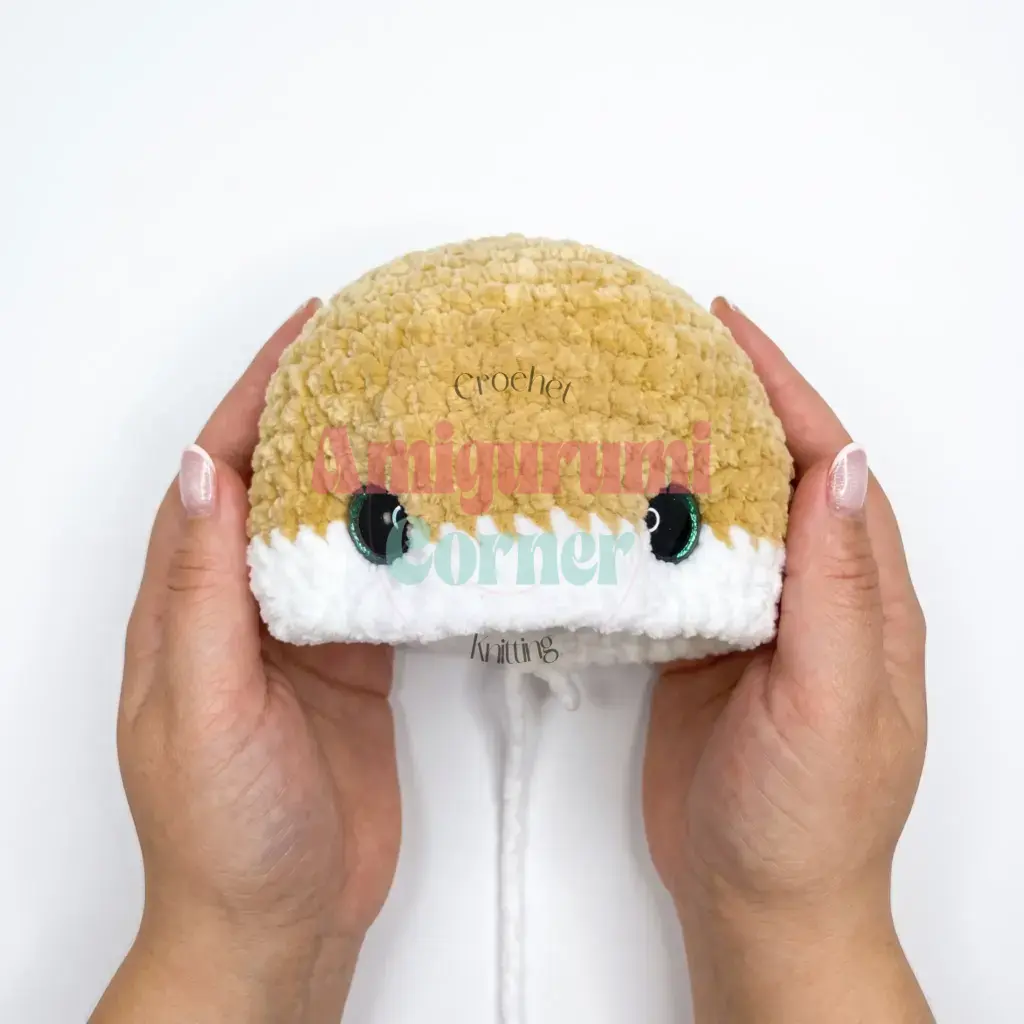
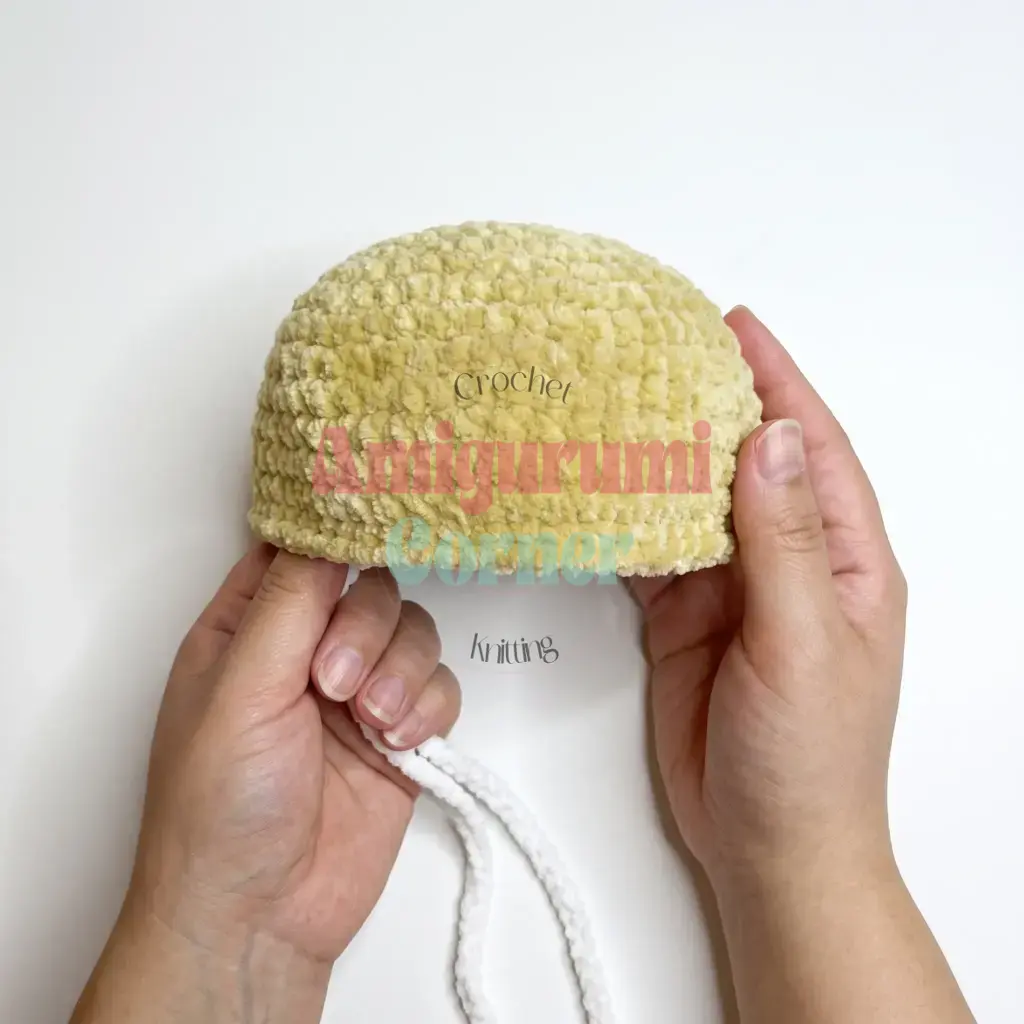
Head
Begin with your beige (main color) yarn.
Rnd 1: 6 sc in MR. (6)
Rnd 2: inc repeat 6 times around. (12)
Rnd 3: inc repeat 12 times around. (24)
Rnd 4: sc 3, inc repeat 6 times around. (30)
Rnd 5: sc 2, inc, sc 4, inc repeat 5 times, sc 2. (36)
Rnd 6: sc 5, inc repeat 6 times around. (42)
Rnd 7: sc 3, inc, sc 6, inc repeat 5 times, sc 3. (48)
Rnd 8: sc 7, inc repeat 6 times around. (54)
Rnds 9–15: sc in each st around. (54)
At the end of round 15, switch to your cream/off-white yarn.
Rnd 16: sc in each st around. (54)
Rnd 17: sc 7, dec repeat 6 times around. (48)
Rnd 18: sc 3, dec, sc 6, dec repeat 5 times, sc 3. (42)
Rnd 19: sc 5, dec repeat 6 times around. (36)
Rnd 20: sc 2, dec, sc 4, dec repeat 5 times, sc 2. (30)
Rnd 21: sc 3, dec repeat 6 times around. (24)
Stuff the head firmly with fiberfill as you continue.
Rnd 22: sc 1, dec, sc 2, dec repeat 5 times, sc 1. (18)
Rnd 23: sc 1, dec repeat 6 times around. (12)
Rnd 24: dec repeat 6 times around. Closes the remaining opening. (0)
Weave the tail through the fabric to secure it.
Ears (make 2)
Rnd 1: 6 sc in MR. (6)
Rnd 2: inc repeat 6 times around. (12)
Rnd 3: sc in each st around. (12)
Rnd 4: sc 2, dec repeat 3 times around. (9)
Rnd 5: sc in each st around. (9)
Rnd 6: sc 1, dec repeat 3 times around. (6)
Fold the ear flat and sc 3 through both layers to close. Leave a tail for sewing.
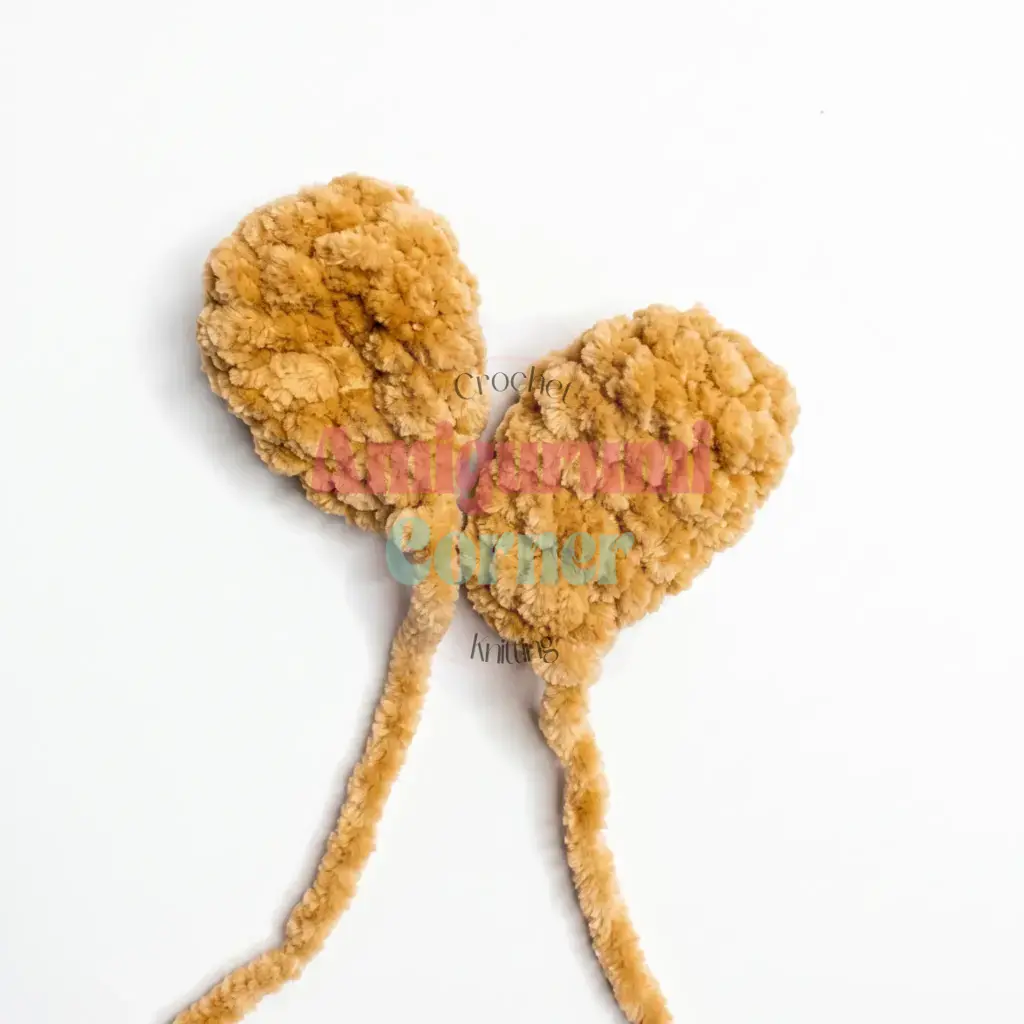
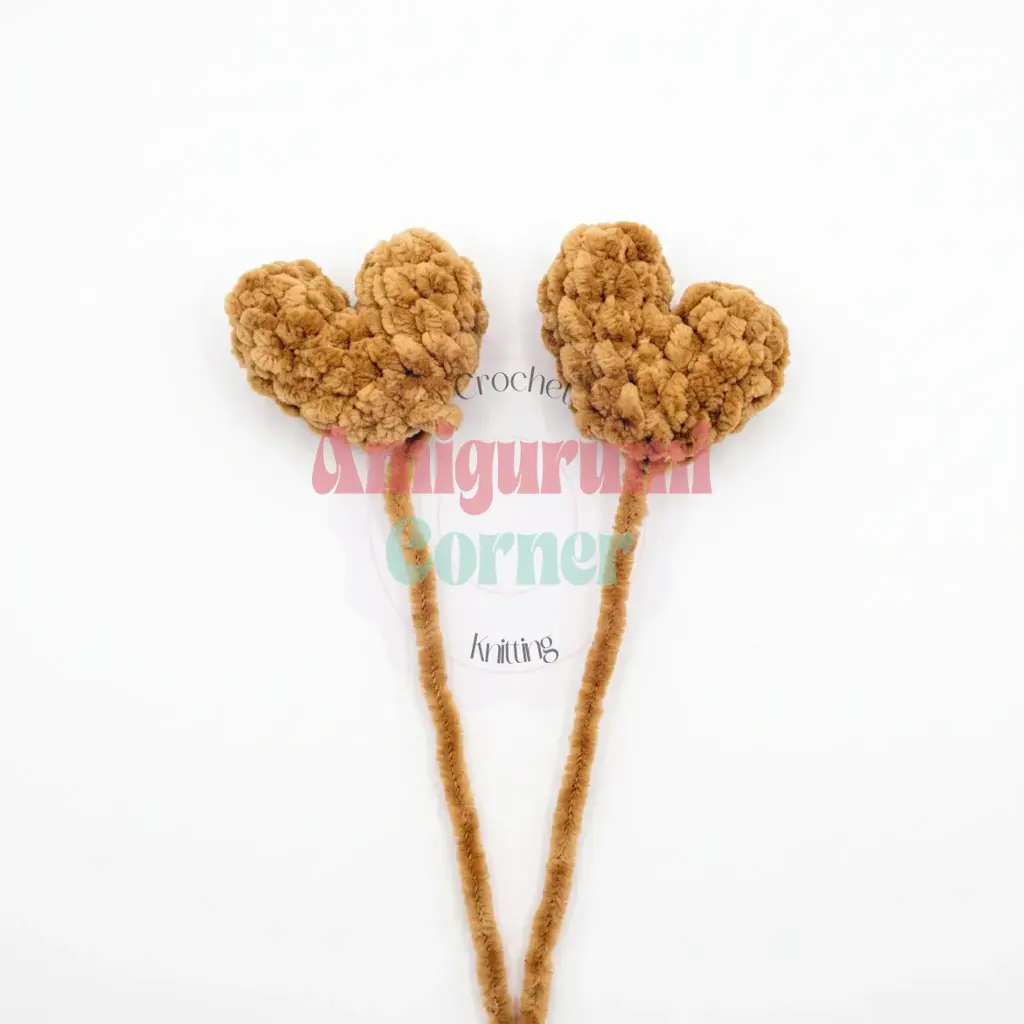
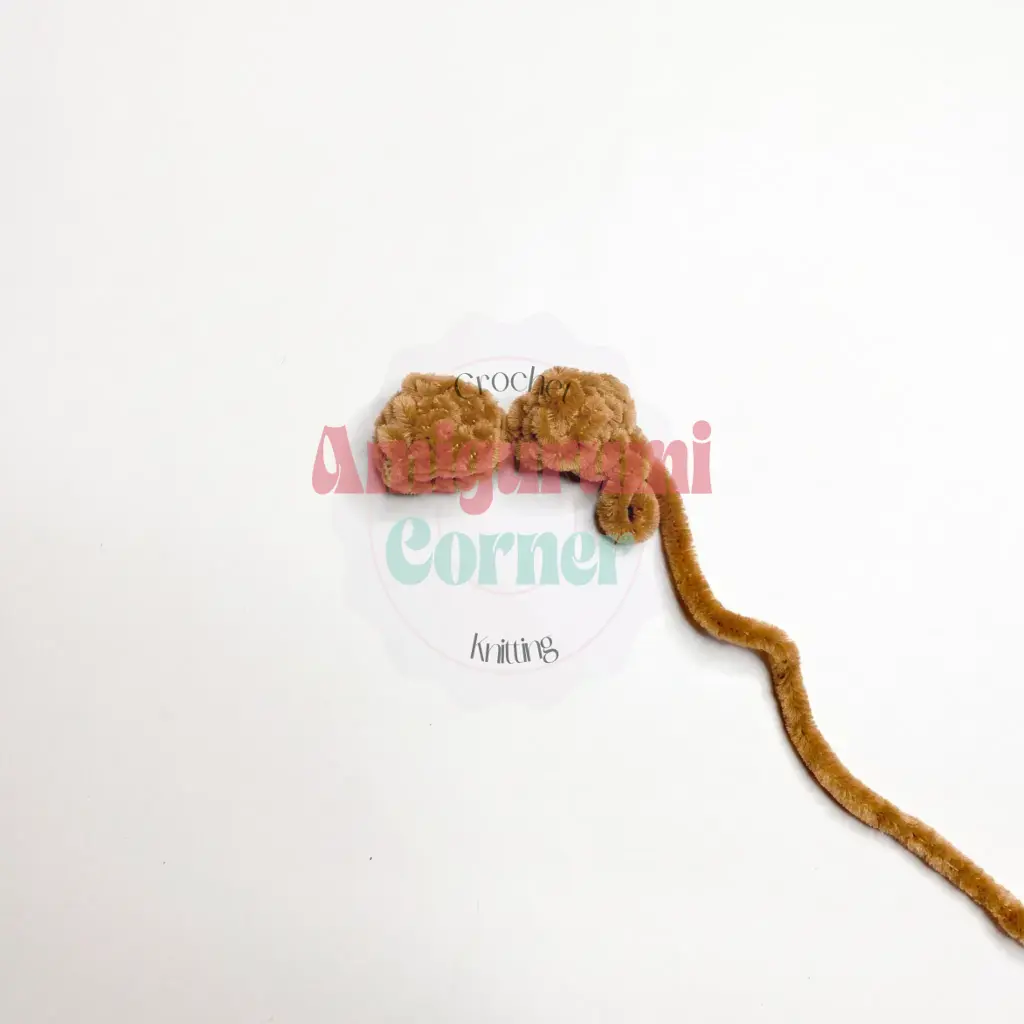
Antlers (make 2)
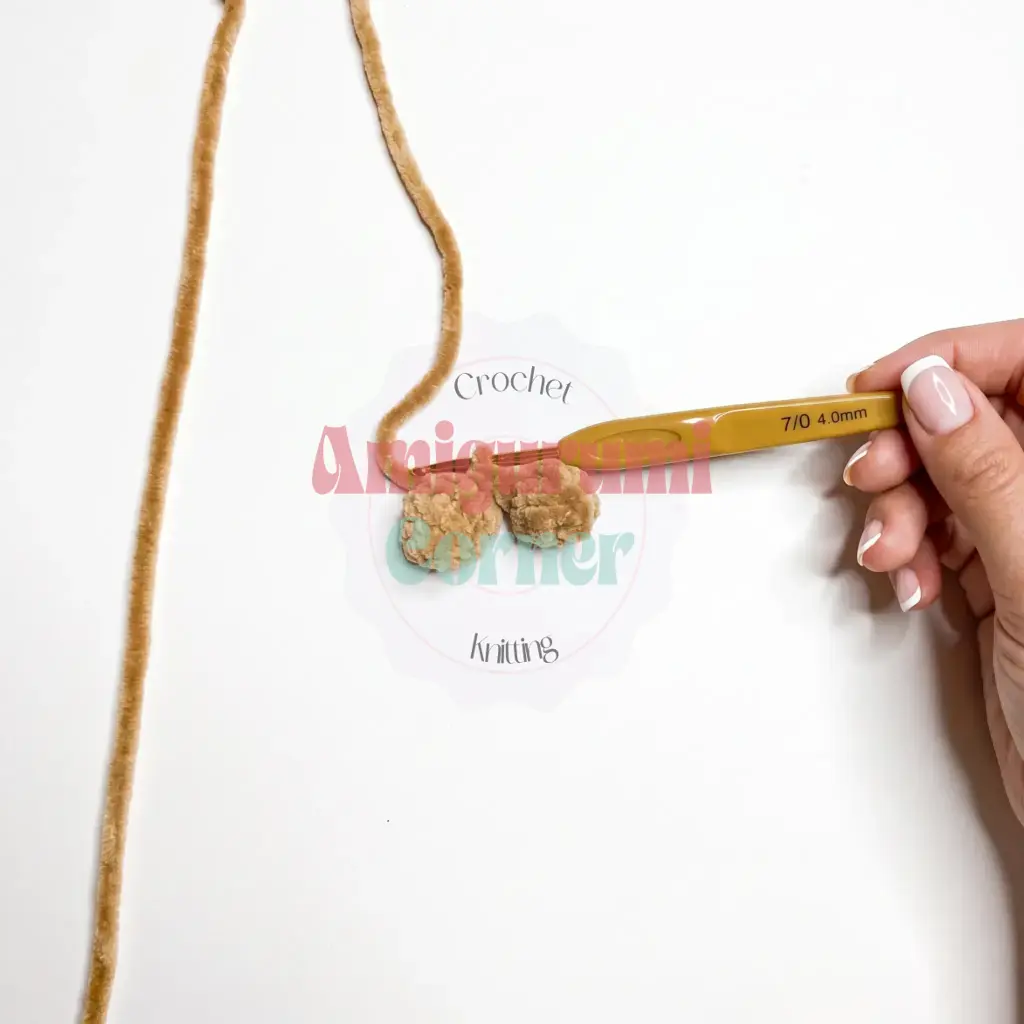
Each antler is made from two small pieces joined together, then shaped into a heart.
First piece:
Rnd 1: 6 sc in MR. (6)
Rnds 2–3: sc in each st around. (6)
Slip stitch to join, fasten off.
Second piece:
Rnd 1: 6 sc in MR. (6)
Rnds 2–3: sc in each st around. (6)
Slip stitch to join; do not fasten off — continue working.
Now join the two pieces and work around both together:
Rnd 3: sc 6 across the first piece, sc 6 across the second piece. (12)
Rnd 4: sc 2, dec repeat 3 times around. (9)
Rnd 5: sc 1, dec repeat 3 times around. (6)
Slip stitch to close, fasten off, and leave a tail for sewing. Repeat both pieces to make the second antler.
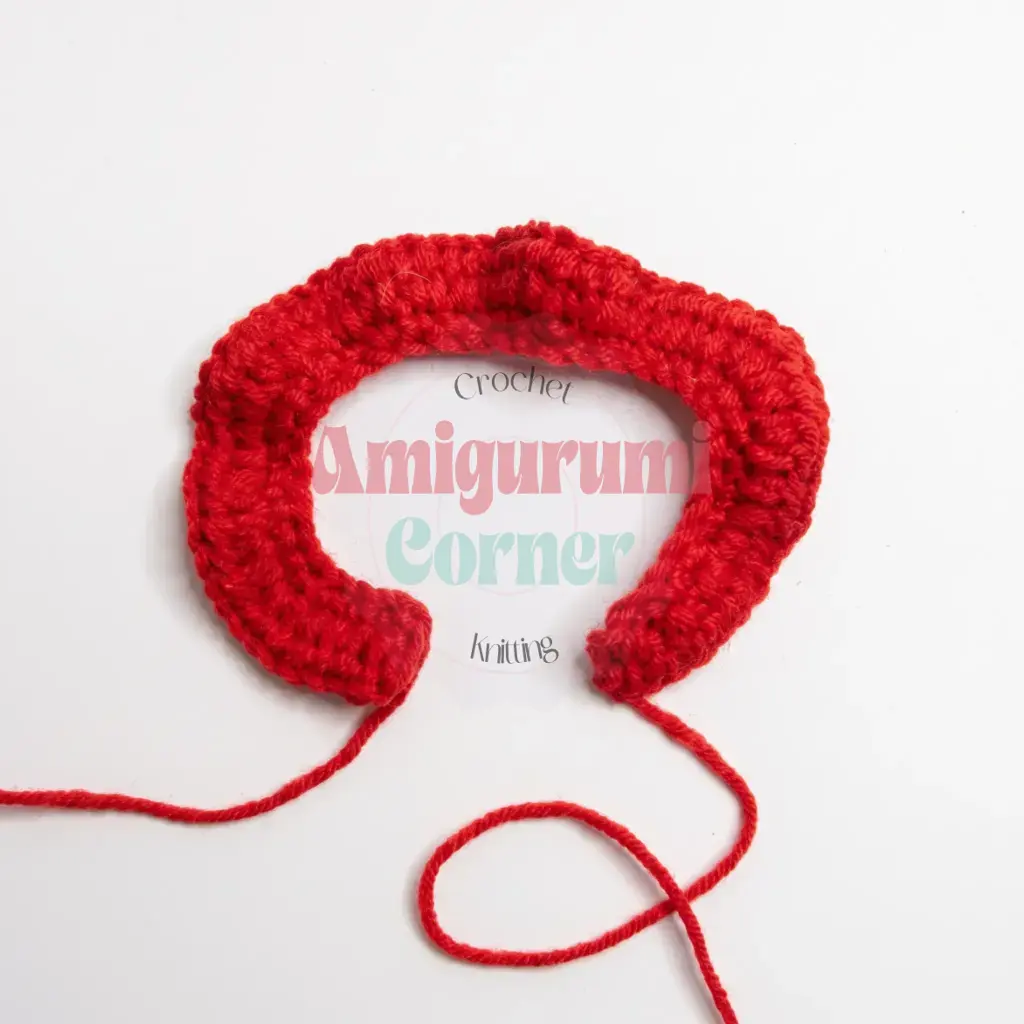
Pinafore and Straps
Work the skirt portion in red yarn. Chain 62 (this number may vary slightly depending on your gauge — that’s normal).
Row 1: Starting in the 2nd ch from the hook, sc across. (61)
Row 2: ch 3 (counts as first hdc), inc hdc in each st across. (122)
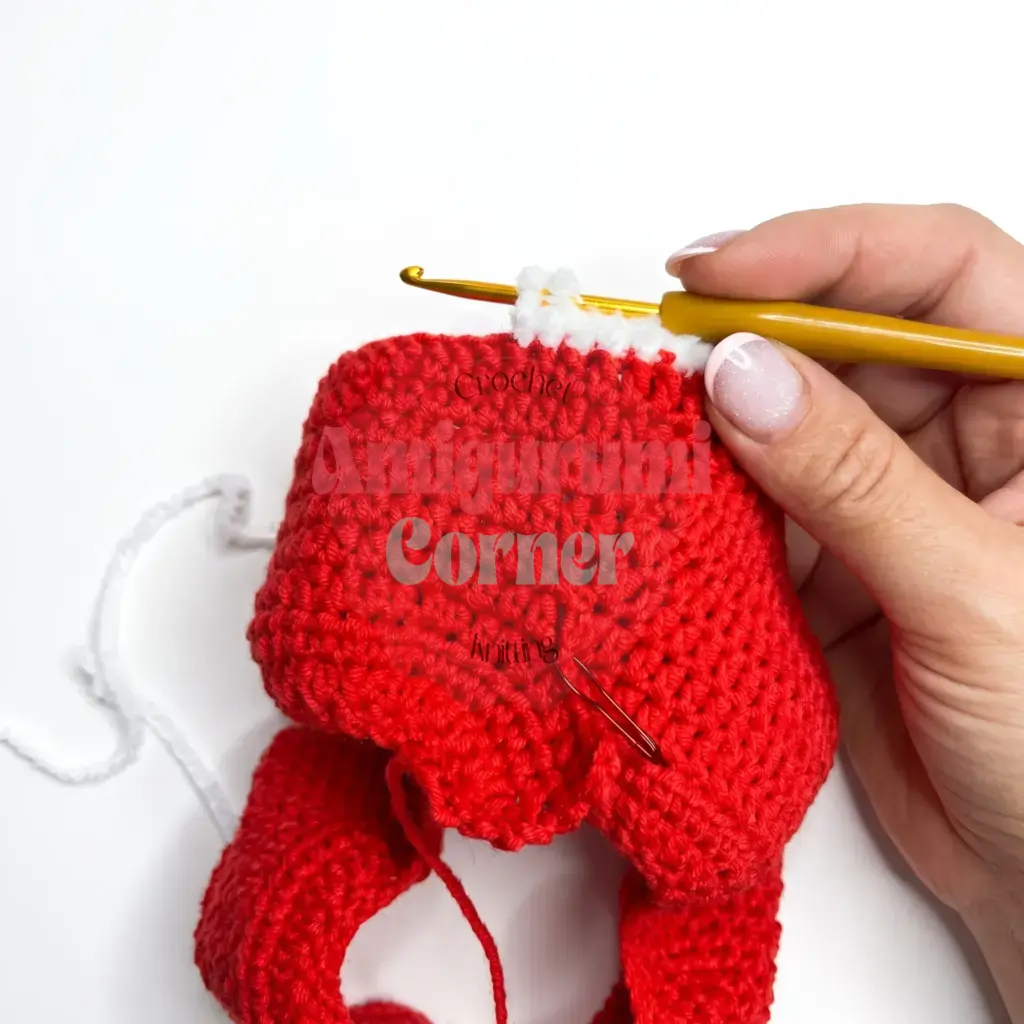
Rows 3–4: hdc in each st across, then join to work in the round with a slip stitch. Try the skirt on your fawn here to check the fit before continuing — you’ll be working in continuous rounds from this point on. (122)
Rnds 5–10: hdc in each st around. (122)
Straps:
Chain 35.
Row 1: Starting in the 2nd ch from the hook, sc across. (34)
Row 2: ch 2 (counts as first hdc), inc hdc in each st across.
Assembly
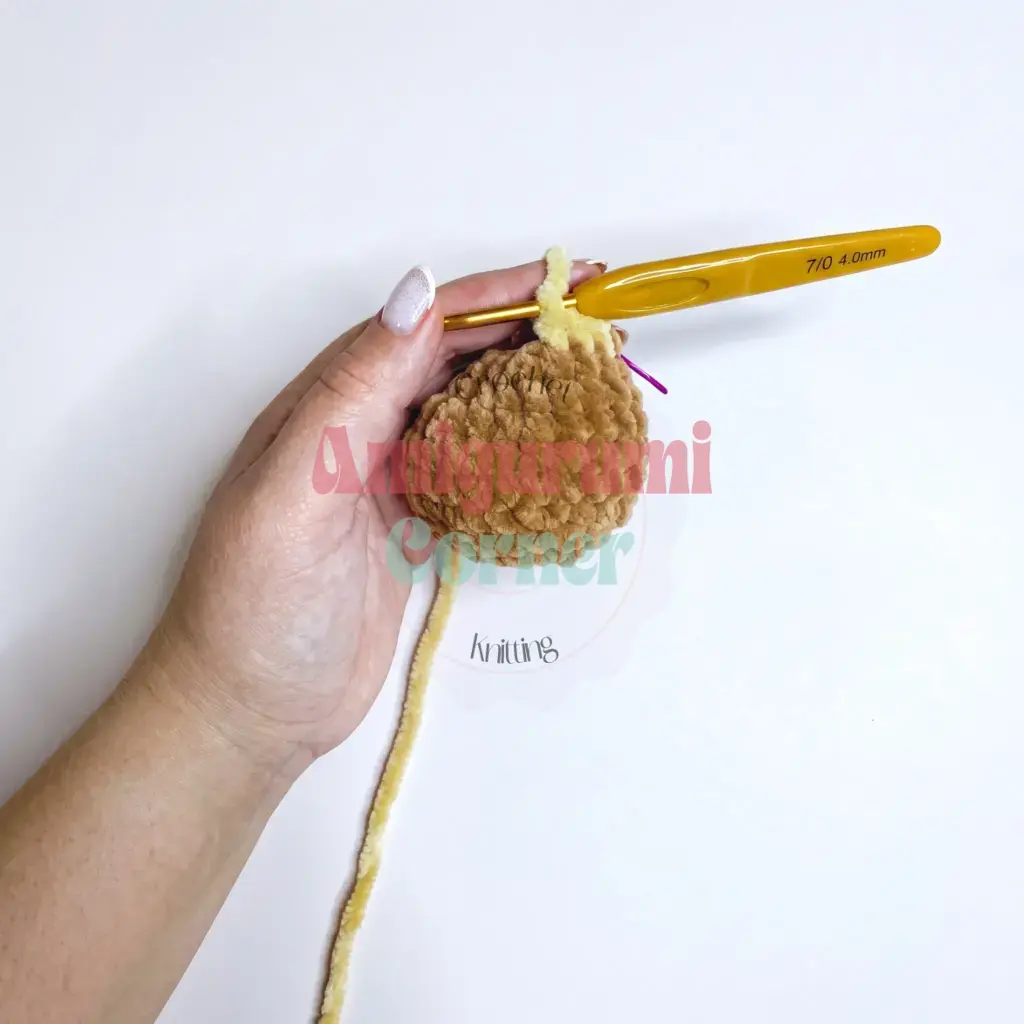
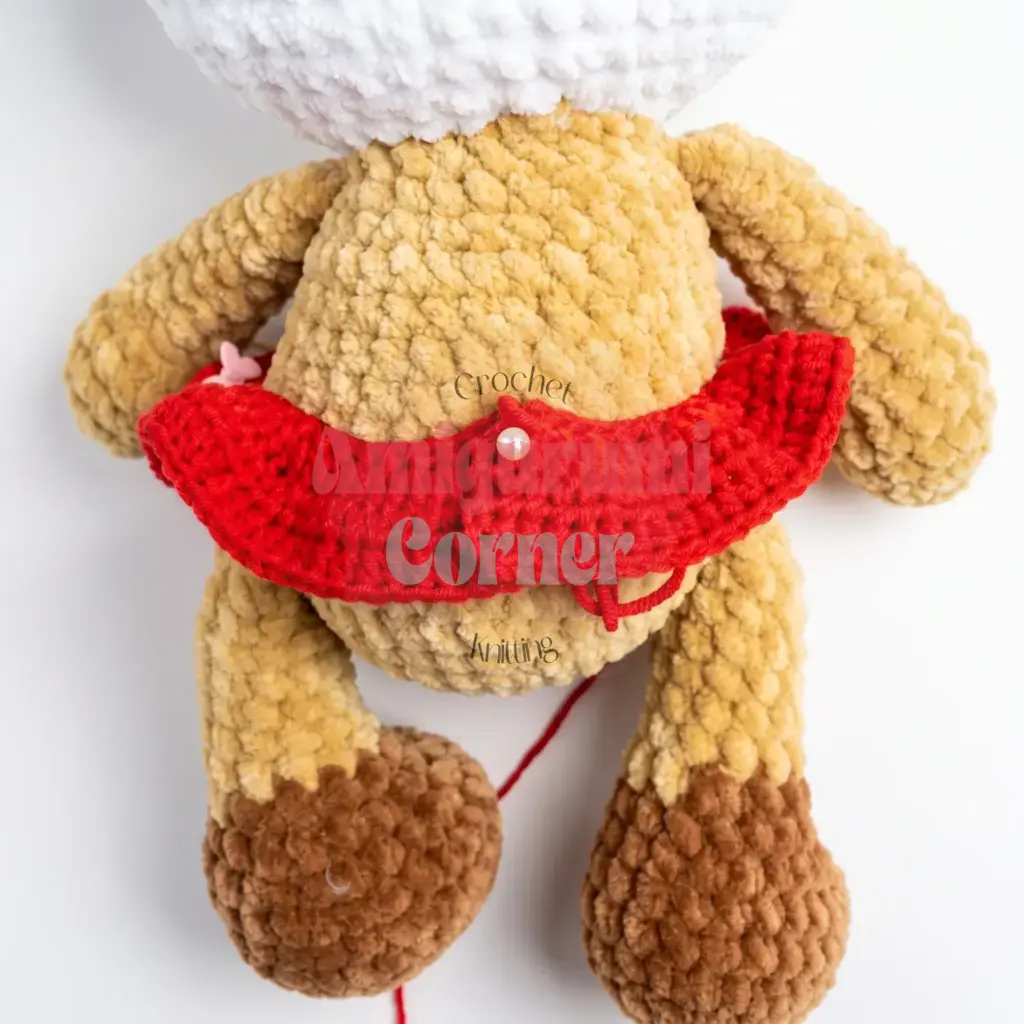
- Sew the straps to the top of the dress, then edge the entire dress with your white cotton yarn for that clean finished border.
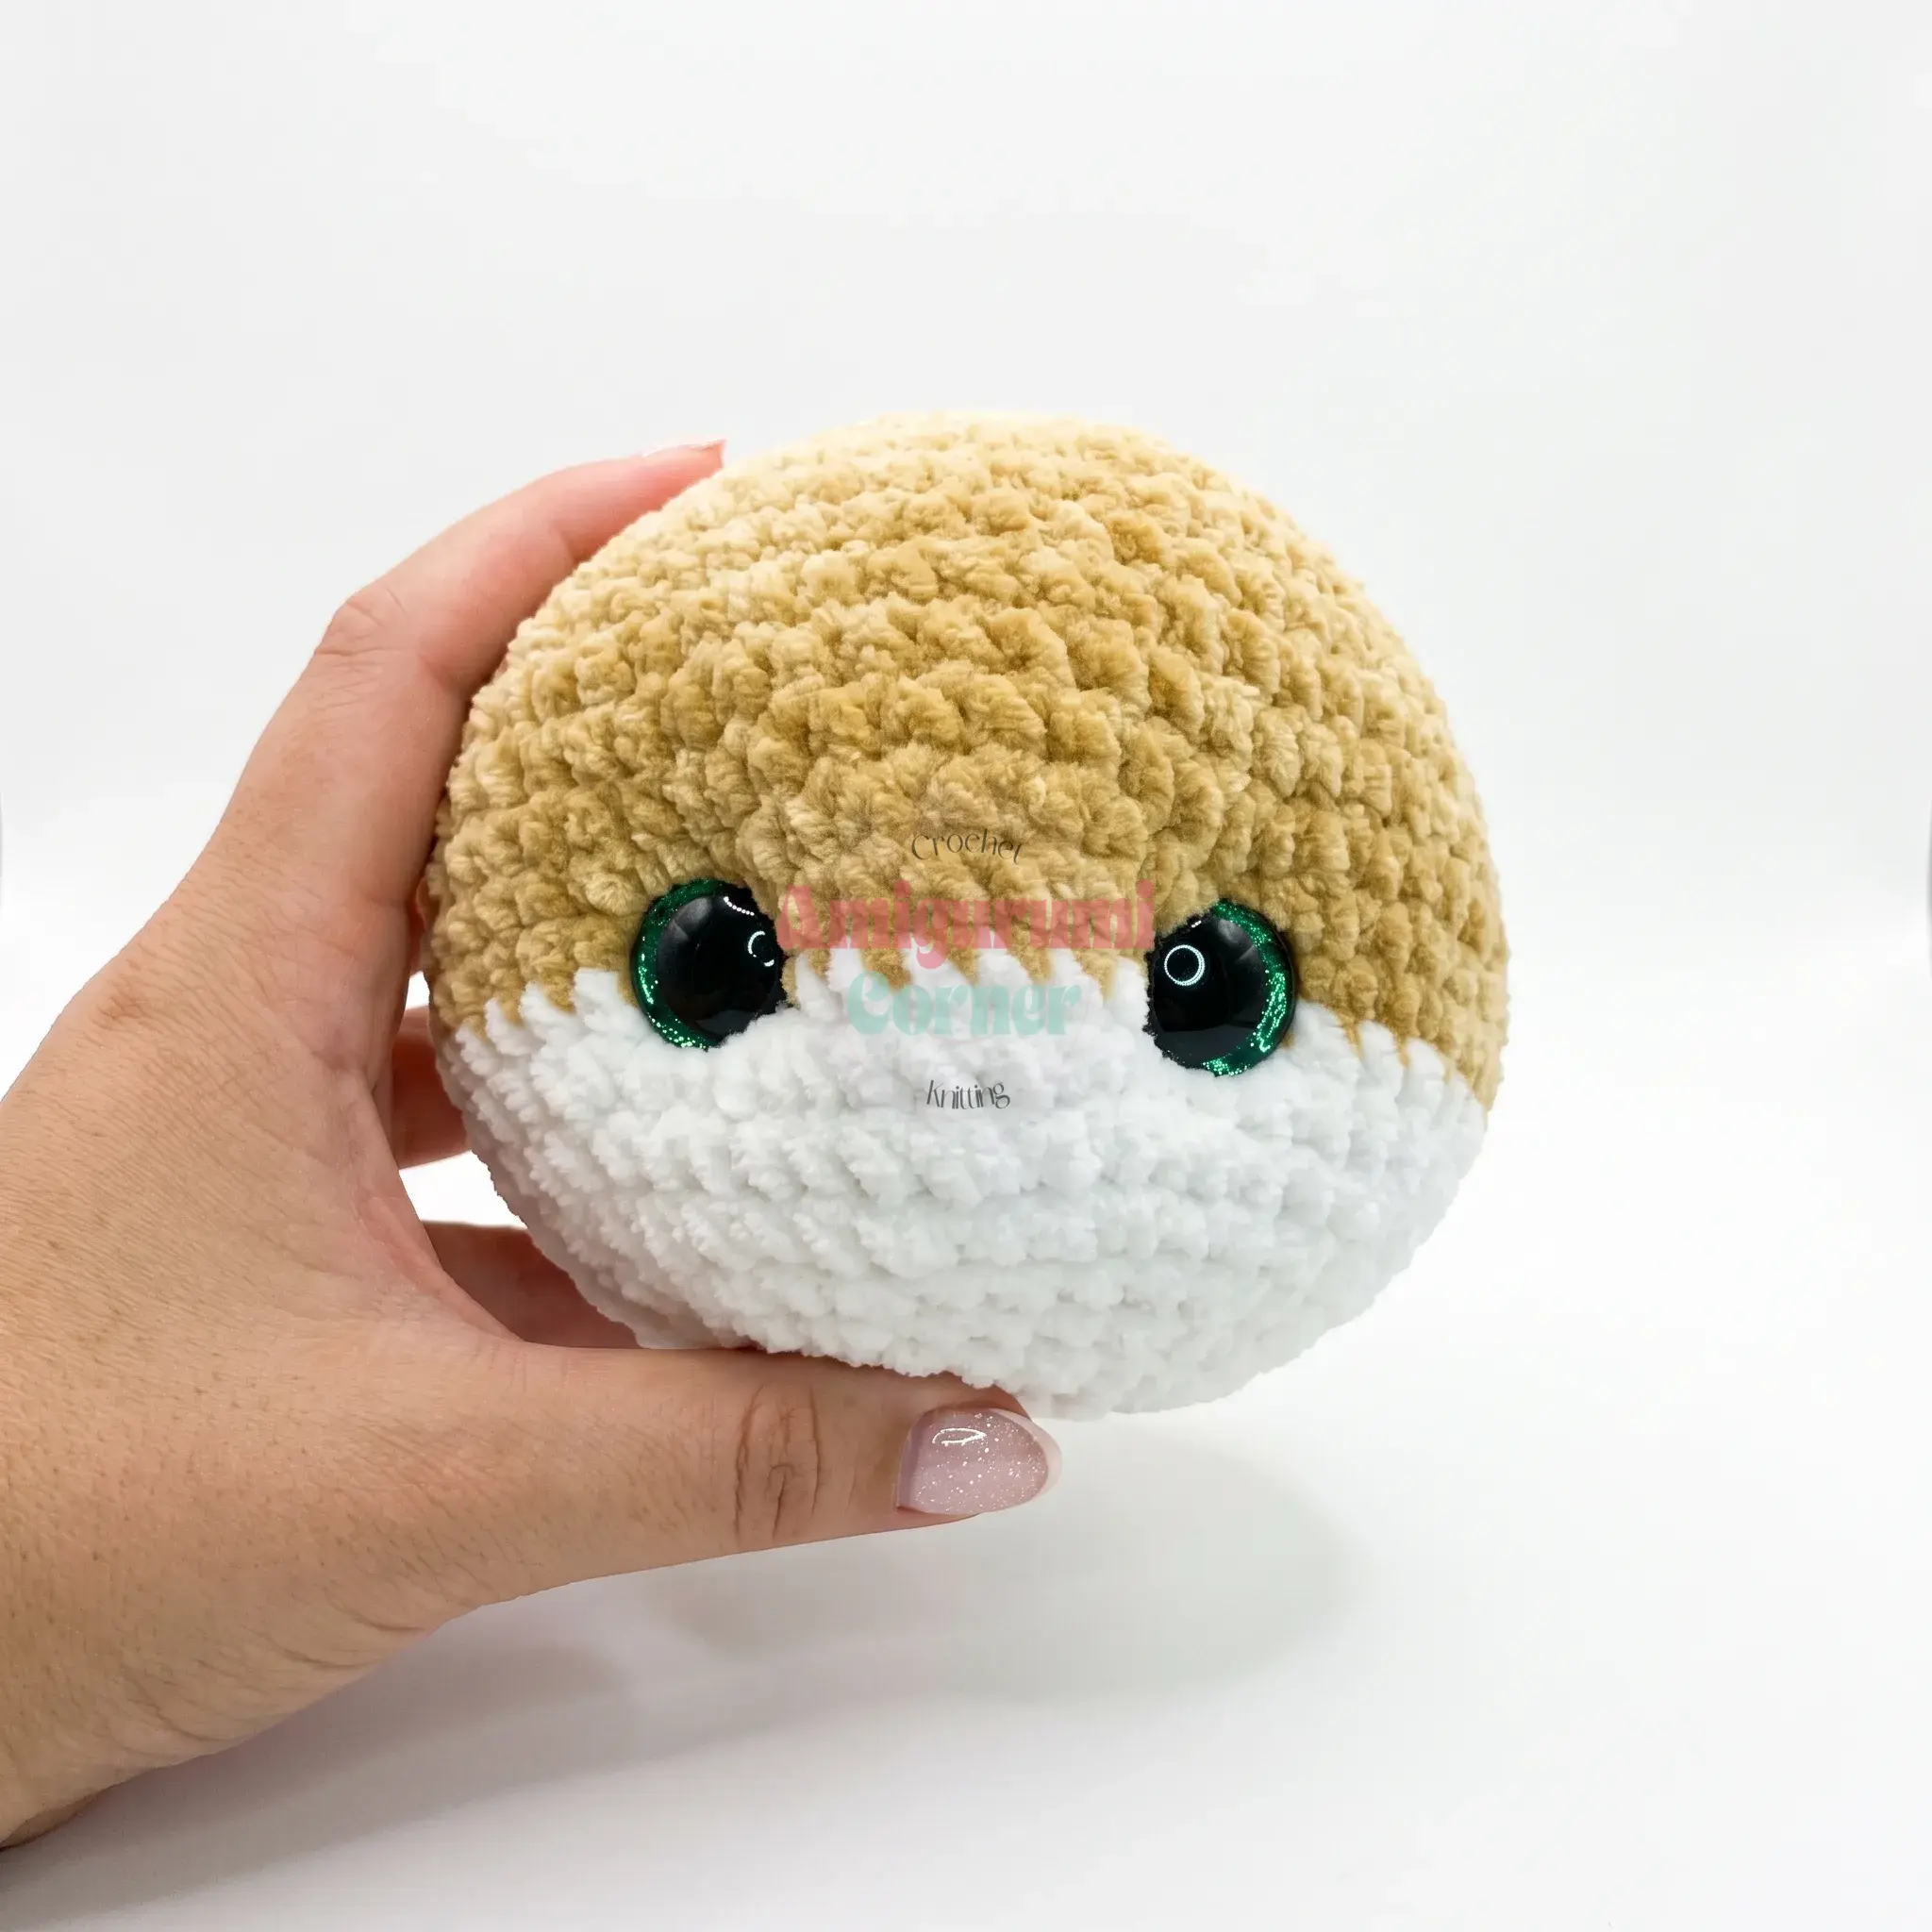
- Sew safety eyes into place on the head, then needle-sculpt the face: pull your yarn needle through the head a few times around the eye area to create a slight indent and shape the eye sockets.
- Sew the Muzzle onto the head, centered between the eyes, and glue the safety nose in place on top of it.
- Sew the Ears and Antlers onto the head, positioning them evenly on either side.
- Sew the Head onto the Body using a whipstitch, tucking the yarn tail from the body into the seam as you go.
- Slip the Pinafore over the body and secure the straps at the shoulders with a few small stitches.
- Weave in all remaining yarn ends.
Tips
- Tension: Keep your tension a touch tighter than usual when crocheting amigurumi. A hook one size smaller than the yarn label recommends will close up your stitches so the fiberfill stays hidden instead of peeking through.
- Invisible Decrease: For a clean invisible decrease, insert your hook into the front loops of the next two stitches only, then pull your yarn through both loops before completing the stitch as normal. This keeps your decreases from leaving visible gaps or bumps along Leah’s shaping rounds.
- Stuffing: Don’t over-stuff the head and body. Pack fiberfill in firmly, a little at a time, and stop once the piece feels solid but still gives slightly when you squeeze it. Overstuffing can distort your stitch definition and make the piece harder to sew closed neatly.
- Attaching Limbs: When attaching the legs and arms in the Body section, keep your stitch tension even where you’re working through both the body stitch and the limb together. Those joins carry weight, so a slightly firmer pull here helps the limbs stay secure over time.
- Yarn Choice: If you’re substituting yarn, stick with a plush or chenille-style yarn in a similar worsted weight. Thinner or smoother yarns will change both the finished size and the soft, fuzzy texture that makes this fawn so huggable.
FAQs
Can I use regular acrylic yarn instead of chenille?
Yes, you can use regular acrylic or cotton yarn, but the final look will be different. Chenille or plush yarn gives Leah that signature fuzzy, soft texture. If you use a smoother yarn, the stitches will be more defined, and the toy may feel less plush.
How do I attach the legs to the body without sewing them on later?
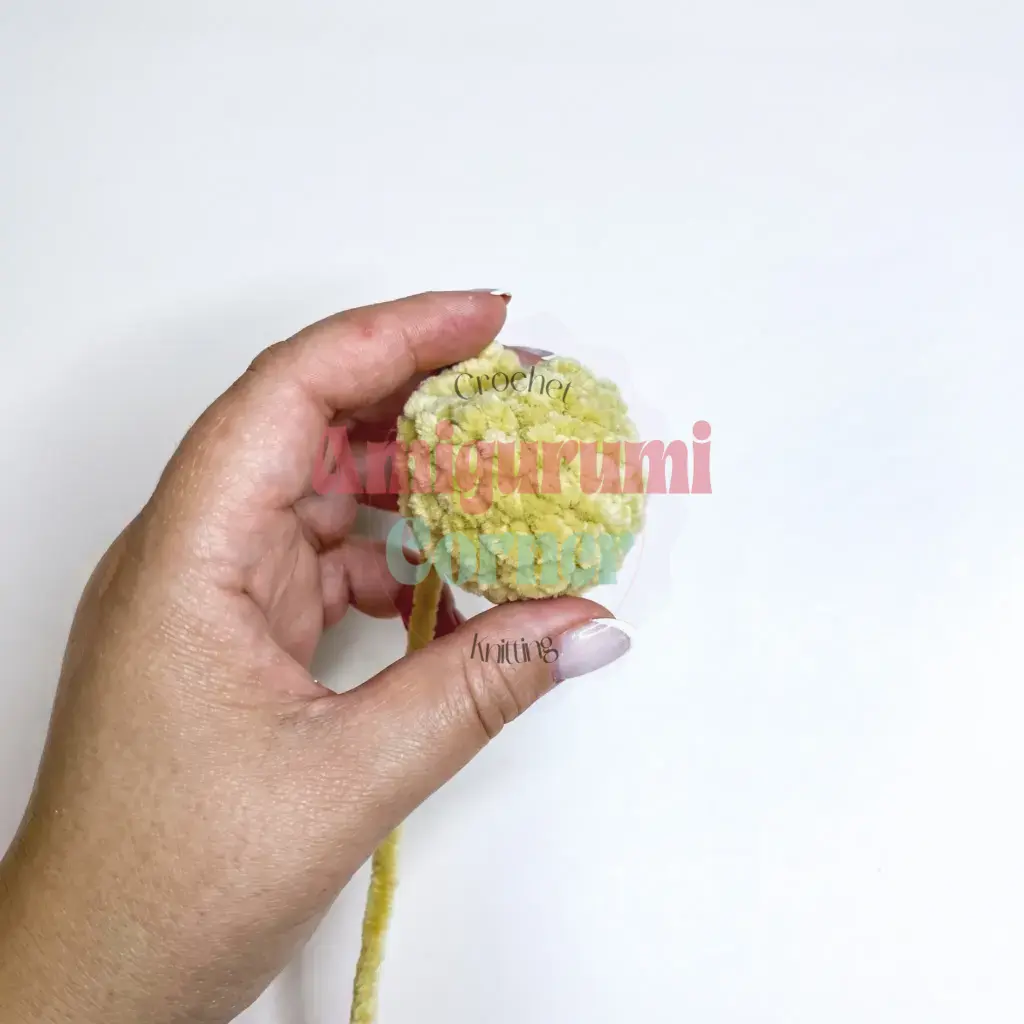
In Round 9 of the Body pattern, you work through the stitch on the body and the leg simultaneously. This integrates the leg into the body structure as you crochet, creating a strong, seamless join that supports the weight of the legs.
What if my dress doesn’t fit Leah?
The pattern notes that the chain count for the skirt (62) may vary slightly depending on your gauge. If the dress is too tight, you can add a few chains to the foundation. If it is too loose, you can reduce the chain count. Always try the skirt on the body after Row 4 to check the fit before joining the rounds.
How do I make the antlers look like hearts?
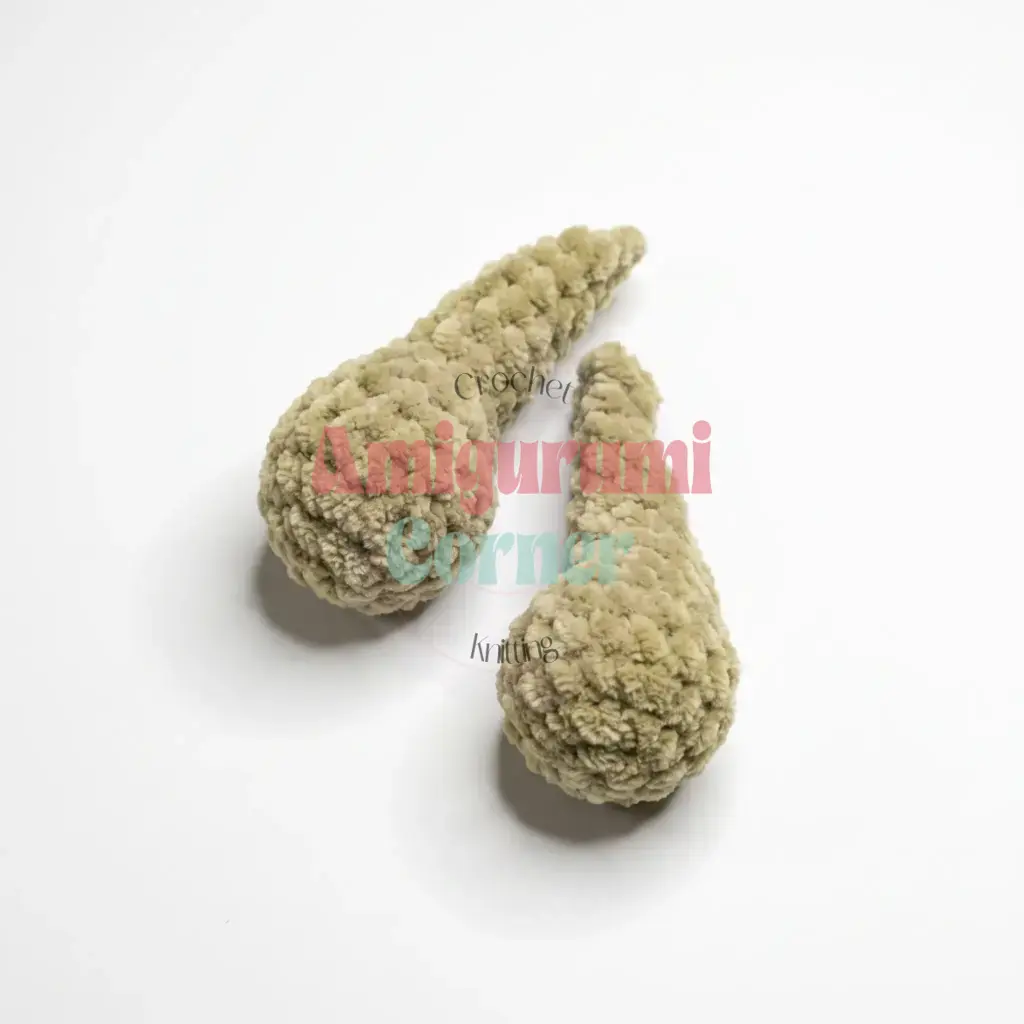
The heart shape is achieved by crocheting two small circular pieces and joining them. By working around both pieces together in the subsequent rounds, the two circles merge at the base, creating the classic heart silhouette.
Is this pattern suitable for a complete beginner?
Yes, this is a beginner-friendly pattern. It uses standard amigurumi techniques like magic rings, single crochet increases, and decreases. The instructions are written in clear US terminology, and the construction is straightforward.
Pin This Crochet Pattern!