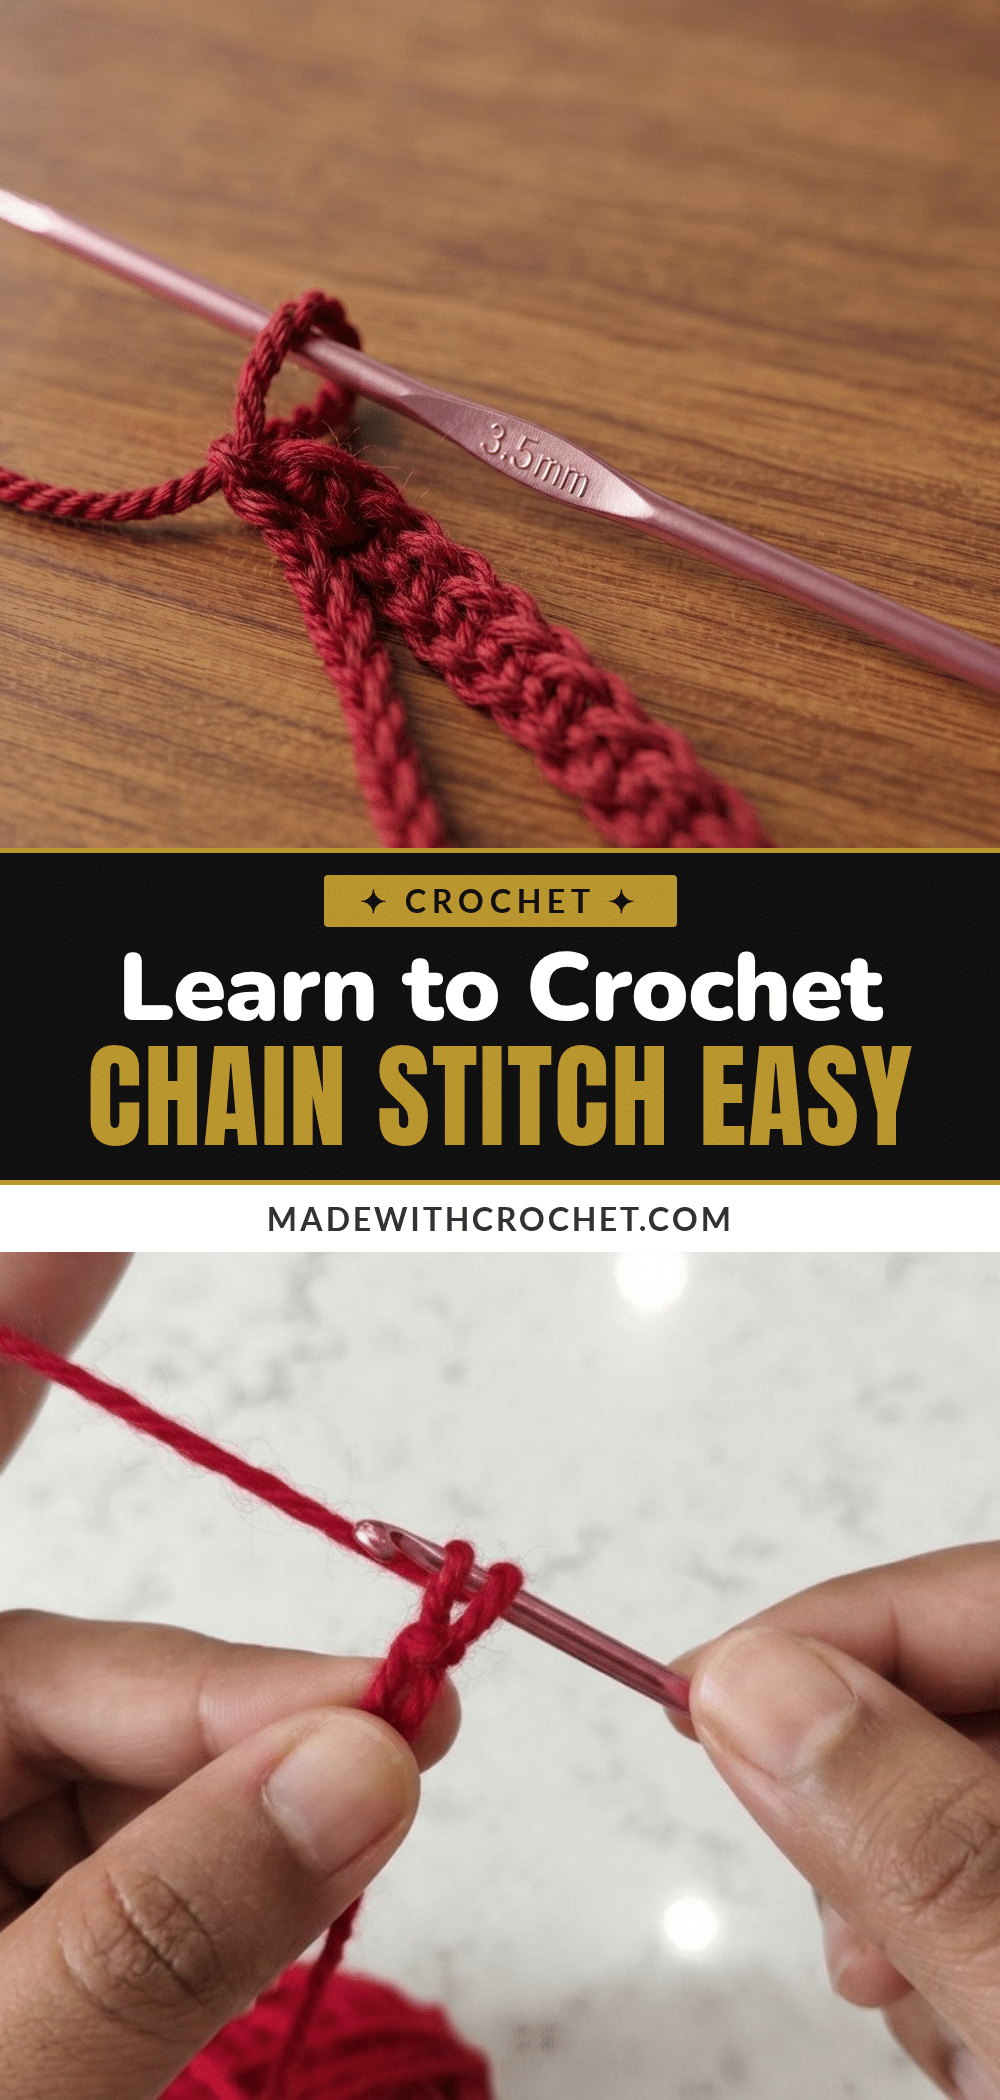
You sit down at your table, the afternoon light catching the edge of your crochet hook. Your chosen skein of yarn sits beside you, soft and waiting. This is the moment every project begins—the quiet pause before the first stitch. You pick up the hook, loop the yarn, and prepare to learn the single most important skill in crochet: the chain stitch. Let’s start this journey together, one loop at a time.
Why This Project Works
The crochet chain stitch is the foundation of every project you will ever make, from a simple scarf to an intricate lace shawl. This tutorial is designed for absolute beginners, using a smooth, light-colored, medium-weight yarn and a comfortable 3.5 mm hook. The focus is on building muscle memory and confidence, not on achieving a perfect finished size. By practicing just 10 to 20 stitches, you will develop even tension and uniform stitch size—skills that will serve you for a lifetime of crocheting. This project works because it strips away complexity and lets you focus on the pure joy of creating.
Project Overview
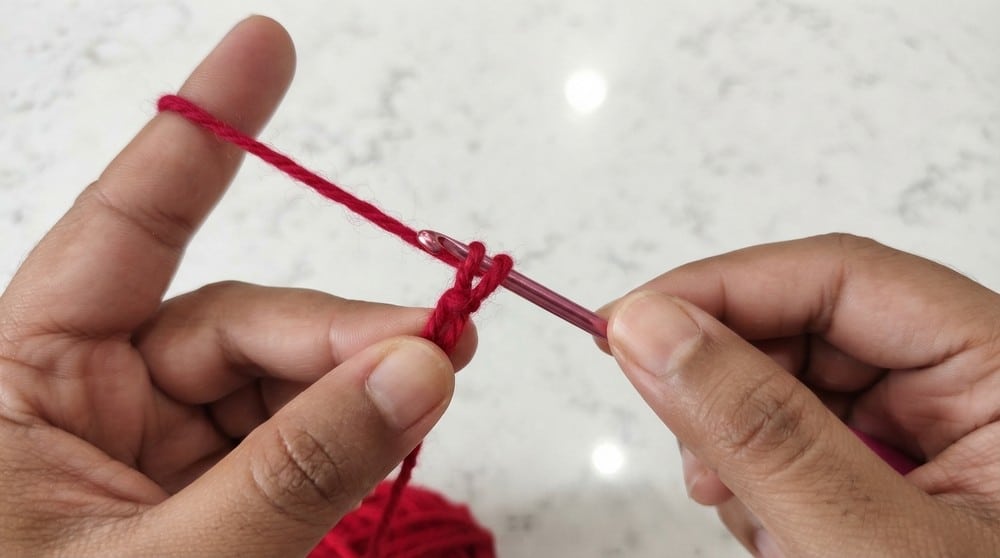
This step-by-step guide teaches you how to make a crochet chain stitch, the essential starting point for virtually all crochet patterns. You will learn to create a slip knot, form consistent chain stitches, count your stitches accurately, and finish your work securely. The chain stitch itself looks like tiny “V” shapes linked together, creating a smooth and flexible foundation. Its light and airy texture gives your projects a neat and delicate feel, and mastering it opens the door to endless creative possibilities.
Materials
- Yarn: Knitting Essential Arden yarn (or any smooth, light-colored, medium-weight yarn for easy learning)
- Hook: 3.5 mm crochet hook (ideal for medium-weight yarn and comfortable handling)
- Other: Scissors
Gauge and Finished Size
Gauge: Gauge is not critical for learning the chain. Aim for even tension (not too tight or loose) and uniform stitch size. Your chains should look tidy, with consistent height and width.
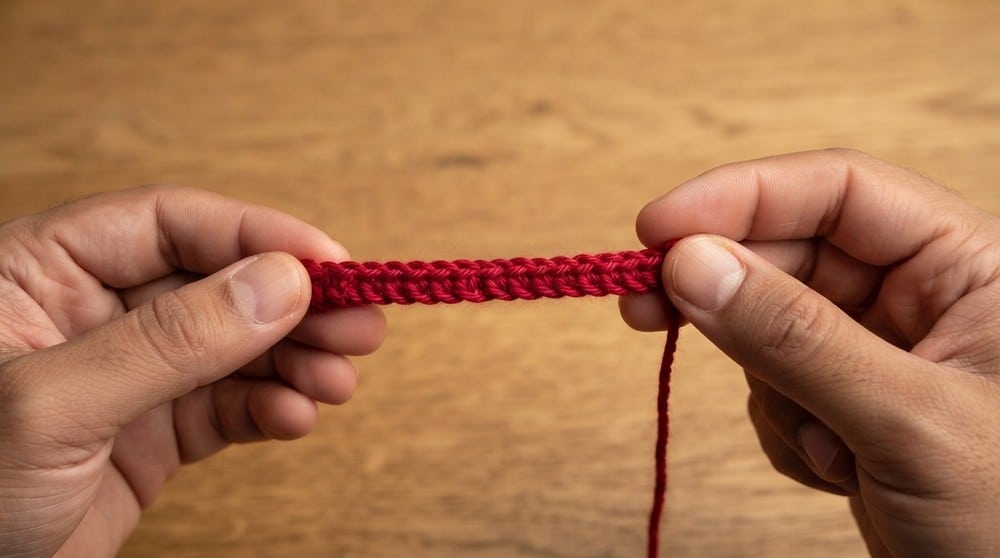
Finished Size: The length of your finished chain depends on the number of stitches you create. For beginners, a practice chain of 10–20 stitches is recommended. Example: In the video, a chain of 9 stitches is shown for demonstration. Your chain is now a standalone piece—perfect for practicing or for use as the starting row for any crochet project. Typical finished chains can be as short as 6 inches for small items, up to several feet for blankets or long projects. Practice several times to develop uniform stitches and consistent tension.
Abbreviations
- ch – Chain
- sl knot – Slip Knot
- yo – Yarn Over
Pattern Notes
- Keep it loose: Your first chains should be relaxed rather than tight, making it easier to work additional stitches into them in later projects.
- Practice: Consider creating several chains of varying lengths to become comfortable with the technique.
- Universal foundation: The crochet chain is used in all crochet projects—master it, and you are ready to learn any pattern!
Pattern Instructions
1. Making the Slip Knot
The slip knot is a movable knot that creates the first loop on your crochet hook. Hold the yarn a few inches from its end (the tail in one hand, the working yarn attached to the ball in the other). Twist the yarn to form a loop. Insert your fingers (or hook) from front to back through this loop, grab the working yarn, and pull up a new loop. Tighten both ends so the knot sits snugly on your hook—not too tight.
2. Creating the Chain
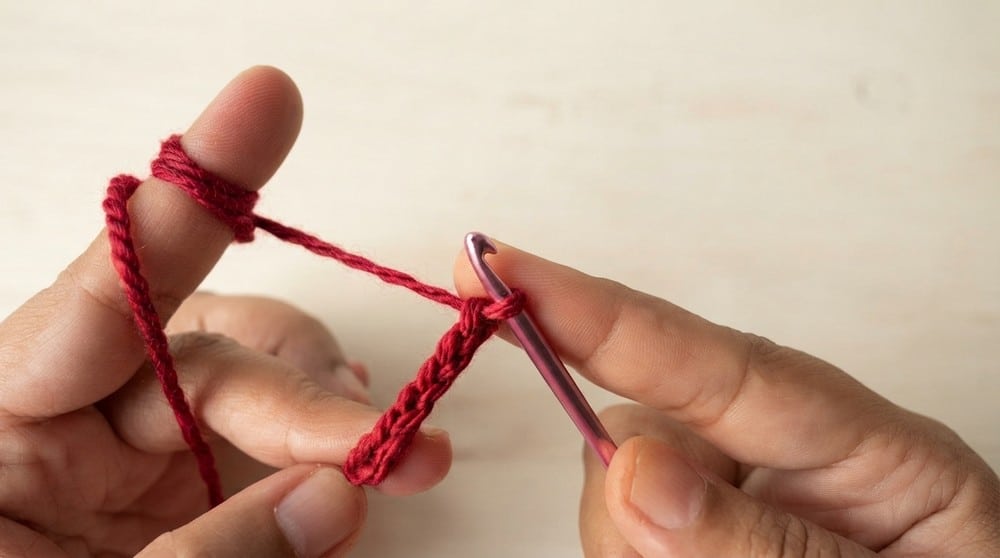
Hold the hook in your dominant hand and the yarn in your other hand. Yarn over by wrapping the working yarn from back to front over the hook. Pull the yarn through the loop currently on your hook. You will now have a new loop on your hook and the first chain below it on the foundation row. Continue this process—yarn over, pull through—to make as many chain stitches (“chains”) as desired.
3. Counting Your Stitches
Do not count the loop currently on your hook. Each completed stitch is visible as a small “V” shape in the chain. Starting with the first stitch next to the slip knot, count each “V” for total chains. As in the video demonstration, the sample chain has 9 visible stitches.
4. Finishing
Once your chain reaches the desired length, cut the yarn about 3–4 inches from the last chain. Yarn over and pull through the remaining loop to secure. Tighten gently, making a small knot at the end of your chain.
Assembly
Your chain is now a standalone piece—perfect for practicing or for use as the starting row for any crochet project. If you wish, you can easily turn chains into bracelets, necklaces, or even decorative garlands that brighten up any room.
Tips
- Practice several times to develop uniform stitches and consistent tension.
- If your first chain is too tight or uneven, simply begin again. Confidence comes with practice.
- Use a light-colored yarn to make the “V” shapes of each stitch easier to see.
FAQs
Why is my chain twisting or curling?
This is common for beginners and usually happens when your tension is too tight. Try to relax your grip on the yarn and hook, and make your stitches a bit looser. Consistent tension will help the chain lie flat.
How do I know if I am holding the yarn correctly?
There is no single right way. The most important thing is that you can comfortably control the tension. Try wrapping the working yarn around your non-dominant hand’s pinky, then over your index finger, to create a gentle, even flow.
What if I lose count of my stitches?
Don’t worry! Simply look at the “V” shapes on your chain and count them again. The loop on your hook is never counted. It is helpful to count after every few stitches until you get the hang of it.
Can I use any yarn and hook to practice?
Yes, but a smooth, light-colored, medium-weight yarn with a 3.5 mm or similar-sized hook is easiest for beginners. Dark or fuzzy yarns can make it hard to see your stitches.
What can I make with just a chain stitch?
You can create simple items like bracelets, necklaces, bookmarks, or decorative garlands. The chain stitch is also the starting row for almost every crochet project, so you are building a crucial skill.
How do I fix a mistake in the middle of my chain?
If you notice a mistake, it is often easiest to gently pull on the working yarn to unravel the stitches back to the error, then start again from that point. This is called “frogging” and is a normal part of crocheting.
Pin This Crochet Pattern!